When welding, it is often important not only the strength of the connection, but the accuracy of the resulting seam. A novice amateur welder has problems with this, since there are no basic skills in guiding the tip of the electrode.

At first, while they are not there yet, to make the seam more neat, it is worth welding with electrode halves.

Due to their short length, and therefore resistance, they stick less, and it’s easier to control their tip. An amateur welder should first of all master the techniques proposed below for guiding the electrode along the joint of the parts being welded.

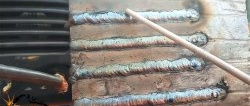
1. Leading with zigzags or herringbone
The ignited electrode can be moved in zigzags without lifting it from the surface. It is ignited at the point where the suture begins and is carried out with oblique transitions of equal length to the end.

With this technique, the finished seam after removing the scale looks the same along its entire length. Each zigzag movement leaves a small wave of surging metal. This method can be used to cook almost anything, including pipes.

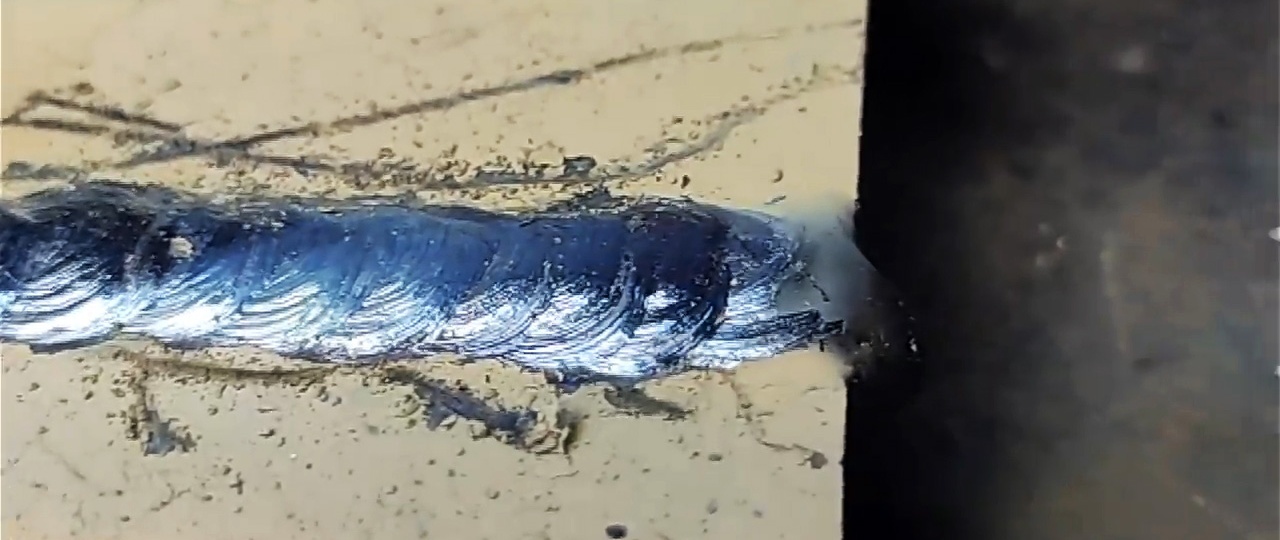
2. Guidance with a pendulum
Welders also use the technique of guiding the electrode according to the principle of a crescent pendulum. Its tip moves across the welding line in a semicircle, and when it reaches the edge, it moves slightly forward and also returns in an arc, but towards the previous movement.

This technique produces very high-quality welding of parts. The seam looks like shards stacked on top of each other. From an aesthetic point of view, this may be worse than a zigzag, but this movement pattern produces a strong connection due to a deeper weld pool. When using it, the metal is melted deeper.
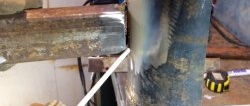
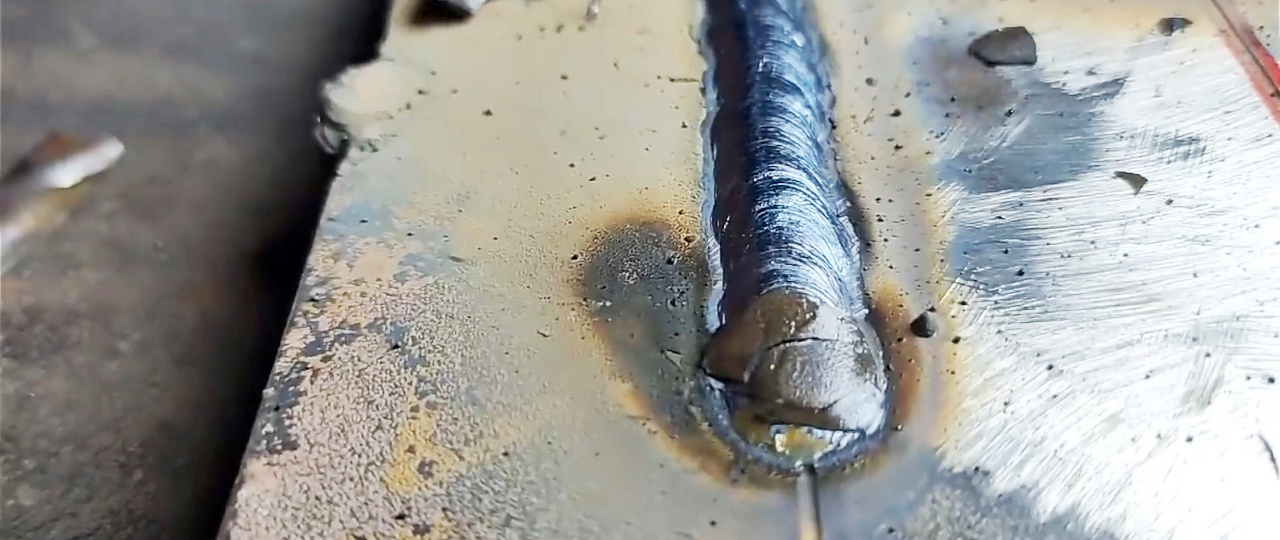
3. Driving straight
The easiest way to cook is by holding the electrode straight. In this case, the seam turns out narrow and high. It's quick and easy. But with this technique, the parts being welded are heated only at the joint, which gives a small area of contact between the seam and the metal, which may not be enough.

In this technique, a novice welder can weld with a long electrode, since essentially no control of the tip is required. You simply strike an arc and pull it in a straight line. It is only important to correctly adjust the current strength.

Watch the video
Watch the video for a visual description of the welding process.