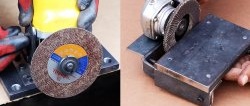
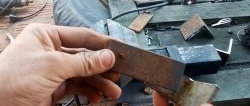
For precise, controlled sharpening, it is very convenient to use a sharpener with a stop table. It allows you to correctly position the part in order to set the desired angles when stitching. In the absence of such a machine, you can make a stand for an angle grinder that can fully replace it.
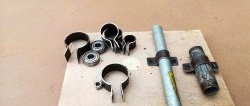
Materials:
- Corner 30x30 mm;
- strip 20 mm;
- sheet steel 6-10 mm;
- M6 bolts and nuts.
The console manufacturing process
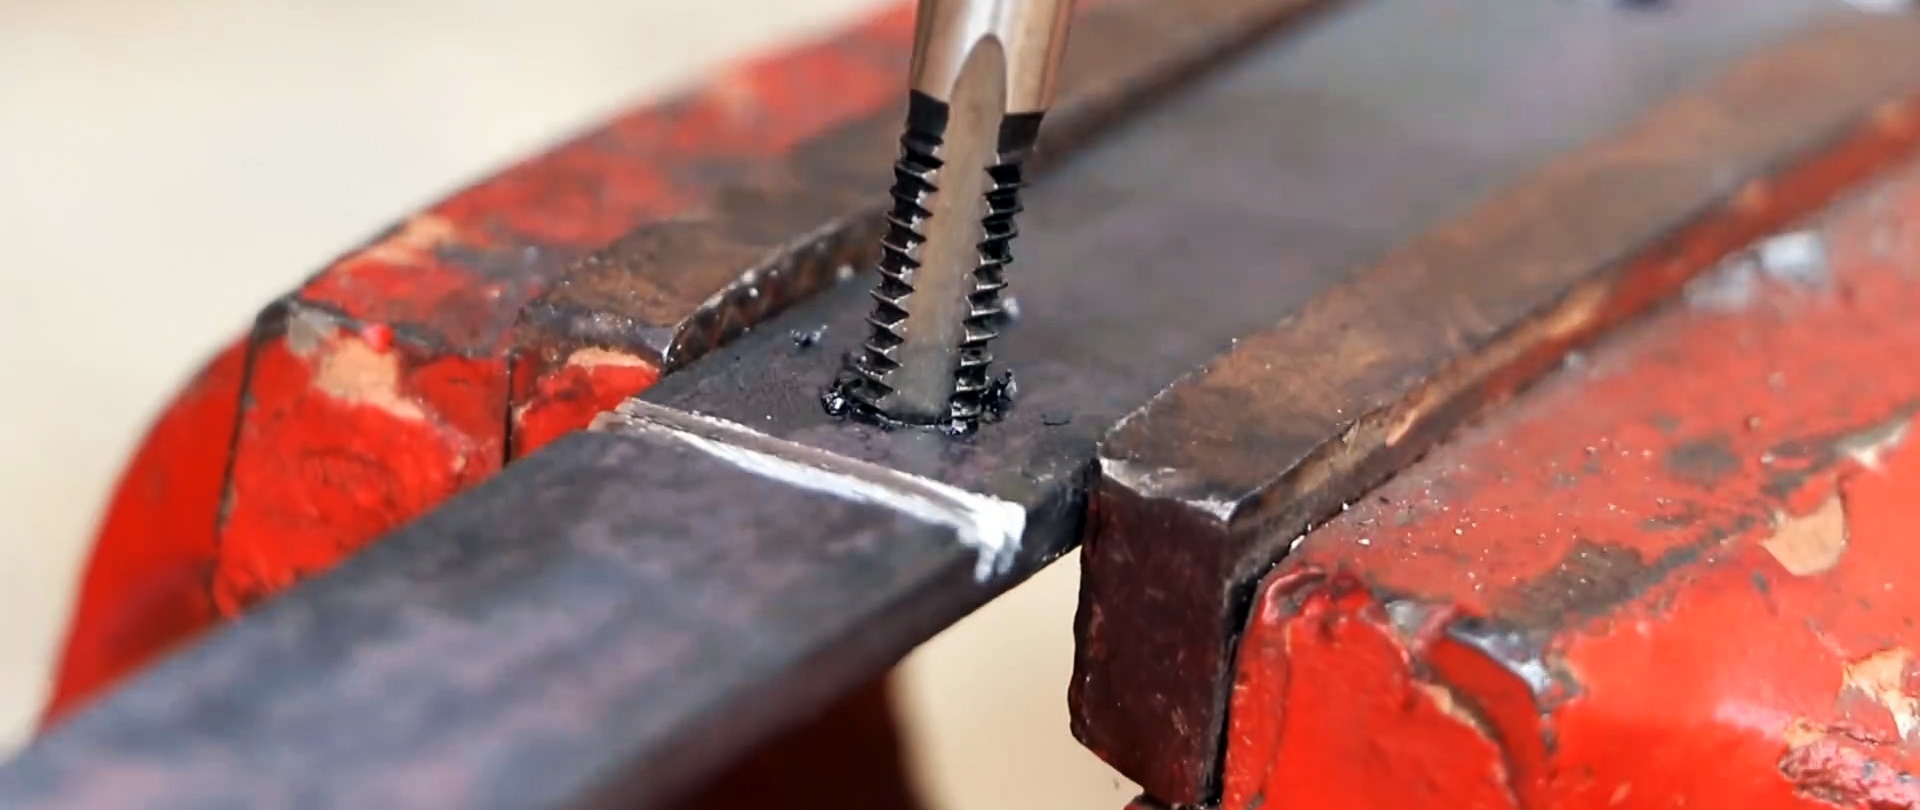
A piece 200 mm long is cut from a 30x30 mm corner. A 6 mm hole is drilled in it on one shelf with a slight offset from the center.

Next, take a strip 500 mm long. A previously prepared corner is applied to it in the center. The edges of the corner are marked on the strip. It is drilled in front of the marks with a 6 mm drill. Then it must be filed along the lines for bending, leaving 2 shallow notches.
Again we try on the corner to the strip and transfer the location of the holes to it. Then it is also drilled. An M6 thread is cut into the holes of the strip. Next, along the notches, we bend the bracket out of the strip.
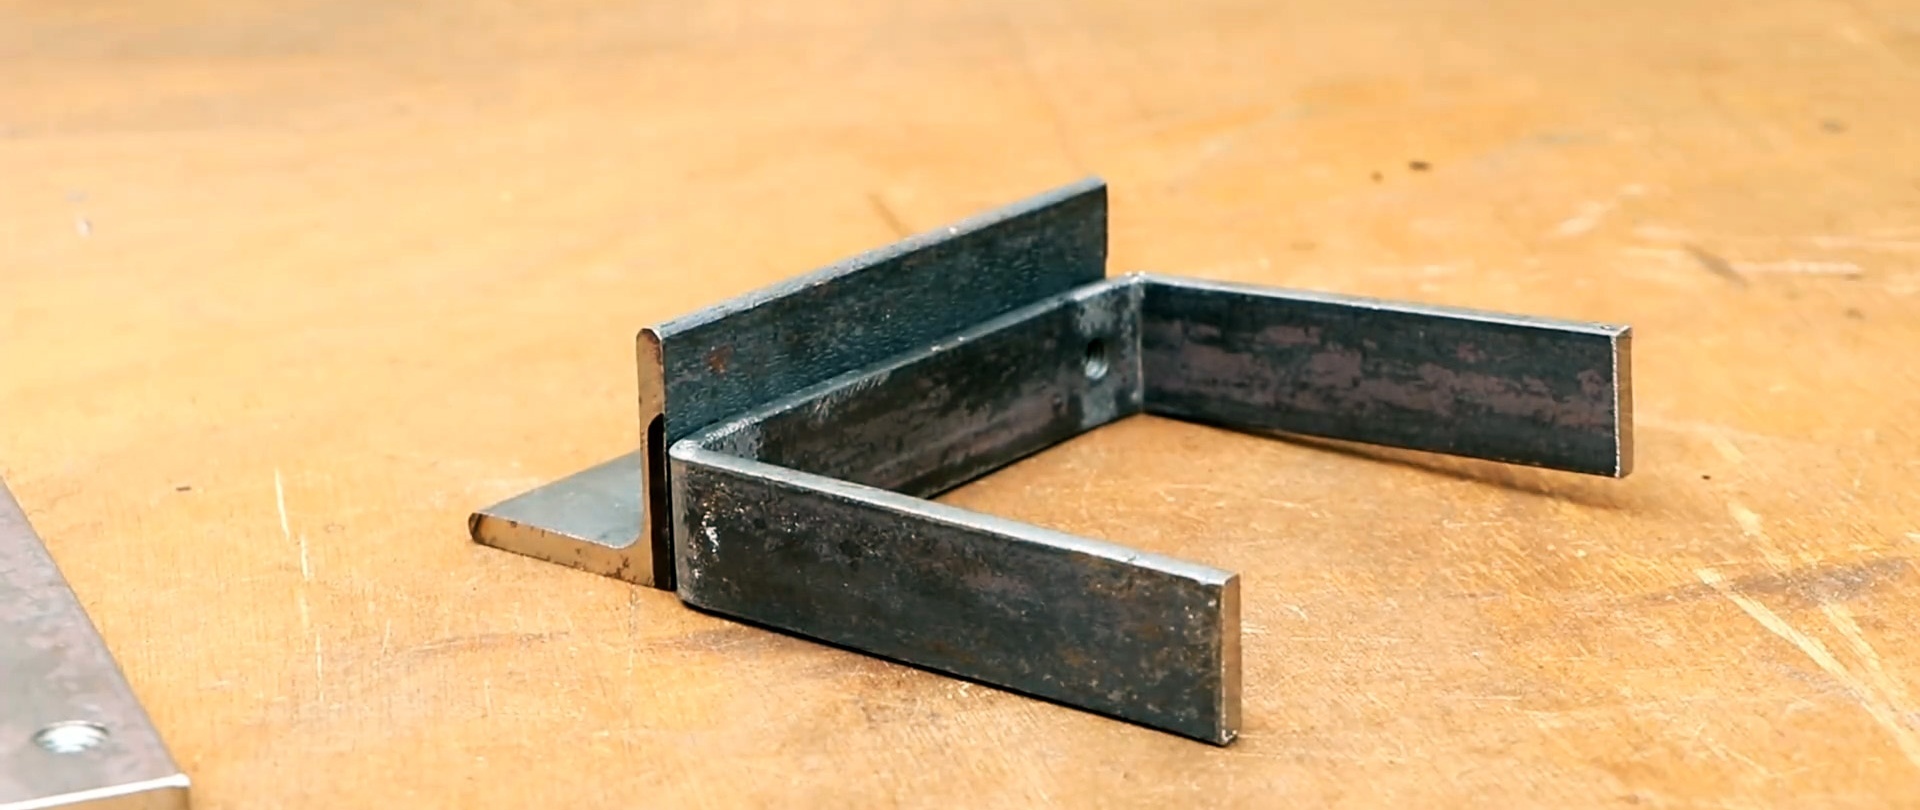
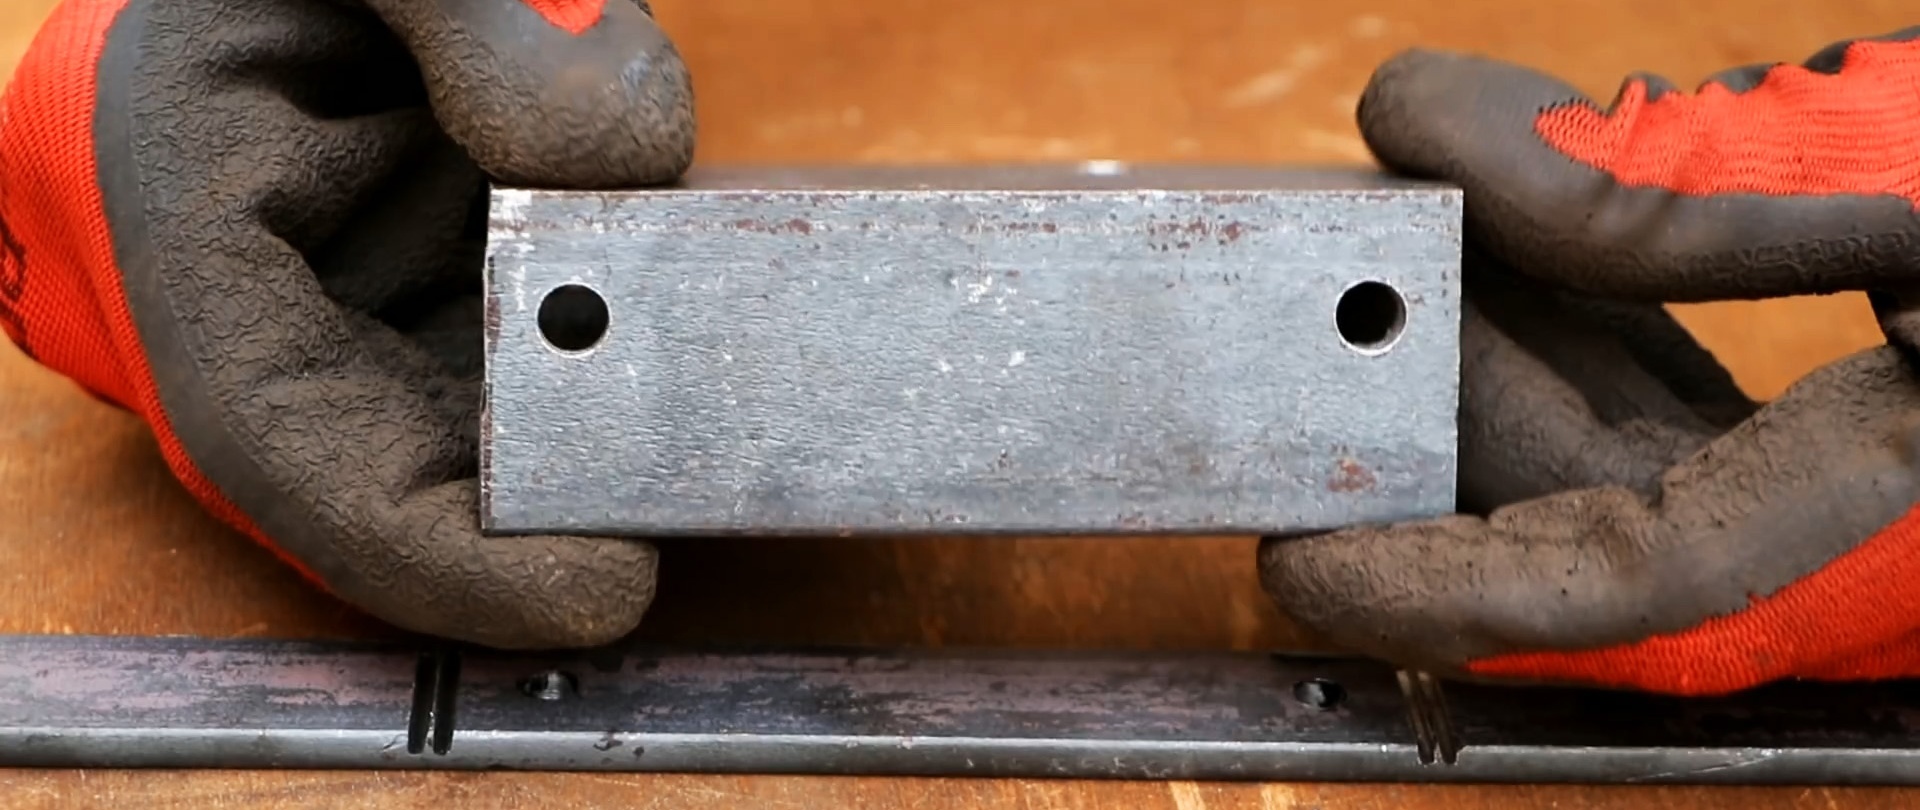
From sheet steel with a cross section of 6-10 mm you need to cut a plate 200x70 mm. Holes are made in the corners and M6 threads are cut into them.

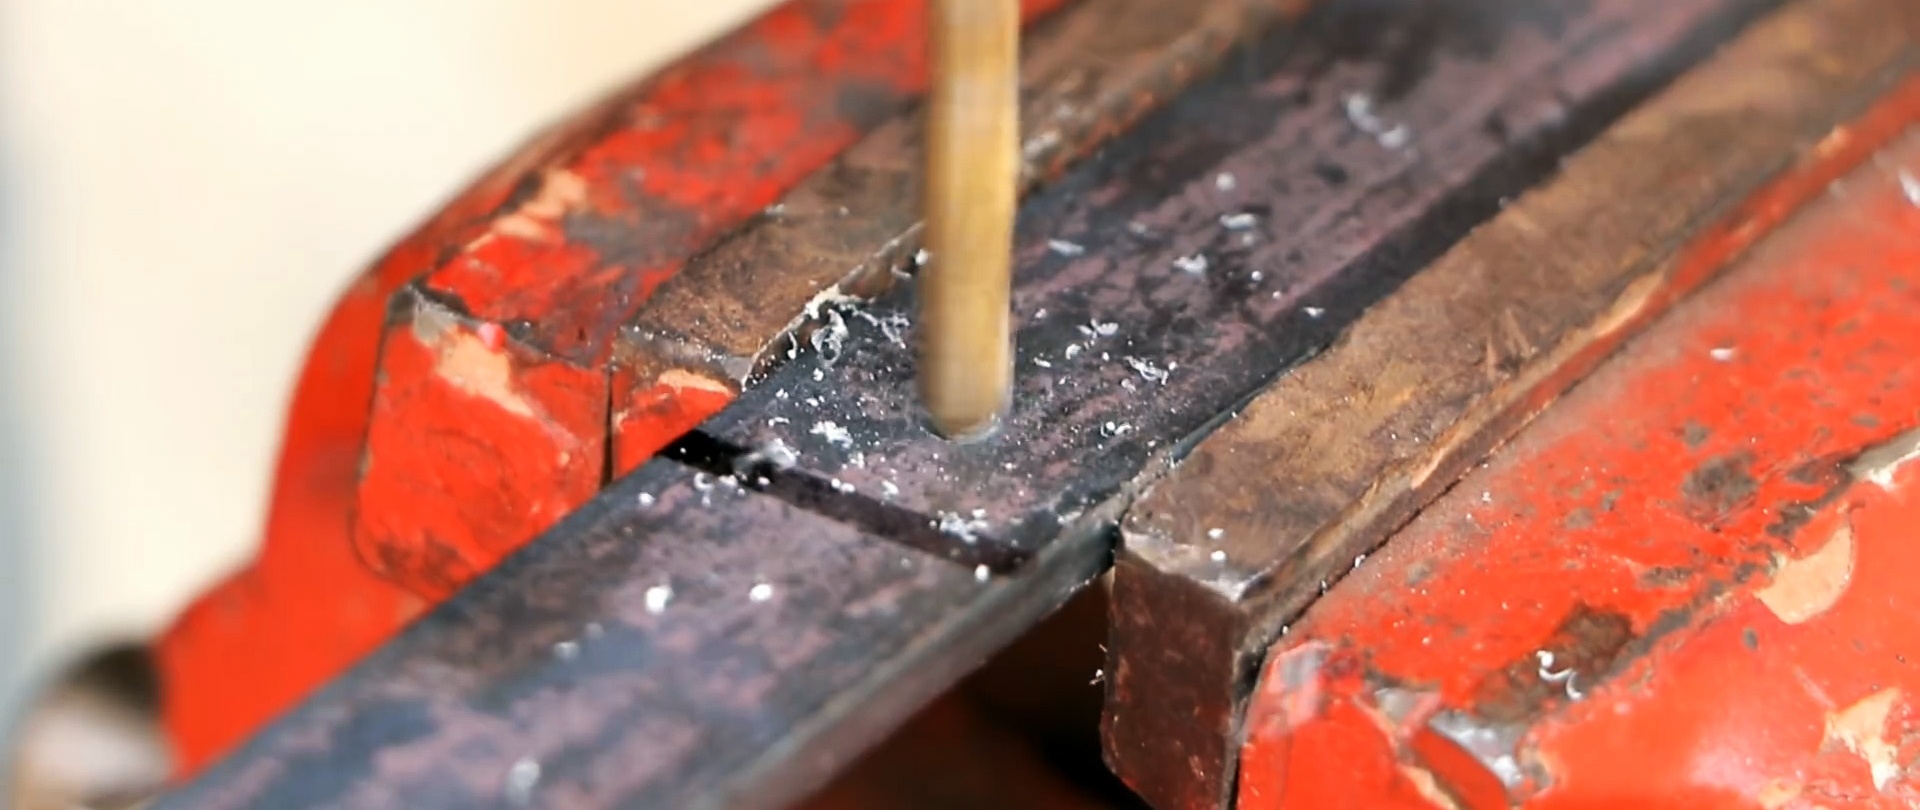
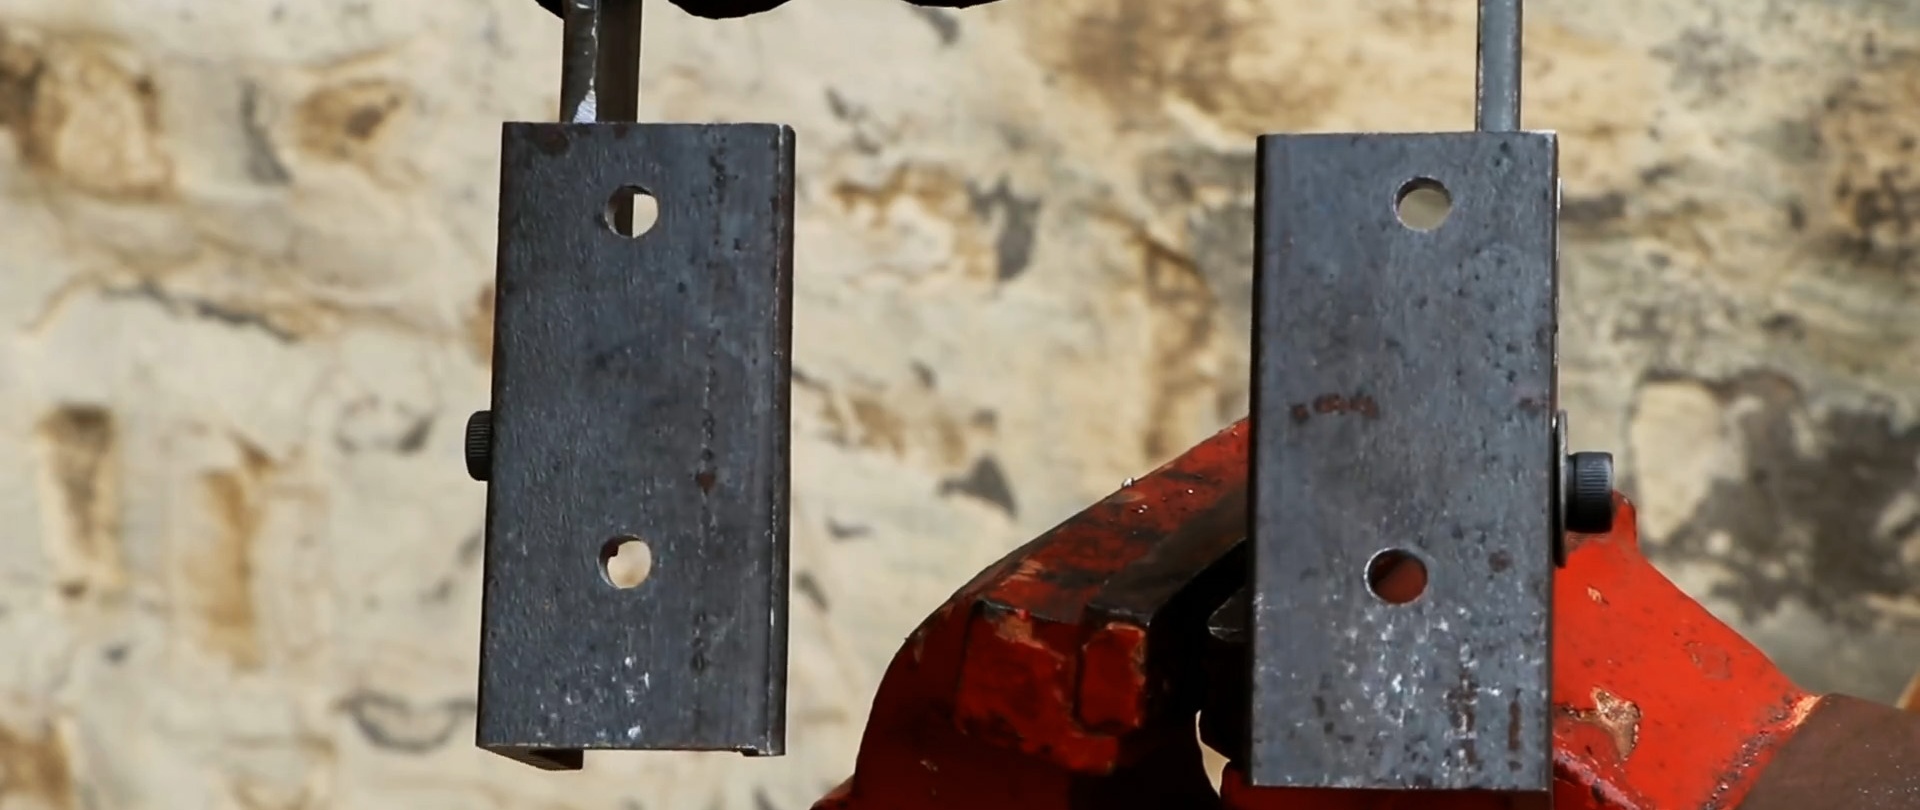
6 mm holes are drilled along the edges of the bracket from the strip. Next, 2 pieces of 100 mm length are cut from a 30x30 mm corner. They are applied with the inside to the bracket, and marks are placed on them along its holes.
In the workpieces, along the hole marks, longitudinal cuts 6.5 mm wide are made to half their length. It is necessary to make the groove even and smooth so that the M6 bolts slide smoothly along it.

The first corner, 200 mm long, is screwed to the bracket. Next, you need to clamp the corners with cuts on the sides using M6 bolts and nuts.


Then a plate is applied to the corners on top. Marks are placed on them along the holes in it. Now the corners are drilled and the table is screwed to them.

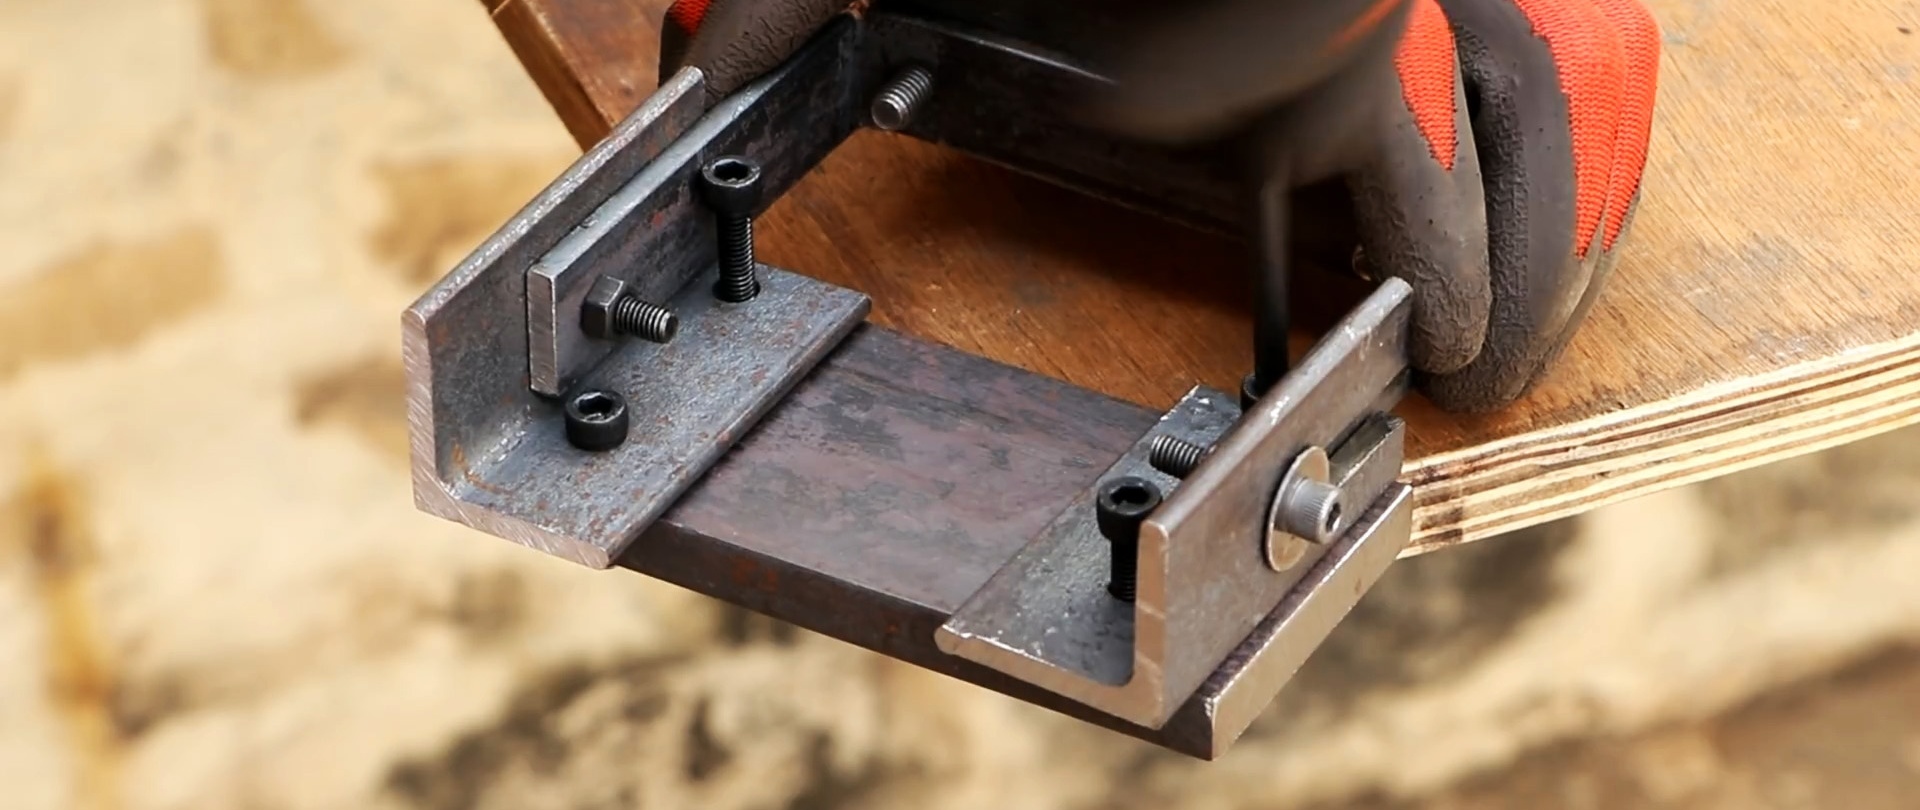
The protruding part of the bolts is cut off.

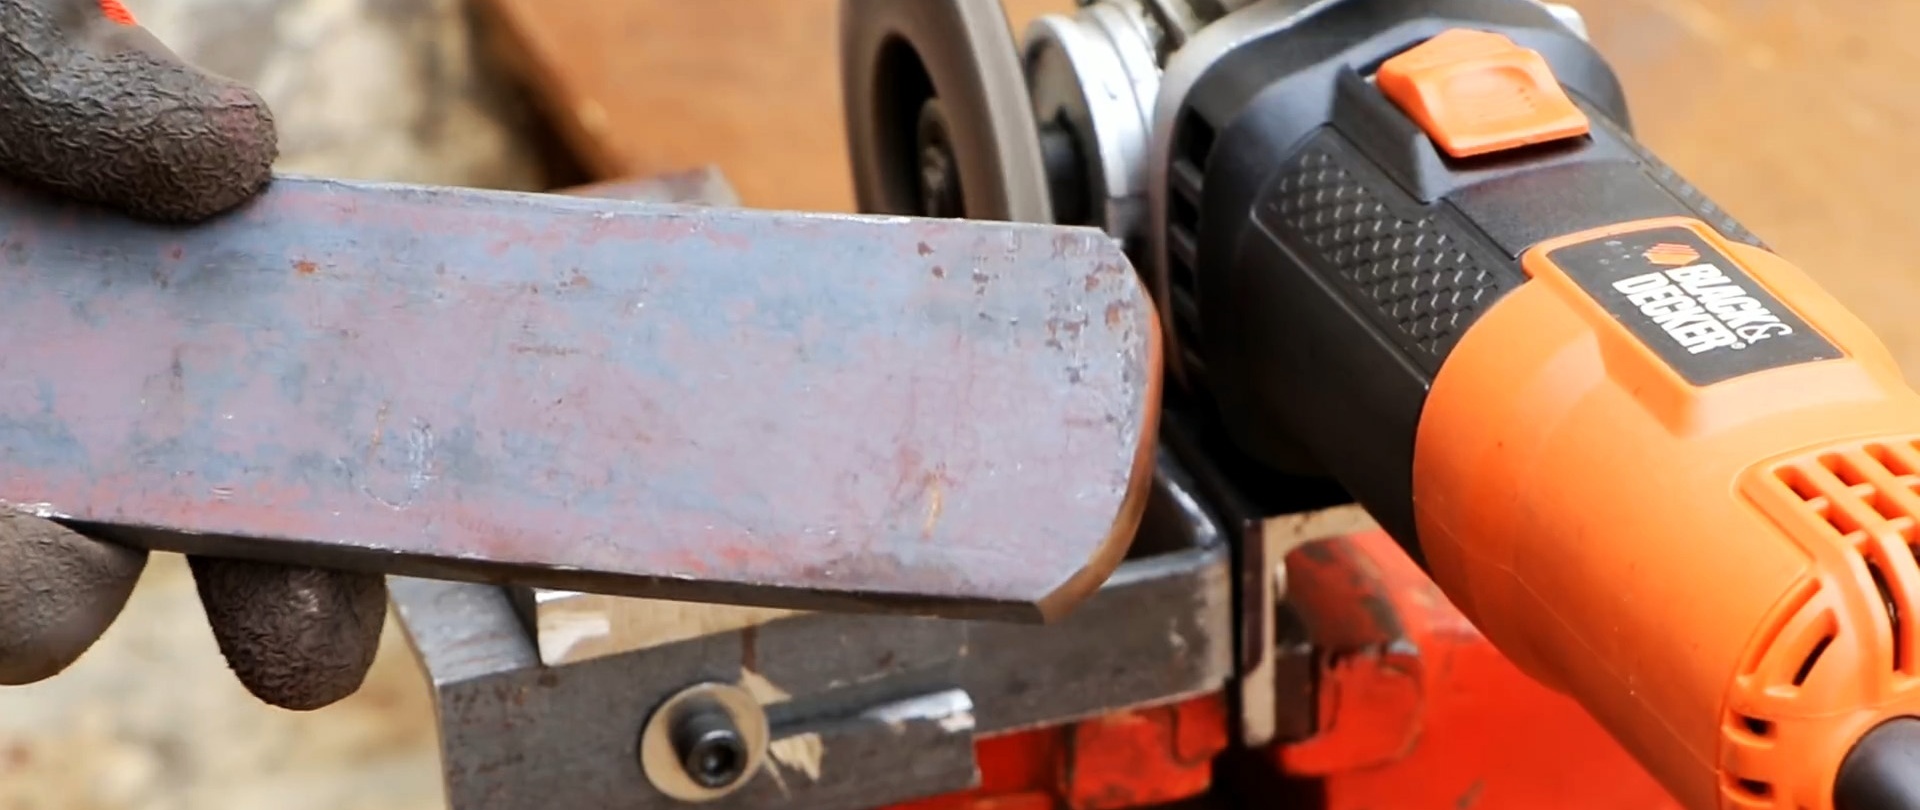
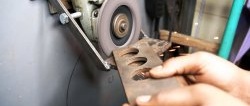
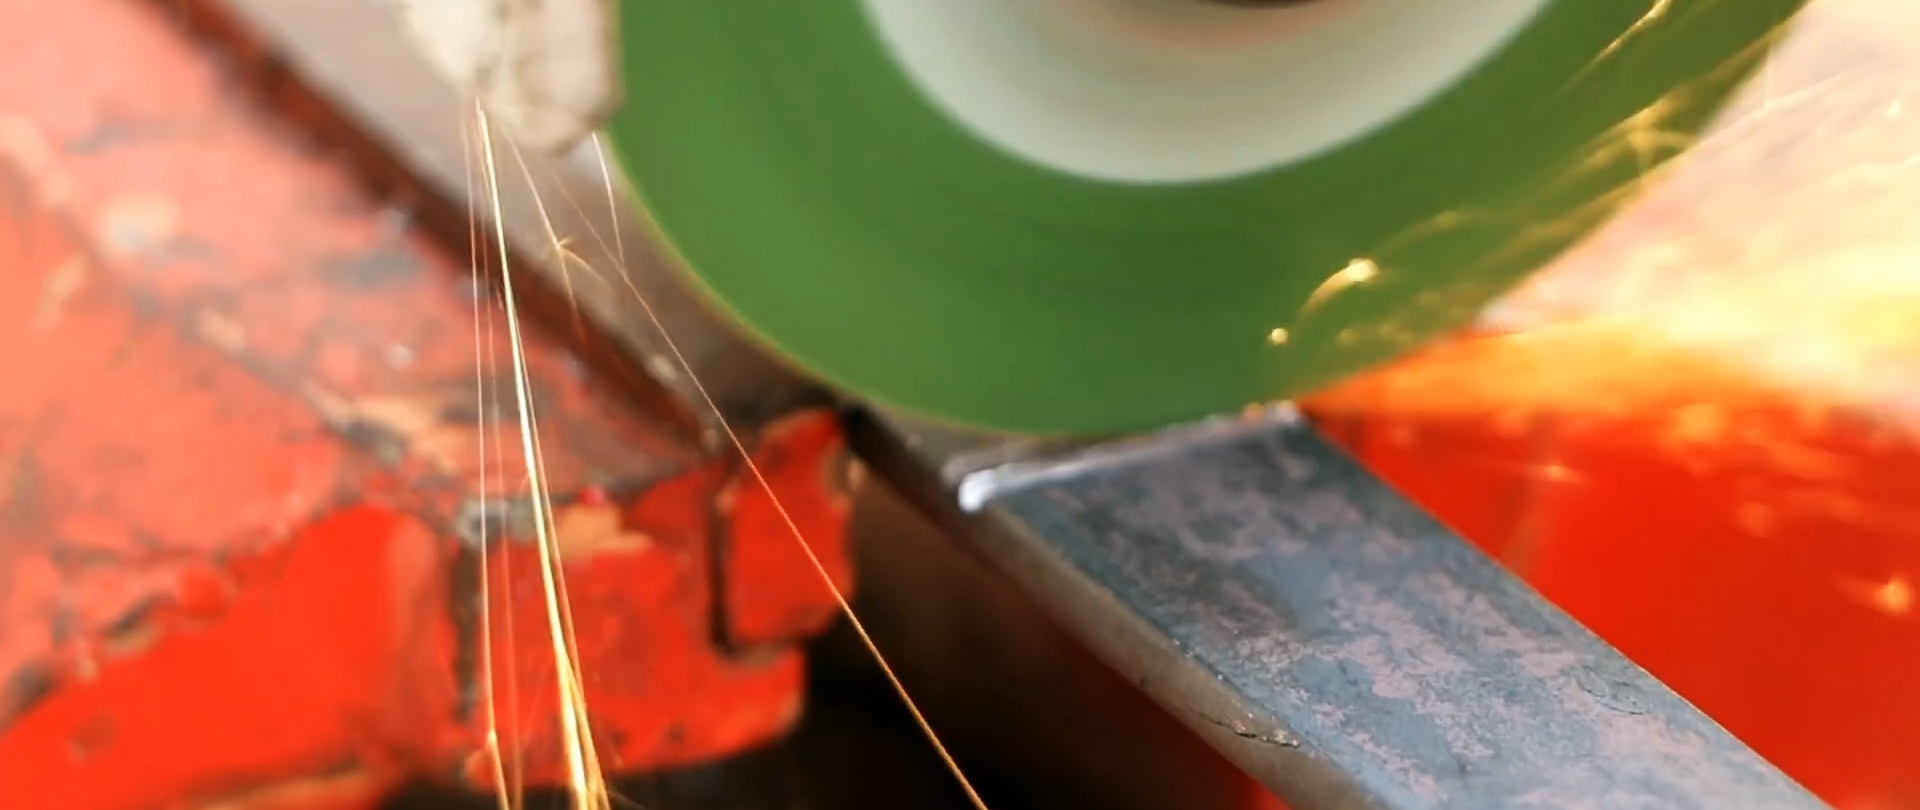
Using the first hole in the corner, we can screw the angle grinder with the petal disk installed to the attachment.
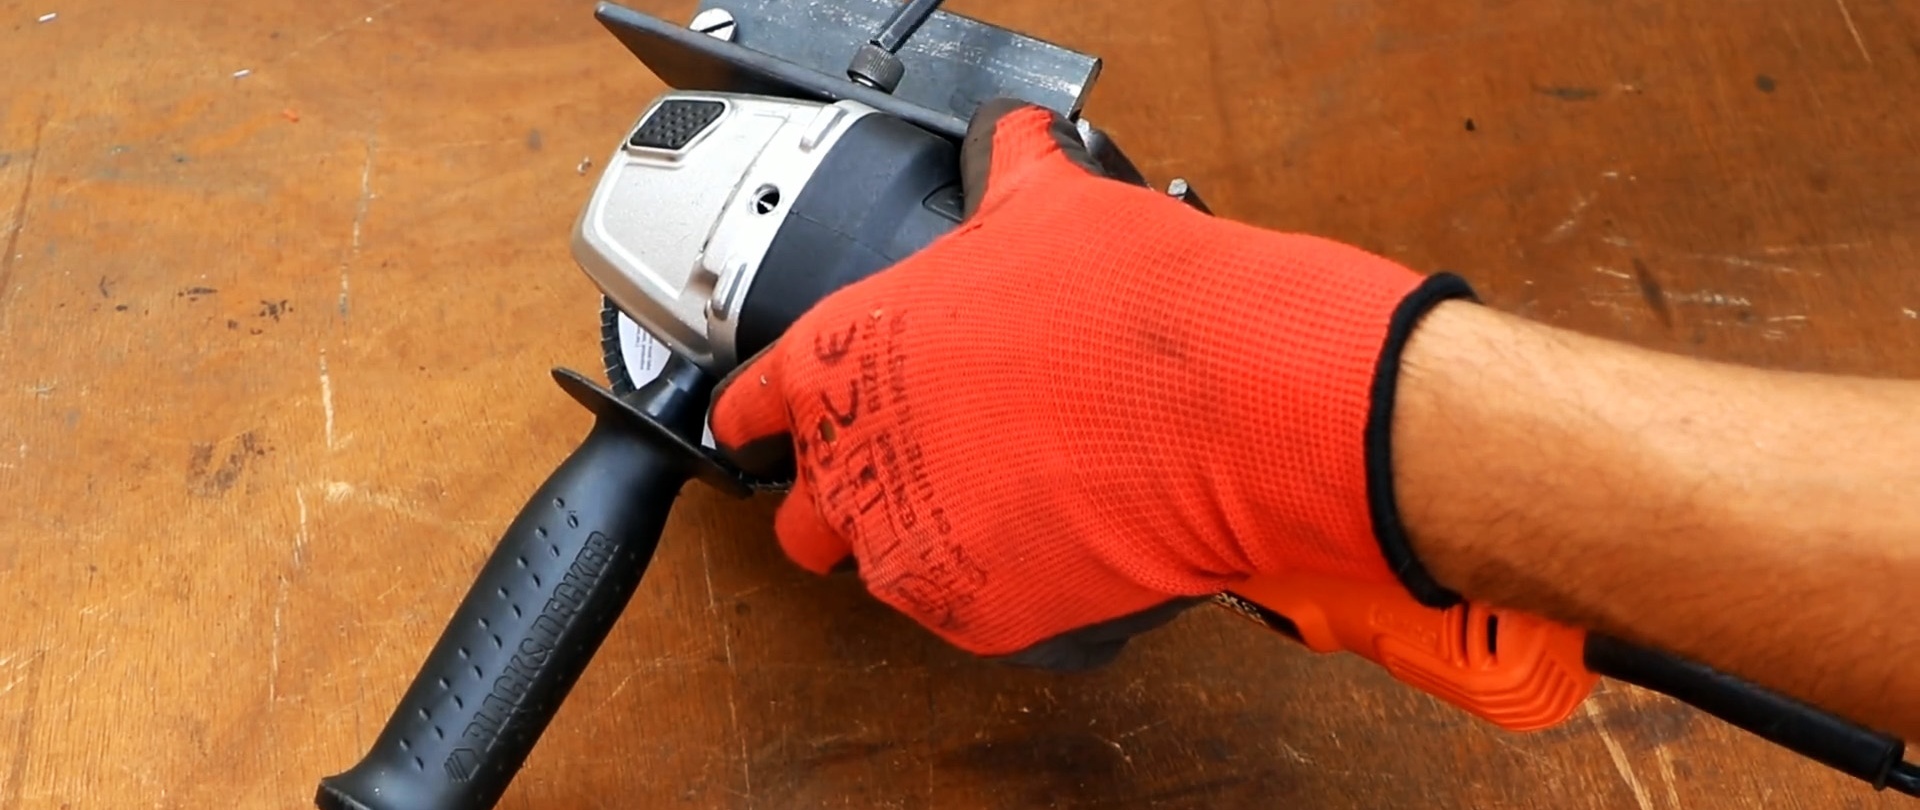
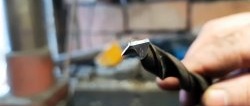
The device is then clamped in a vice. Thanks to the cuts in the side corners, the thrust table is adjustable. Now, resting the workpieces against it, you can sharpen them.