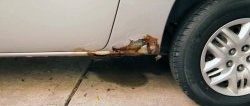
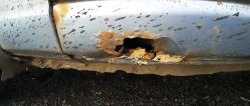
Small rust bugs on the body of an old car gradually grow into through corrosion. In a good way, you need to cut out the rotten place and weld a patch, but the services of a bodyworker are not cheap, and it is very difficult to weld it with such high quality with your own hands. However, there is a way to make cosmetic body repairs reliably and beautifully without welding.

Materials:
- rust converter;
- degreaser;
- fiberglass;
- polyester resin;
- putty;
- masking tape;
- anti-corrosion epoxy primer;
- regular primer;
- body sealant;
- aerosol thinner for varnish transitions;
- sandpaper P80-P1200.
Do-it-yourself corrosion repair process
The rust-damaged area on the body must be cleaned with a brush, removing it and the damaged paint.

The cleaned area is blown away from dust. Then a rust converter is applied to it.

If this is the front side, then you need to go over the converter with sandpaper to remove scratches from the brush on the adjacent clean areas with paint.

After 3 hours, or earlier if a faster-acting rust converter is used, the surface is degreased.
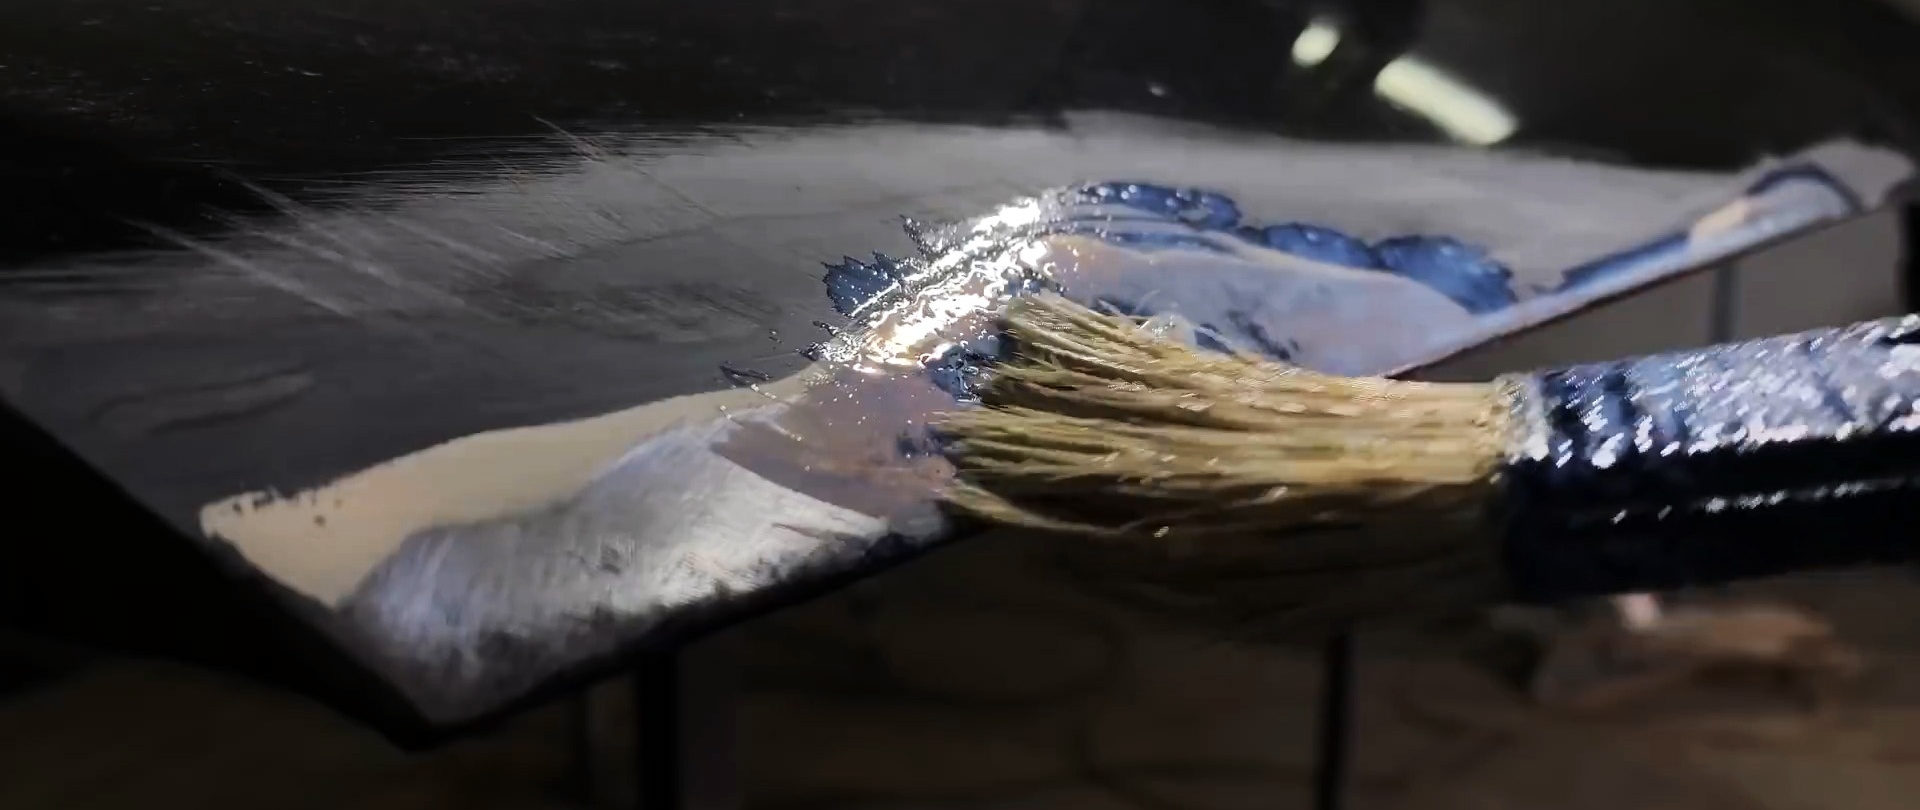
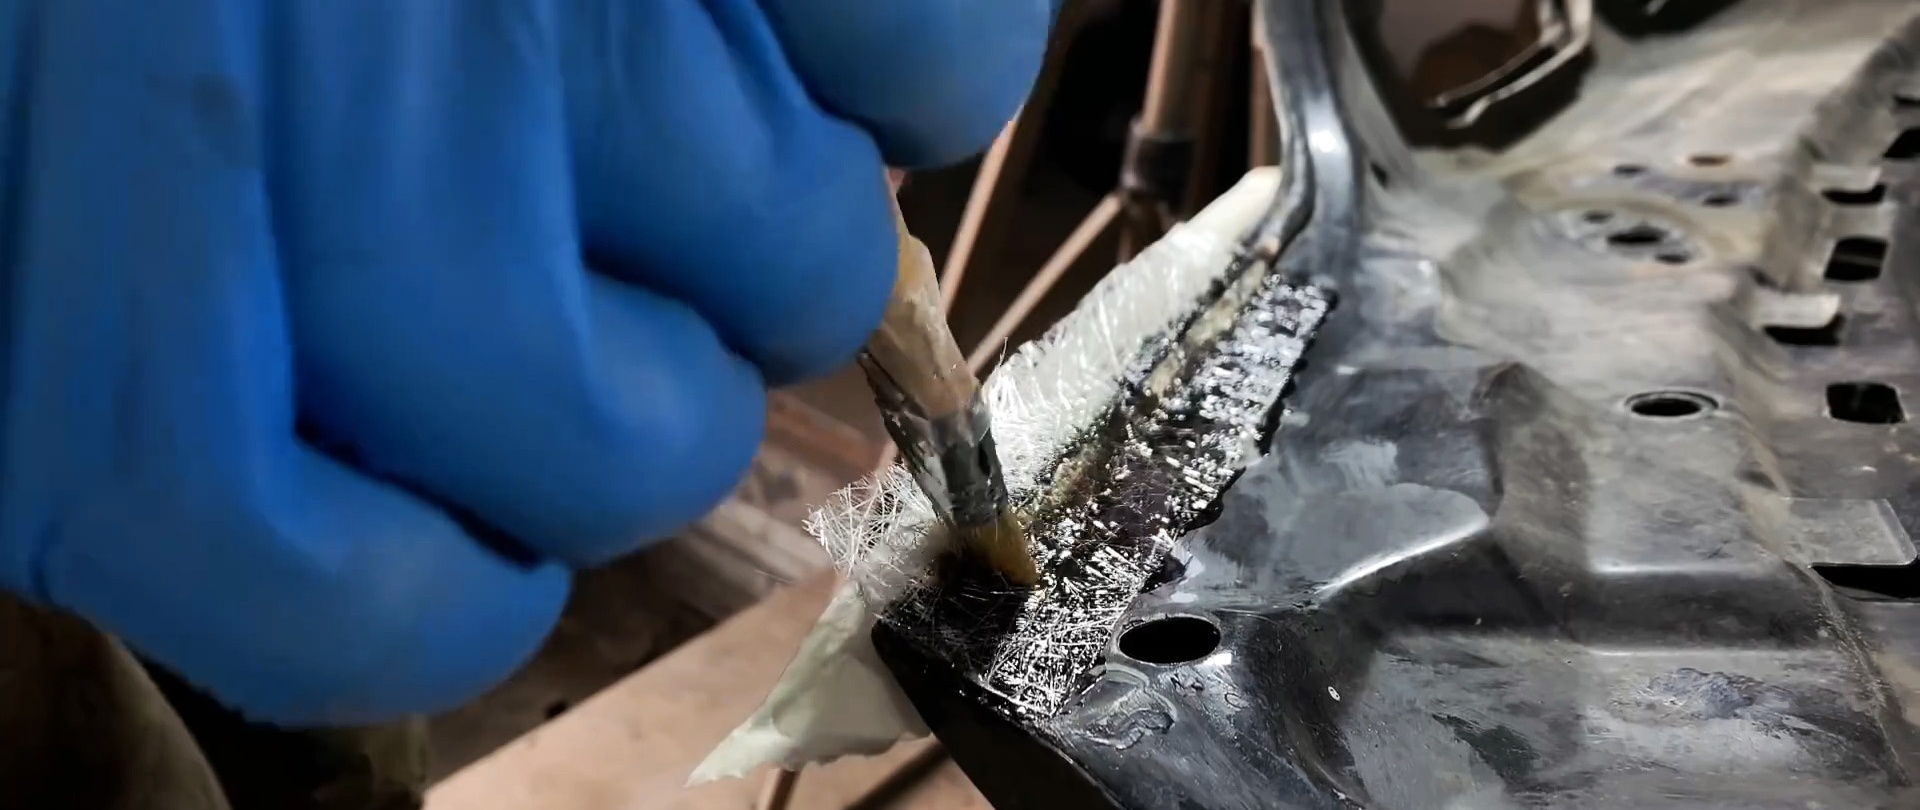
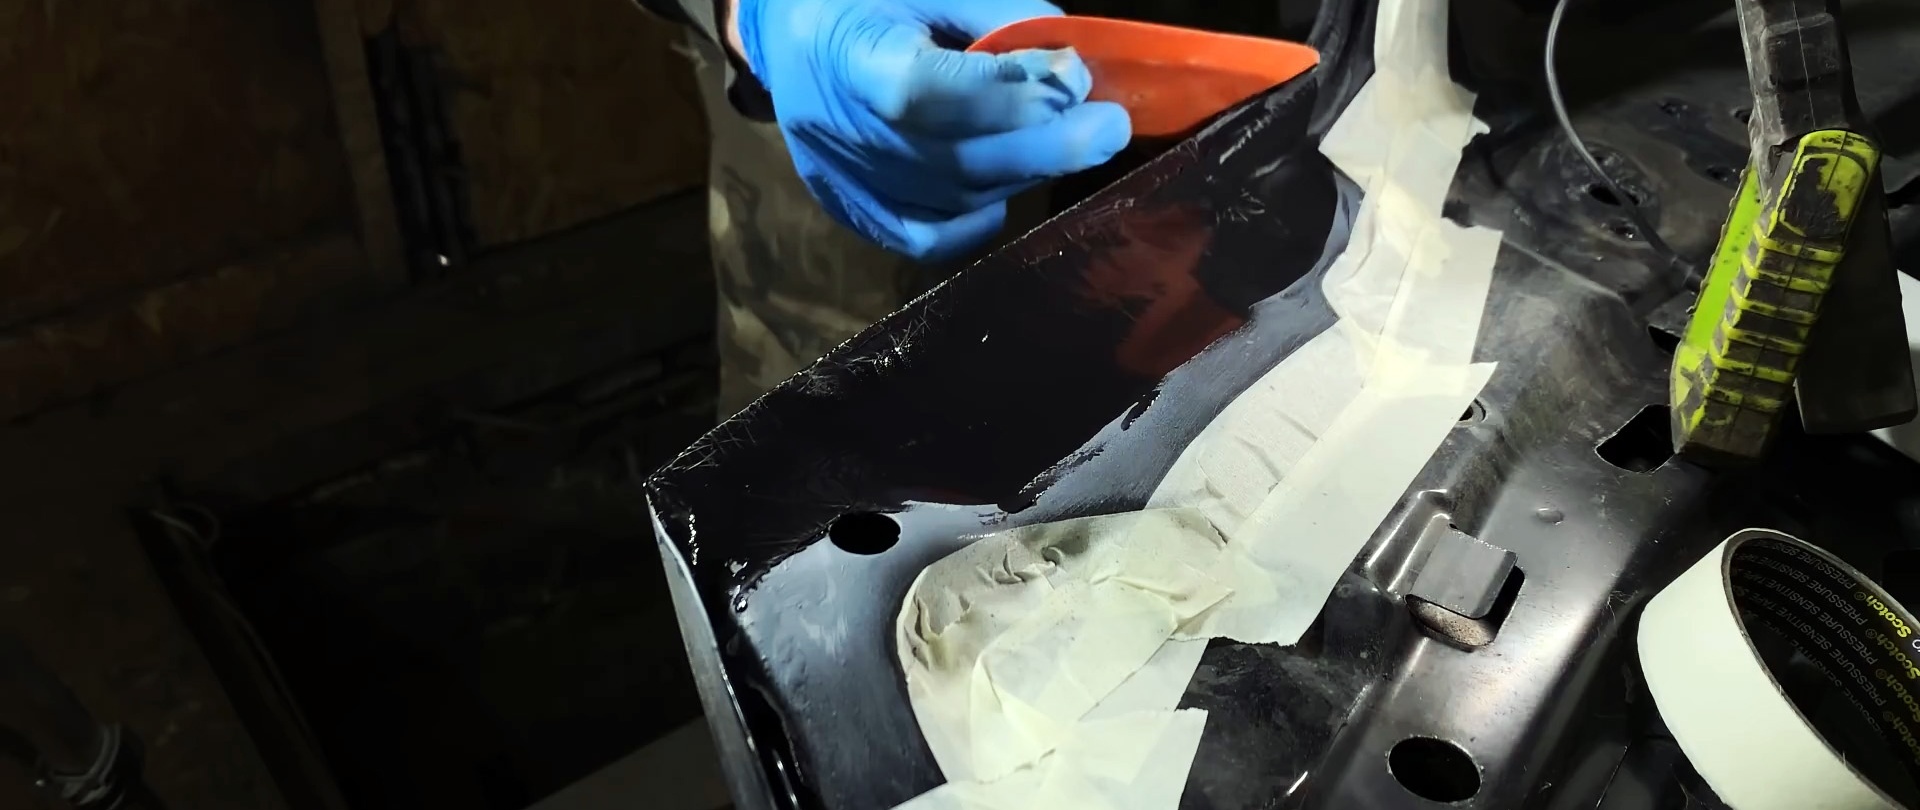
Polyester resin mixed with a hardener is applied to it, and pieces of fiberglass are glued on top.
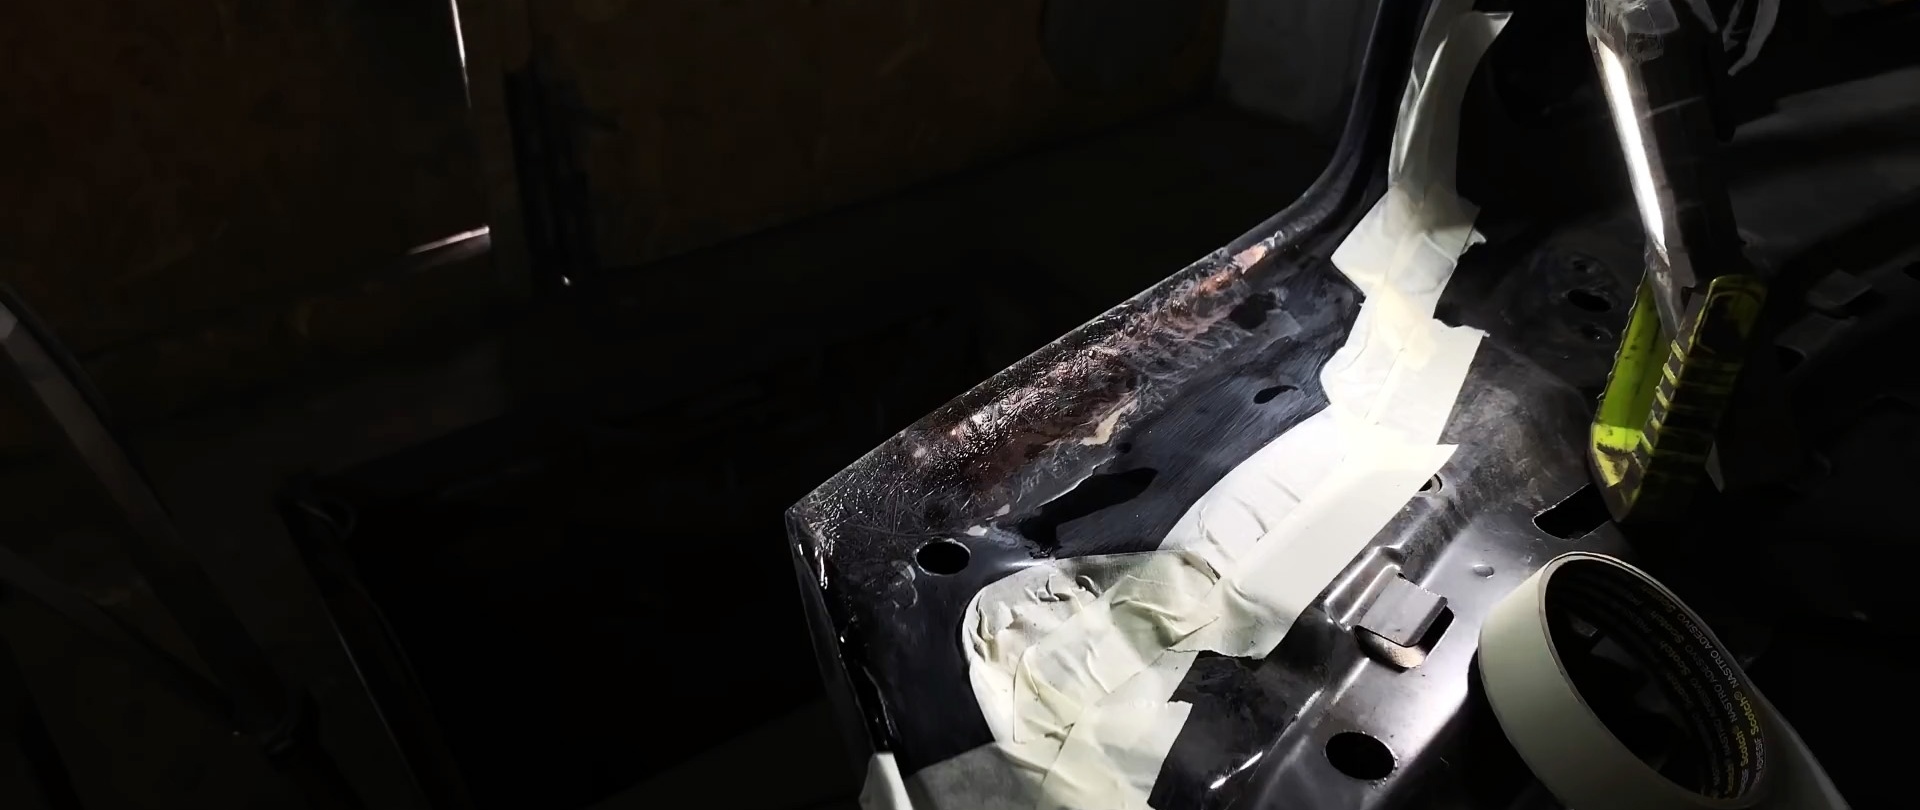
They need to be coated with resin so that the fiber is completely saturated. If you have to work from the edge of, for example, the hood, then masking tape is glued to the back side so that it protrudes. Then the resin will not flow and harden in drops from below.
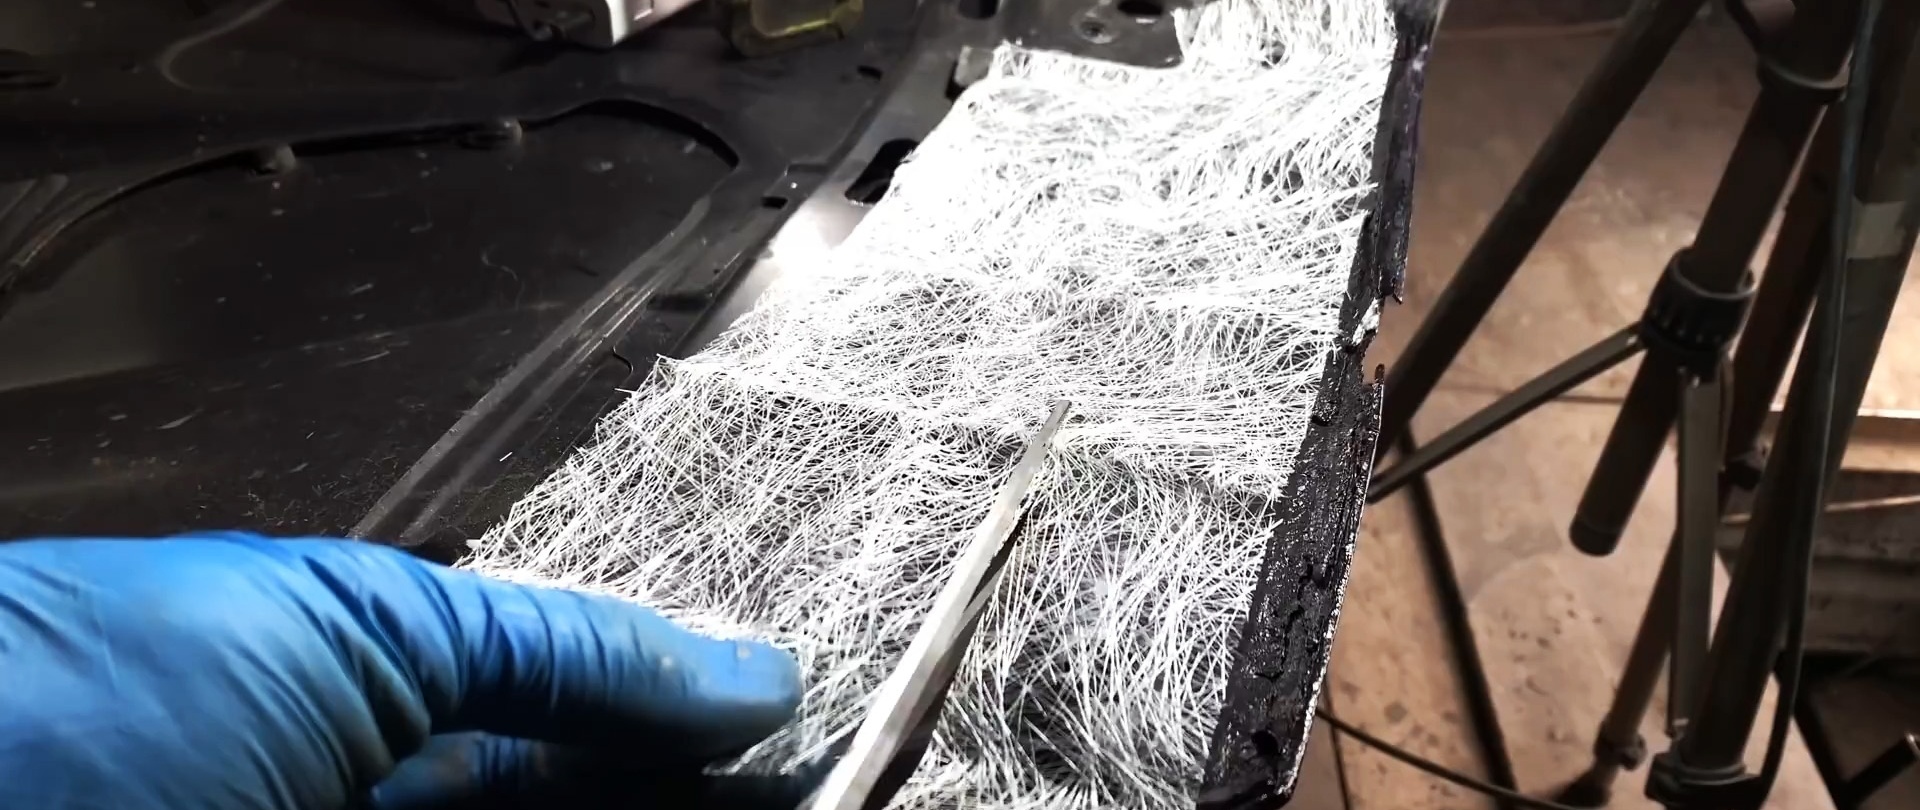
It is necessary to glue 4-6 layers of fiberglass, and if a large step has not formed at the transition, then more. On through holes with access to the reverse side, it must also be glued from the inside. So it’s better to remove the rotten hood, trunk or fender first. You can start gluing on the second side in half an hour.

In about 1 hour, the resin will harden, and the pieces of fiberglass protruding beyond the part can be cut off with a grinder. You can level the formed line with P80 grit sandpaper.
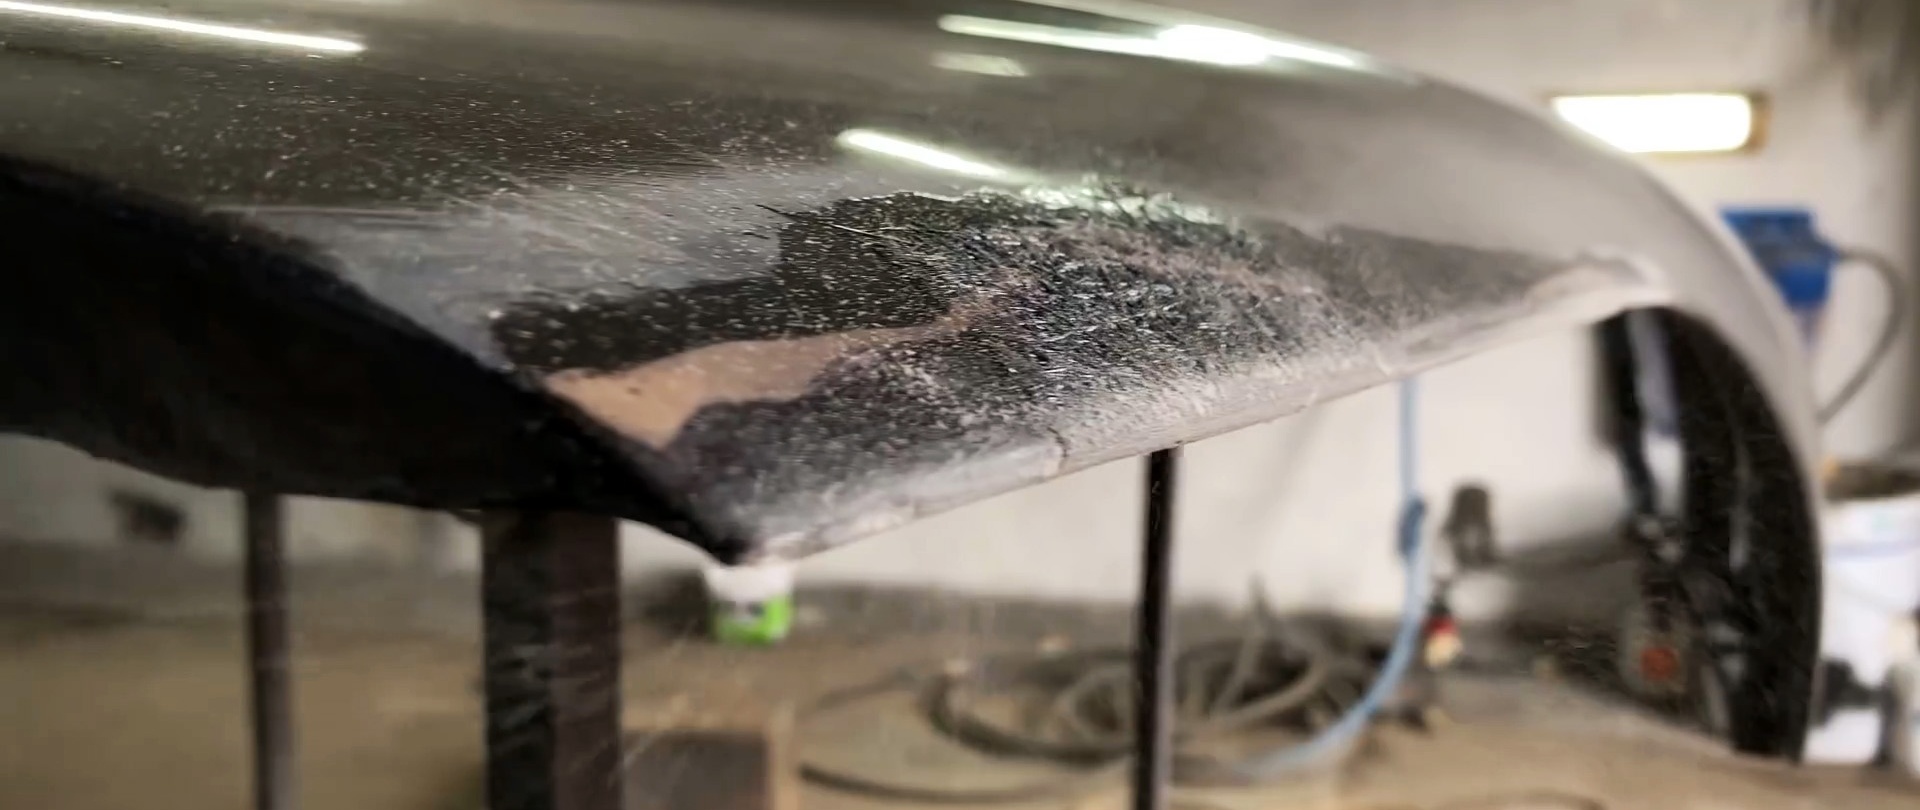
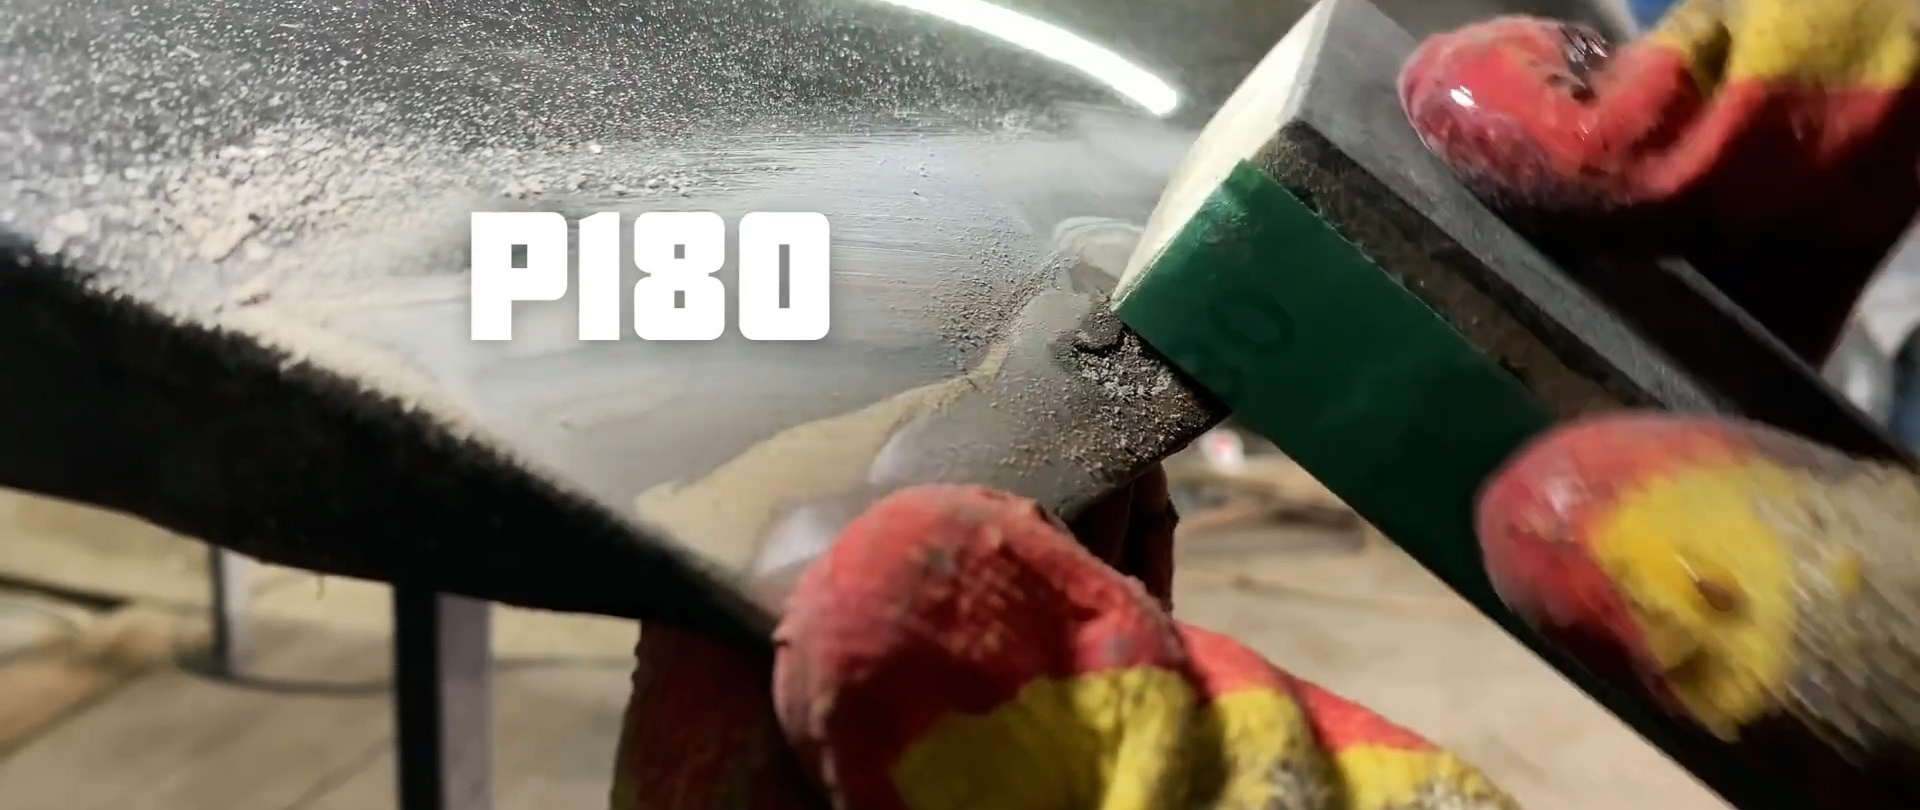
The surface of the created fiberglass should be sanded with P180 sandpaper to remove protruding fibers. Then the extended area is wiped from dust and degreased.
Next, you need to mix the putty and cover the fiberglass to smooth out roughness and transitions. It is applied repeatedly in thin layers, which will minimize future shrinkage and prevent dips under the paint in the repaired area. It is optimal to use putty with aluminum powder, since its linear expansion is approximately equal to steel.

The likelihood that it will crack is much lower.
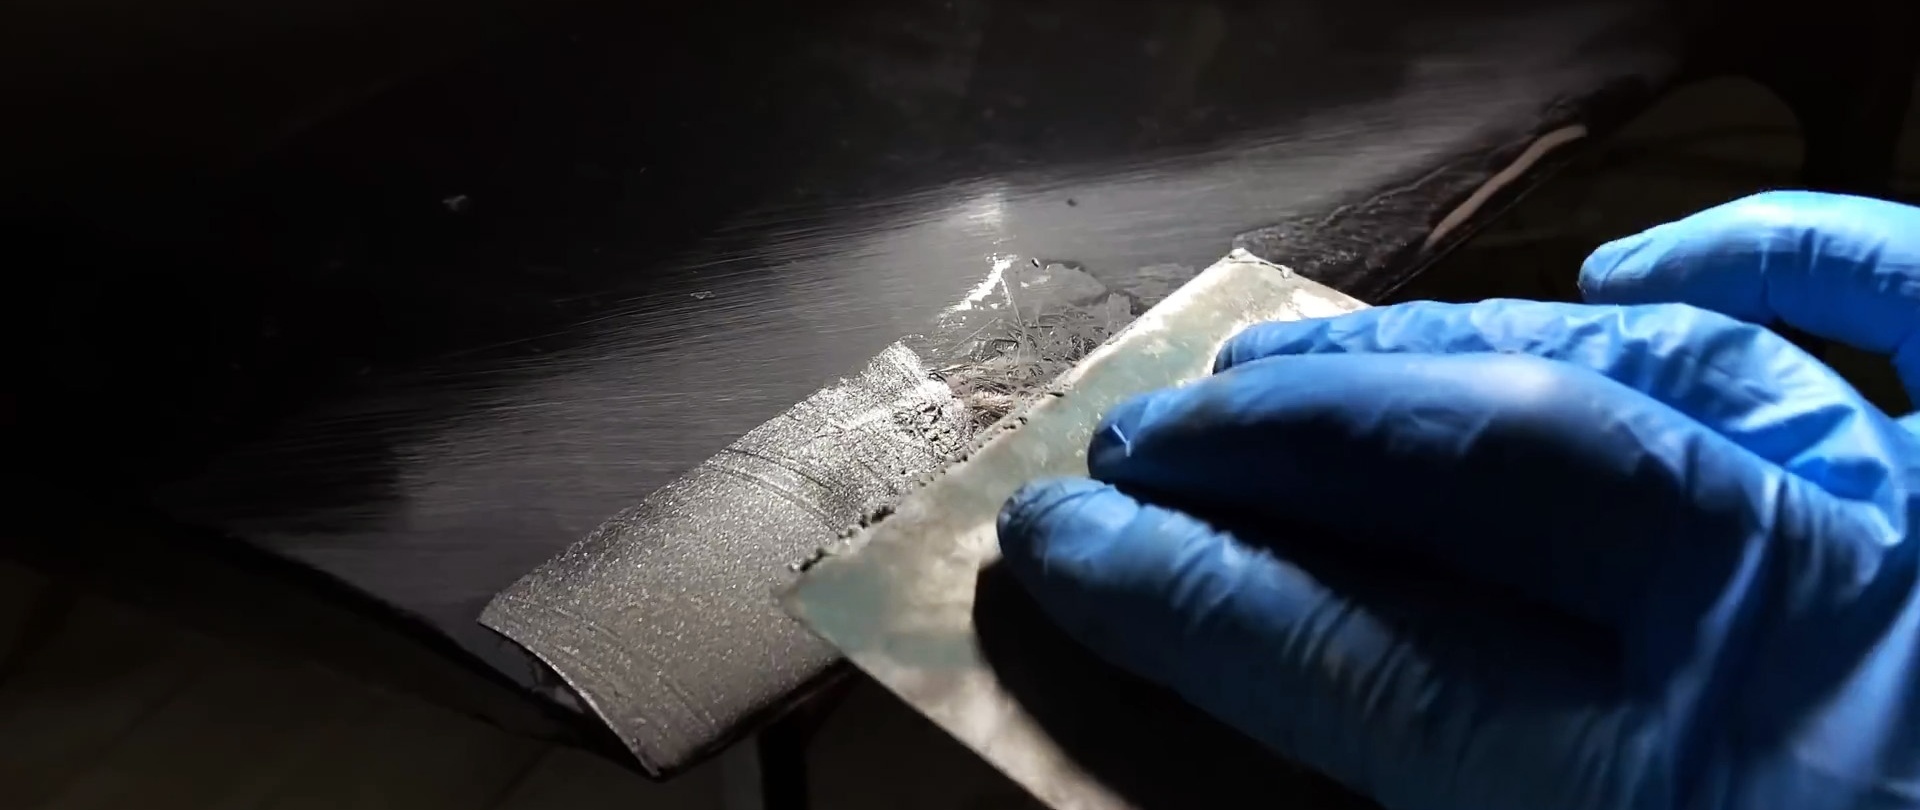
20 minutes after each layer the putty can be sanded. At first, a sandpaper of P150 grit is sufficient.Having removed gross errors, the last layer is sanded with a gradual decrease in sandpaper grain to P500.

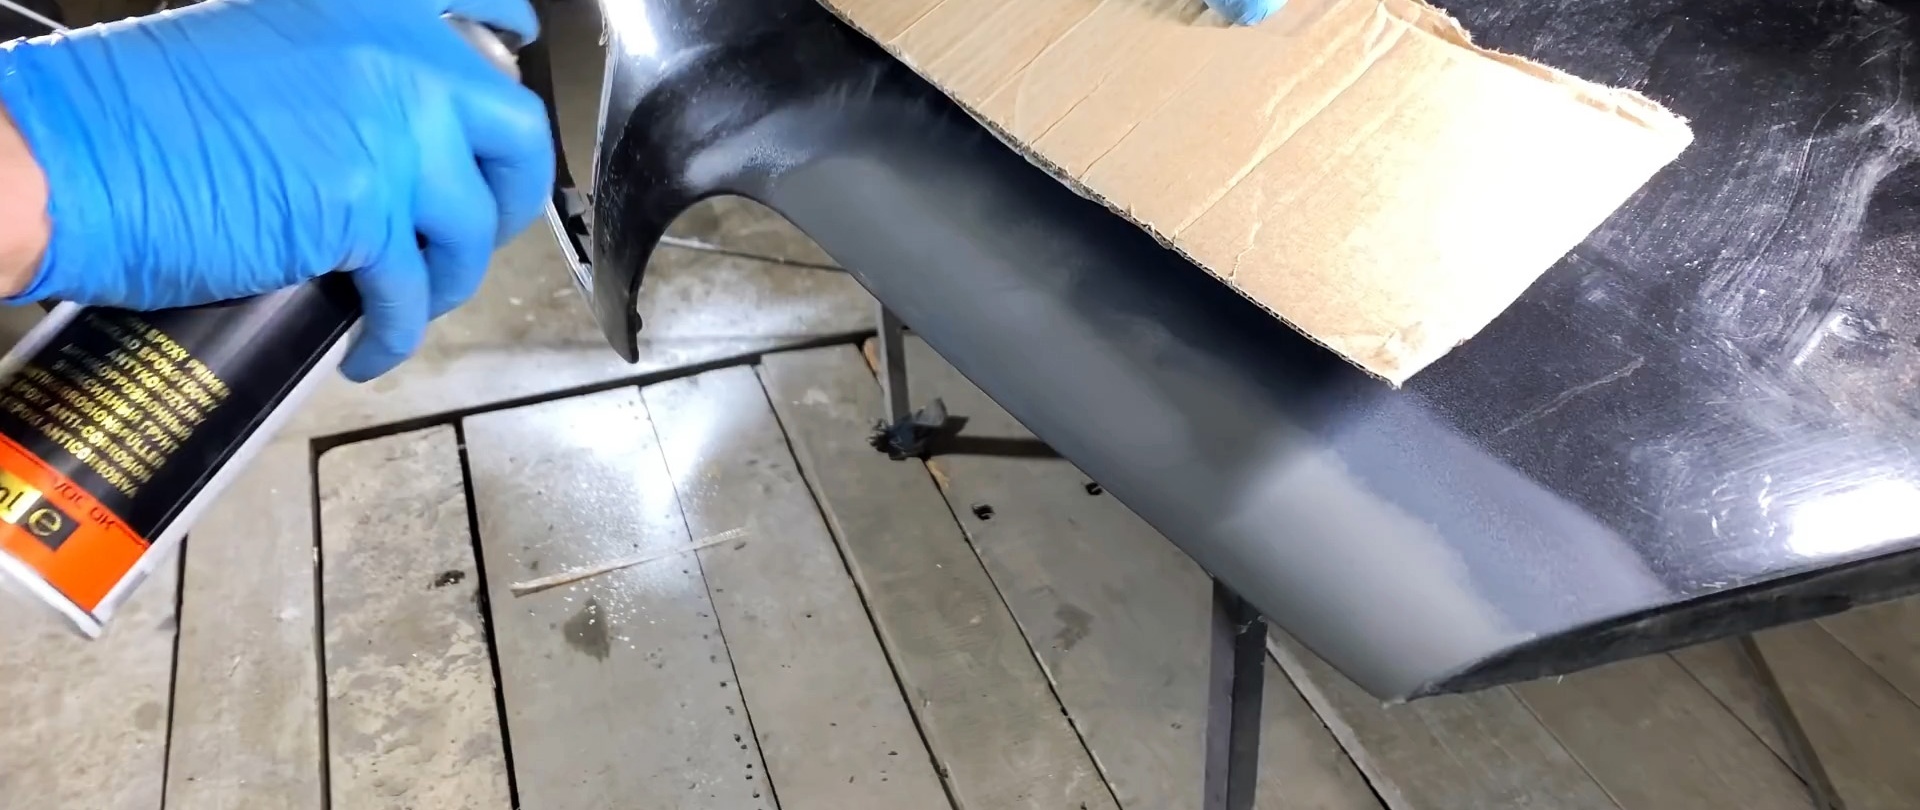
An anti-corrosion epoxy primer is applied to the ideally sanded and degreased putty. It can be used in a can. 3 layers of soil are enough. It only needs to be applied to the restored area; the rest of the surface can be covered with cardboard.
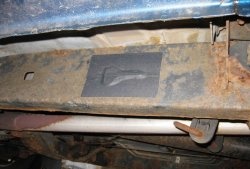
The surface from the inside of fiberglass does not need to be puttied. It is enough to sand it a little to remove the protruding fibers and leave a scratch on the paint. A regular cheap primer is applied on top, and body sealant is smeared.

If the hood is being repaired, it is better to paint it from the inside as well. You need to wait until the sealant hardens, and after a couple of hours apply paint in several layers directly onto it without using primer.

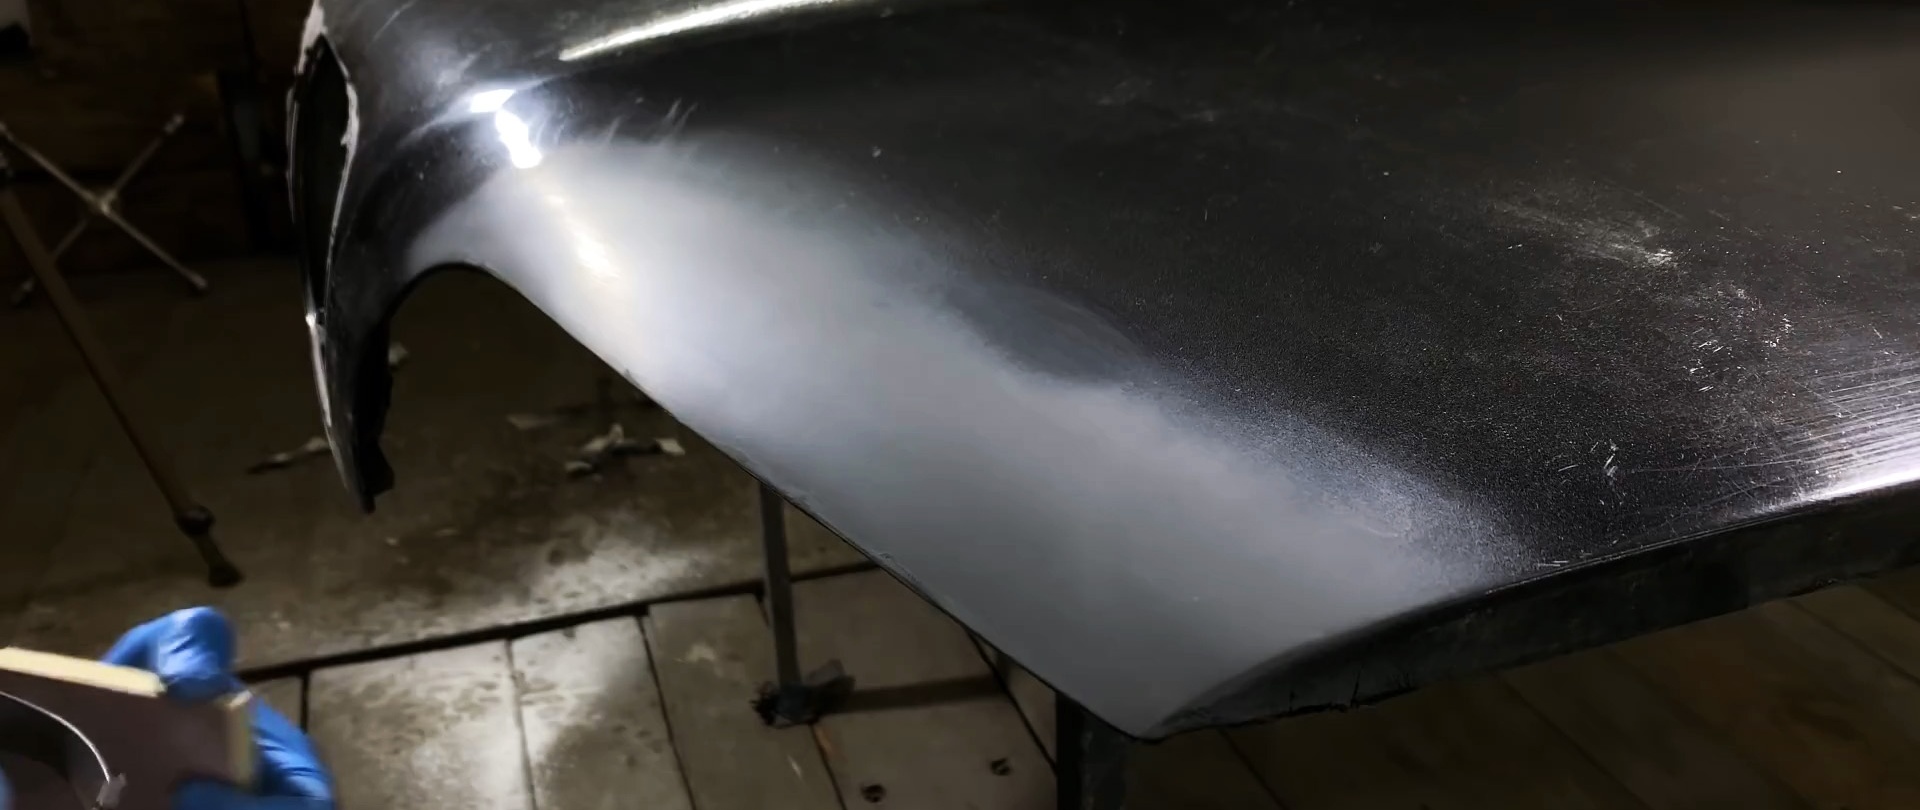
The front side of the epoxy primer should be matted using P500 sandpaper. It is important to make a smooth transition to the old paint. Then the new one will lie evenly over all surfaces, and nothing will stand out.
Next, take a soft sanding sponge P1200 and rub the old paint at a distance of at least 20 cm from the line of the restored area. Then everything is degreased.
Now we apply the paint strictly to the restored surfaces with epoxy primer, making a small grab of the old paintwork 5 cm wide. Three layers are enough, drying according to the instructions.
After the paint has dried, apply varnish in 2 layers. It can already be applied to the matte old layer of paintwork, but not further than it.

Finally, transition thinner is applied to the matte line and edges of the fresh varnish. It will dissolve the varnish and make it spread evenly. This will eliminate the need for polishing. Thus, if the touch-up paint is chosen to match, then everything will be just perfect and without polishing.

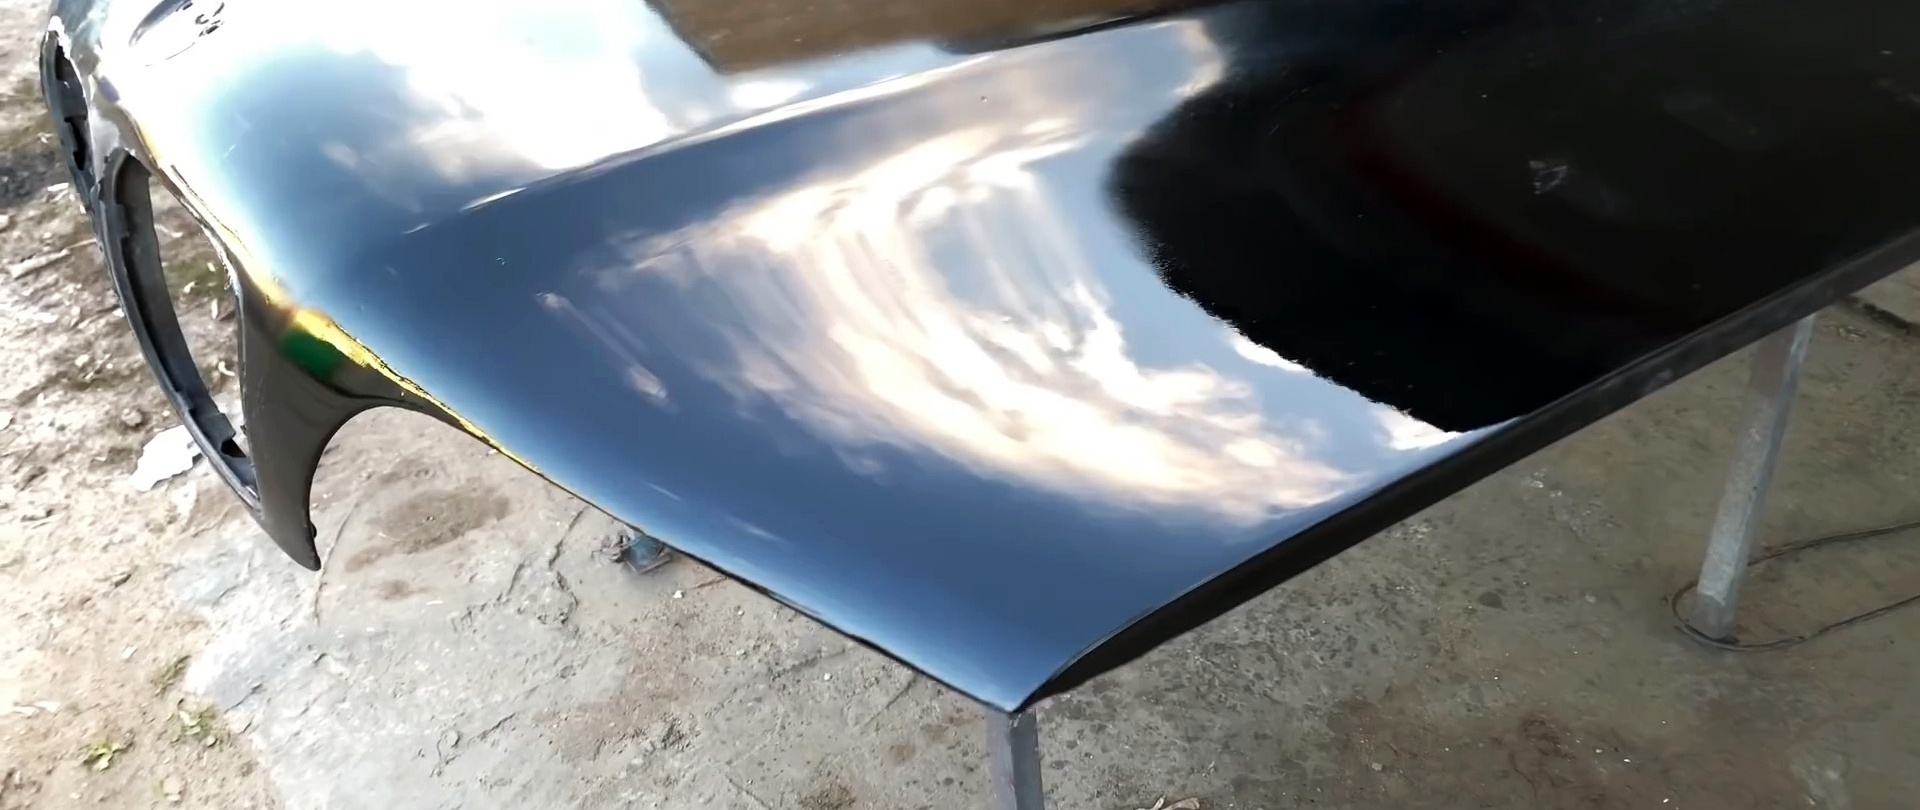
As a result, without welding and a spray gun, using only fiberglass, good putty and paint and varnish from a can, you can make a very high-quality and beautiful body cosmetic repair. The areas of through corrosion restored in this way can last for more than one season, so you can safely prepare the car for yourself and then drive it for many years.