Air purification in a carpentry workshop or a small stone processing workshop using industrial aspiration systems requires considerable investment. For a tiny production facility, garage or home workshop, ventilation can be done in a couple of hours, spending a couple of tens of dollars. Almost all materials and tools can be found on most woodworkers' shelves.

What you will need
For the project you need:- electric motor from a washing machine: power – 600 W with a capacitor, with shaft rotation speed – 1600 rpm;
- four sheets of plywood with dimensions 400×400 mm, thickness 19 mm;
- a pair of plywood sheets with dimensions 300×300 mm, thickness ~16 mm;
- plywood 6 mm thick;
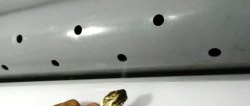
- rolled steel 0.35 mm thick with dimensions 120×1100 mm;
- several dozen metal screws;
- narrow masking tape;
- M5 or M6 bolts with wings and washers.
- grinder (angle grinder) with an emery grinding wheel with a grain size of 80-100 grit;
- pencil, ruler and compass;
- shears for cutting sheet metal;
- drill or screwdriver with metal drills and a bit for self-tapping screws;
- manual wood milling machine, preferably built into the table;
- straight groove cutter;
- sanding paper;
- wooden or rubber mallet (mallet);
- wood glue and clamps;
- a circular saw.
The process of making an exhaust fan from available materials
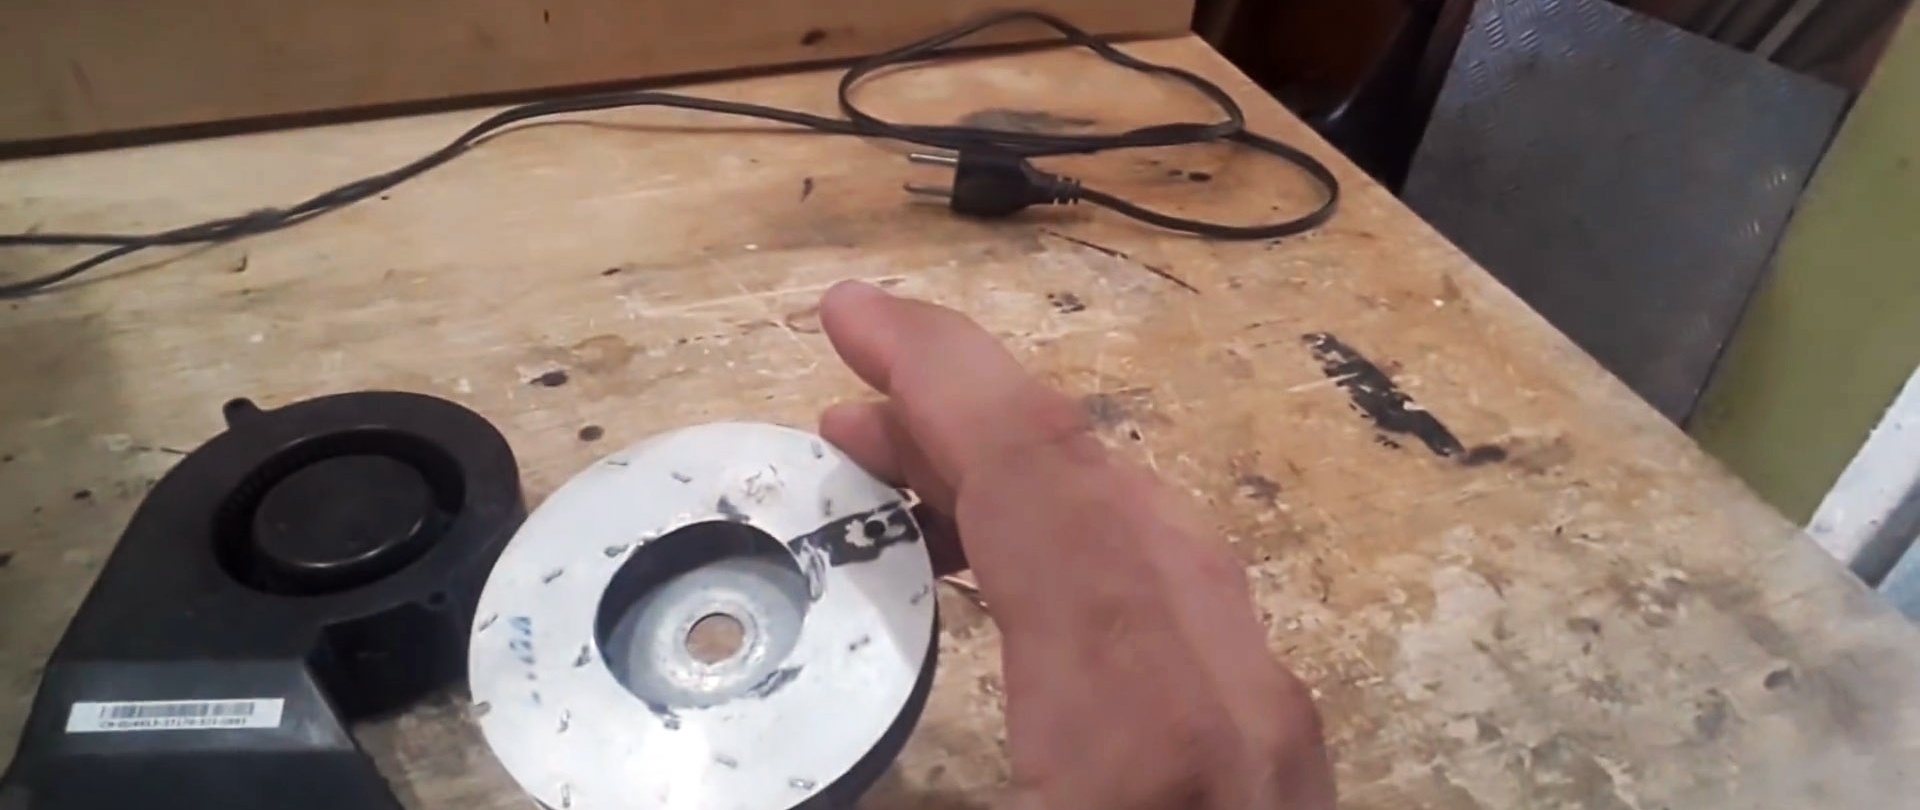
The motor shaft is freed from nuts, pulleys, plugs, flanges and other accessories. A circle with a diameter of 250 mm is cut from plywood measuring 400x400 mm using a manual wood router using a universal milling table.

A hole is made inside with a diameter equal to the diameter of the engine impeller (50 mm).
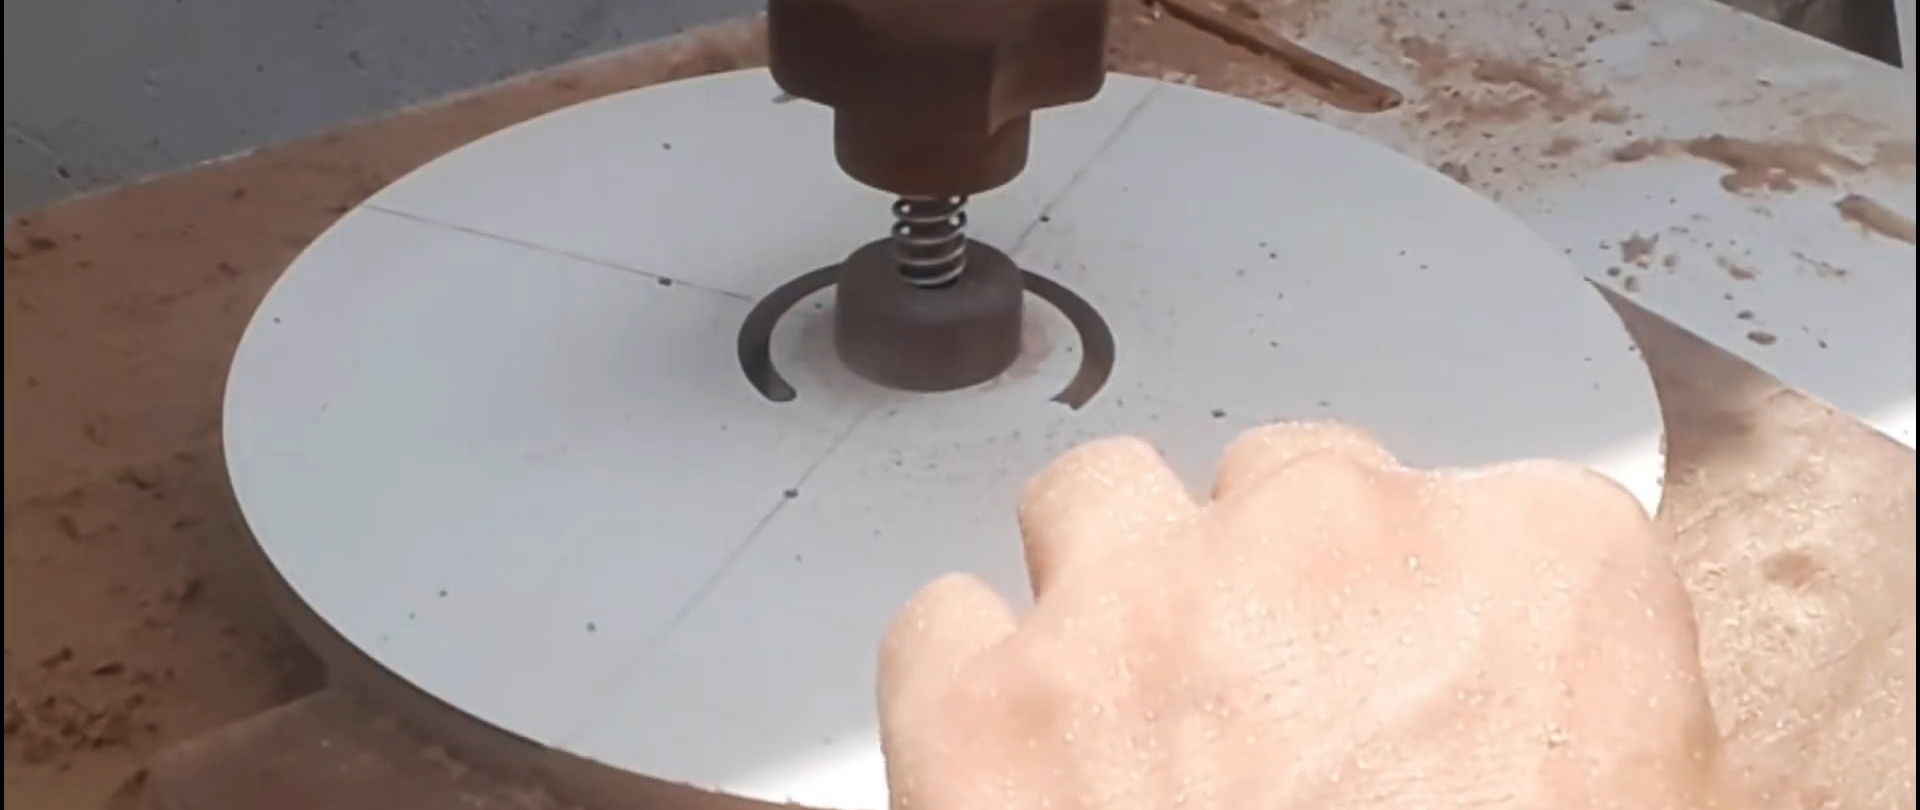
A circle with a diameter 1-2 mm smaller than the hole is cut out of the scraps so that it fits freely into it.

Holes are drilled for mounting the electric motor, then drilled a couple of millimeters with a countersink or a thick drill to hide the bolt heads. The motor is screwed to the plywood.

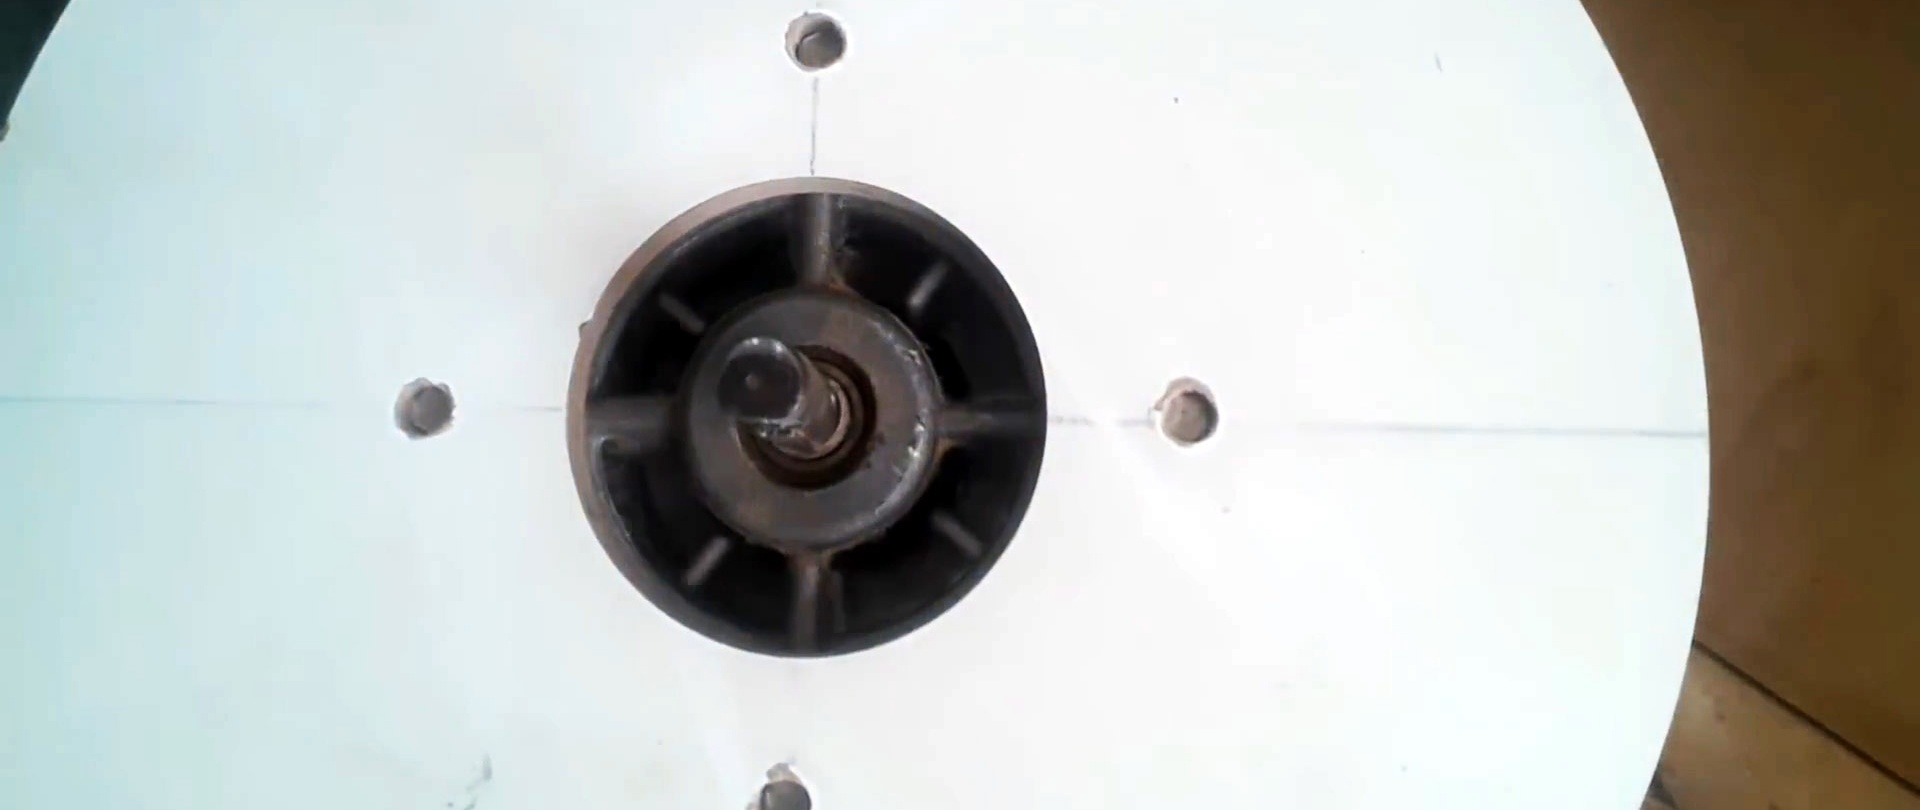
A smaller cylinder of such a height is glued to the circle that they together cover the motor shaft.
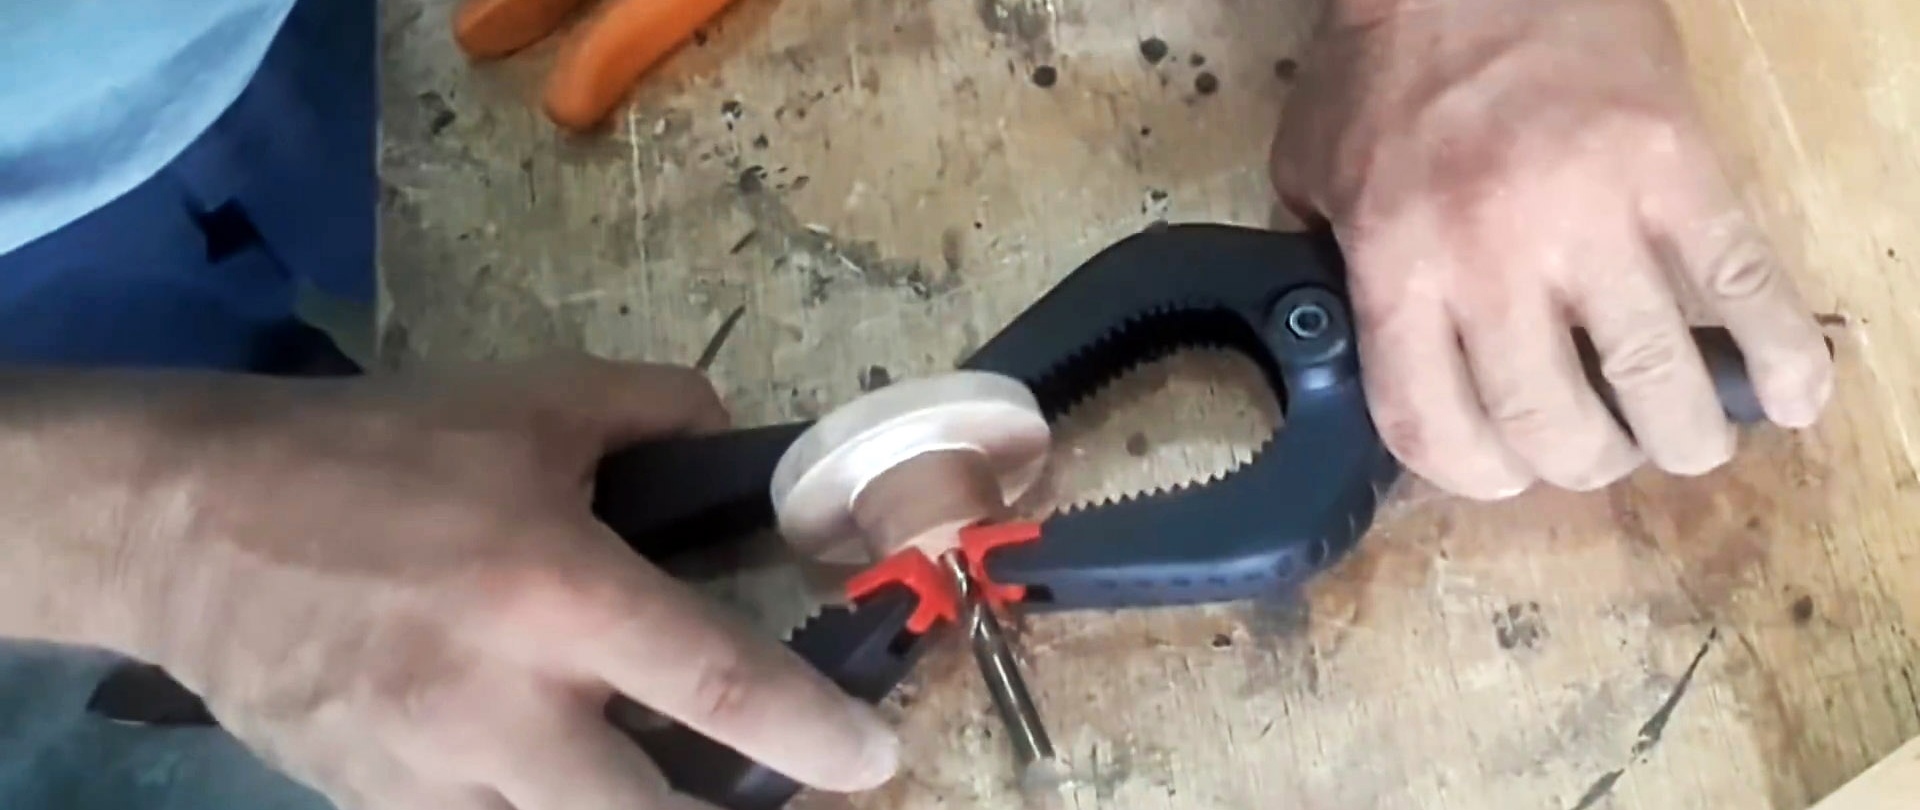
A hole is drilled inside with a diameter equal to the thickness of the shaft. The structure is carefully pressed onto the shaft through a wooden spacer so as not to split or damage.
Two identical “guitars” are cut out from the remains of plywood and a second sheet - the future body of the air purifier.

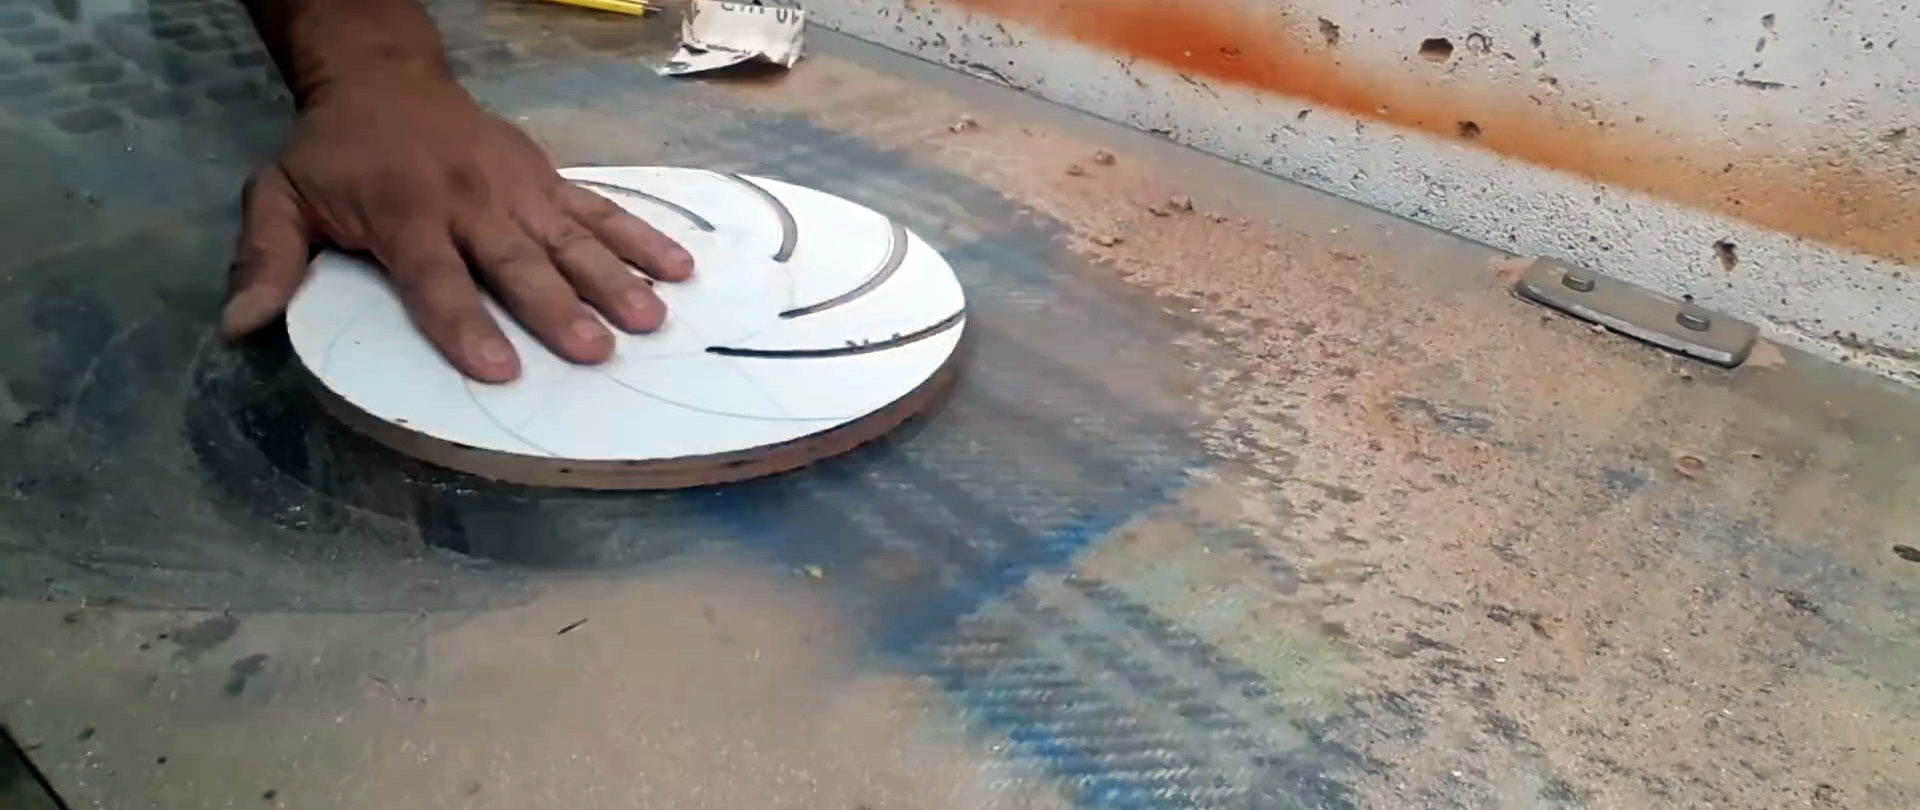
Two circles are cut out of thin sheets of plywood with a diameter slightly smaller than before - about 230 mm.

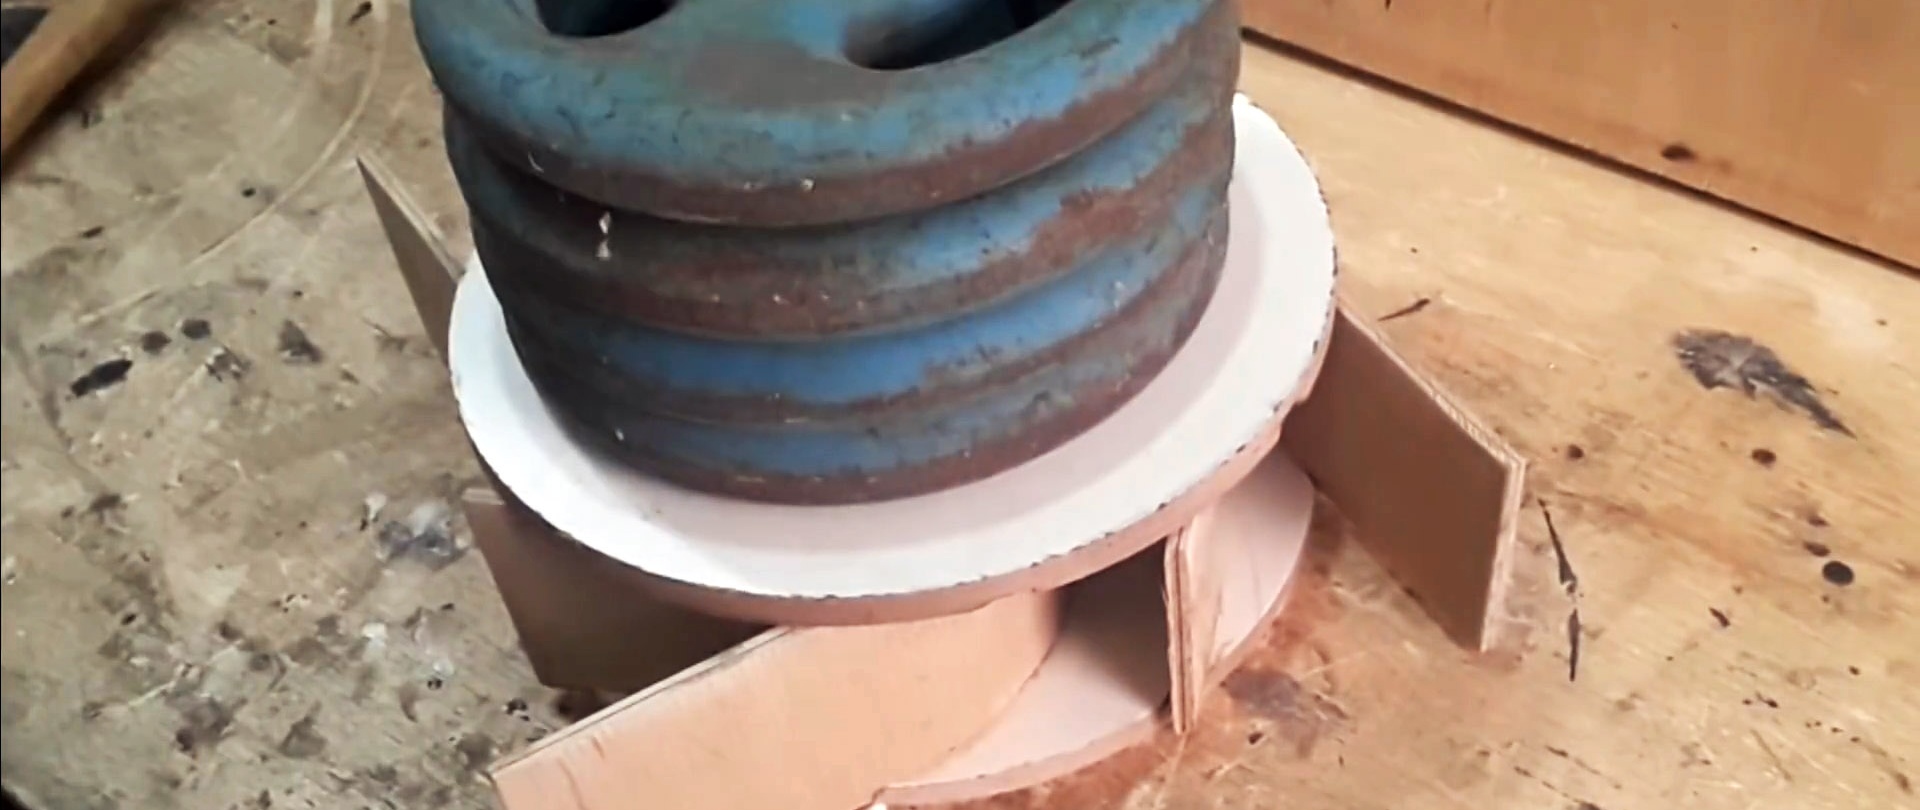
On one of them, blind radial grooves are milled using a 6 mm milling cutter with a depth of 3-5 mm. In this case, 8 pieces.
The result is a turbine similar to that used in a vacuum cleaner.
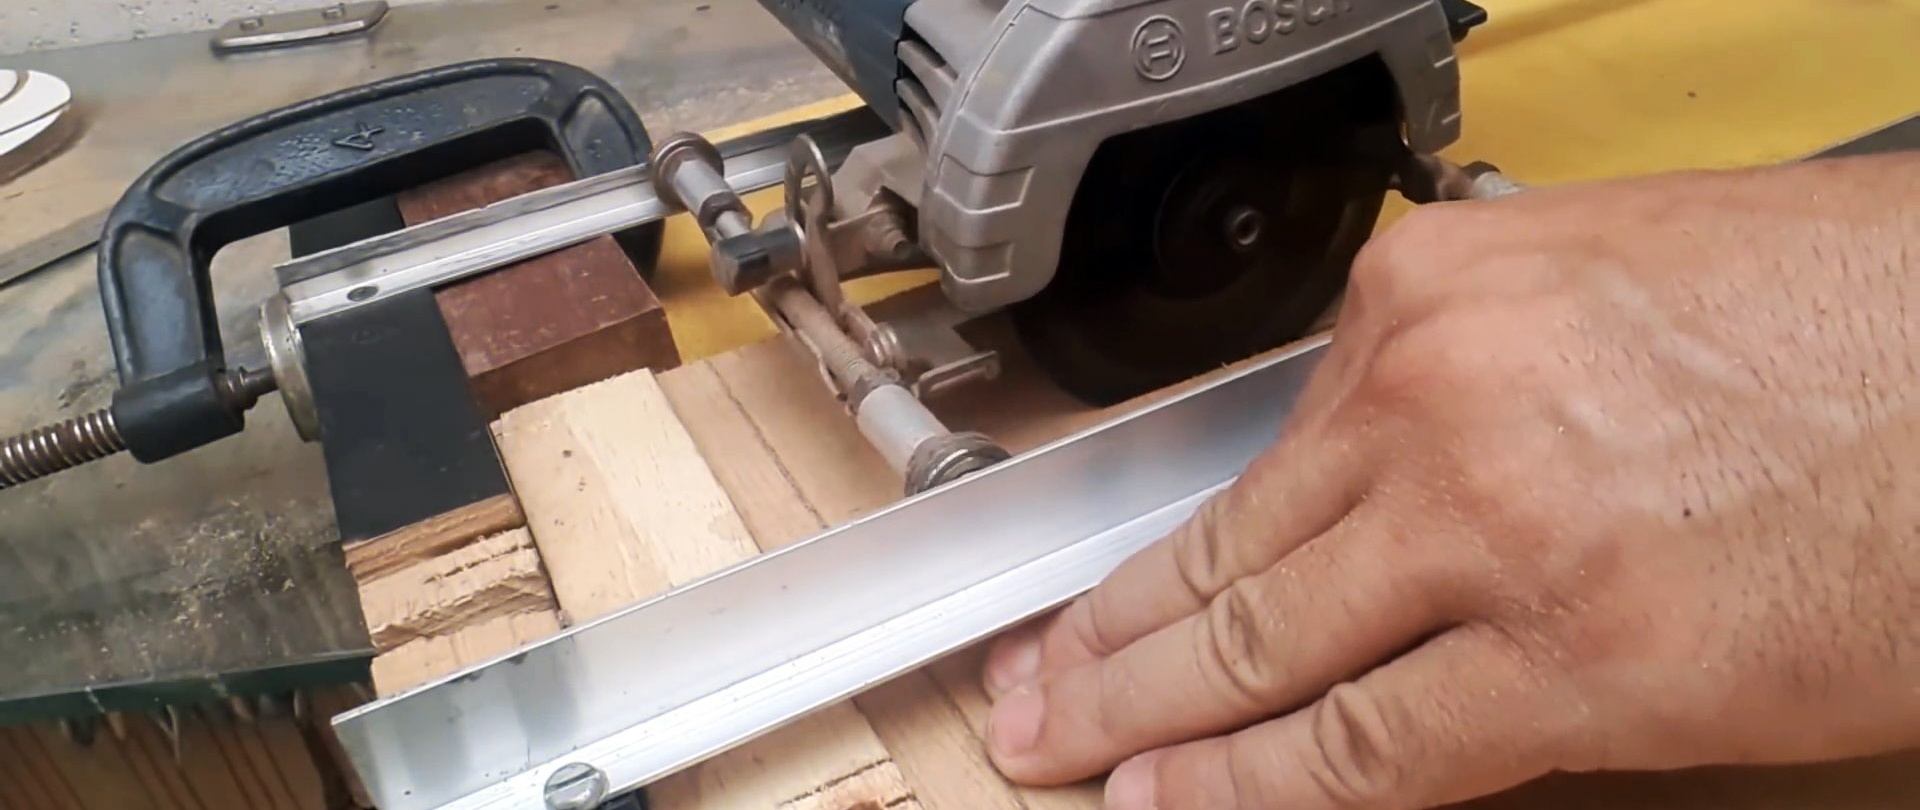
Using a hand or stationary circular saw, rectangles are cut from thin plywood.Their length exceeds the length of the grooves by a couple of millimeters, their width is 58 mm.
The ribs between the side edges, with which the parts are inserted into the grooves, are ground at an angle. These slopes will make it easier to install the blades into the grooves. When sanding, you need to be careful not to get your fingers under the sandpaper. The grooves are lubricated with wood glue, and all the parts are pressed into them.
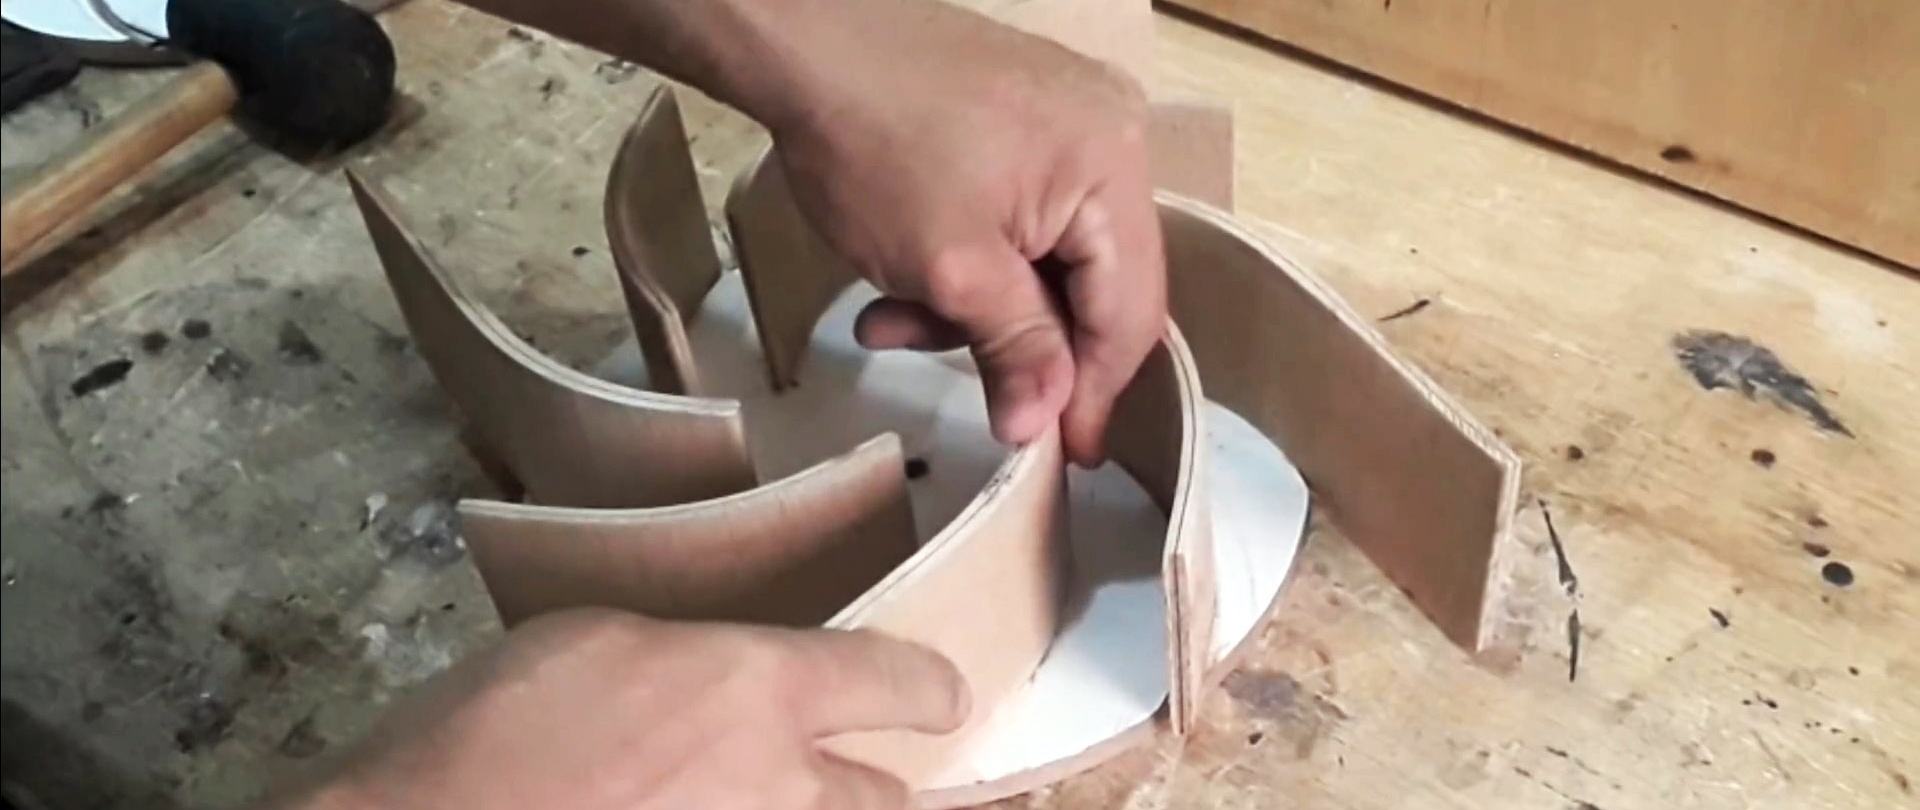
The second circle is placed coaxially with the lower one, and the structure is pressed down with a weight for gluing.
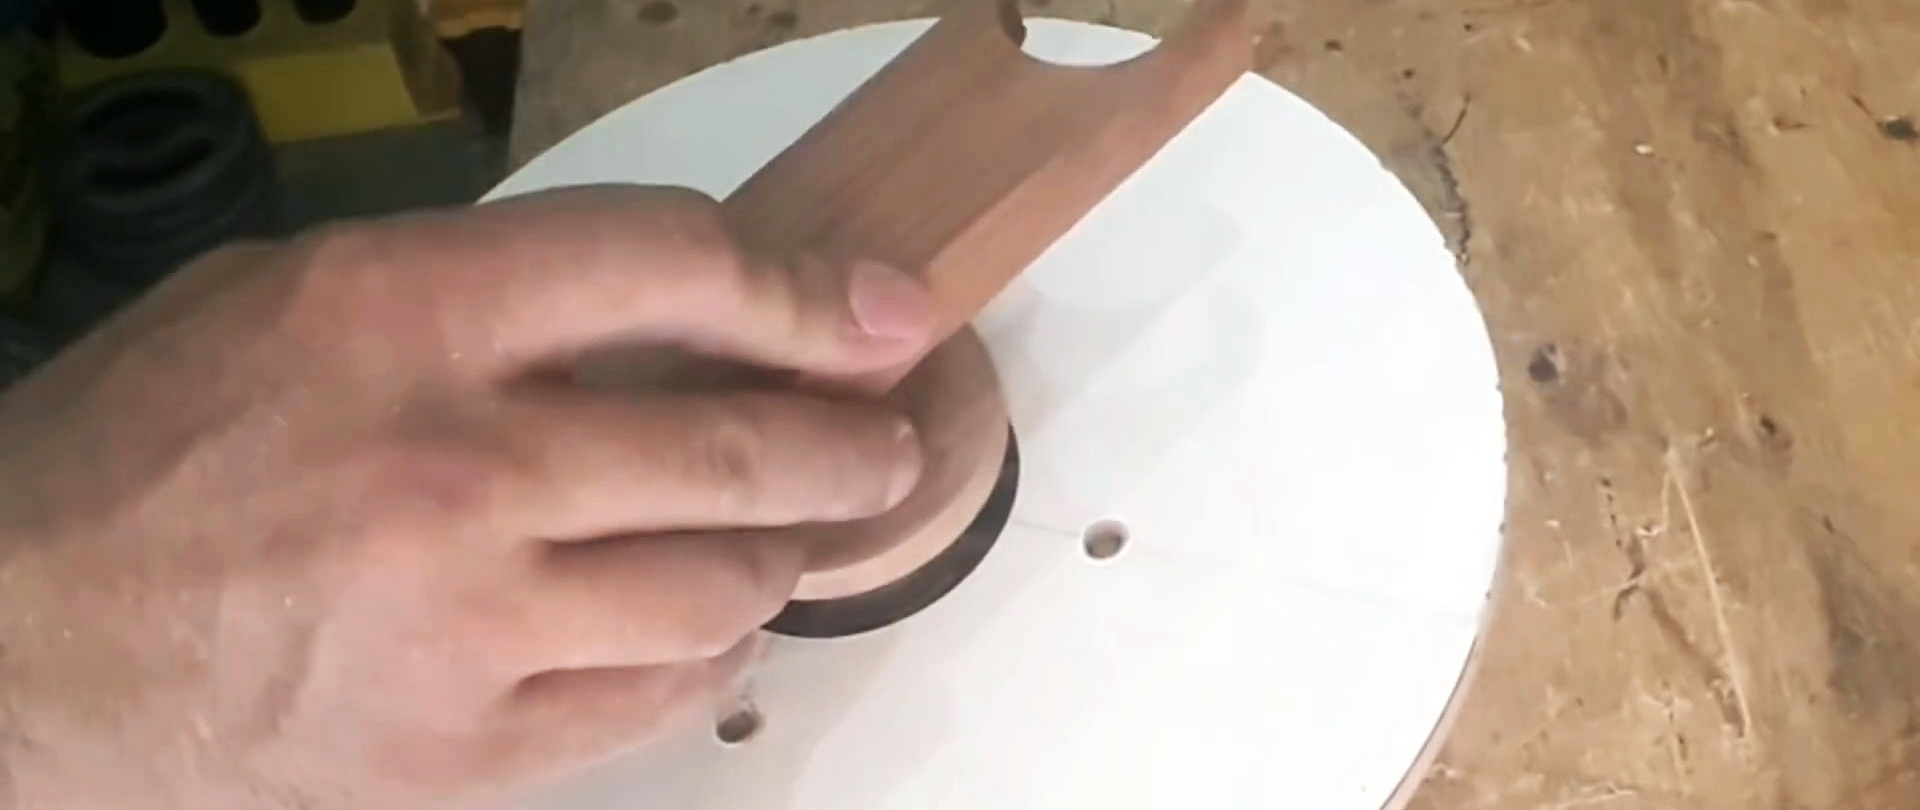
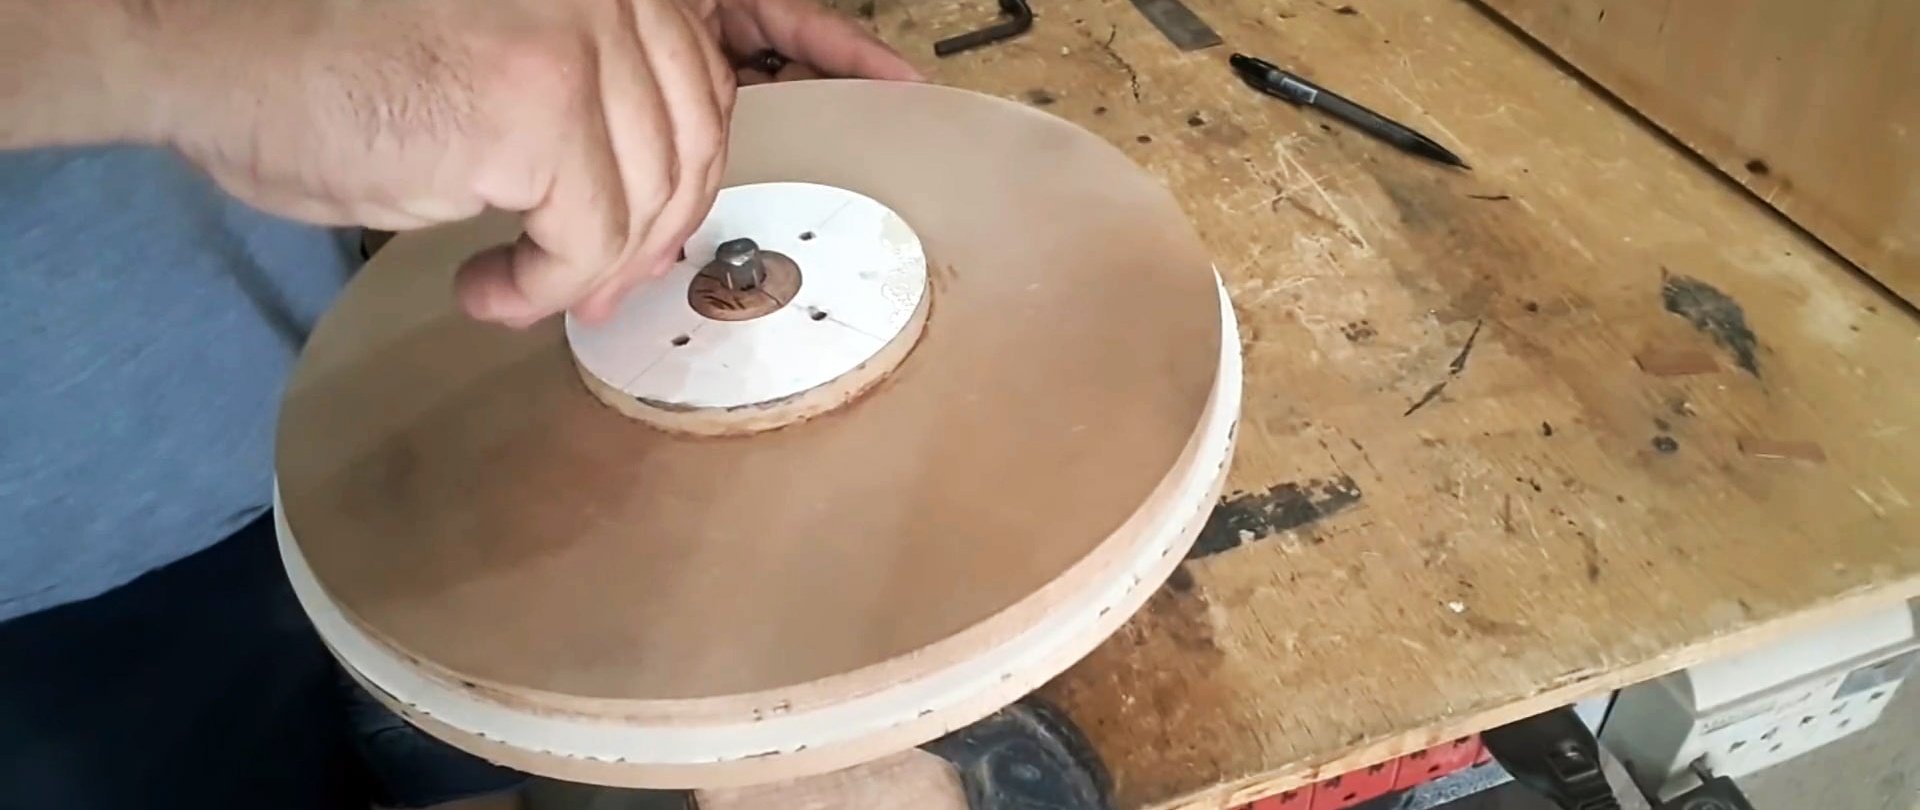
After drying, an air intake with a radius of 43 mm is drilled inside the turbine base. In the center of the second circle with a diameter of 230 mm, a hole is drilled with a crown with a diameter equal to the thickness of the smaller cylinder on the engine shaft.

The structure is put on the engine and screwed with screws through pre-drilled holes.
The motor starts and the plywood is leveled using sandpaper or a grinder with it as an attachment, taking precautions. The upper circle is glued to the blades. The structure is secured with clamps. An angle grinder with an emery wheel or a grinder adapts to it.
If the blades protrude strongly beyond the circles, they need to be carefully trimmed with a handsaw with a margin of a couple of millimeters.
The motor is run with a cypher tool to align the edges and center the turbine to minimize vibration.

The same is done to level the top surface. A hole is made in the upper “guitar” equal to the diameter of the circle with the electric motor, so that it fits tightly. An air intake with a radius of 43 mm is cut out in the lower “guitar”.

A strip 110 mm high is cut from a piece of sheet steel, equal in circumference to the “guitar” with a margin.
The width is bent to the shown length.

At a distance of 10-15 mm from the edge along the length of the sheet, the places where the screws are screwed in are cored every 40-50 mm.

They are projected onto the opposite edge of the strip using a square or its equivalent. To avoid gaps along the perimeter of contact between the metal and the plywood, masking tape is glued. The metal is screwed to the bottom of the base.

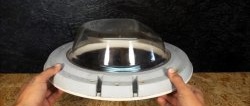
From the bottom side of the cover, 4 holes with a diameter of 5-6 mm are drilled at a distance of ~ 7-8 mm from the edge, and M5 or M6 bolts are screwed into them. Using pieces of wood 81 mm high, the lid is installed in place.
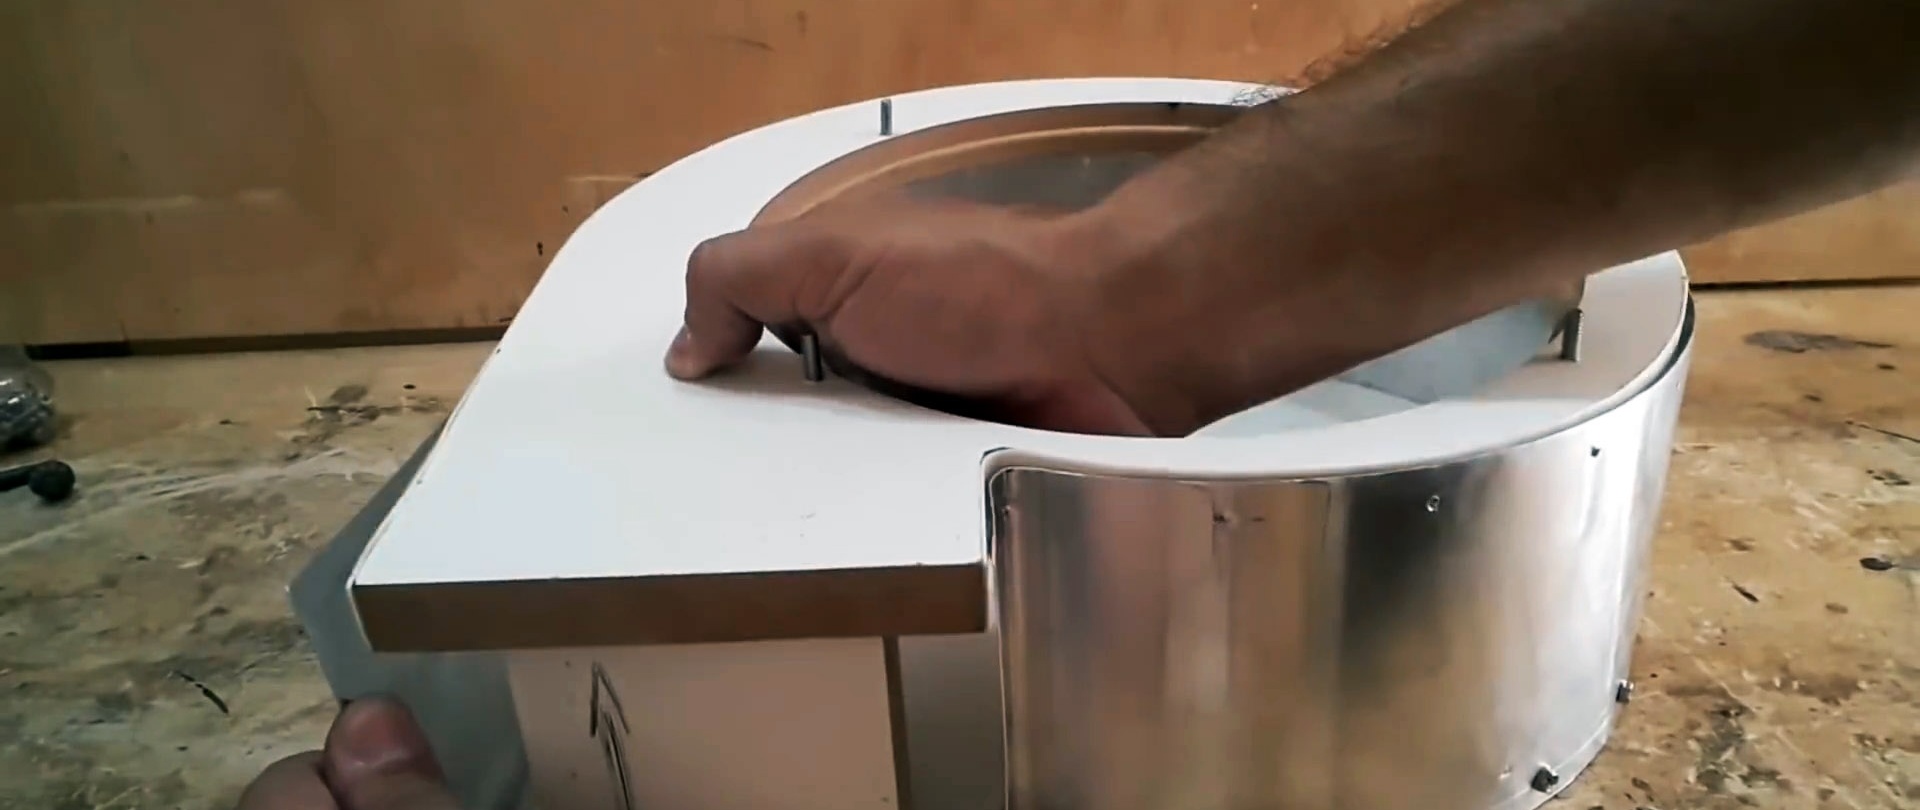
Then it is screwed with metal screws. Excess metal is cut off.

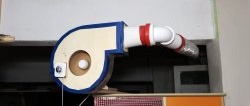
The block with the engine is inserted into place. Washers are put on the bolts and wings are screwed on to secure the block inside the device. The design can be tested. After a successful start, connect to the air duct to remove dirty air and the tool through adapters.
Don’t worry if the device has to be disassembled a couple of times to apply a second layer of sealant between the plywood and metal and additional sanding to eliminate vibration. It is advisable to make a protective casing for the engine from wood or sheet steel, and insulate its contacts before the first start-up.