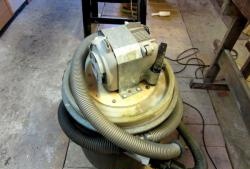
When working in a woodworking workshop, it is not always possible to prevent the appearance of suspended matter in the air by connecting a construction vacuum cleaner to the machines. It draws in most of the shavings, but a lot of dust remains flying and then gets into the lungs. To combat it, you just need to organize a quick, powerful removal of dirty air from the workshop to the street in order to organize an influx of clean air. You can do this by installing a DIY fan.
Materials:
- Plywood 10 mm;
- electric motor 220V 65W;
- Fiberboard;
- tin or thin sheet aluminum;
- self-tapping screws
Fan manufacturing process
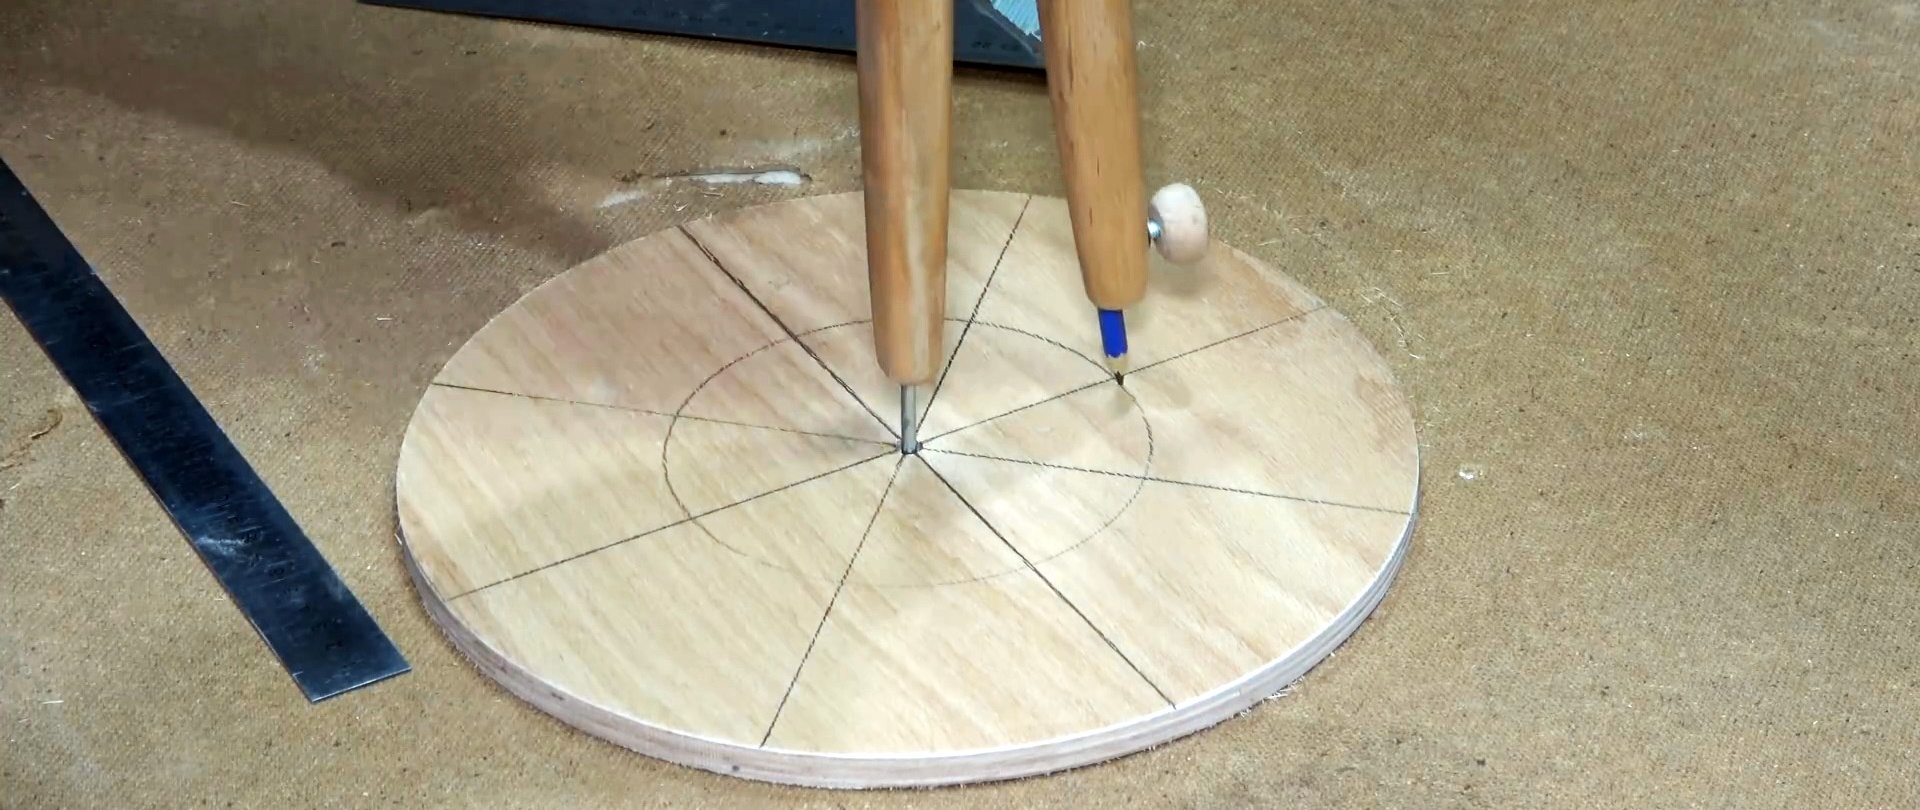
To make a fan impeller, a circle with a diameter of 250 mm is cut out of 10 mm plywood.


It marks the center, then divides it into 8 equal sectors. A circle with a diameter of 140 mm is drawn on the disk using a compass.
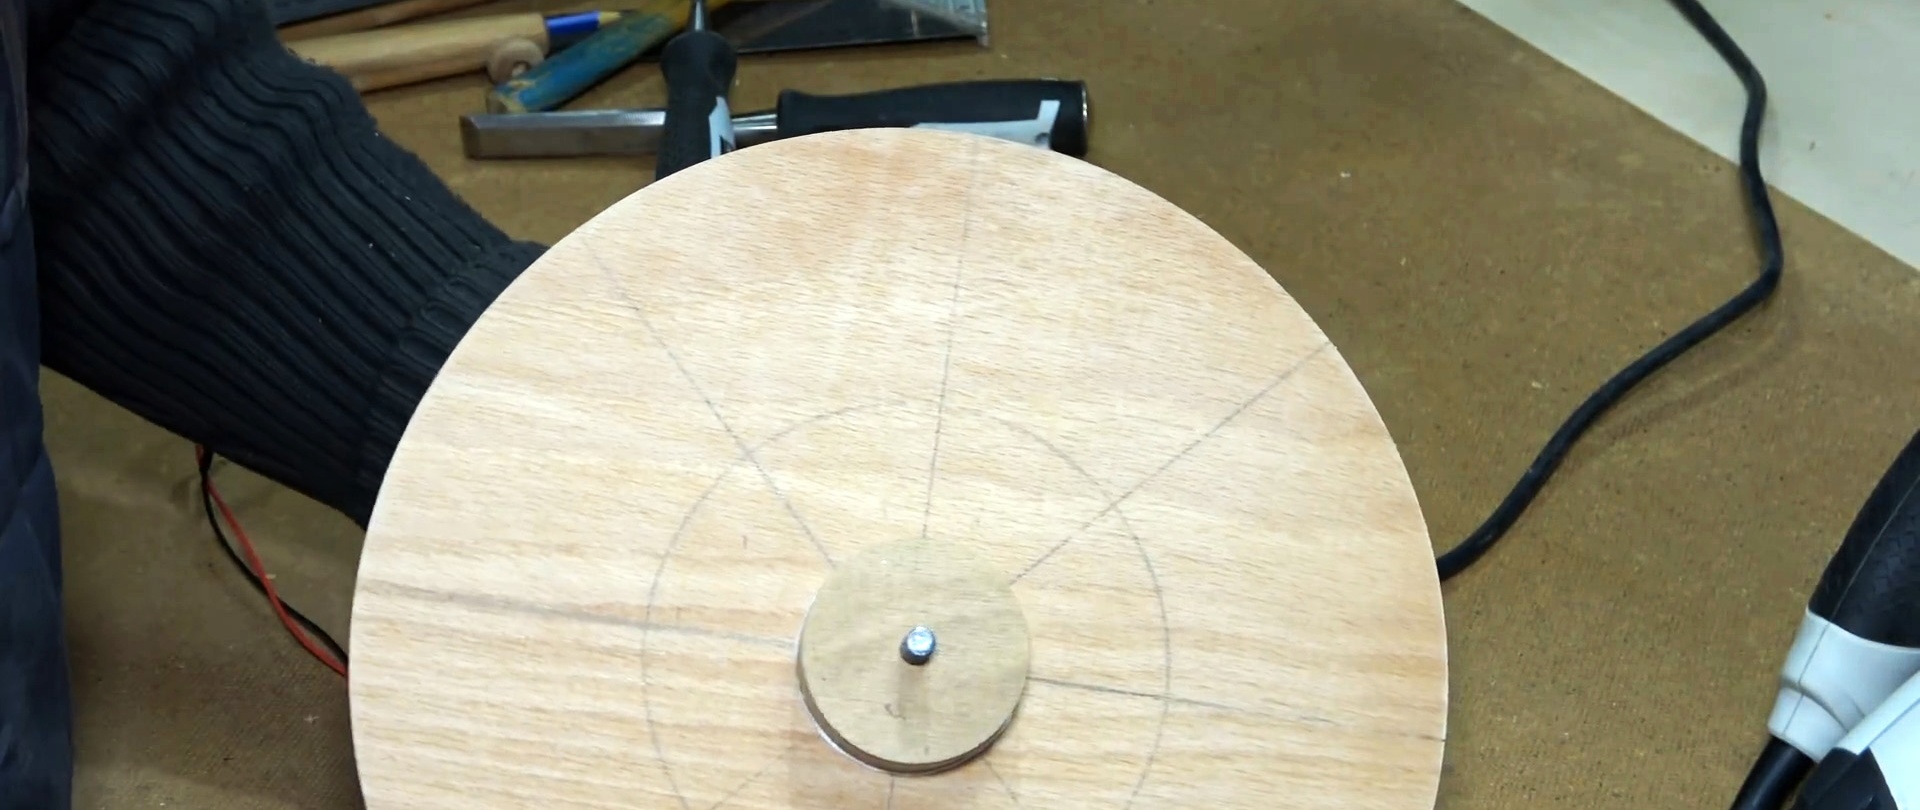
The disk is drilled in the center to match the diameter of the shaft of the existing motor. On one side, use a chisel to select a small groove in it for the locking pin on the shaft.

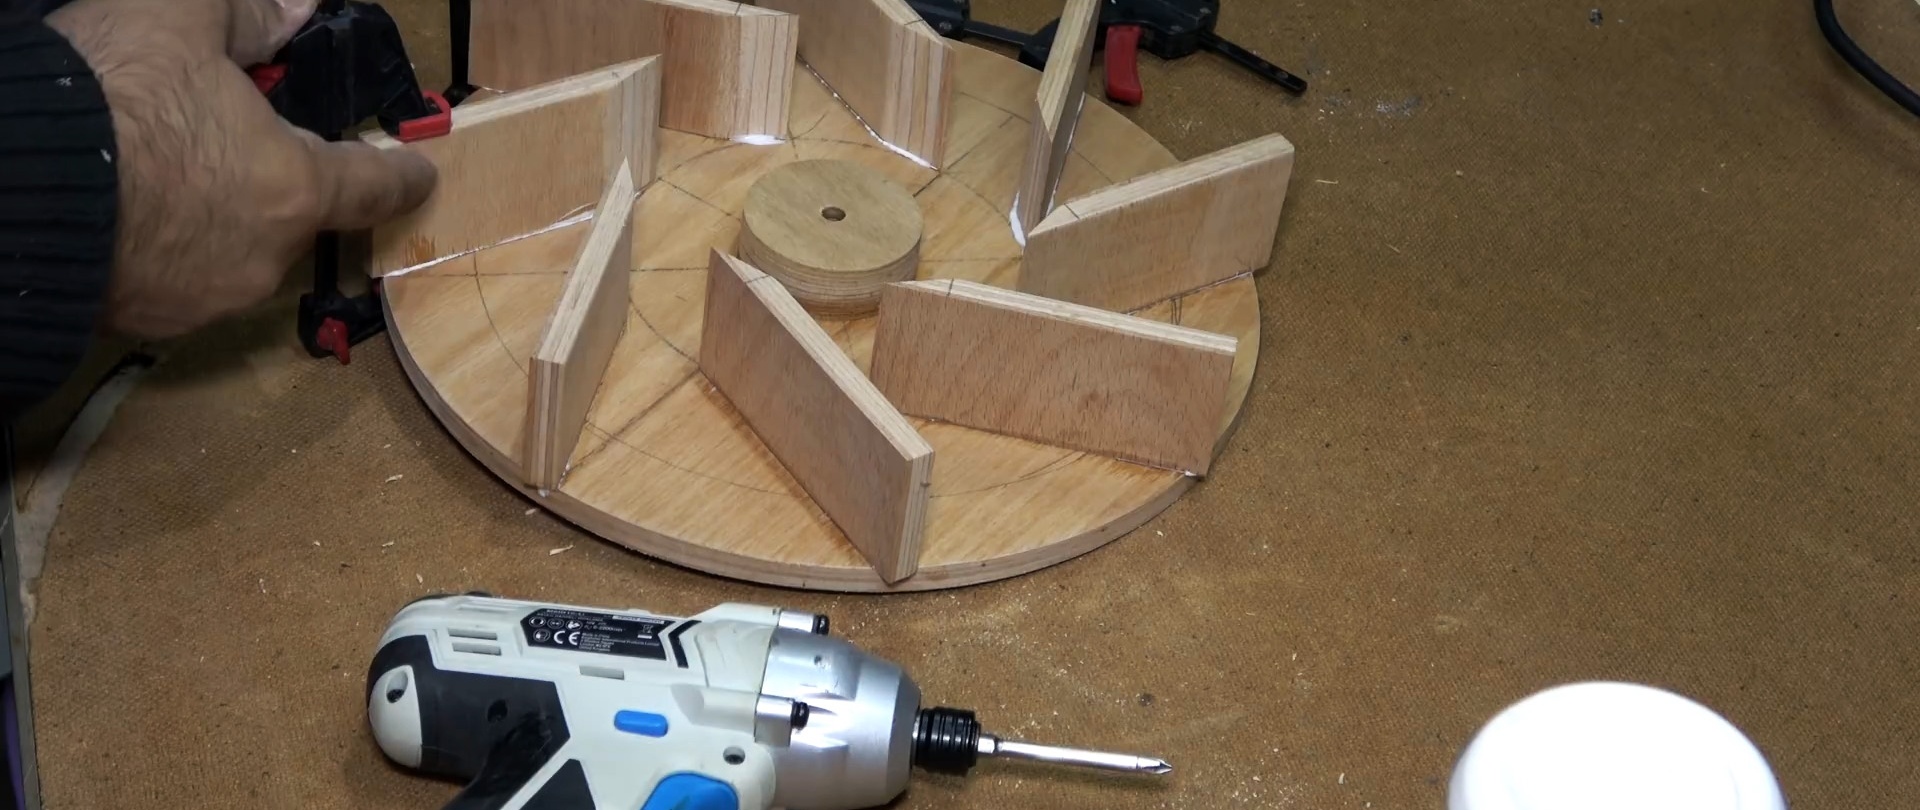
Use a 54 mm core drill to cut out another disc from the plywood.A large circle is placed on the motor shaft close to the locking pin so that it fits into the groove. Then a smaller disk is glued in, and the whole thing is tightened with a nut.

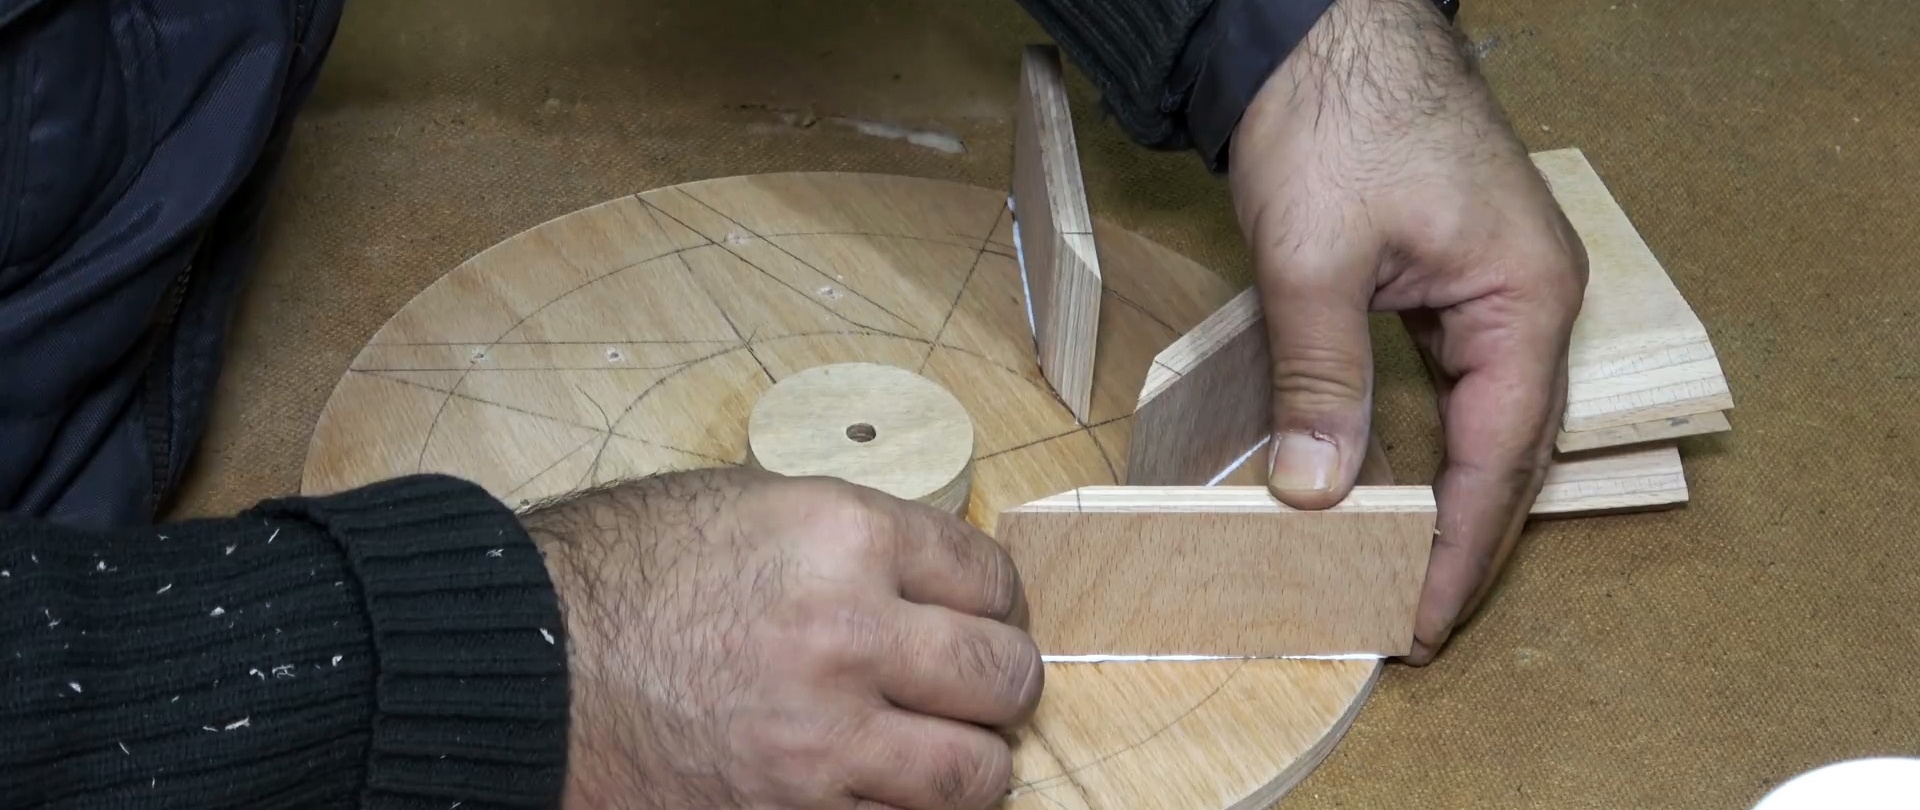
Also, from 10 mm plywood, you need to cut 8 blanks measuring 79x50 mm. A transverse line is drawn on them 20 mm from one edge. Then you need to cut the workpieces diagonally to it to get a pointed end.
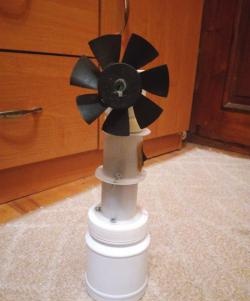
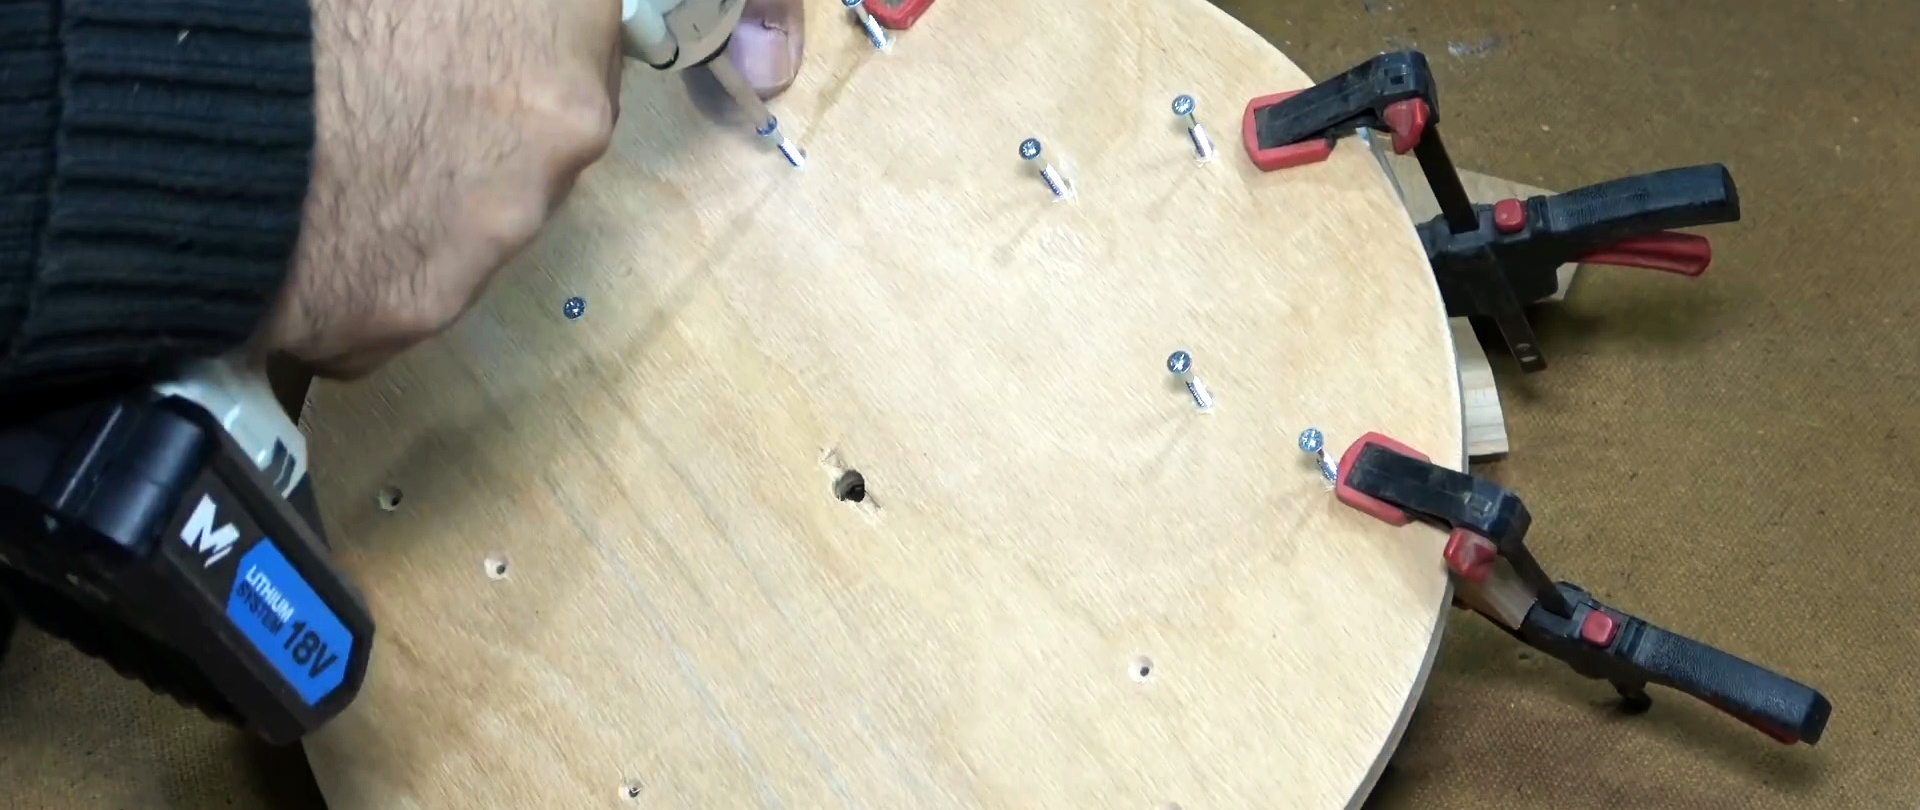
The prepared blades are secured to the impeller disk using glue and self-tapping screws according to the sector markings. The part protruding beyond the circle must be cut off.
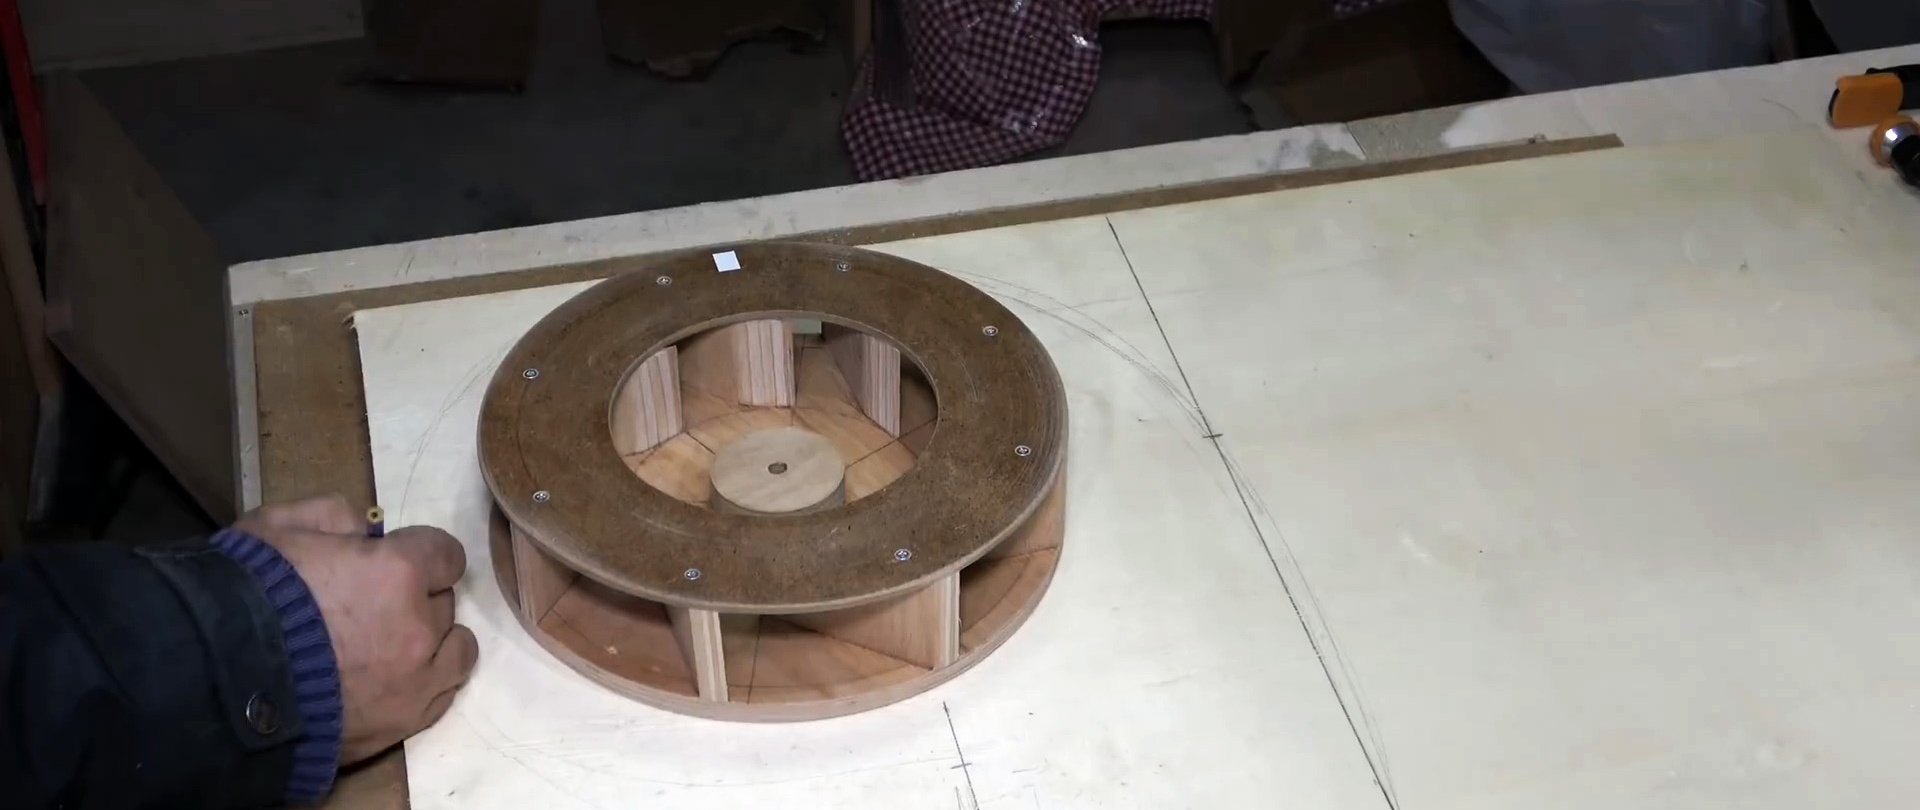
From fiberboard you need to cut a circle with a diameter of 250 mm with a hole in the center of 140 mm.

This blank is screwed to the impeller blades.

Then 2 sheets of plywood are folded together and temporarily twisted at the corners with self-tapping screws. After this, 2 halves of the snail body are cut out of them at a time. These parts must be larger than the size of the impeller in order for it to fit inside.
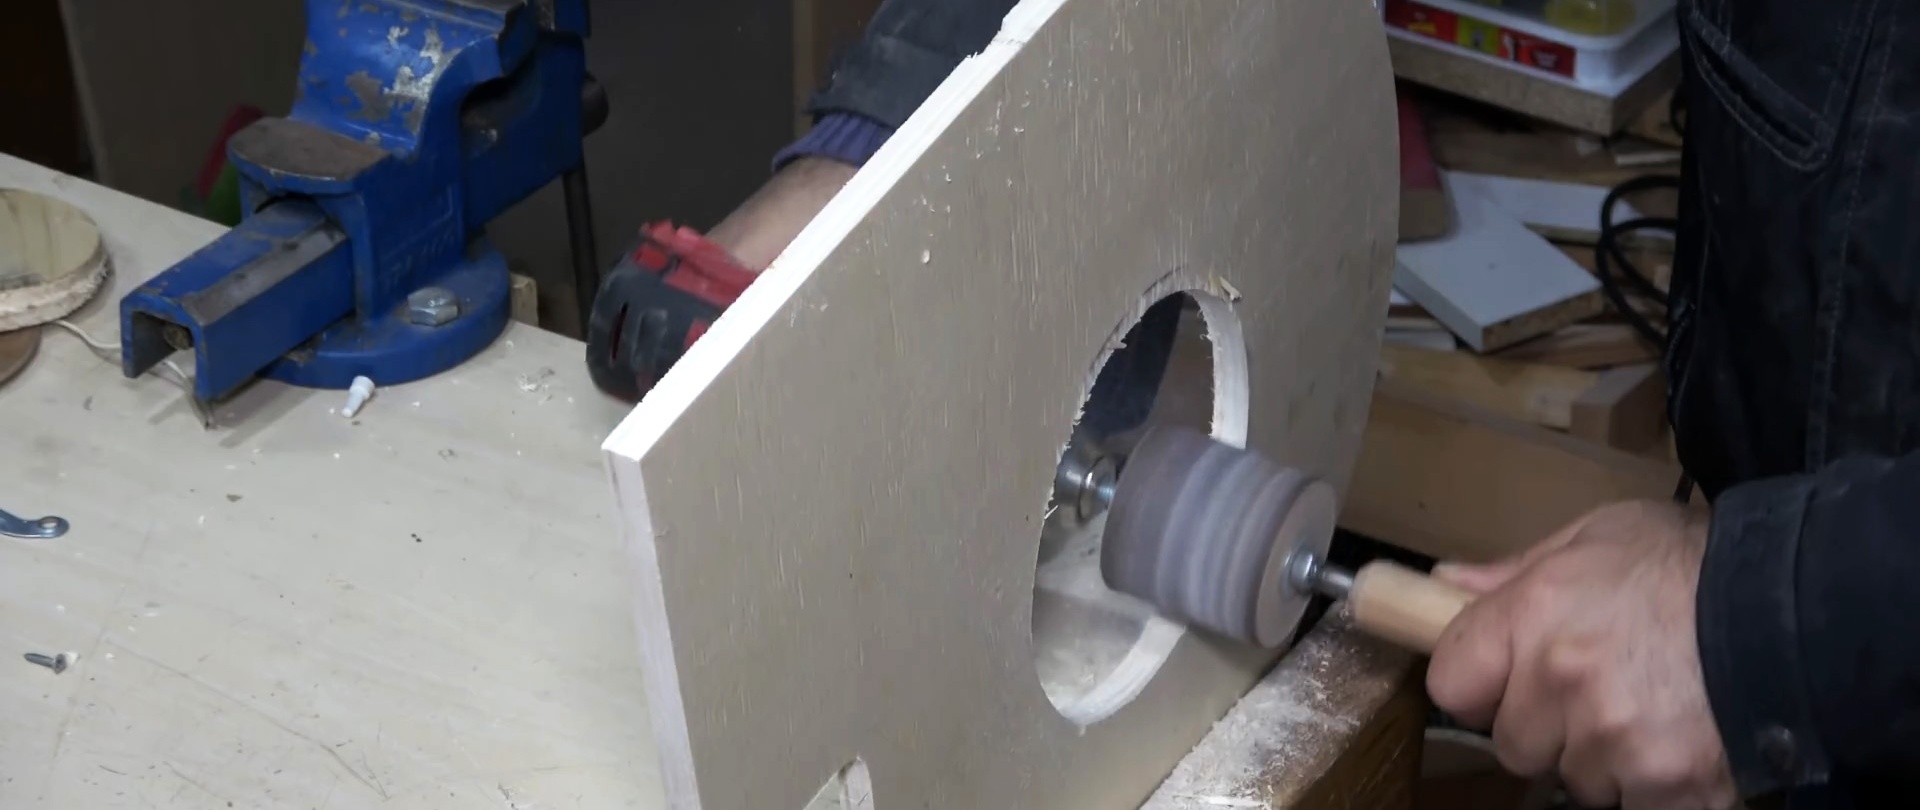
In one half of the snail you need to cut a hole with a diameter of 140 mm, like on an impeller. But in the center of the second part only a hole is made for the motor shaft. A 95mm wide strip is then cut from the sheet metal to join the halves together to form the body. First, it is screwed to a part with a small hole. The joint between them is glued with hot glue.


An L-shaped bracket for mounting the engine is assembled from two strips of plywood and jibs. If the latter has a configuration as in the example, then in order to screw it on you will also need to cut out the crosspiece. Then the motor is installed on the bracket.


The bracket with the motor is screwed to the half of the volute with metal sides. Next, the impeller is installed. Several spacers are placed on it to create gaps, and then the second half of the snail with a 140 mm hole is screwed to the sides.
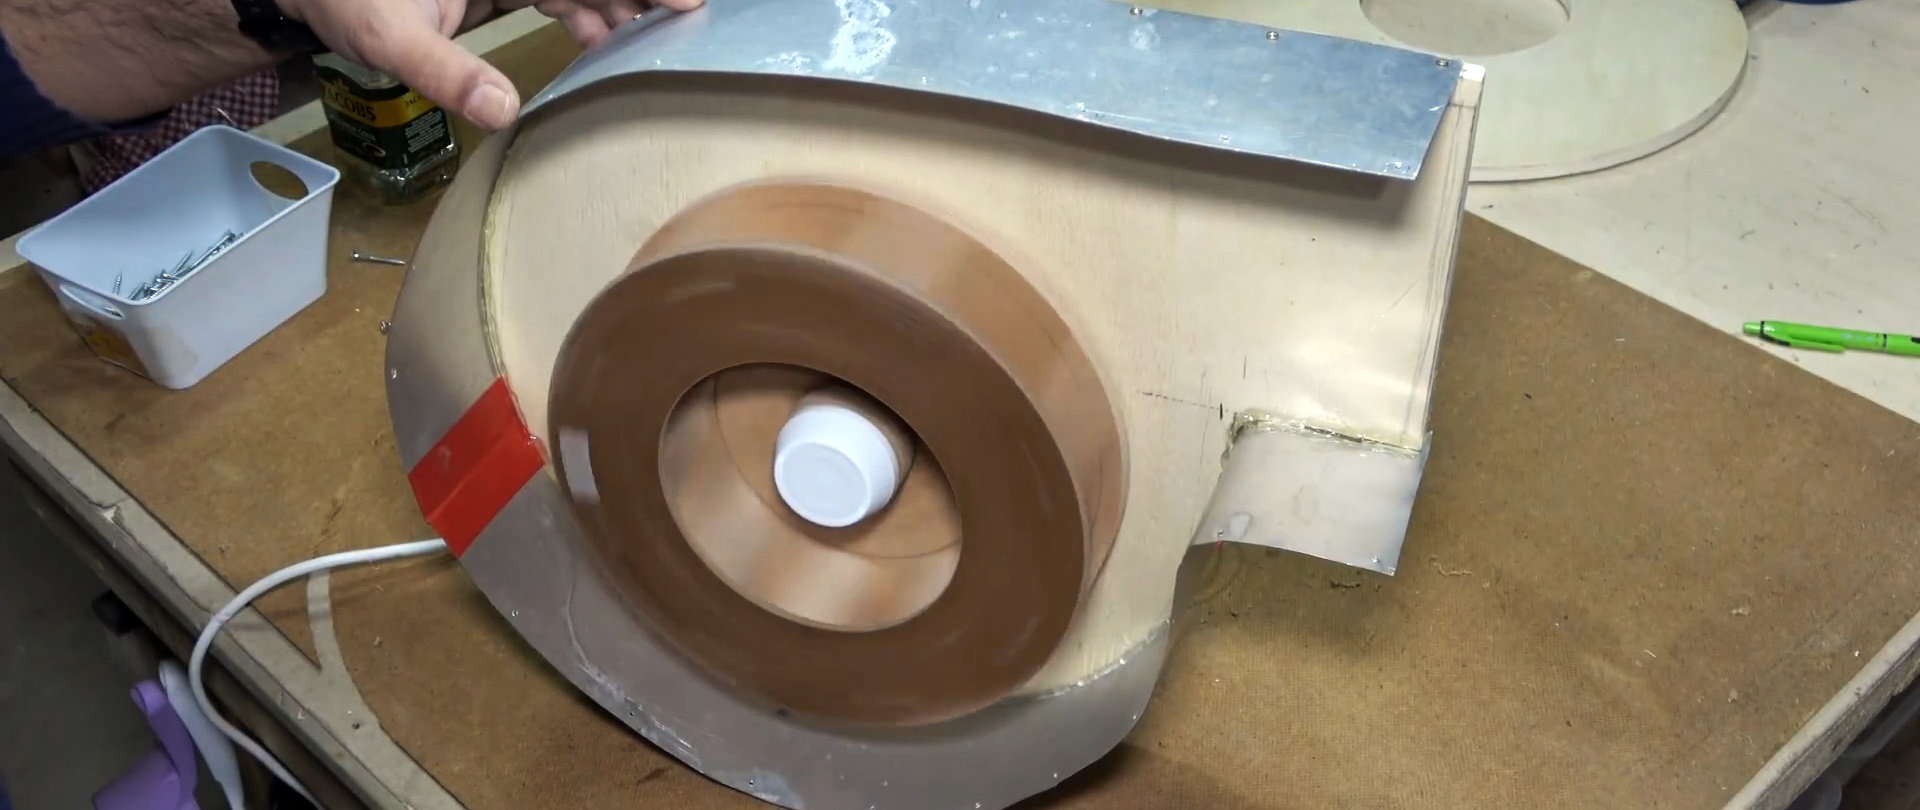
After this, the spacers are removed. The joint between the sheet metal and the plywood is sealed with duct tape.

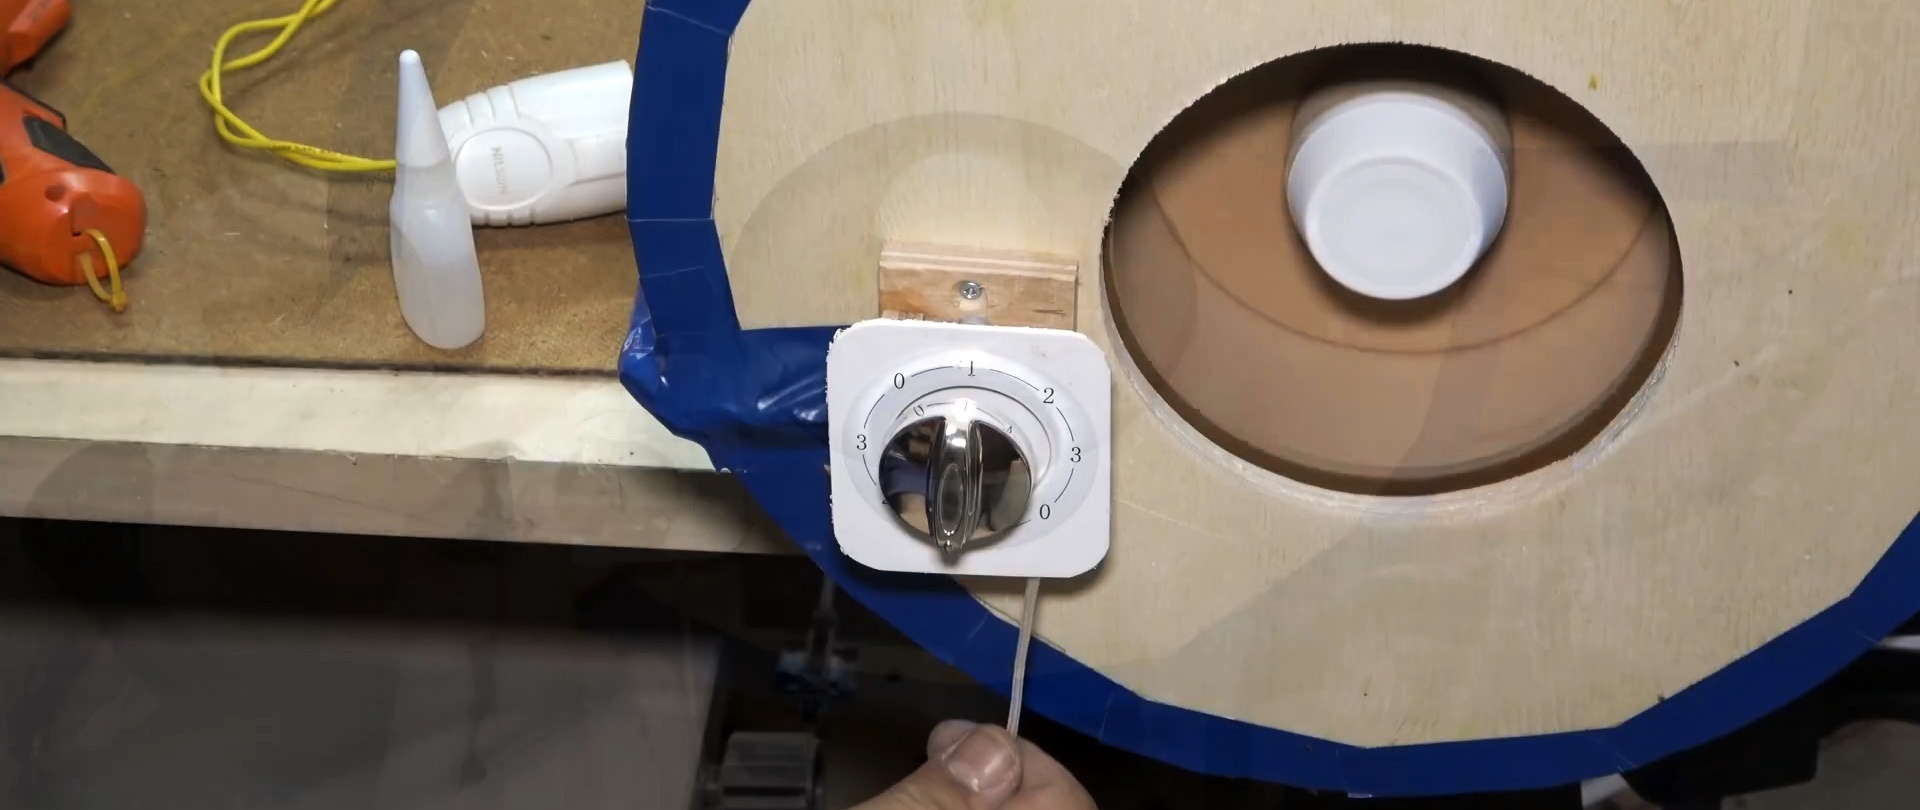
A switch is installed on the snail, preferably with a motor rotation speed switch. The motor is connected to it.
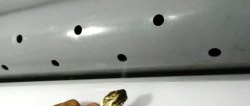
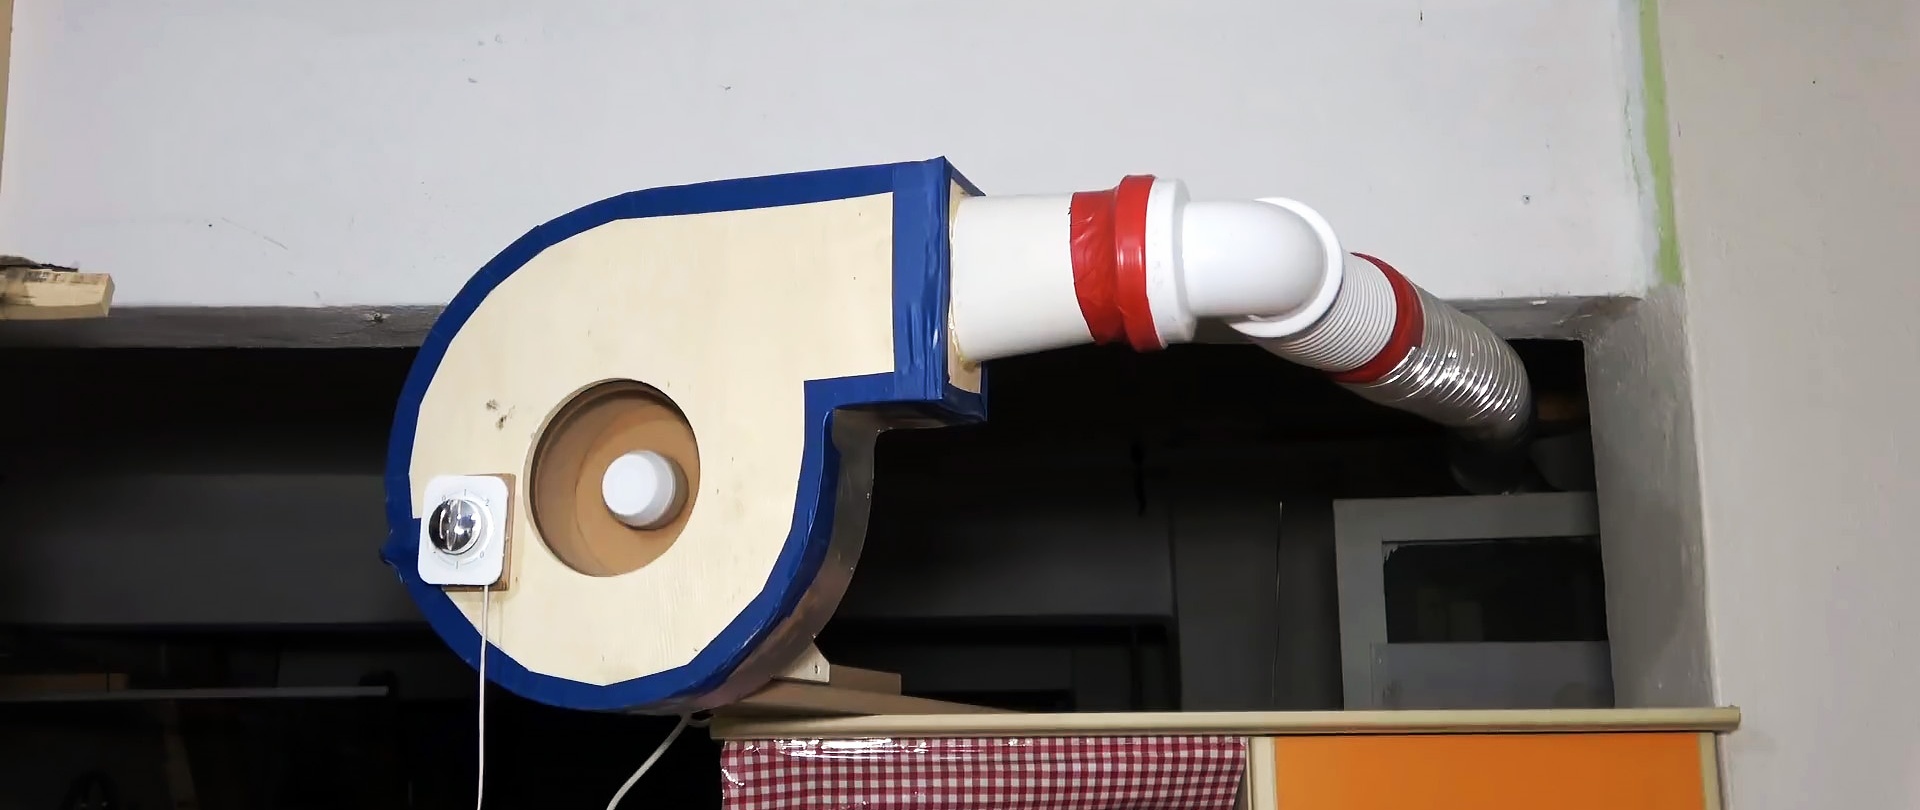
At the outlet, an adapter to the ventilation duct is screwed to the volute. It could just be a piece of plywood with a tube inserted, if necessary, then flattened into a snail shape.

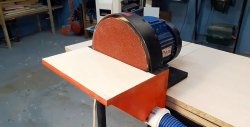
The fan is installed closer to the work area where the most dust is generated. It is then connected to the exhaust ventilation duct. Now, when turned on, it will draw in dusty air and push it out into the street.