Each master has his own secrets and life hacks, which he uses periodically. A novice carpenter learns this only with experience, irreversibly damaging cubic meters of good lumber. In order for everything to work out the first time, it is important to comprehend hundreds of small tricks. We offer a selection of such life hacks.
1. How to cut with a jigsaw without chipping
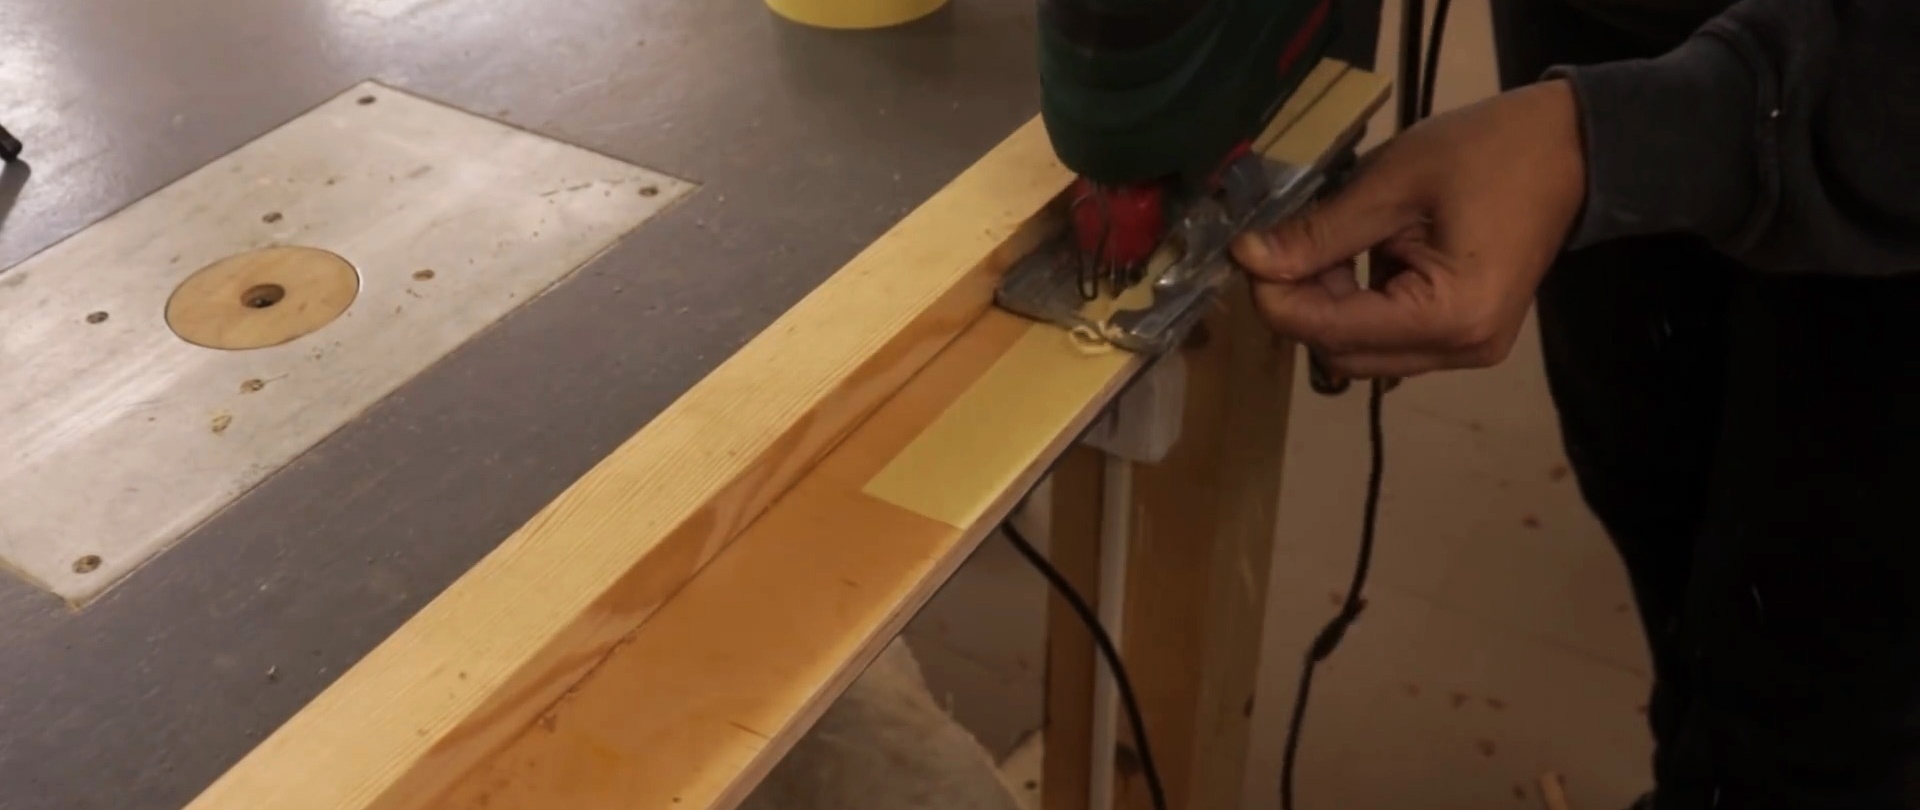
If you cut plywood or chipboard with a jigsaw, chips form at the edge of the cut. To avoid this, simply stick masking tape on top. When a cut is made along it, it turns out smooth without a undermined top layer.


2. How to drill neat entry holes in wood
To ensure that when drilling wood the hole does not have a torn edge, it is enough to start going deeper with a drill with the reverse turned on. After 4-6 mm, you can switch to conventional drilling. If you do this, the entrance hole will always be neat.


3. Drilling depth control
To control the depth of drilling in thin material, simply place the drill bit on the side and press a pencil or marker against it. Then, turning on the drill, you can leave a mark around the drill.It is already easy to navigate by it, that the drill went deep enough when drilling.


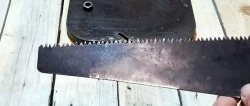
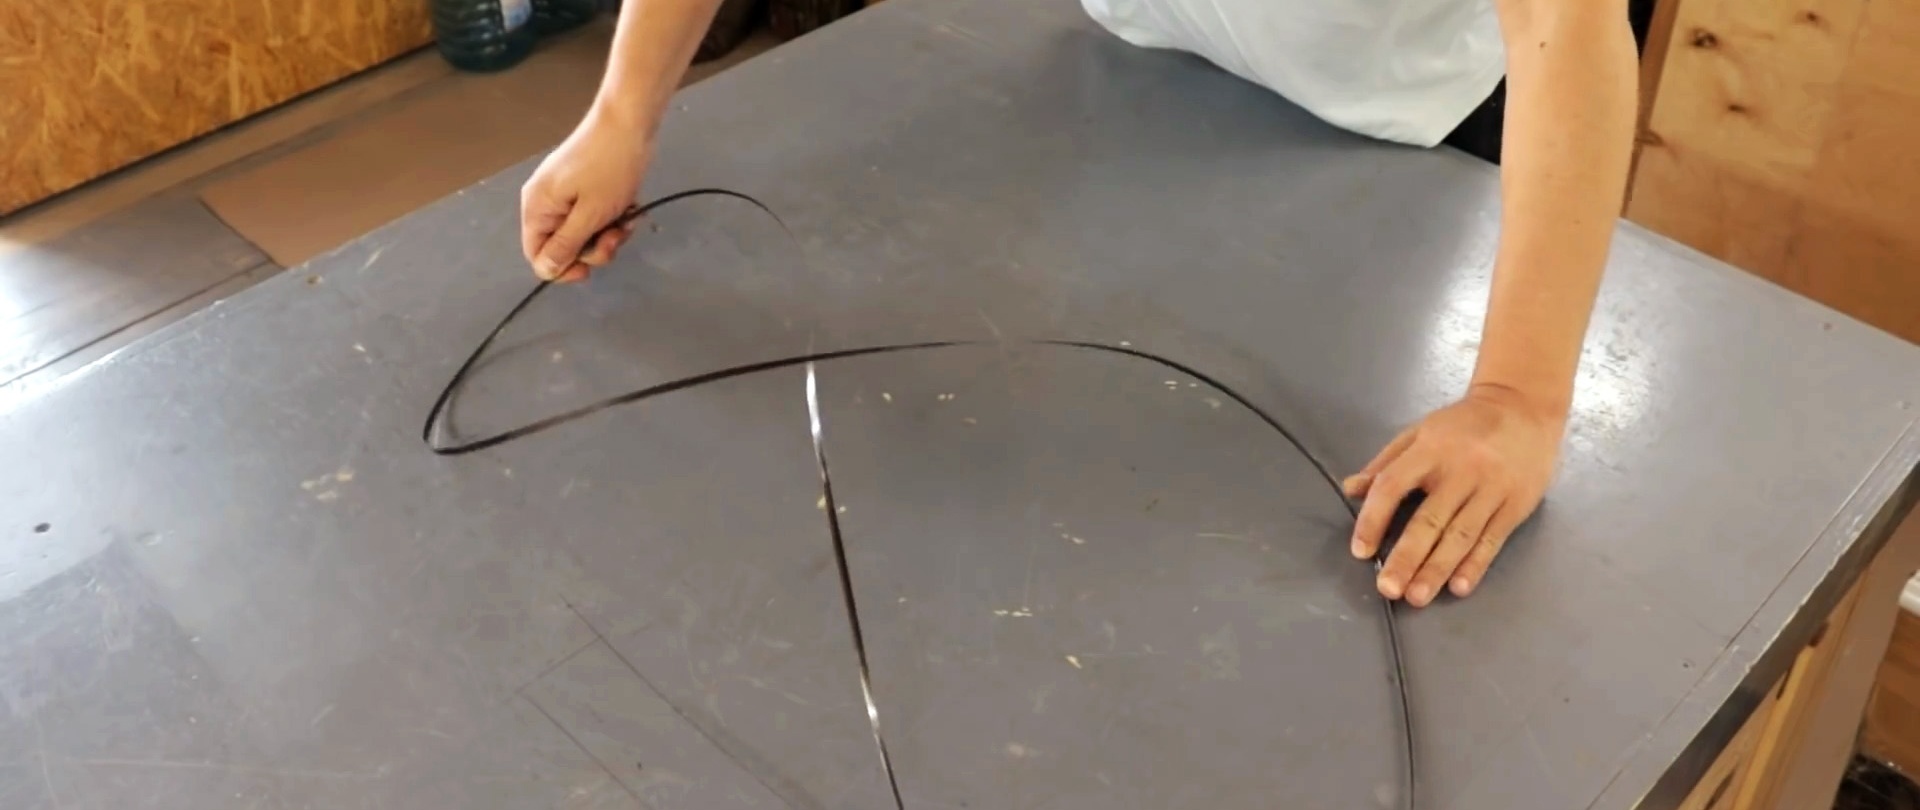
4. How to store a band saw blade
The band saw blade is quite long, so it takes up a lot of space. Just fold it into a figure eight, and then bend it in the center, with the rings facing each other. As a result, the canvas will curl up on its own.

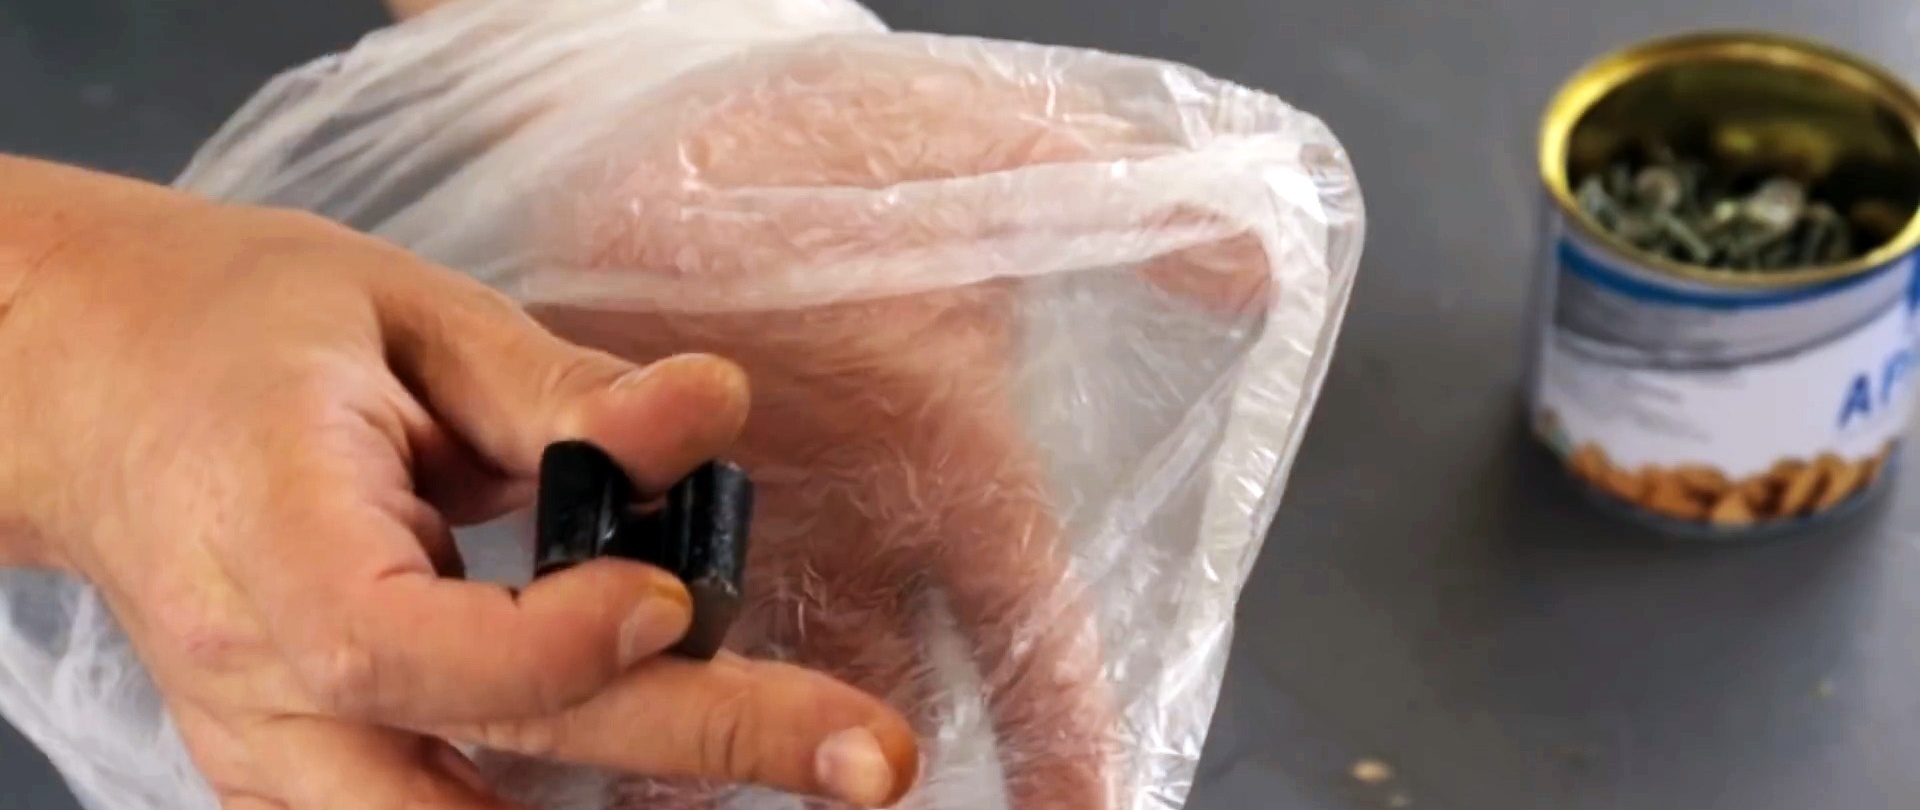
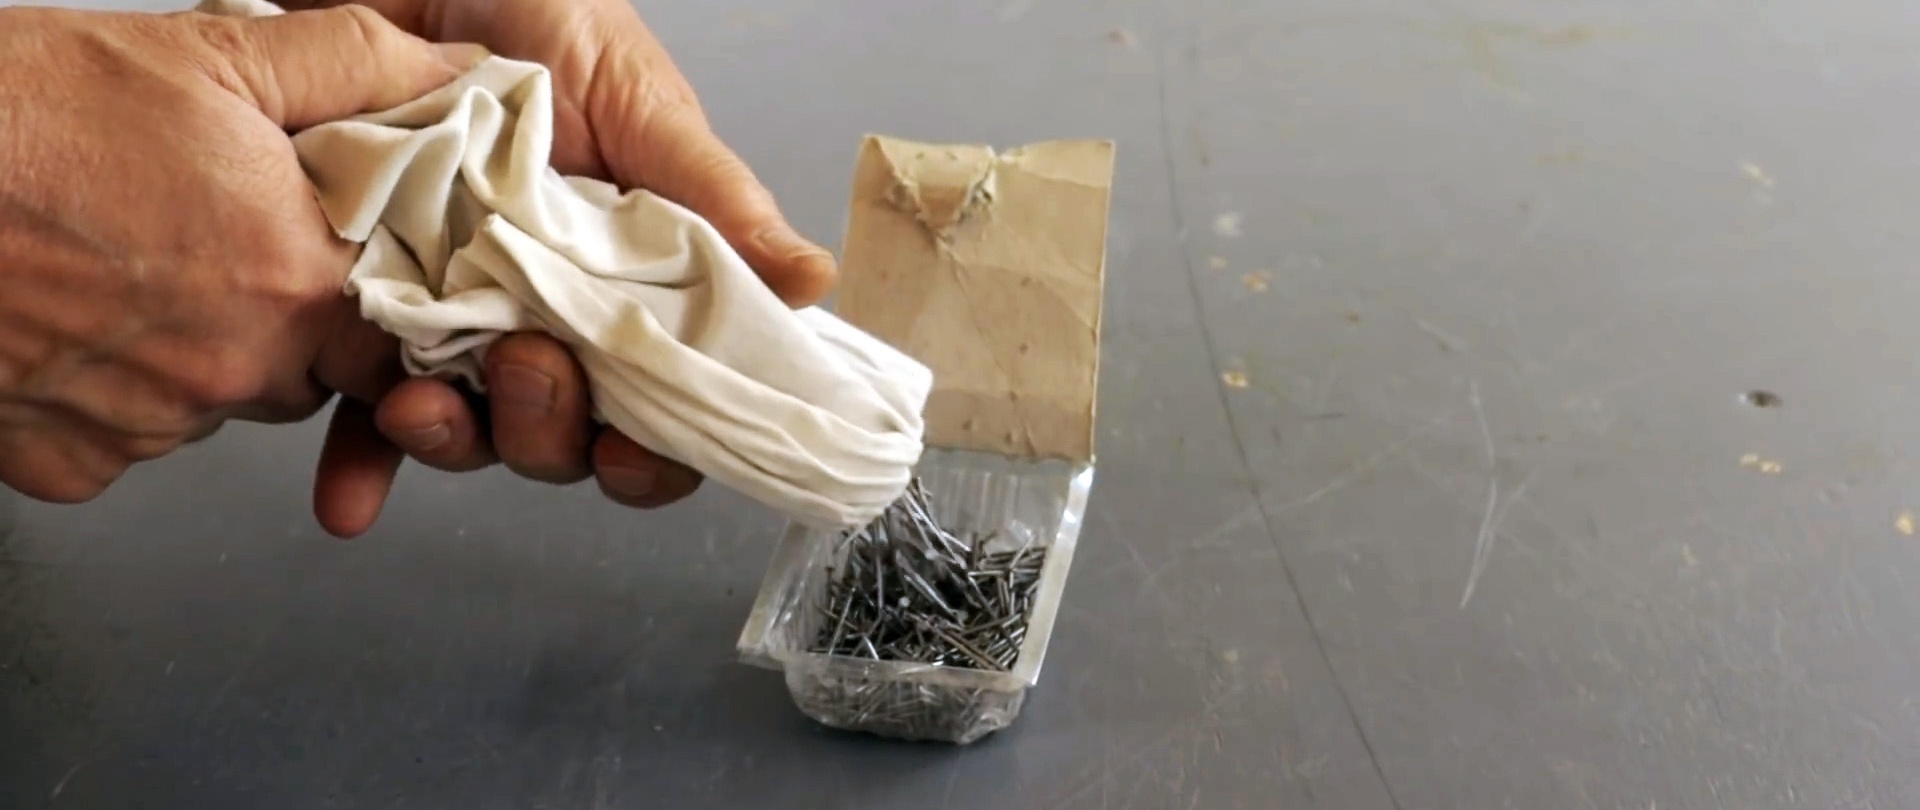
5. Quickly collect scattered screws or nails
Place a magnet in a plastic bag. Then assemble screws or nails with them. Now if you unscrew it and remove the magnet, all the hardware will be inside. All that remains is to pour them into the box.

6. How to drill without overheating the drill
To avoid overheating the drill, tape a washer to the drilling site. We get a bath into which you can pour a drop of oil. It will make drilling much easier, faster, and most importantly, the drill will not lose its hardening.


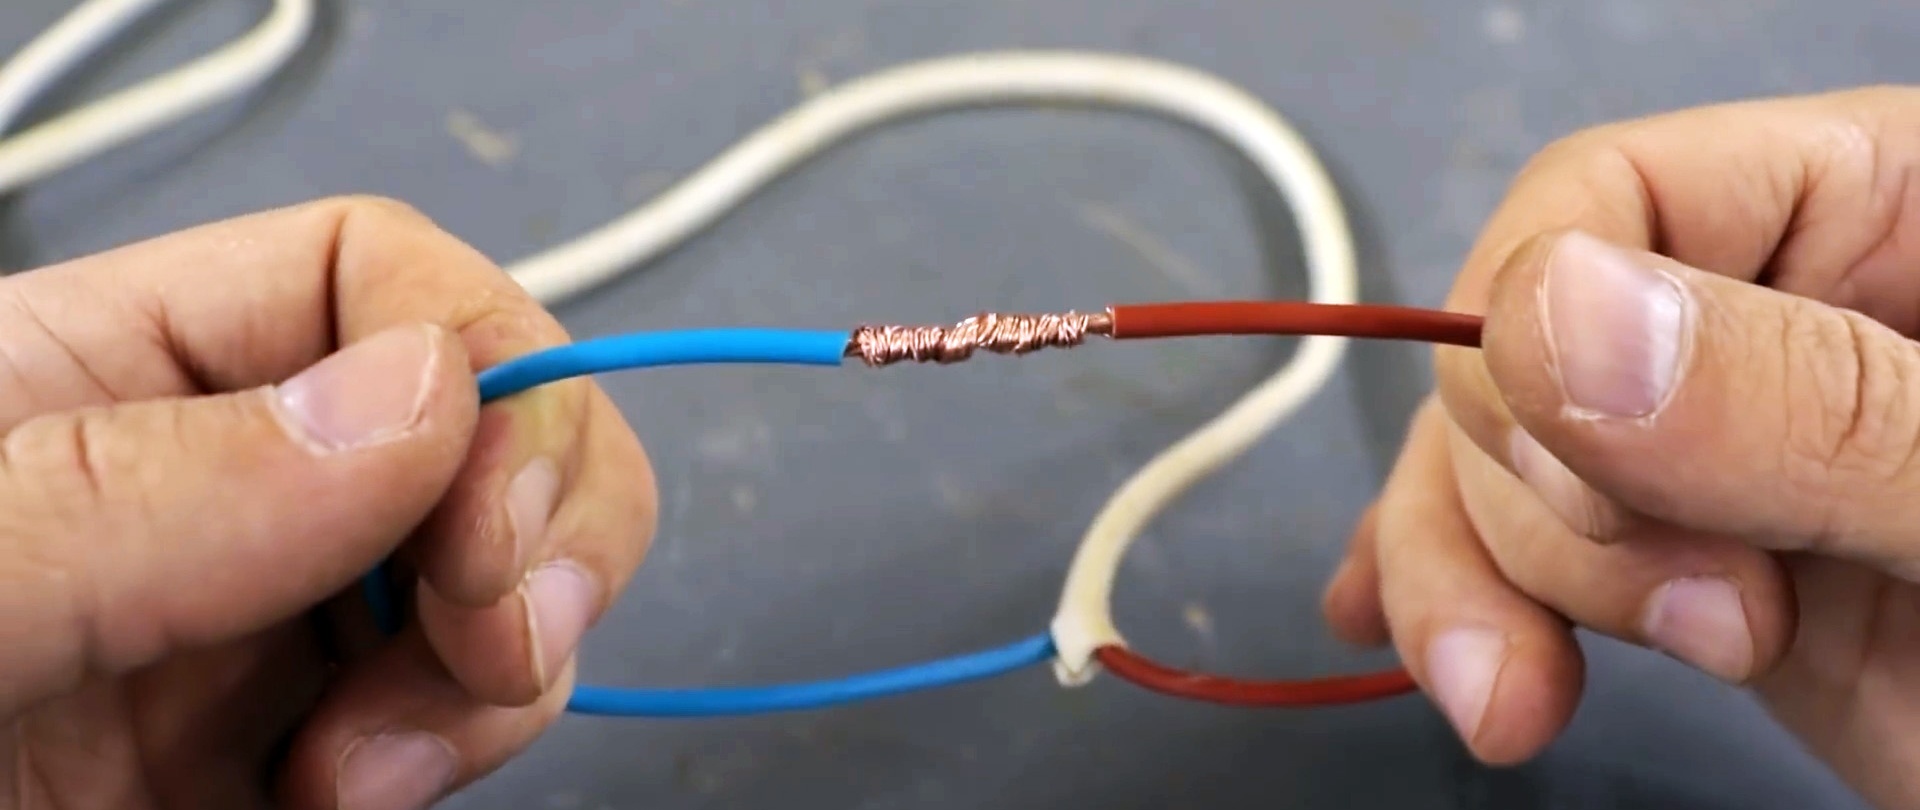
7. Tear-resistant wire twist
To ensure that the twisted strands of the wires do not become disconnected at the slightest impact on the break, they must be wound in a special way. The bare wires are crossed crosswise, and then each end is wound towards the insulation of the second wire. If you twist them like this, it will be much more difficult to break the connection.


8. How to drill neat exit holes in wood
If you simply drill a hole in wood, the wood fibers on the back side will be torn.

To make it perfect, you just need to tightly place an unnecessary piece of board or block under the workpiece. It's even better to press it with a clamp. Then the outlet hole will be smooth and neat.

9. How to collect small hardware with a vacuum cleaner
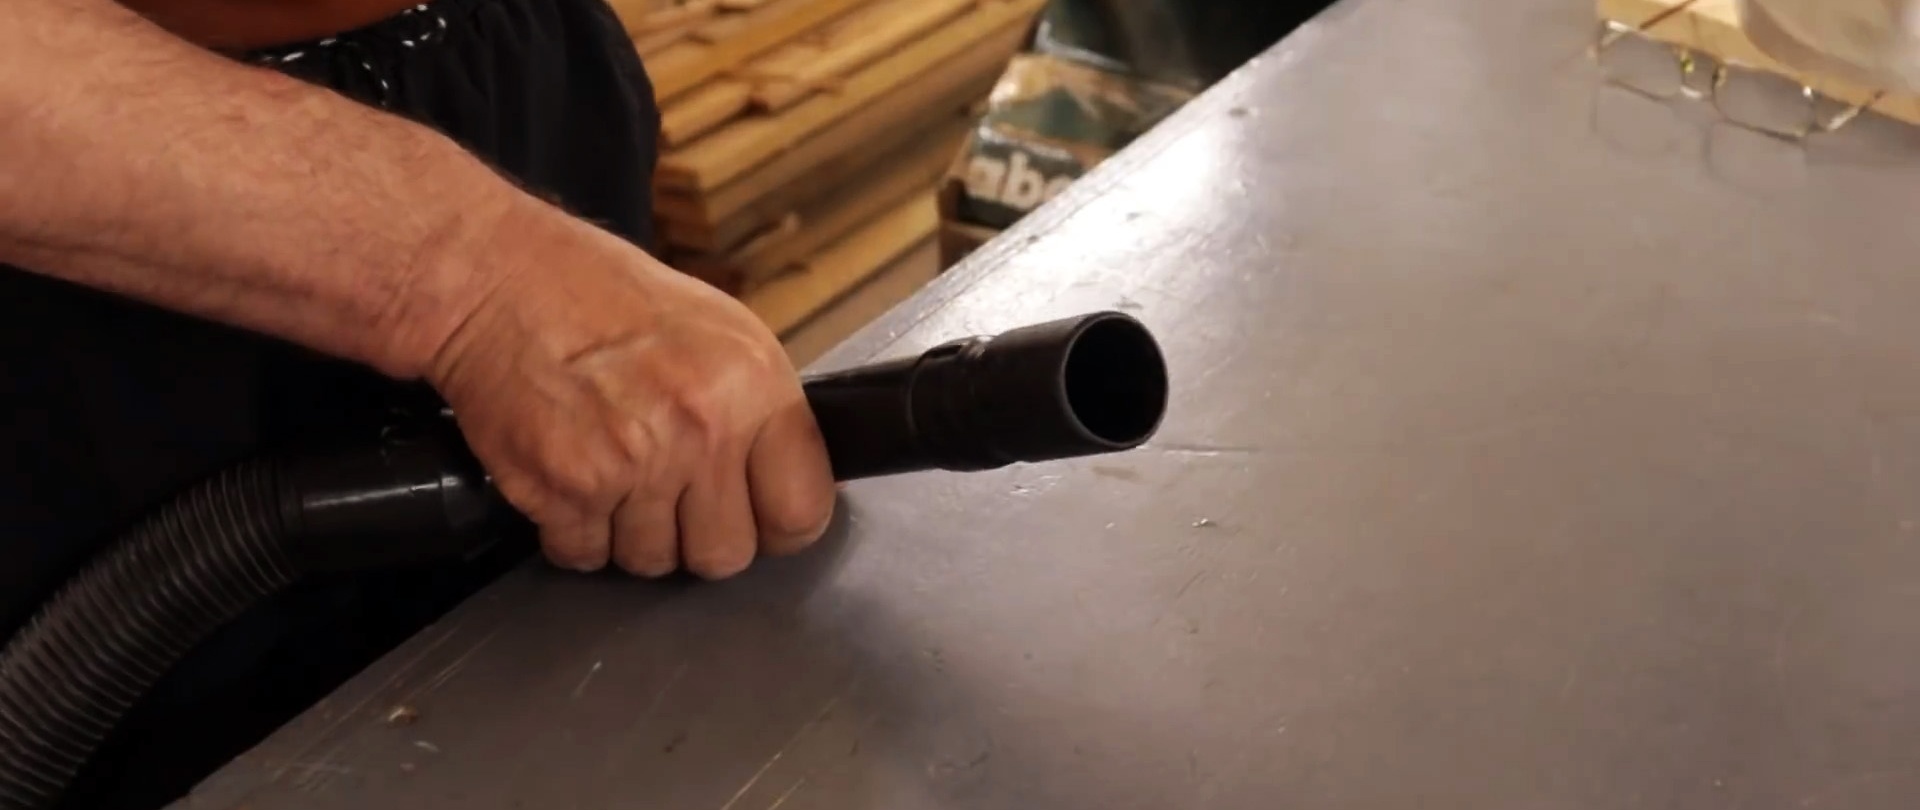
Scattered nuts, nails, screws can be collected with a vacuum cleaner. To do this, a fabric pocket is made in its tube. Everything that the vacuum cleaner sucks in will be collected in this bag.


Then, to empty the contents of the pocket, you need to pull the edges of the fabric so that it comes out of the tube. It's even easier to just turn off the vacuum cleaner.
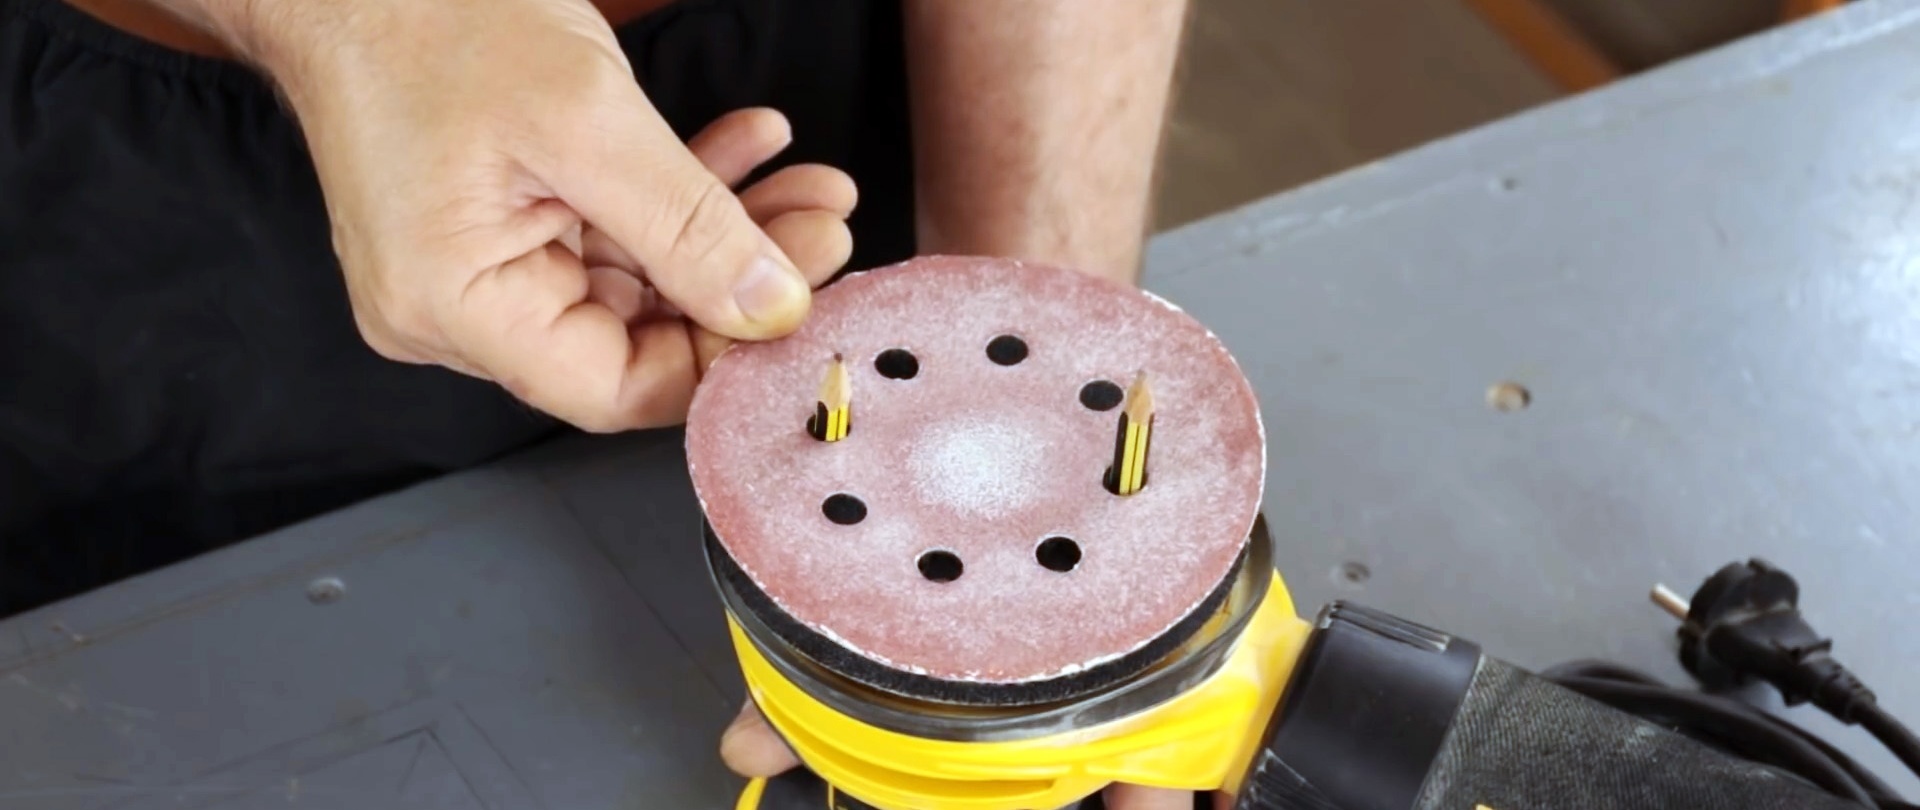
10. We glue the skin with Velcro to the sander evenly
To glue the sandpaper evenly to the sanding machine, insert 2 pencils into its sole. They will guide the sandpaper so it fits just right.
11. Modification of the miter saw with broaching
On the sole of a broached miter saw, the pad is often recessed downwards. Therefore, when sawing, the workpiece does not rest against it. This becomes a problem when working with short parts that simply dangle without support. In this case, you can select plywood of the required thickness and cut out an insert for the sole from it, instead of the standard one. You can paint it first.


The insert is drilled and countersunk. It is screwed to the saw, and then a groove is cut into it. It turns out much better than with the standard overlay.

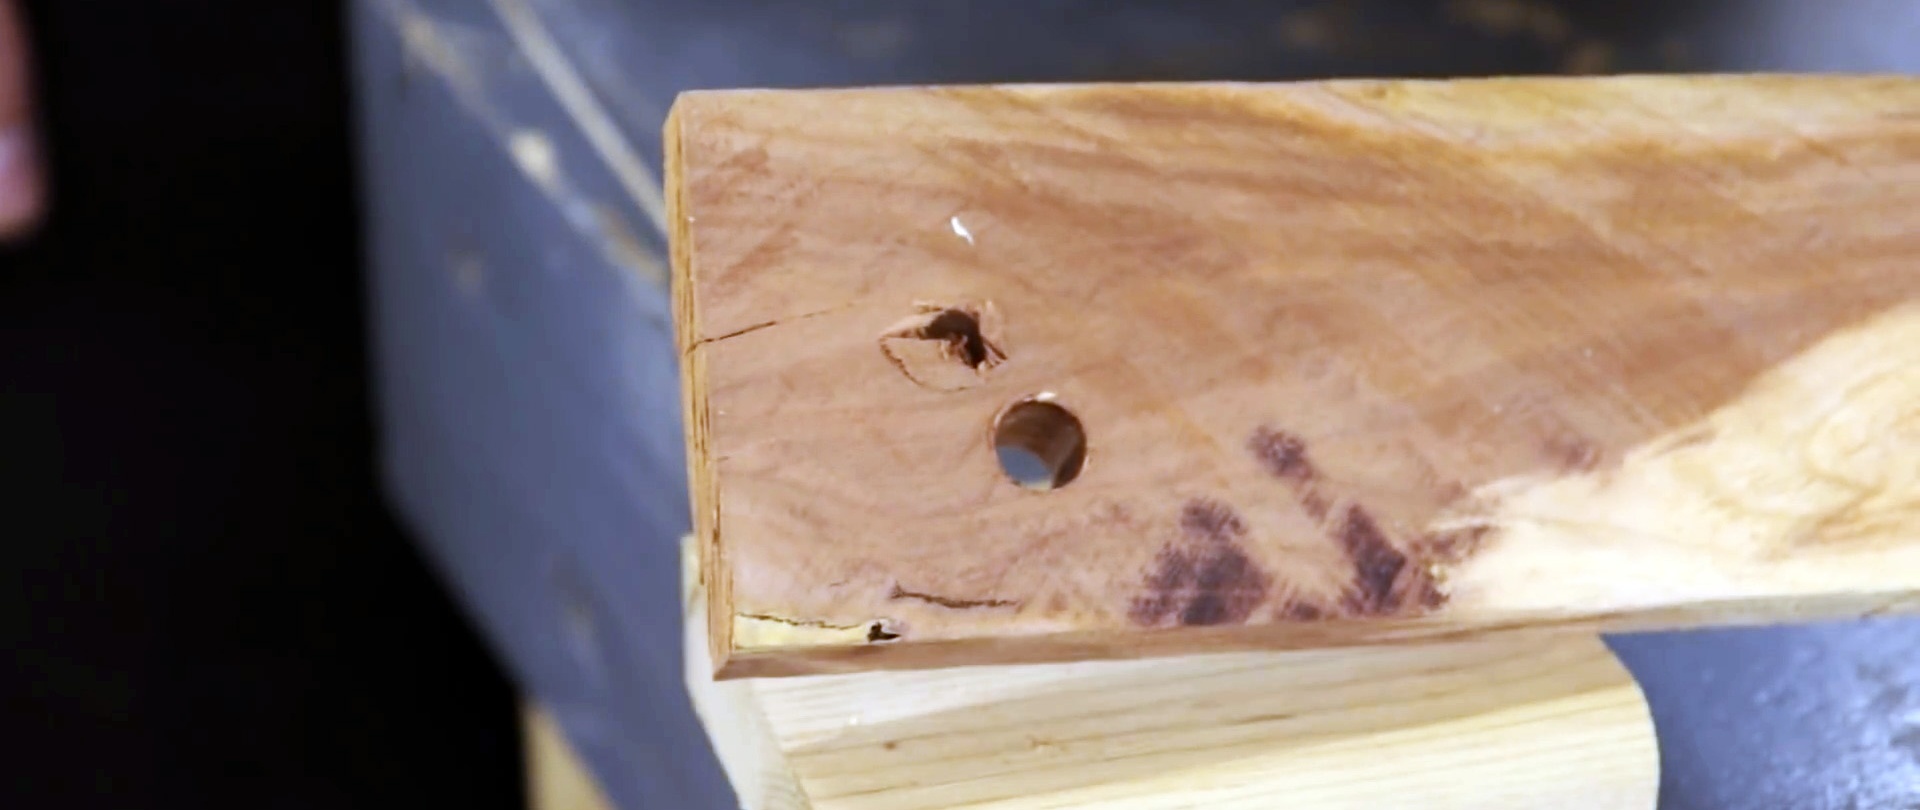
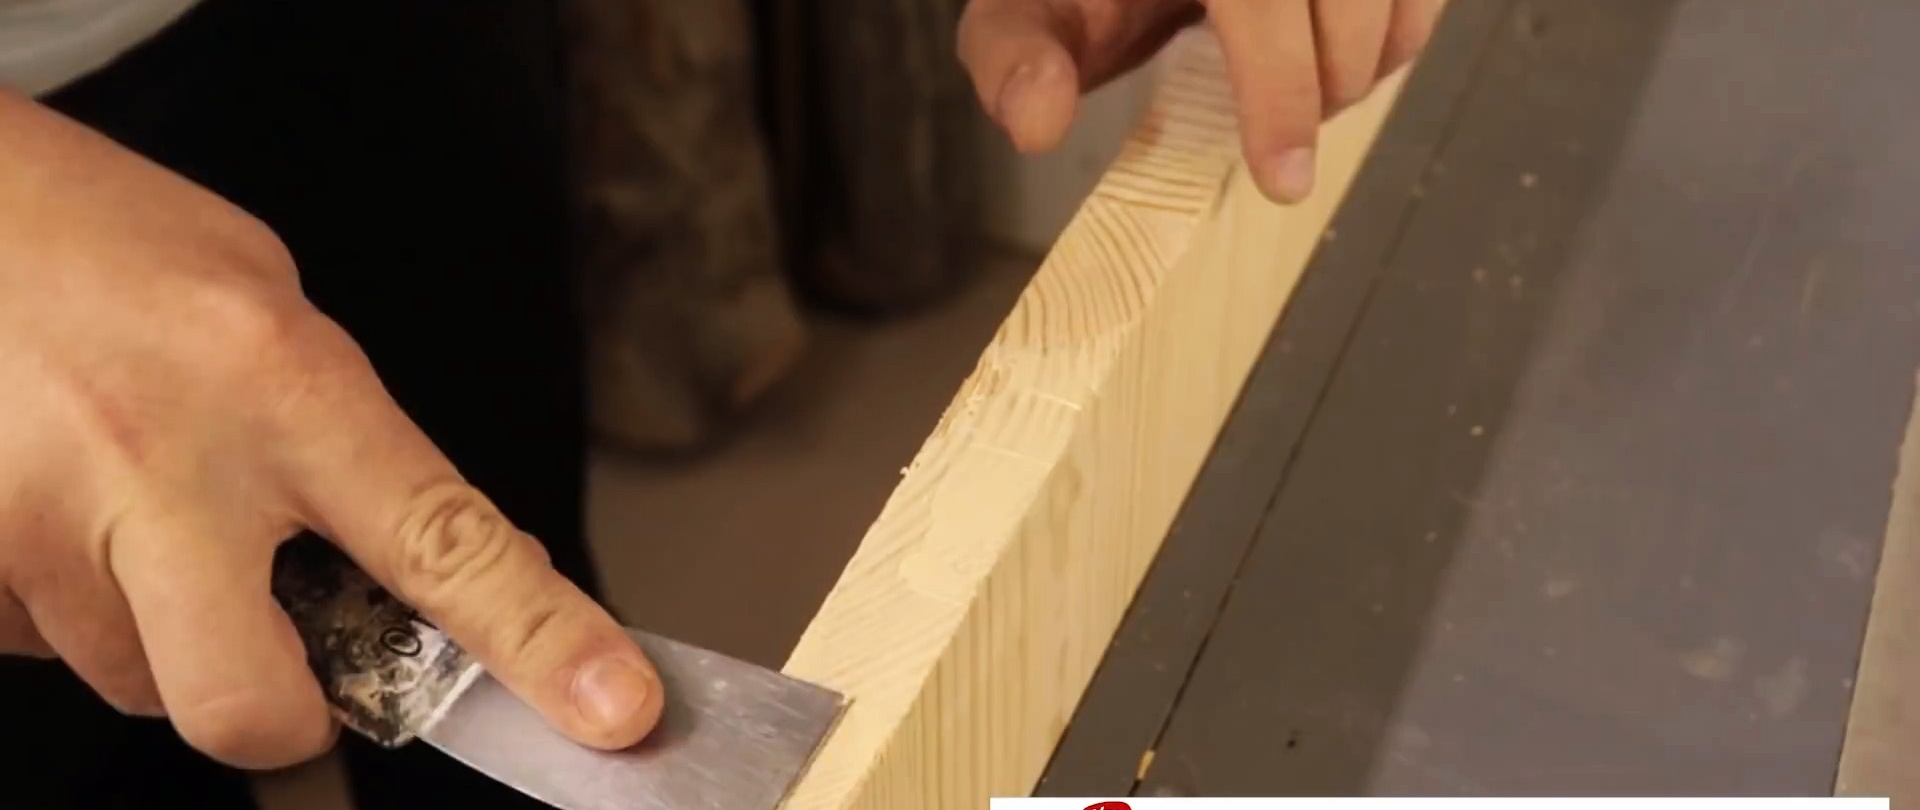
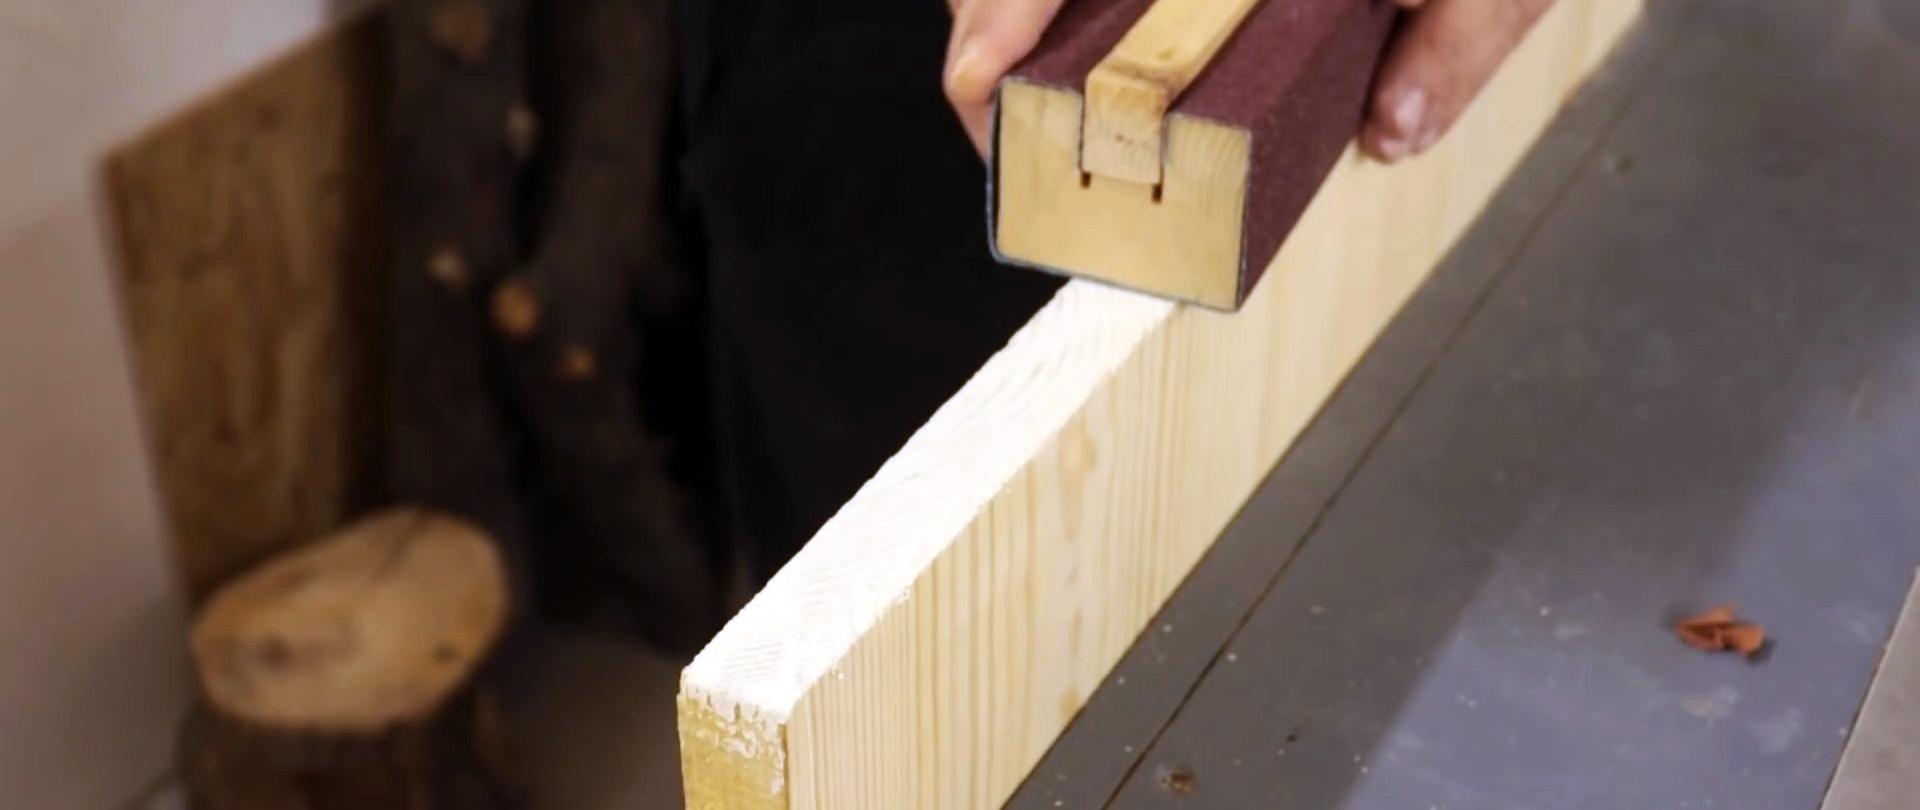
12. How to process the ends of the board perfectly
The ends of soft wood boards are often difficult to sand so that they cannot be found fault with. It is better to do this by first filling them with wood putty. It will connect the fibers and fill all the voids. As a result, the sanded, pre-putty end will be smooth without the slightest depressions or torn fibers.

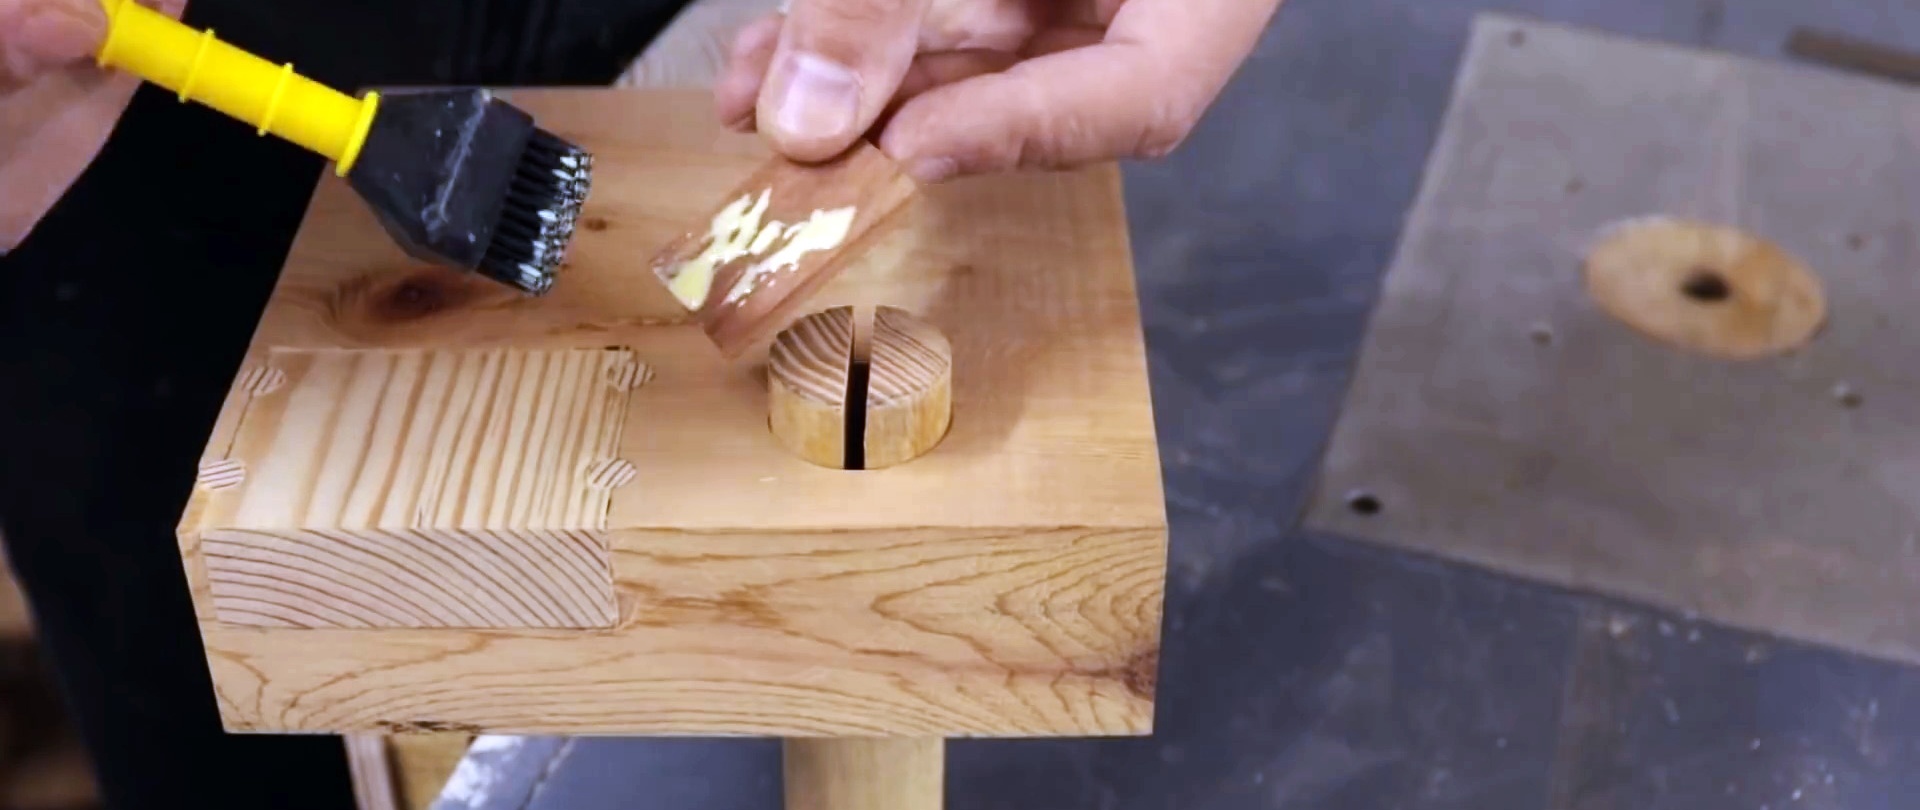
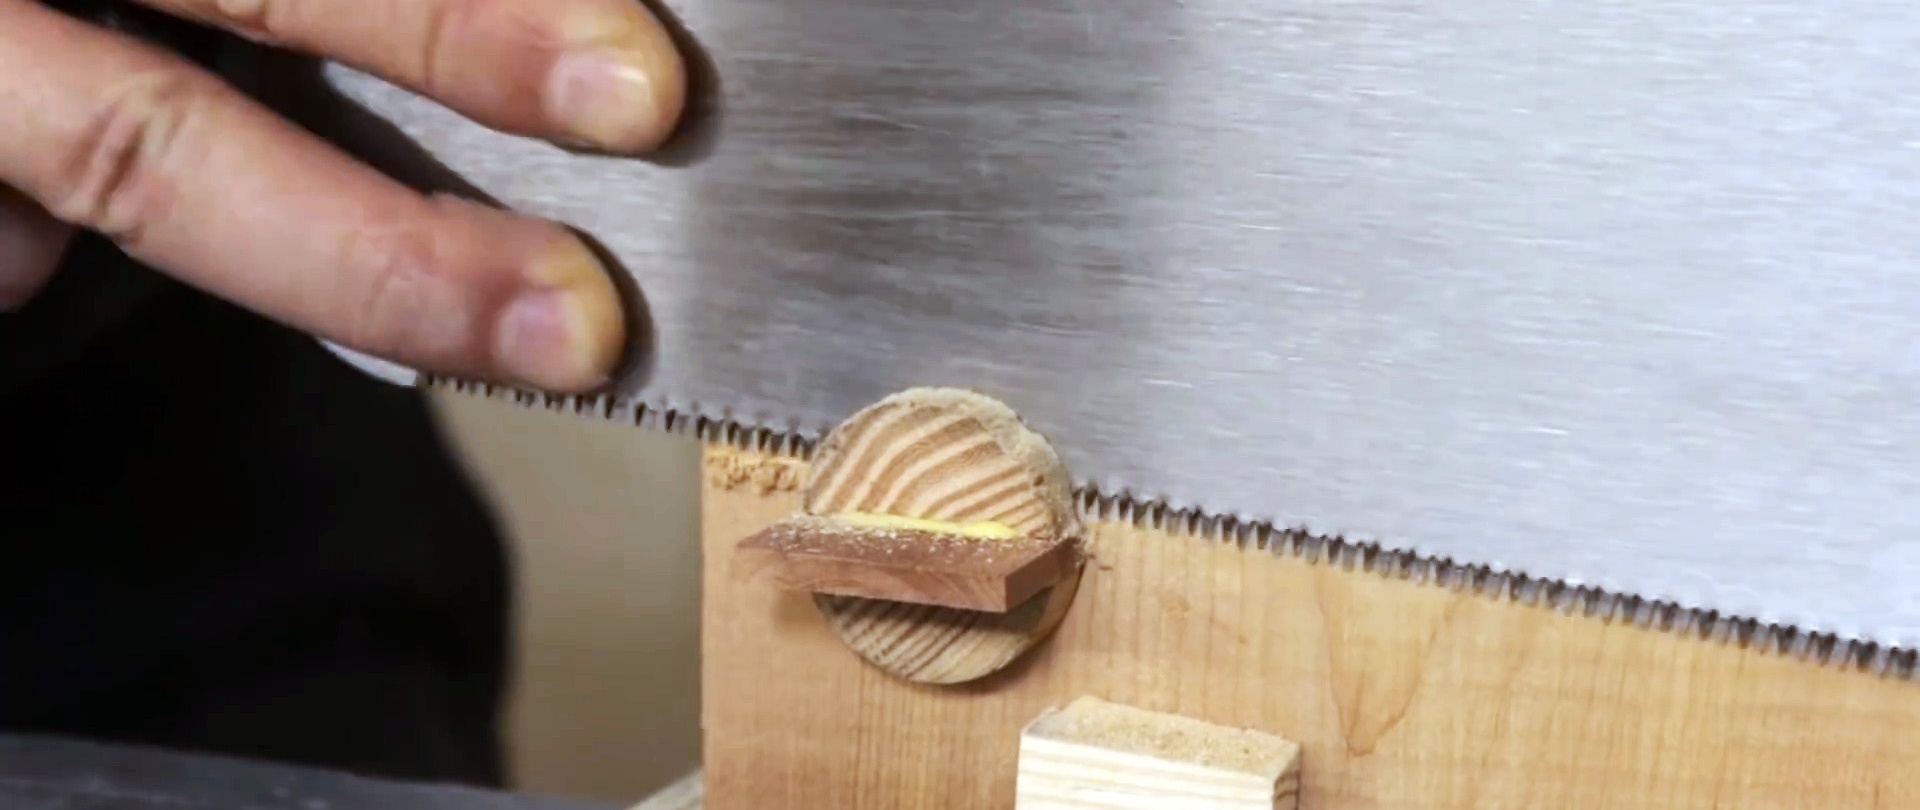
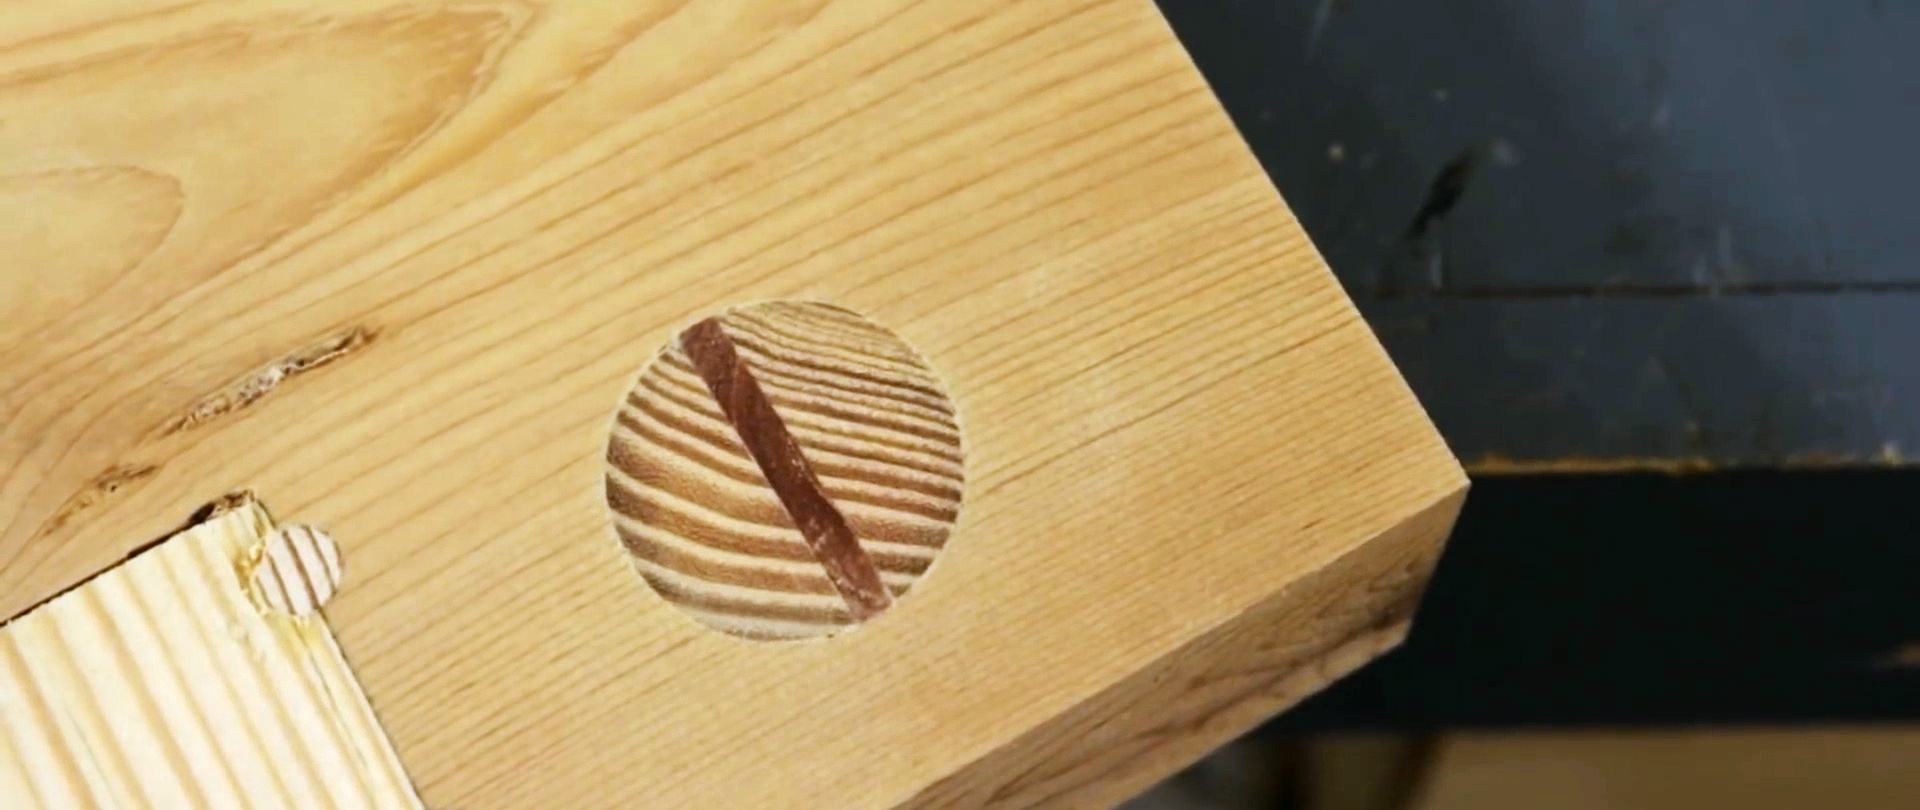
13. Reliable fixation of large dowels
If you need to fix a large dowel in a board, then just glue will not be enough. It is necessary to make a longitudinal cut in it. Then it is inserted into the board and wedged from the back side with a sliver. Due to the expansion, it will hold very tightly.