In a home workshop you have to process large ceramic tiles, long metal pieces, lumber, which without reliable fixation are not only difficult, but also dangerous to work with. You can make a universal clamp without special preparation and from ordinary materials.

Will need
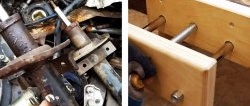
Materials:- Threaded rod;
- nuts, flat and lock washers;
- rectangular fragments of a steel plate;
- channel sections;
- drill fragment;
- smooth round steel rod;
- gear disc wheel with single-sided hub;
- bolt with hemispherical head and ordinary;
- steel sheet of sufficient thickness
- steel disk, etc.
Manufacturing process of a universal clamp
We screw two nuts onto the threaded rod, press them together, connect them by welding and clean the seams.We protect the thread of the rod from metal splashes with a U-shaped bent strip of metal.

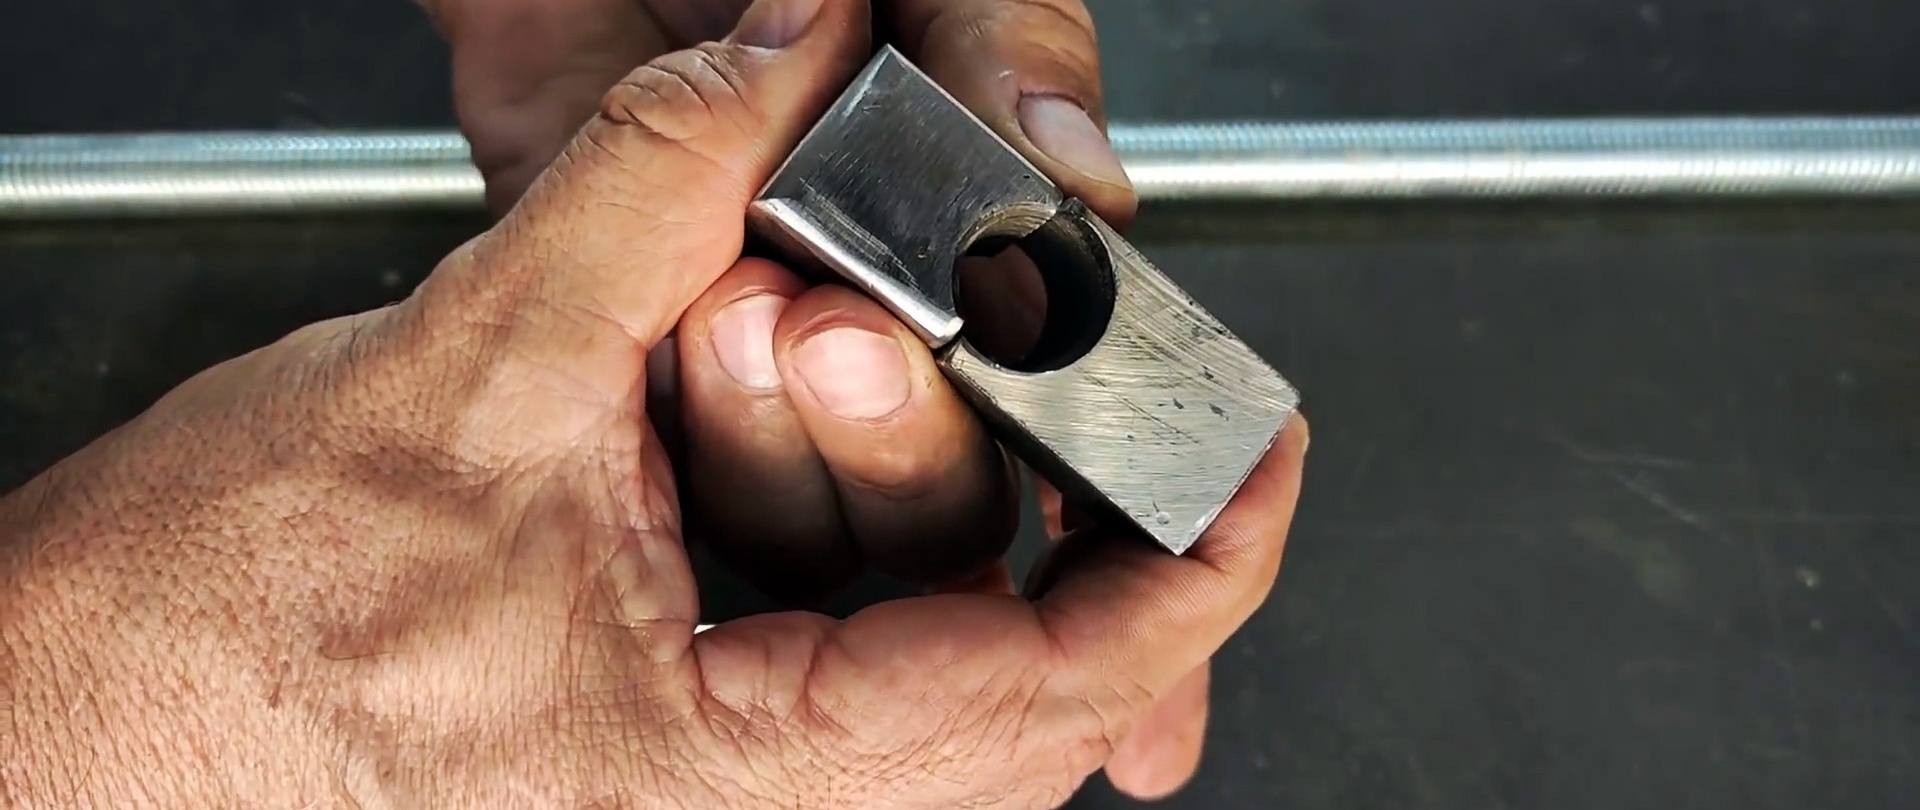
We weld the double nut to a rectangular fragment, symmetrically to the side limited in length and thickness, at the level of the end of the side limited in width and thickness.
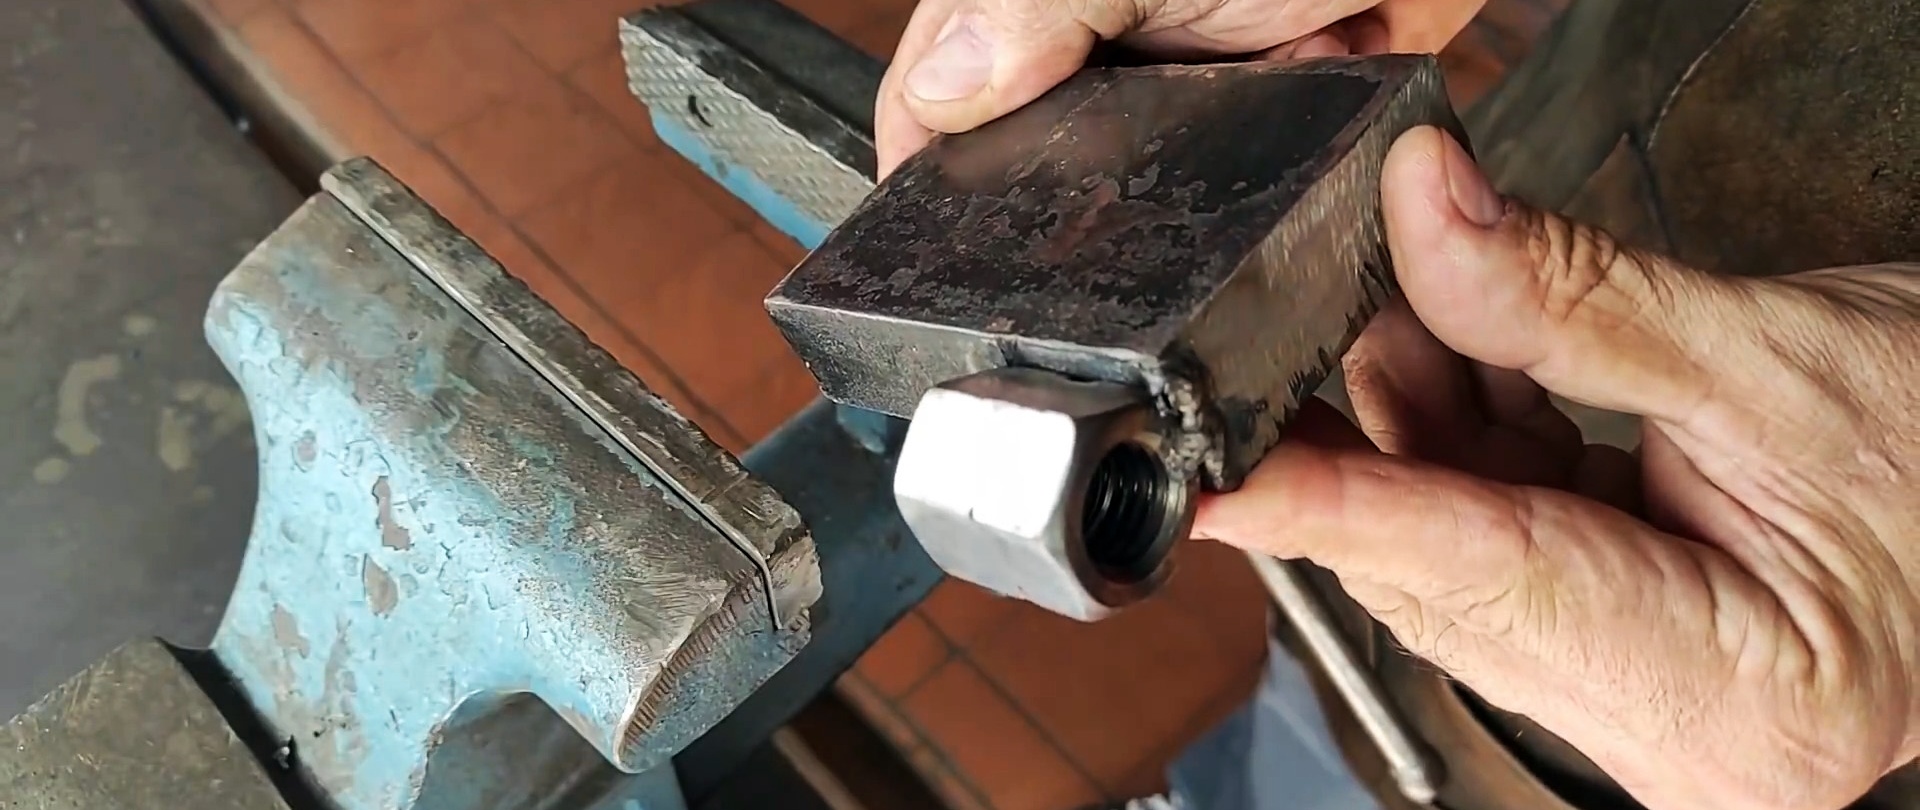
After marking, we cut off a fragment at the level of the nut on one side, and on the other, we make vertical and horizontal cuts to the base of the nut. Having stepped back a little from this end of the nut, we cut off the fragment so that a vertical protrusion is formed from below.

Cut off the top half of the double nut longitudinally. We compare the protruding sides of the nut half with the plane of the base.
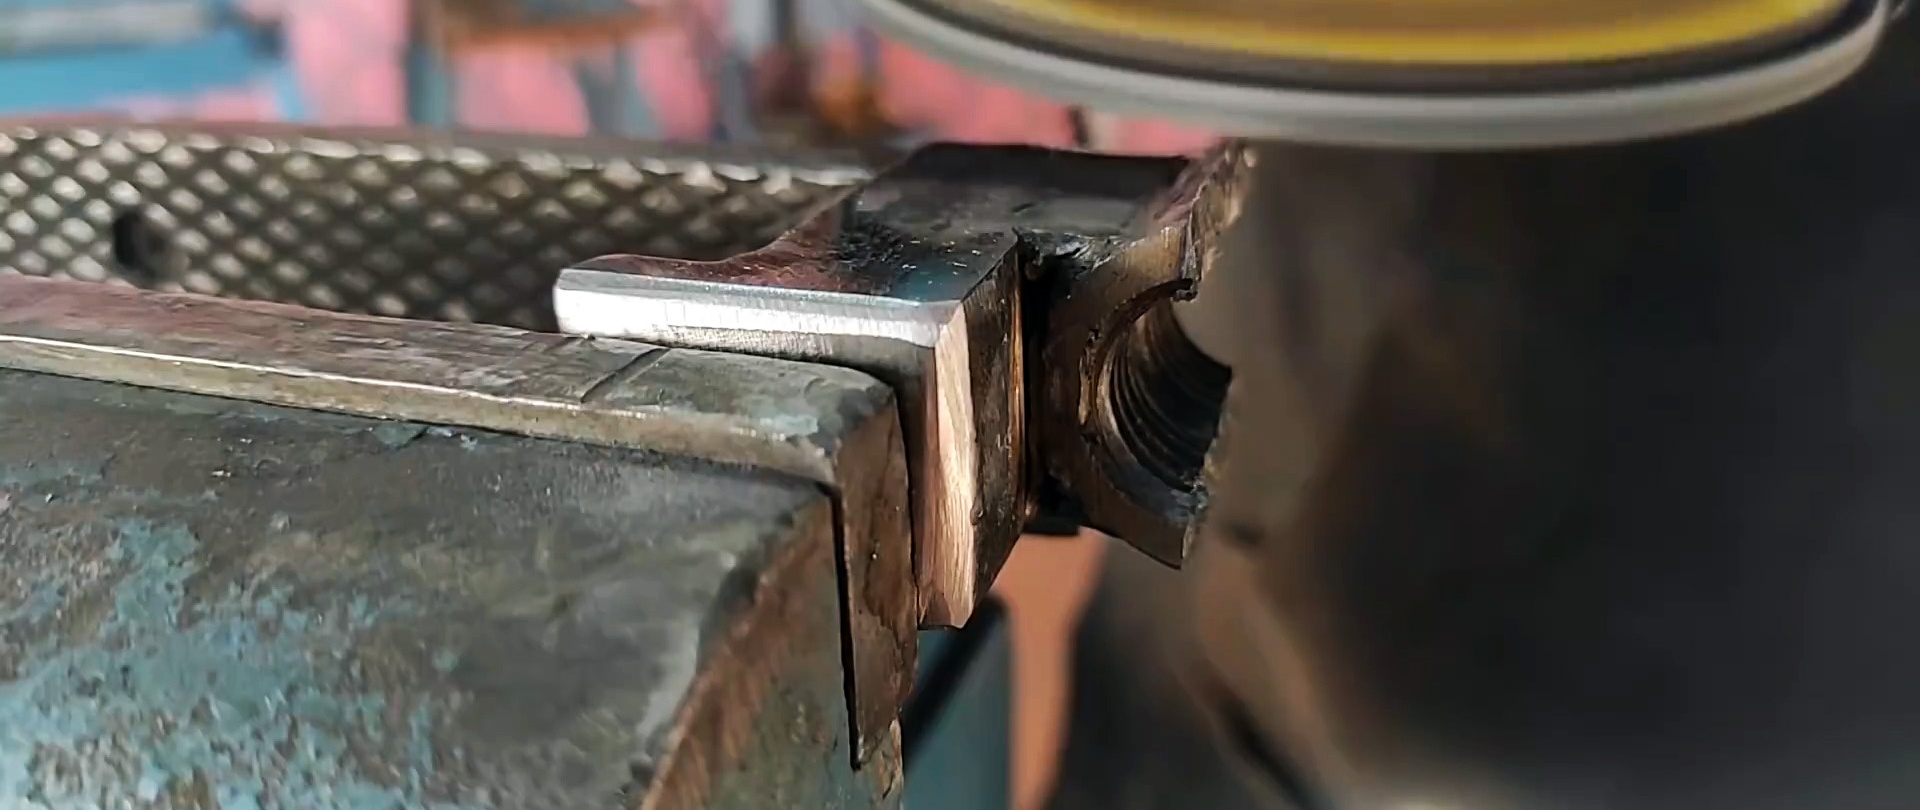
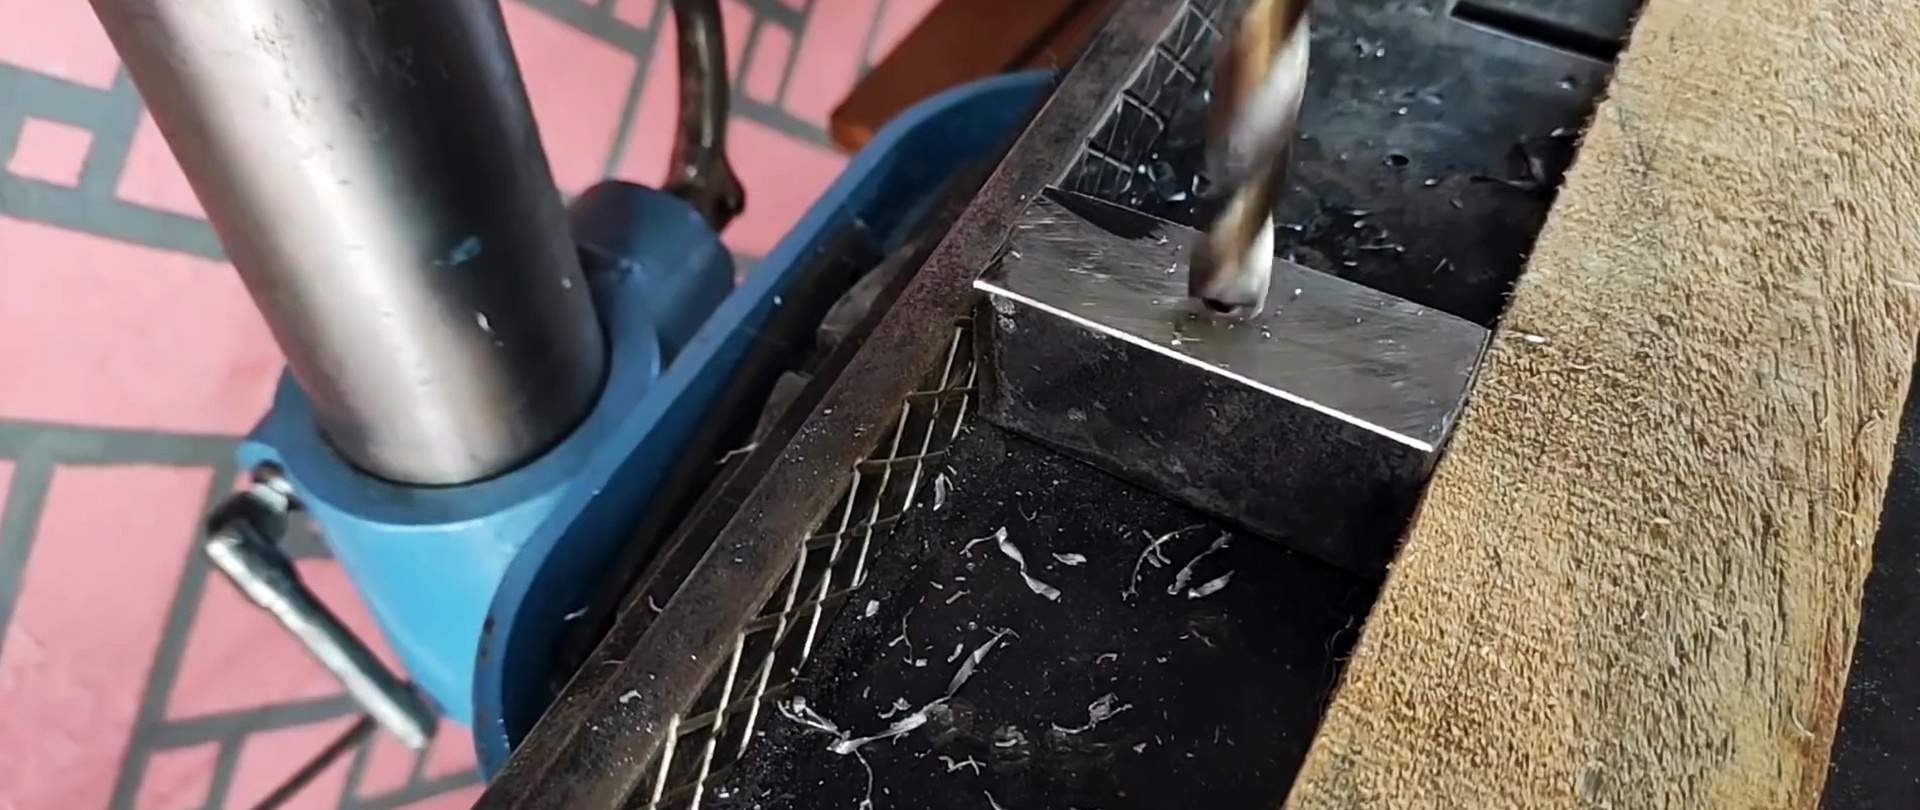
In a rectangular fragment, drill a vertical hole in the center of the side limited by the thickness and length of the fragment.

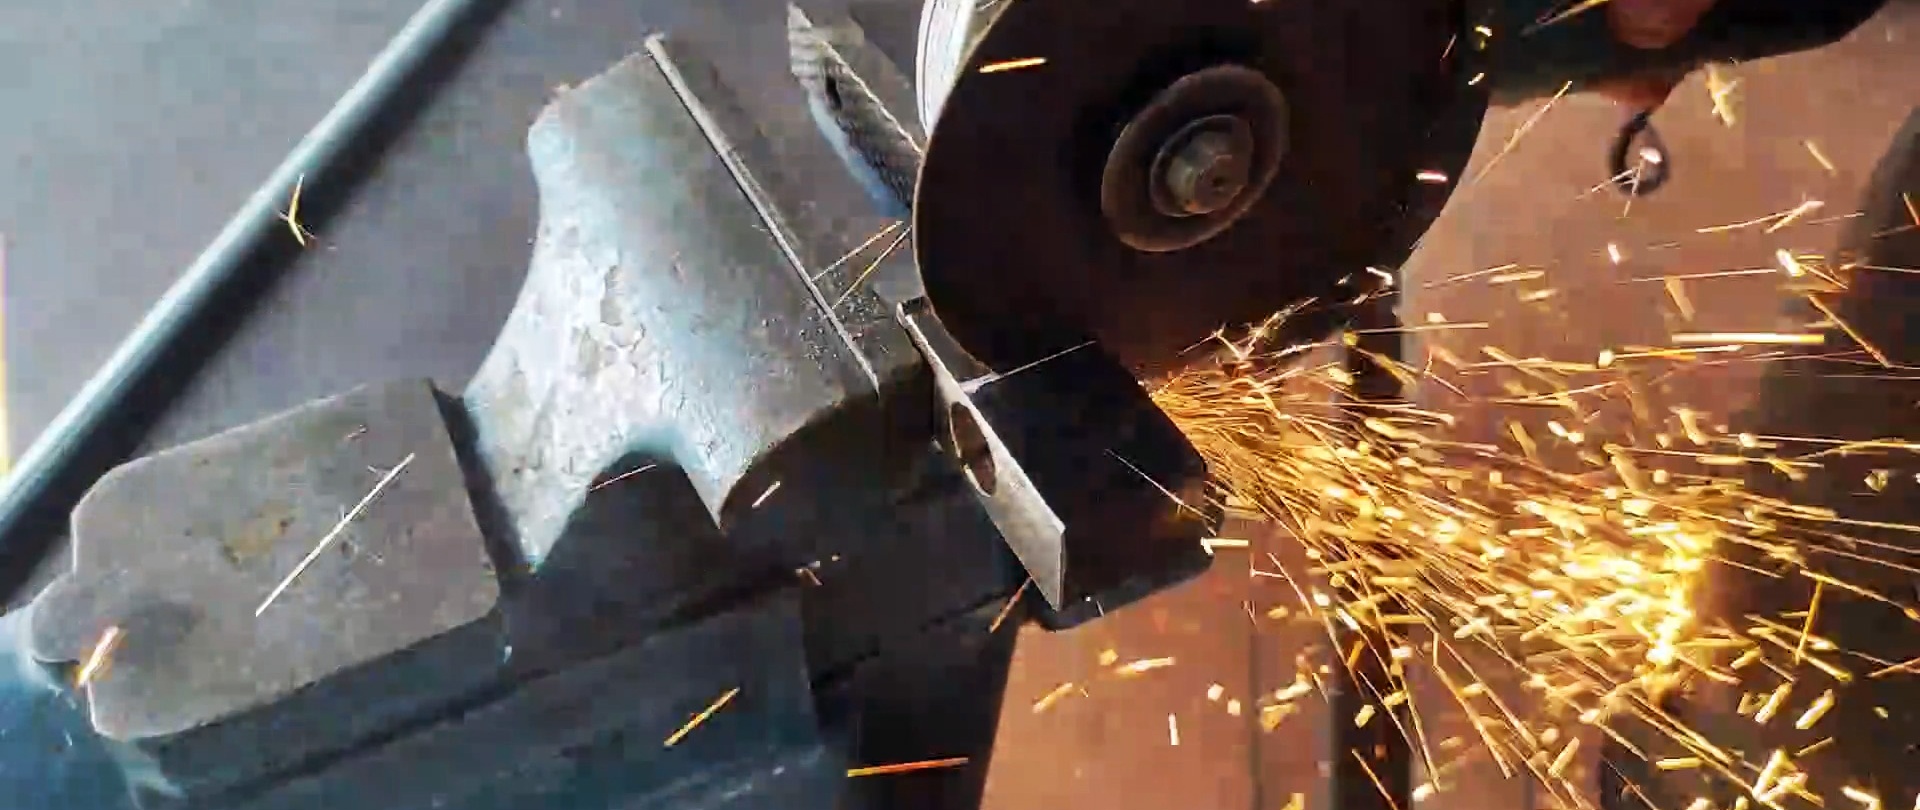
We cut the fragment along the longitudinal axis of the hole in the diametrical plane.
We apply two strips to the fragment with a half-hole from the outside along the axis and weld it.
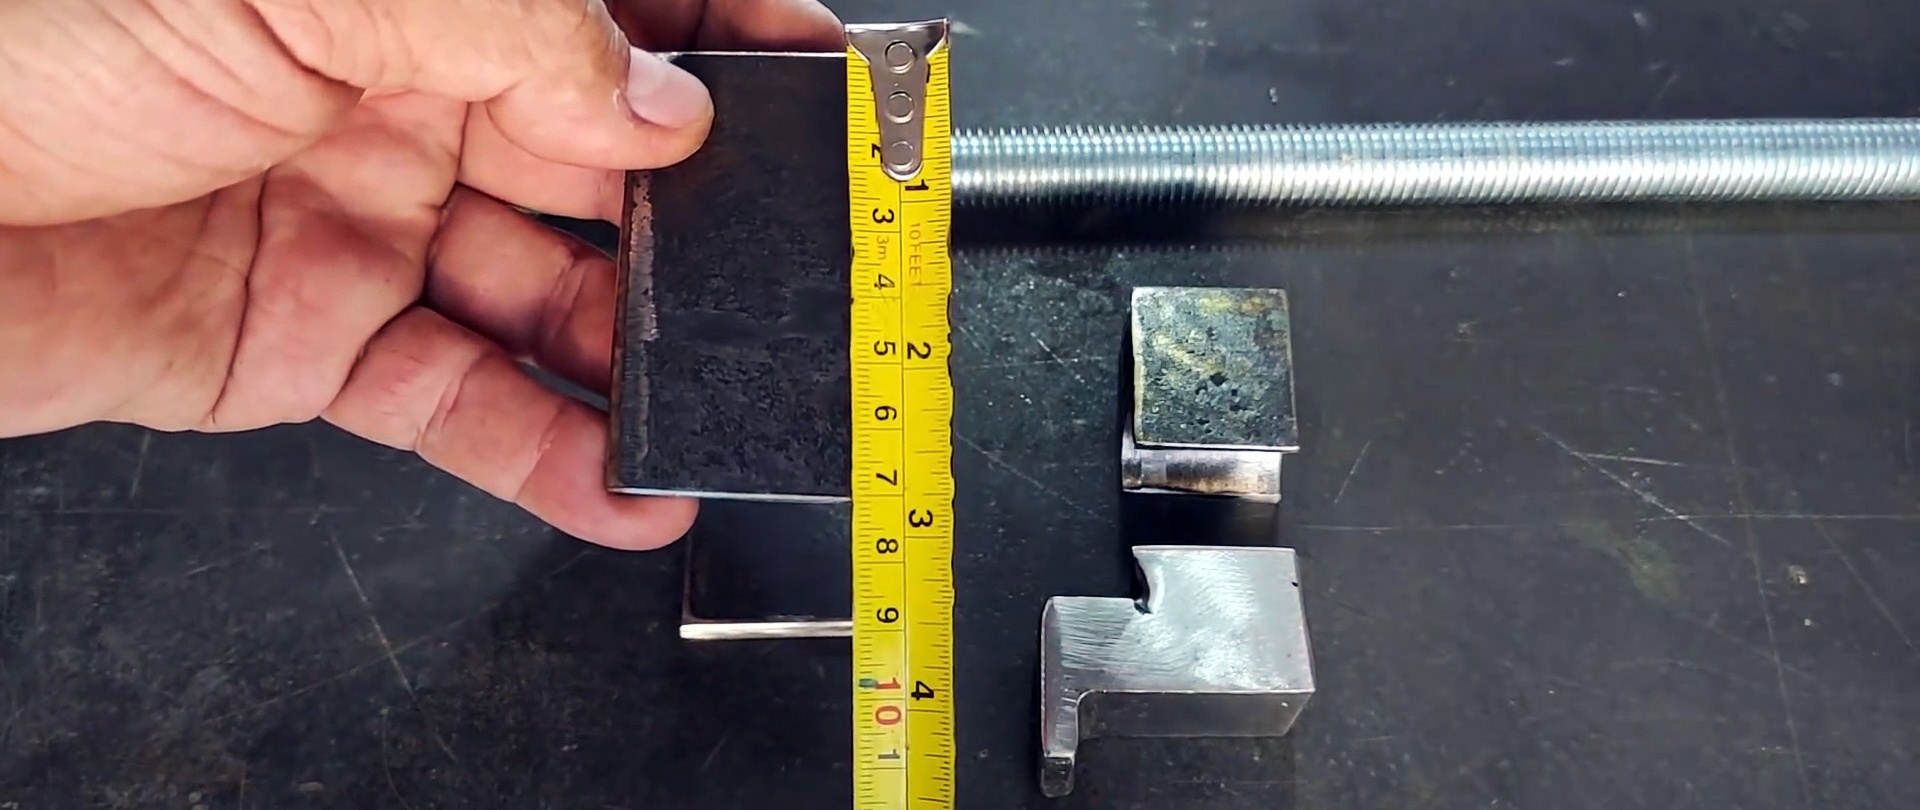

We install the resulting structure on a base with two holes at the edges and also weld it.
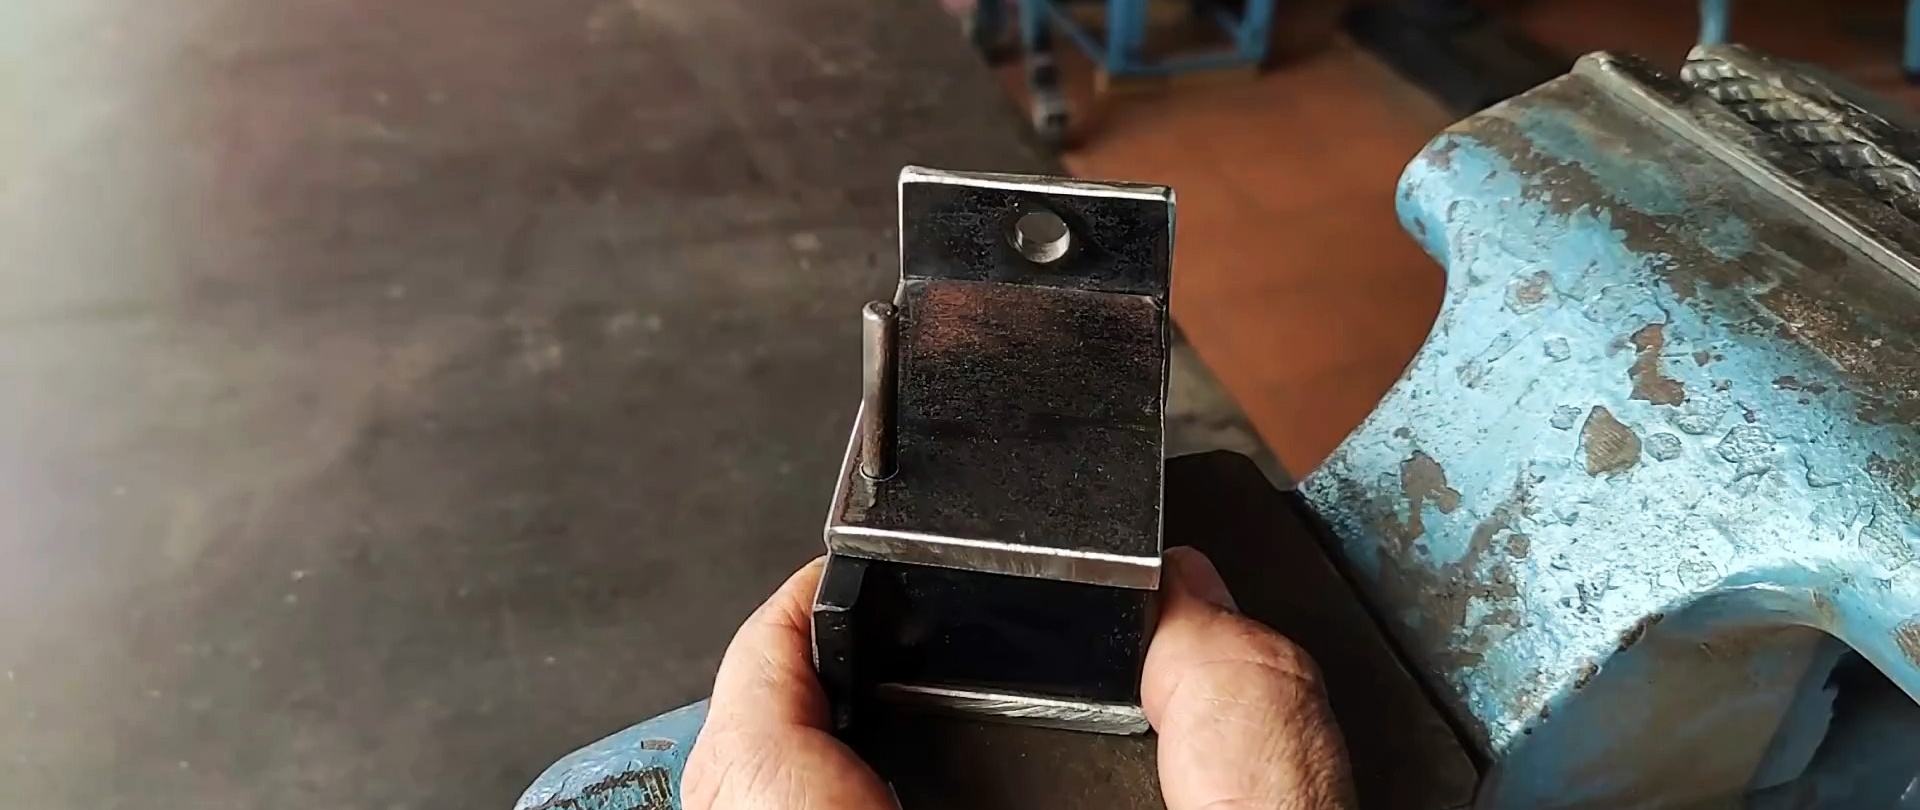
In the smooth half-hole we place a fragment of a tube with an external thread equal in length to the cylindrical groove.
Between the plates, on a fragment of the tube, we place the structure with a threaded cylindrical groove down.
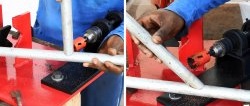
We tighten the resulting structure with a clamp and drill coaxial holes in the side plates according to the markings.

Using an old barrel with a hole in the bottom and a gas torch, heat the cylindrical threaded groove until red and dip it in quenching oil to increase hardness and strength.
We put the hardened groove in place, and drive the broken drill into the holes with interference.
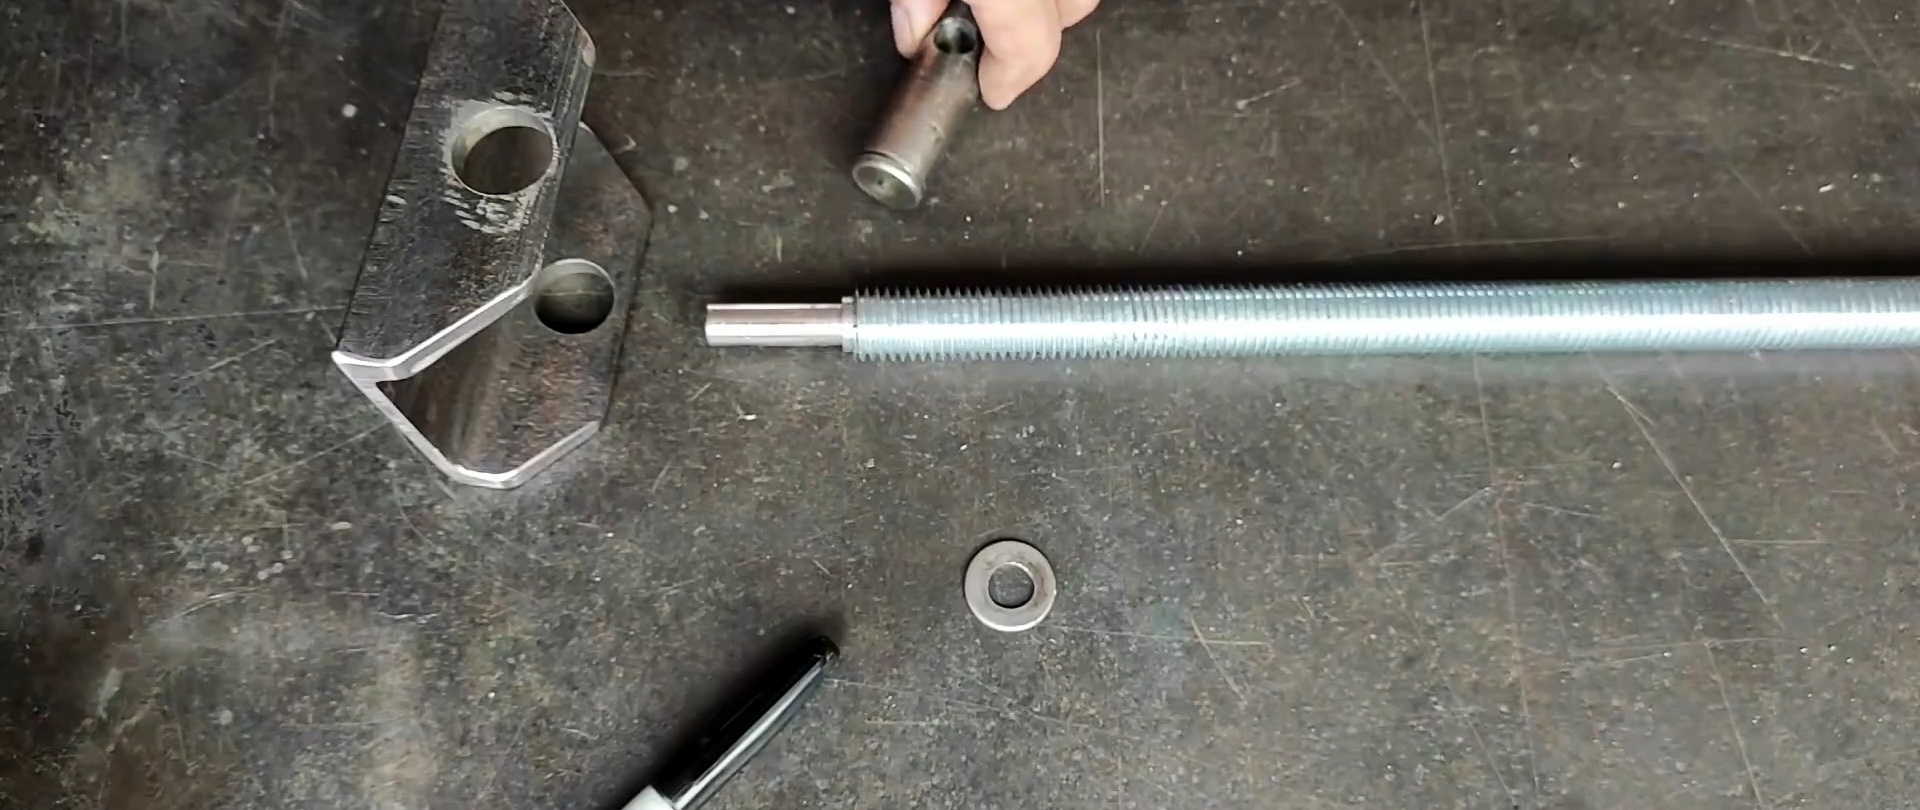
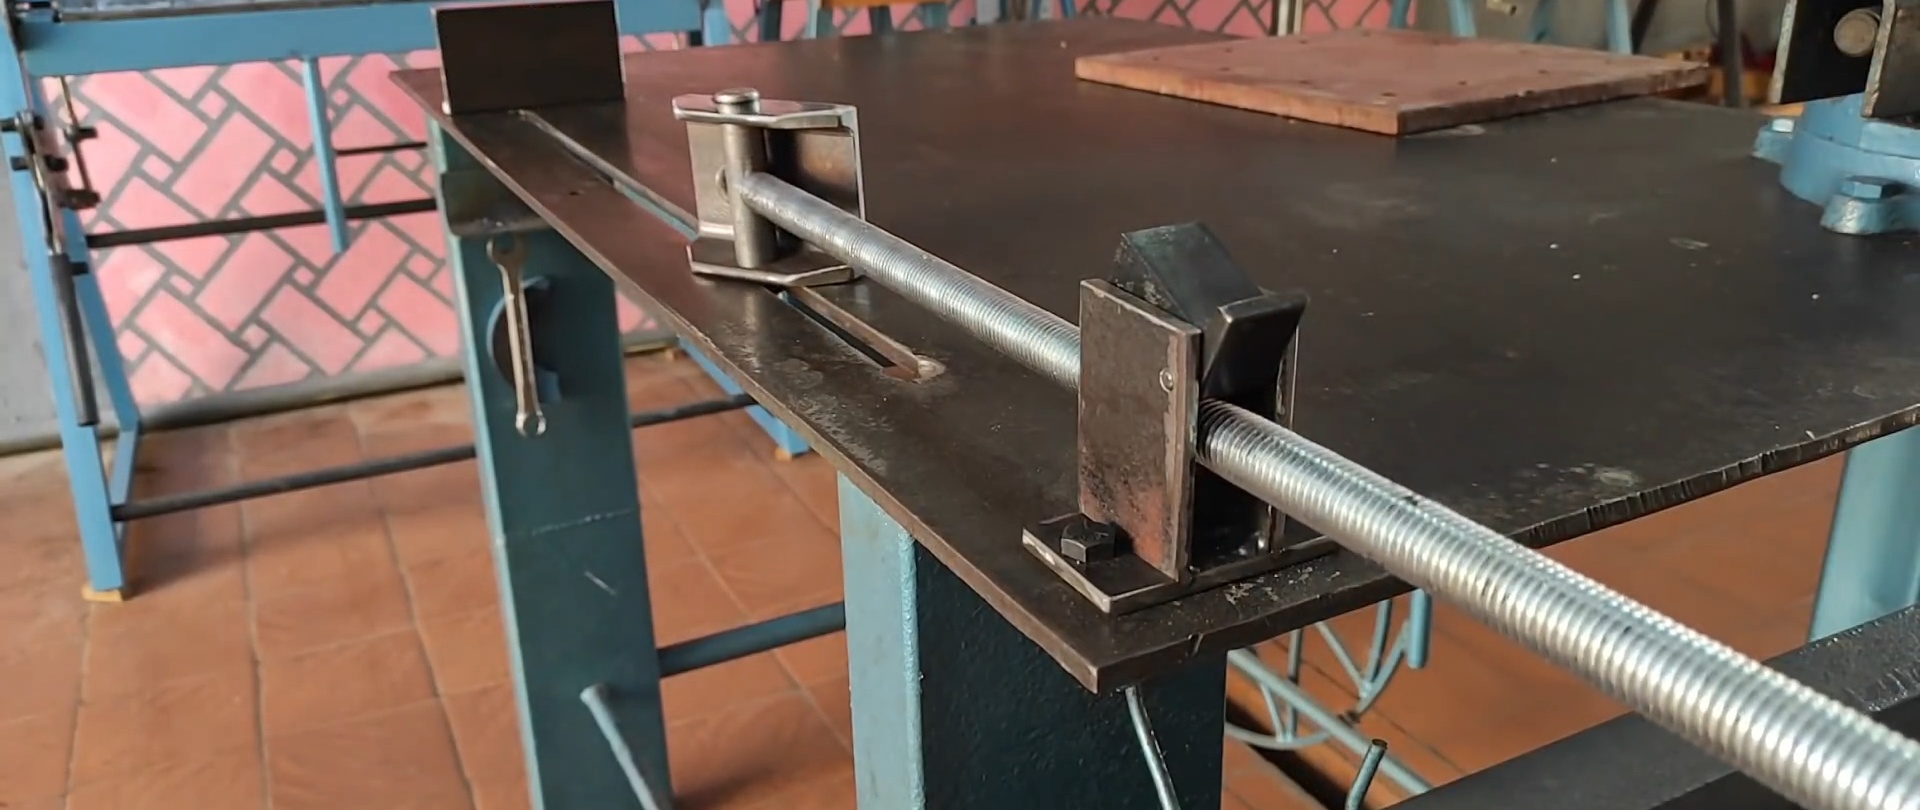
We turn the threaded rod with nuts on both sides on a lathe.
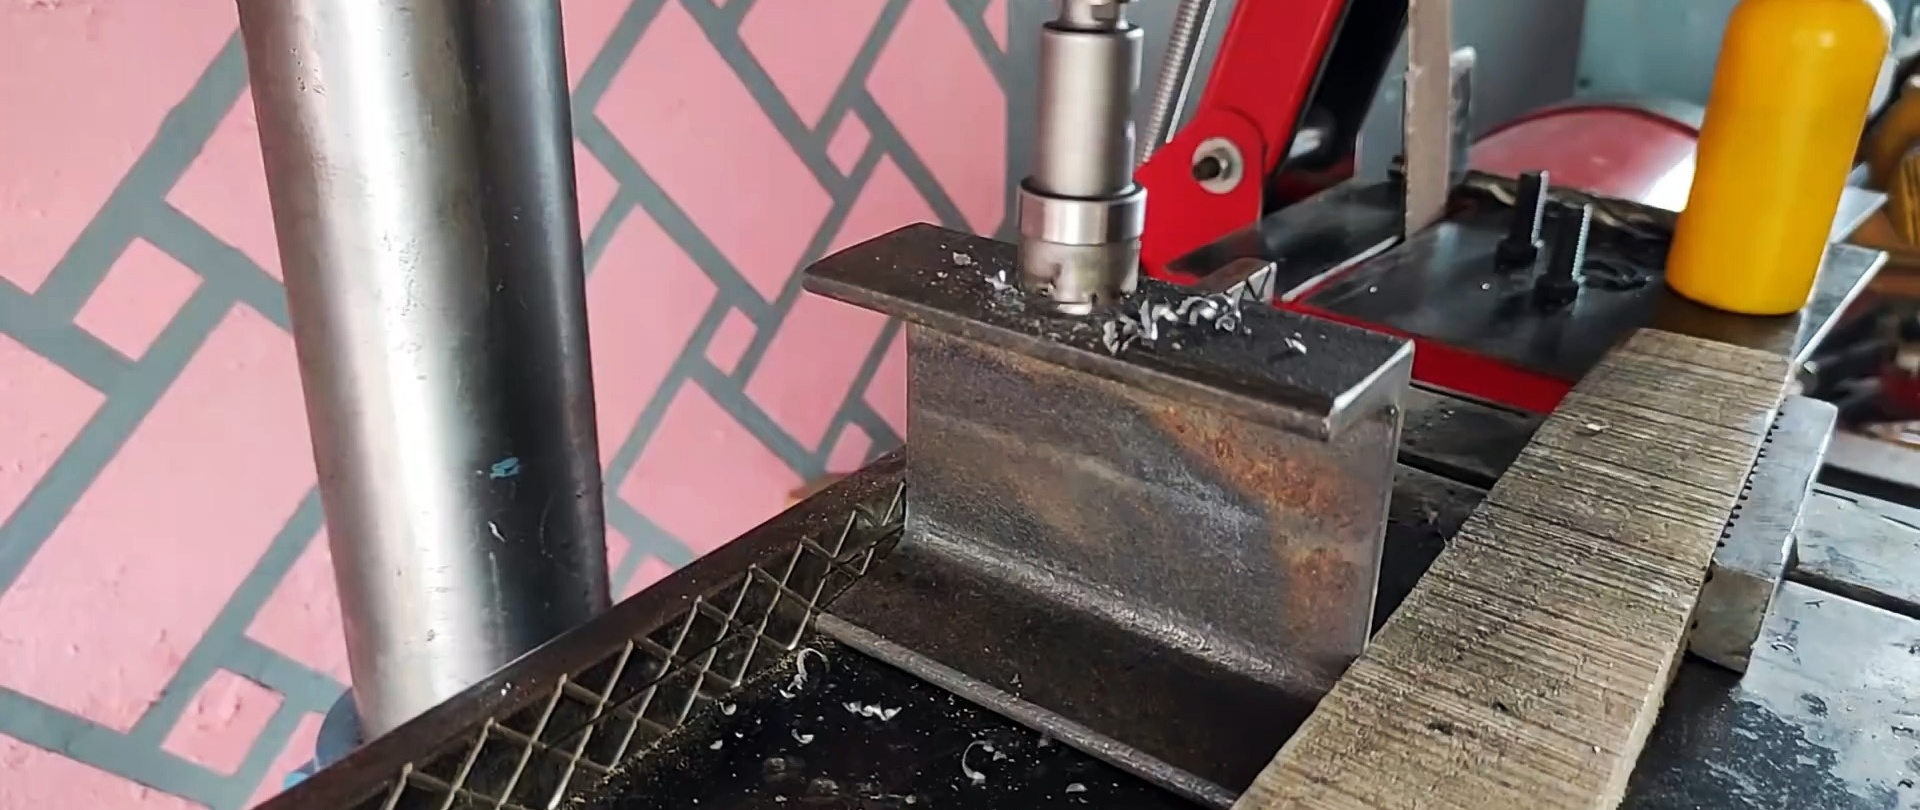
We cut out the required length fragment from the channel of the calculated size.
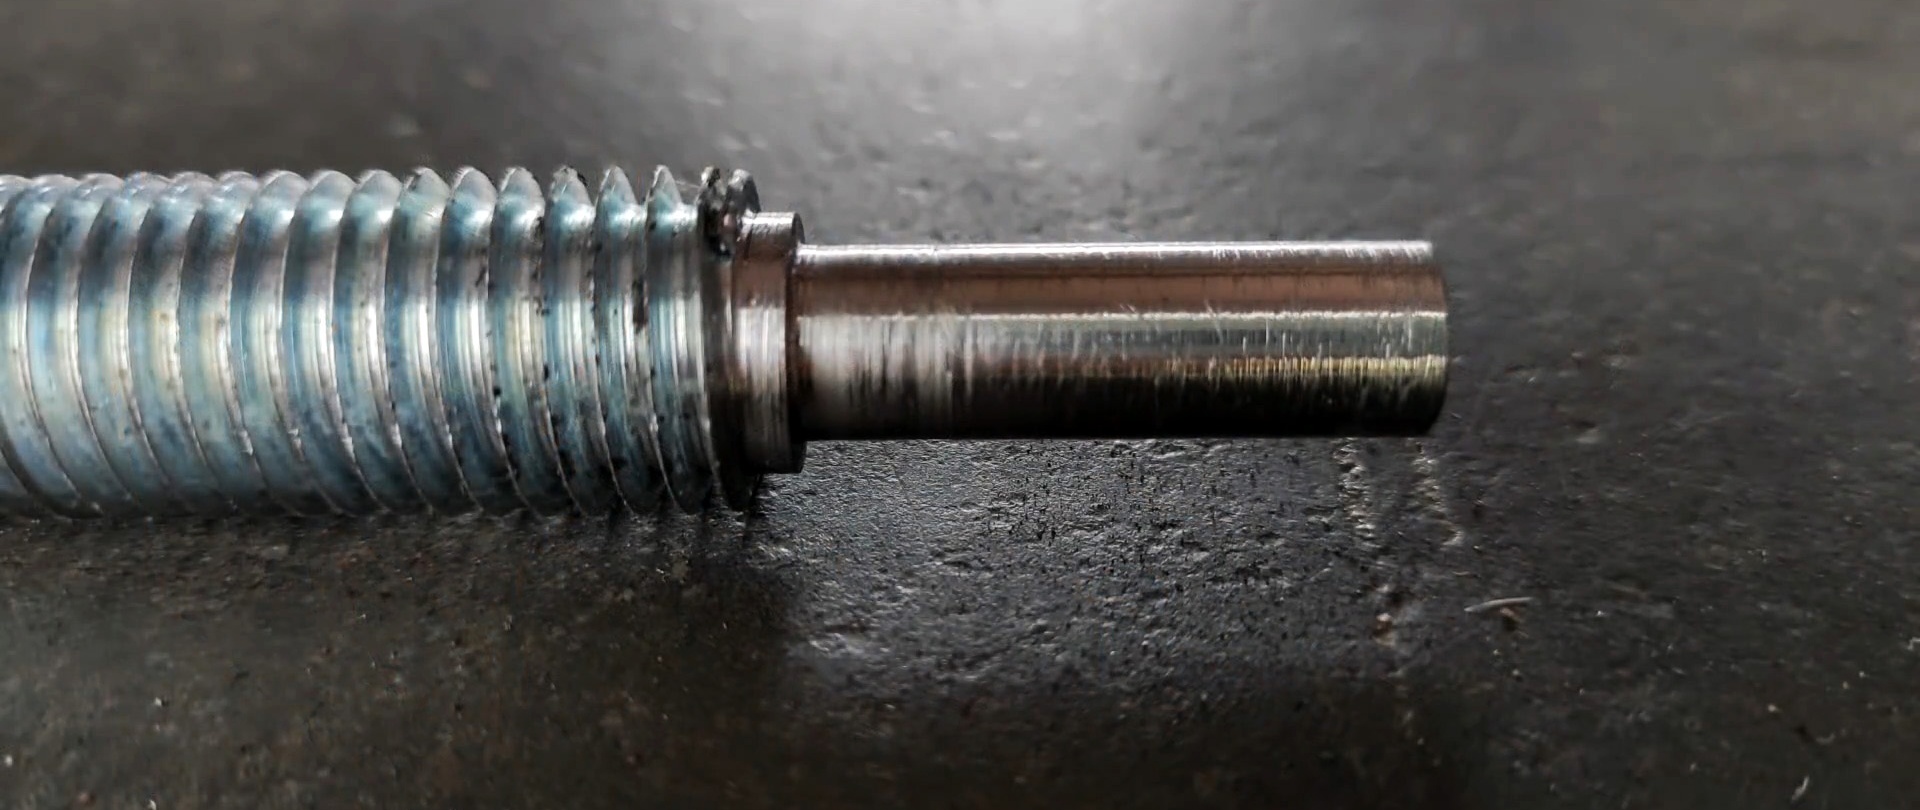
We turn a round rod on a lathe and make a wide and deep groove on one side, and a narrow and shallow groove on the other.

We drill a transverse hole in the center of the rod so that the end of the threaded rod fits freely into it.

In the channel flanges, we drill coaxial holes according to the markings and cut off the corners.
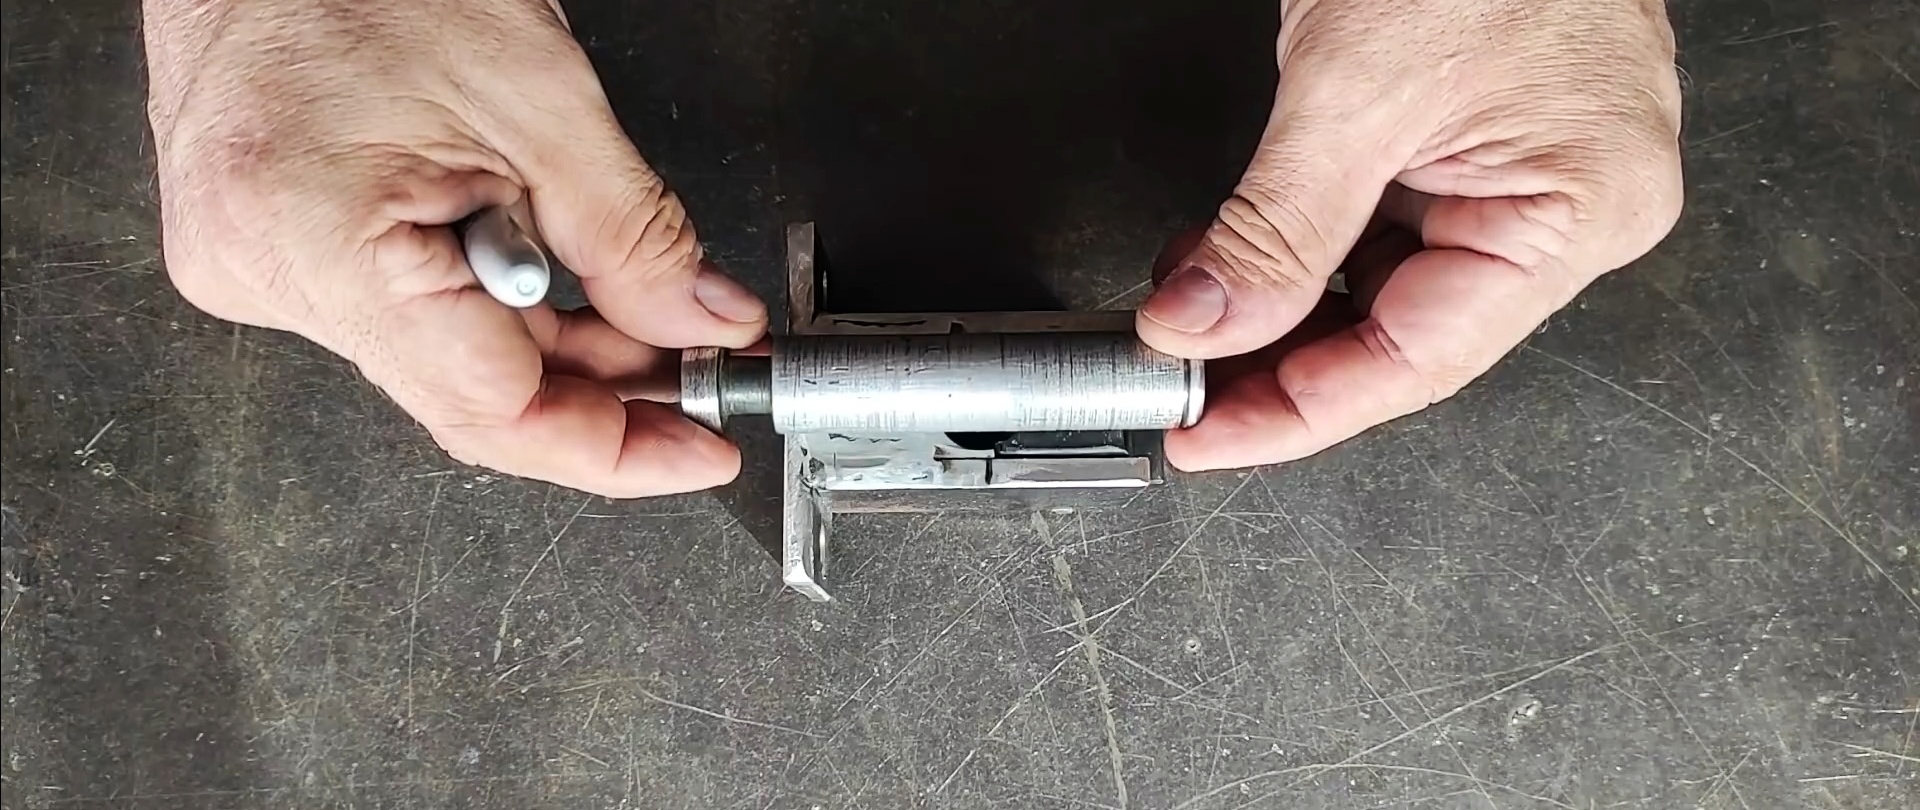
We insert a rod with a transverse hole into the channel holes. We install the threaded rod with a groove with a transverse hole at the end into place, put on the washer, insert a piece of nail into the hole of the rod and bend the ends.
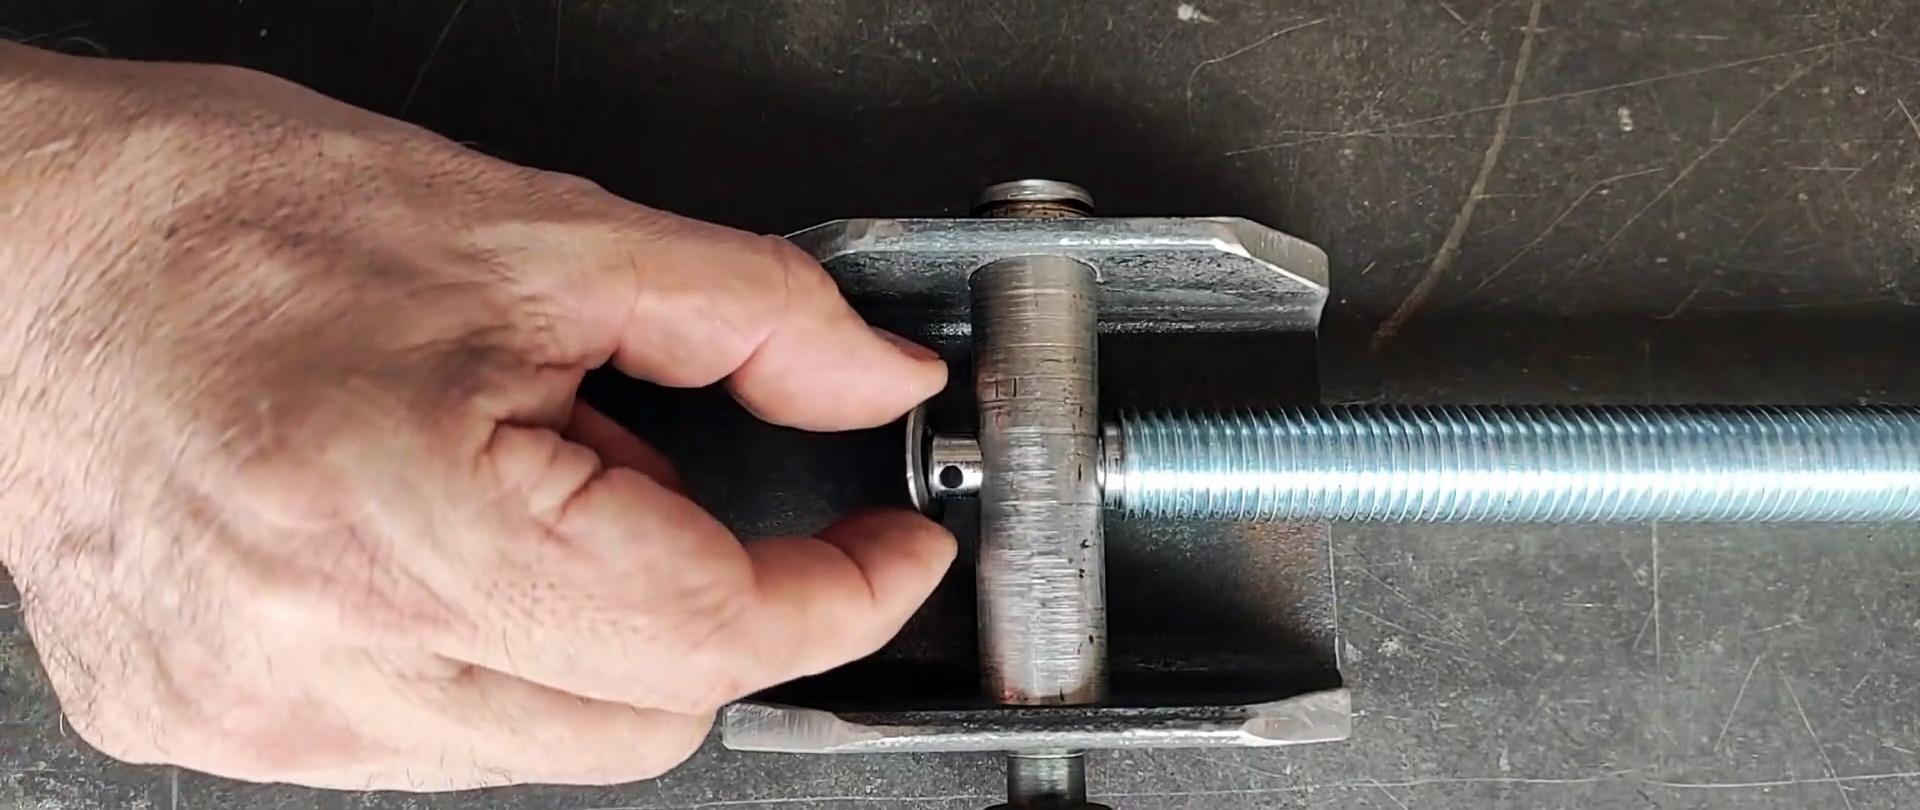

We install a locking spring washer into the narrow annular groove.

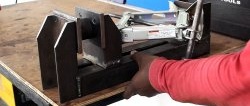
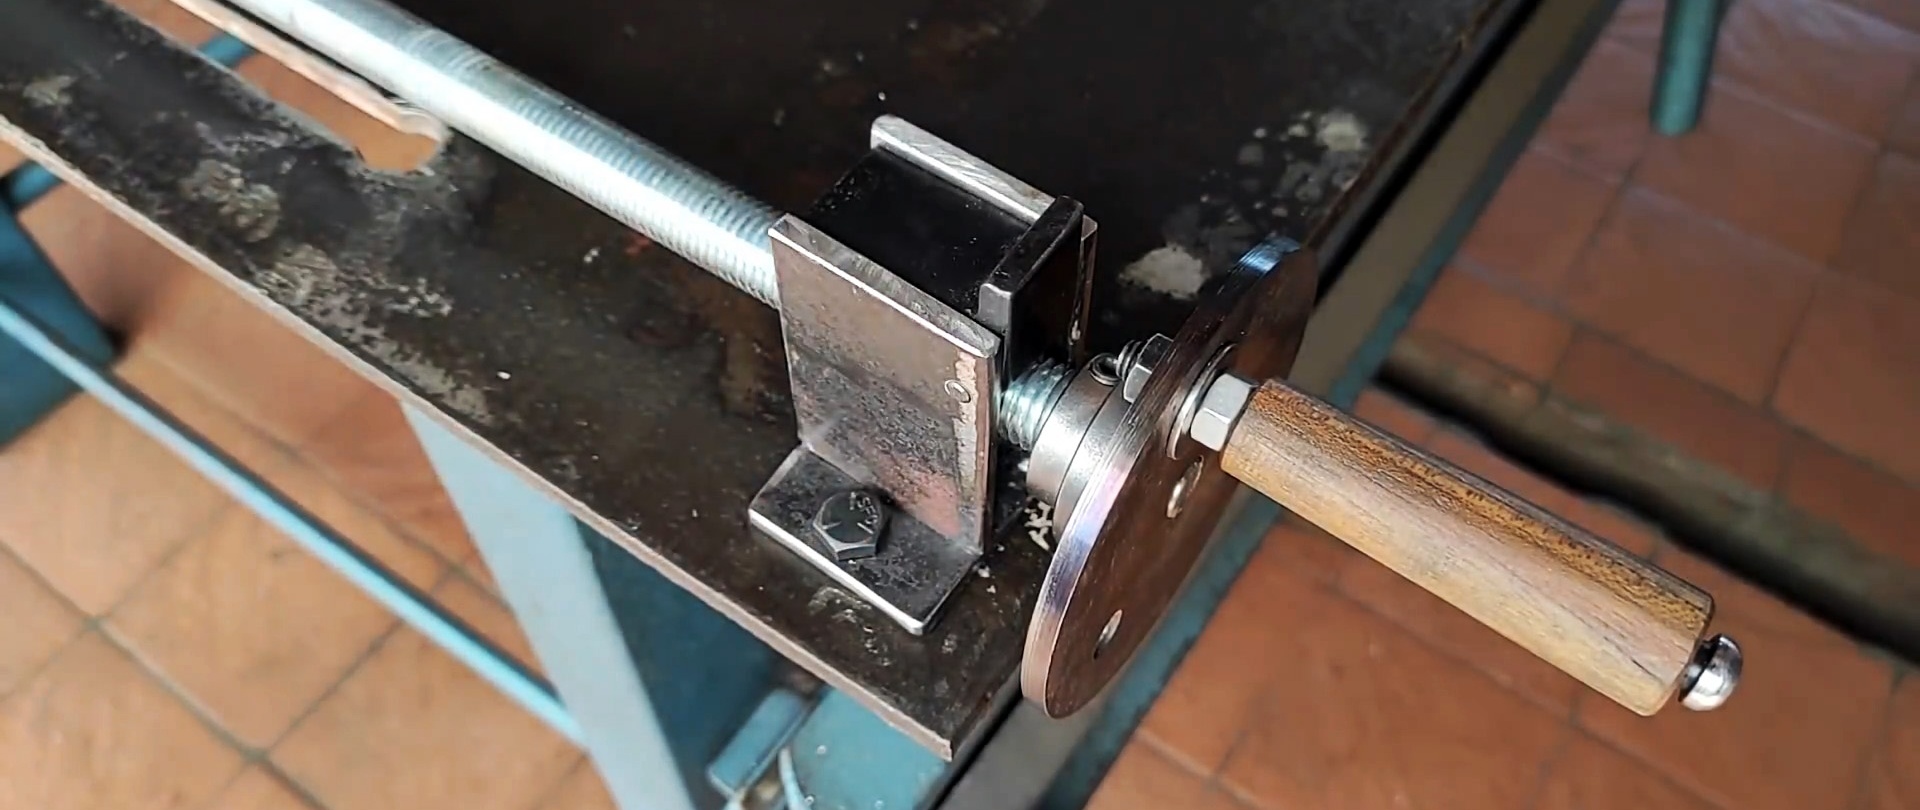
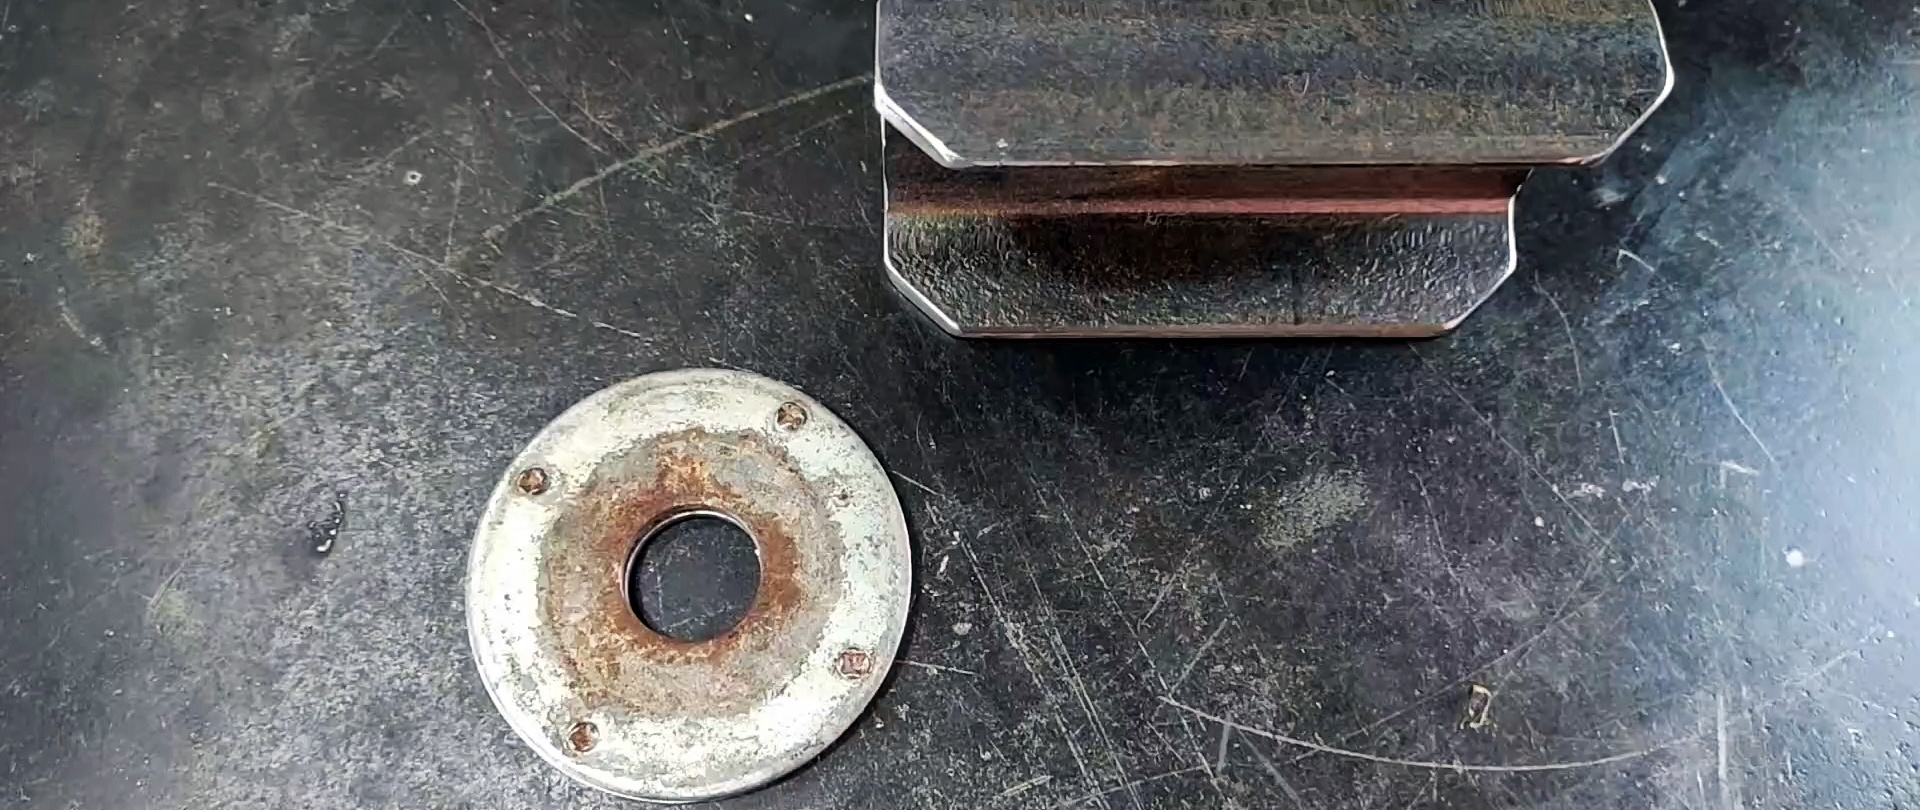
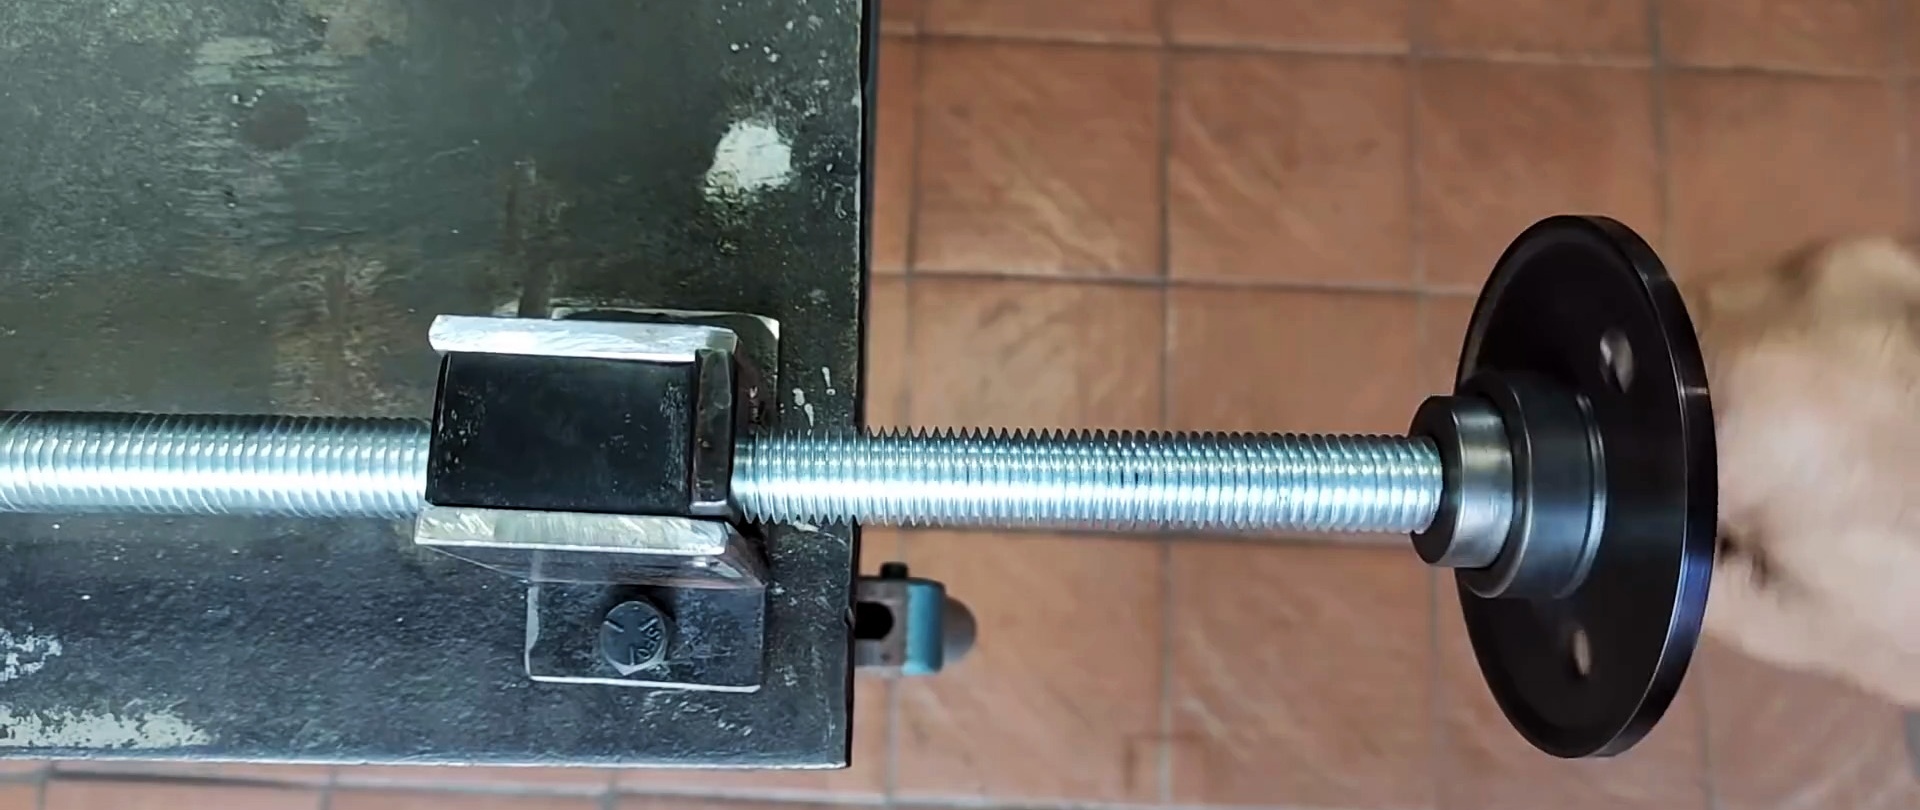
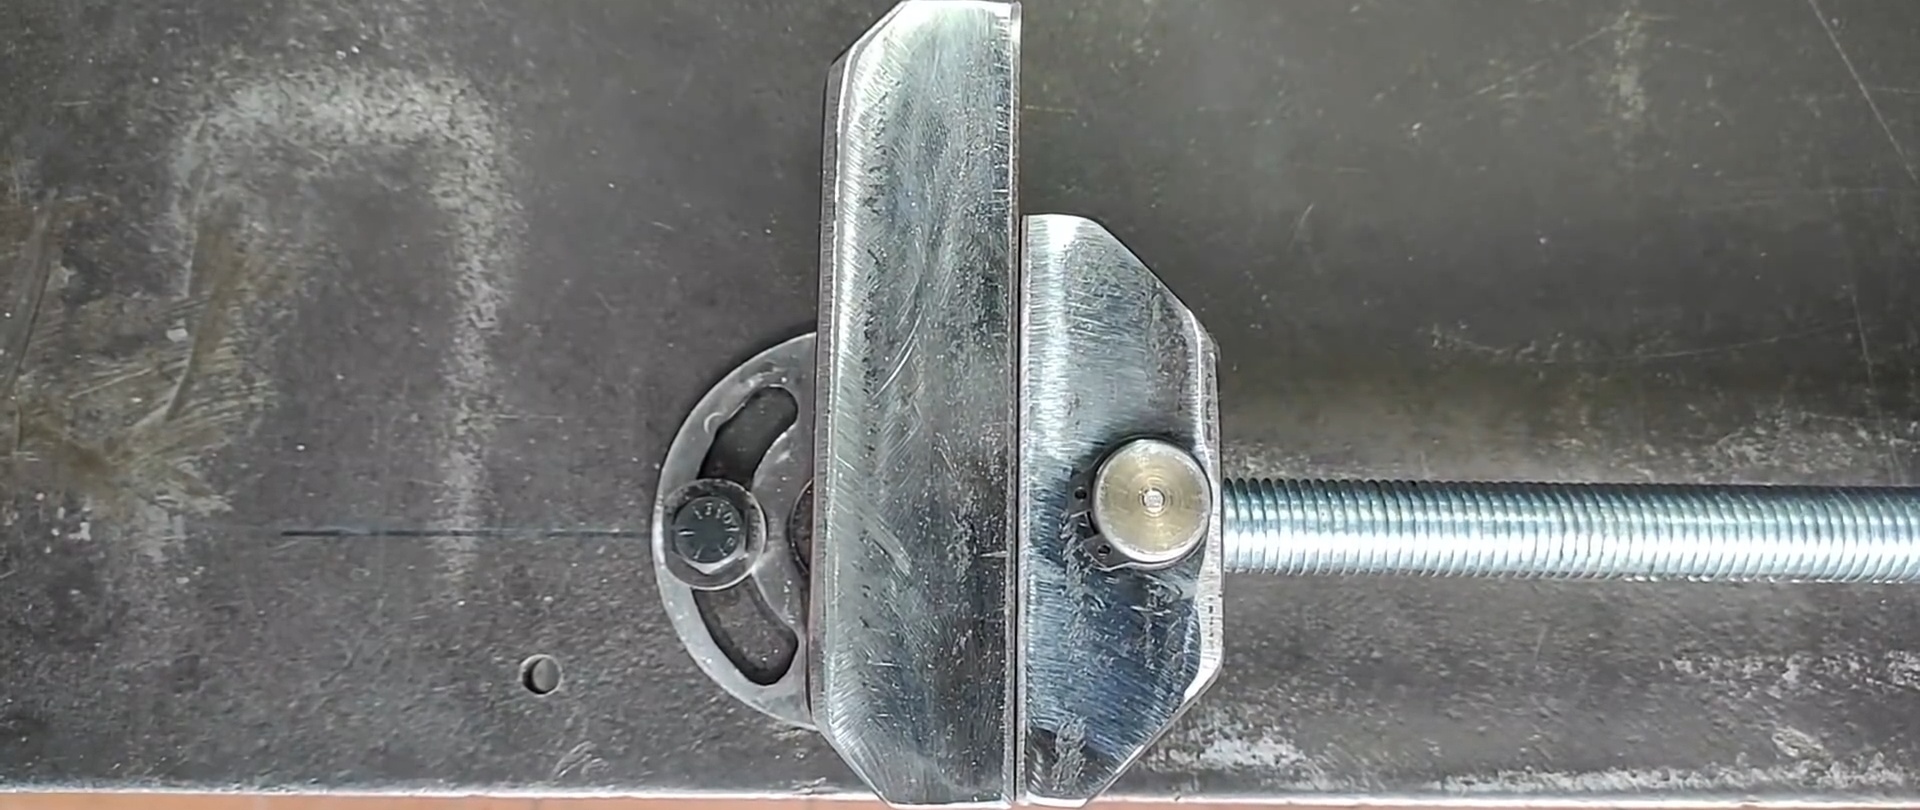
We turn an old toothed disc wheel with a single-sided hub on a lathe, install it on the end of a threaded rod and secure it with a locking screw.


Using a ball-head bolt, secure the wooden handle to the disk using washers and nuts.

In sheet metal we make a long slot between two through holes with diameters larger than the width of the slot.


We insert the end of the rod in the channel into the end hole and move it along the slot.

The structure with a hardened semi-cylindrical groove is secured to the plate on the other side of the slot with bolts, washers and nuts.
By lifting the hardened threaded groove, we freely move the threaded rod in both directions.
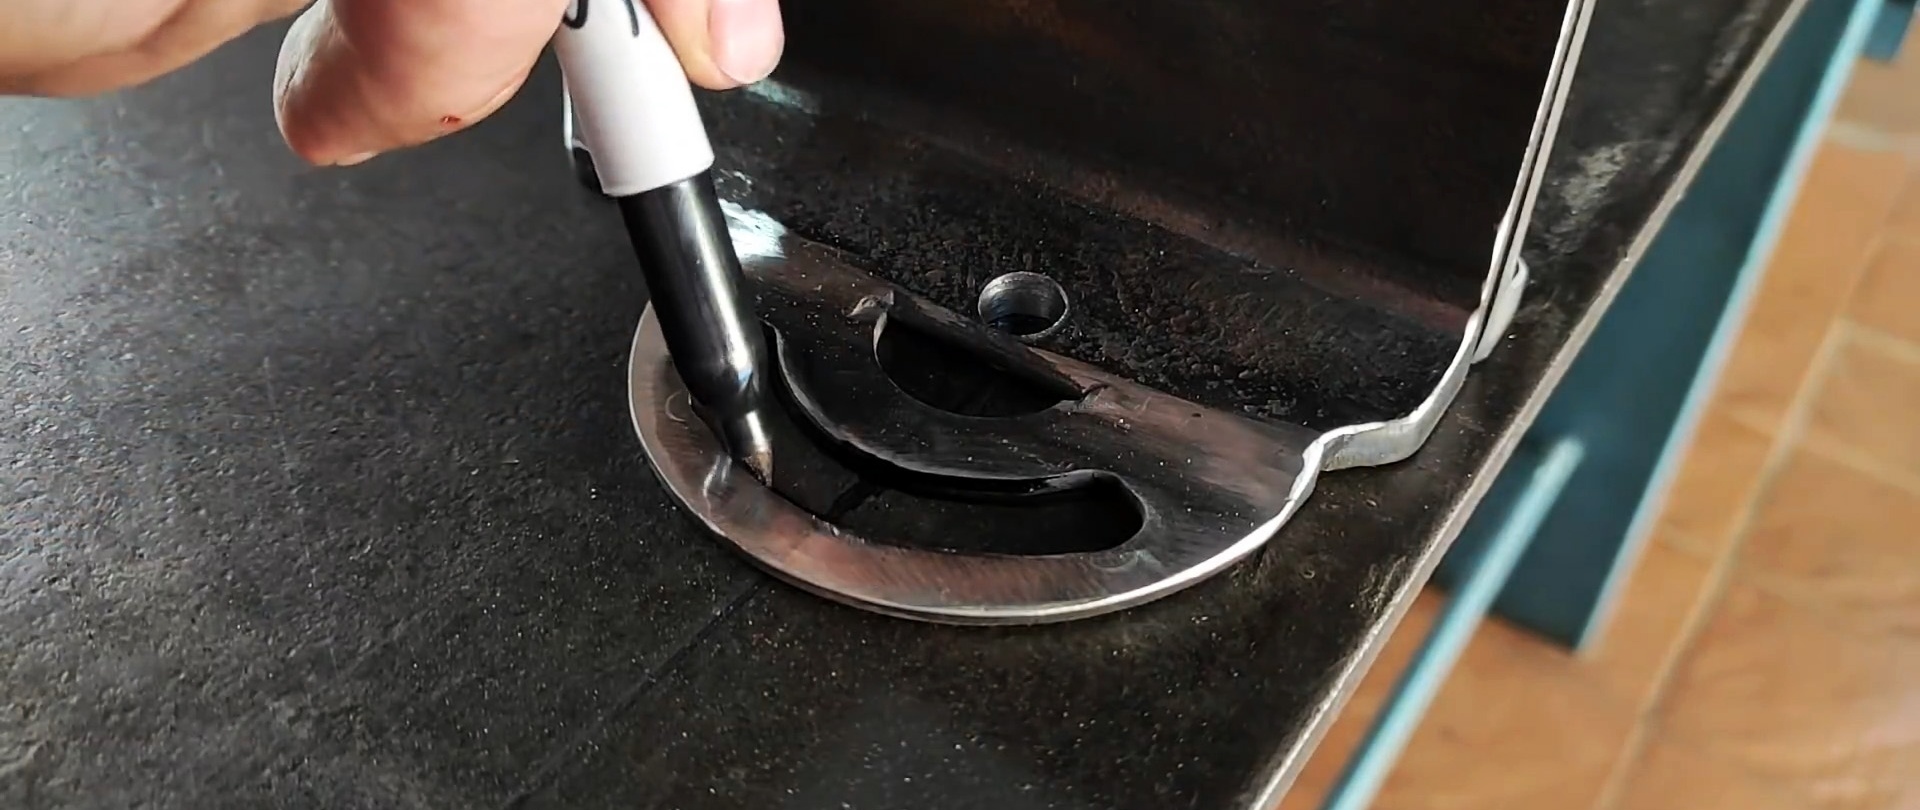
To the channel, having previously rounded all the corners, we weld a steel semicircle with a protrusion and slots to one of the shelves.
At the far end of the slot, we make holes in the base sheet metal that correspond to the hole in the channel and the slot in the steel semicircle.
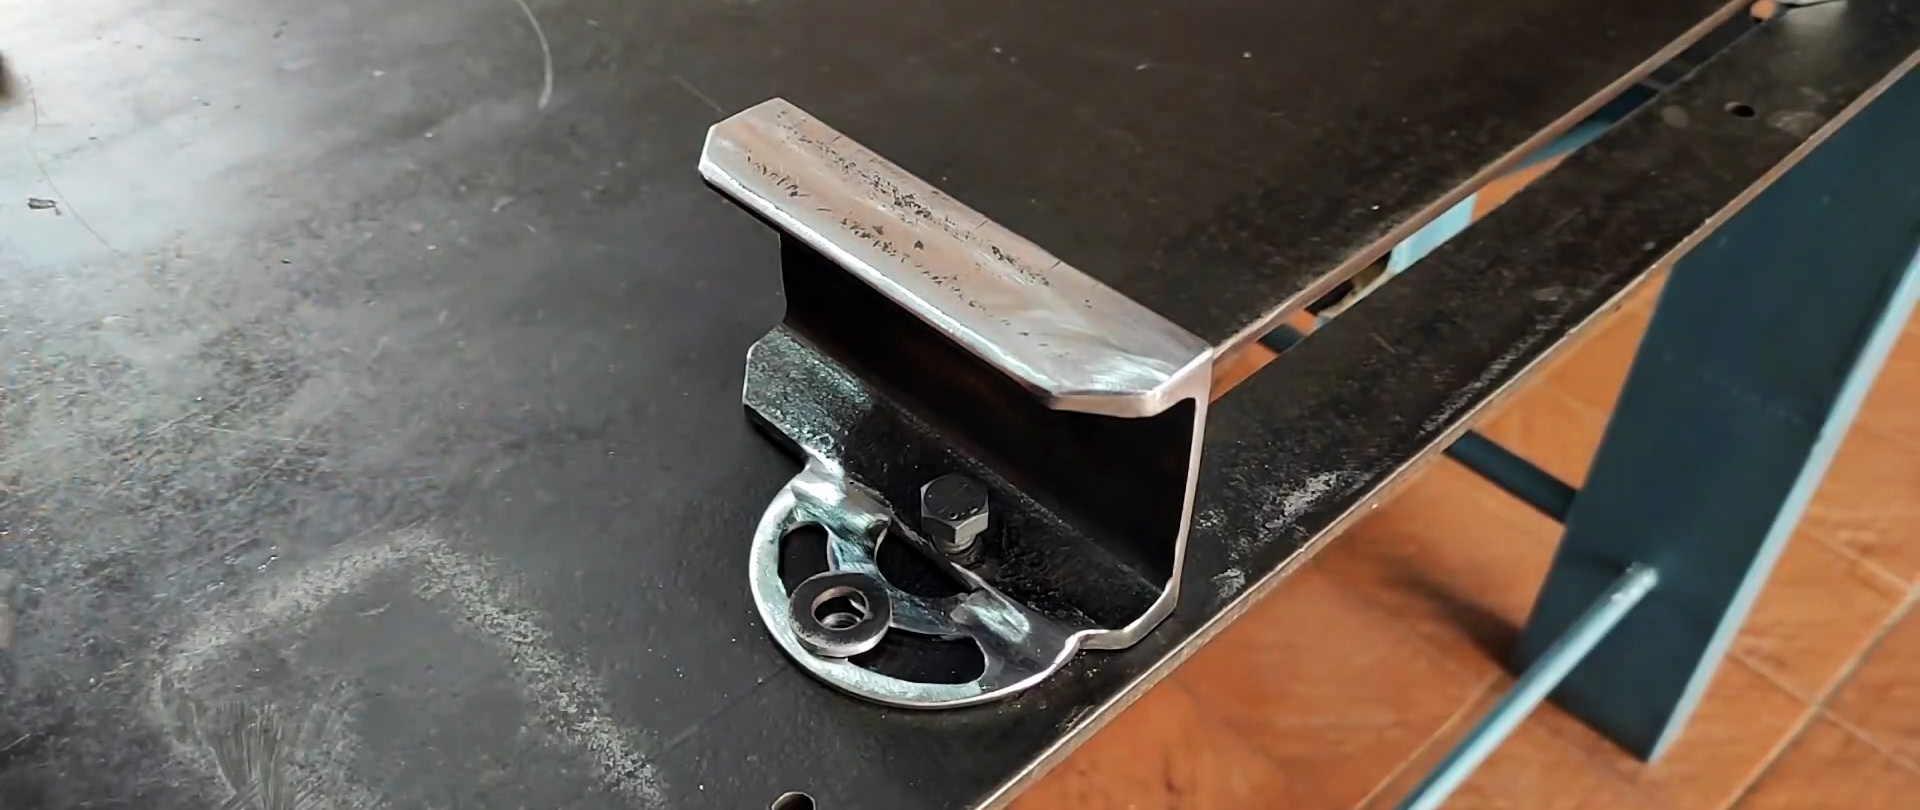
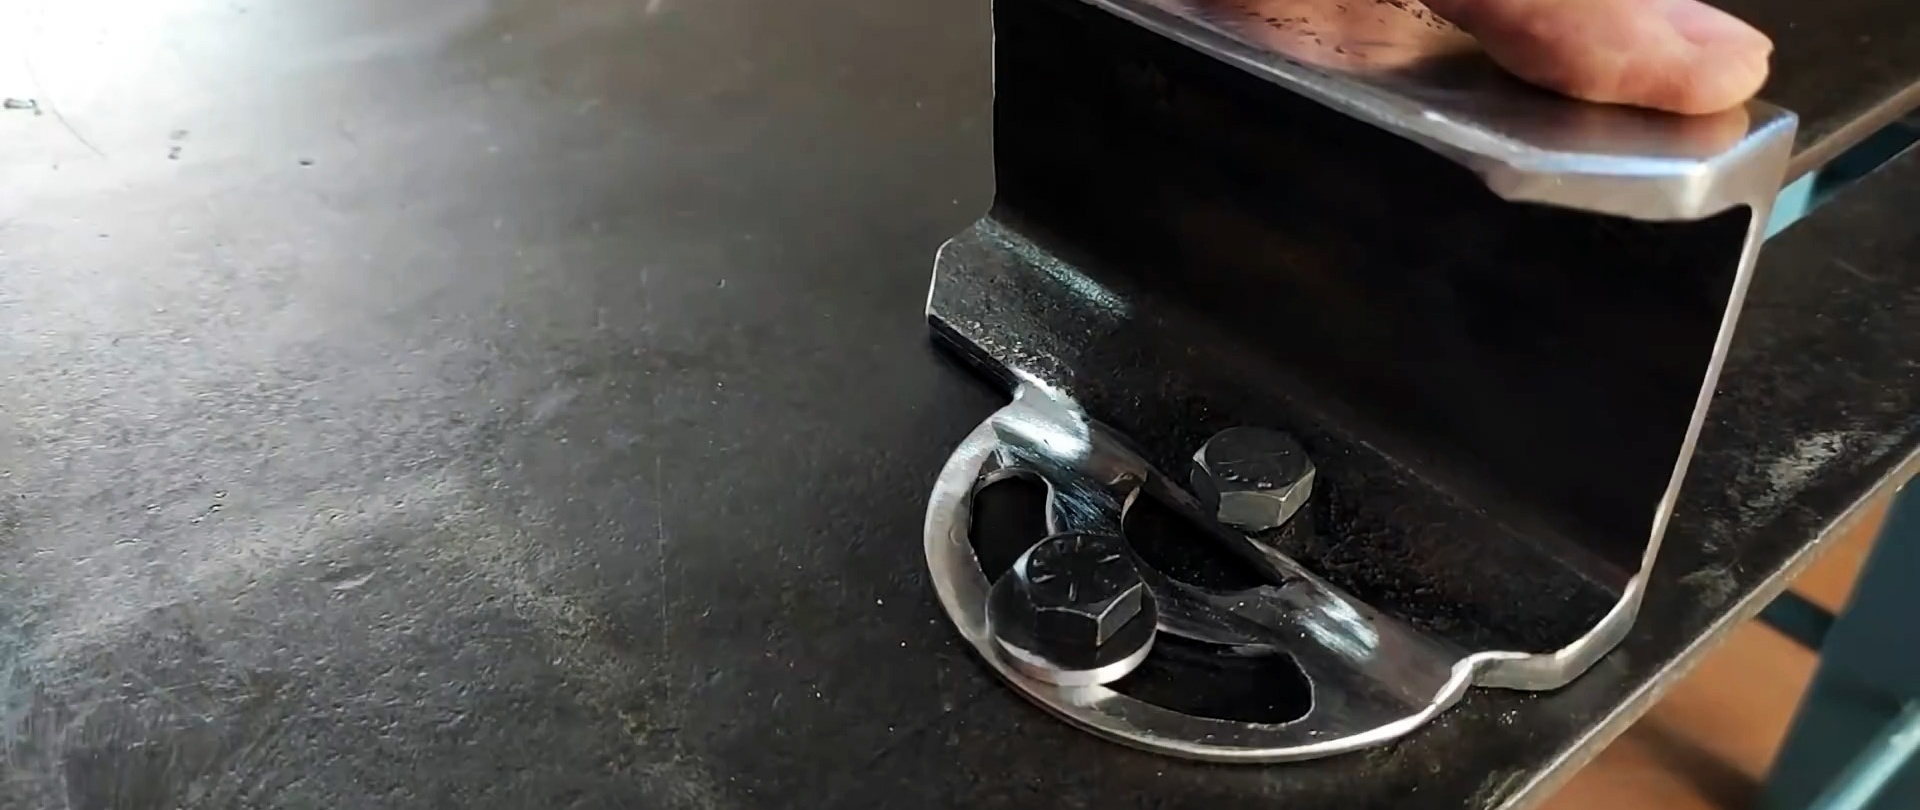
We secure the channel and semicircle to the base using bolts and nuts.
With the semi-cylindrical groove with the thread raised, pull the threaded rod toward you.
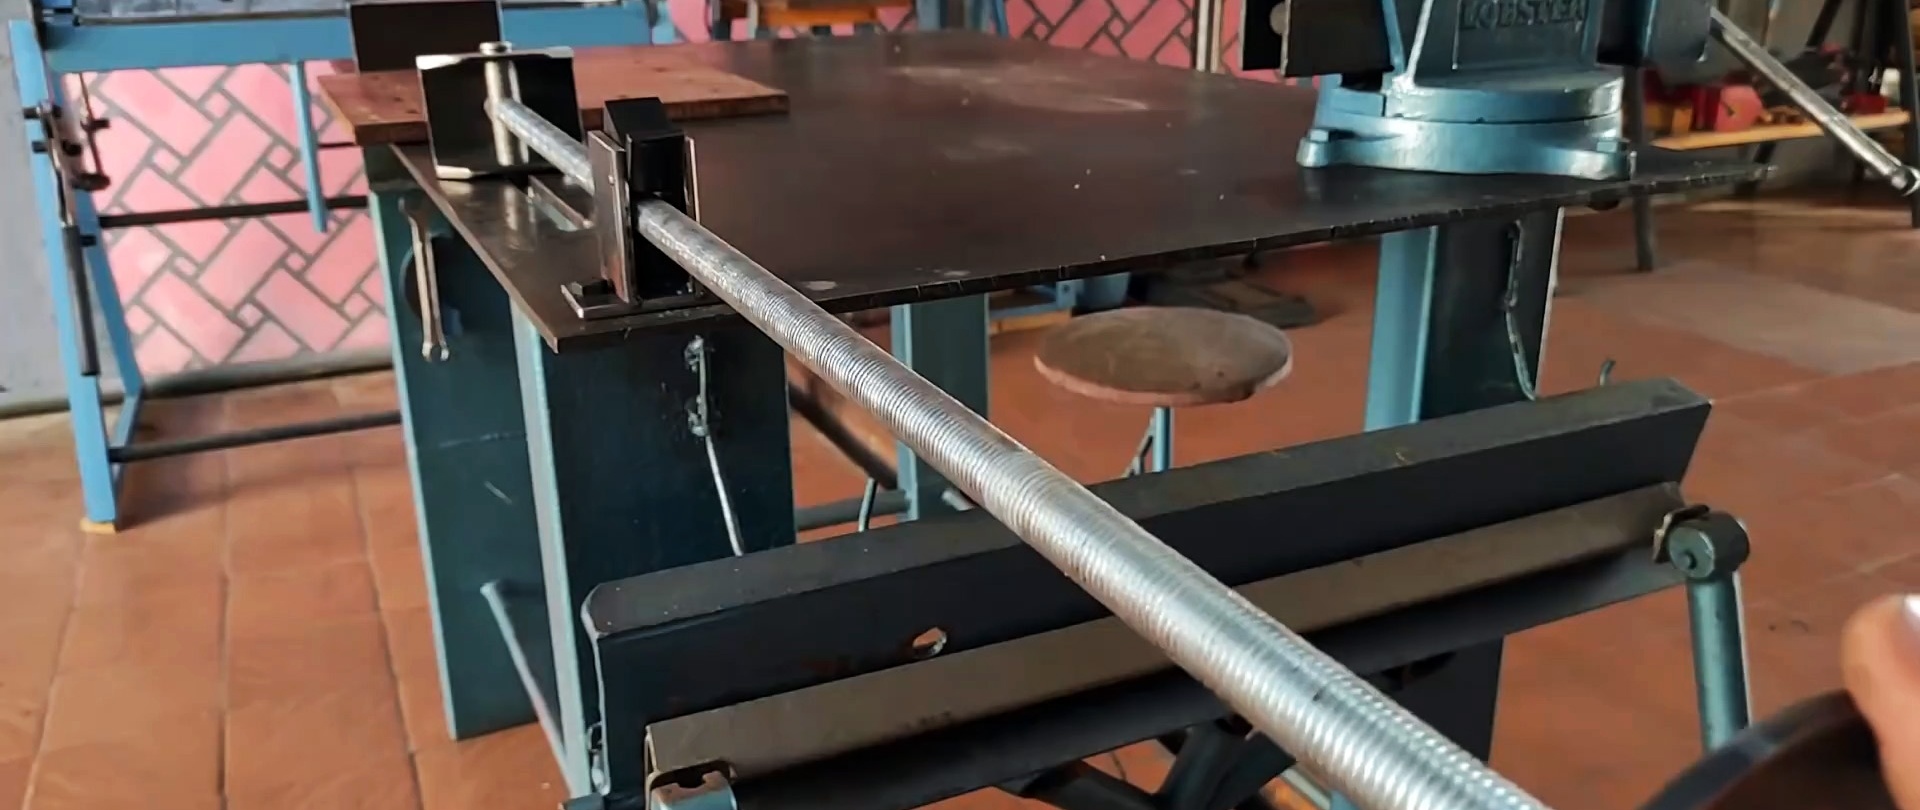
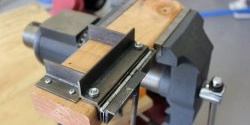
We place the material to be processed between the movable and fixed stops.
We lower the groove onto the rod and rotate the handle on the disk clockwise. As a result, the material is securely fixed and ready for processing.
By changing the position of the fixed stop using two bolts, workpieces can be clamped at different angles.