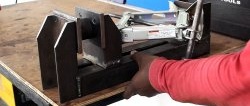
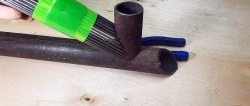
If, when joining round pipes, the saddle is precisely cut, the welding seam will lie flat and the connection will be strong. Not everyone can make a cutout with a handy tool, and the factory model is expensive. But you can assemble such a cutter yourself.
Will need
- Rectangular steel plate;
- steel strip;
- channel;
- bolts, washers and nuts;
- two bearing units with bearings;
- steel rod;
- drill;
- drill chuck with shank;
- metal crown, etc.
Manufacturing process for cutting pipe saddles perfectly
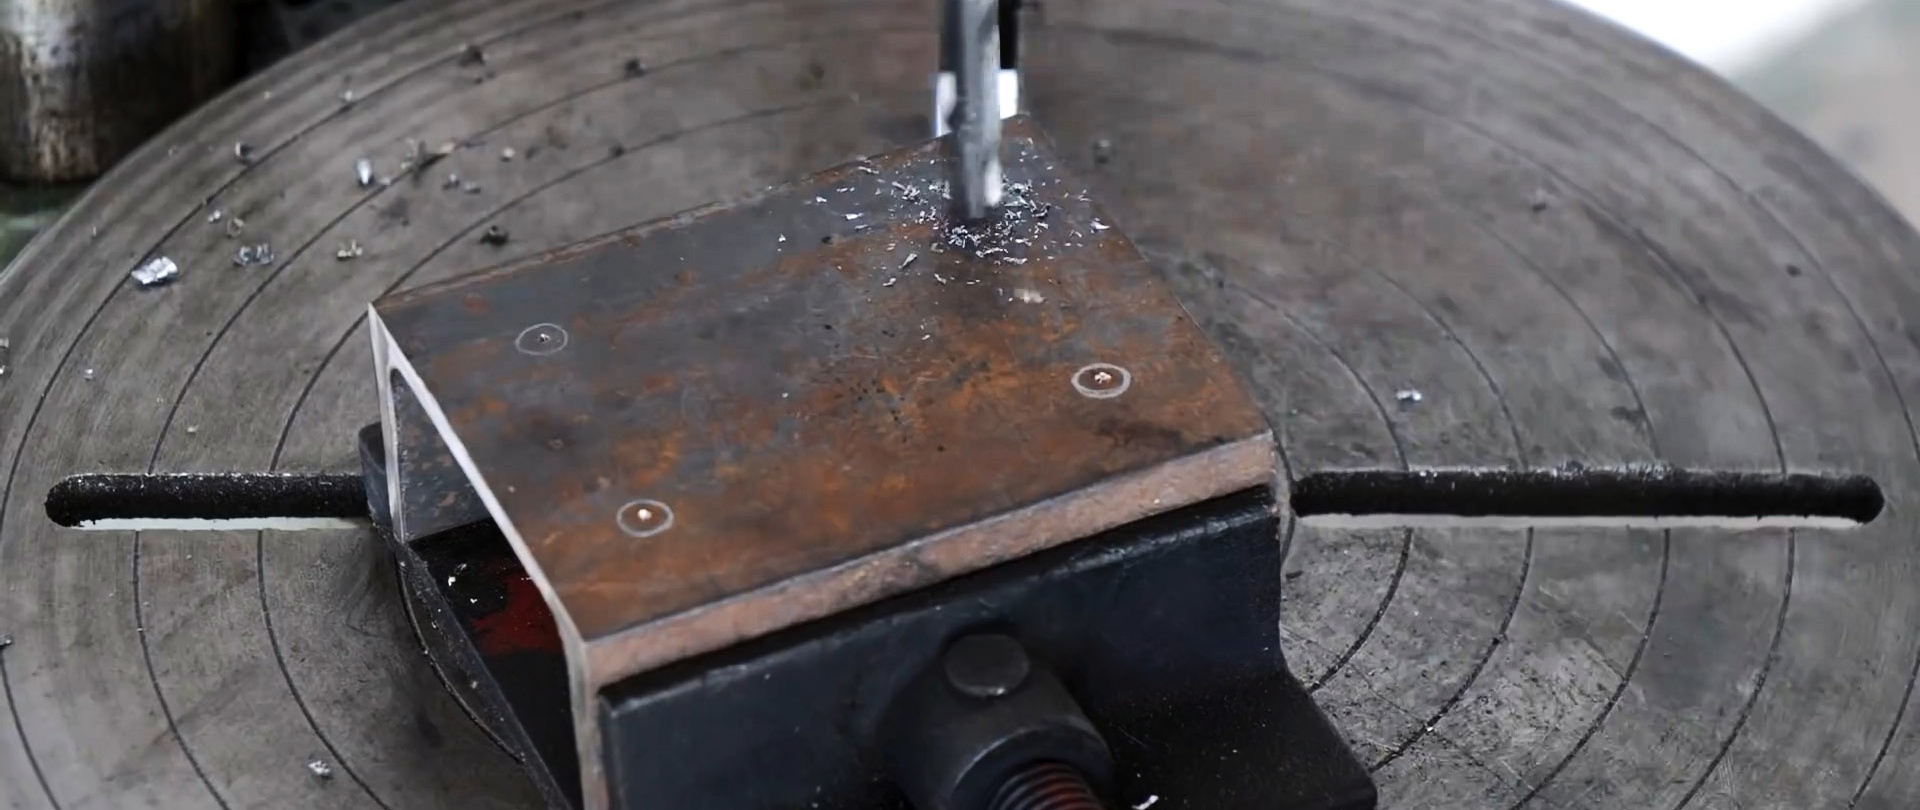
We clean the steel plate from rust, remove the chamfers and grind the edges.

According to the markings in the plate, we drill a hole in two steps and cut the thread. Using a pendulum saw, we shape the length of the steel strip and drill a hole according to the marking.

We fasten the steel strip with a bolt and a ring to the steel plate.

We separate a piece of the required length from the channel and make 4 holes on the wall in the corners.
We put two bearing units on the steel rod and secure them outside the channel wall with bolts. We make sure that the rotation and longitudinal movement of the rod in the bearings is free.
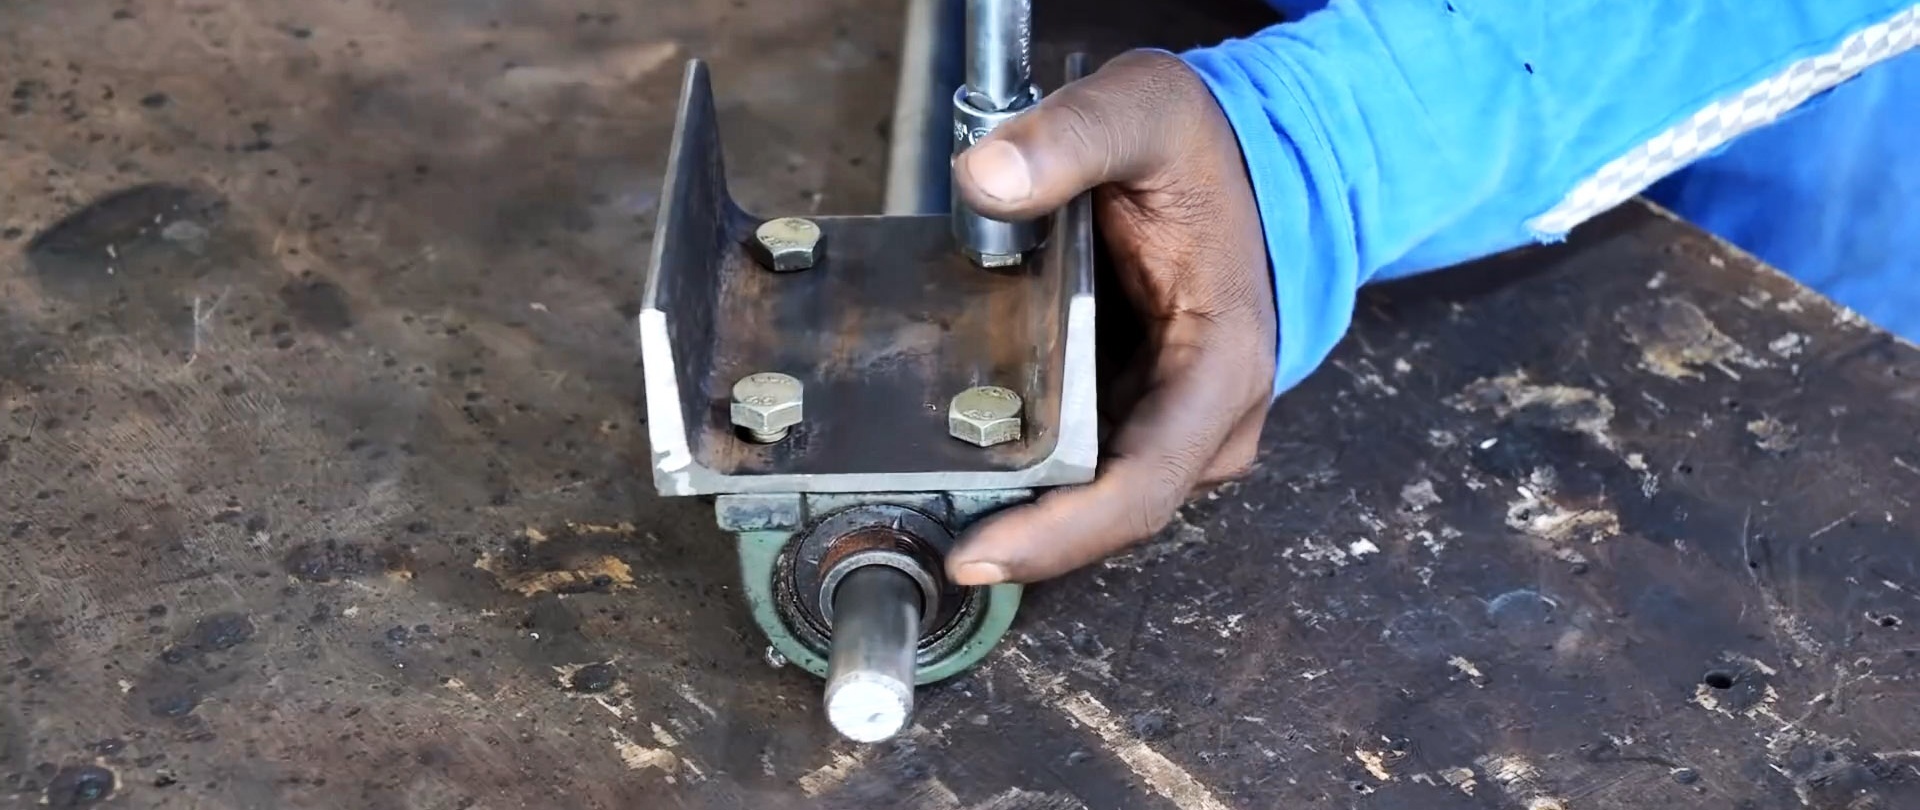

We install the channel with bearings along the shelves along the free end of the steel strip and weld it.

Use a pendulum saw to separate two equal sections from the steel strip. We cut out offset recesses in them in the form of equilateral triangles with vertices on the axis of the strips.
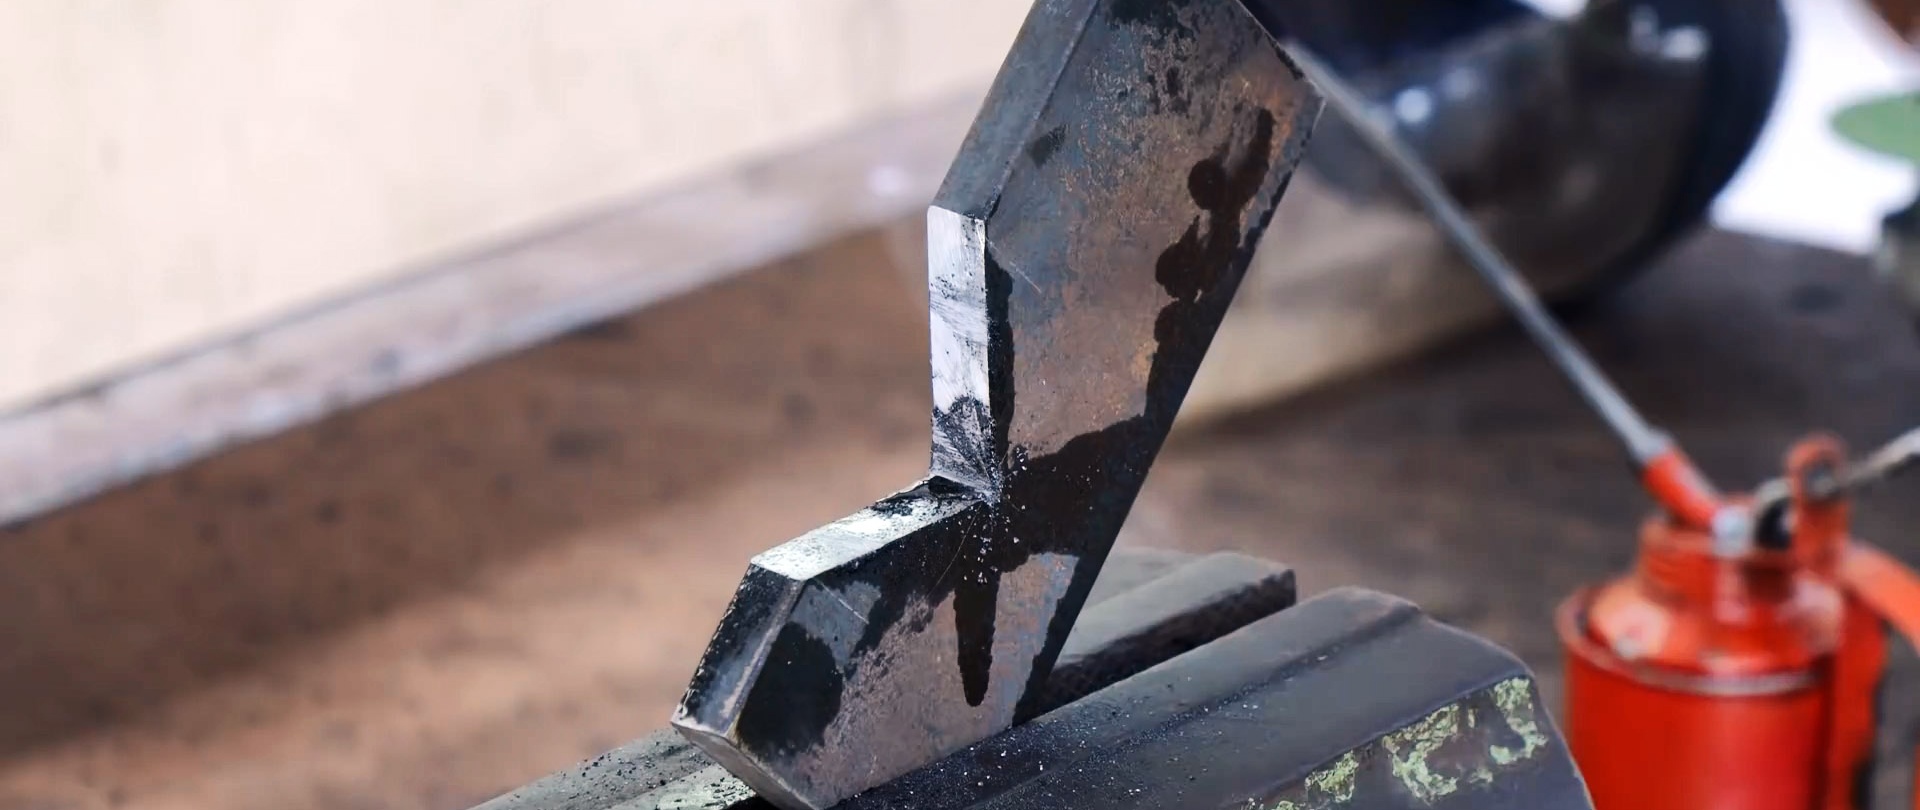
We place the strips with recesses on the plate according to the markings and weld them.
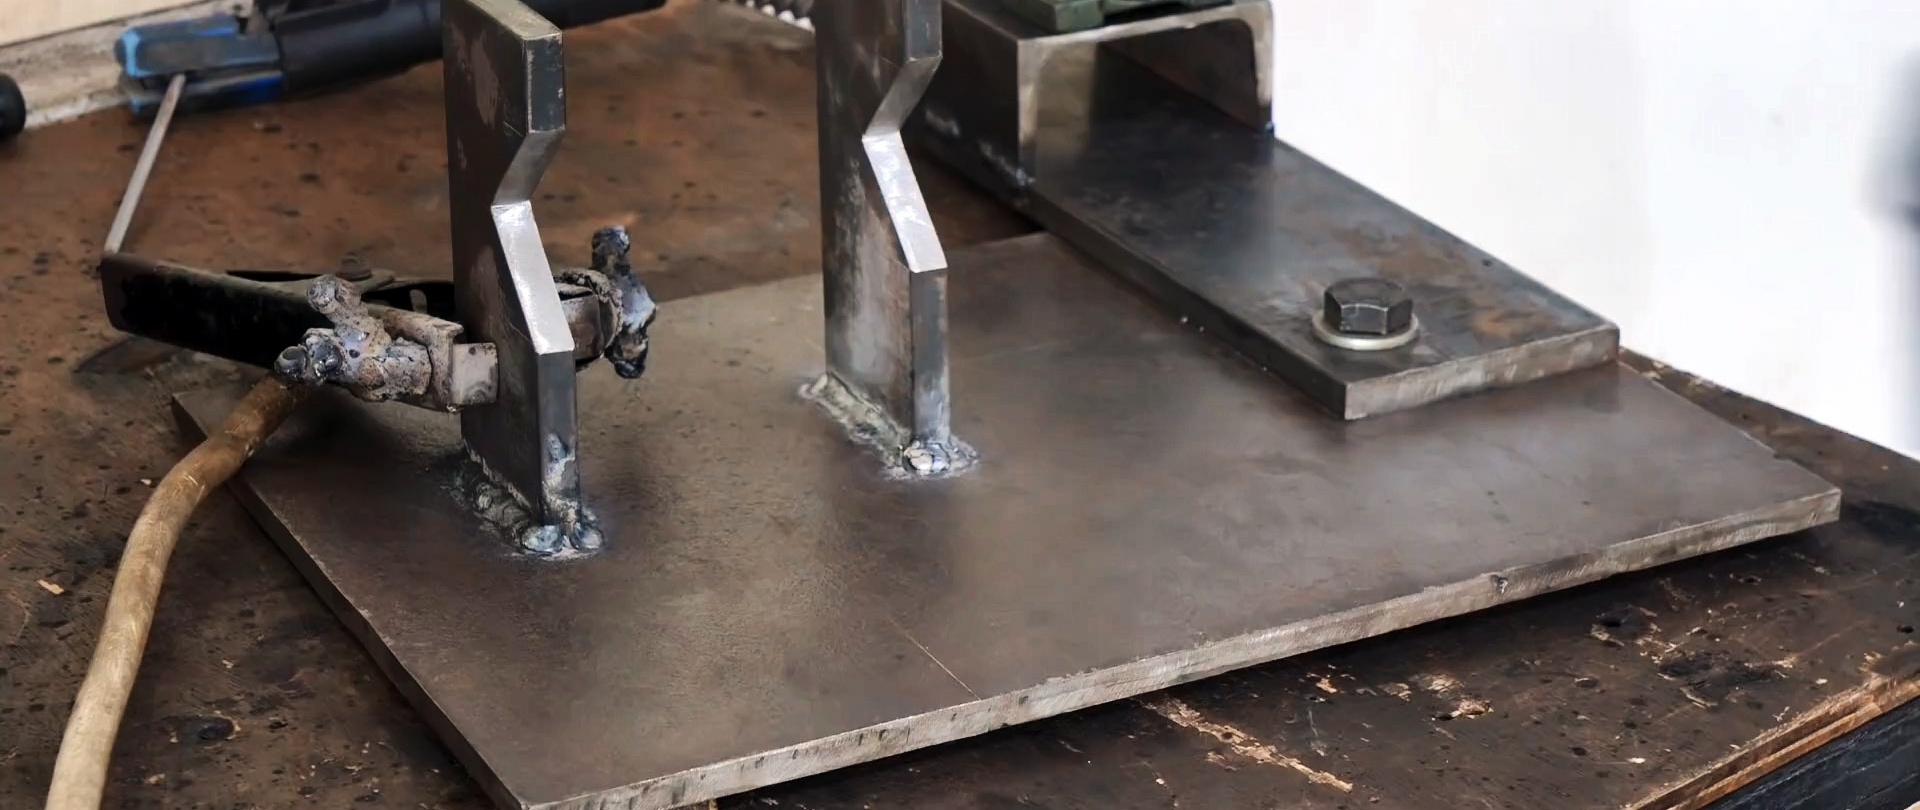
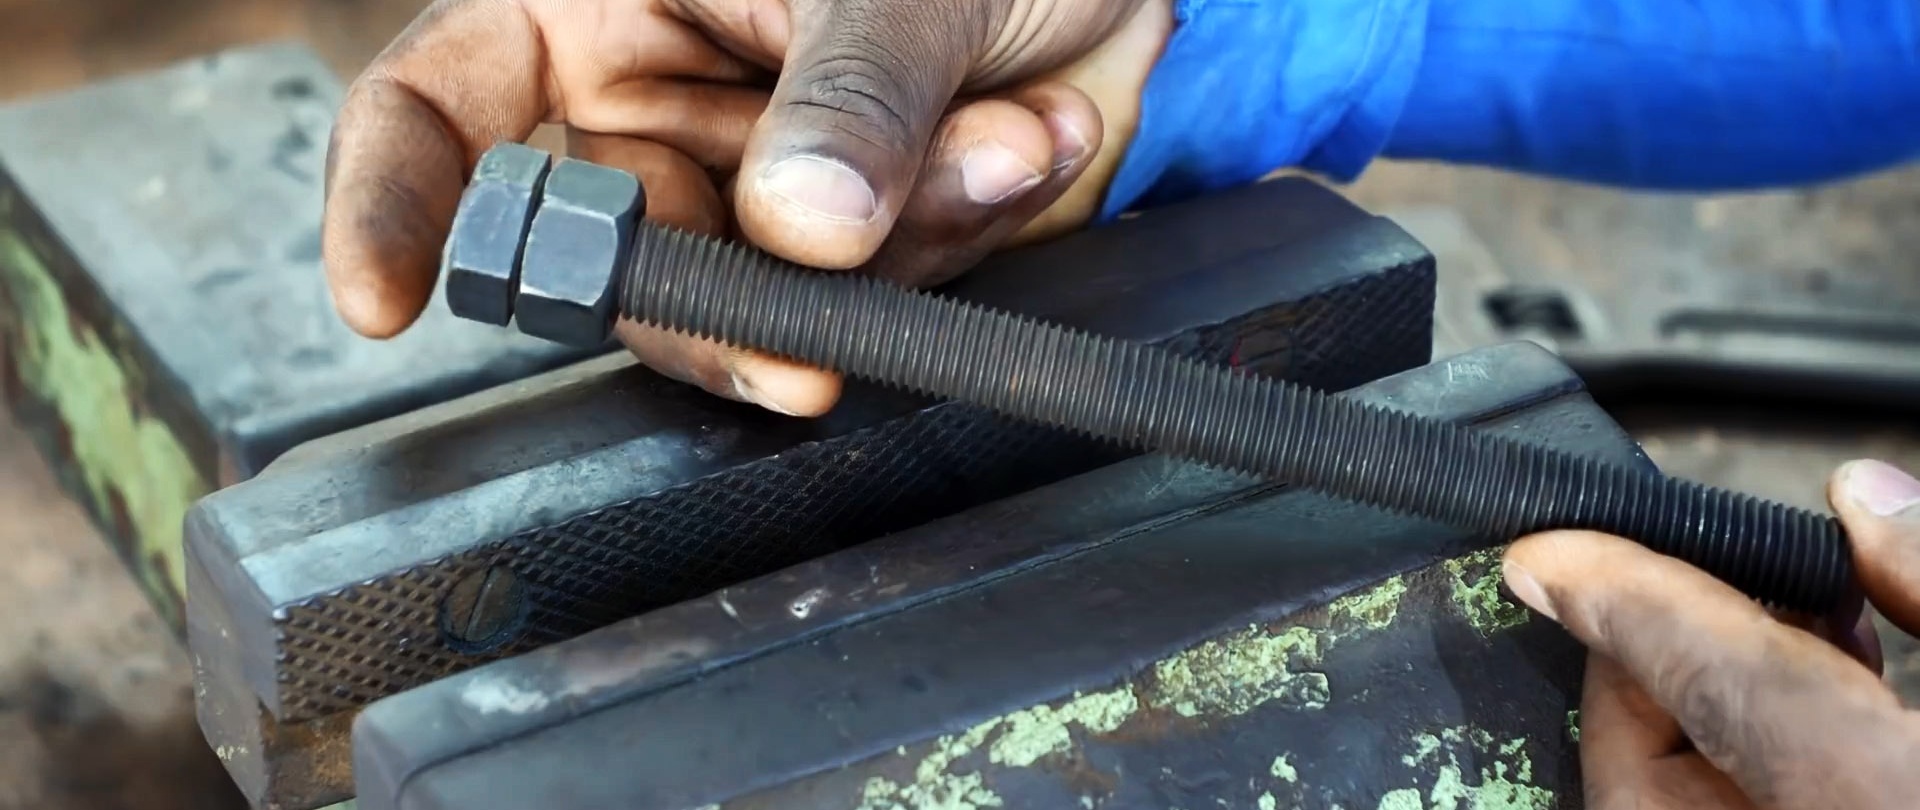
We cut a fragment of the estimated length from the steel strip and, according to the markings, drill a hole and cut the thread.
We install the strip in height with the hole up the long edge of the slab and symmetrically to the strips with recesses, and in this position we weld to the slab.

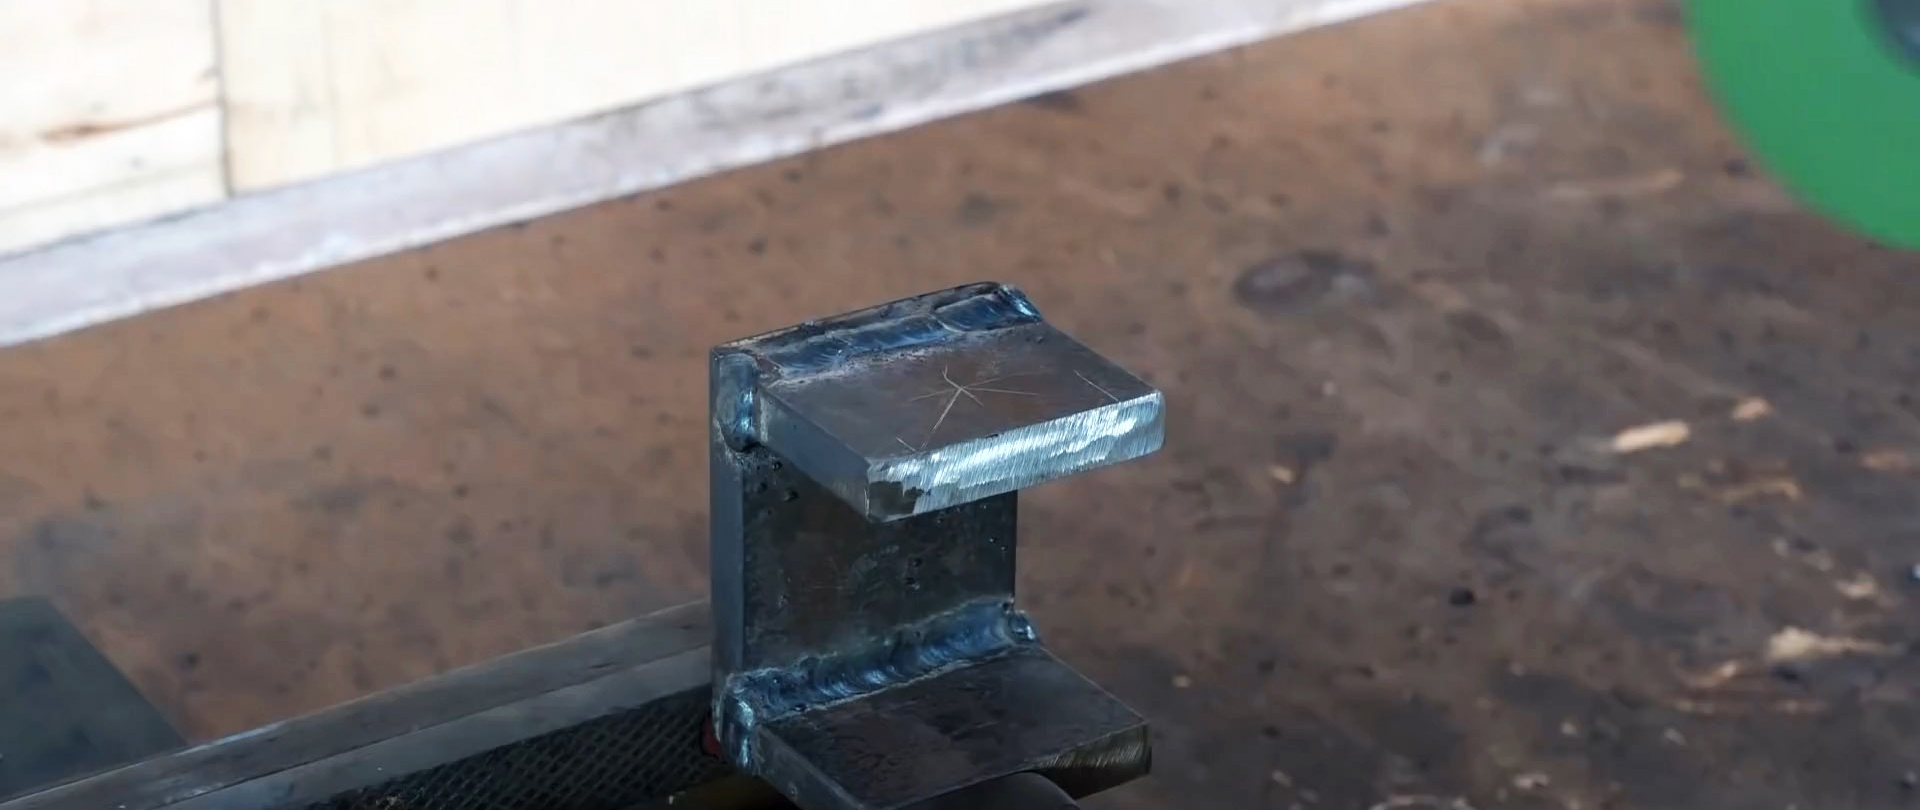
We cut three fragments from the steel strip, one longer, two shorter. We place the “short ones” at the ends of the long one and weld. We cut out recesses in them in the form of equilateral triangles, and drill a hole in the center of the “seat”.
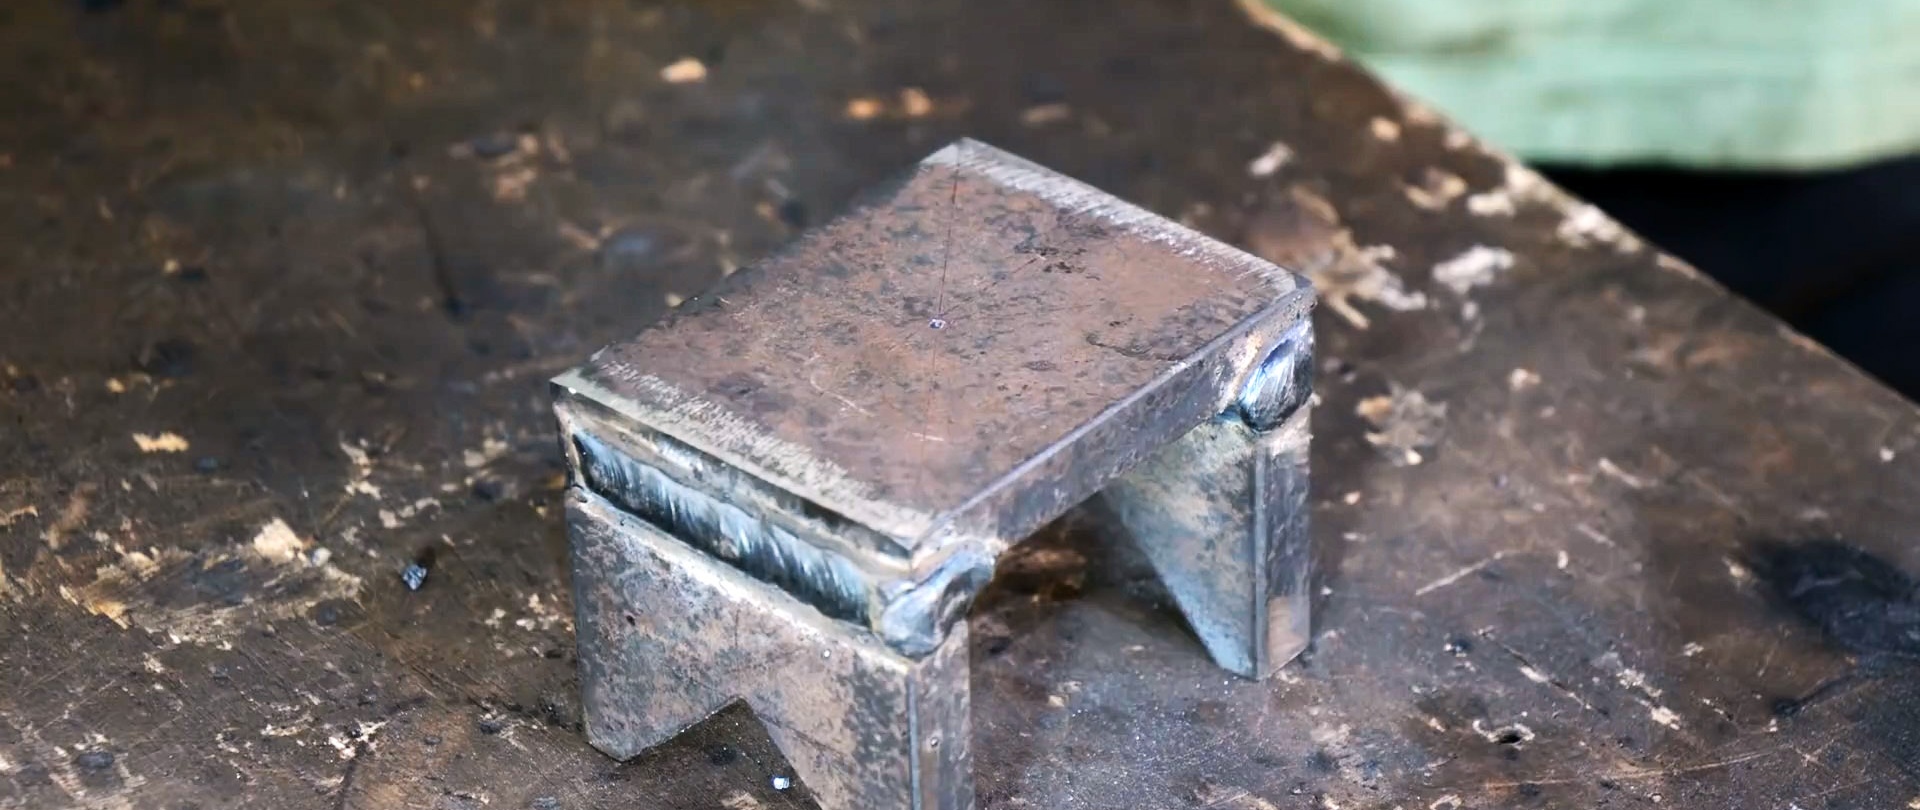
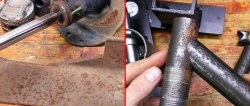
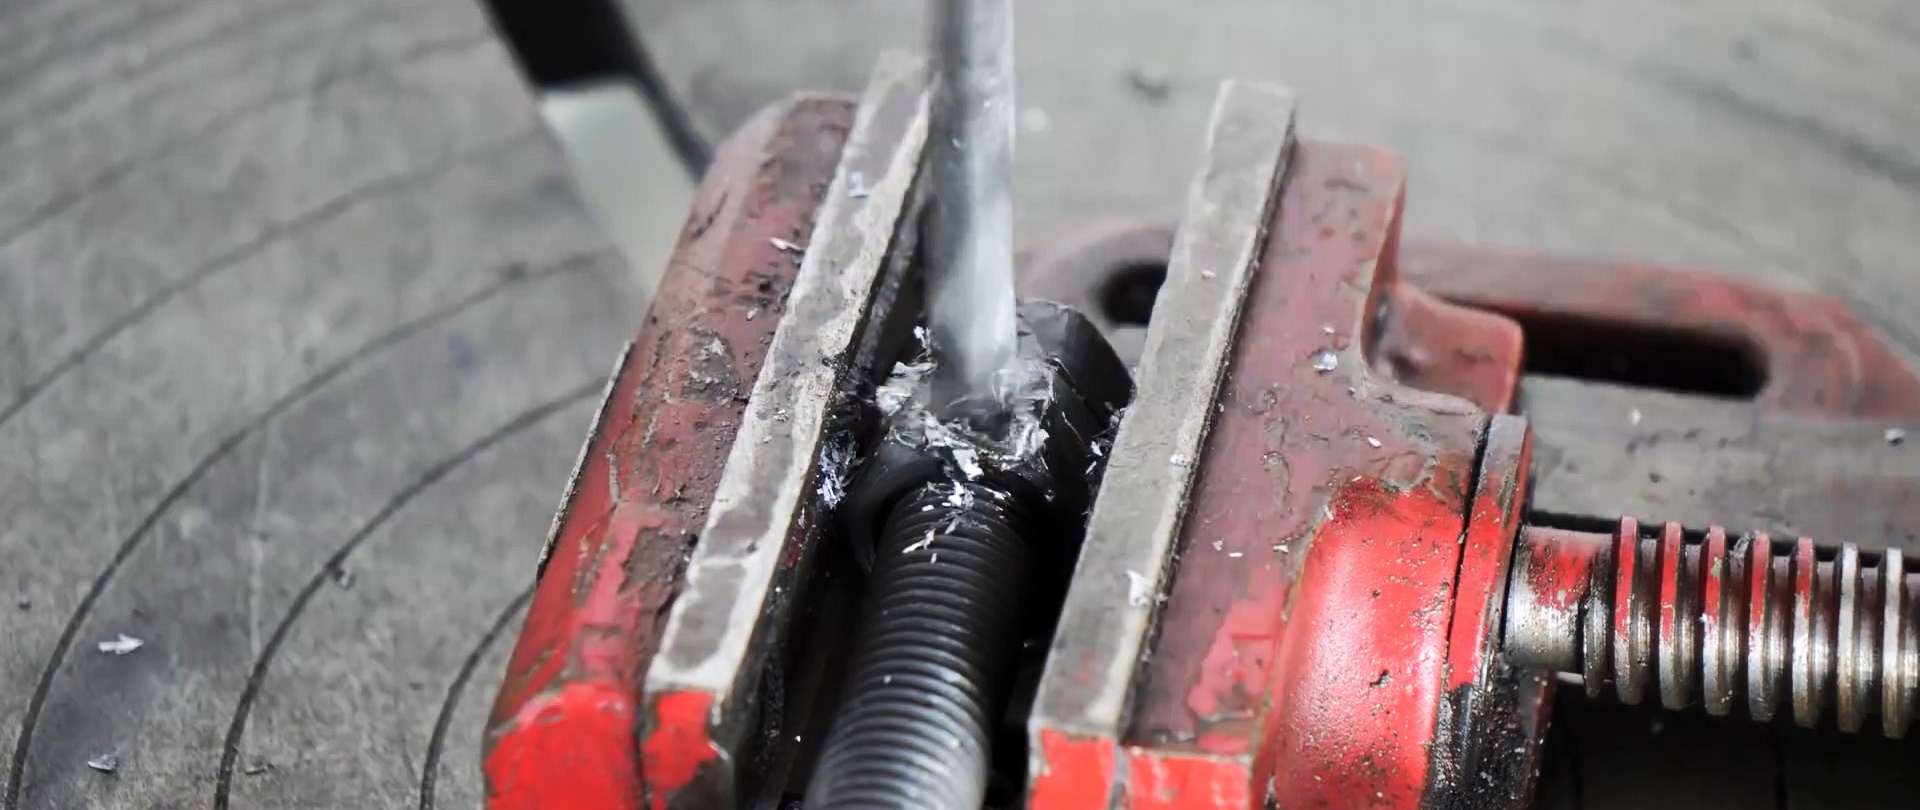
Screw the nut onto the long bolt until it stops and tighten it with a wrench. Drill a through hole in the center of the nut face.
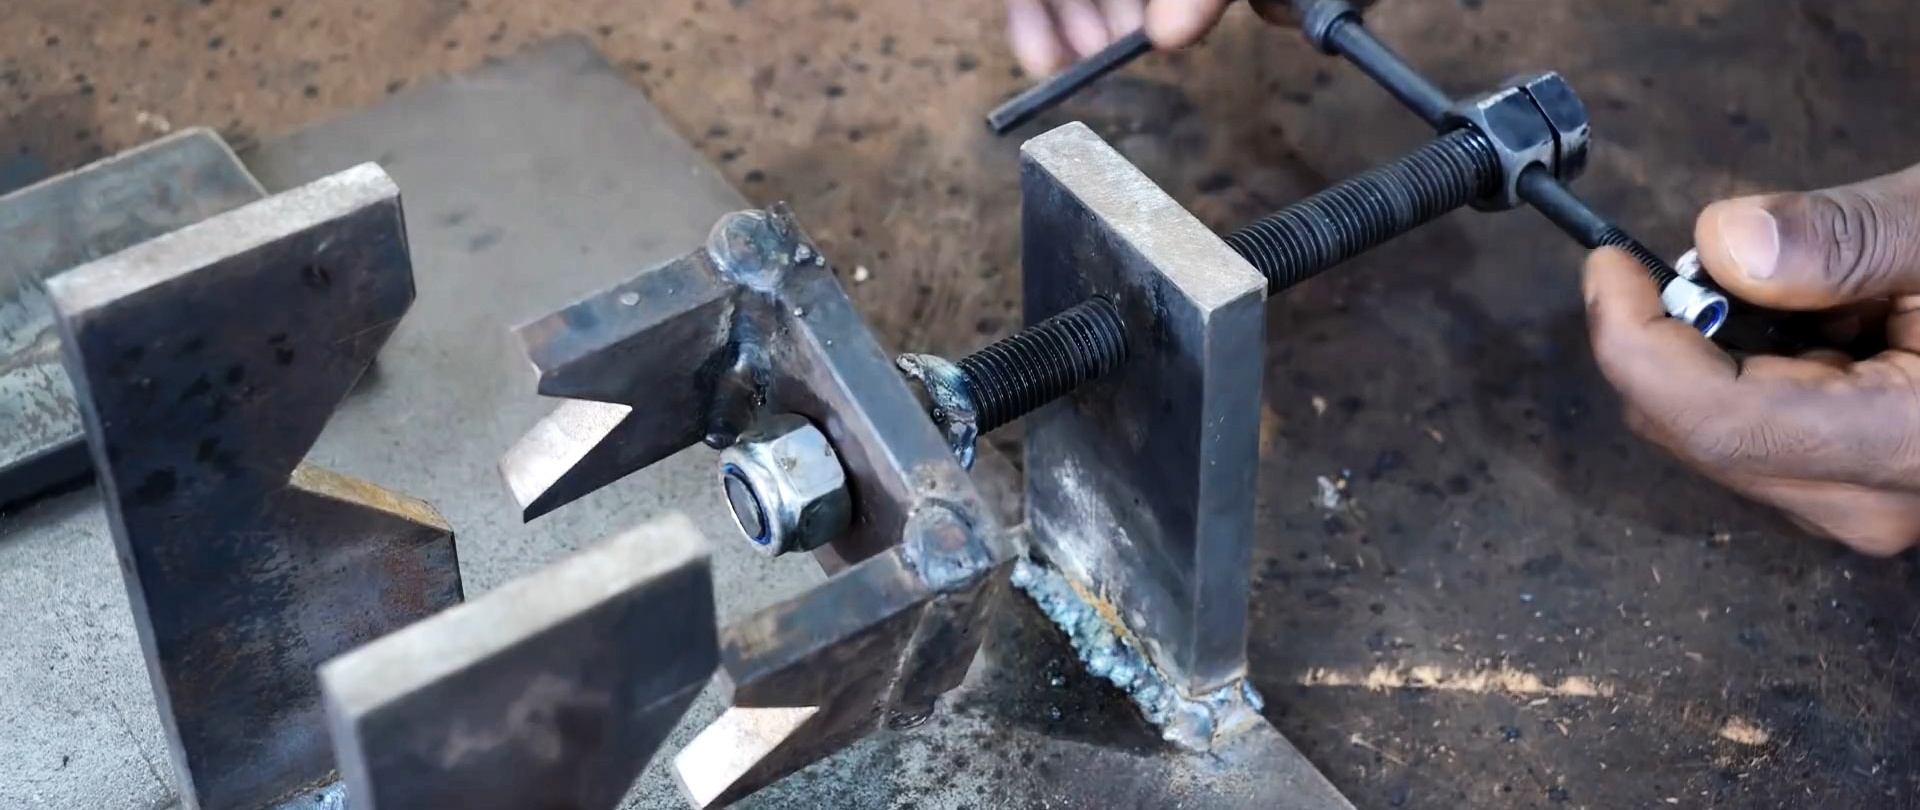
We screw the bolt into the strip welded to the stove, screw in the nut, put on the “stool” with the “legs” forward and screw in another nut. We weld the nut that rests on the “seat” of the “stool” to the bolt. We insert a long bolt with a round head into the hole in the nut and screw on the nut.
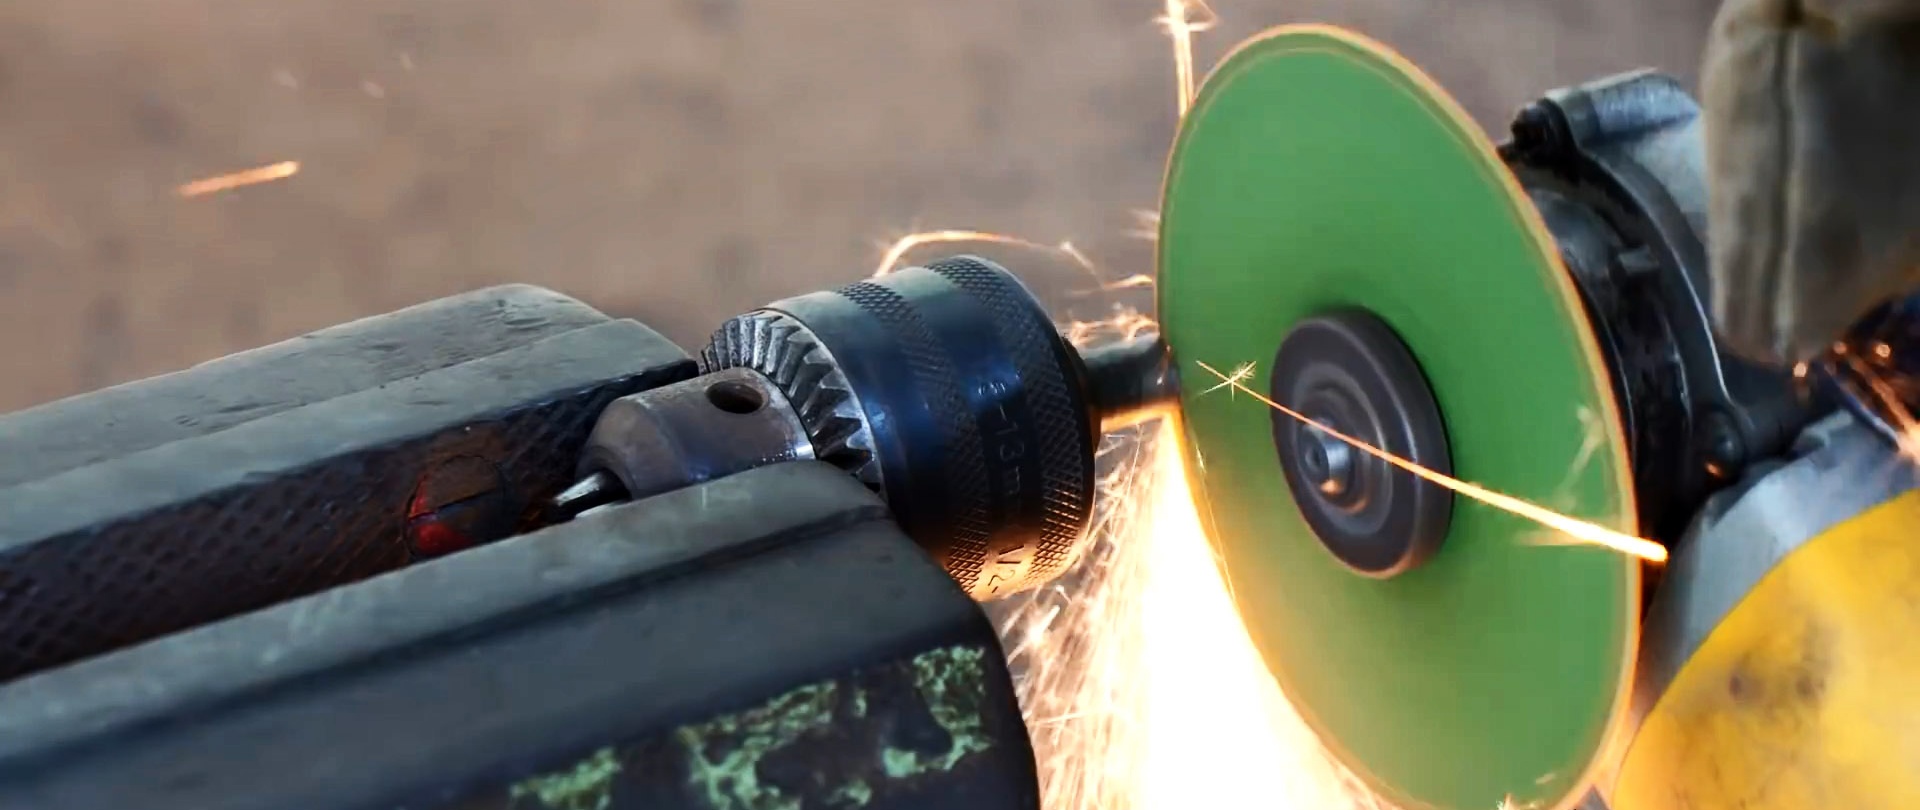
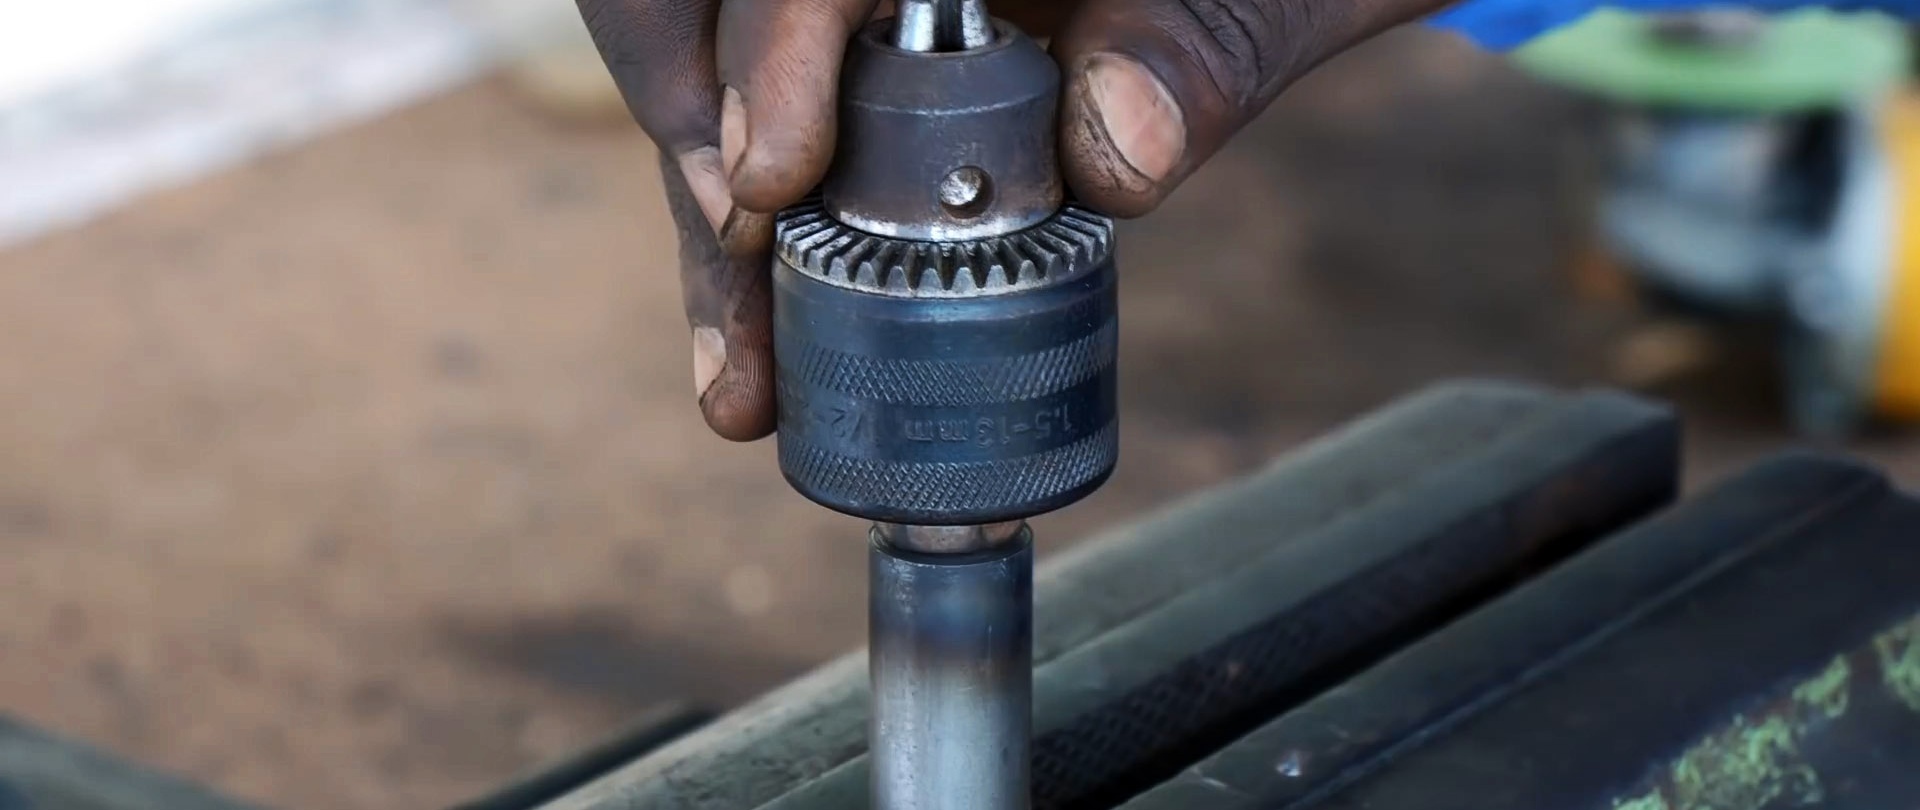
We form the length of the steel rod and grind one end on a lathe and make a blind hole on the other. We shorten the shank of the drill chuck, place it in the “socket” at the end of the rod and weld it.


We insert the rod with the cartridge into the inner, then the outer bearing and check the rotation and longitudinal stroke.
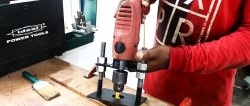
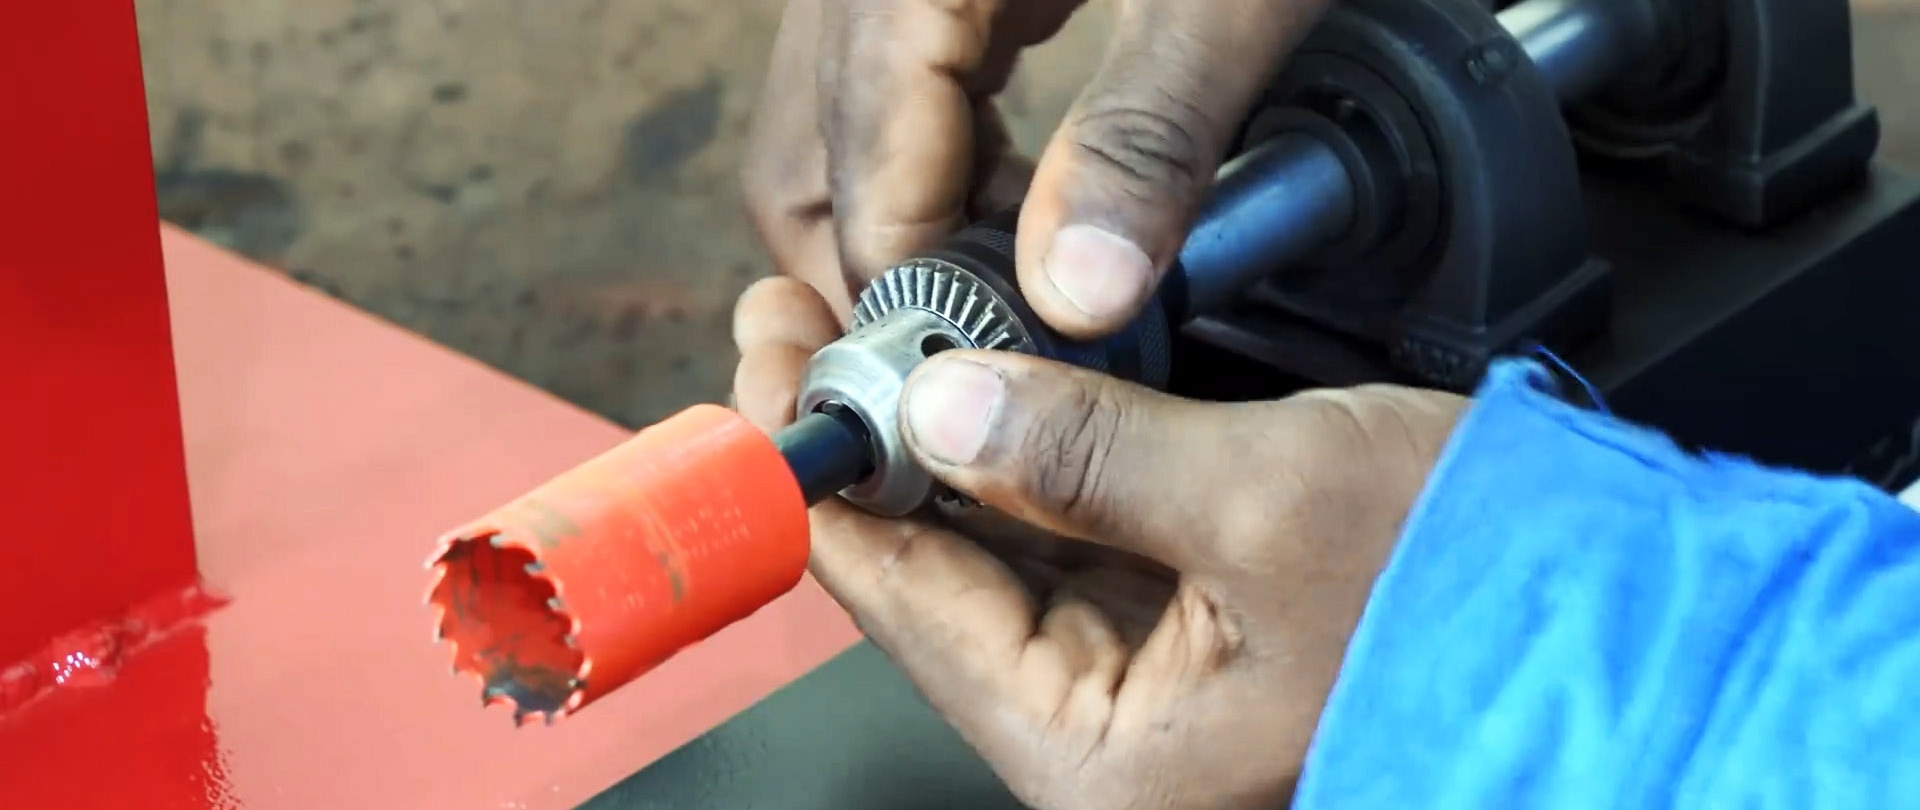
We clamp a metal bit into the chuck, and attach a drill to the other end of the rod.

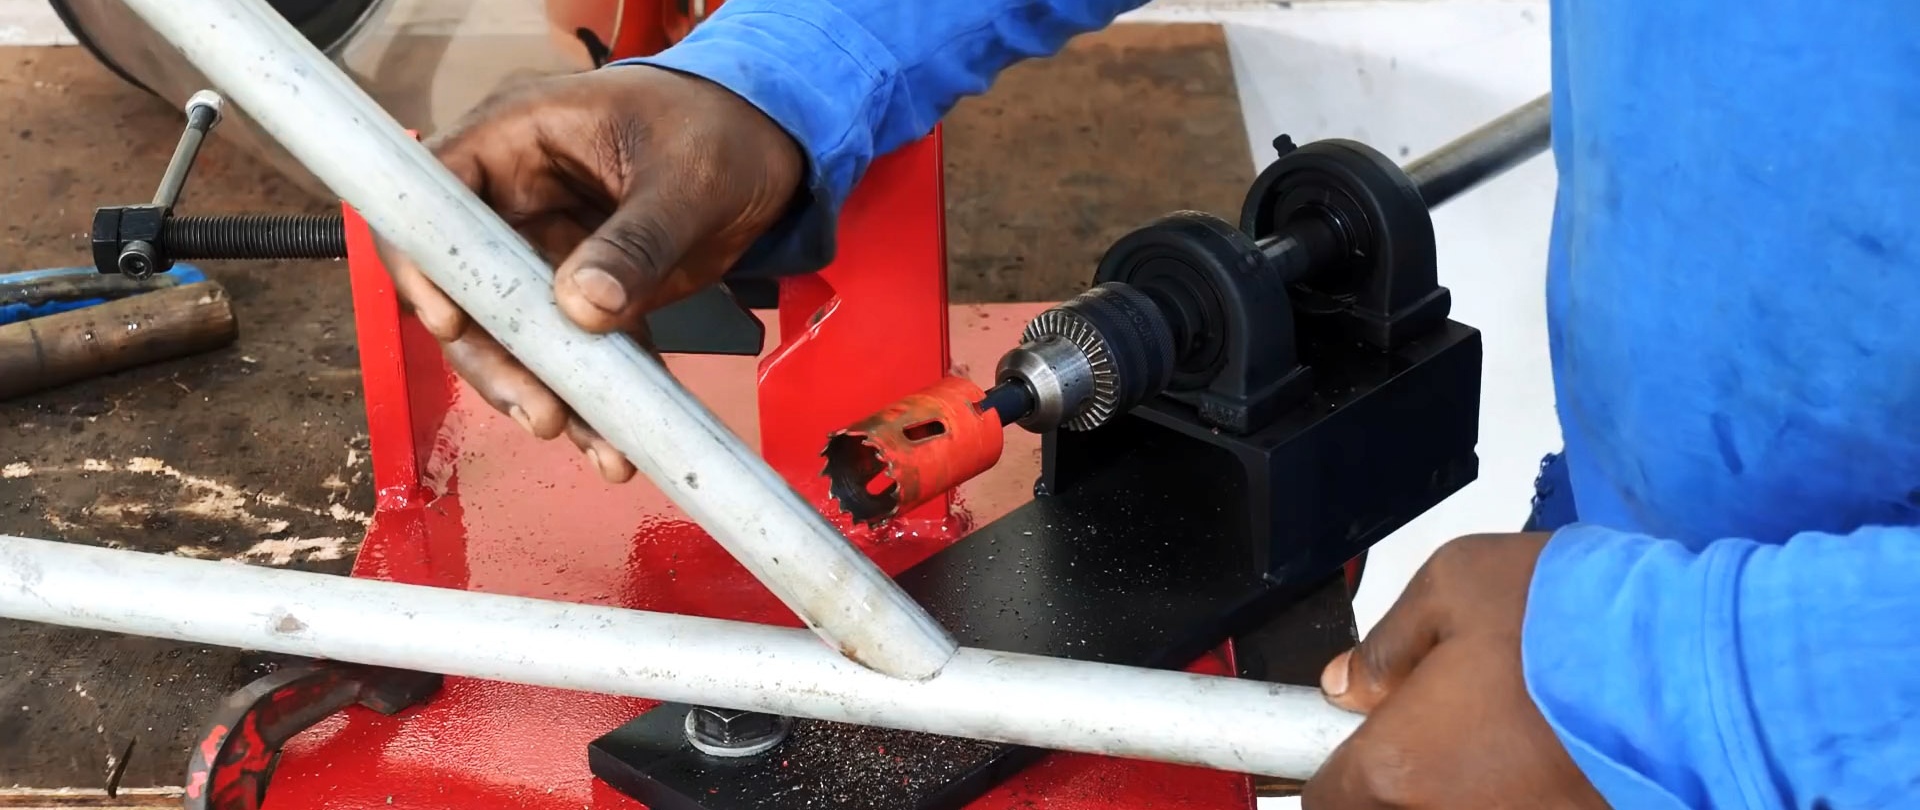
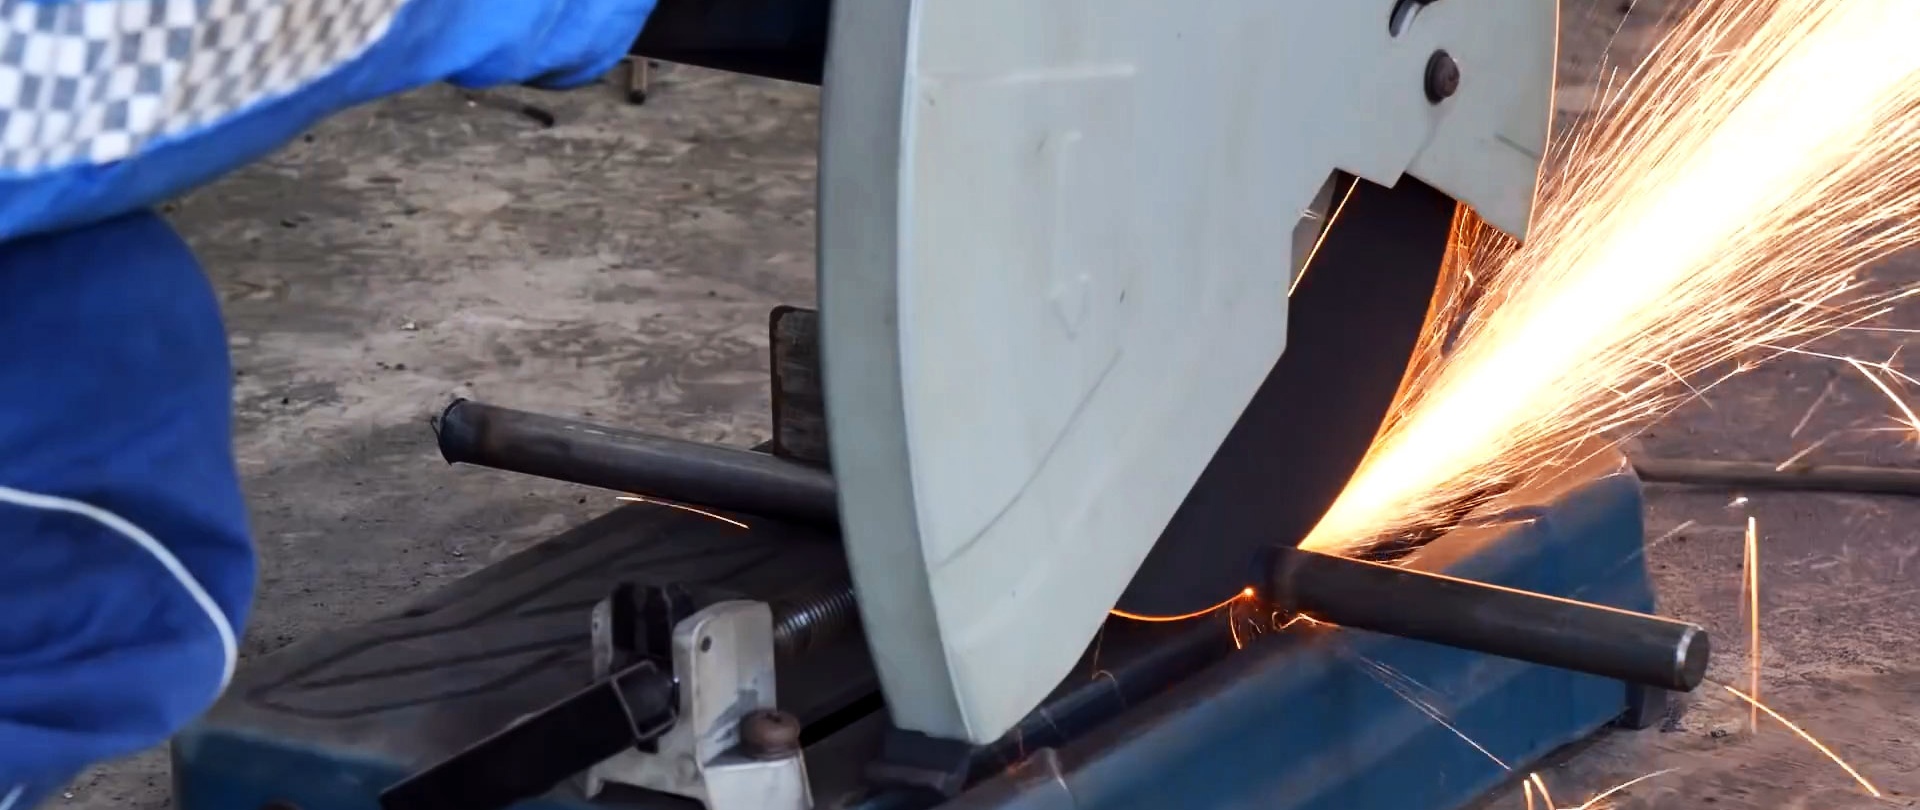
After painting, the mechanism is ready for use. To do this, place the pipe in a rigid clamp, align the workpiece in relation to the tool and, by rotating the clamping bolt, securely fasten the pipe.

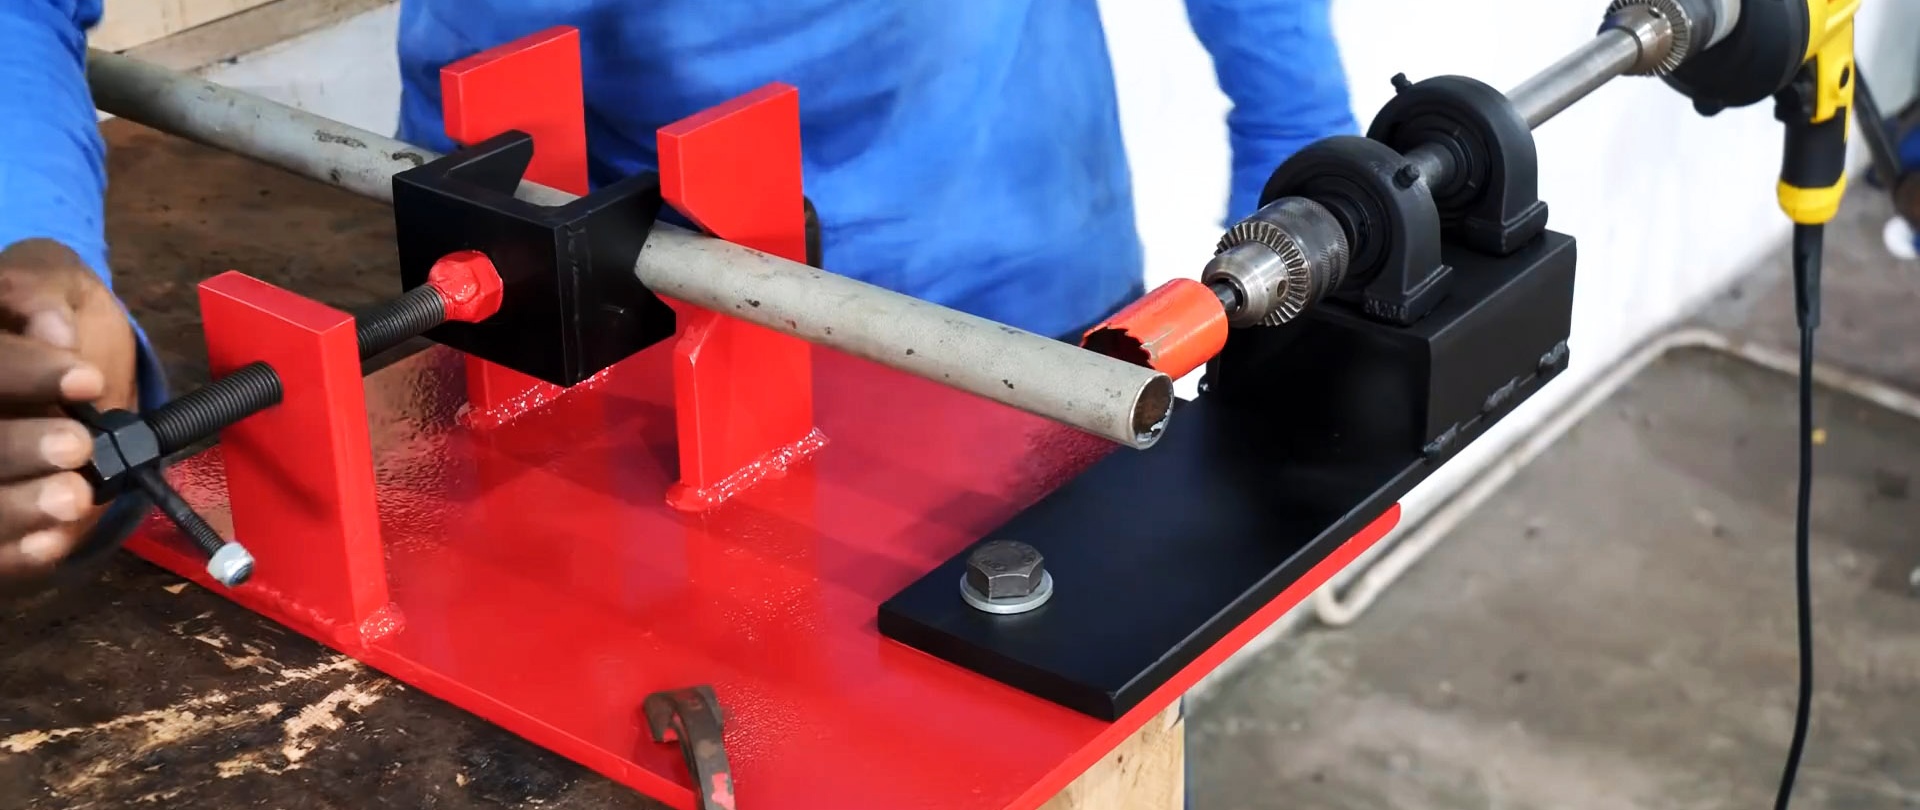
We lubricate the crown and the rod, turn on and move the drill forward, and cut out a saddle at the end of the pipe, allowing for a neat connection at right angles with another pipe.


If you install the strip at an angle and repeat the operation, you will get a cutout for an inclined joining.