To quickly, reliably and as cheaply as possible connect boards, bars and slats, the “oblique screw” method is used. To do this, the workpieces are drilled using a special jig. But even its use does not guarantee that you will be able to drill smoothly. To eliminate possible distortion, a fixing base is needed under the conductor. It is quite easy to make with your own hands.

Materials:
- Furniture board or plywood;
- conductor under the oblique screw - http://alii.pub/5yrnu1
- self-tapping screws;
- quick clamp - http://alii.pub/5yro1t

The process of making a base for a conductor
It is better to make the base from a stable, dry material, such as glued furniture board or plywood. The board is not the best option, as it may simply shrink when it dries out. First you need to cut out the base base with an approximate size of 150x300 mm.

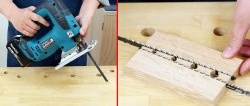
From the same material you need to cut 2 racks, the width of which, together with the jig, will correspond to the width of the sole. To fasten them, they should be drilled under an oblique screw.
The height of the racks is made to match the length of the conductor or a little more.
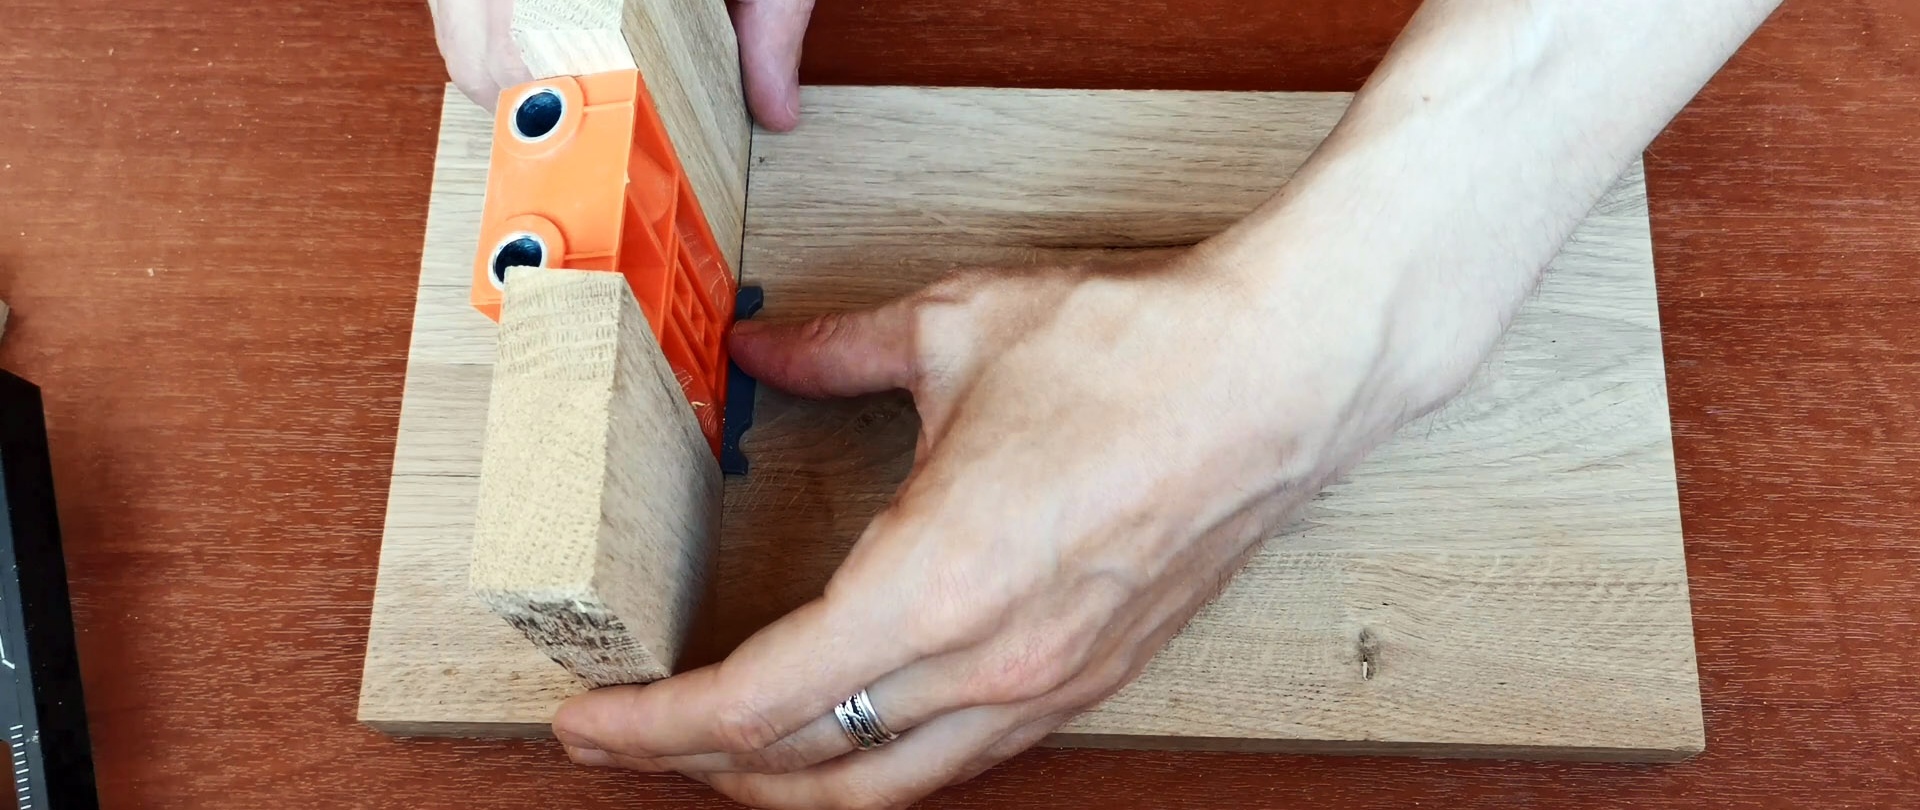

They are screwed to the sole with a distance of 60-80 mm from the edge.

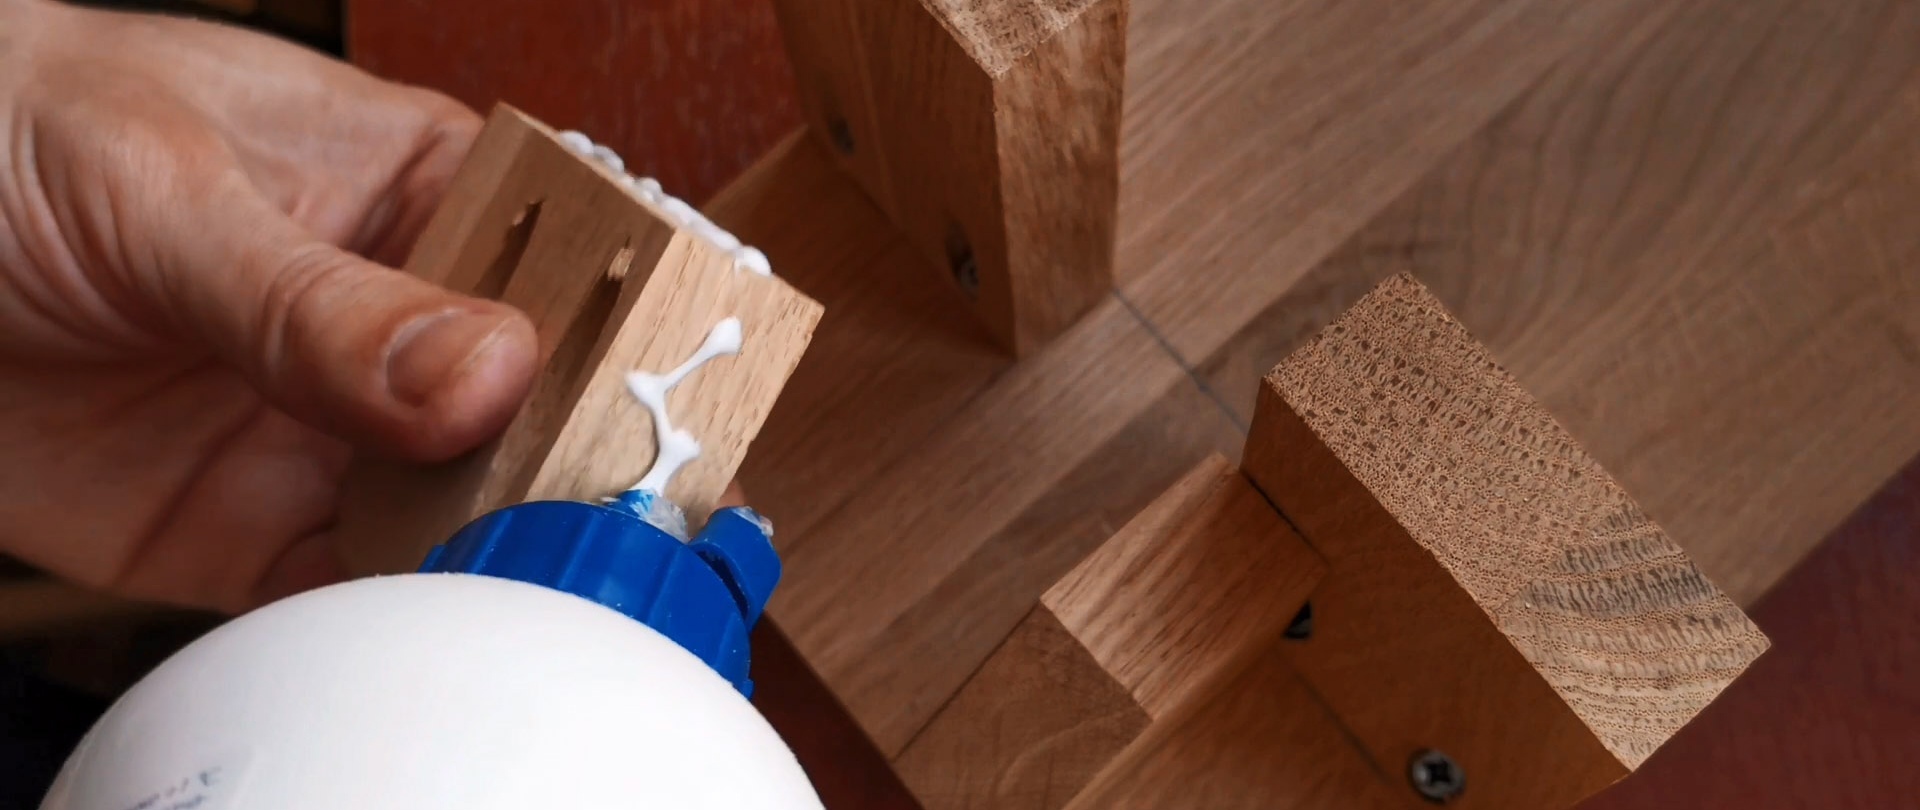
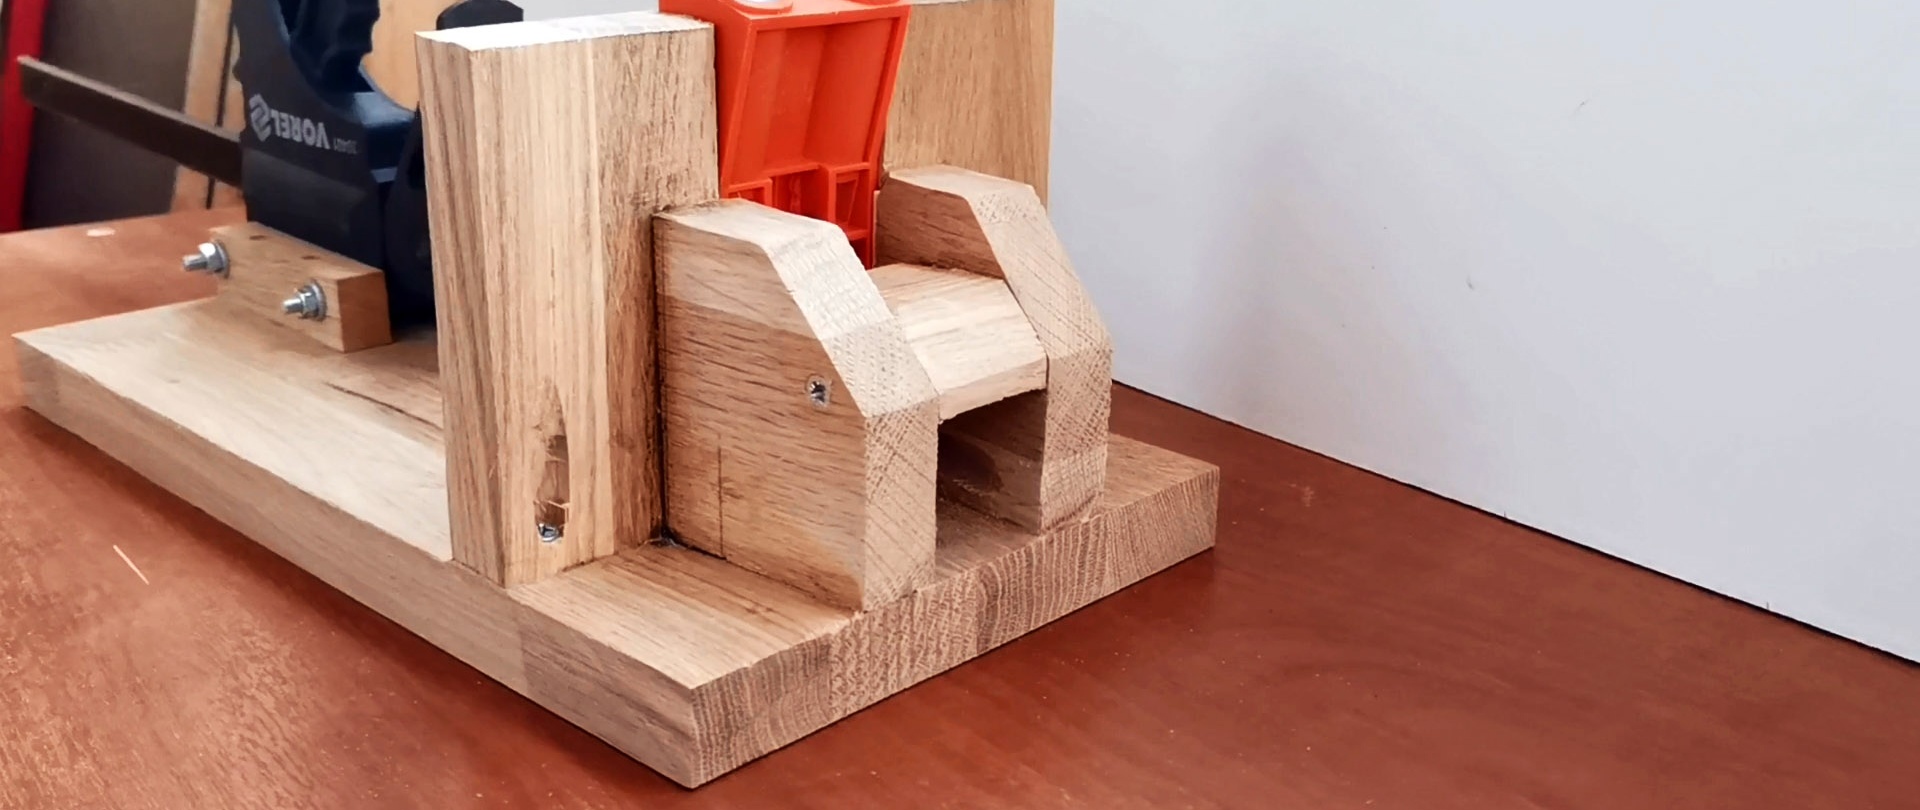
To add rigidity to the structure, you need to prepare 2 supports for the racks. They are screwed to the posts with the help of oblique screws, so that half the thickness supports them, and at the same time the edge rests against the jig. The gap between them should be made such that the tube from the vacuum cleaner can be inserted closely. For reliability, it wouldn’t hurt to secure them with self-tapping screws from below, screwed through the sole.


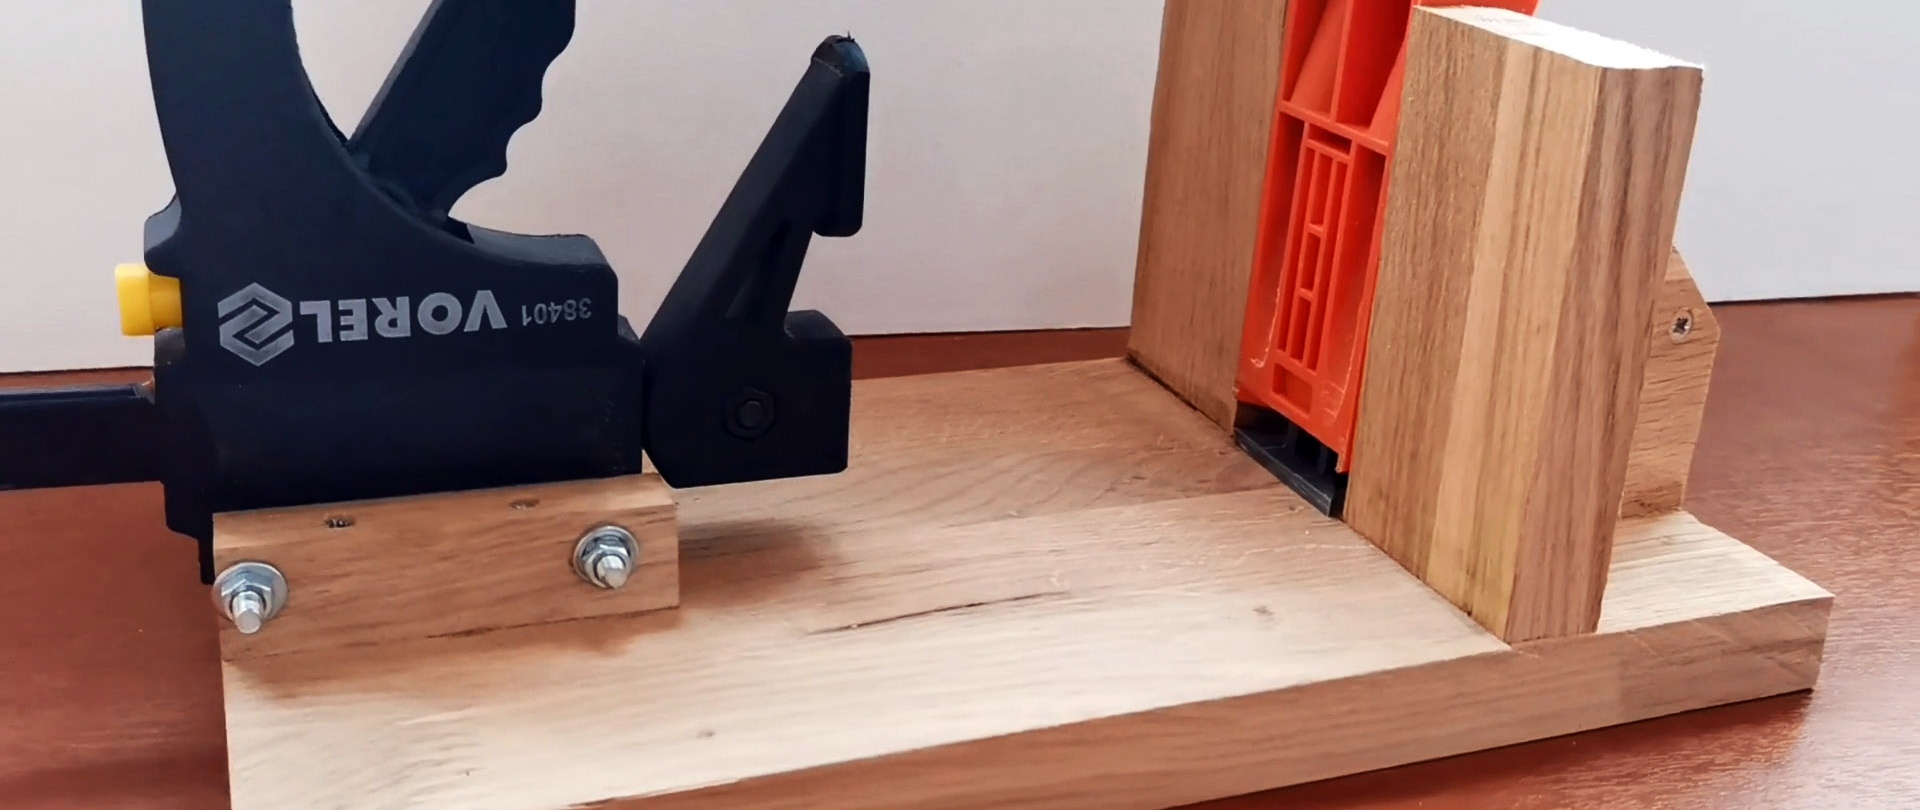
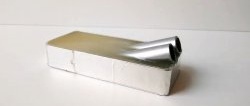
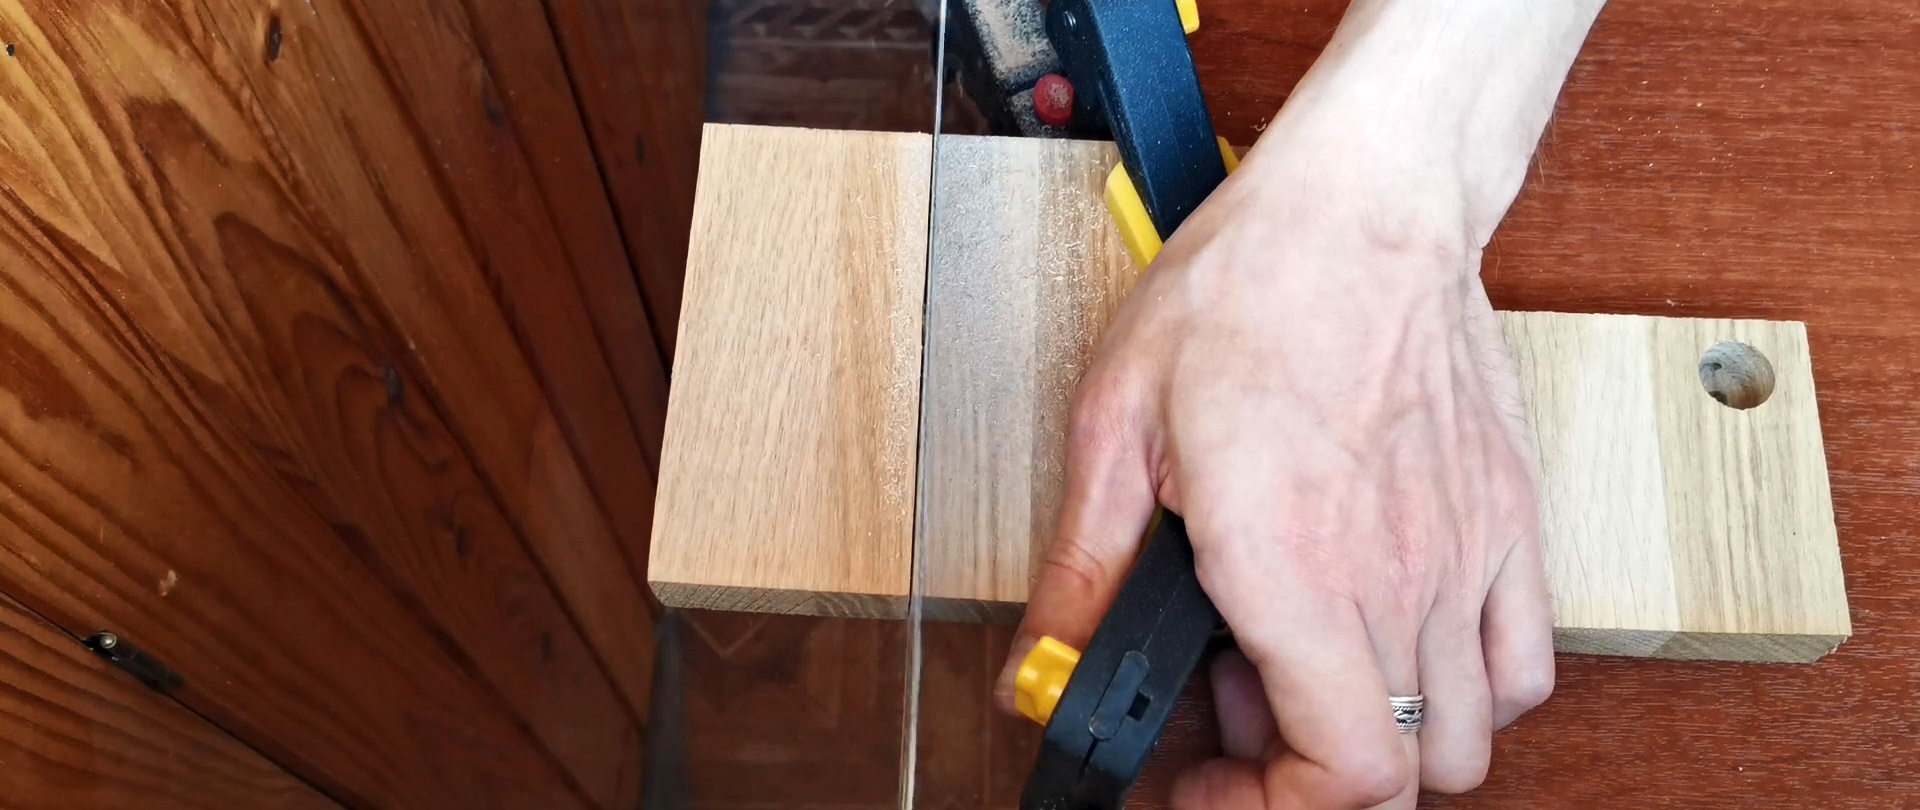
Next, you need to slightly modify the quick-release clamp. Its emphasis is moved to the second end of the bar.

The upper fixed jaw is sawed off.

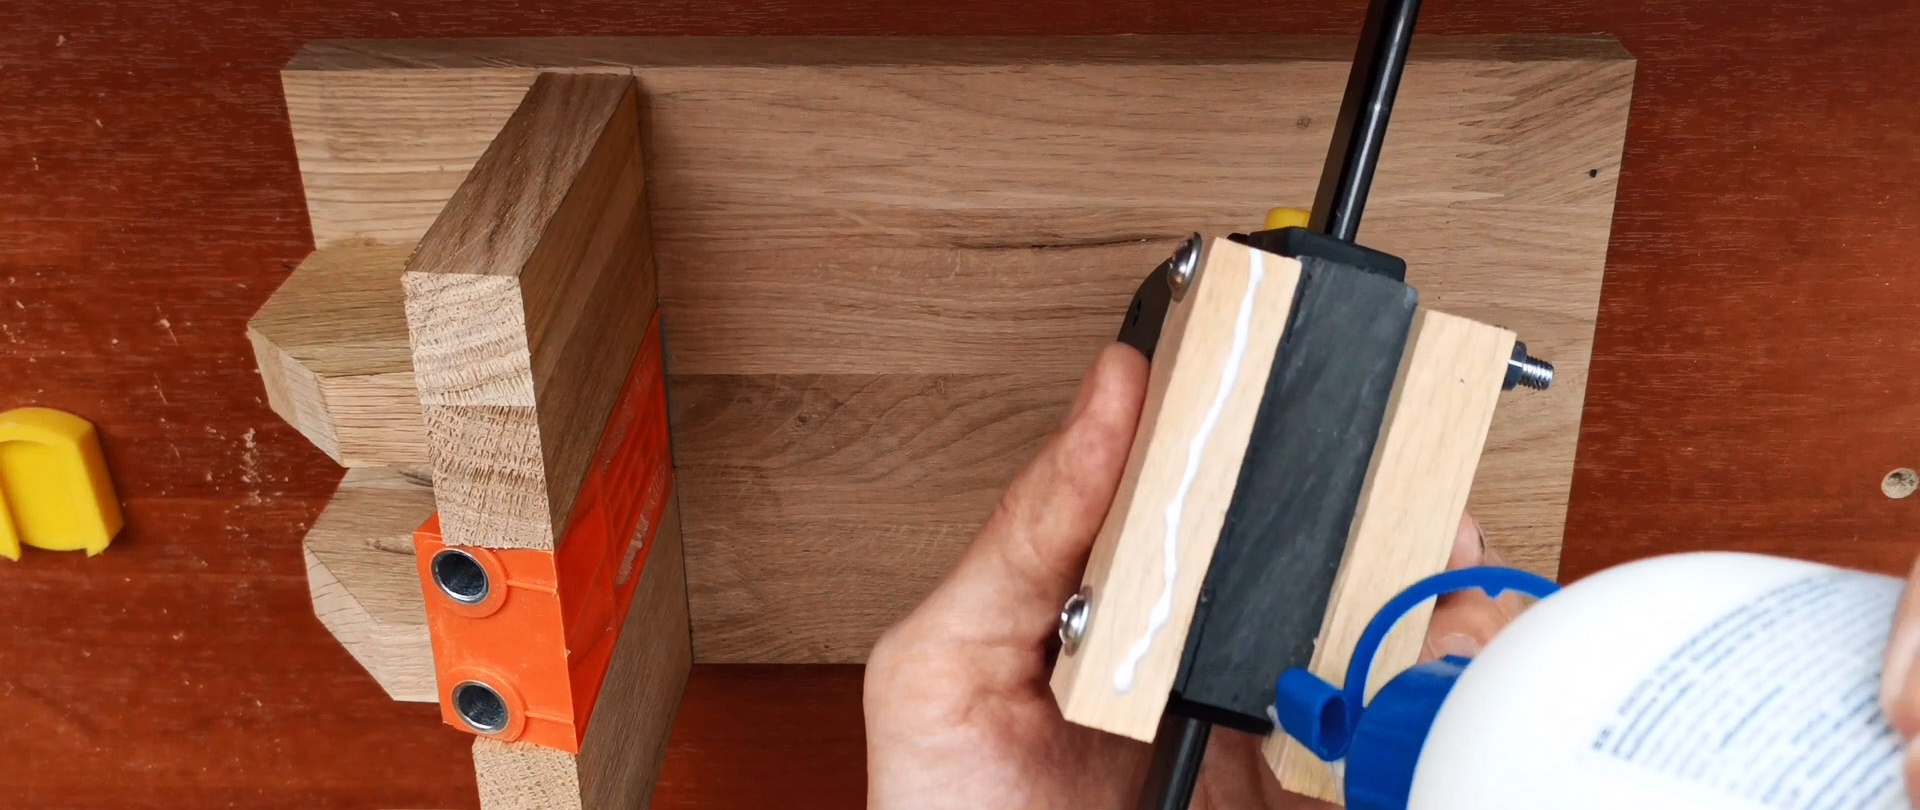
After this, the clamp body is drilled and 2 slats are bolted onto it.


With their help, the clamp is attached to the sole in front of the jig with glue and screws.

You need to screw a jumper between the supports of the stand, which will allow you to firmly insert the tube from the vacuum cleaner. After this, the base is ready for use.
Using the adjustment mechanism on the jig itself, you can set the angle at which the drilling will be performed. After this, the workpiece is pressed against it with a clamp. In a fixed position, it can be drilled, thereby eliminating the possibility that the holes will not coincide with each other. All the chips will be sucked into the vacuum cleaner.