A screw clamp in a vice is considered a reliable way to fasten workpieces. The design flaw manifests itself in the multiple rotational movements of the clamping handle to change parts that vary greatly in size. The article describes a method for self-manufacturing a vice with a quick-release screw mechanism that does not have this drawback.

Tools, equipment, materials
For work, the conditions of a small equipped workshop are sufficient:- angle grinder (grinder);
- tabletop drilling machine, metal drills;
- welding inverter;
- drill with cutting cutter;
- hydraulic press or jack;
- bench vice;
- measuring tool.
- steel plates with a thickness of 4-6, 20-25 mm;
- a piece of square profile pipe;
- threaded rod 350-400 mm with a diameter of 12-16 mm;
- waste iron rods with a diameter of 10-30 mm;
- bolts, nuts, washers.
The indicated dimensions are for reference; the appropriate metal is selected based on the required dimensions of the vice.
Step-by-step instructions: how to make a unique vice with your own hands
The working parts of future vices are produced separately, then the structure is assembled, tested in operation and painted.
Quick release mechanism
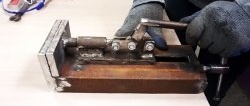
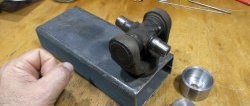
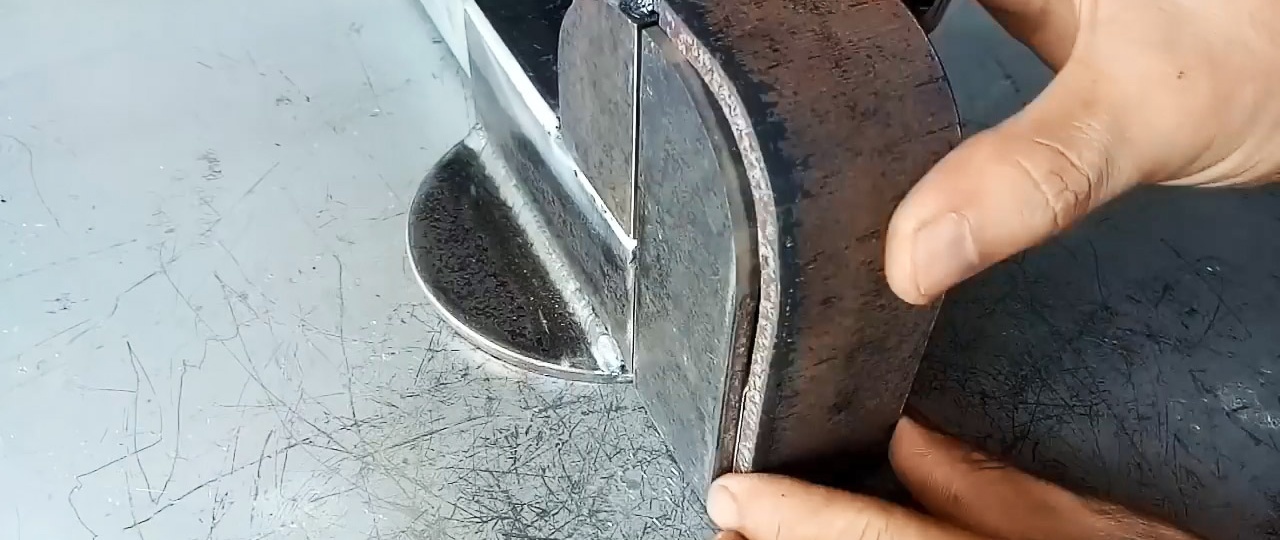
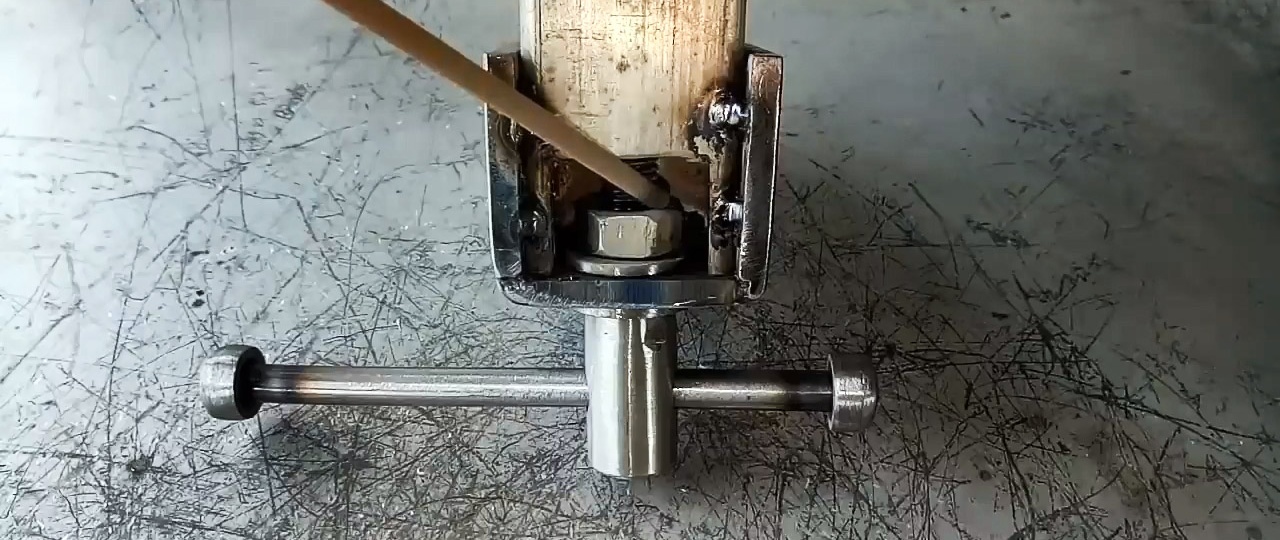
The upper and lower parts of the clamping device are made from a metal bar and an elongated nut using a grinder and a welding inverter.

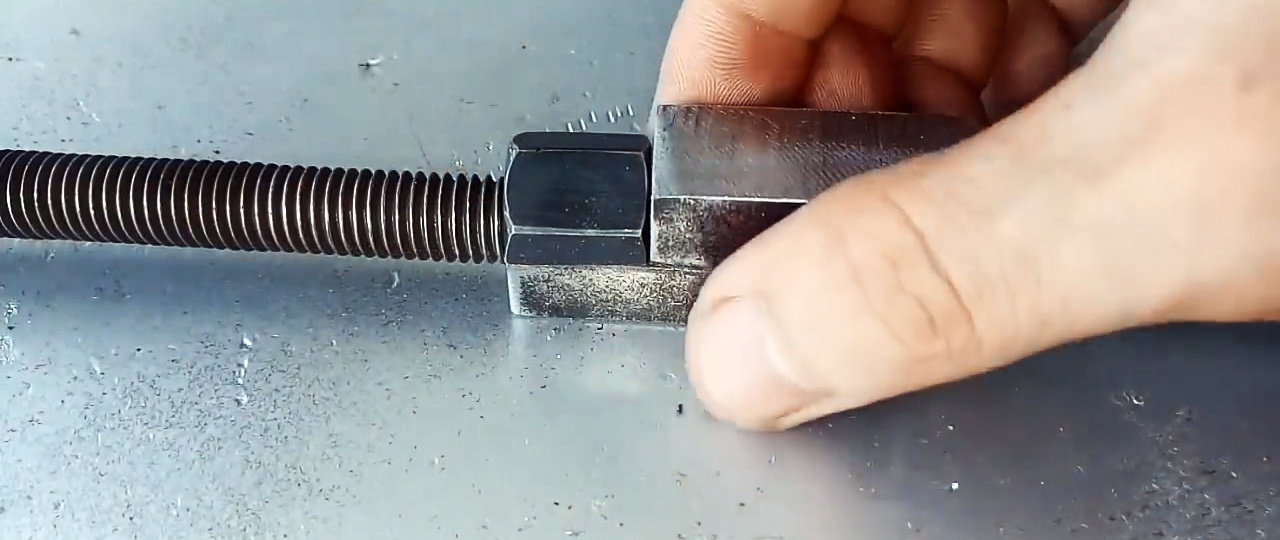
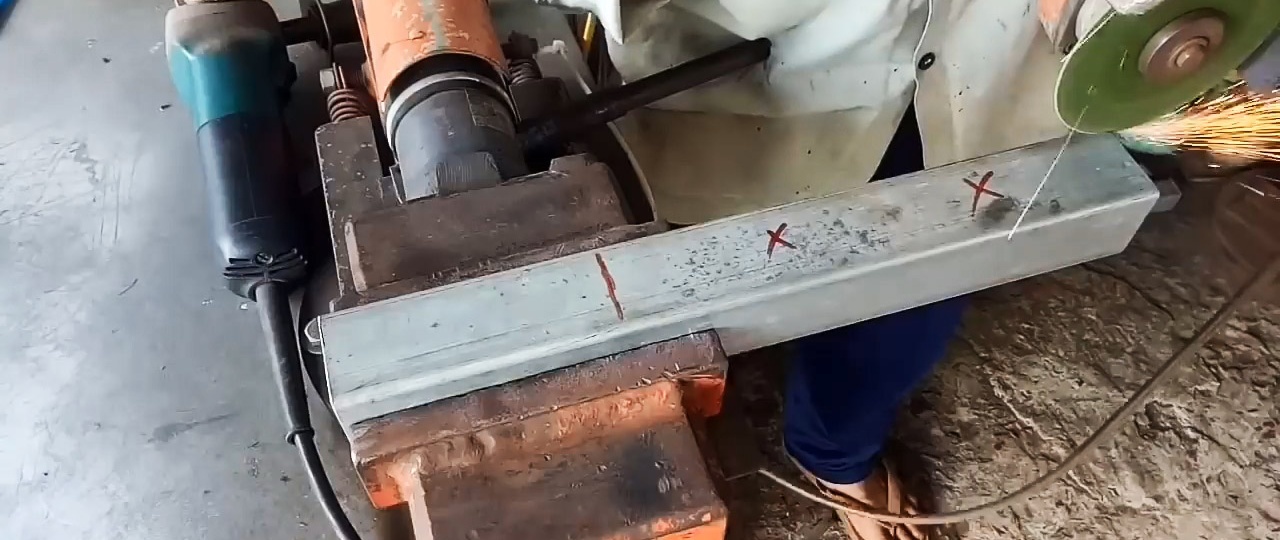
To do this, take a steel rectangle and drill a hole in it the diameter of the stud.

Cut in the middle of the hole.
We also cut the nut lengthwise.

We assemble the unit as in the photo. We place a pin on the base of one part of the block. On top is a nut and the second part of the block, offset to the side.
We weld the nut half to the block half.

Welding the mounting axis of the upper part and the side plates completes the assembly of the unit.
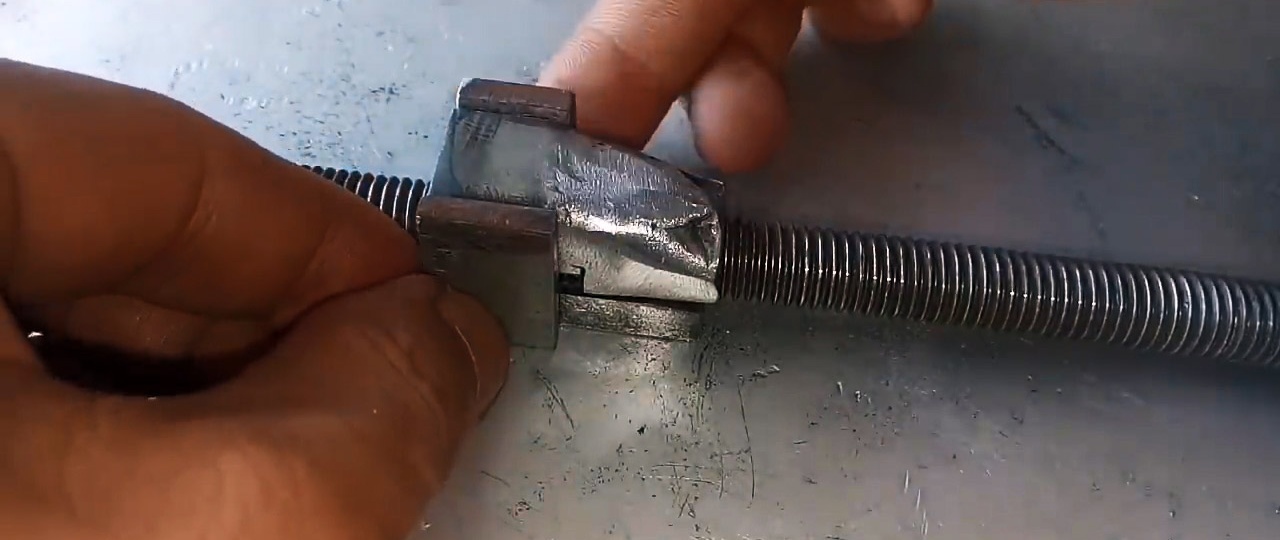
Next, drill a hole and install the pin.
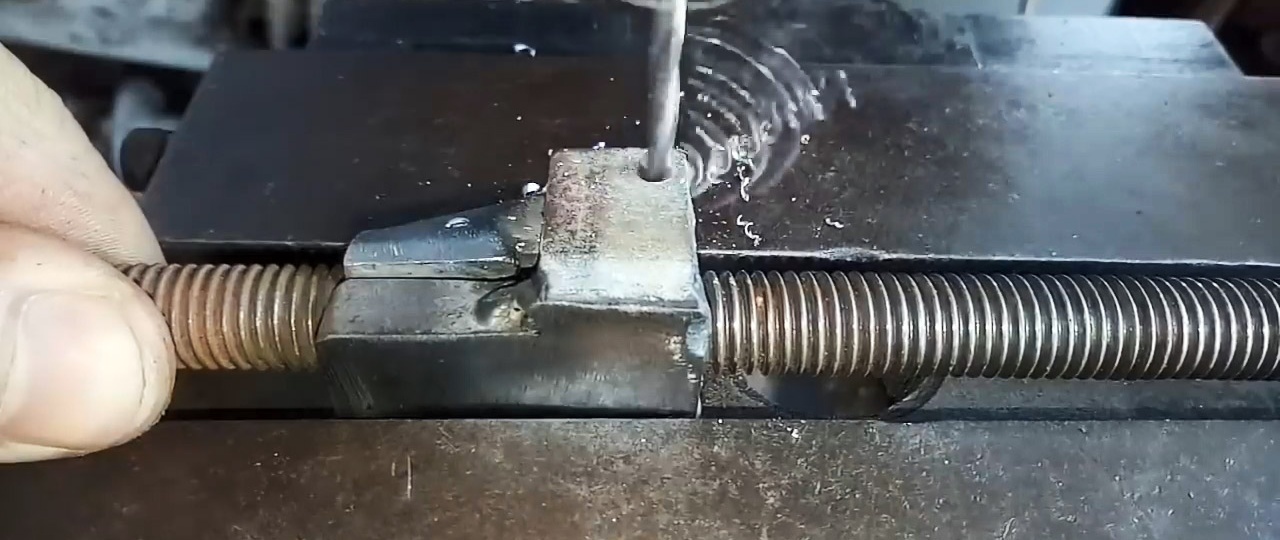

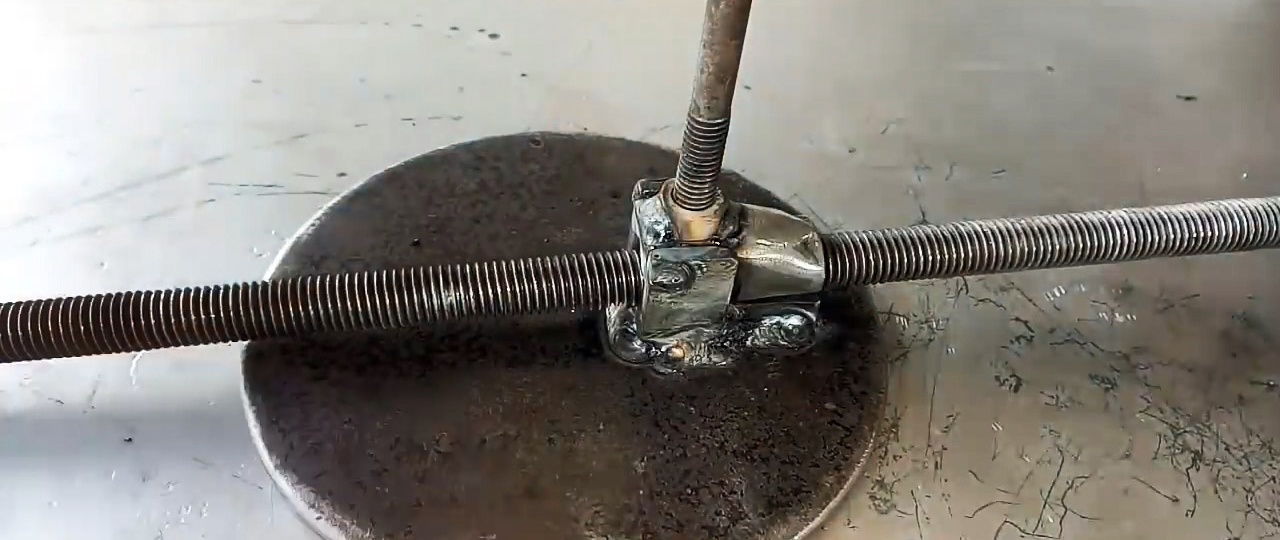
By connecting the pin with the sliding and fixing unit, check the functionality of the clamping mechanism. The clamp is fixed to the supporting metal plate by welding. A bolt and nut are welded to the upper moving part, which will serve as a lever to disable the fixation.
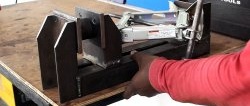
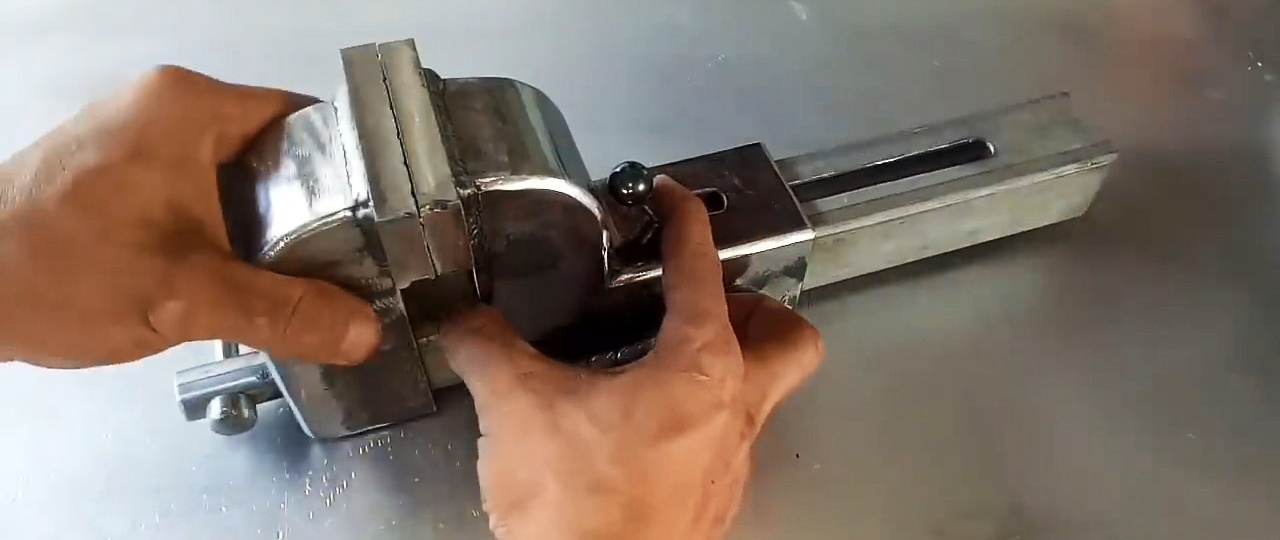
Profile guide
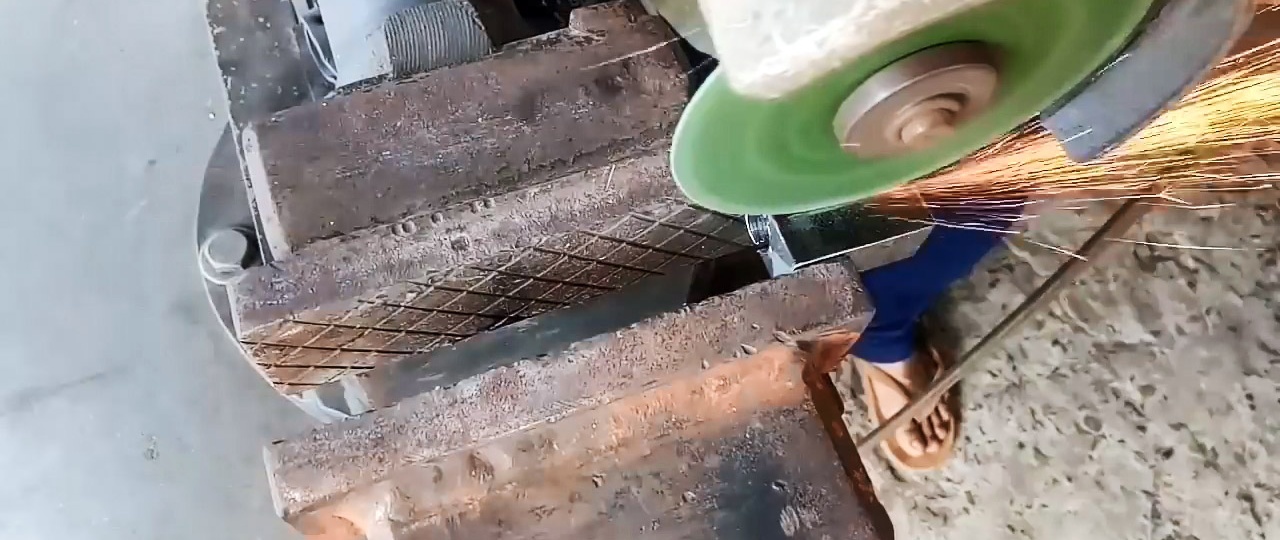
The lower wall of the square pipe is cut with a grinder: on one side, by approximately two-thirds of the length, on the other, by one tenth.
A groove is cut out in the upper wall for the clamp fixing lever. Sharp edges are treated with an abrasive tool.


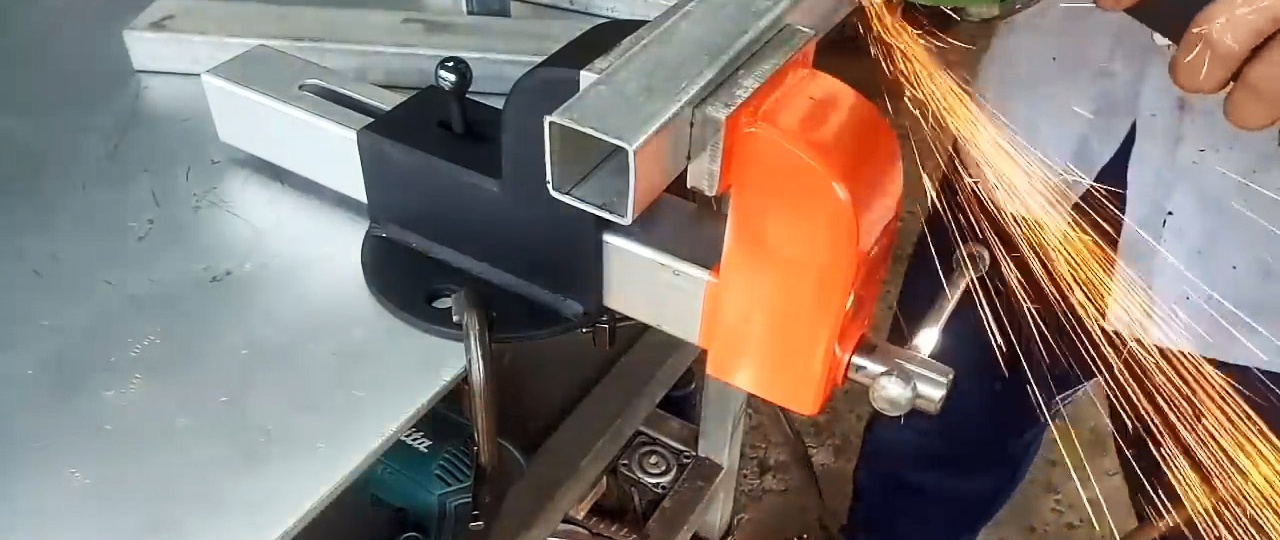
Housings of movable and fixed jaws
A fixed body is welded on the sides of the guide.

A groove is made in the upper part for the lever.


The jaw assembly consists of metal plates made according to a preliminary template.

The curved upper part can be bent on a press or using a hydraulic jack.

The fixed body is welded to the base, the movable body is welded to the tail part of the guide pipe.

After welding is completed, the housings are carefully processed with a grinding wheel.
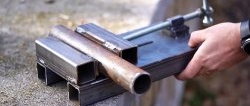
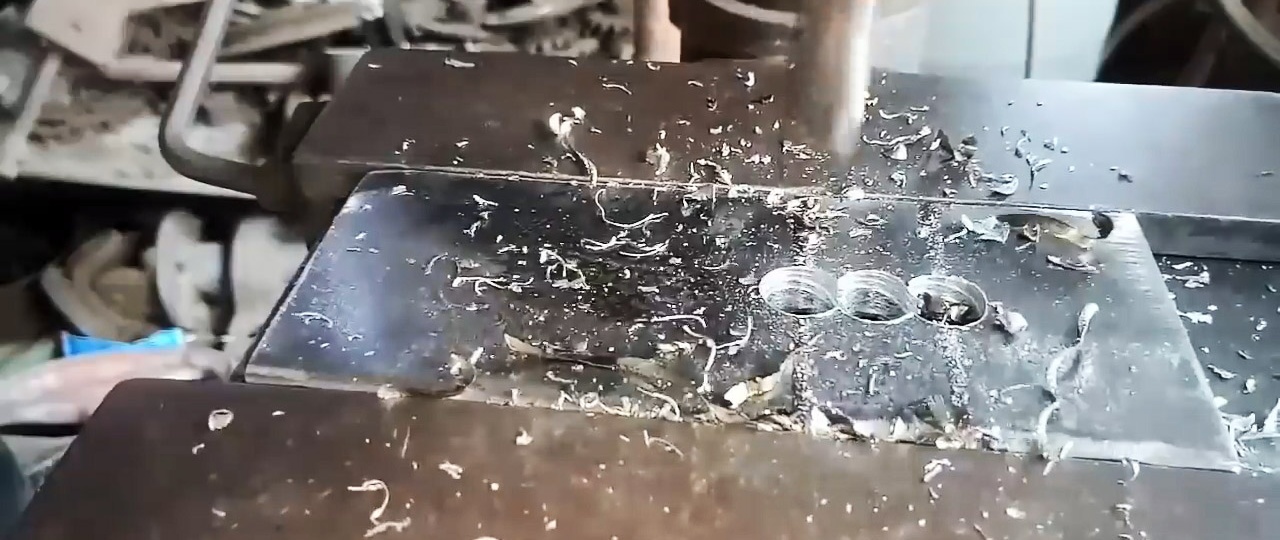
Lead screw
To perform clamping functions, the screw stud is modified. To do this, a nut and a small metal cylinder are welded to the end.


A metal wrench with nuts welded at the ends is inserted into the hole made. To make the handle look aesthetically pleasing, the nuts are sanded to a cylindrical shape.
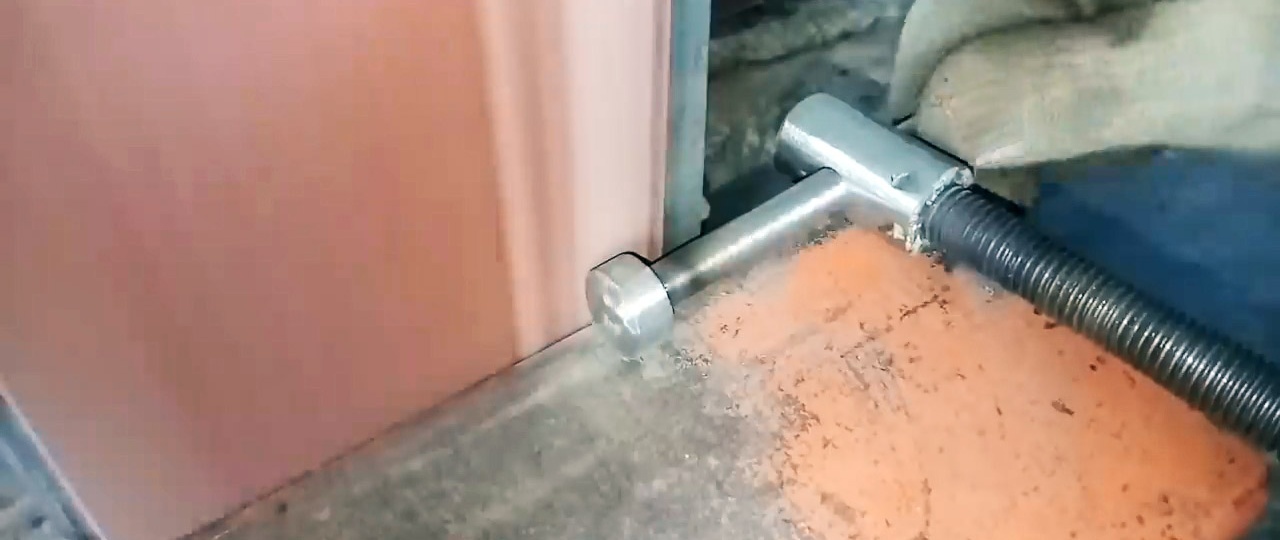
The lead screw is inserted into the hole in the rear wall of the movable body and fixed with a welding point.
Jaw plates
On steel plates prepared to size, diagonal mesh markings are applied. Using a thin cutting wheel, cut grooves to a depth of 1-2 mm.

The finished plates with aligned edges are clamped in housings and welded.

Final assembly and finishing
Two holes are perforated in the base plate for attaching the vice to the surface of the workbench. A ball from the bearing is welded in place of the cut head of the retainer bolt.

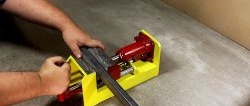
After thorough sanding, the surfaces are degreased and painted. A convenient locksmith device will allow you to quickly change workpieces without effort.