You will need to sew a valentine: Transparent lace fabric, silk threads, red beads, pink rope, green ribbon. Filling for the heart (paper, cotton wool, dried scented flowers), accessories: ready-made rose bud. Tools: regular game, bead needle, scissors, fabric glue.
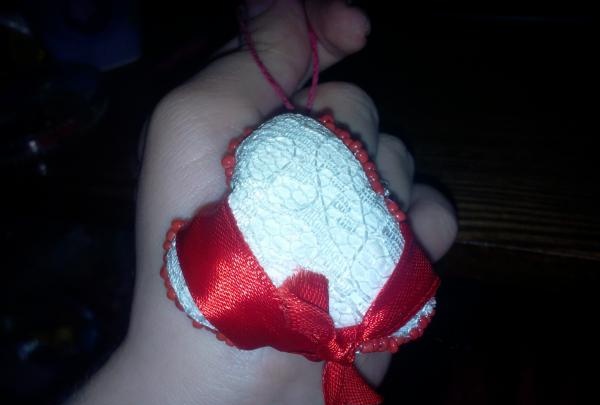
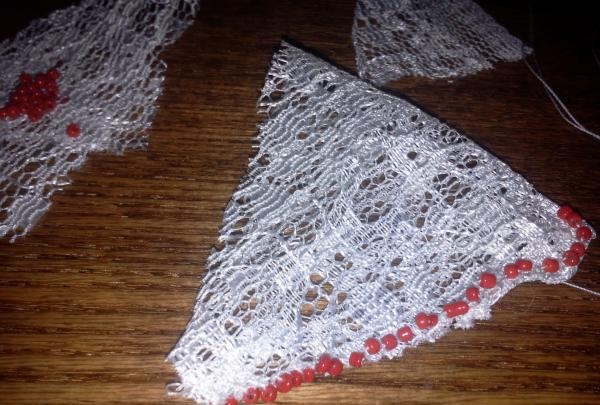
We cut out a double triangle from the fabric and sew the edges with the addition of beads, you don’t need to sew it all the way, remember the heart needs to be filled with filler.
In our version, the heart is stuffed with paper towels, which are torn into pieces, after which they are inserted one at a time into a heart made of fabric; there should be a lot of filler so that the valentine is dense; after stuffing, we sew the heart together until the end.
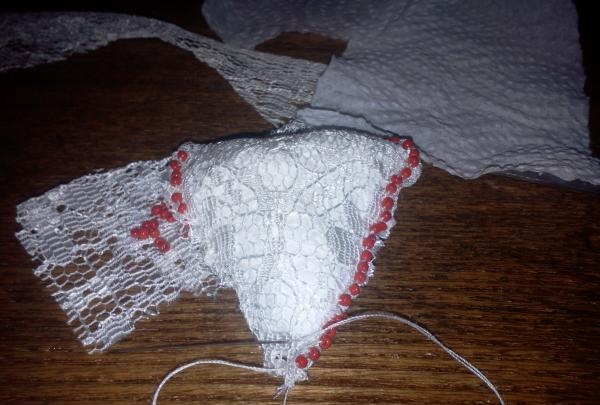
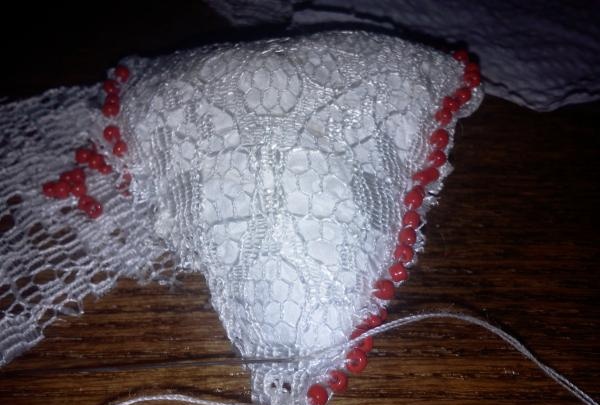
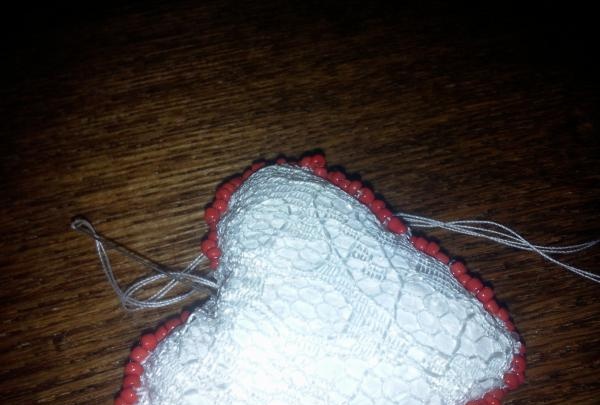
The heart has taken on a rounded shape, has become dense, but not very beautiful, the bead stitches are sparse, the threads from the lace fabric are still sticking out in different directions.
After the heart is stuffed with filler, sewn and a little decorated with beads, you need to give it a shape; to do this, take a tight game with a silk thread, and pierce the heart right through, tightening the thread tightly, such ties need to be made until the heart takes shape.
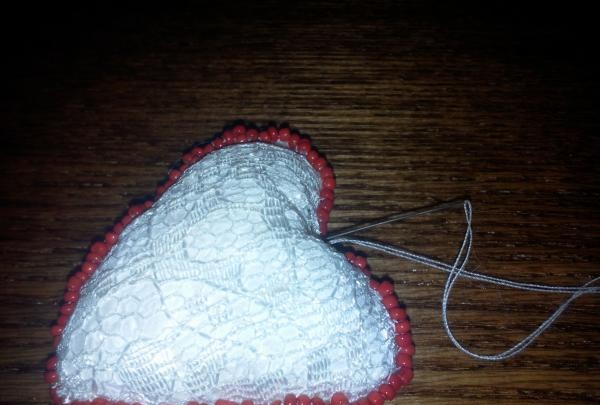
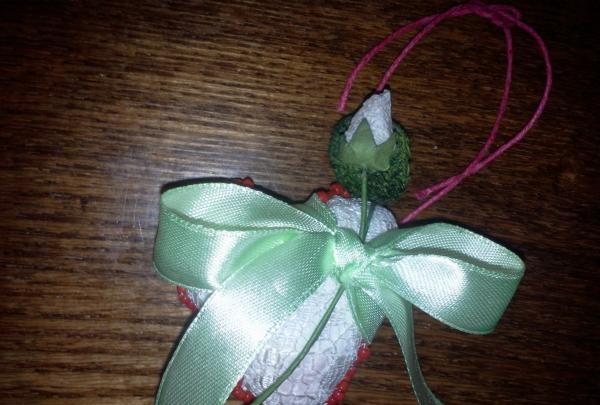
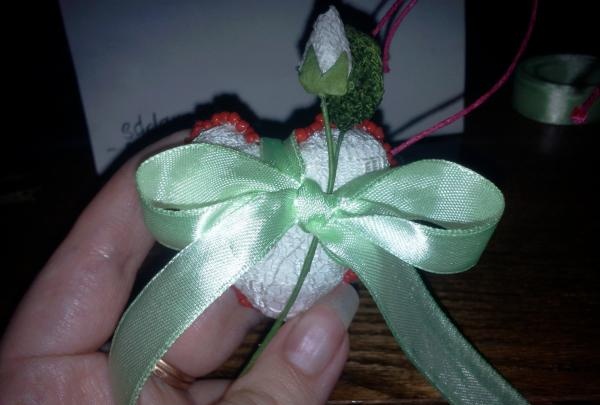
Now the valentine has become like a heart, you can start decorating it with ribbon, fittings, rope and beading.
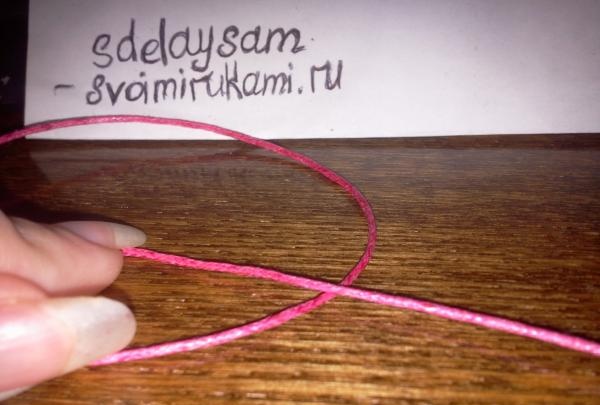
We cut off the rope (lace) of the required length, and carefully sew it to the heart, the silk threads are strong, but you still need to sew it tightly, it is from this loop that the heart will be hung.
Then we cut off a green satin ribbon and tie a bow on the heart; you need to add a drop of fabric glue into the knot of the bow so that the bow does not unravel. You shouldn’t immediately cut the ribbon, first try it on, tie a test bow, and only then cut it “Measure seven times, cut once...”.
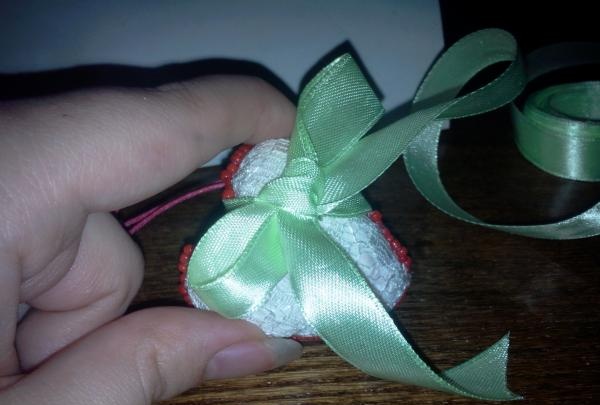
We take the accessories, a ready-made rosebud and insert it between the heart and the bow, to secure it you can make a few stitches with silk thread or a drop of glue, in our case the ribbon is tied tightly and the bud does not fall out.
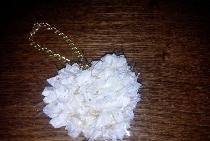
The Valentine is ready, such a craft will please your loved one, heart, flower, what else is needed for happiness.