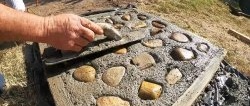
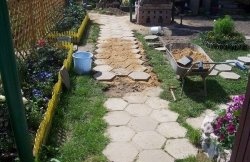
If you decide to decorate your area with tiles, but doubt whether you can afford such an investment financially, then try not to buy it, but to make it yourself. In this case, the price of the issue will be only the time spent, sand, cement and chipboard for assembling the forms. This is more than justified, especially if you want to make large-format tiles, for example, for a walking path.
Materials:
- laminated chipboard;
- self-tapping screws;
- silicone sealant;
- lubricant;
- cement;
- sand;
- crushed stone
Tile making process
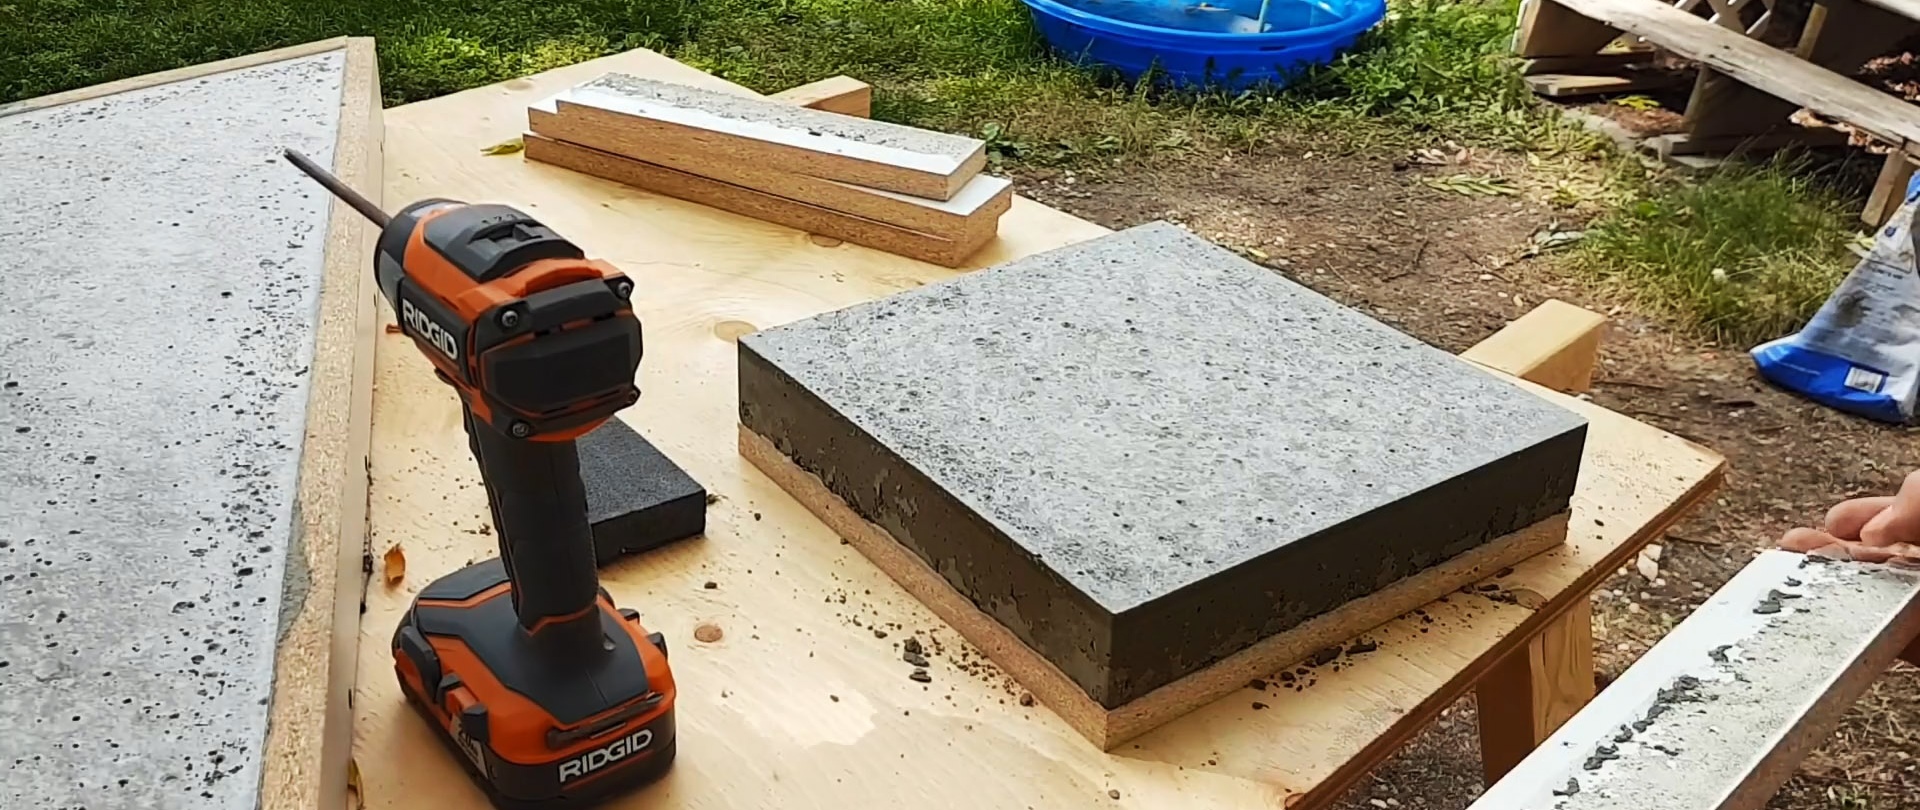
Before concrete work, you need to assemble the molds for the tiles. Chipboard is perfect for this. Blanks corresponding to the size of the tiles are cut from it.
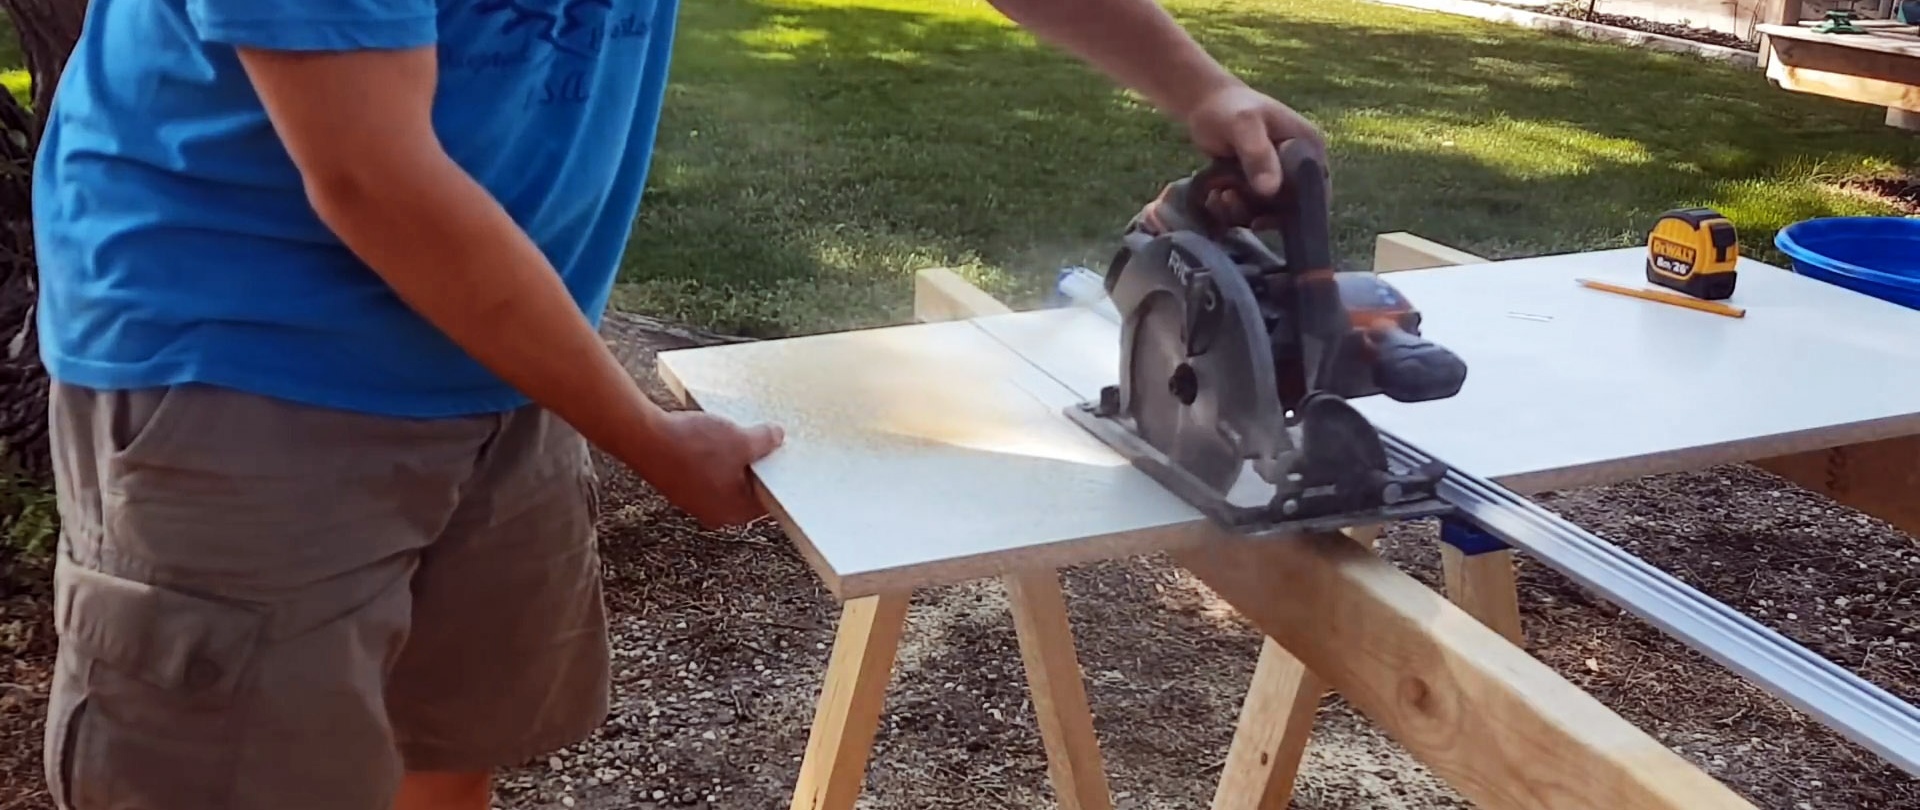
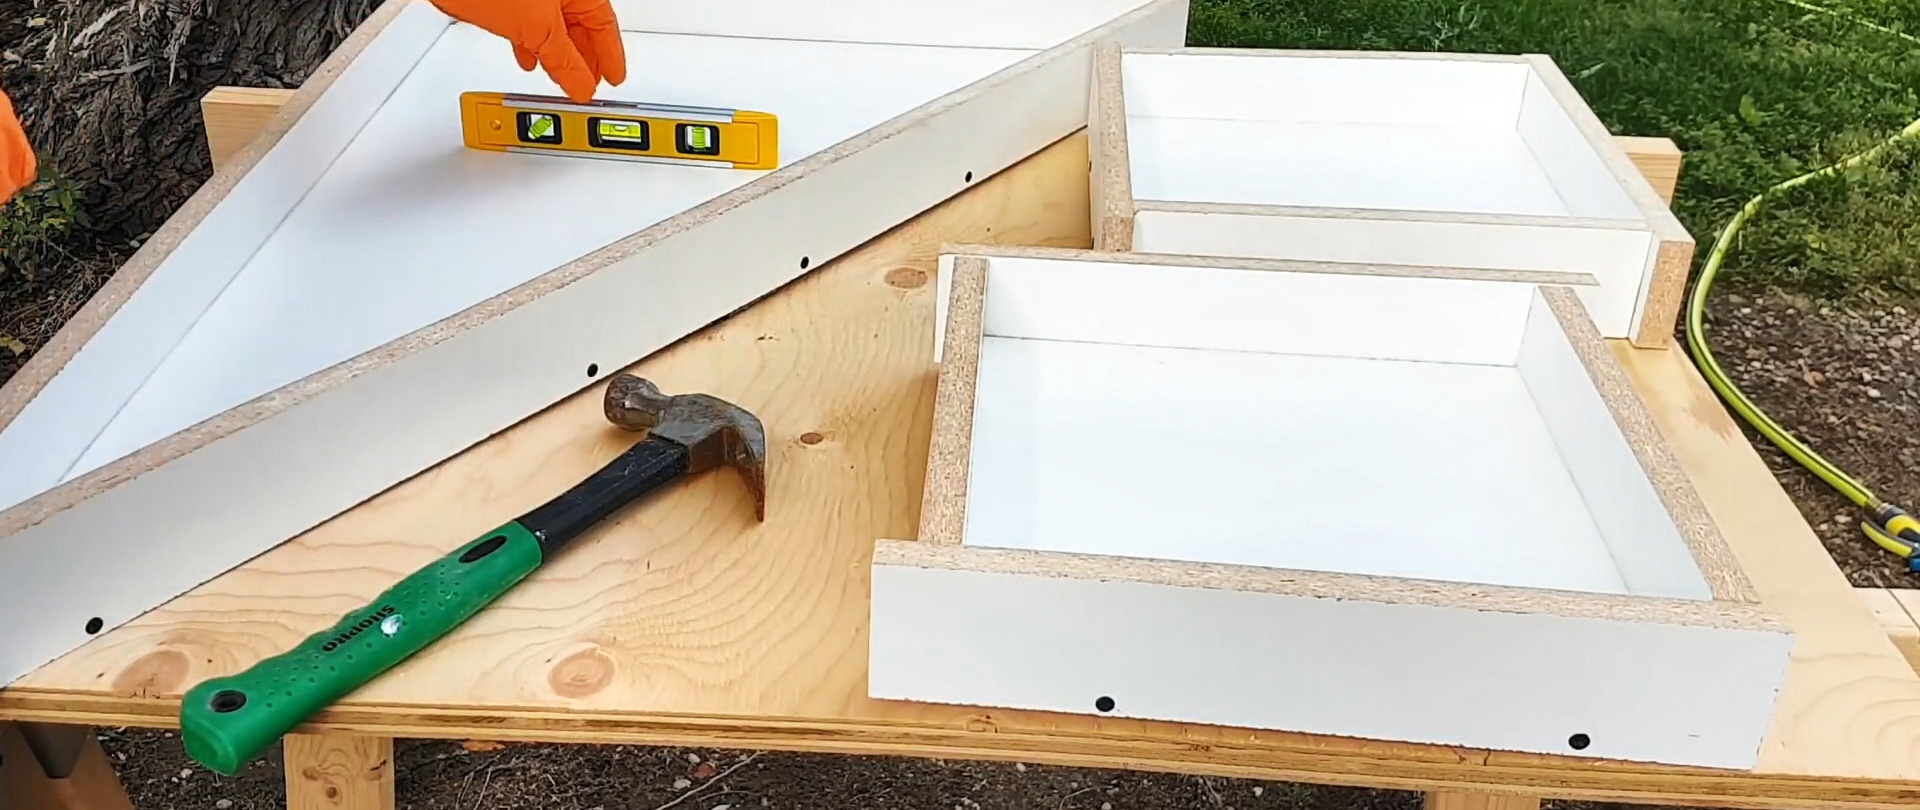
Then the slats are sawed to make the sides. The height of the tiles must be at least 5 cm. The slats must be cut taking into account this 5 cm and the thickness of the chipboard. Then the sides are screwed from the sides onto the prepared bottoms.


The bottom of the molds is lubricated with a separator. It could be Vaseline, a rework. The corners are then sealed with silicone sealant.It will only stick to the sides, so it won’t hurt to disassemble the molds later.

Before pouring, the forms are leveled.
Then the concrete is mixed. You can simply mix cement, sand and crushed stone in a ratio of 1:2.5:3, or use a purchased mixture for floor screed.

The solution is poured up to the sides and the molds are then shaken to compact the concrete, expelling any air bubbles. If desired, steel mesh can be placed in large tiles for reinforcement, but if they are needed for a pedestrian path, then this is unnecessary.


The forms are covered with polyethylene to prevent rapid evaporation of water and shaded.
On the second day, the formwork is dismantled and the tiles are removed.

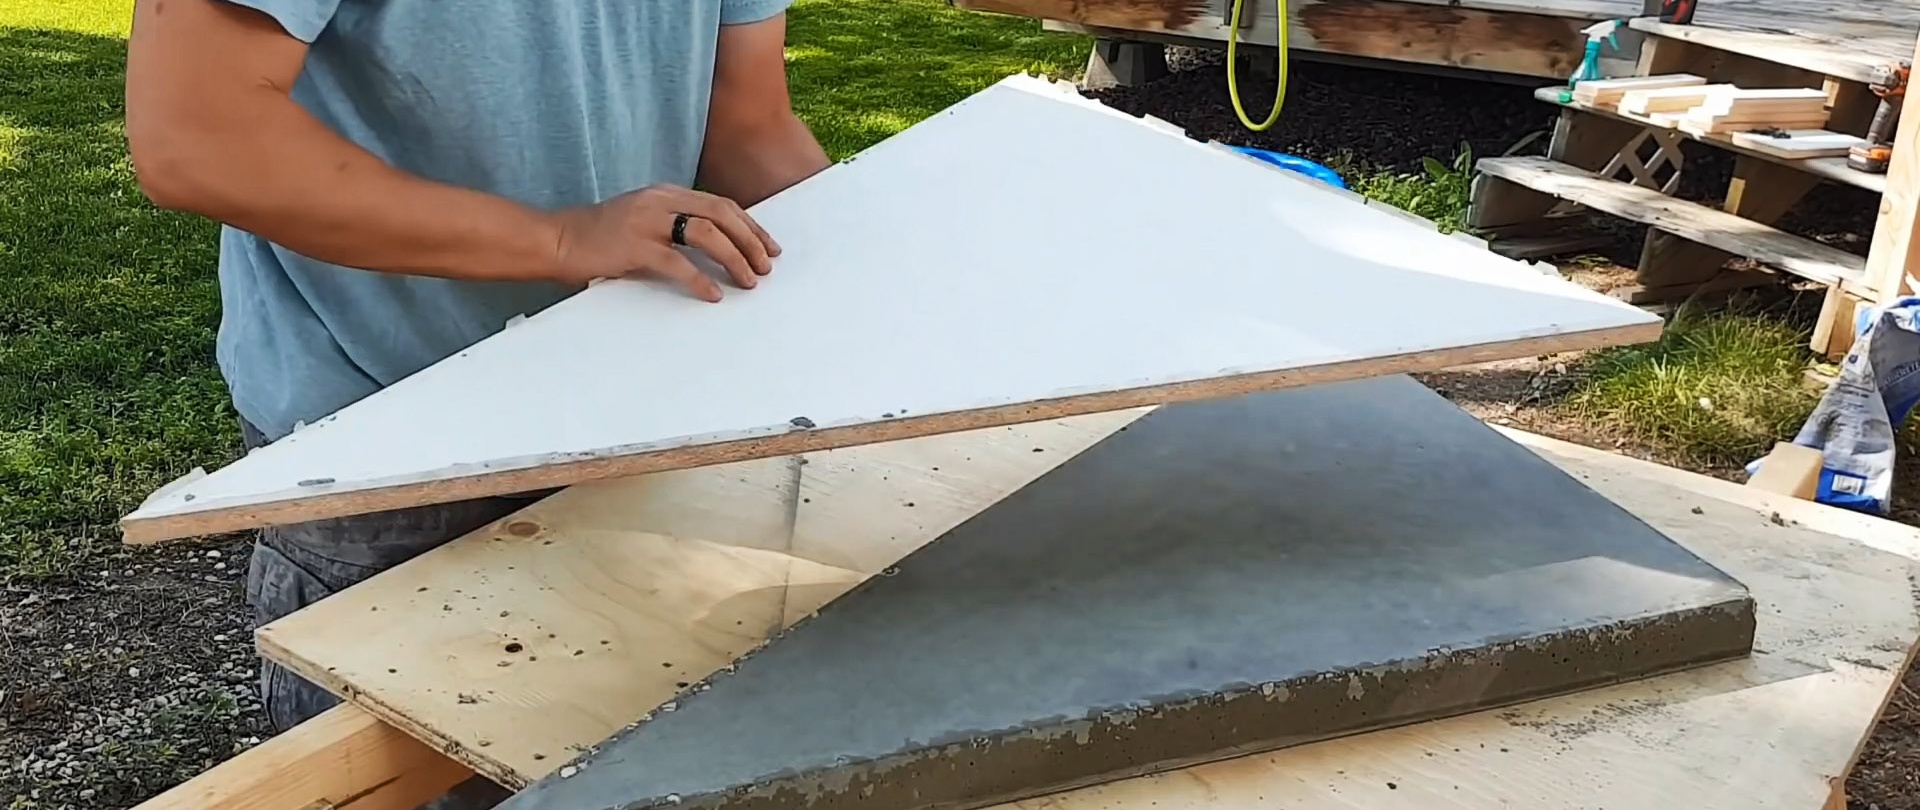
When they dry well, which will happen in about a week, they can already be laid on the path. Concrete will gain full strength in 28 days. The formwork with the adhering sealant is put back together, lubricated, and refilled.