An edge router with a standard soleplate is limited in functionality. But by making removable soles, you can greatly expand its functionality. This work can be done by any adult with the skills to handle plexiglass tools.
Will need
Materials:- edge router;
- plexiglass;
- screws, screws and nuts;
- wing screws;
- round rod;
- aluminum corner.
High-quality drills on AliExpress at a discount - http://alii.pub/5zwmxz
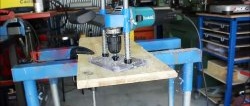
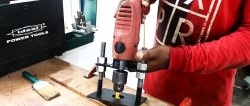
Tools: band saw, adhesive tape, drill, clamps, drill press, hand saw, etc.The process of making various soles for an edge router
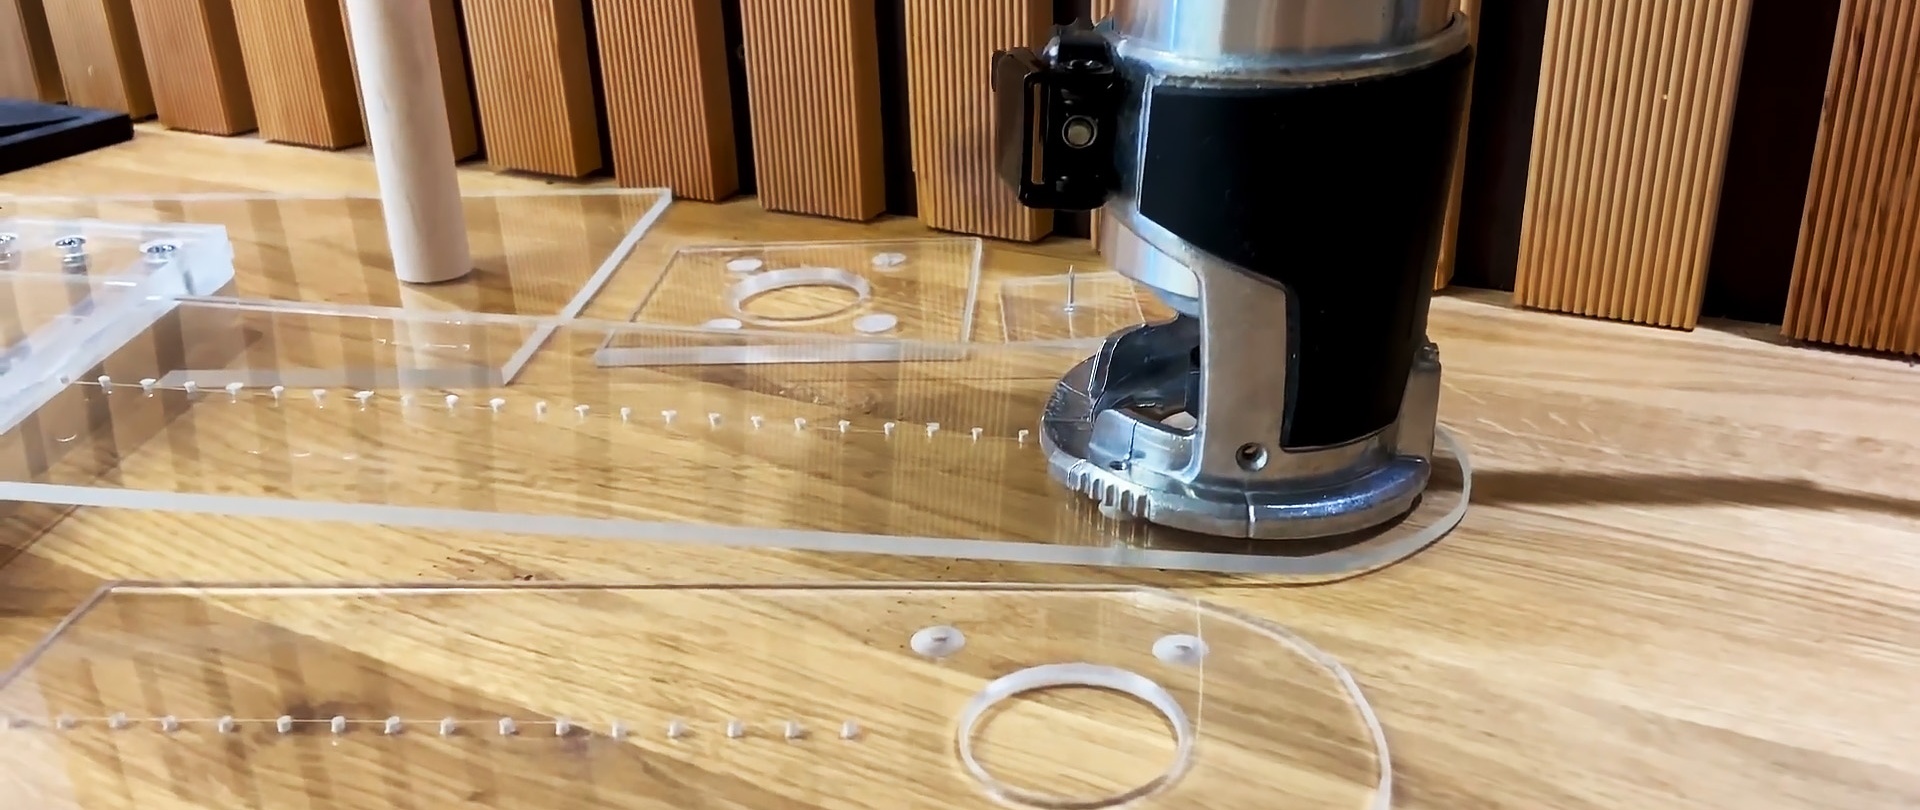
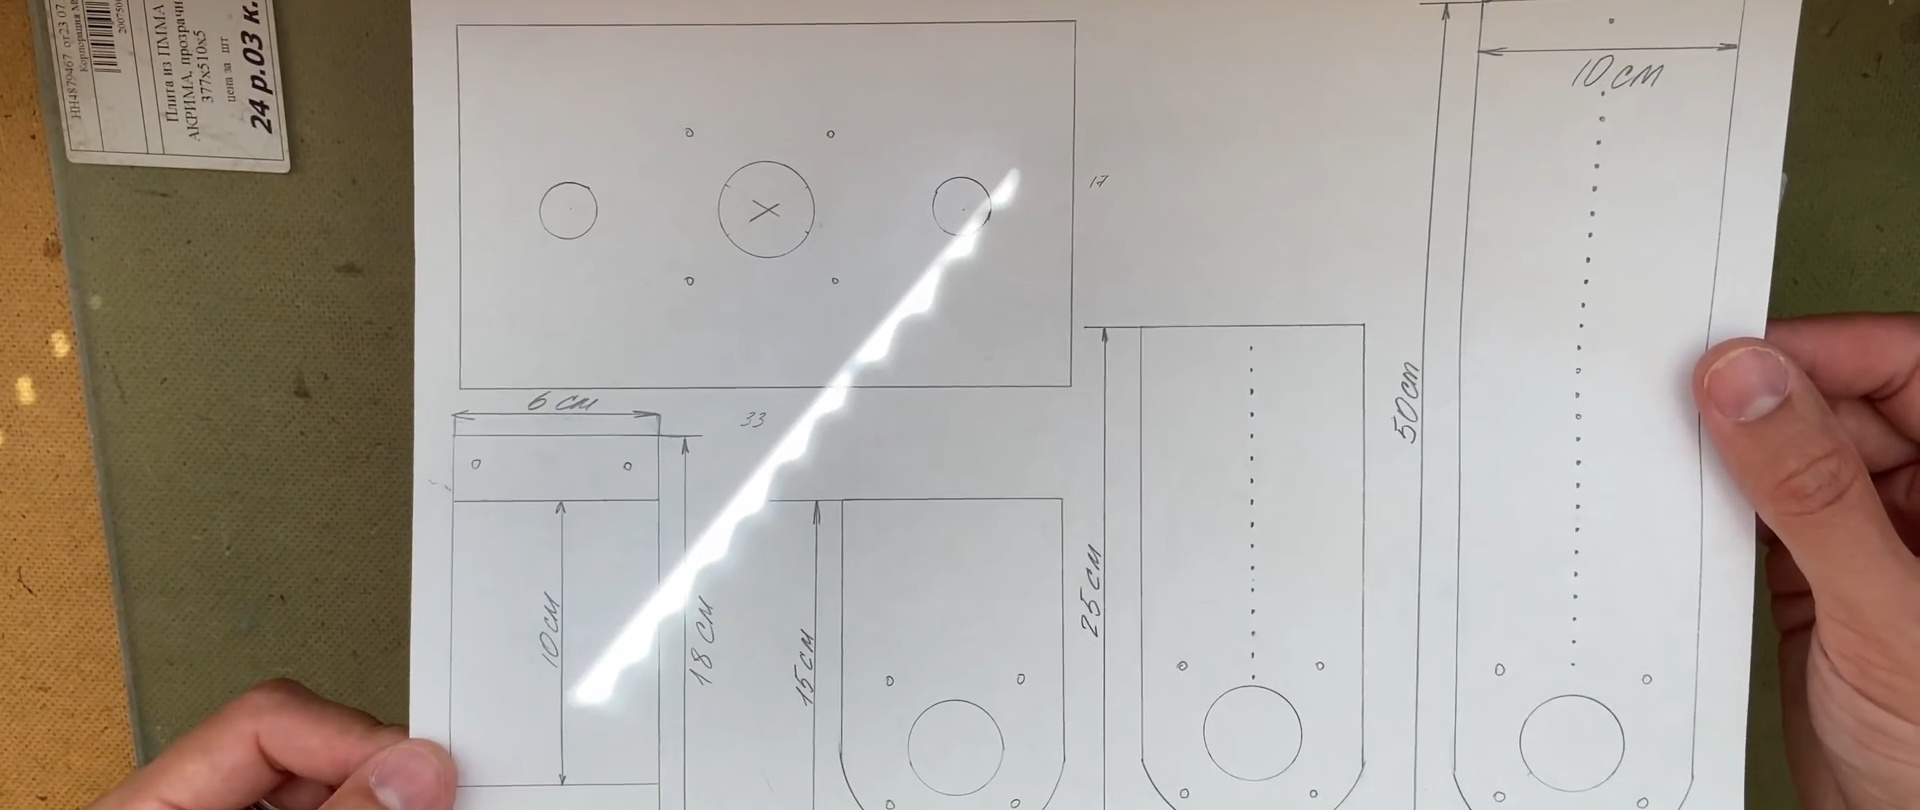
The drawing shows all the soles that expand the functionality of the router with dimensions.
Outsole for comfortable edge processing
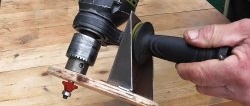
The router is unstable when processing edges and it is difficult to hold it with one hand. But replacing the “native” sole with an elongated one will eliminate this problem.

We cut a strip of the required width and length from the sheet, and using a suitable round object, make markings for rounding the corners.
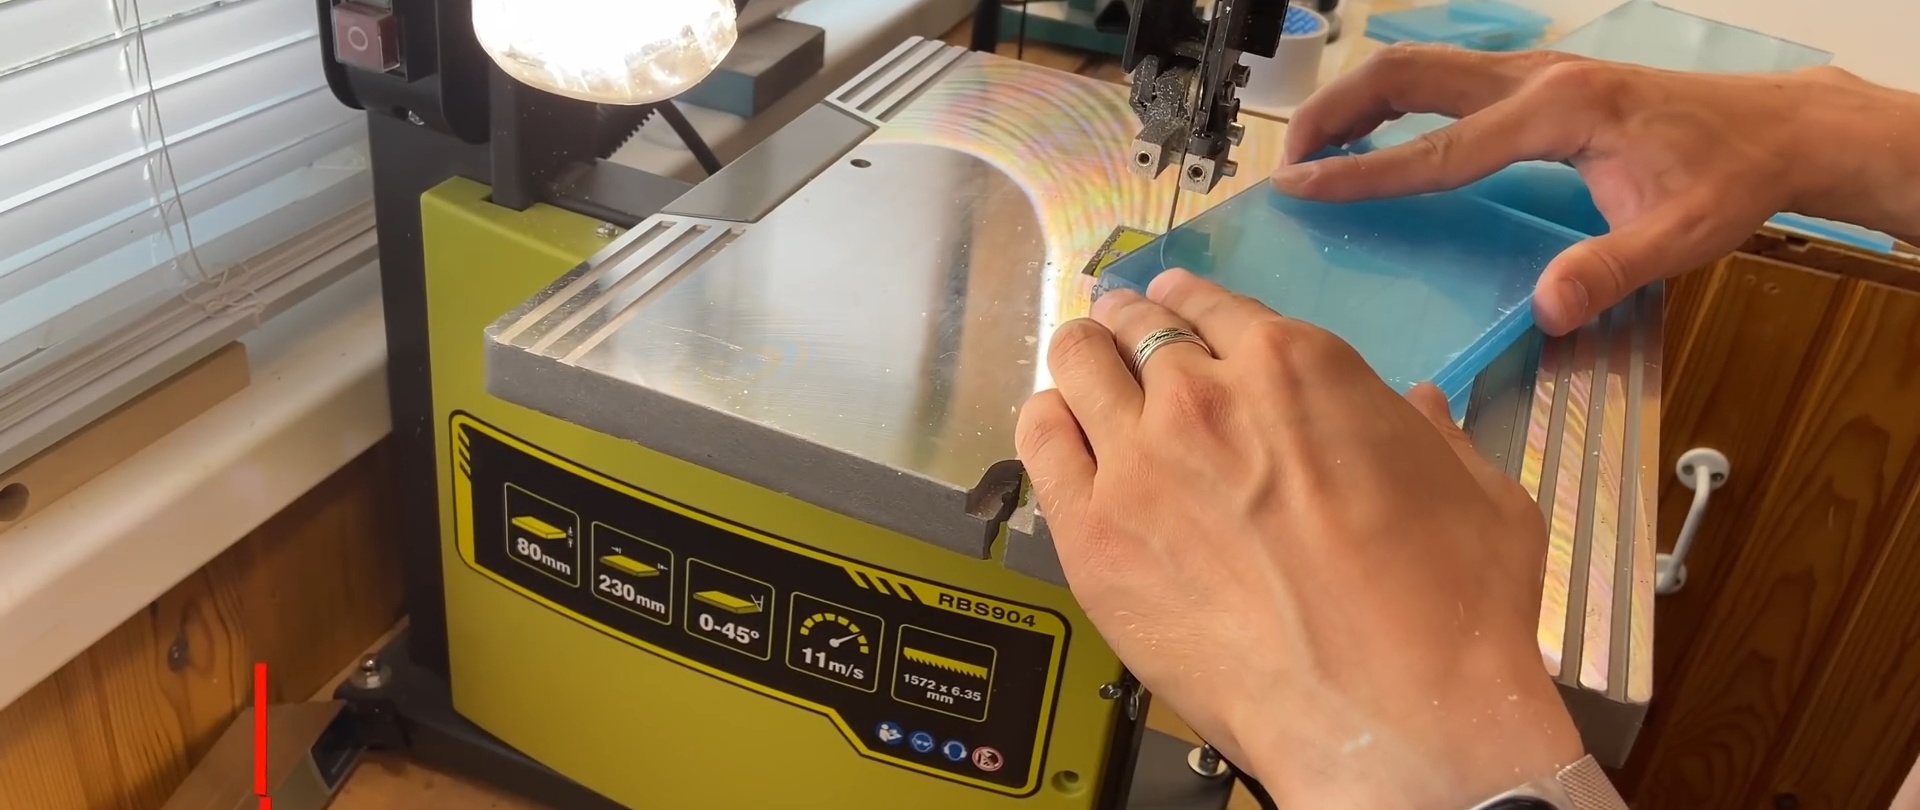
Cut two more strips of the same width, but different lengths (they will be needed later). We align them crosswise and lengthwise, hold them together with adhesive tape and round the corners according to the markings.
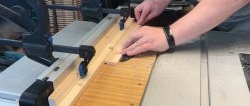
We install the router on the package of strips closer to the rounded corners and make a mark on the top strip.
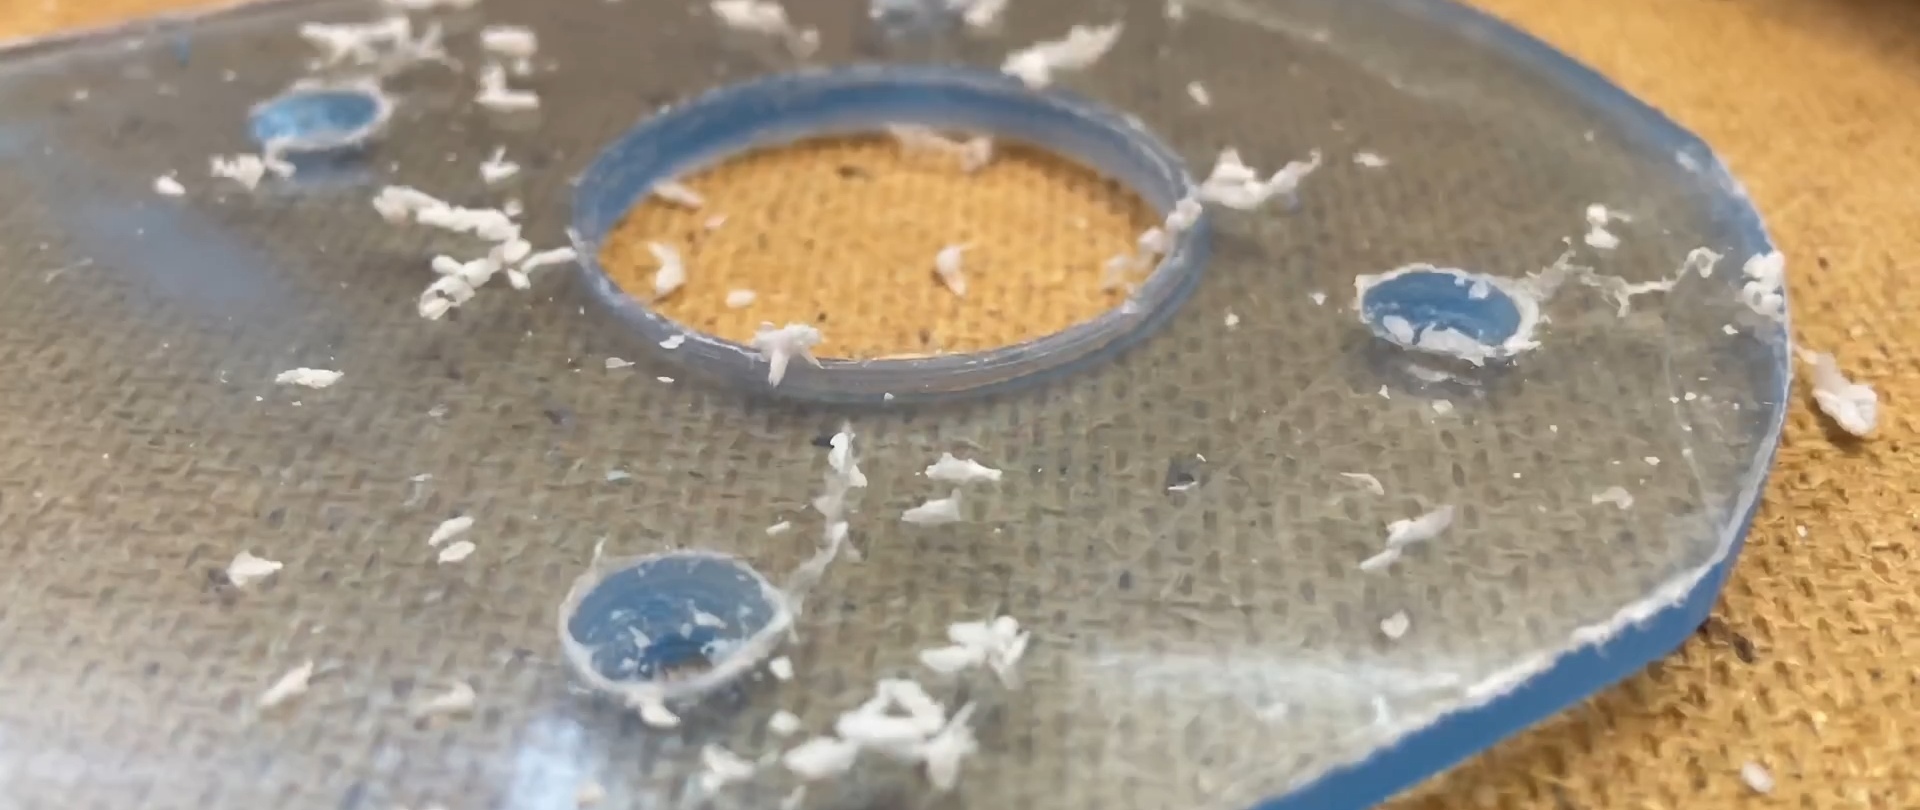
Using a drill with a diameter equal to the diameter of the hole in the sole, we drill all the strips.

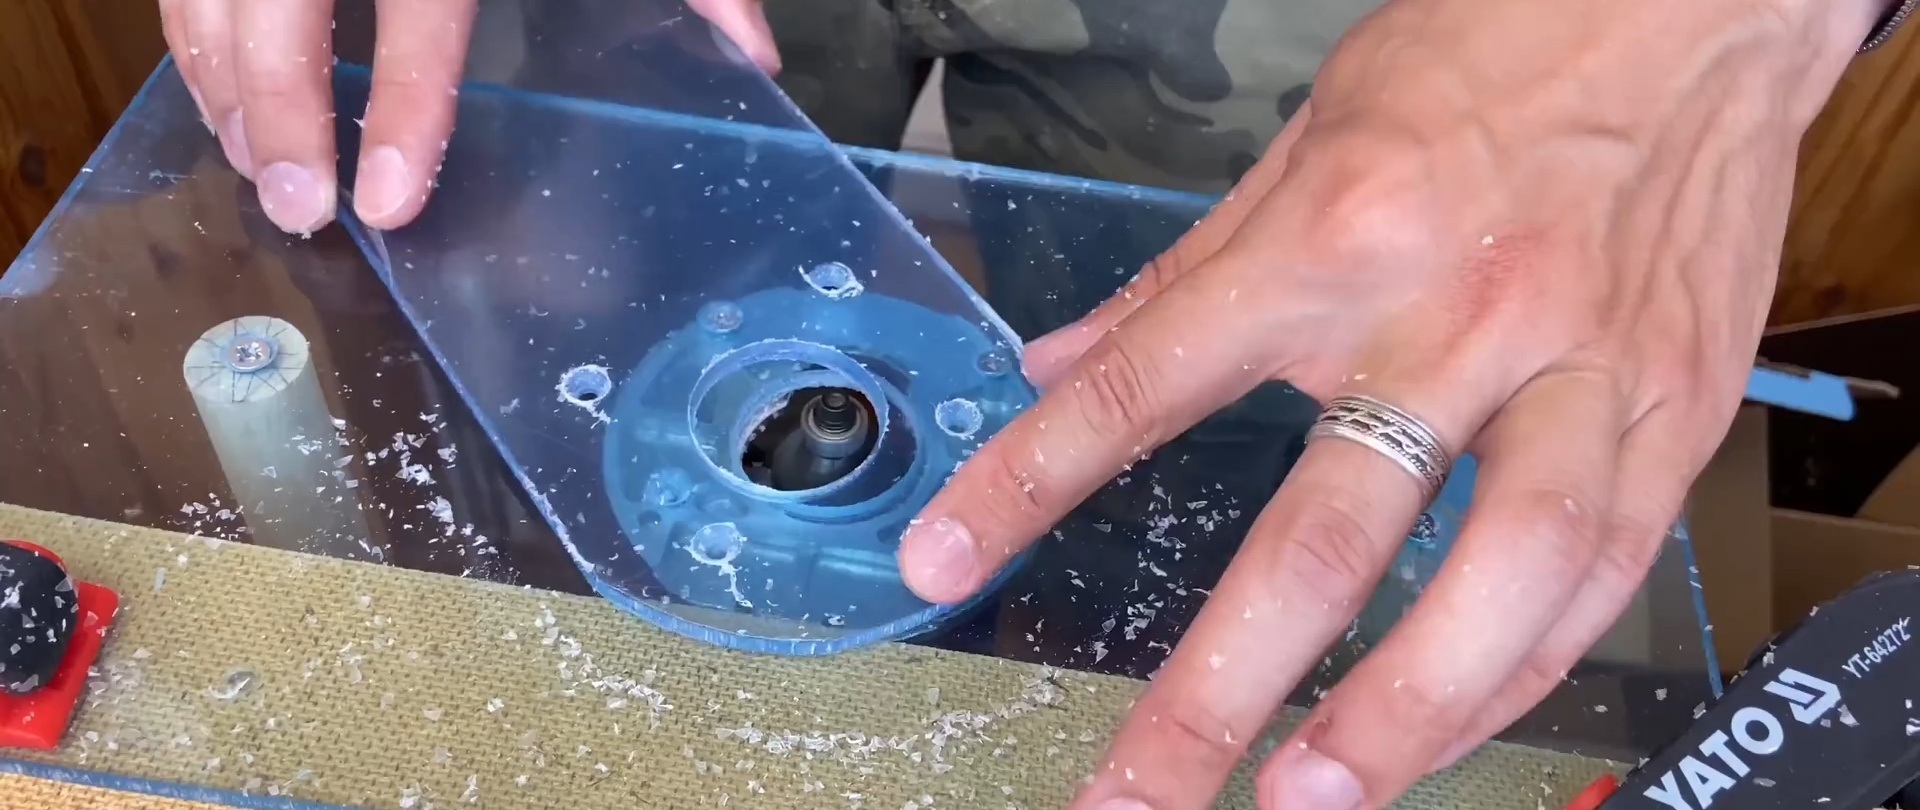
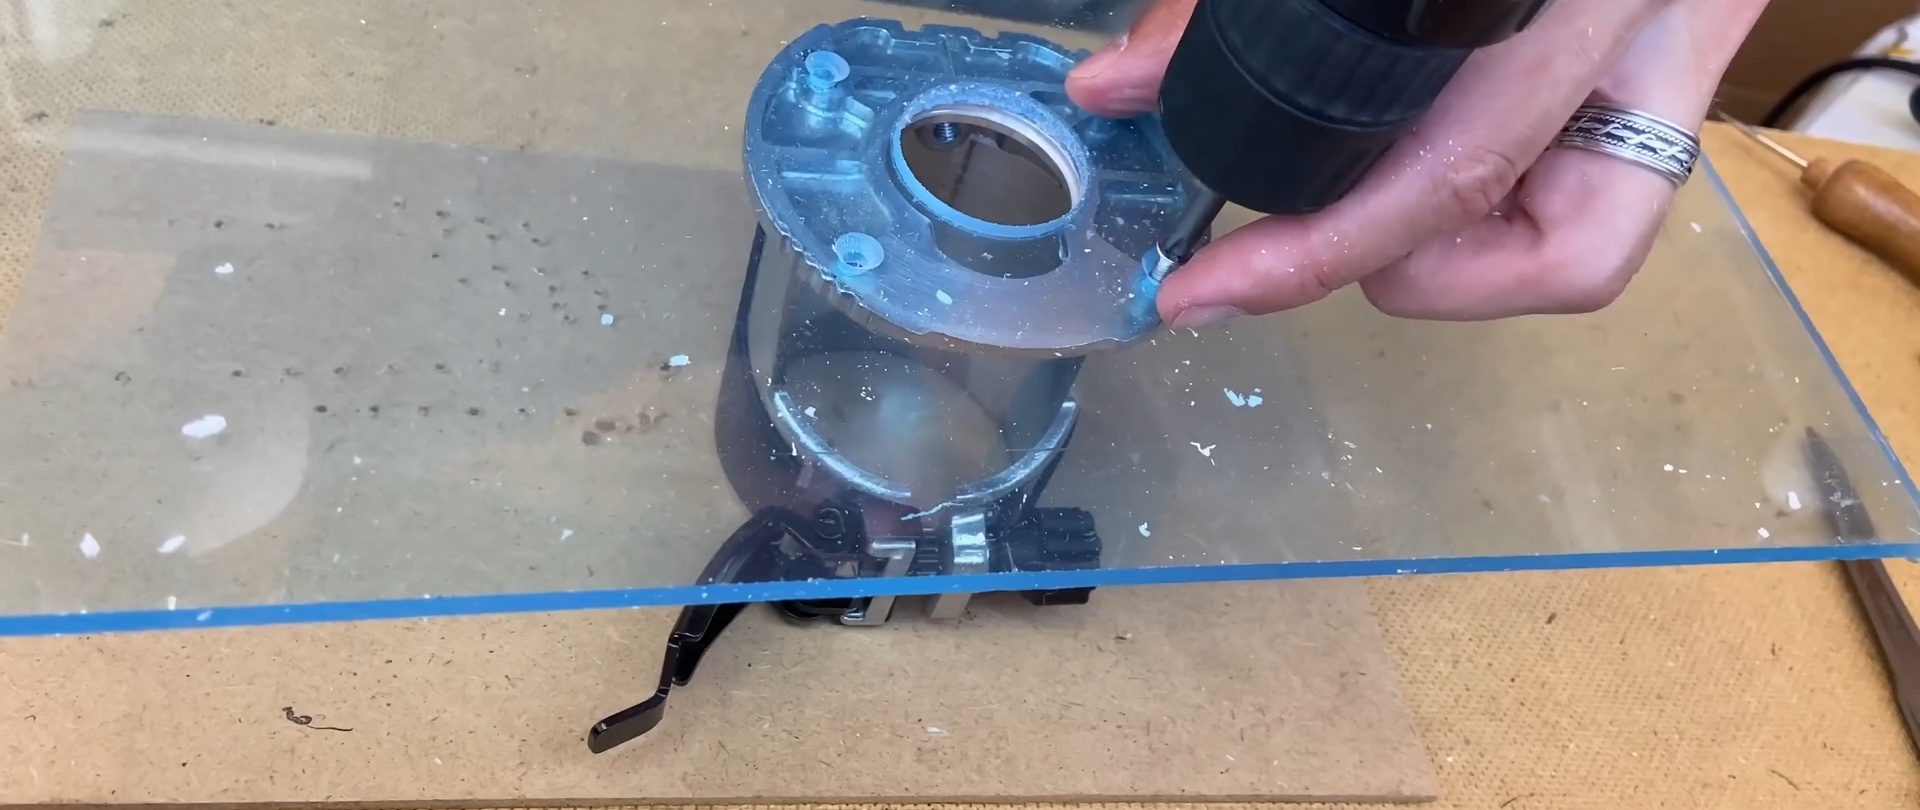
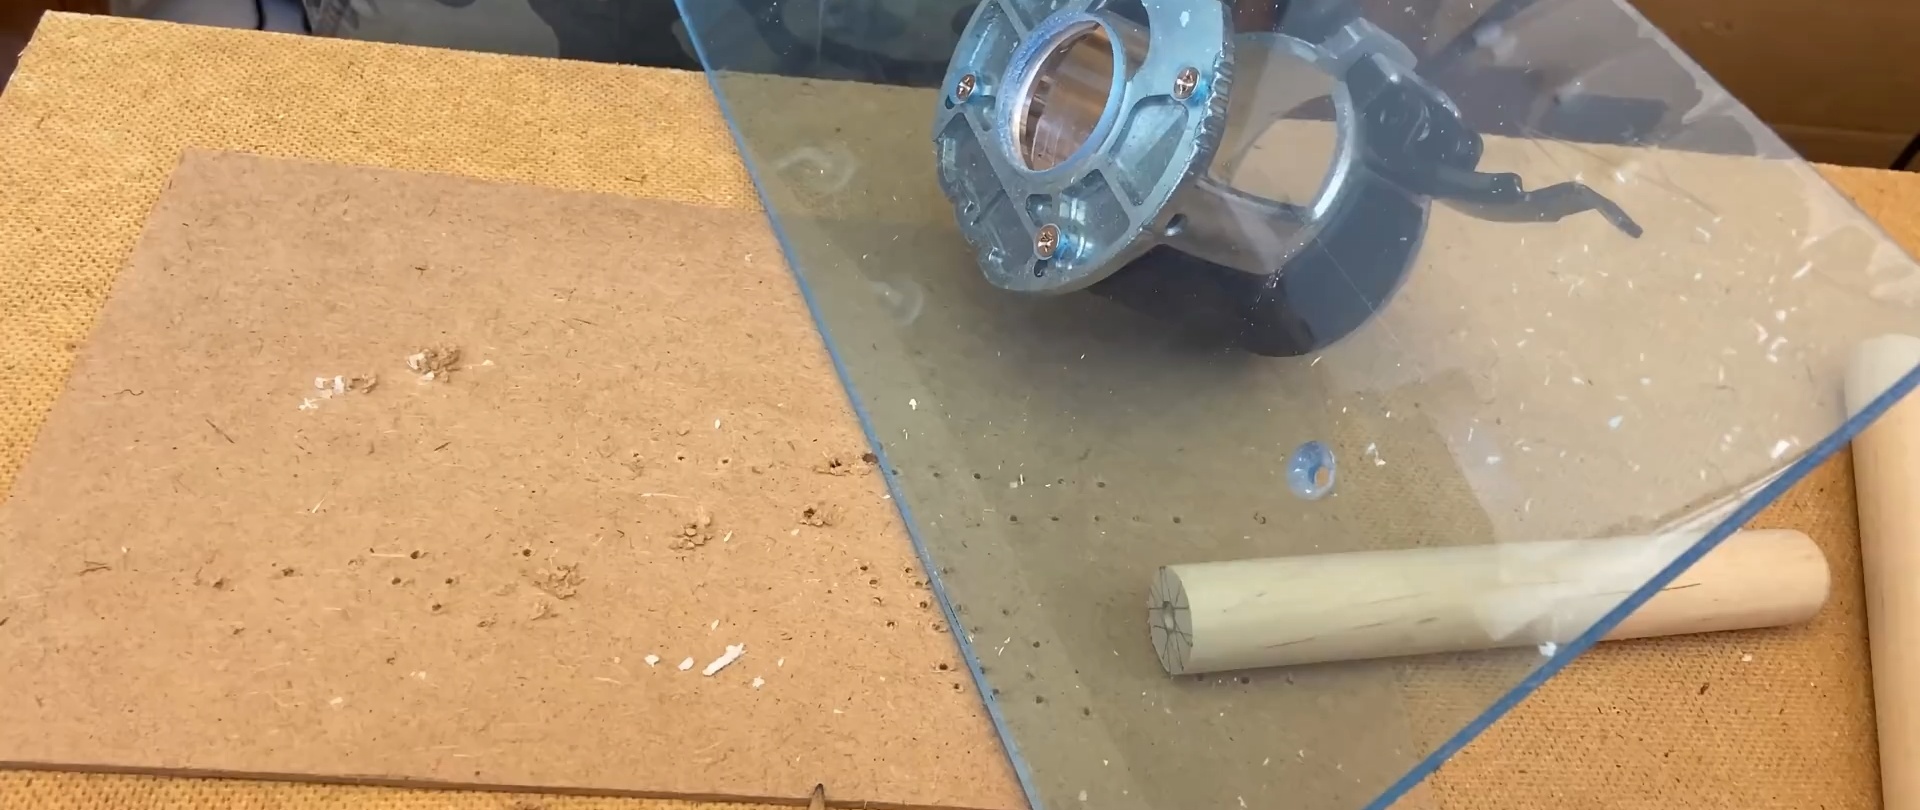
Using the standard router base, we make markings in the package of strips and make holes for fasteners.
We disassemble the package and attach the short strip to the router.

Now, by pressing the elongated part of the sole with the edge of the palm, we can easily control the operation of the router.


Circle milling sole
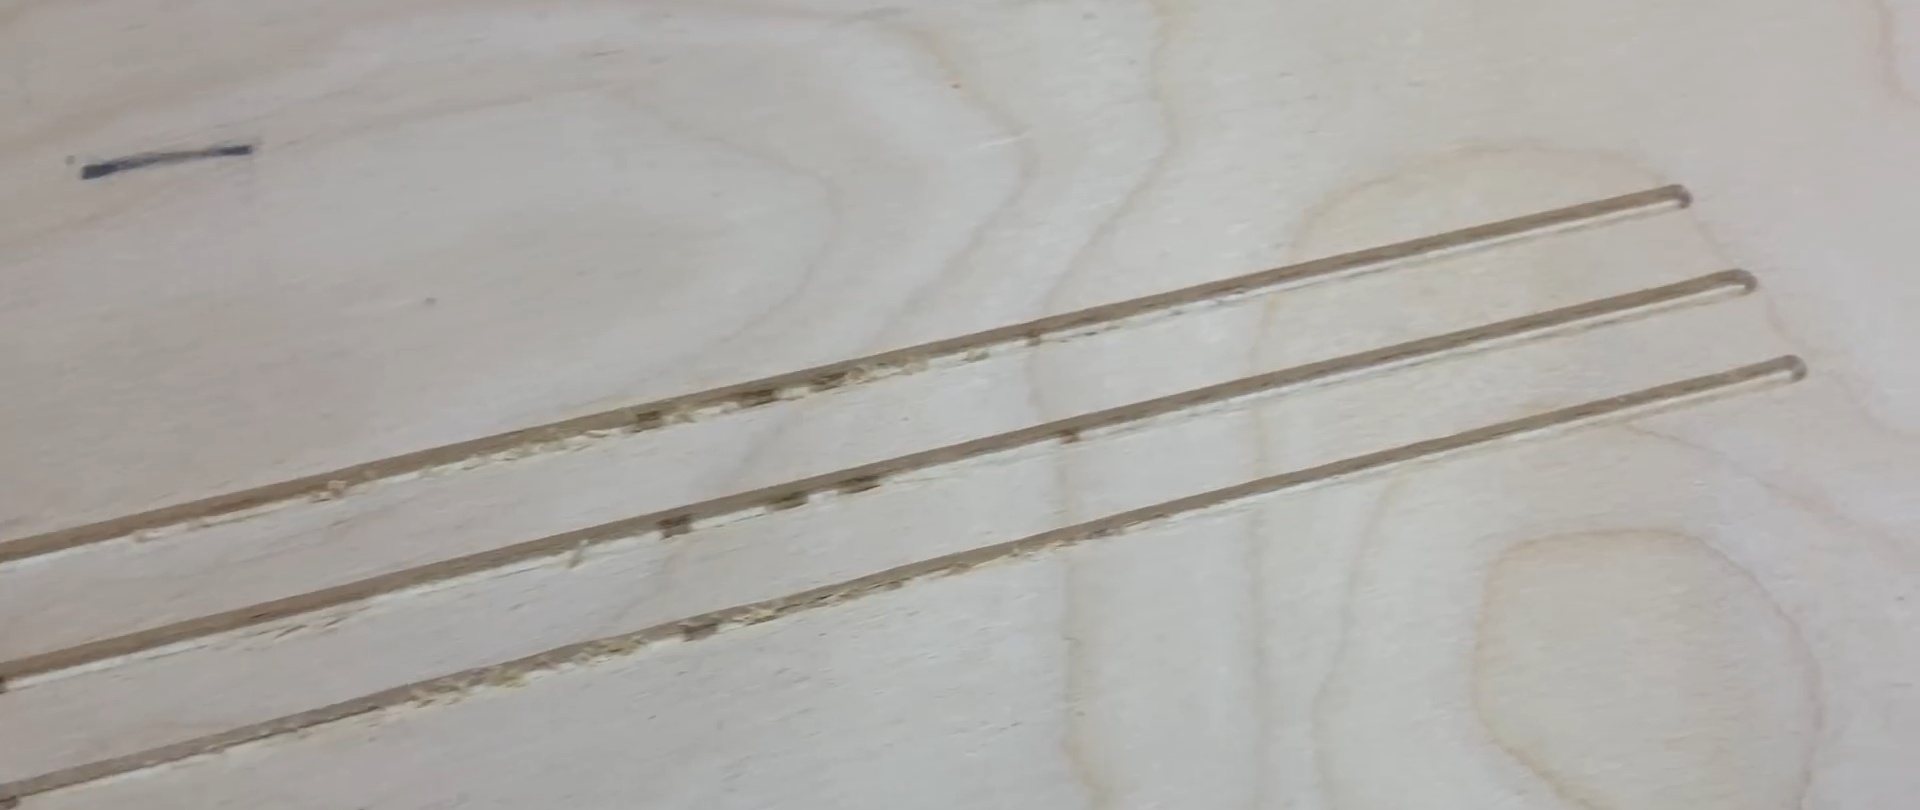
The sole from the longest workpiece will ensure that concentric grooves are milled from one center.
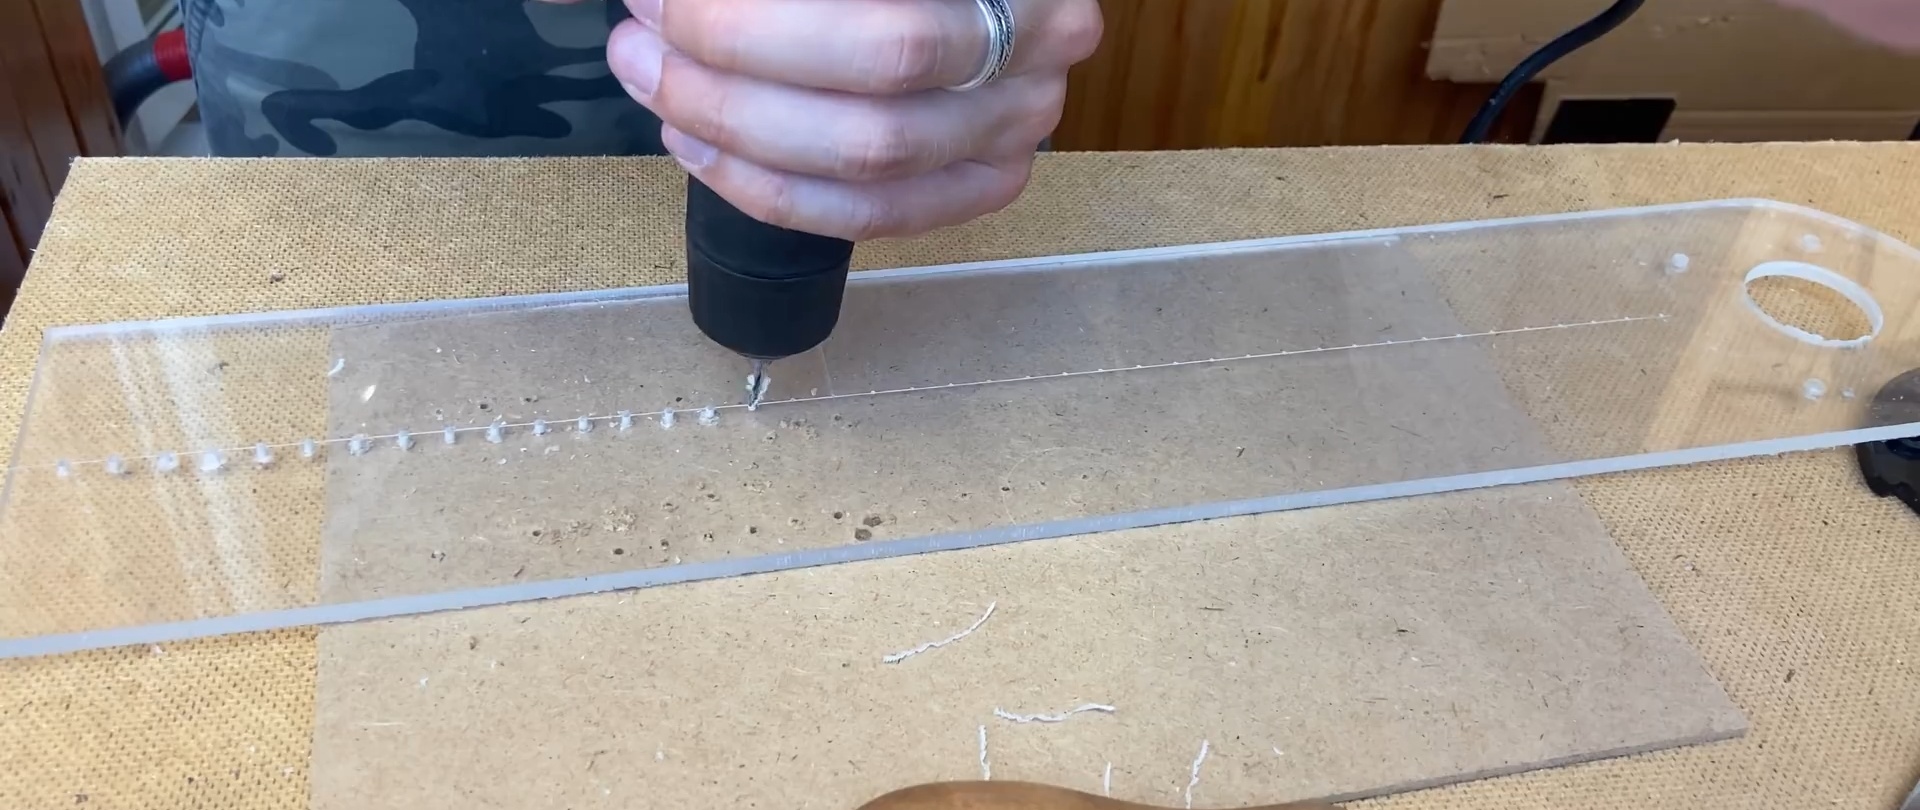
Using the tip of a knife, we draw the groove longitudinally along the ruler and drill holes on it according to the marks.
We attach the sole to the router. We drive a nail into the hole and mill it along a circular arc. By changing the center of rotation of the router, we obtain a system of concentric arcs.


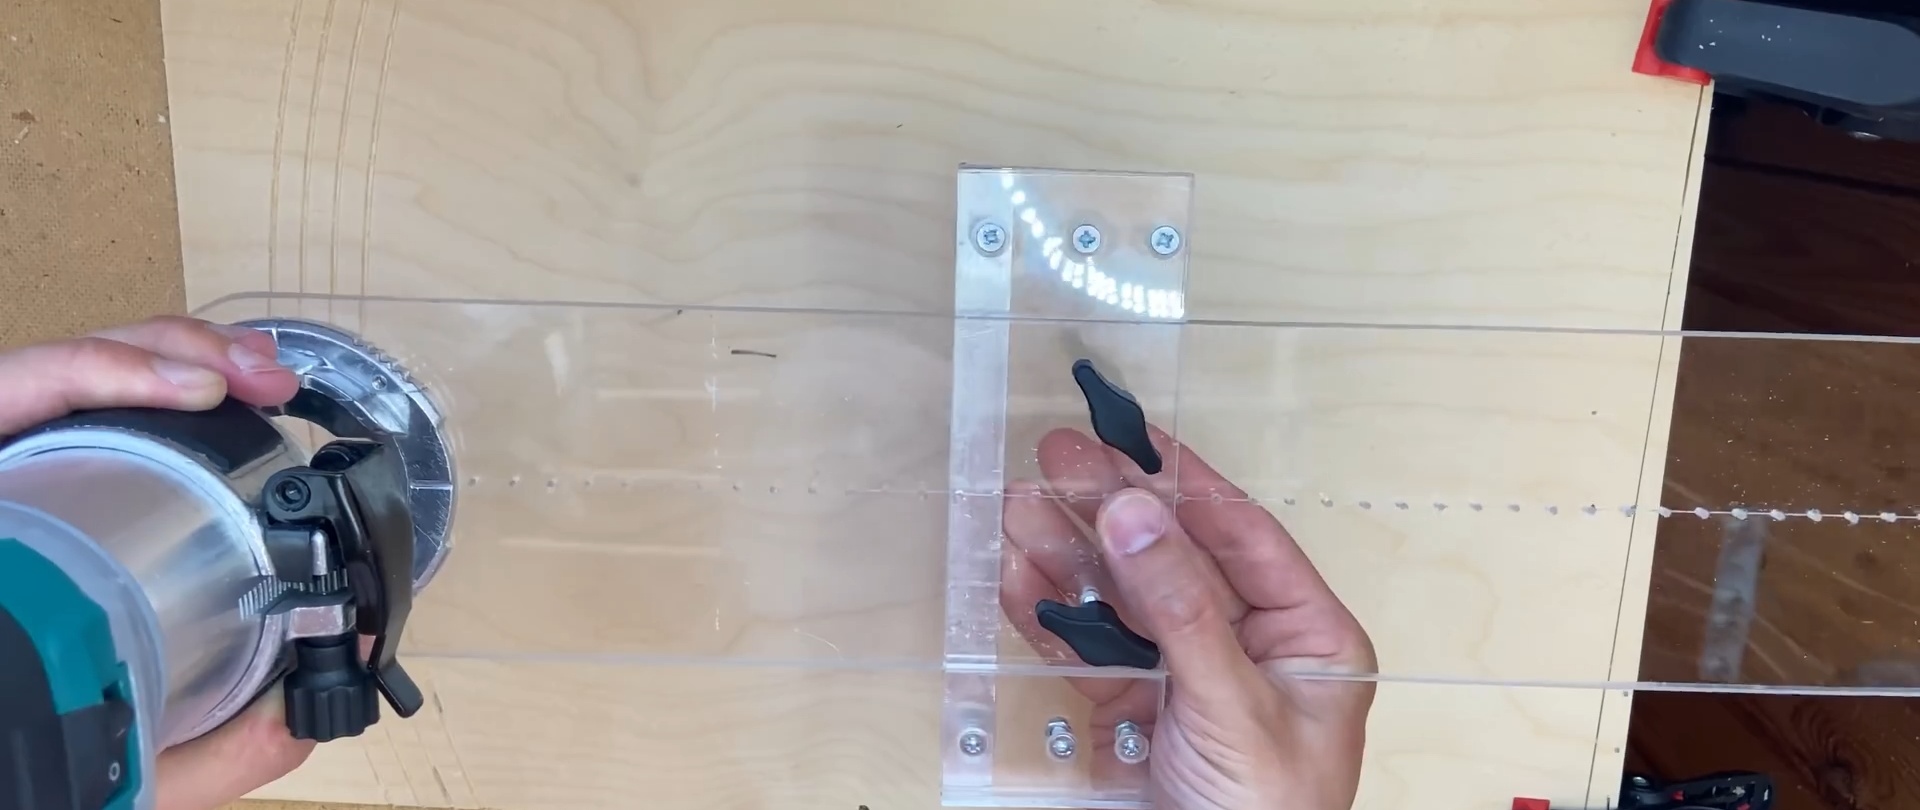
Cross knot for sole
If the long sole is equipped with a transverse unit, then a system of parallel milling can be performed.
We lay a long sole across a strip of plexiglass, small rectangles on the sides on adhesive tape, and a strip equal to the bottom on top.

We attach an aluminum corner with the bottom shelf inward to the long edge of the top strip using adhesive tape.
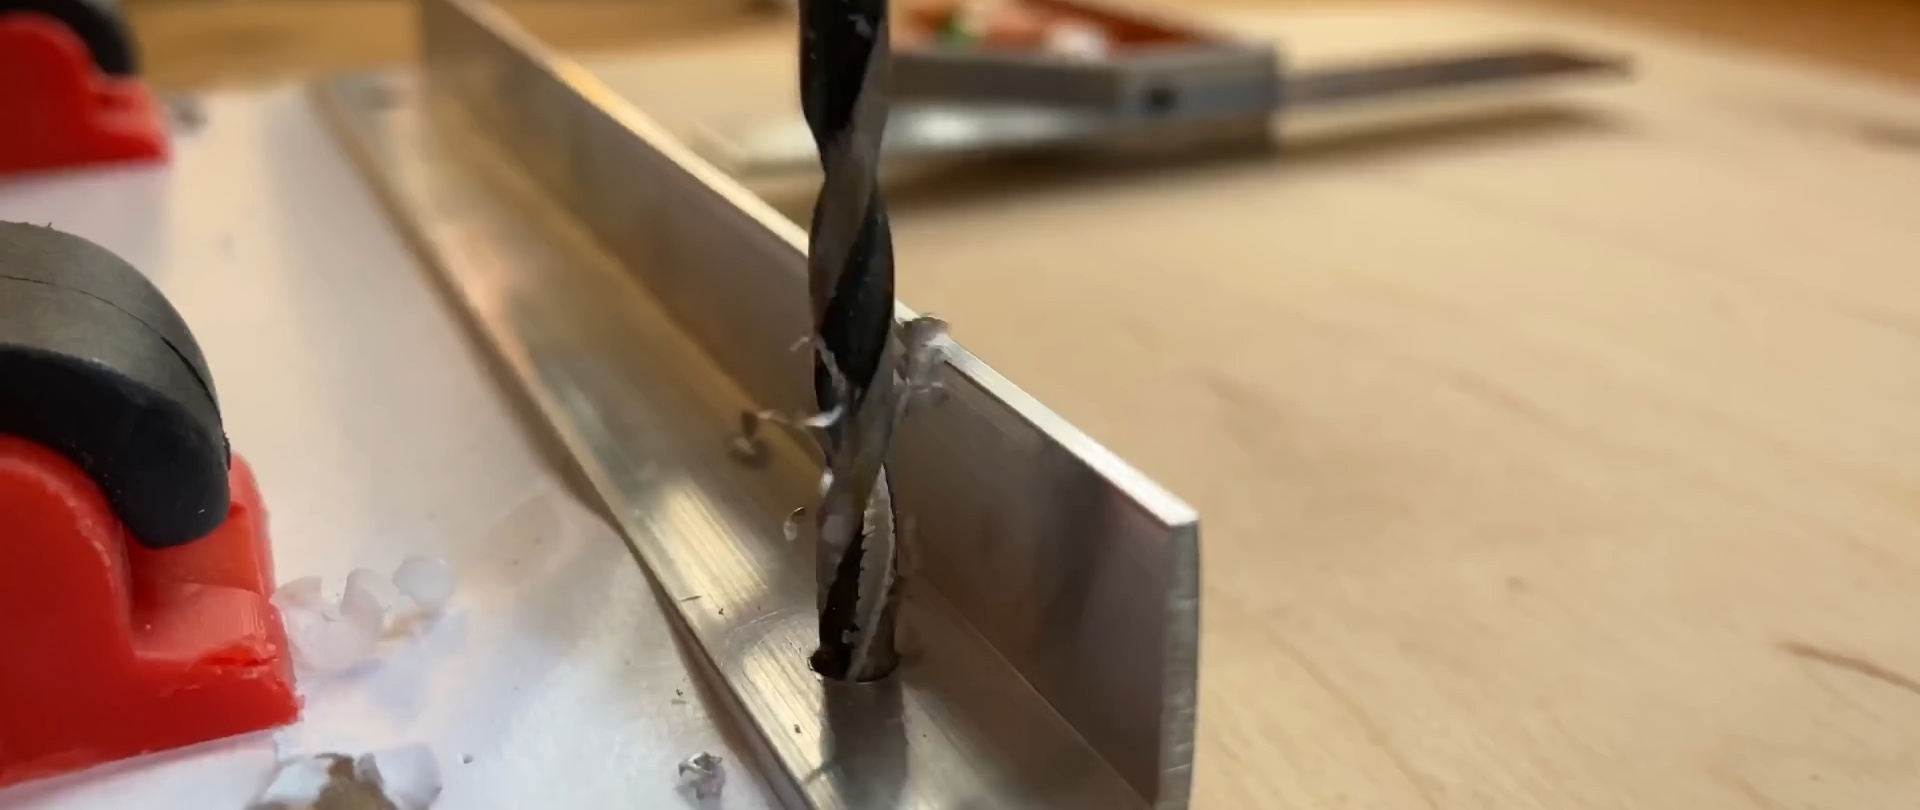
We drill a hole in the bottom shelf of the corner along the edges, and two in the plexiglass. We insert the screws into them and tighten them with nuts from below.

We drill holes in the strip above the groove and screw the wing screws into them.

By changing the position of the transverse unit and using it as a side stop, we perform a series of parallel milling operations.

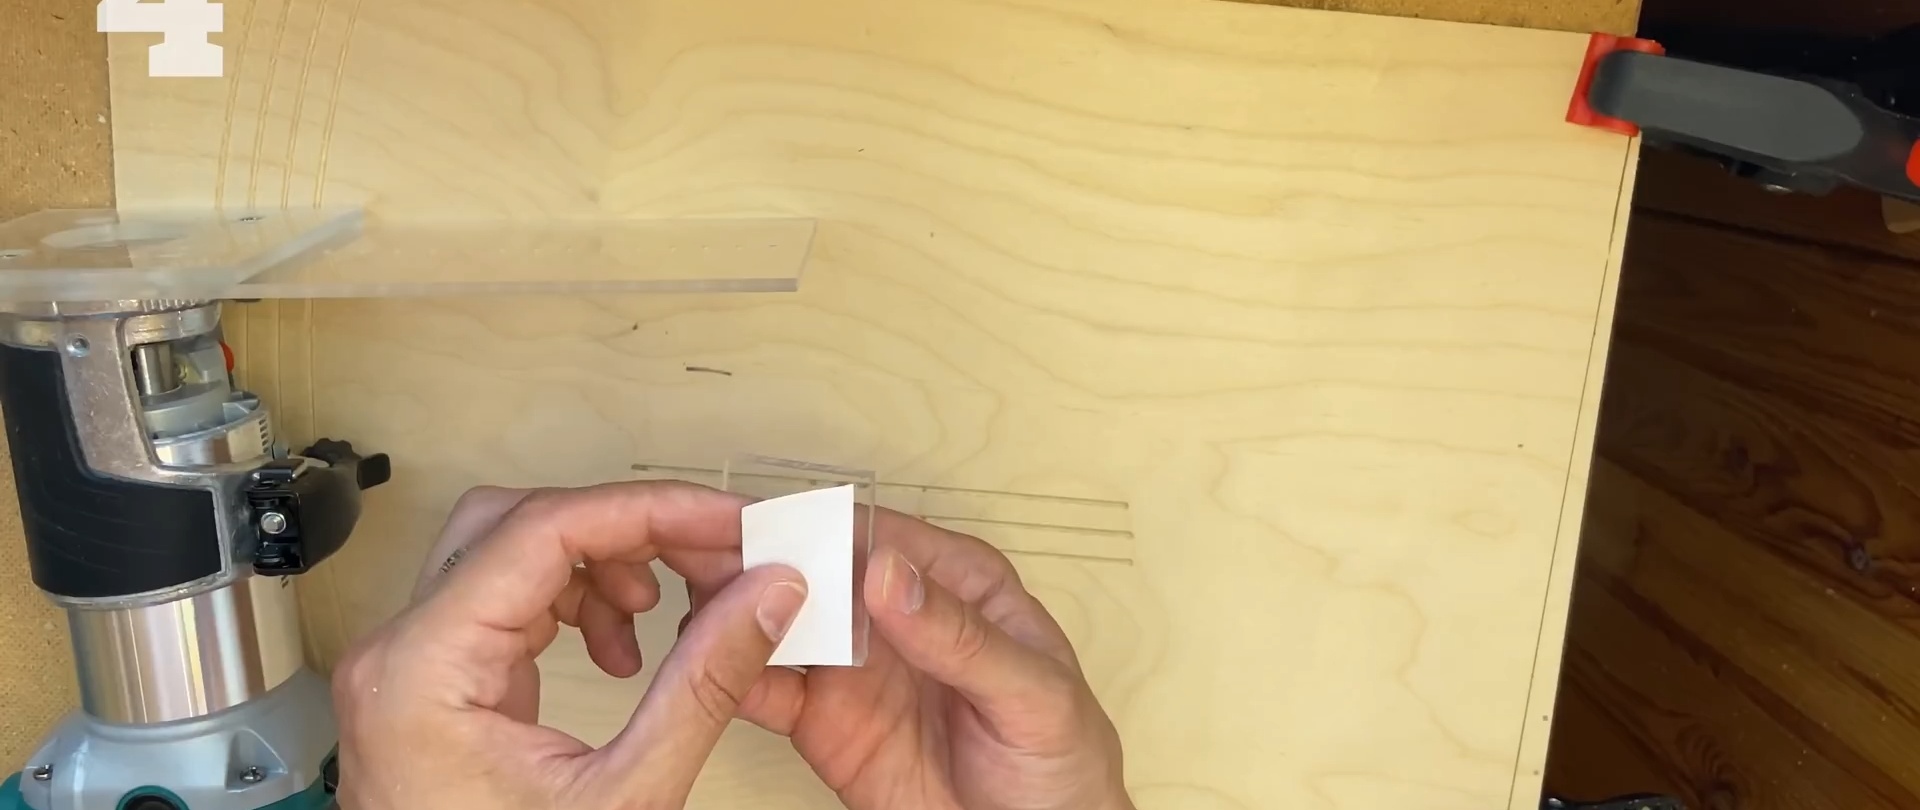
Circle milling stop
Drill a hole for a screw in the center of a small rectangle. Apply adhesive tape to the side of the screw head and secure it to the workpiece.

Using different holes in the long sole as a center of rotation, we obtain milling in the form of concentric circles.

Base for hand milling or as a work table for a router
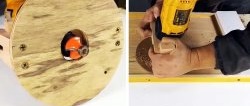
In the center of the rectangular sheet we drill a hole for the cutter, on the sides - for the mounting screws. We attach the sheet to the router.
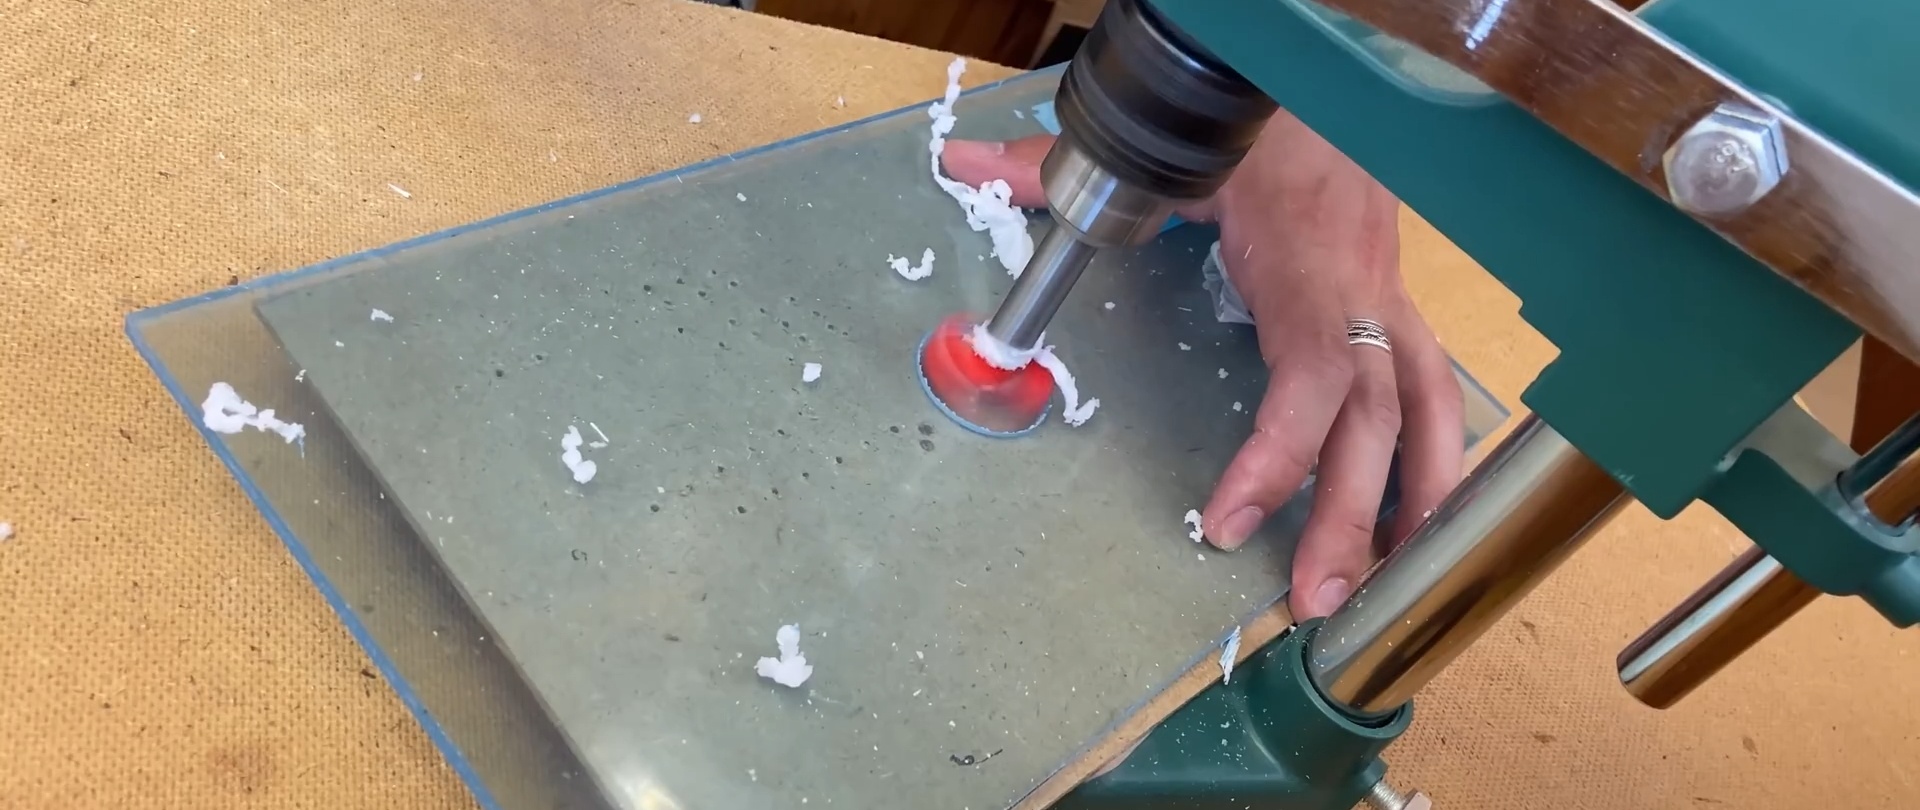
We drill holes on the sides, symmetrically to the location of the router. We cut two identical segments from the round rod. We drill holes at the ends and fasten them with screws from the router side to the sheet.

It can be used as a sole, or, turned over and secured, as a desktop.