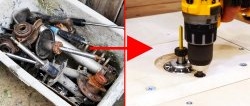
To process the edges of wooden blanks or insert various furniture fittings, you need a router. There is no point in buying it for those who use this tool occasionally. For amateurs, a homemade router is better suited. This is an easy-to-make attachment for a regular drill. With its help, you can do the same basic work as with a purchased hand router.
Materials:
- Plywood 10 mm;
- rail 15x30 mm;
- lath 15x50;
- screws, nuts, washers M6;
- self-tapping screws
The process of making a hand router
It is necessary to cut out the base of the router from plywood. A square blank is made with sides of 16 cm. A circle is inscribed in its center with a compass. On the sides, opposite the center of the circle, places are marked for attaching racks of slats.

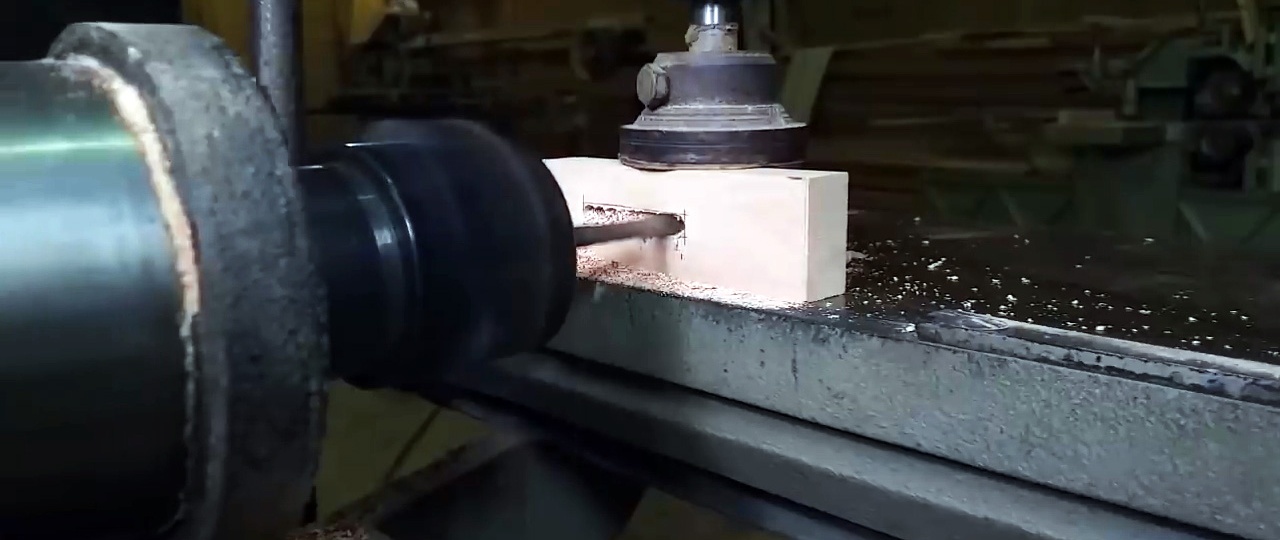
The center of the sole is drilled with a core drill. A wide hole is required that the cutter can fit into.

Now 2 12 cm long posts are prepared from the rail. You need to make a through longitudinal groove in them for M6 bolts. The posts are screwed to the sole cut out in a circle from below with two self-tapping screws. To do this, you need to pre-drill so that the slats do not crack.The sole is countersunk so that the heads of the screws do not protrude.

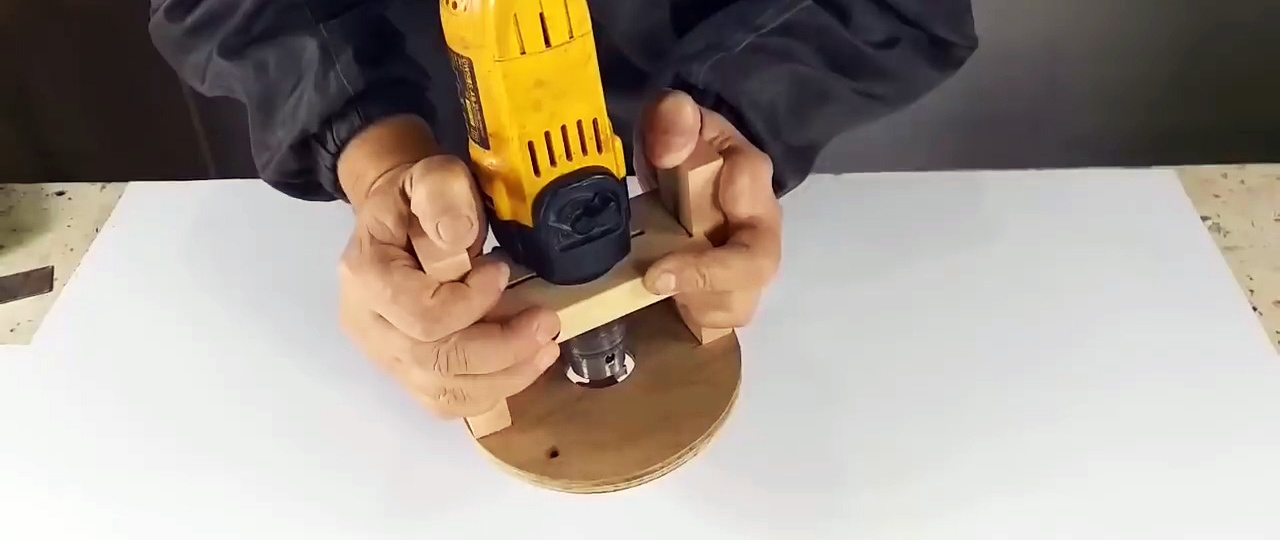
Next you need to start attaching the drill. For this, a board with a width of 50-70 mm is selected. Its length should be 10-20 mm longer than the internal gap between the posts on the sole. The board is drilled in the center to match the diameter of the drill body in the place where its standard removable handle is attached. From the sides, the workpiece needs to be drilled crosswise for M6 screws.

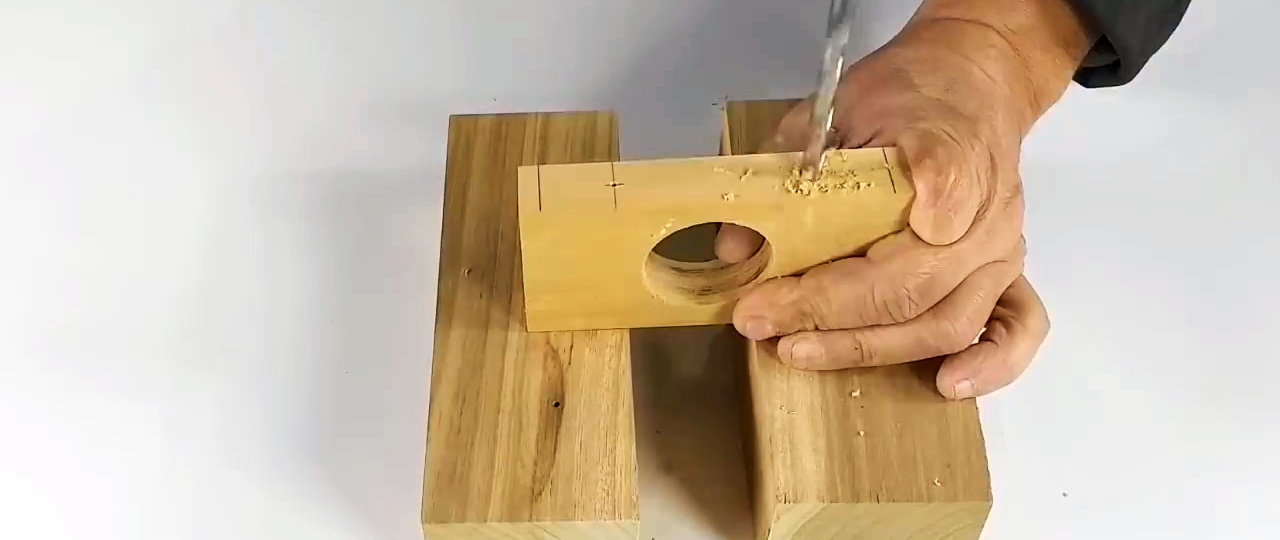
The ends of the fastening blank need to be filed, creating grooves for the posts so that it can slide between them. Short longitudinal cuts are also made from the central hole in both directions. Bolts are inserted into the workpiece.
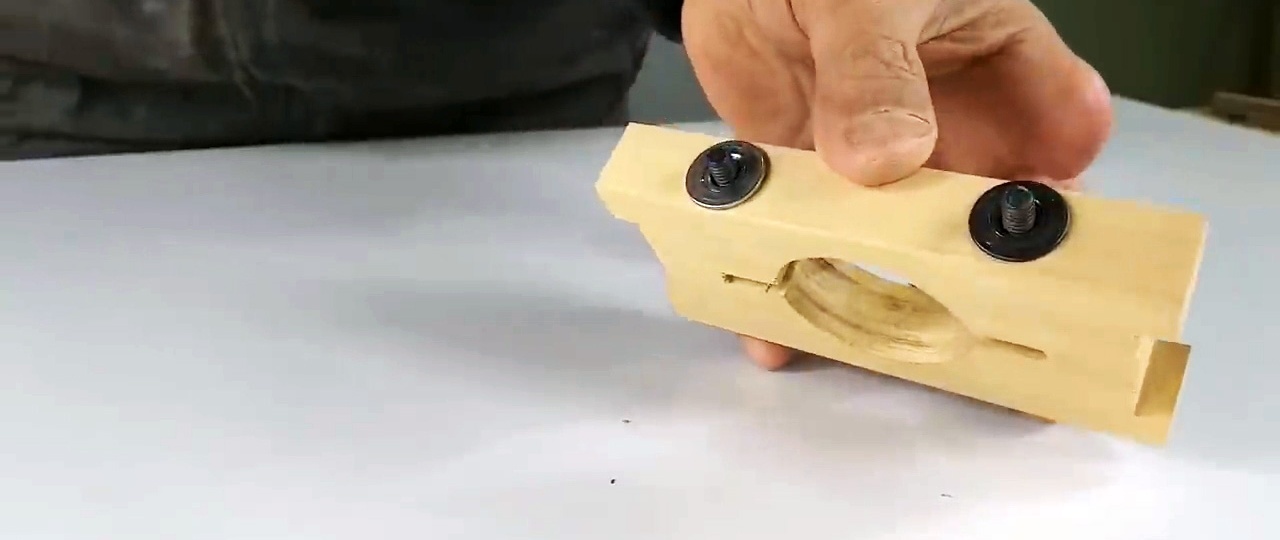
The mount is installed between the posts. Then you need to drill it through the grooves in the racks. Self-tapping screws are screwed into these holes.
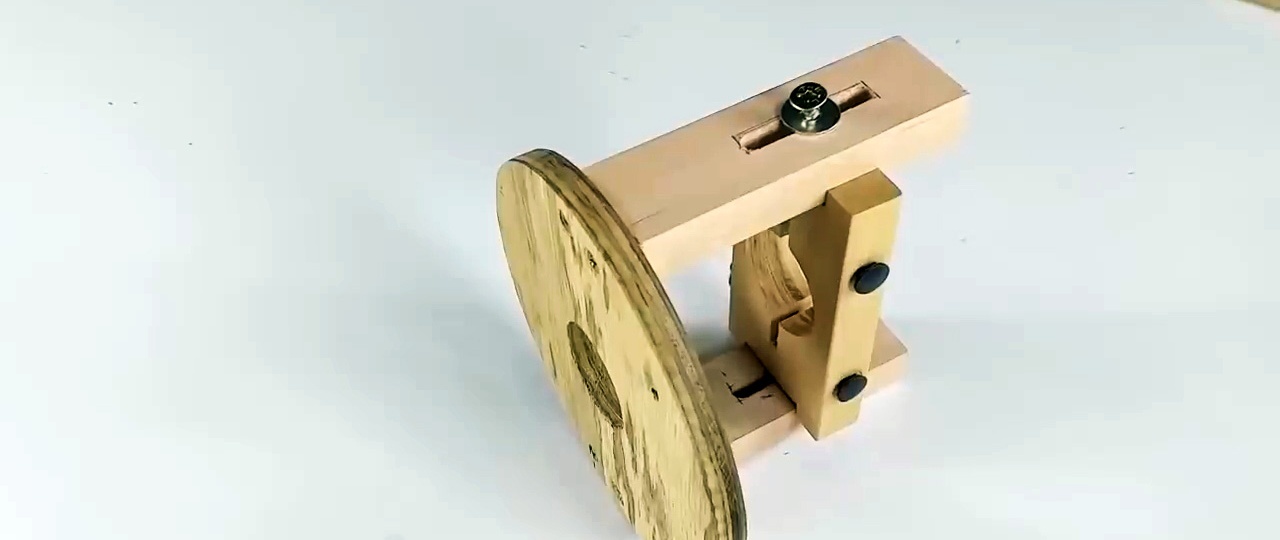
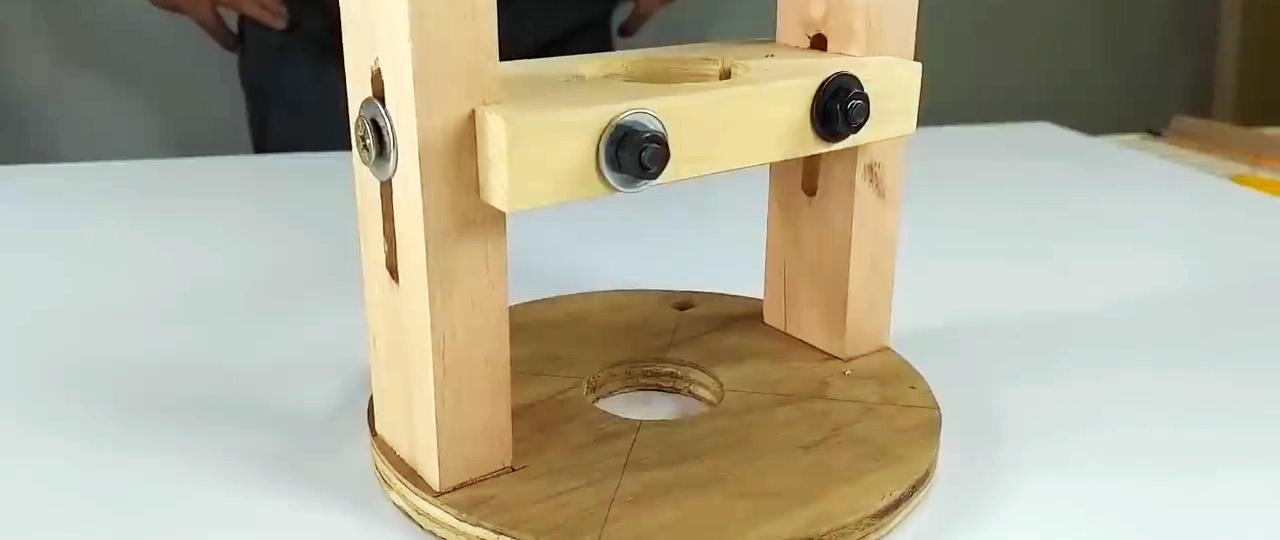
Now we clamp the cutter into the drill. We install it in the mount itself, and tighten the bolts. The offset of the cutter is adjusted by moving the mount along the grooves of the racks. The selected position is fixed with self-tapping screws.


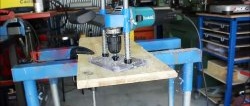
It turns out to be a quite convenient router that can be used to process edges or cut imitation panels. Adjusting the cutter offset on it is not as fast as on a purchased tool, but it takes no more than a minute, so it’s still convenient.