The classic (driveway) rotary staircase design with two straight flights was optimally suited, since it occupies a smaller area and through it you can bring in the necessary furniture.
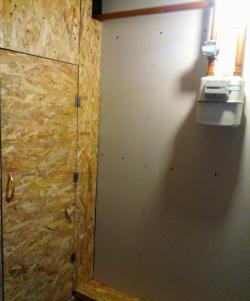
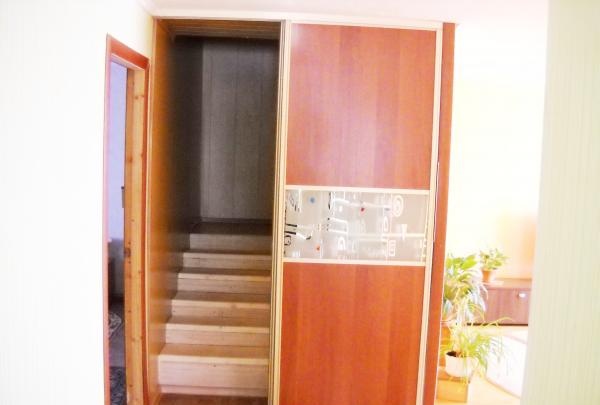
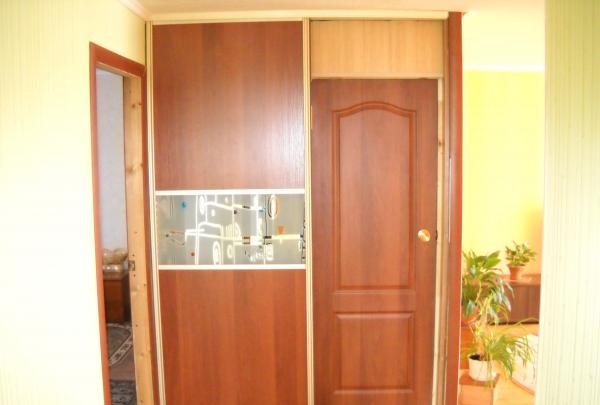
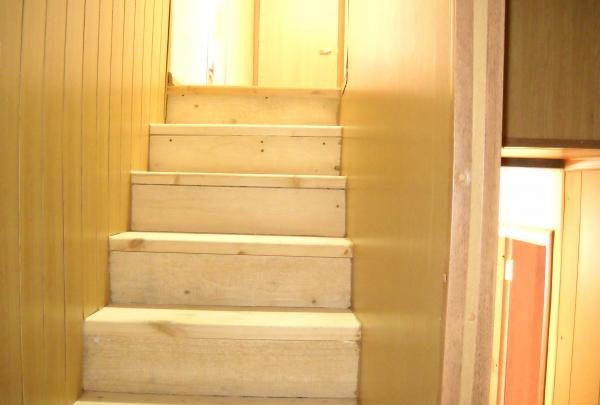
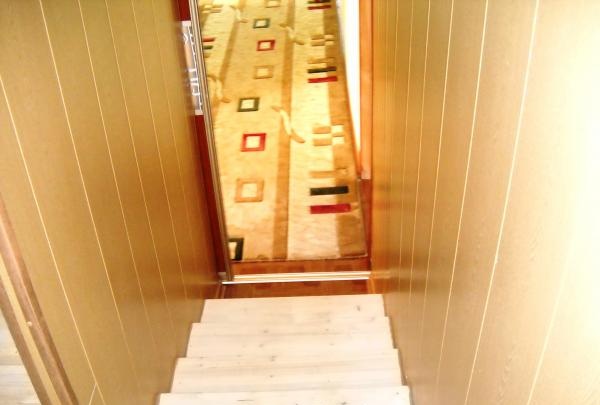
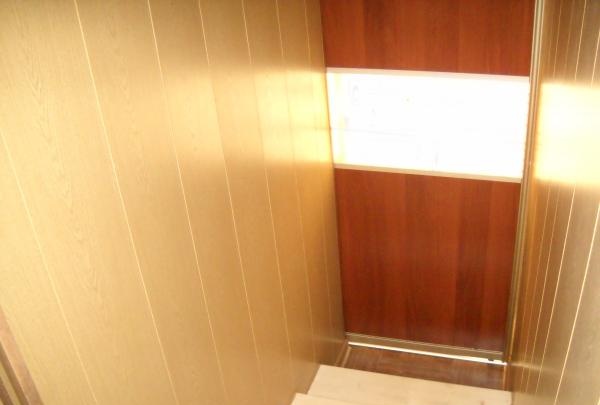
My corridor walls are made of wooden structures on three sides, so I decided to make a staircase without balusters and disguise it as a closet, using the compartment mechanism as doors.

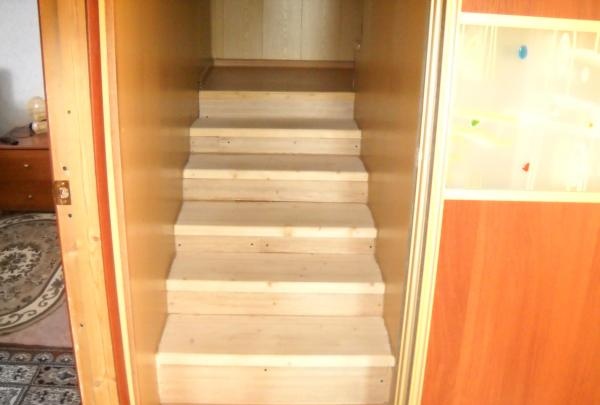
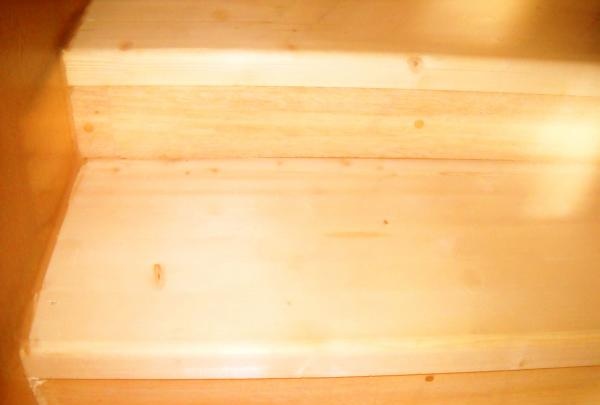
I made a sketch, drawing the future staircase on the walls with a marker. The riser was 20 cm high, and the step itself was 28 centimeters.
When designing, I took into account the following:
- the slope of the stairs should be minimal, for which the length of the flight should be increased;
- the steps must be at least 30 centimeters deep and strictly the same height so that they are easy to use and do not cause injury;
- ensuring the reliability of the structure, fastenings, and sufficient lighting;
- construction of a staircase 90 centimeters wide, in accordance with recommended standards.
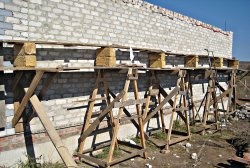
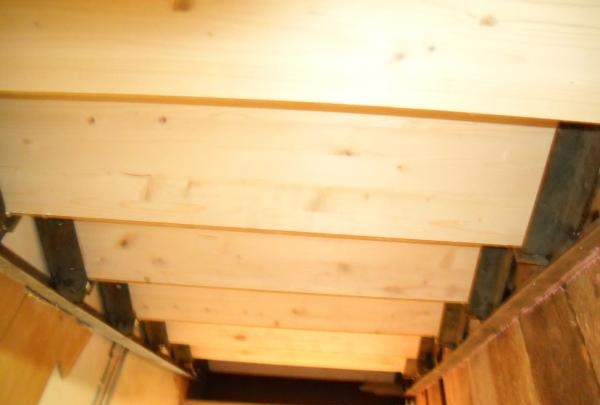
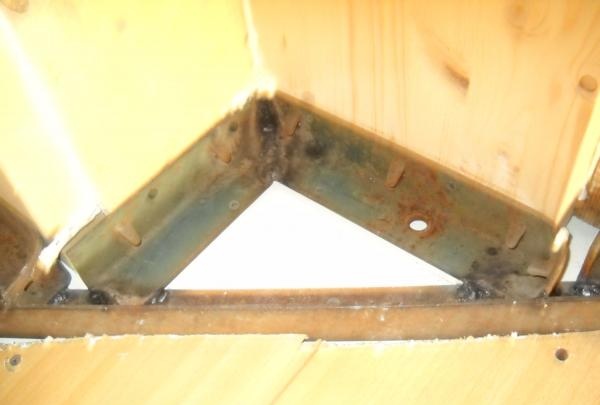
I made the stringer of the lower flight from timber 60 millimeters thick and 30-35 centimeters wide. I made a string for the stringer from a corner, drilling holes in it in advance every 10 centimeters on both sides, for attaching the stringer to the wall. This corner, in conjunction with other metal structures, served as the supporting frame of the staircase. I also made the entire base of the upper flight from a corner, which I sawed in advance with an angle grinder and welded on the street. As a corner donor I used three old beds with armored mesh.
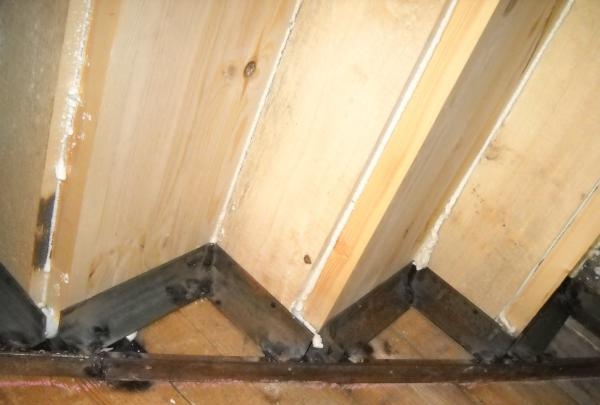
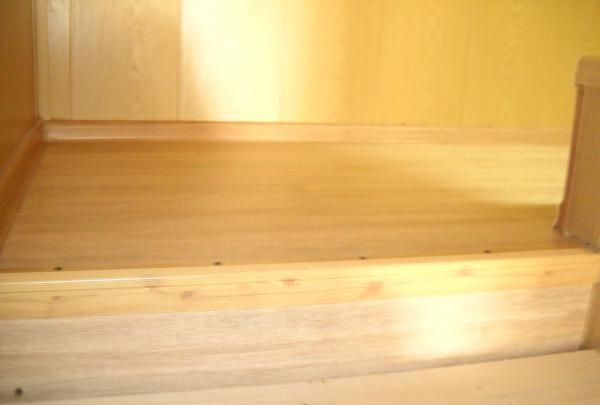
For a two-flight staircase, I made a platform in the middle, attaching 40 mm corners to the walls, placing an old wooden door on them. On top, in order to even out the surface and give greater strength to the site, I screwed a sheet of chipboard 90 centimeters wide. Later I covered the surface with laminated parquet and covered the transitions with a decorative corner.
The number of steps in the flight, and therefore its length, will depend on the height of the second floor. The risers will not only give additional strength to the staircase structure, but will not allow fallen things to fall off and the flow of air from the basement or pantry to escape.
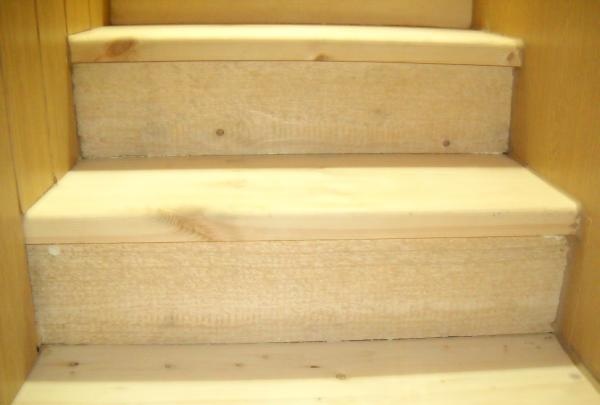
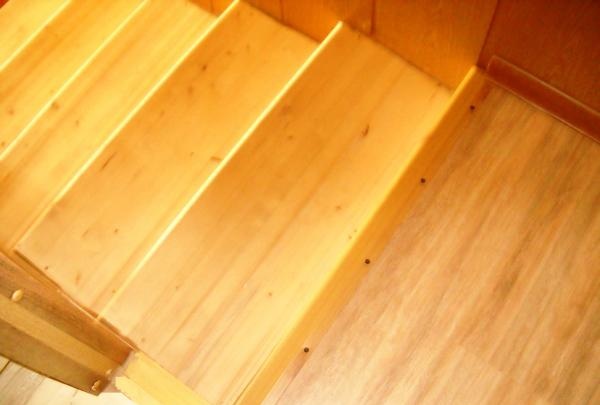
For the material of the treads and risers, I chose well-sanded pine laminated timber, which is sold in any specialty store.
The steps of the lower flight were fastened with self-tapping screws along the edge, and the upper flight from the inside with holes prepared in a metal corner.
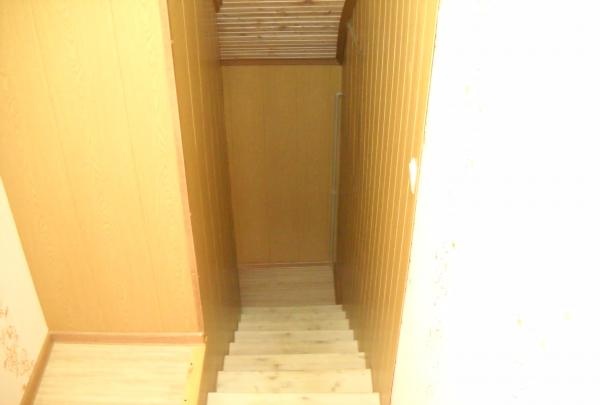
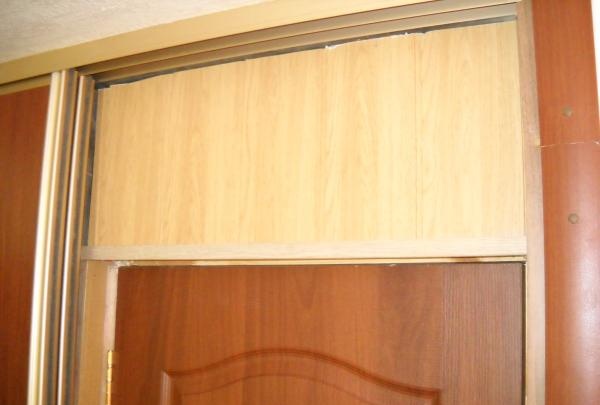
For the safety of the stairs and its strength, instead of a fence, I provided a solid wall between the flights. All the finishing over the flight of stairs was done with MDF panels, since I took into account that when going down the stairs you have to touch the walls, and with this material it is enough to wipe them.
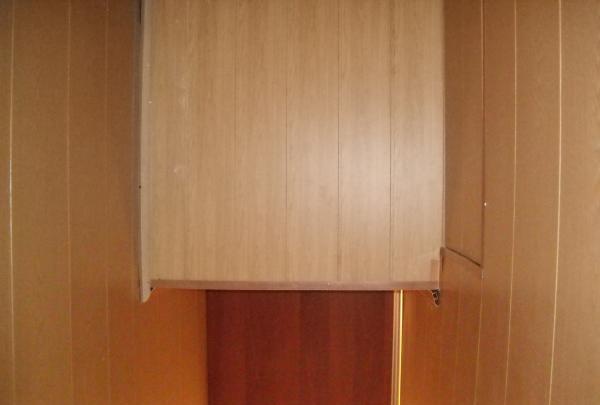
The staircase turned out to be very durable and quite comfortable, even for children, and with the help of compartment doors I disguised the presence of additional rooms and isolated the floors from each other so that the heat flow did not go up when the heating system was operating.