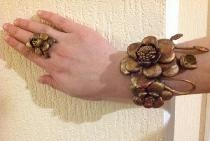
Making leather crafts is a noble hobby, which also allows you to make money from it. Such products are always highly valued. You can start mastering the basics of leatherworking by making a simple bracelet. It can be done without a specialized tool.
Materials:
- A strip of thick leather;
- button for leather goods.
Bracelet making process
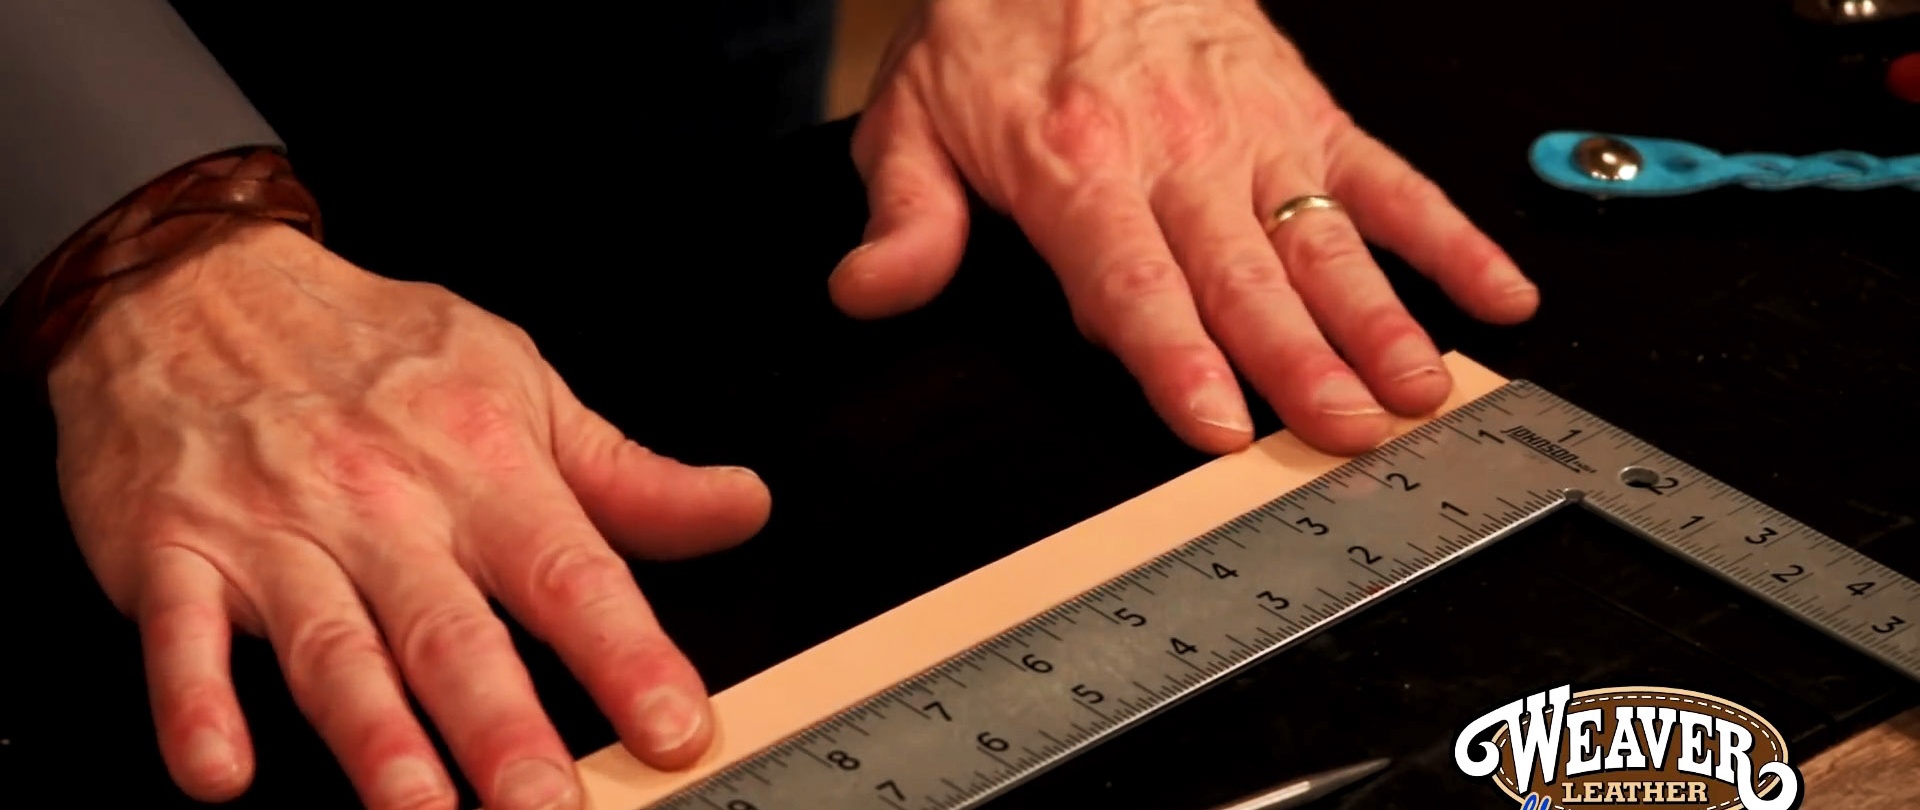
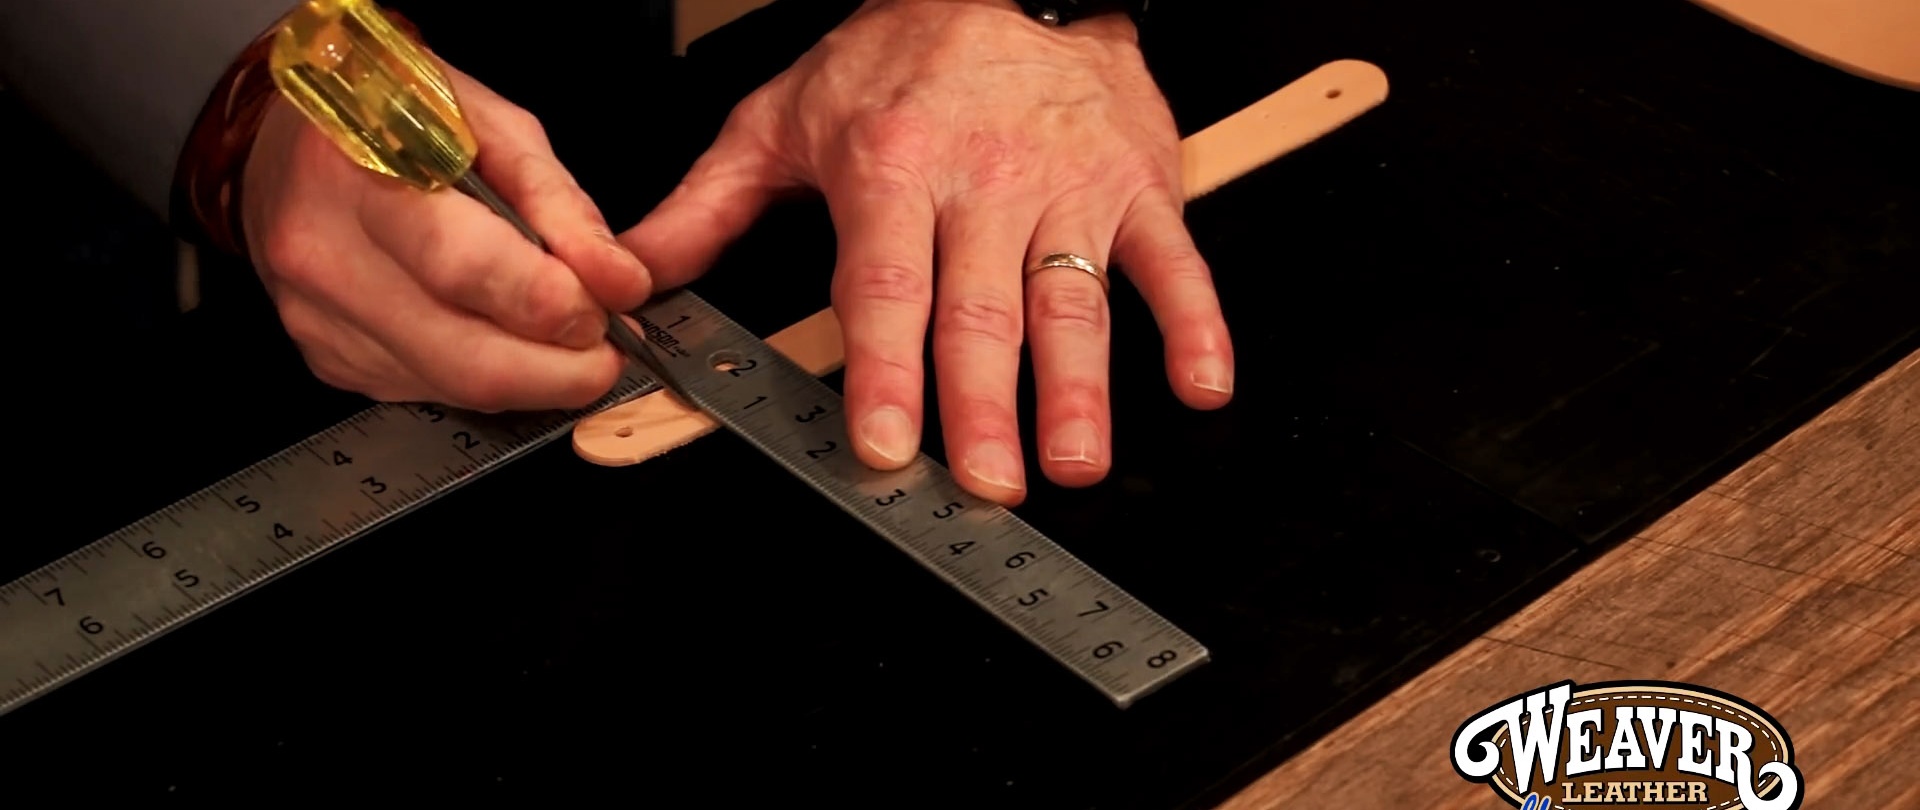
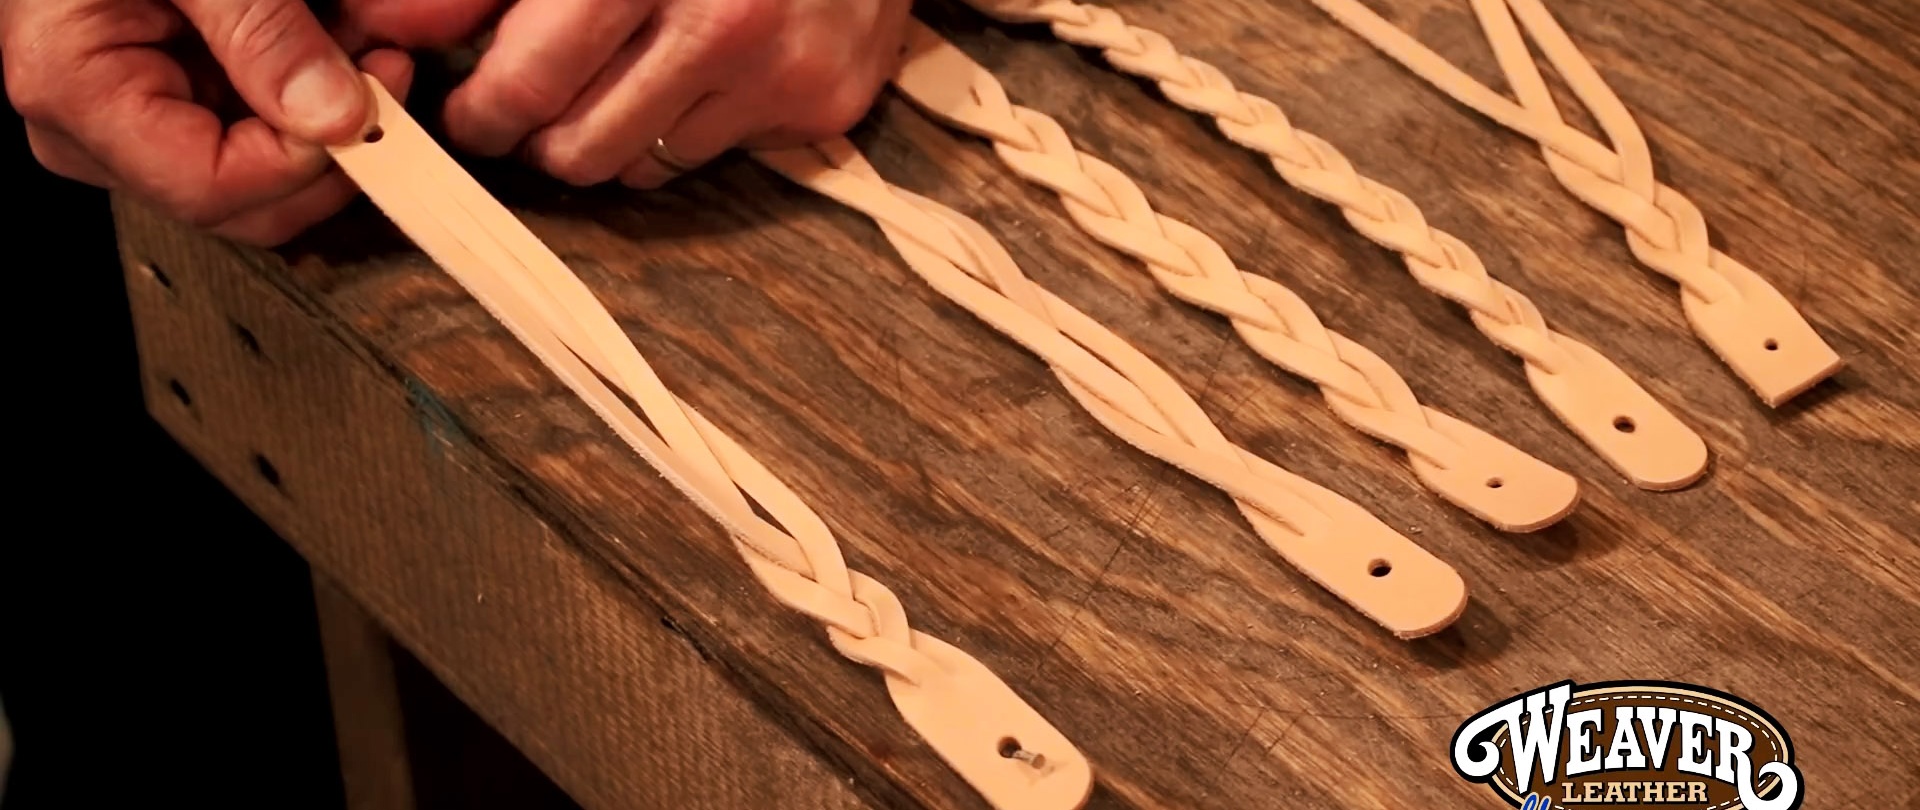
To make a bracelet you need to cut a strip of leather. Its width should be evenly divided by 3 for the weaving to be perfect. Next you need to decide on the length. To do this, measure the circumference of your wrist. To the resulting value we add the space for the fittings, in this case the selected button with a counterpart. In addition, you need a margin of about 10 mm, since weaving will take up a little length.
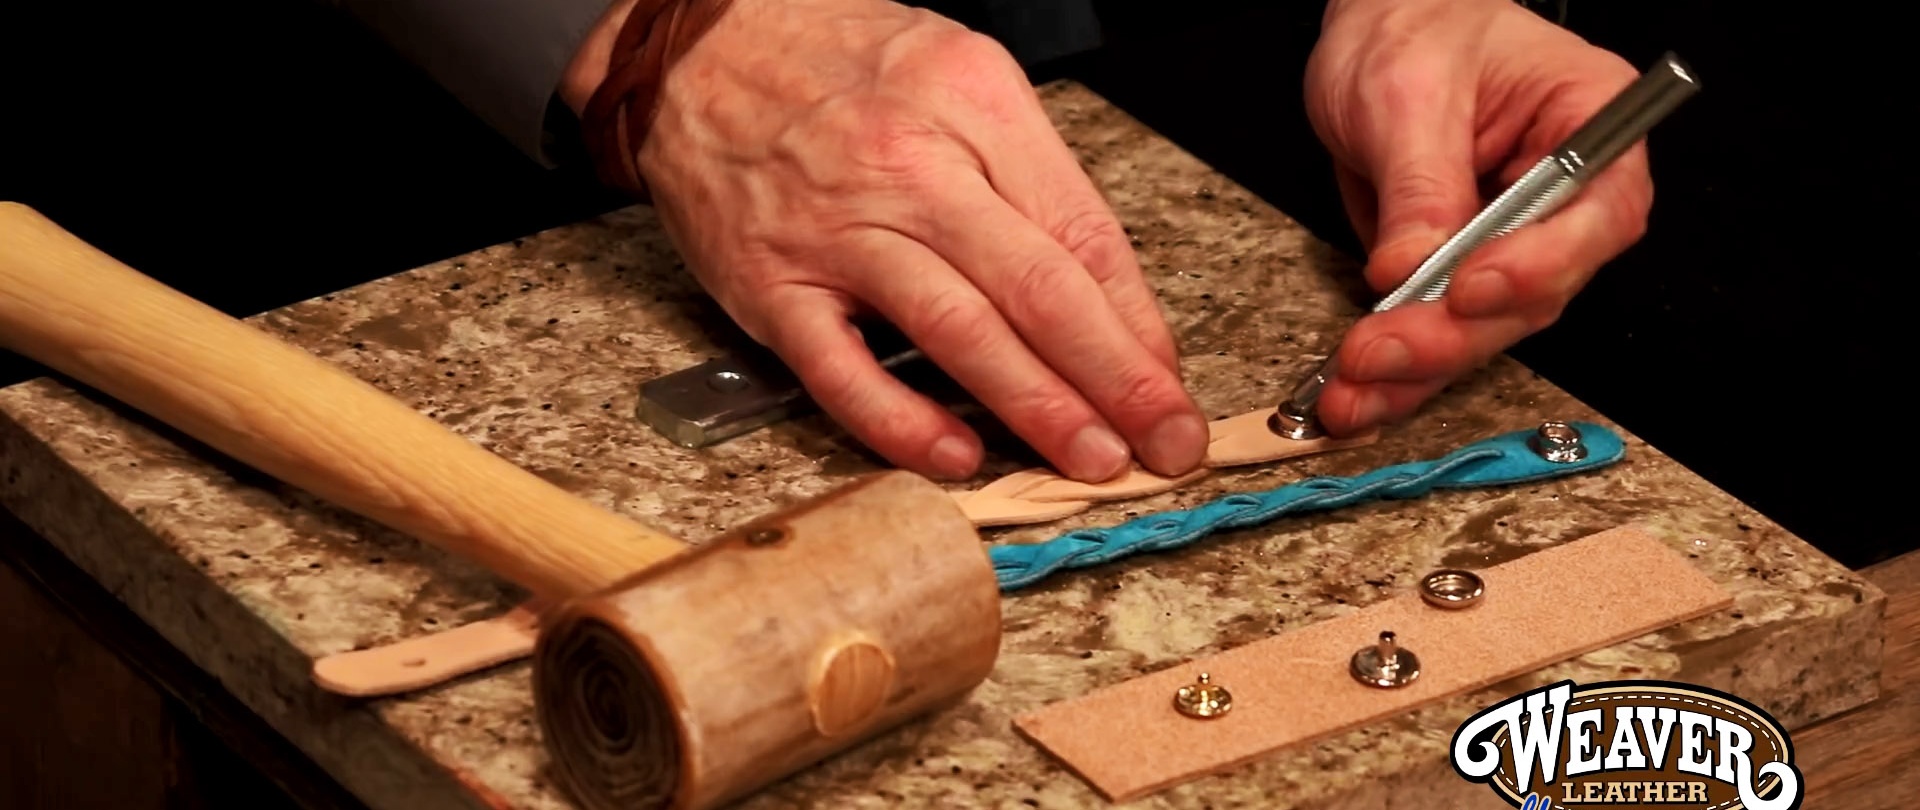
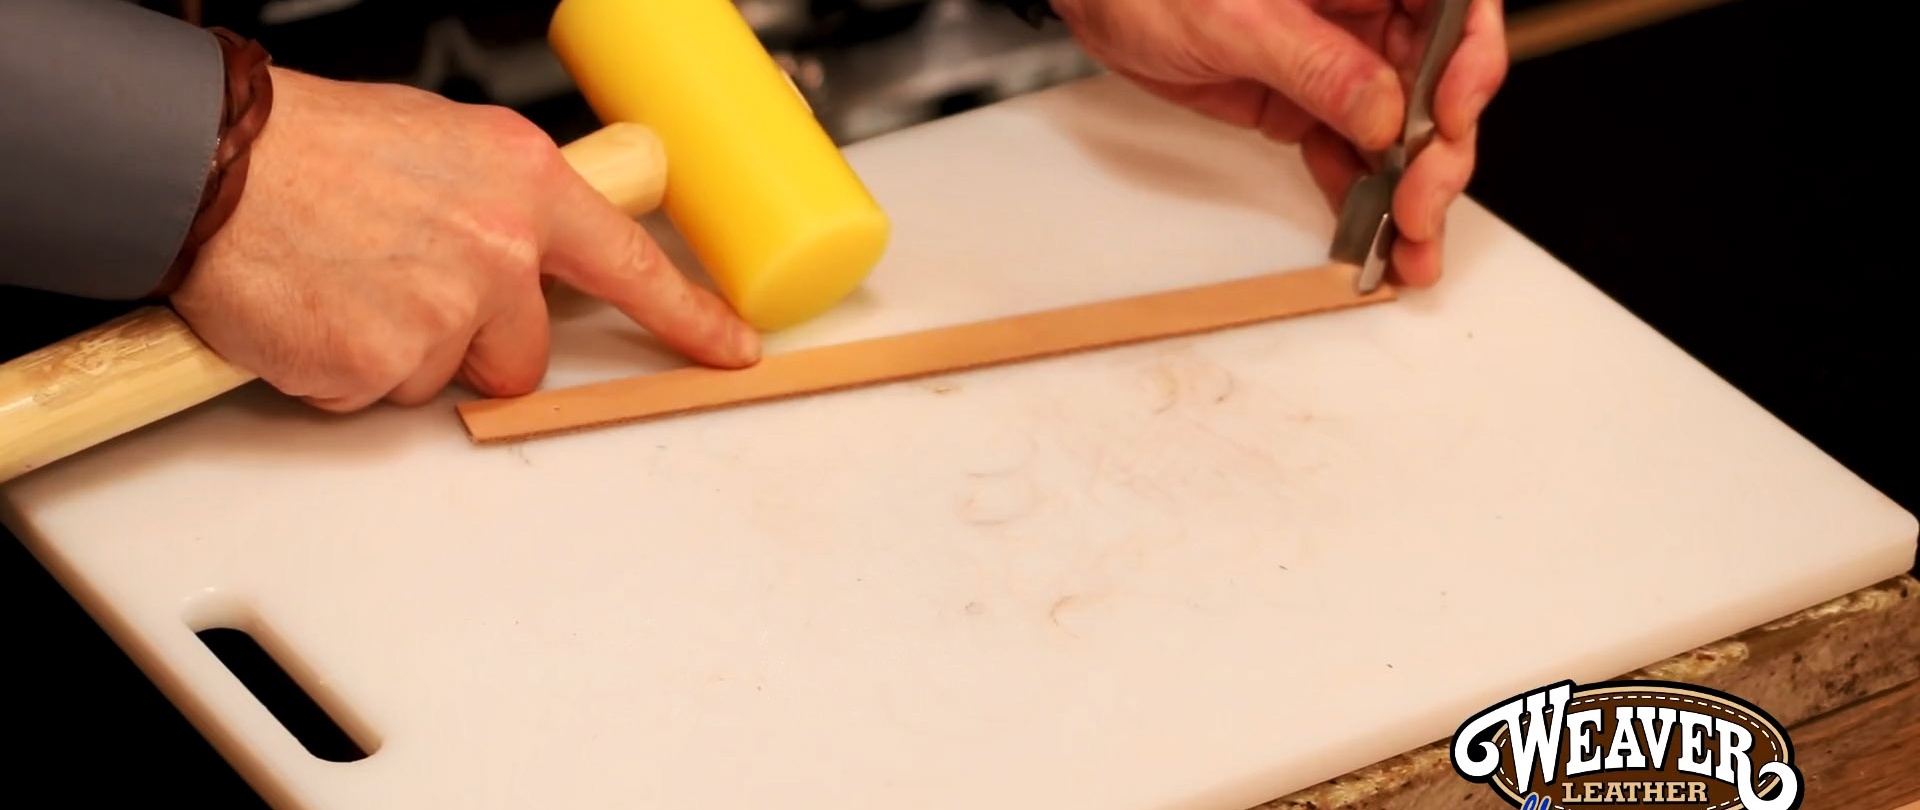
We mark the fastening for the fittings with an awl and shorten the strip to the required length. Then you need to round its edges. There is a special tool for this. If it is not there, then you can place a coin on the edge of the strip and trim the ends along it with a stationery knife.
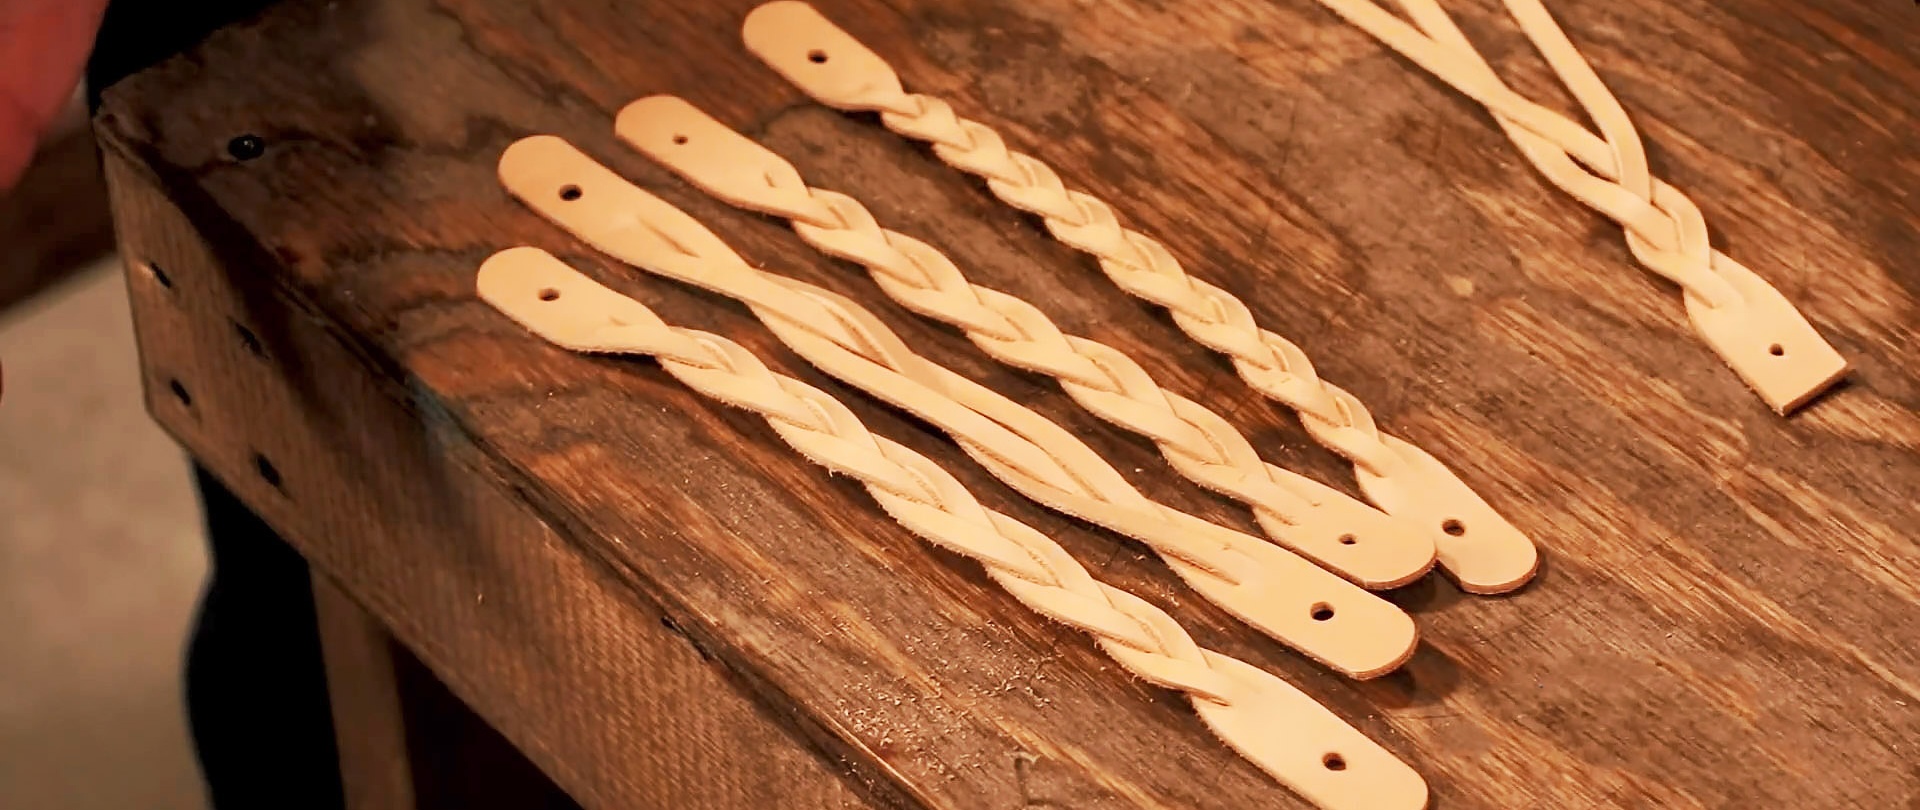
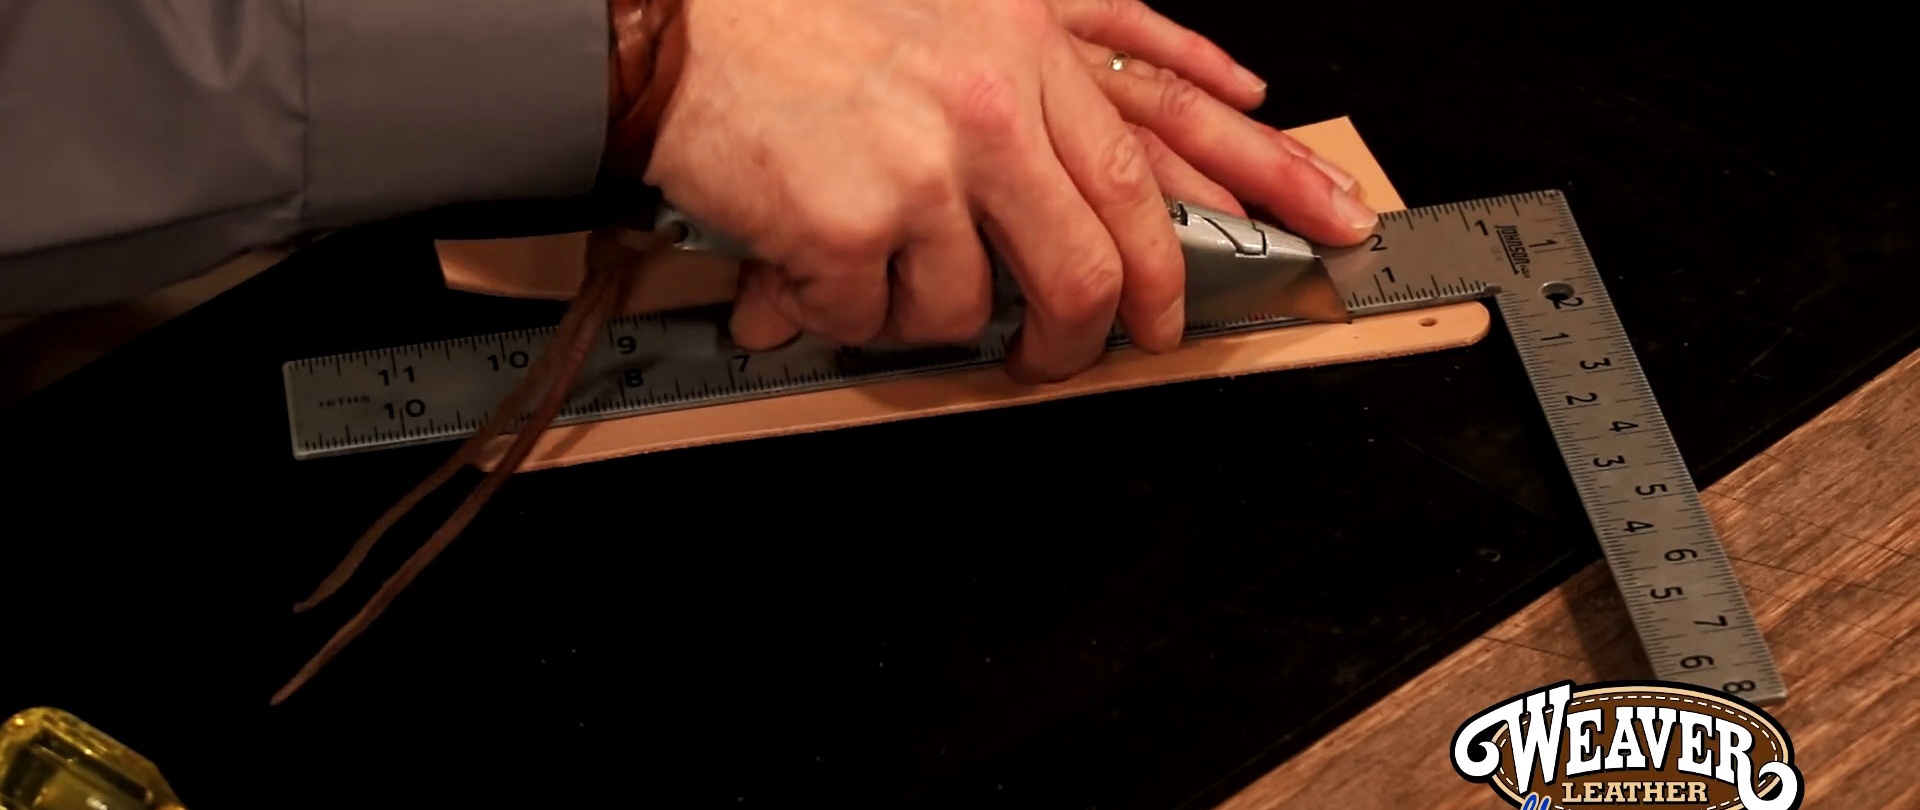
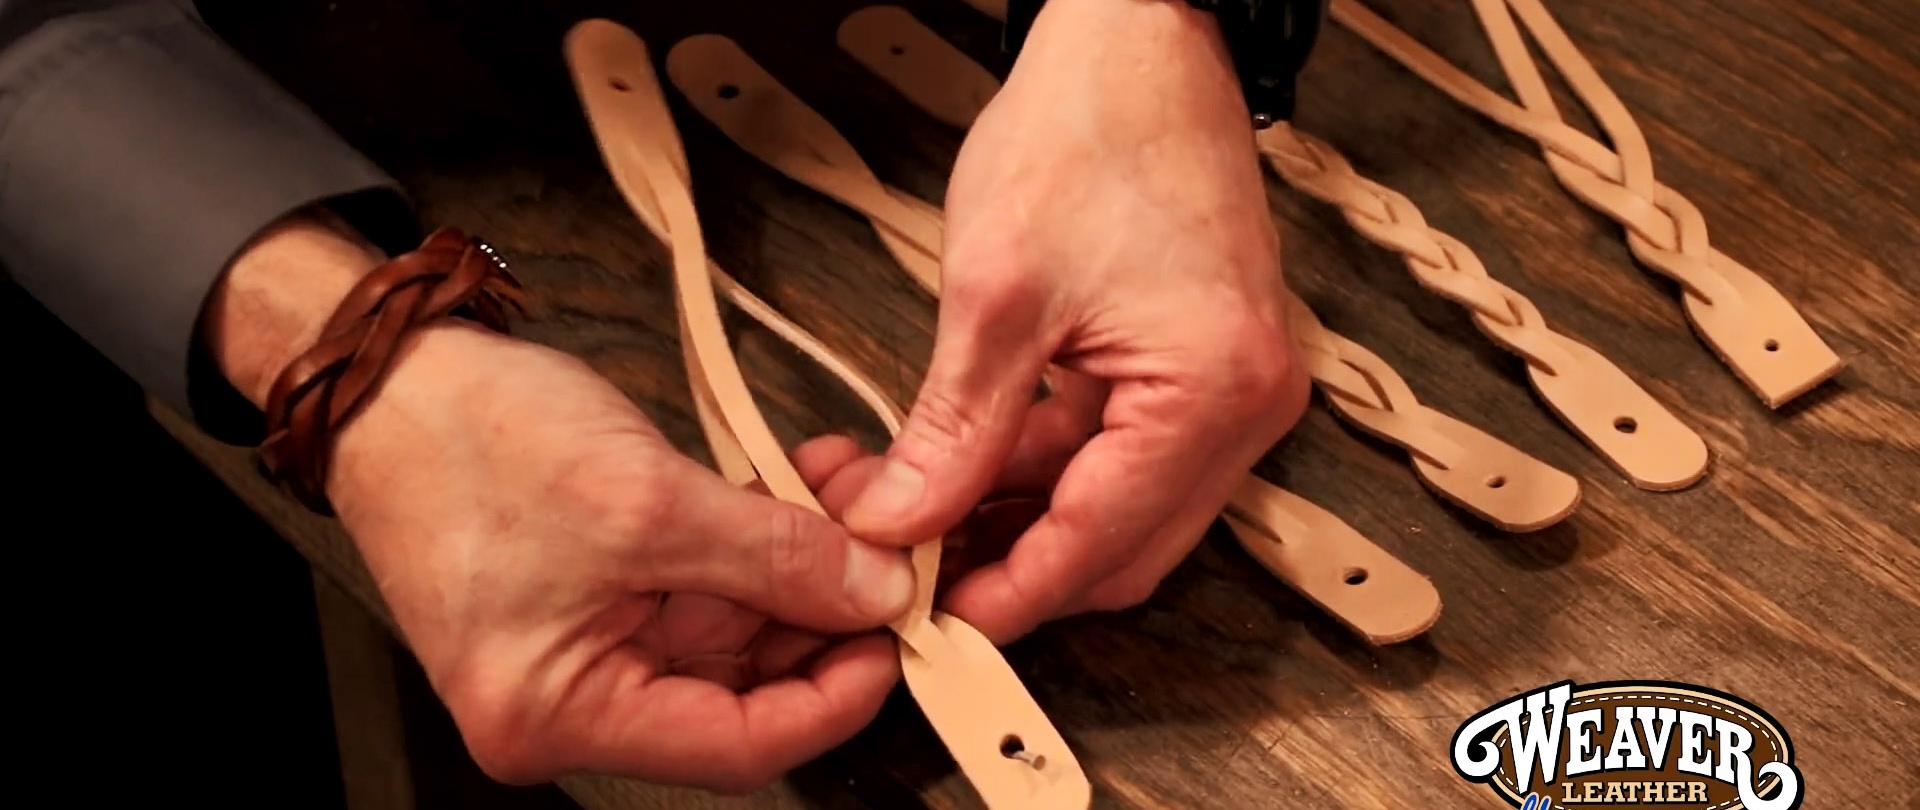
Now you need to cut holes for the fittings. For this, a thin tube with a turned edge is used. After this, with an indentation from the holes for the fittings, the workpiece unfolds lengthwise into 3 strips of equal width. It is cut with a knife to fit a ruler. To ensure that the latter fits tightly, it is better to place a piece of leather under its protruding part.
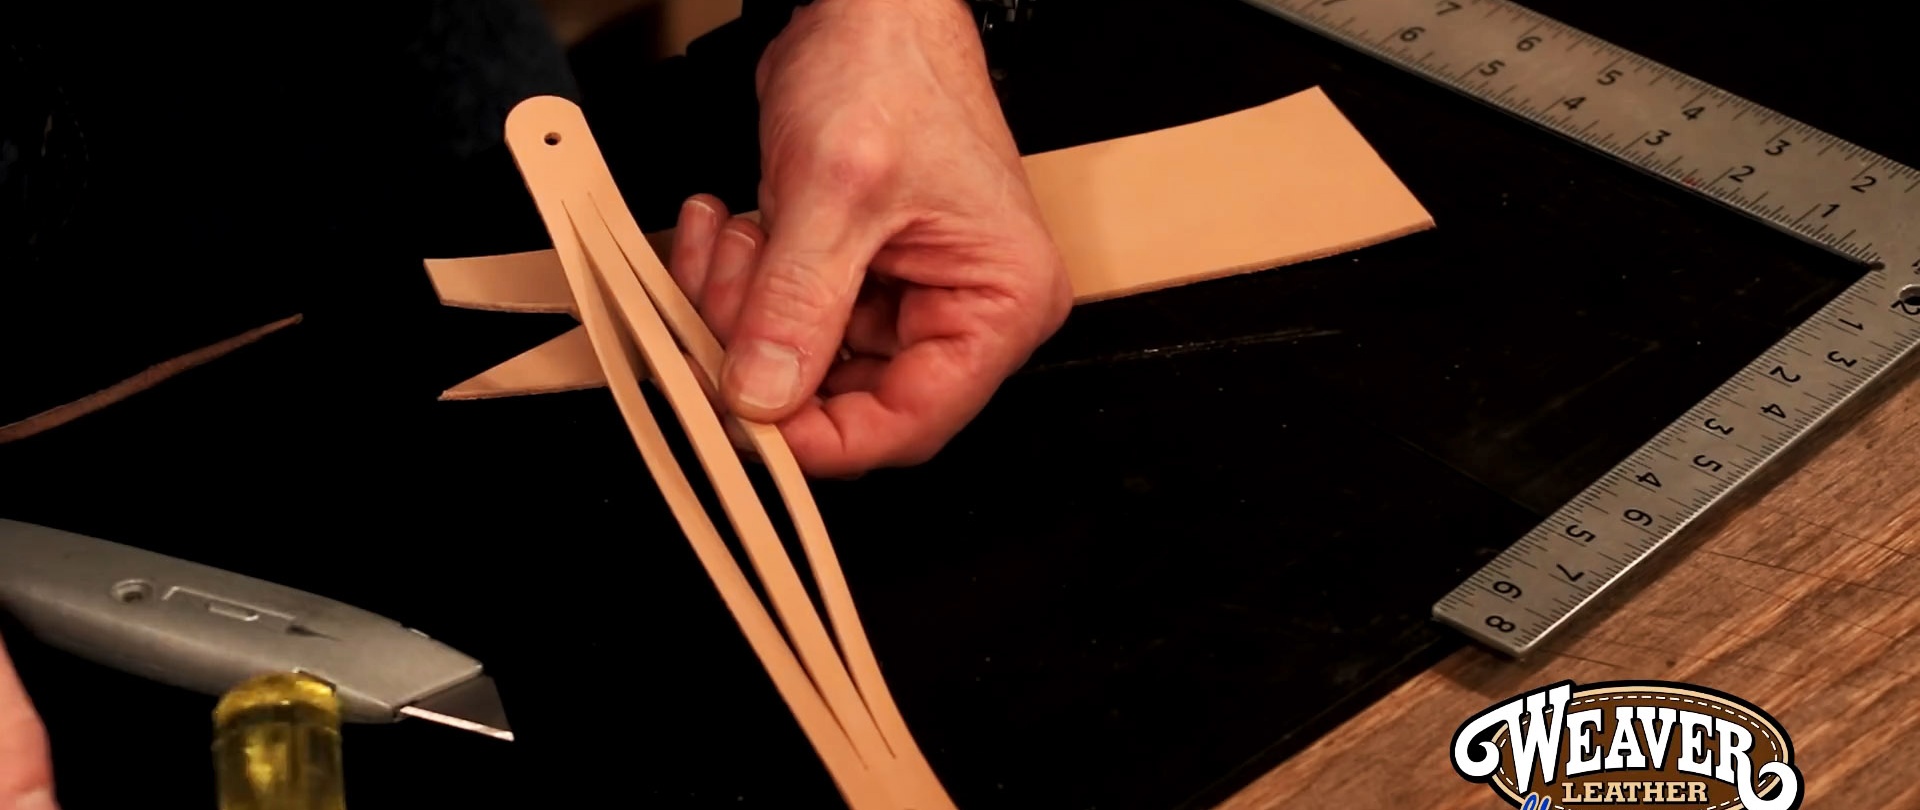
After this we braid the stripes. For convenience, we hook the bracelet onto a nail. The second edge of the workpiece must be scrolled inward. This allows you to compensate for the wrapping of the strips.
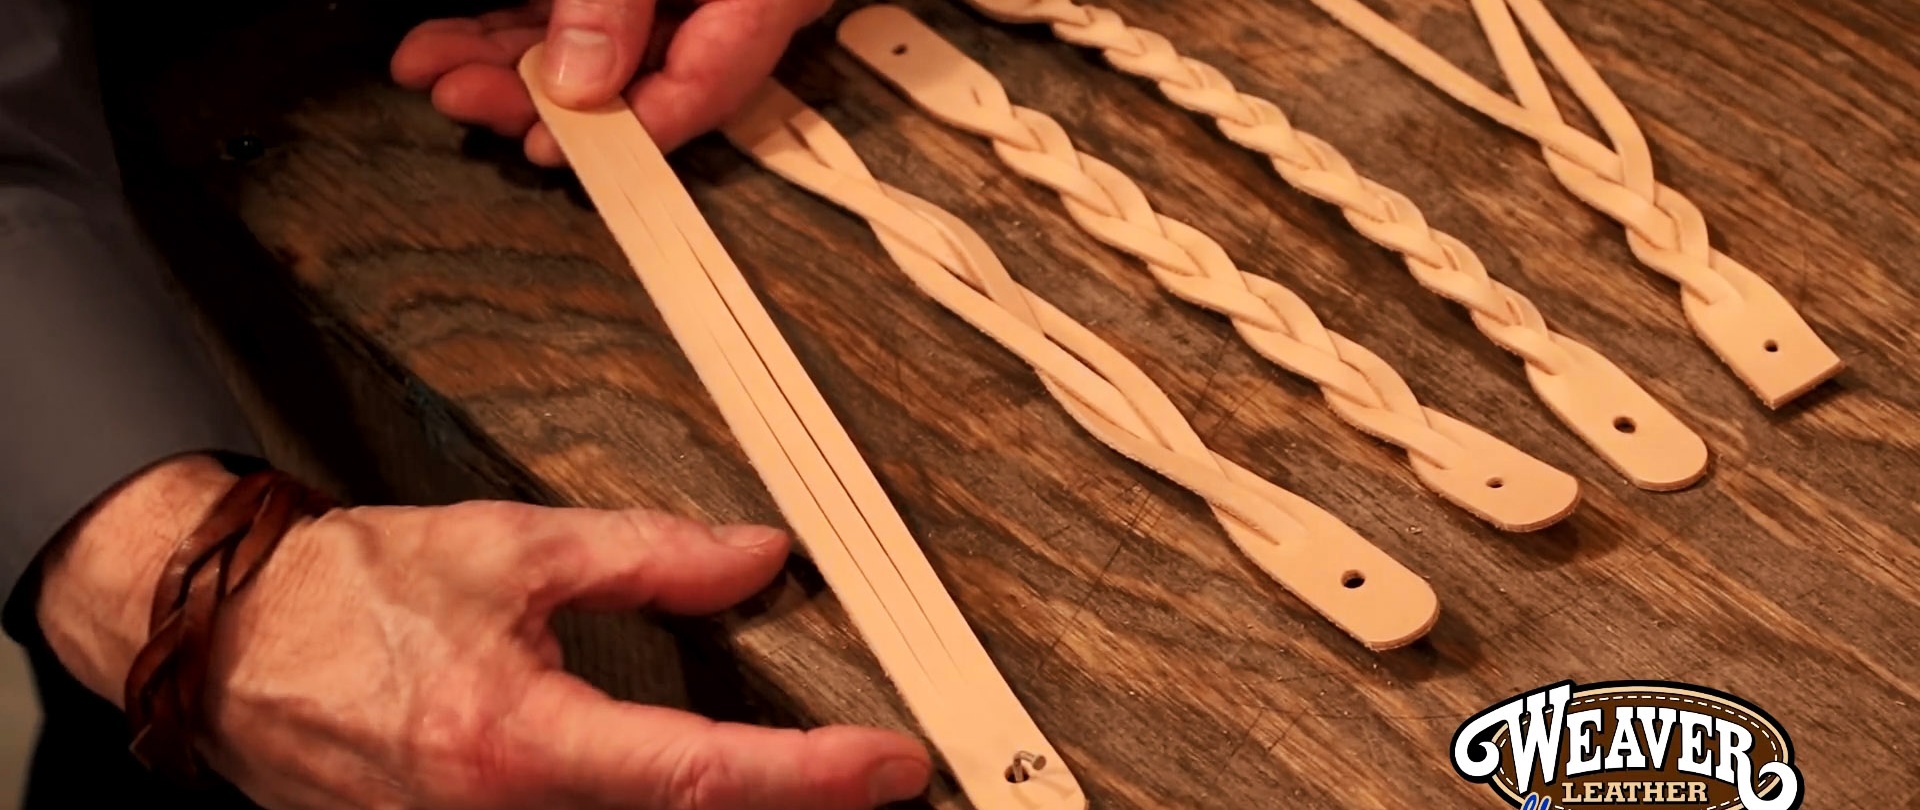
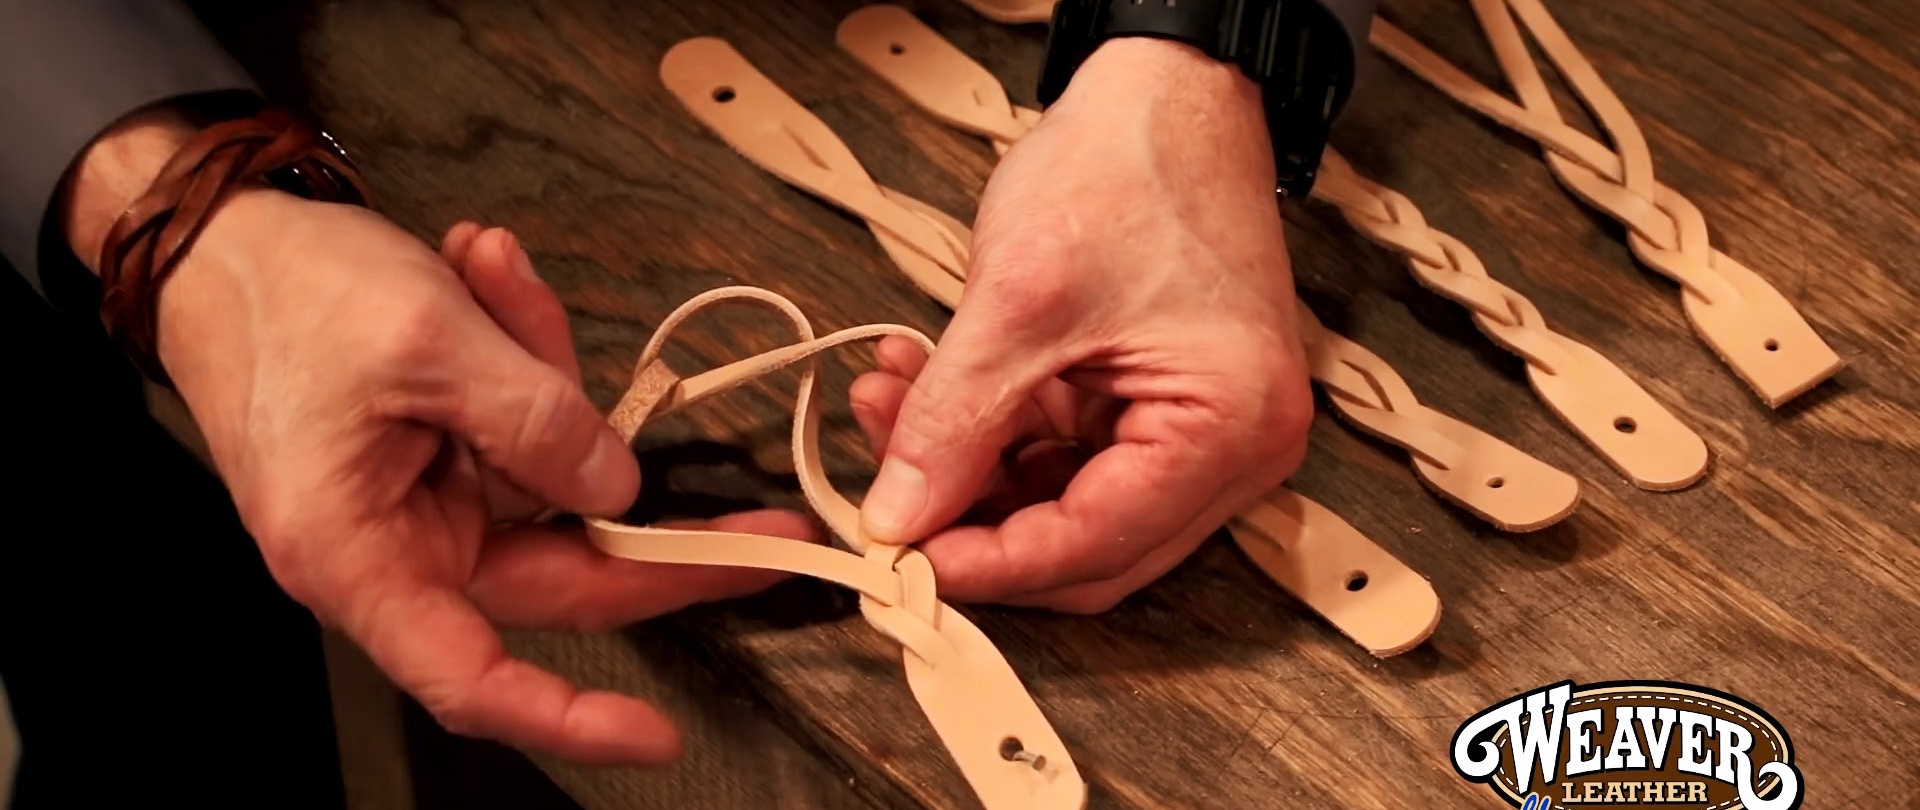
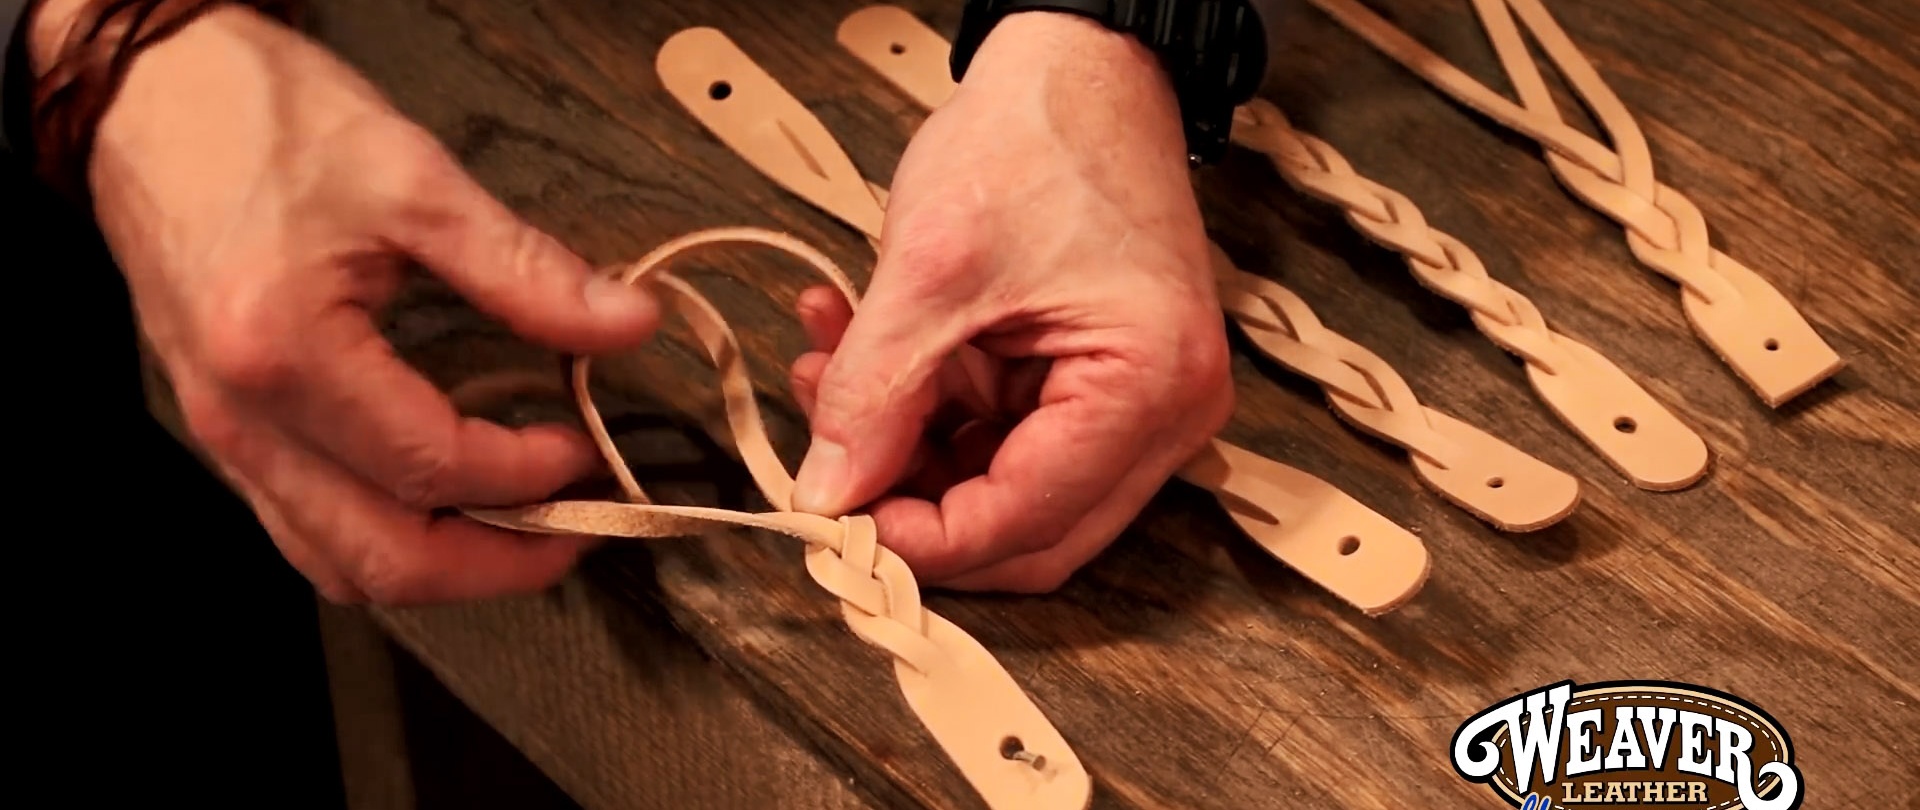
You need to braid the bracelet tightly halfway, then turn it over and do the same on the other side evenly along the entire length. You no longer have to scroll the edge. Then we stretch the bracelet and rub it against the corner of the table so that it becomes smoother.

Finally, we install the buttons. They can be snapped into place by hitting a mallet through the hole. Pay attention to the counter part, it can be placed on the other side by mistake. Check its direction before snapping it into place.