Usually, to bend a steel strip “on edge,” they use a simple device, which does not provide accuracy in one go and requires fine-tuning. It also requires good physical preparation. But it is possible to make a device in which the bending accuracy is determined by its design, without working “by eye” and without much physical effort.
Will need
Materials:- steel strip 5×25 mm;
- metal rod with a diameter of 6 mm;
- round bushing;
- a lever with an axis of rotation and a rod for influencing the workpiece.
Welding electrodes for general purposes on AliExpress at a discount - http://alii.pub/606j2h
Tools: a simple device for flat bending of a strip and “on edge”, hammer, welding, template for measuring bending, etc.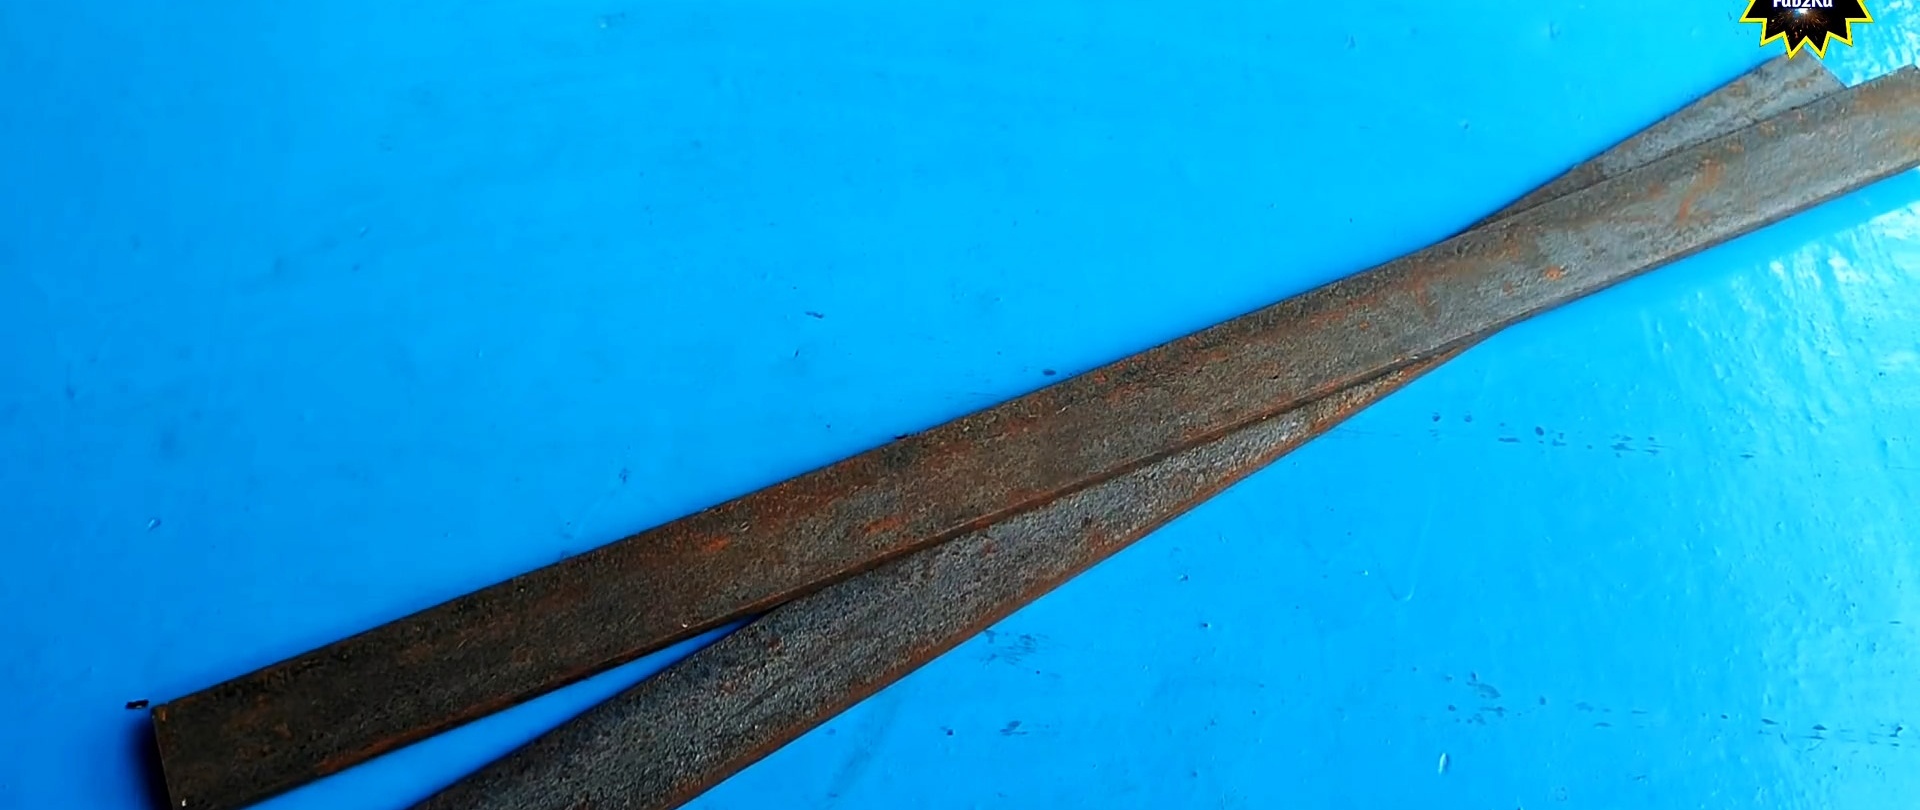
The process of manufacturing a device for bending steel strip flat and “on edge”
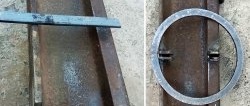
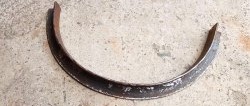
On a piece of railway rail with a rod transversely welded to its head from the edge, we bend the steel strip flat, striking the strip with a hammer in the area of its contact with the rail head and the rod.We check the bending accuracy with a circle of the required diameter. Ours is an emery wheel.
On the same piece of rail, laid on its side, with two rigid and durable steel “ears” welded with a gap to the inside of the rail base, we bend the second steel strip onto the edge.
Read in detail how to make this device here - https://enn.washerhouse.com/7659-kak-sognut-stalnuju-polosu-na-rebro-i-sdelat-kolco.html
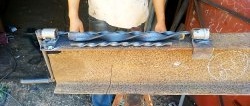
To do this, we place the strip between the “ears” so that its edge rests on the side of the rail head. Then we hit the section of the upper rib between the “ears” and the rail head with a hammer, constantly changing the position of the strip.

First we bend the section adjacent to one end, then to the other and end in the middle.
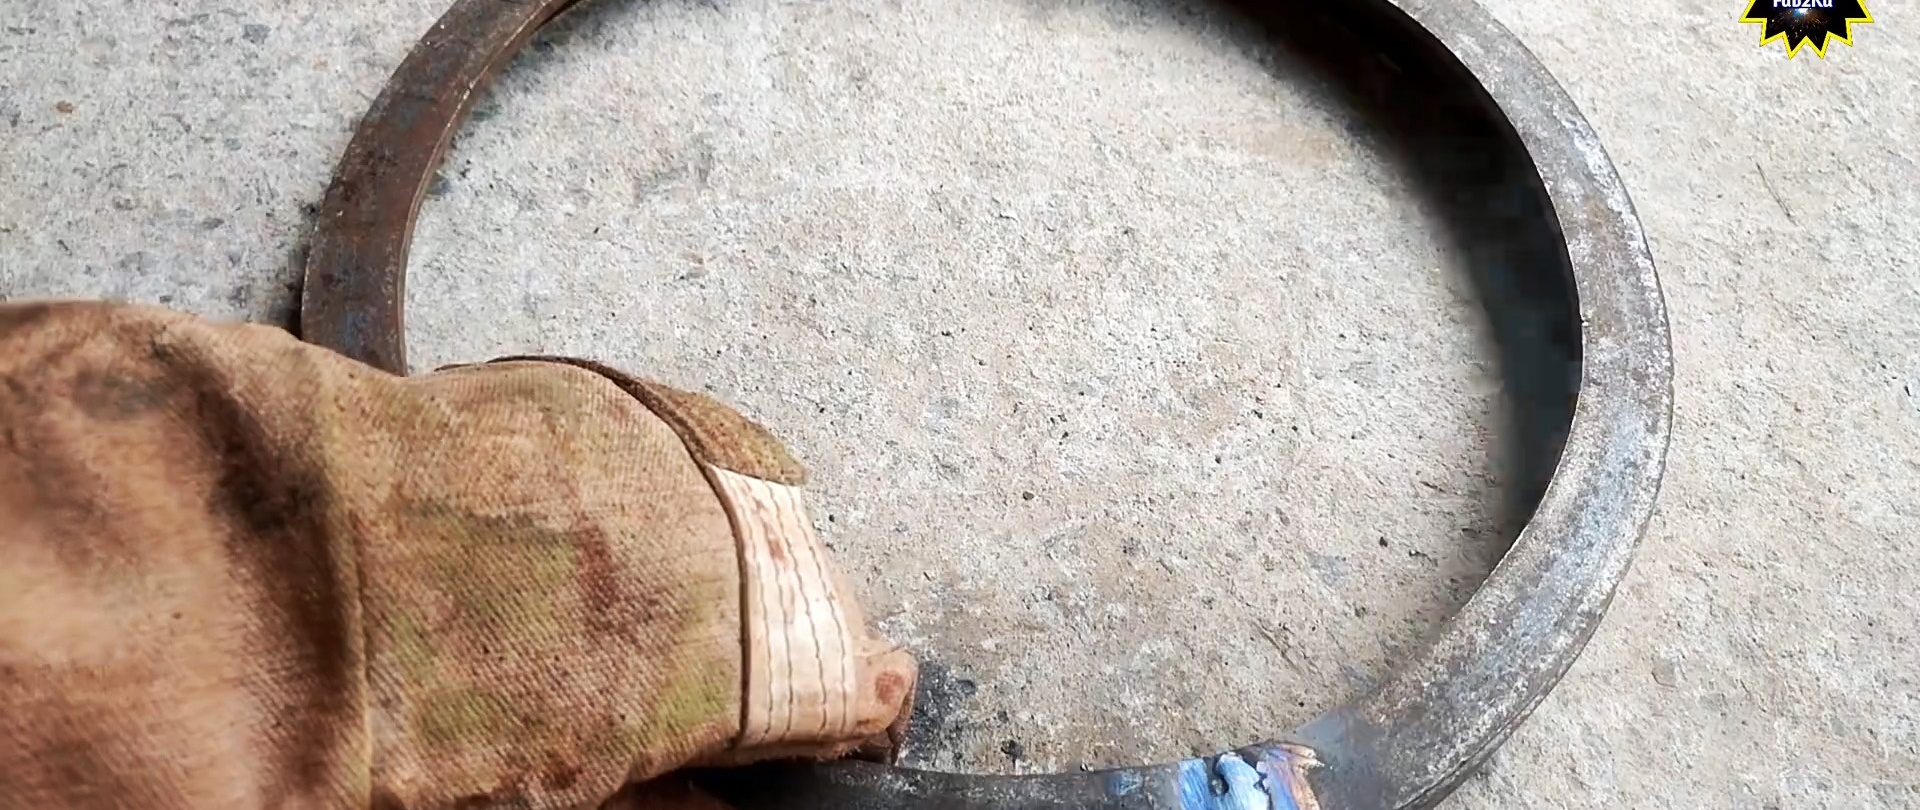
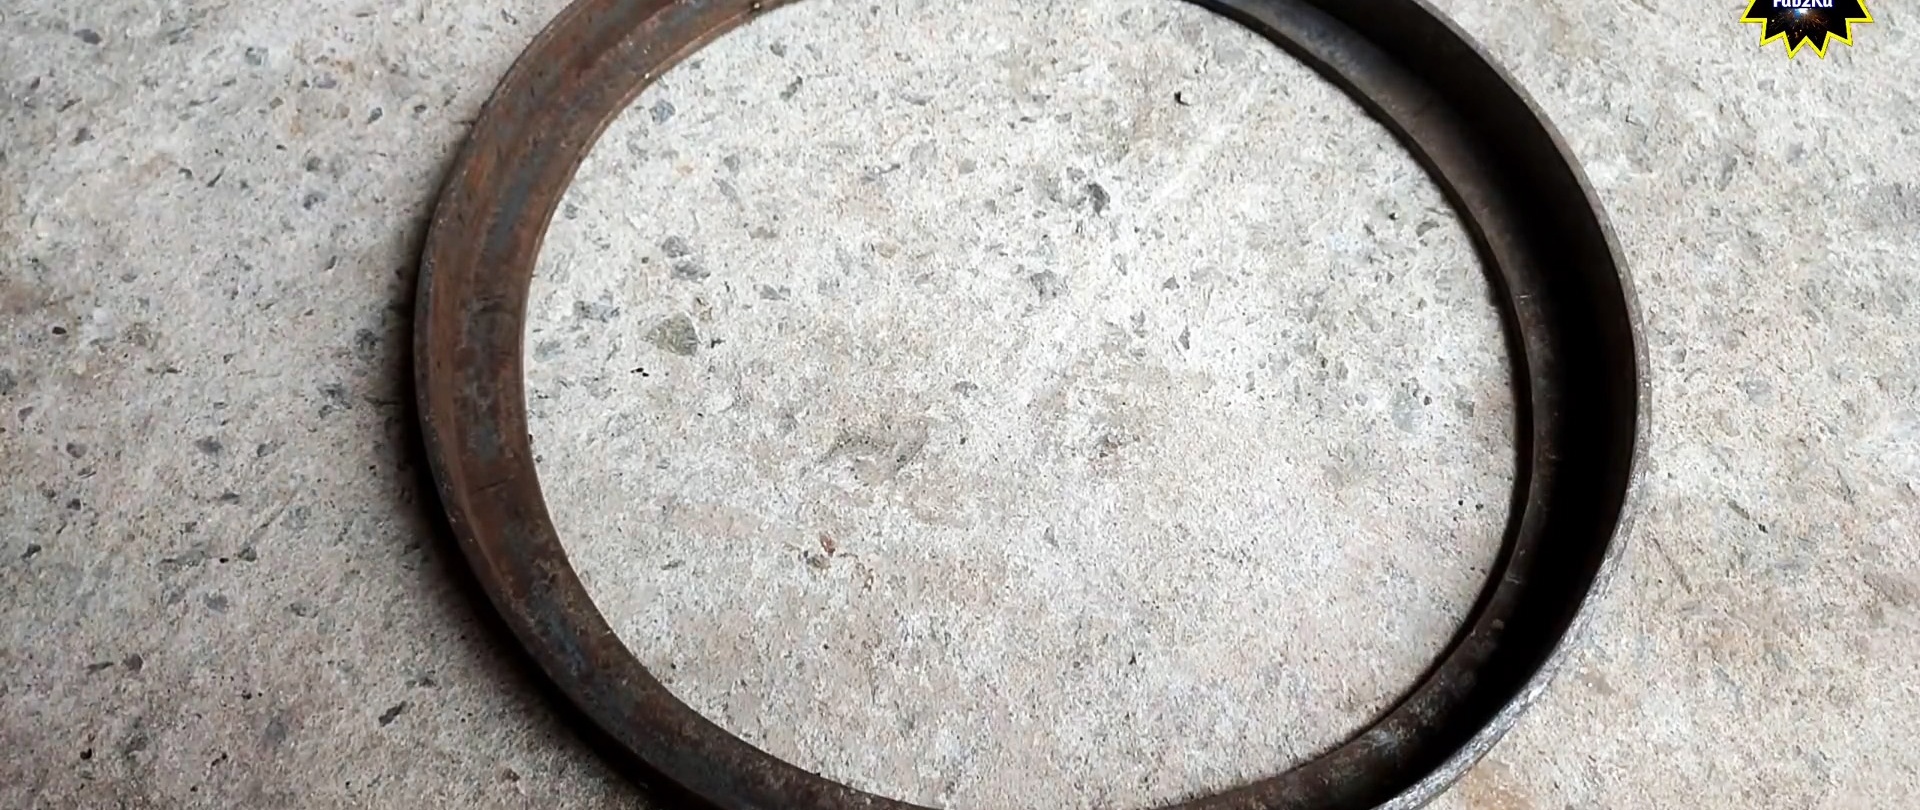
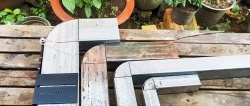
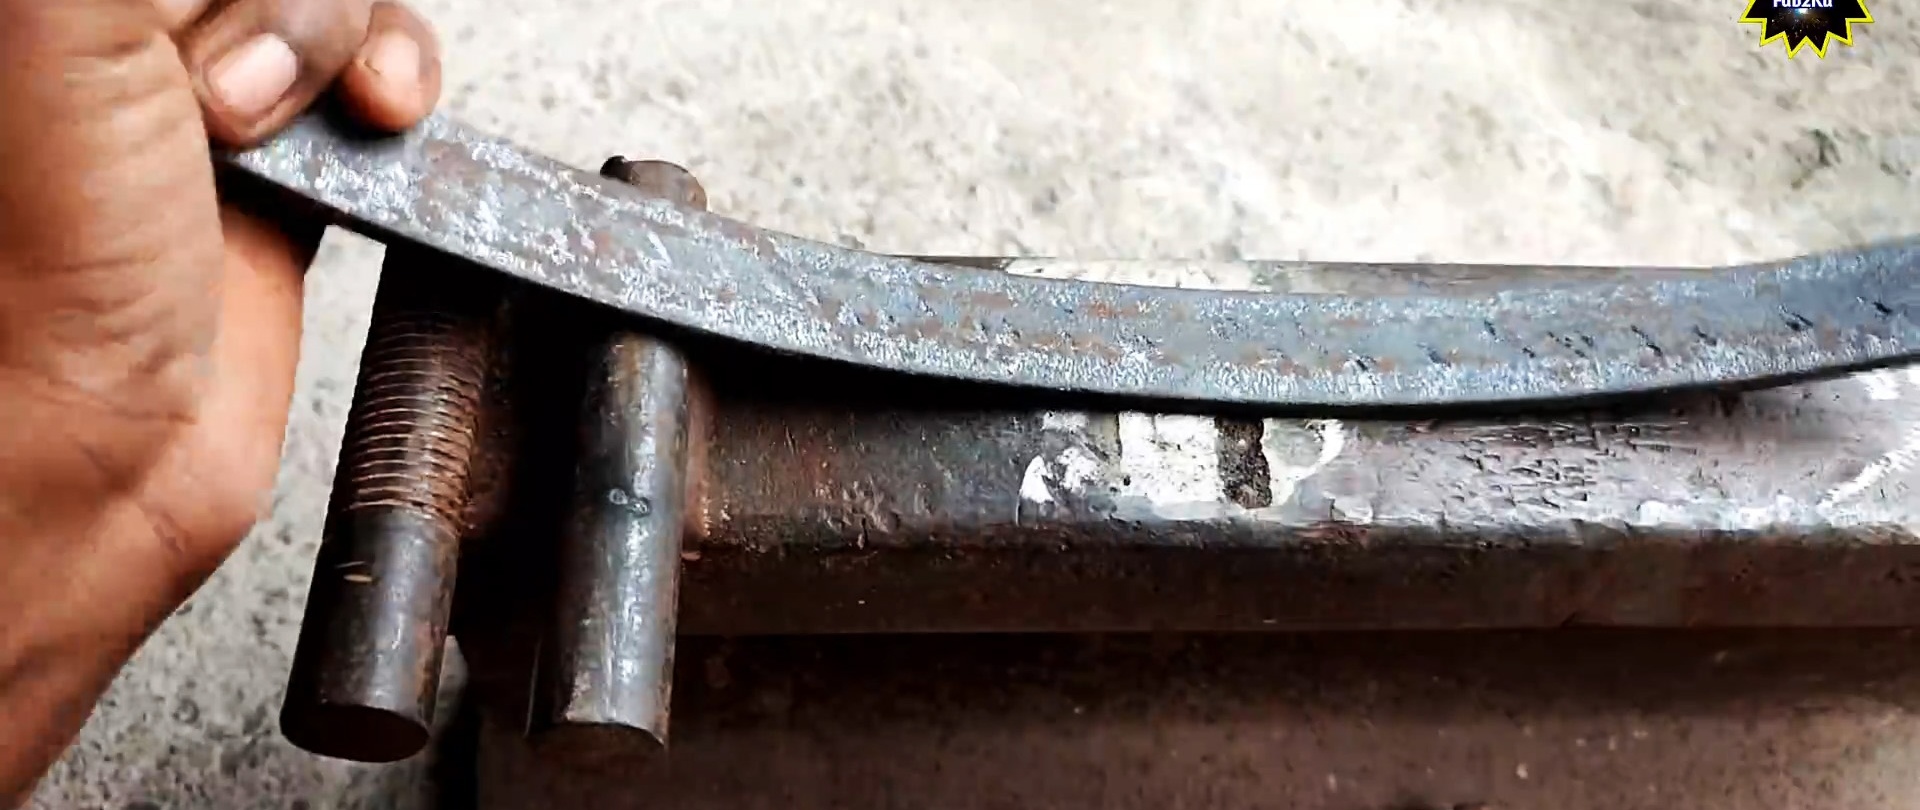
We lay the strip curved on the edge flat on the curved one so that their outer sides coincide, as do the edges. In this position, we weld them to each other from the inside.

We lay the third strip, curved on the edge, on its analogue, placing two electrodes between them to ensure a gap of 6 mm, and weld them at the ends.
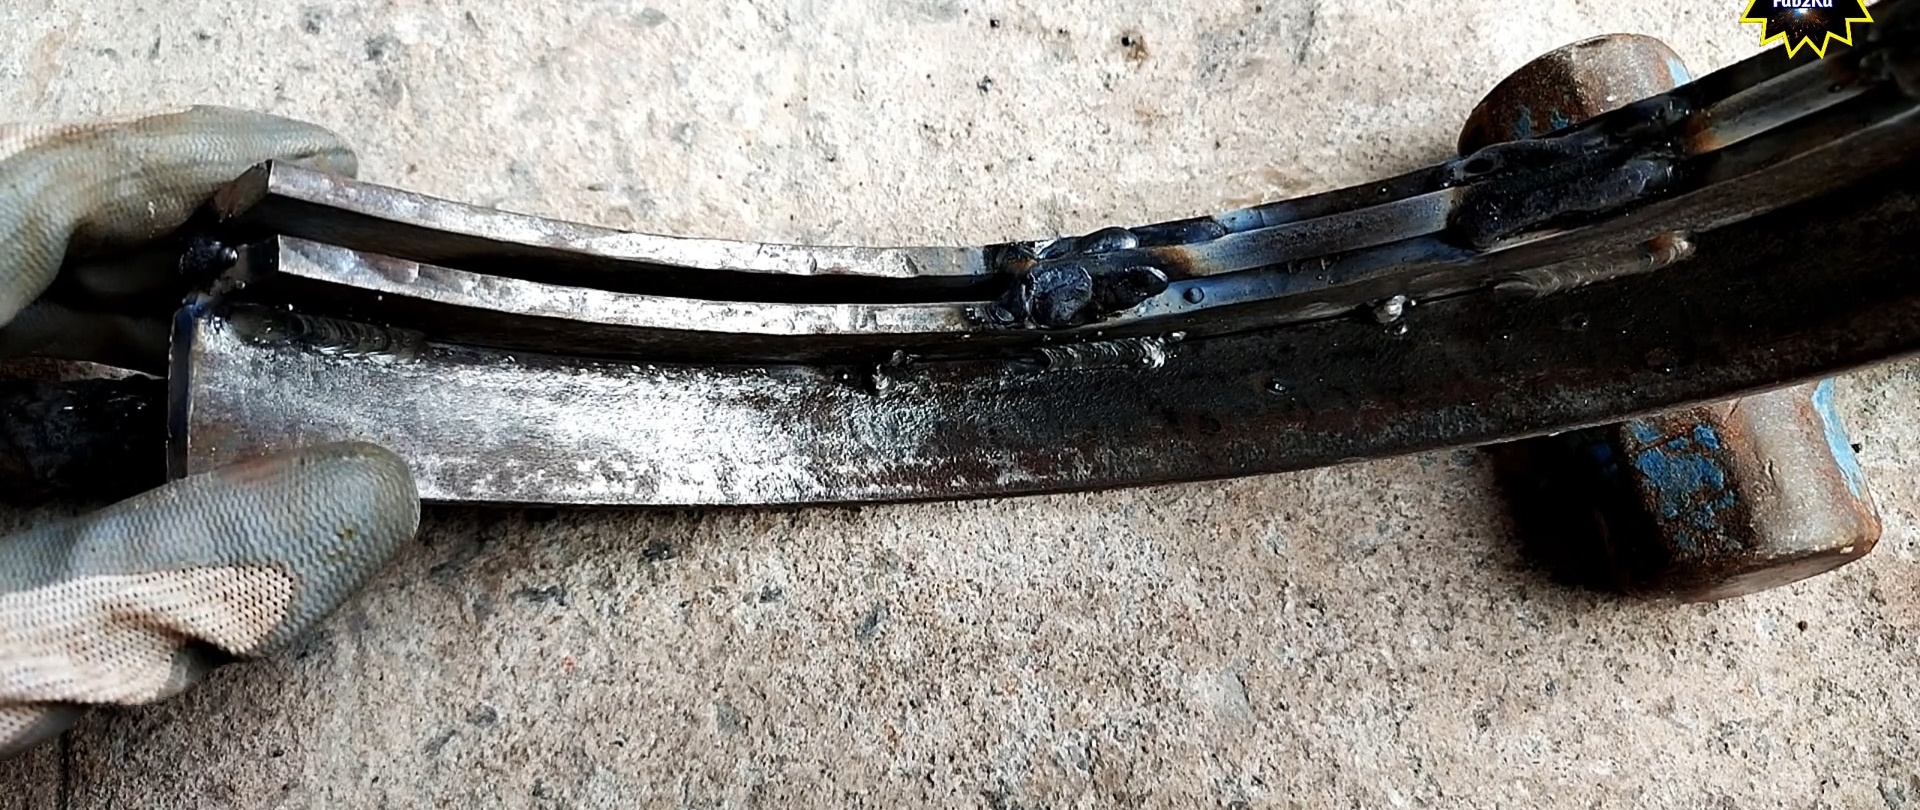
Having removed the electrodes, we insert into the gap from the inside pieces of a metal rod with a diameter of 6 mm bent in an arc in the center and along the edges, and weld them there.
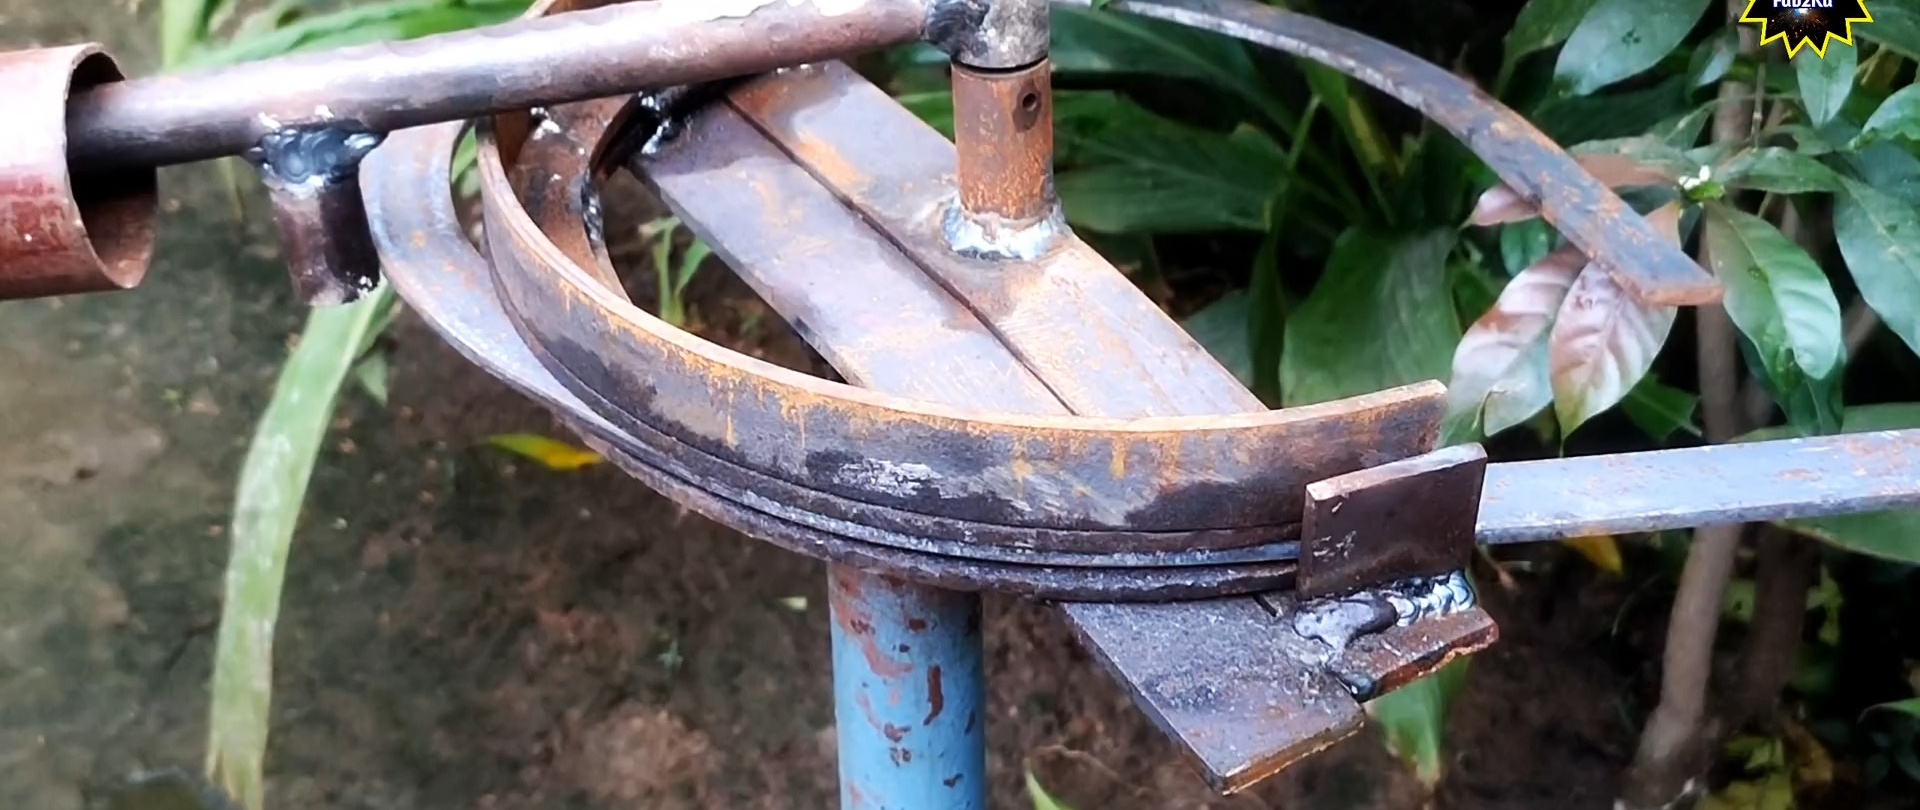
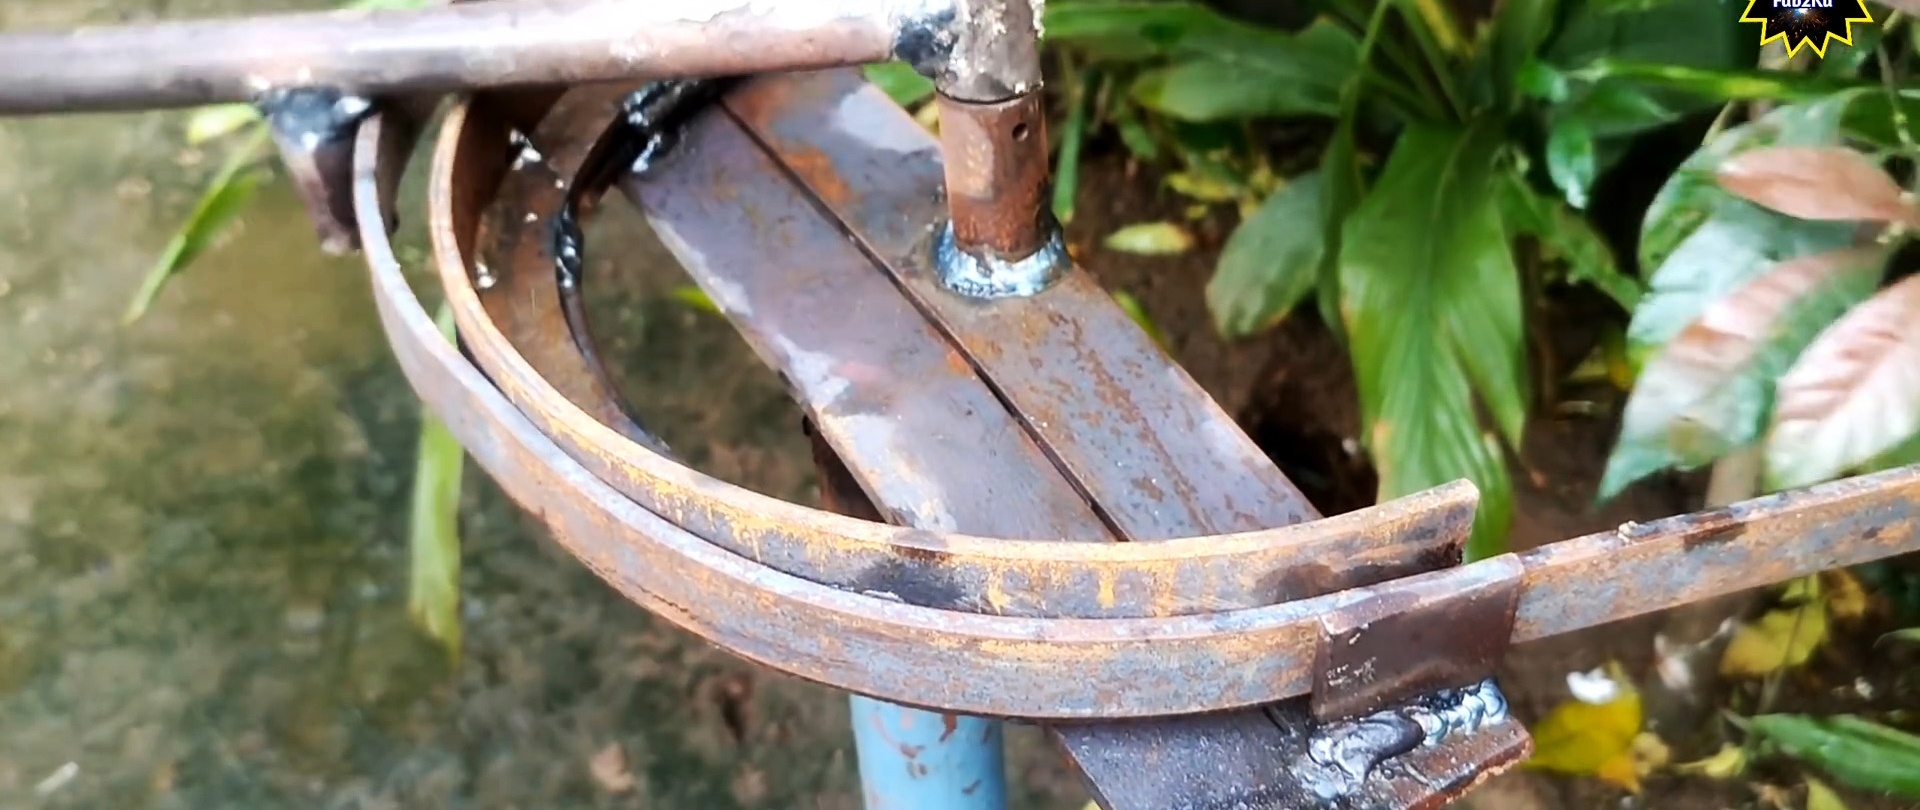
We lay a steel strip on the upper arc so that its bottom coincides with the legs of the arc. We lay a second strip of the same type on top, close to the first. We weld the strips to the arc and to each other.

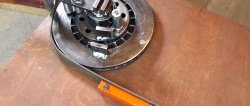
We turn the structure over so that the stripes are at the bottom. We mark the center on the bottom and weld a round bushing there, into which we insert a two-stage cylinder from above, which fits into the hole of the bushing.

We install the arc structure with the outer plate on the stand and weld it.We weld the two-stage cylinder with its larger side from below to the edge of the lever. At a length equal to the axis of rotation of the lever to the outer side of the arcs, we also weld the rod from below to influence the workpiece when it bends.


From the outside of the arcs at the base, we vertically weld a stop to the transverse plate - a rectangular plate 40 mm high.

We insert the bendable plate into the gap between the arcs and the stop. We insert the lever axis into the hole in the bushing and pull its end toward you. In this case, the rod, bending around the arcs, gradually bends the strip onto the edge. It requires little effort and time.

And even a child can handle a flat bend.
With this device you can make, without much effort and time, not only circular arcs, but also a full circle.