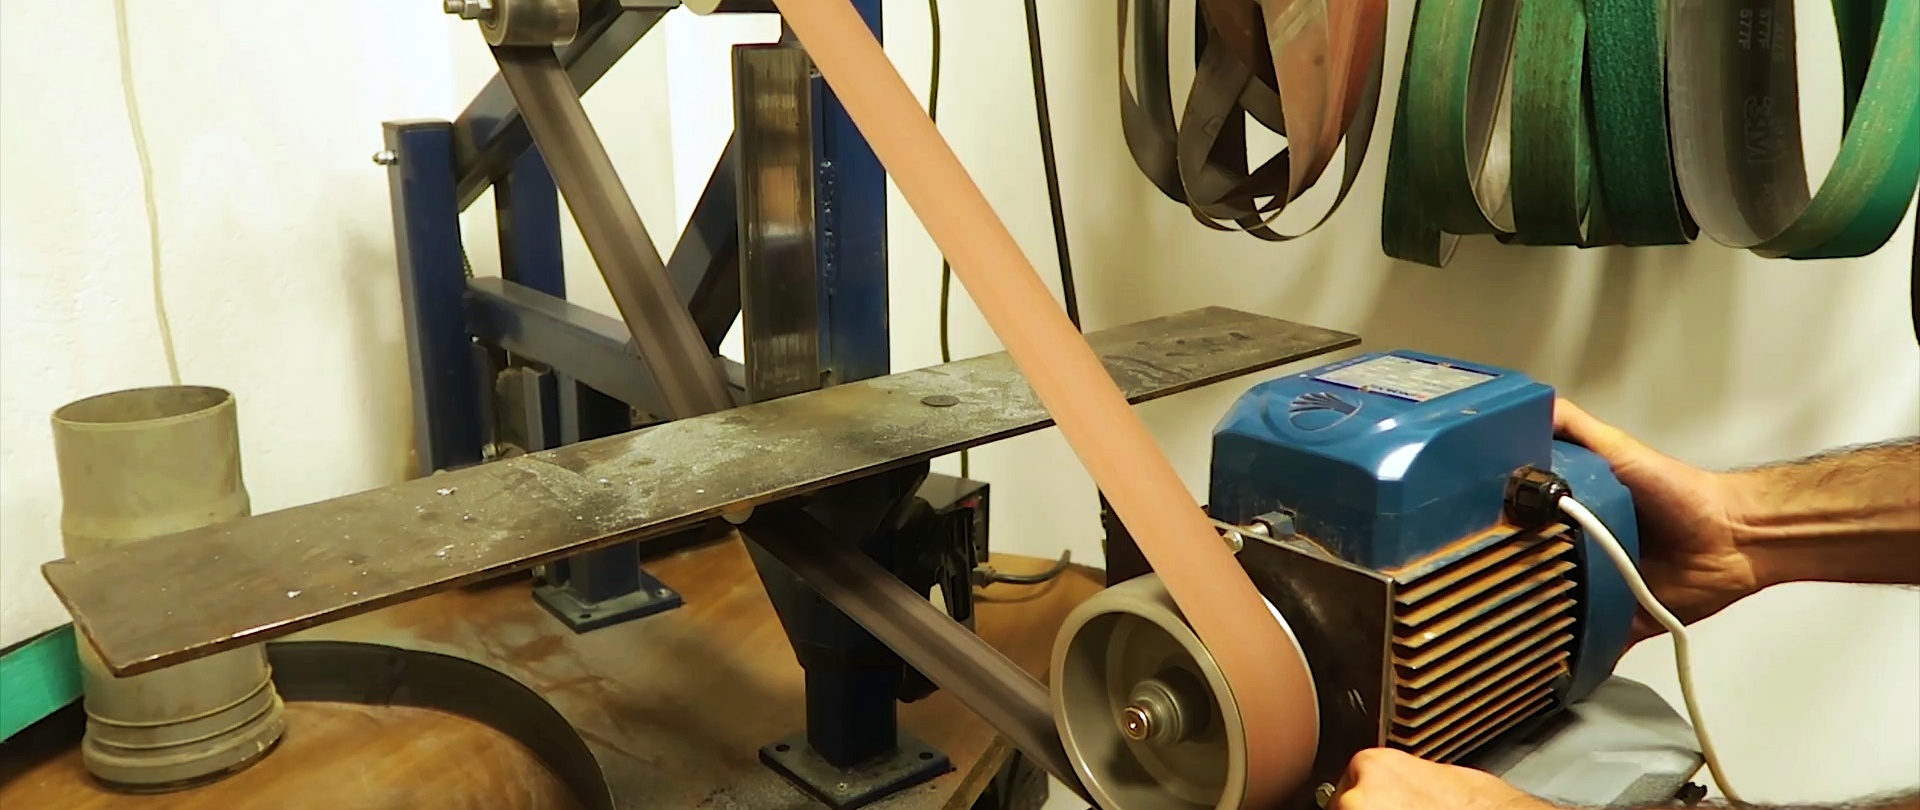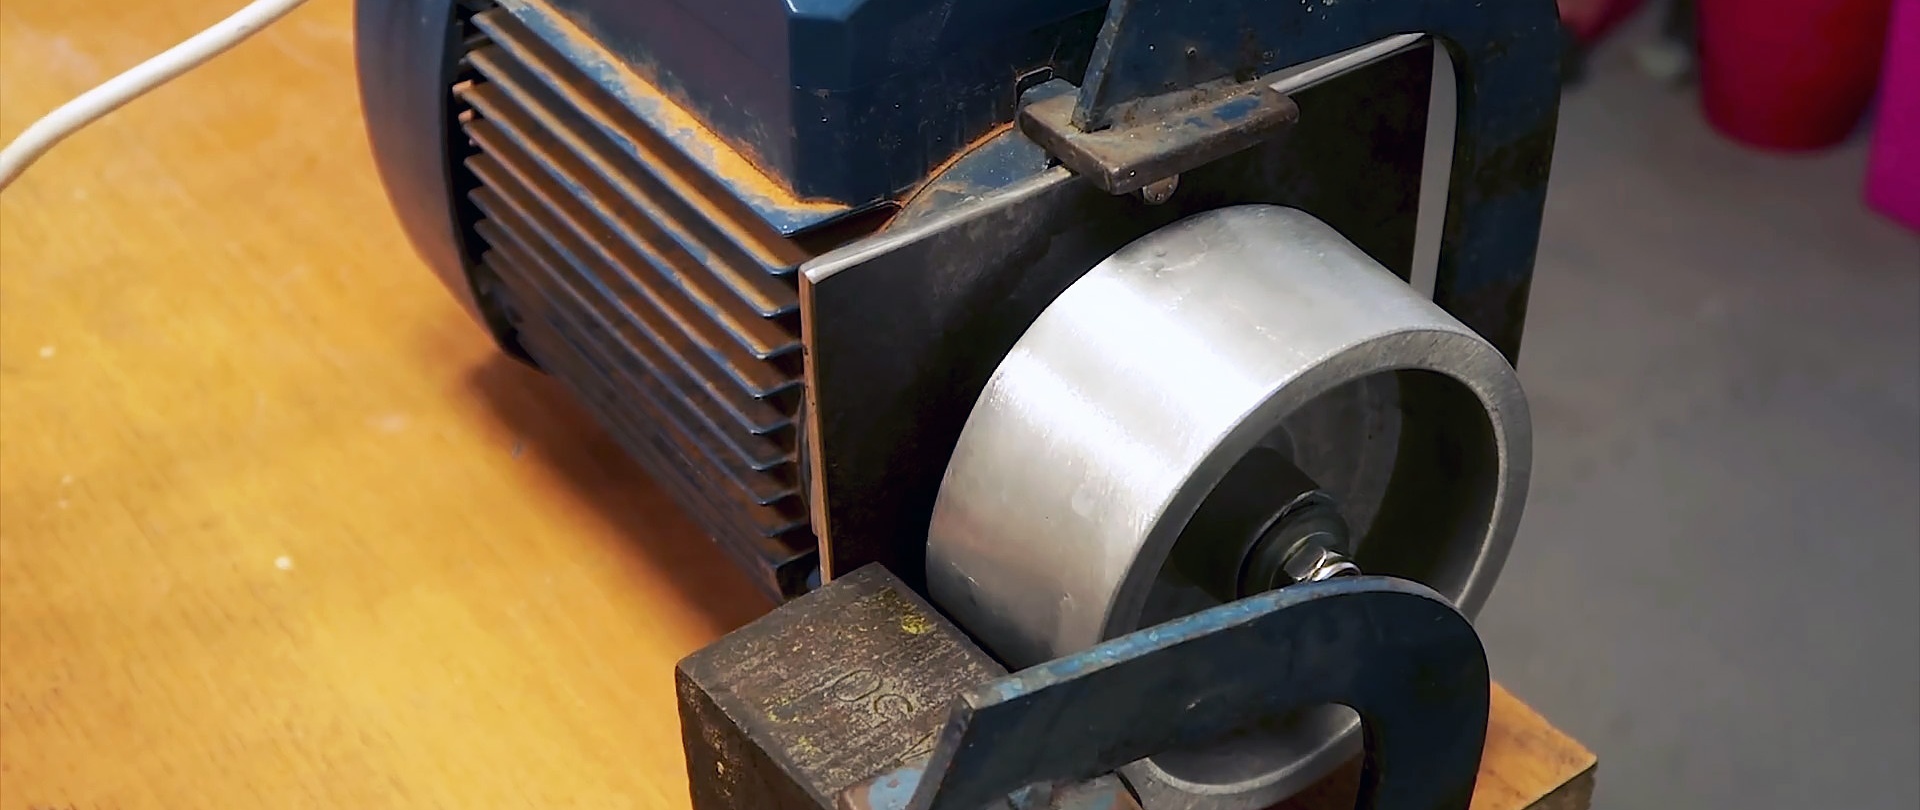
Using a fairly powerful electric motor, you can assemble a belt grinder. One of the main difficulties in this case is the manufacture of the drive pulley. Many people make it from plywood, gluing it in several layers. This is the simplest, but such a pulley turns out to be heavy and is subject to rapid wear. It is optimal to make it from aluminum. This option involves finding a blank and a turner who will turn it. But if you have a 3D printer, then you can make it without a lathe by casting from a printed model.
What you will need:
- 3D printer;
- sifted river sand;
- clay;
- talc;
- melting furnace;
- aluminum scrap;
- board.
Pulley manufacturing process
First of all, we design a pulley model of the required size for the shaft of our engine. Afterwards we print it on a 3D printer, remove the sagging and polish it.

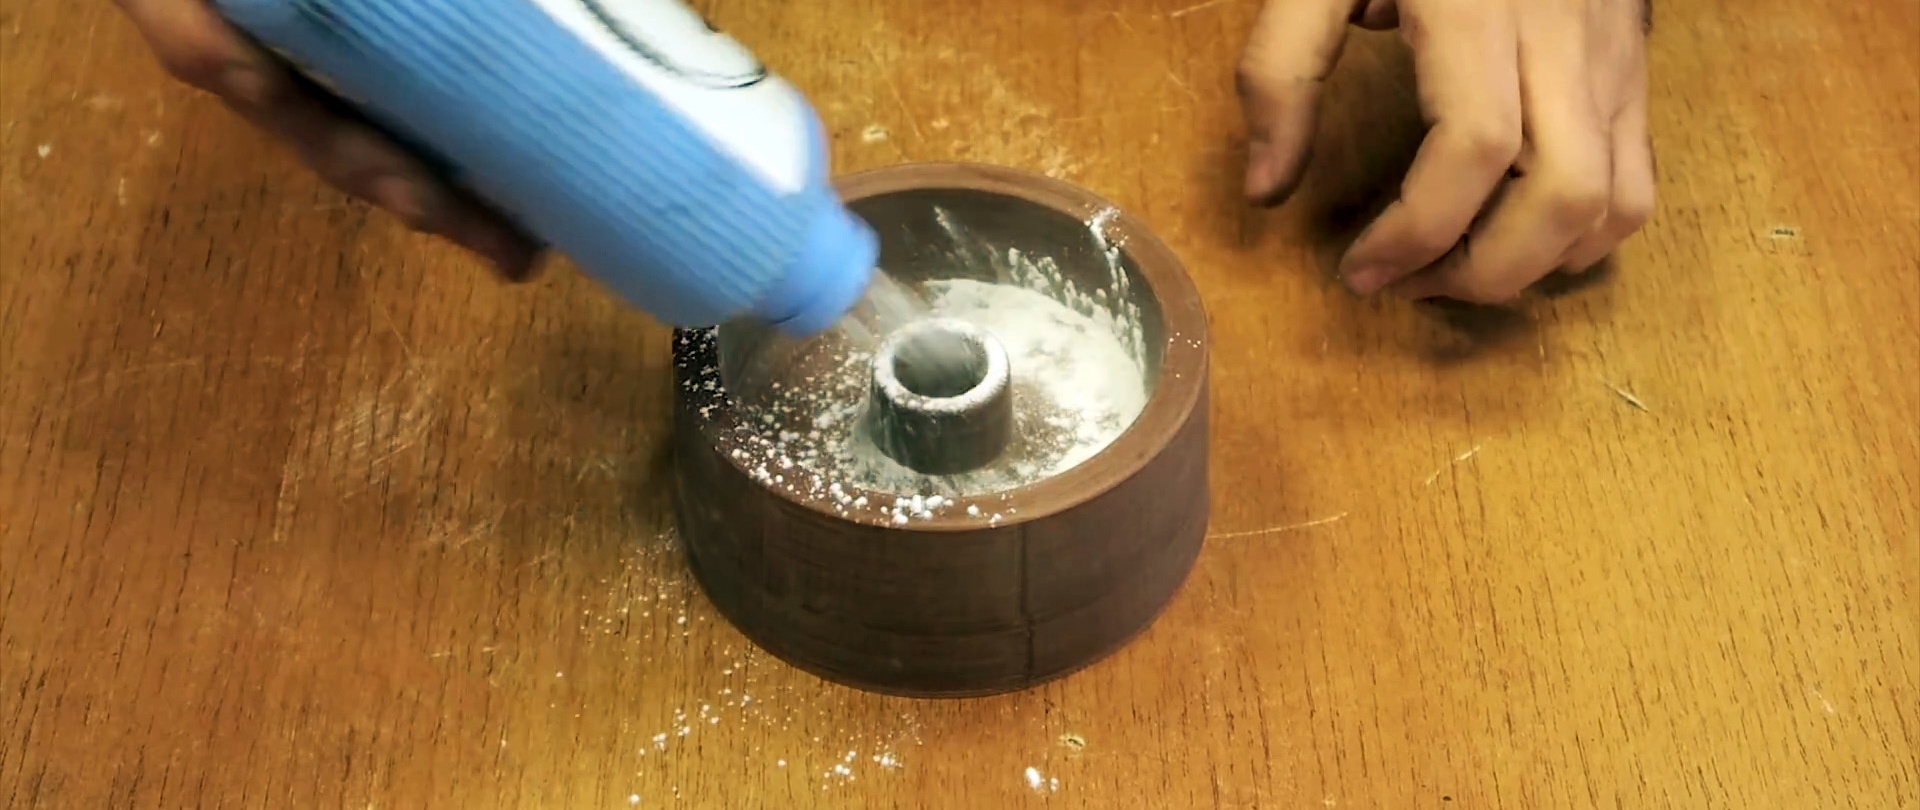
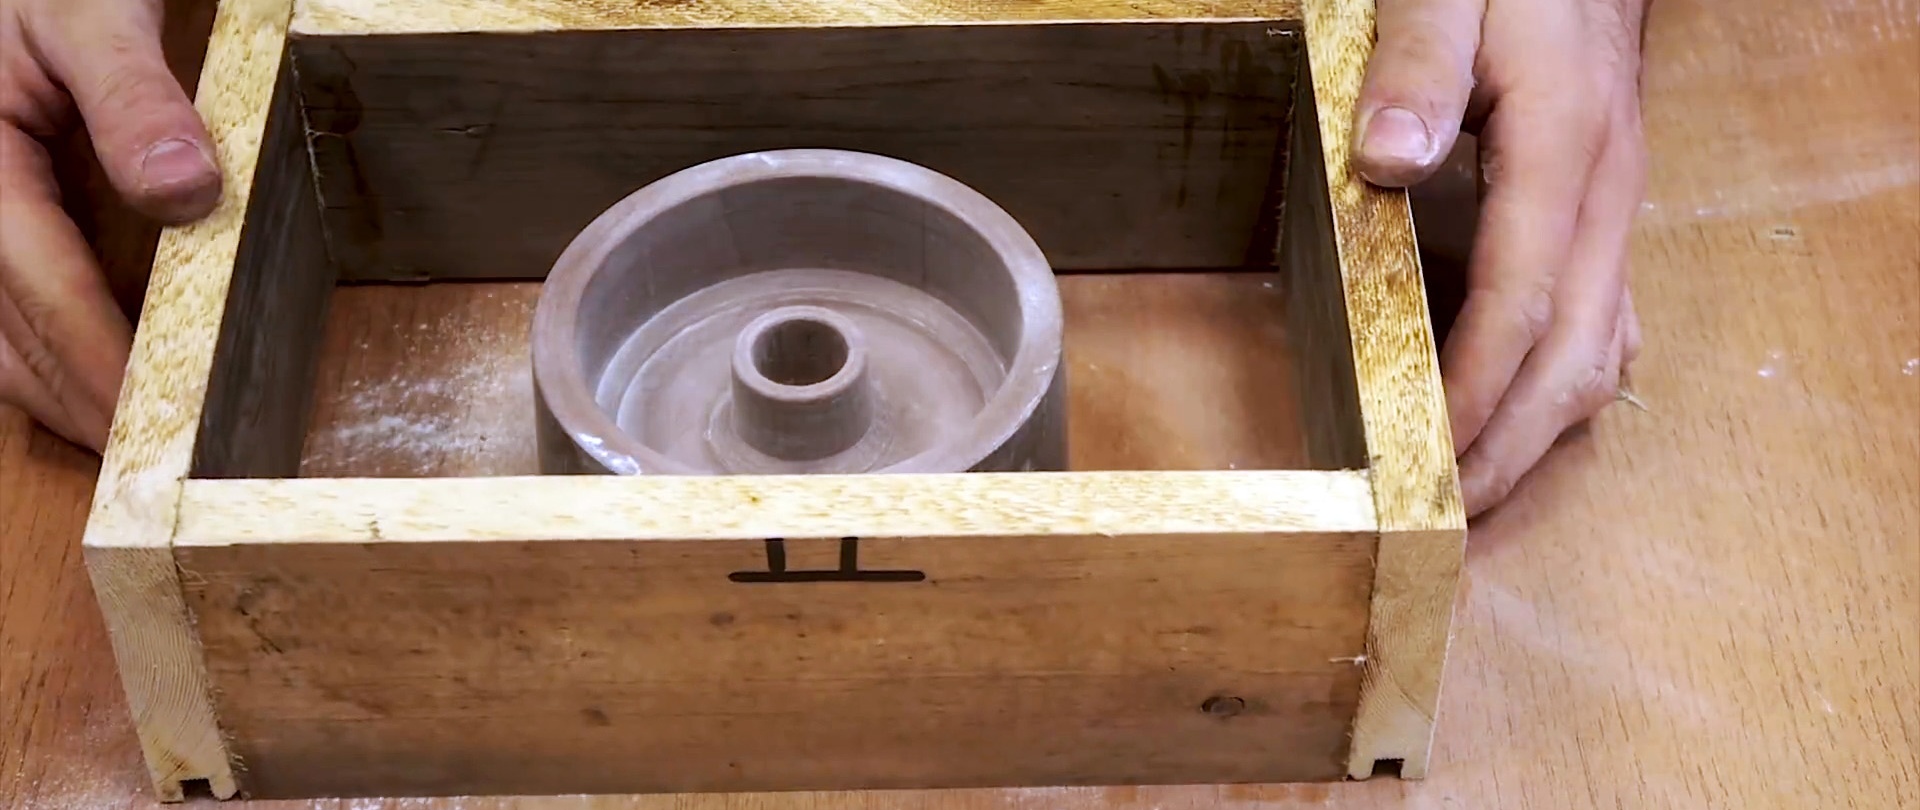
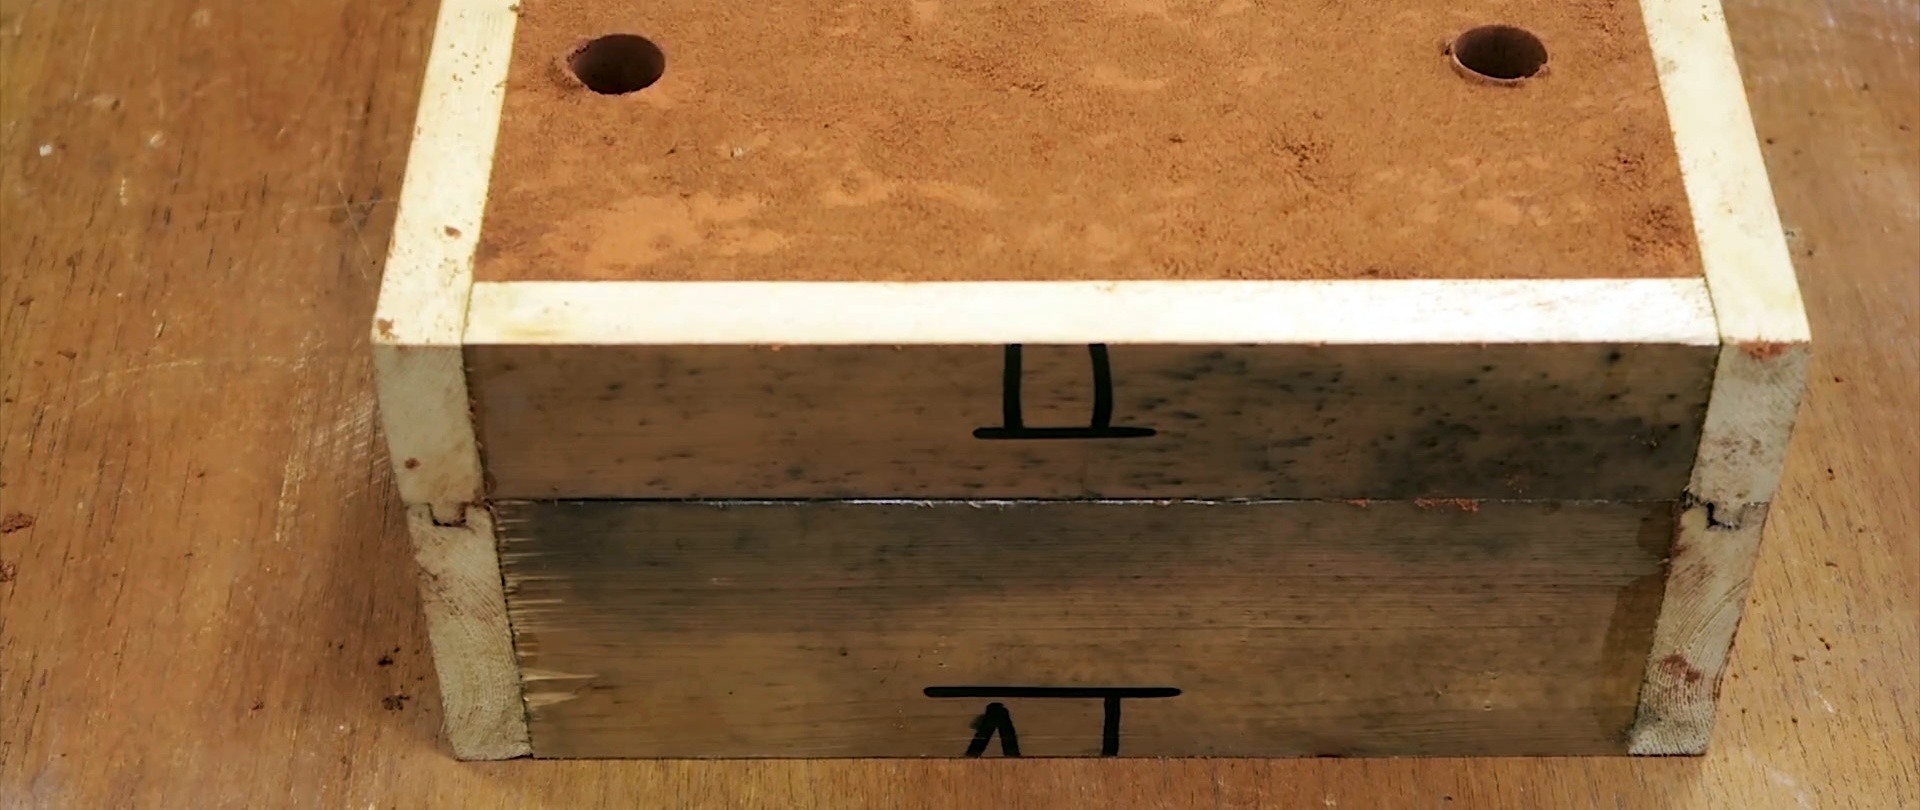
We assemble formwork in the form of a frame from a planed board, and place a master model sprinkled with talcum powder into it.
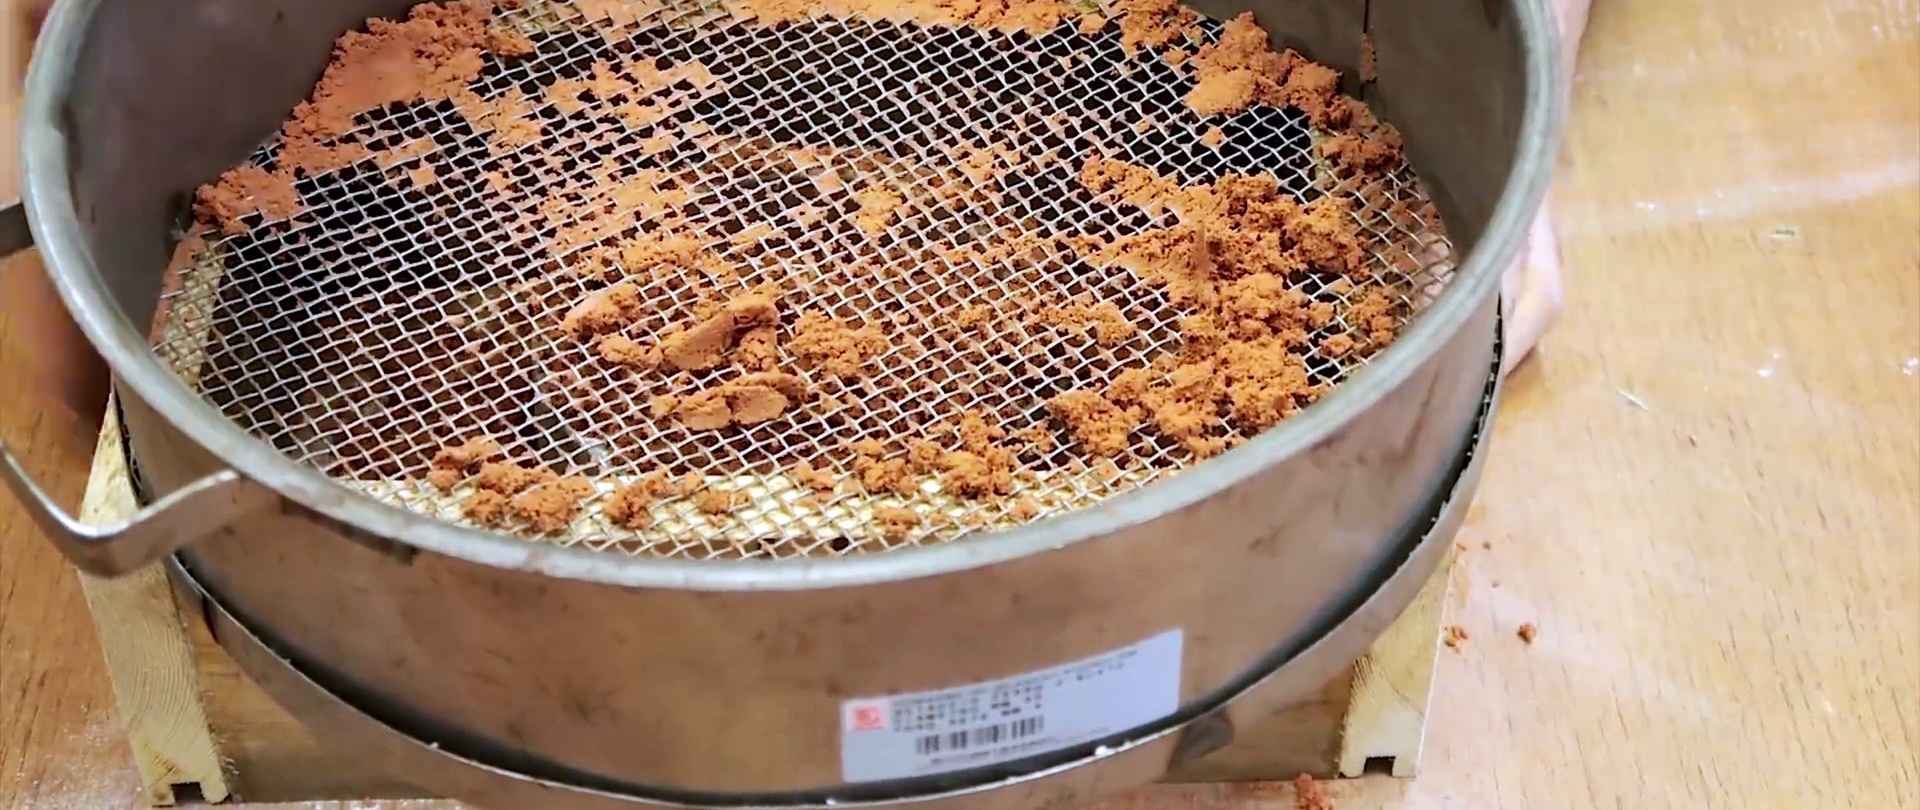
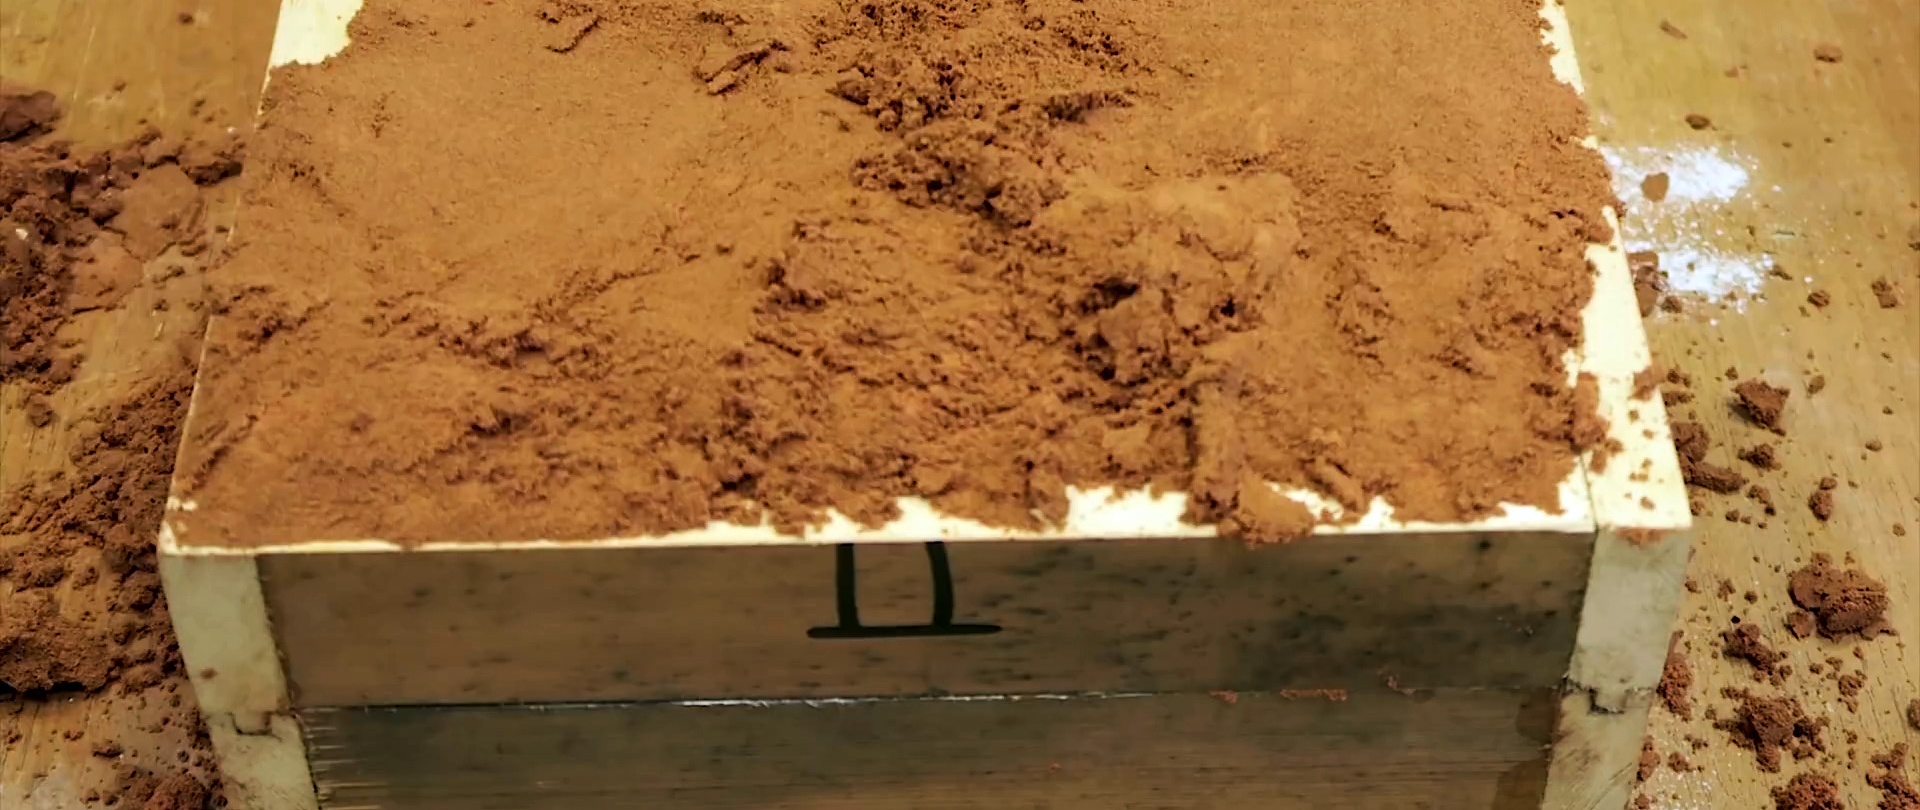
Then sift the molding mixture on top. This can be a purchased composition or a homemade one based on sand and clay. The mixture needs to be slightly moistened so that it is compacted tightly. Its excess is cut off with a ruler or a straight edge.
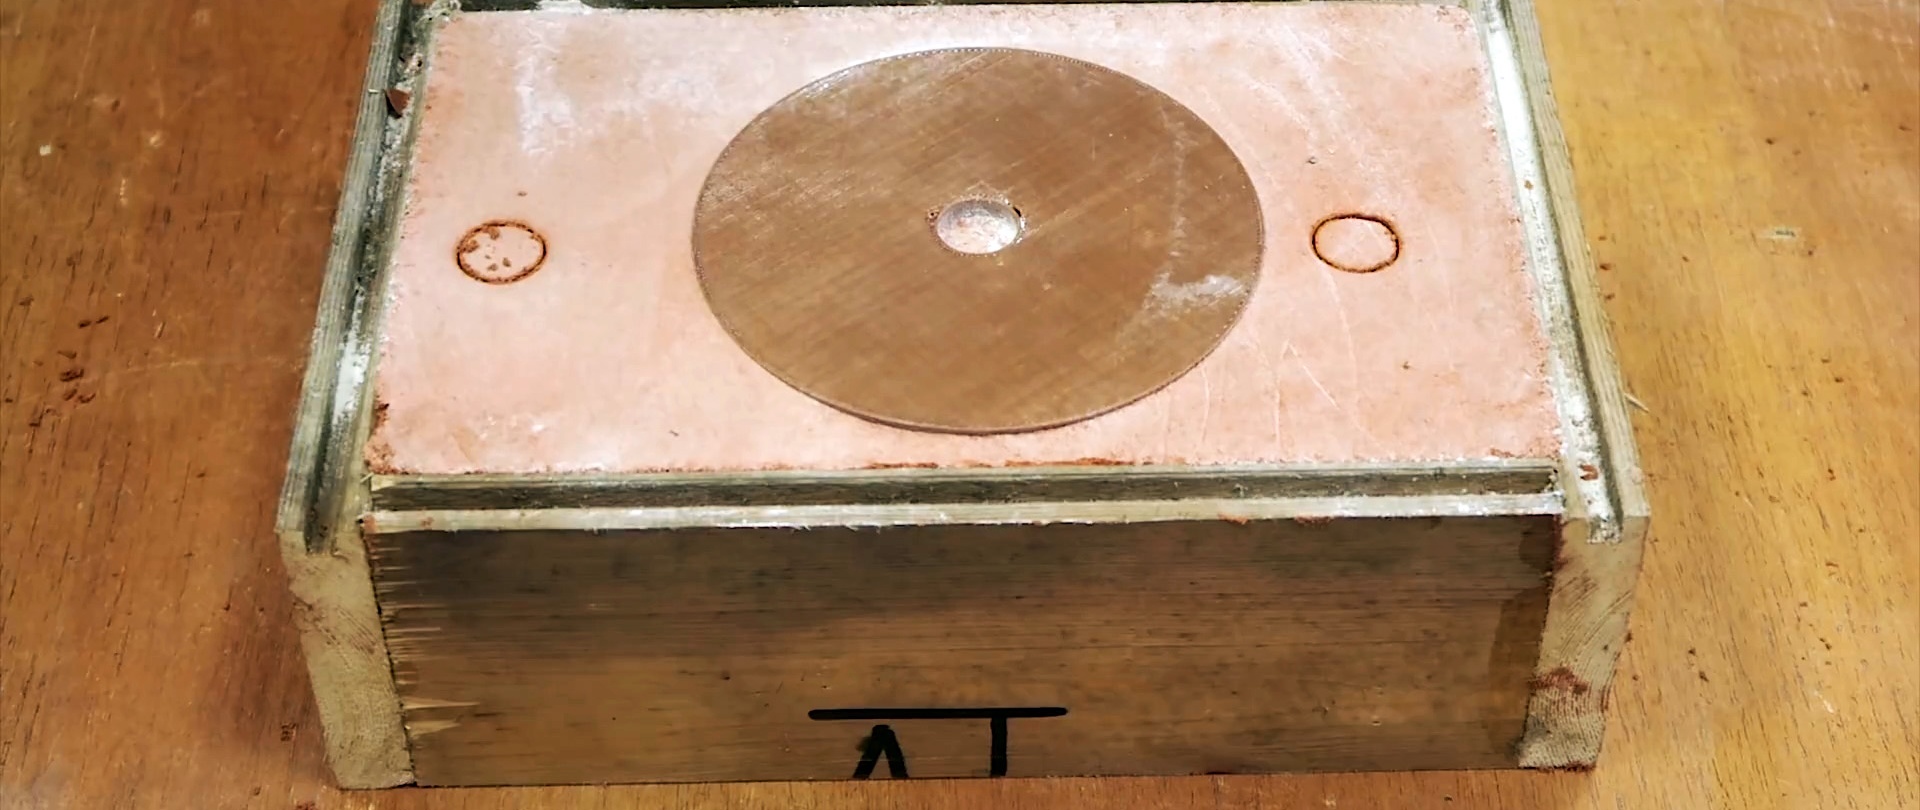
The form is turned over and a second attached formwork is installed on it. The protruding surface of the pulley is once again coated with talcum powder. It is optimal for the frames to be connected using a tongue-and-groove system to prevent displacement. The second formwork must also be compacted with the mixture.
Then we push through 2 holes in the top formwork with a tube and remove it.
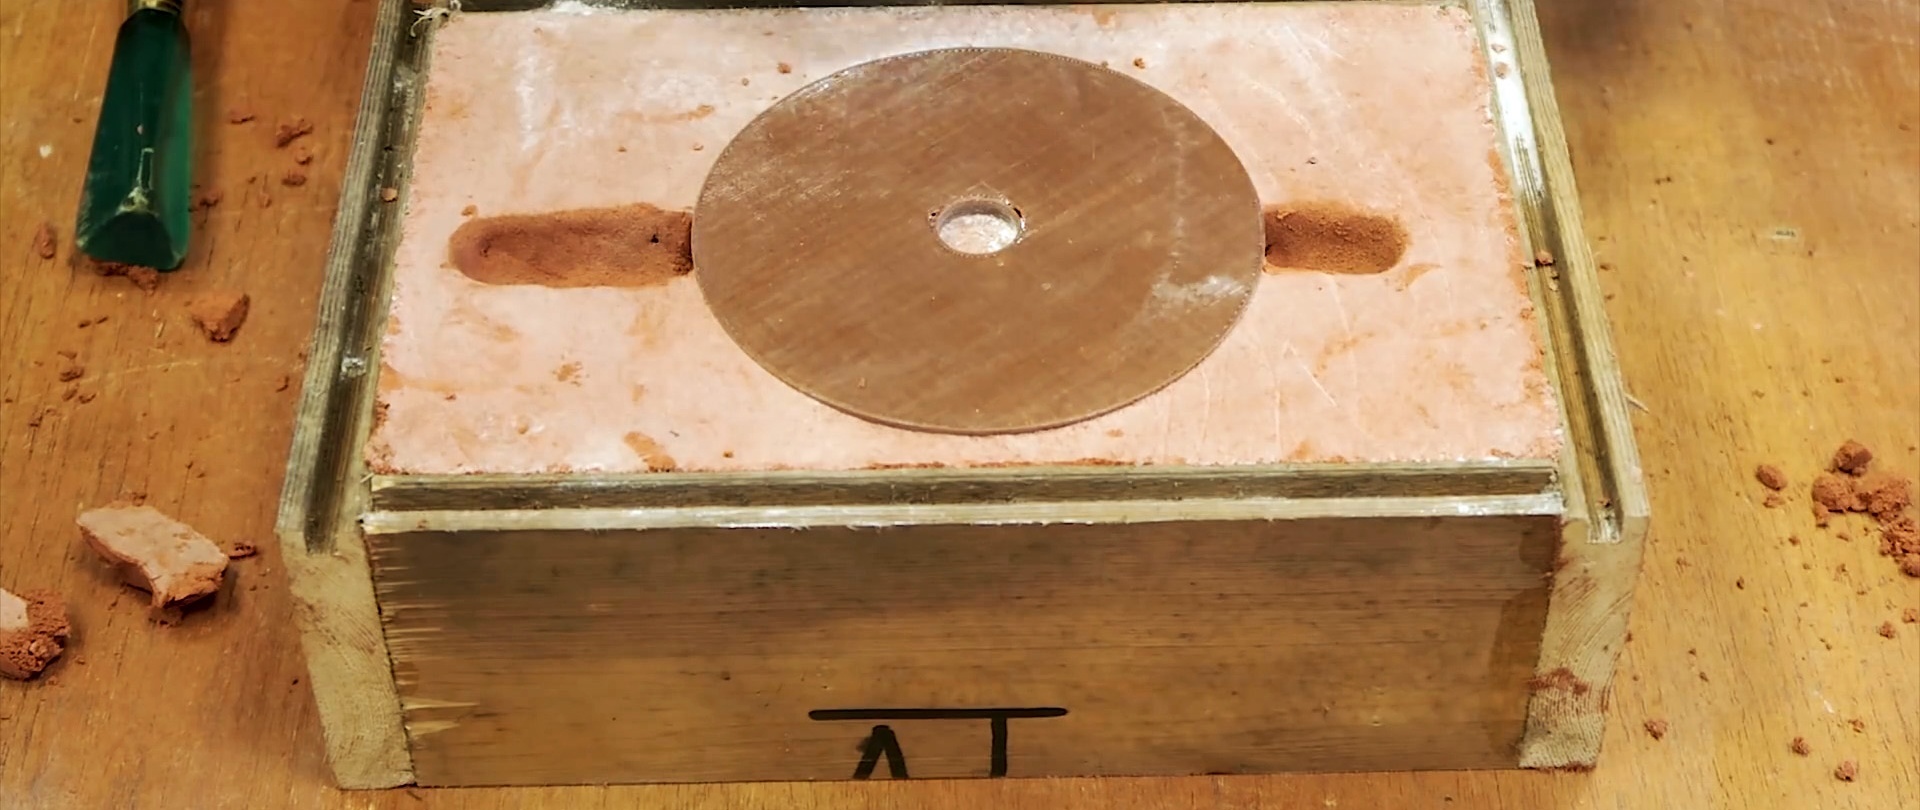
On the lower formwork, we select the mixture using the marks from the tubes, creating a groove for access of aluminum into the mold.
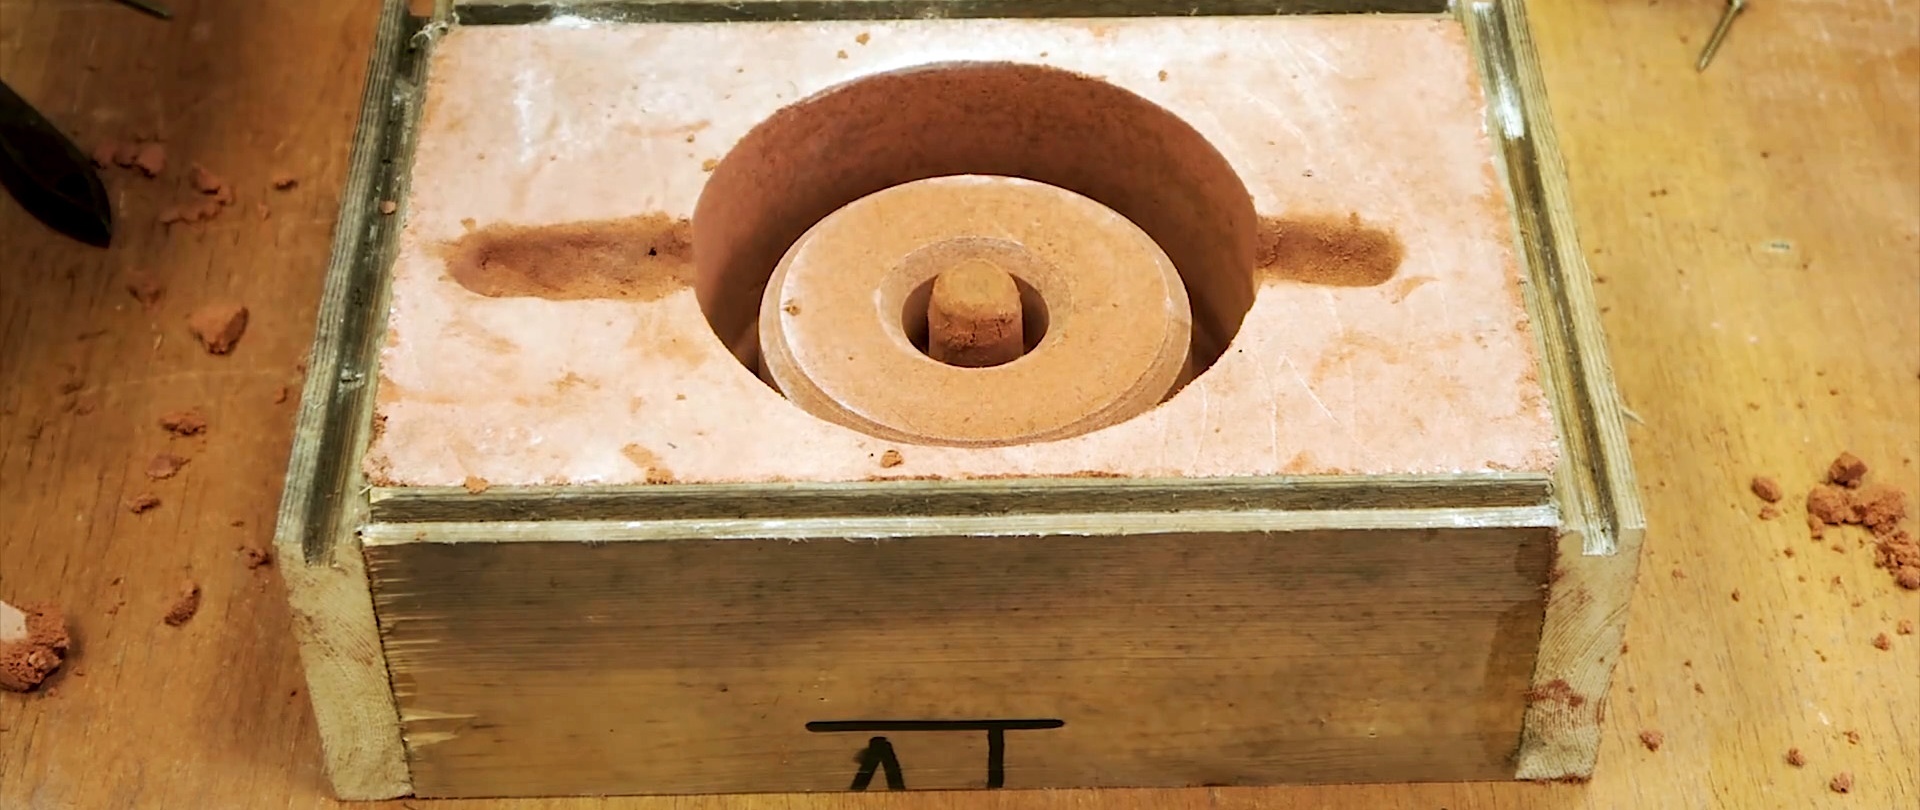
We wrap the screws into the master model. Now you need to gently tap it so that it separates from the mixture. After this, we take out the model using the screws.
We return the upper formwork to the lower formwork.
Then we make 2 sprues, stuffing the mixture into tin cans without a bottom. Holes are pressed into them with tubes and funnels are made. Then we place the cans on top, aligning the holes.
We melt a sufficient amount of aluminum in the melting furnace.
How to make a simple furnace for melting aluminum - https://enn.washerhouse.com/7981-kak-sdelat-prostuju-pech-dlja-plavki-aljuminija.html
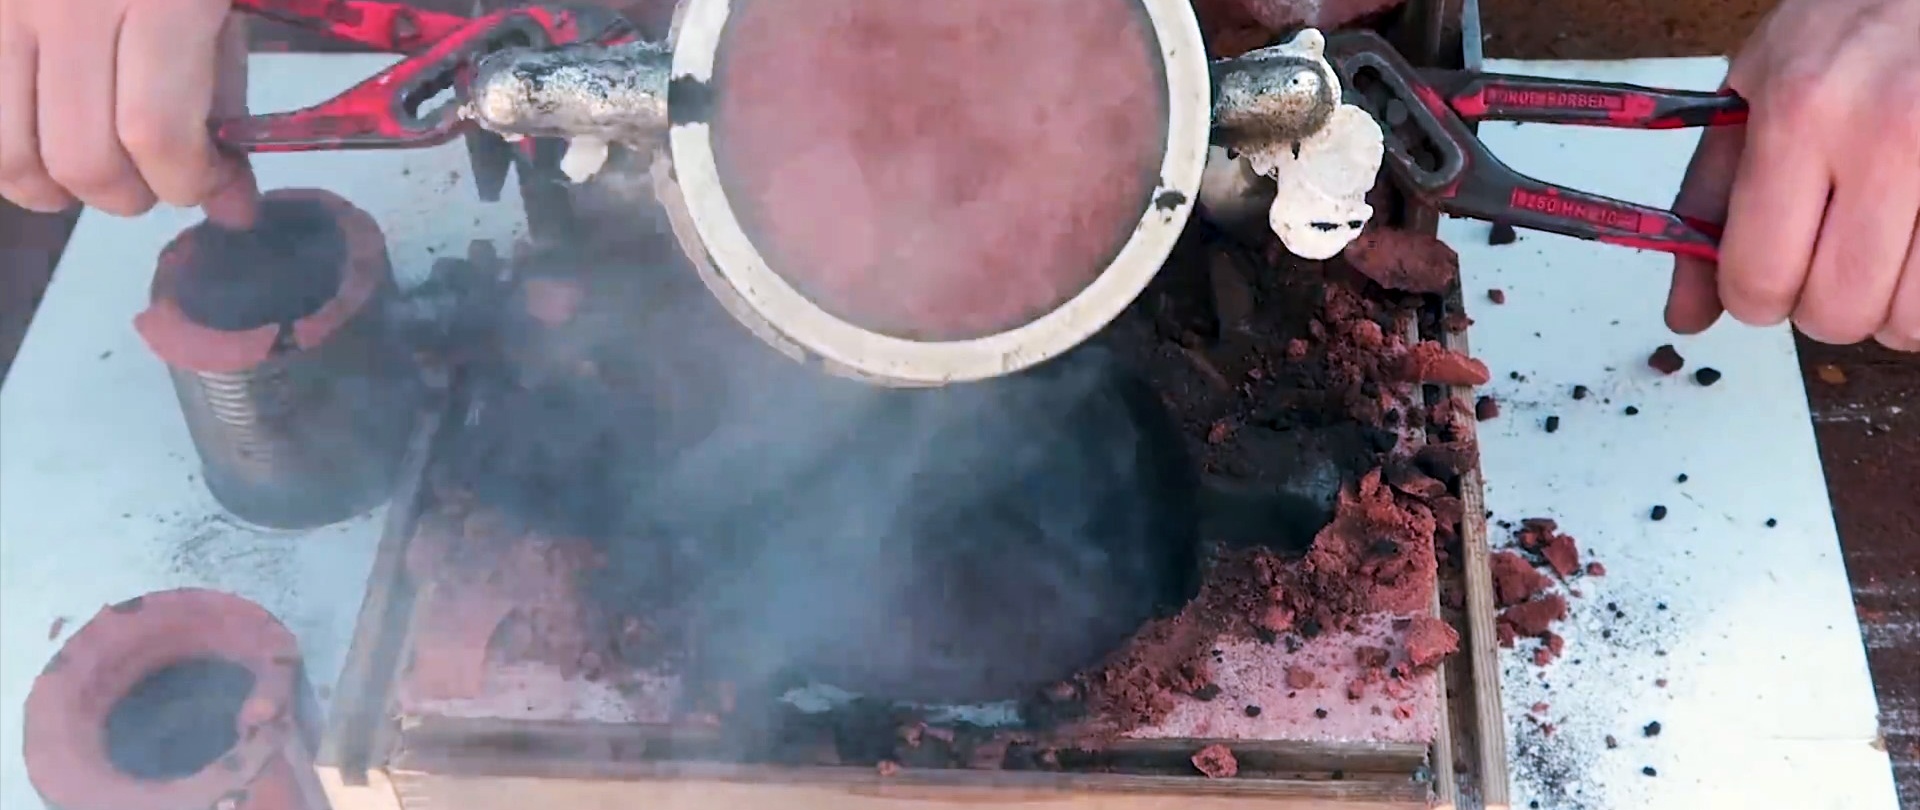
We pour liquid metal into the sprue until it comes out of the second hole.
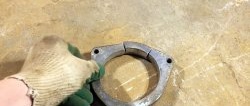
We wait until the aluminum hardens and disassemble the mold.
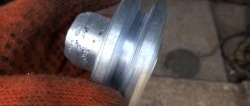
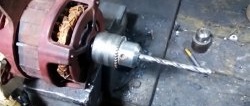
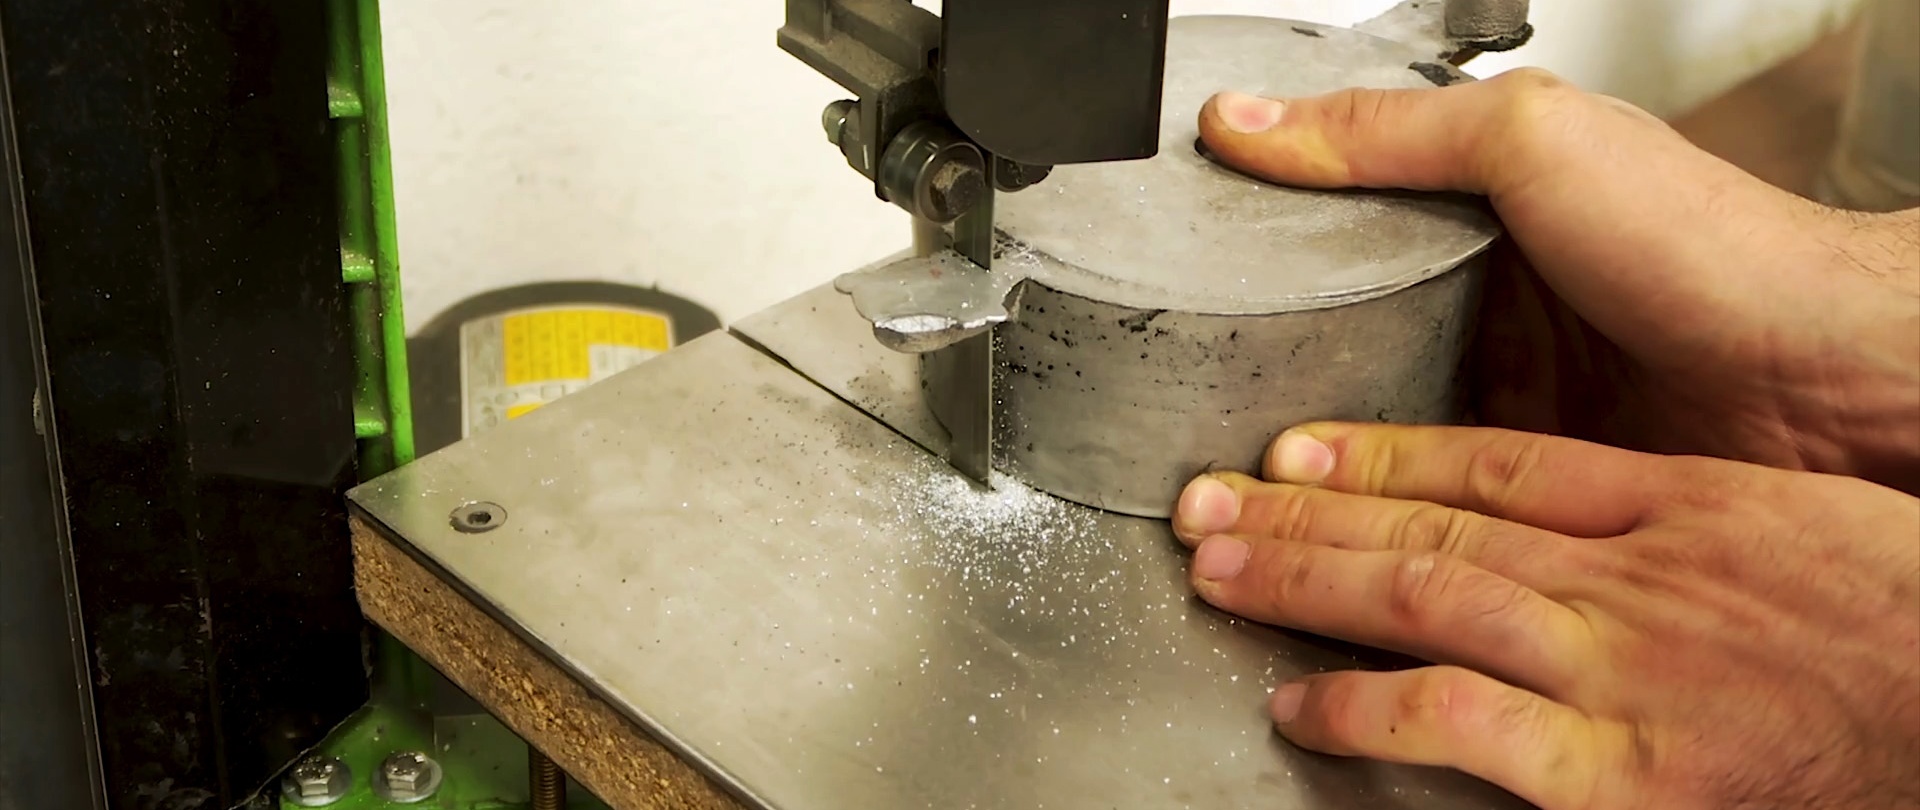
Now all that remains is to trim and grind the excess on the workpiece. The hole in the center will be a little filled with metal, so it will have to be drilled out.
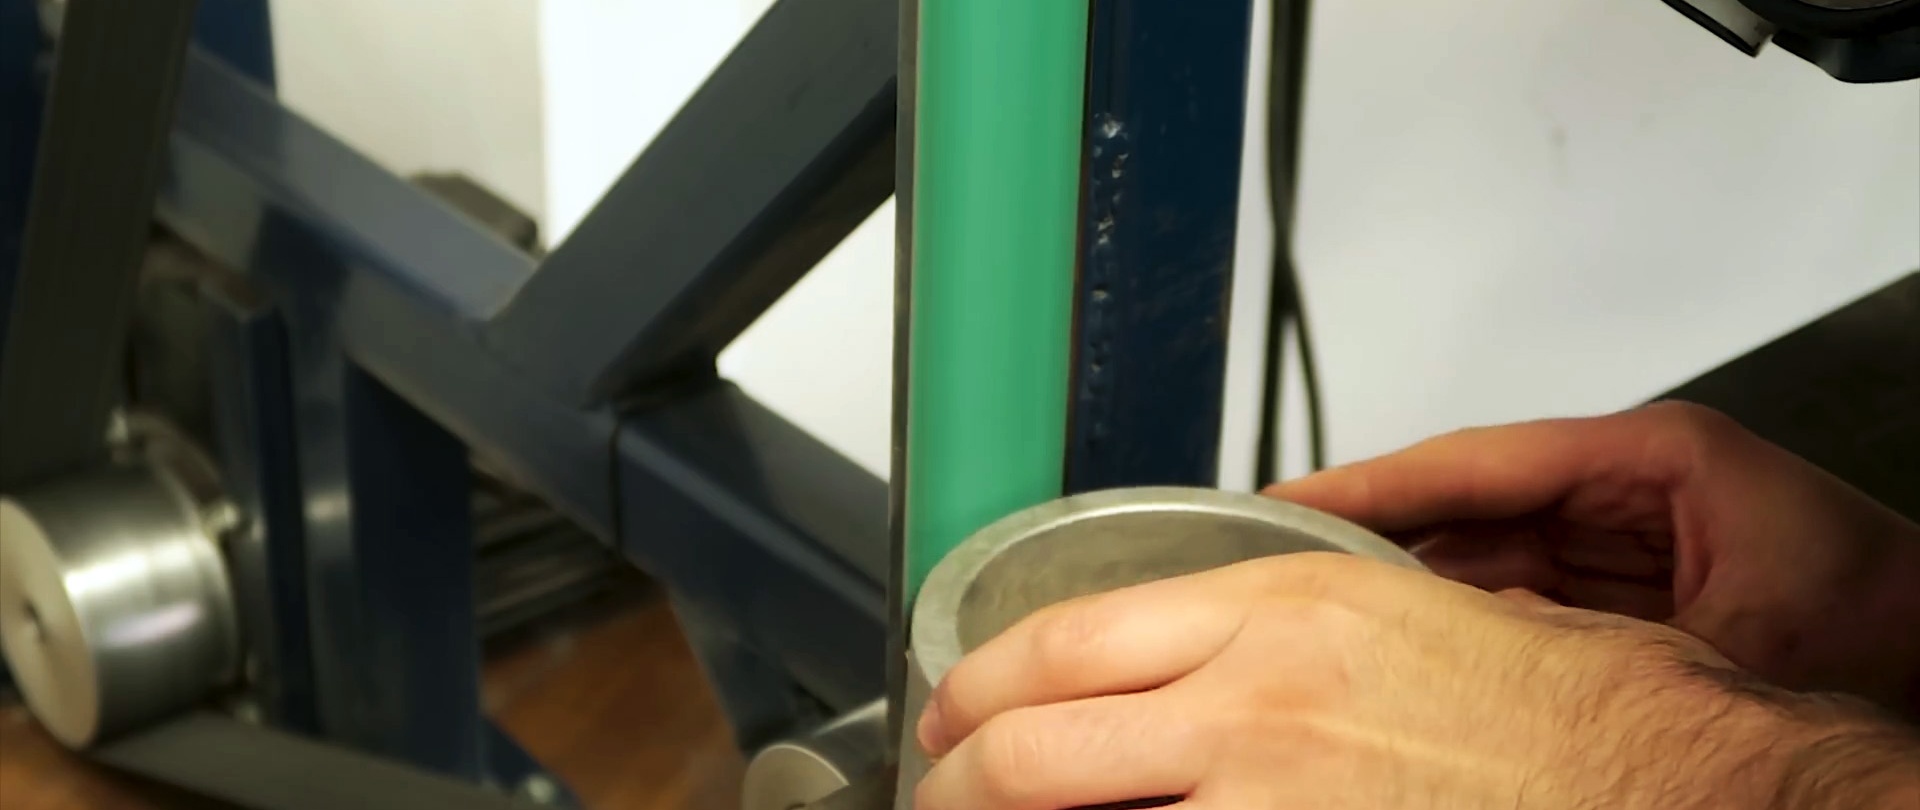
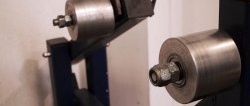
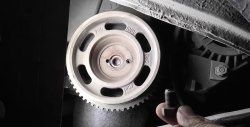
To install and fine-tune the pulley, you will need to make a groove on the motor shaft for the retaining ring. To do this, it starts up and the cut is made while rotating. A groove for the pin needs to be machined along the shaft. Use a jigsaw to make a groove in the pulley. Then we install it on the shaft with a key and tighten the nut.
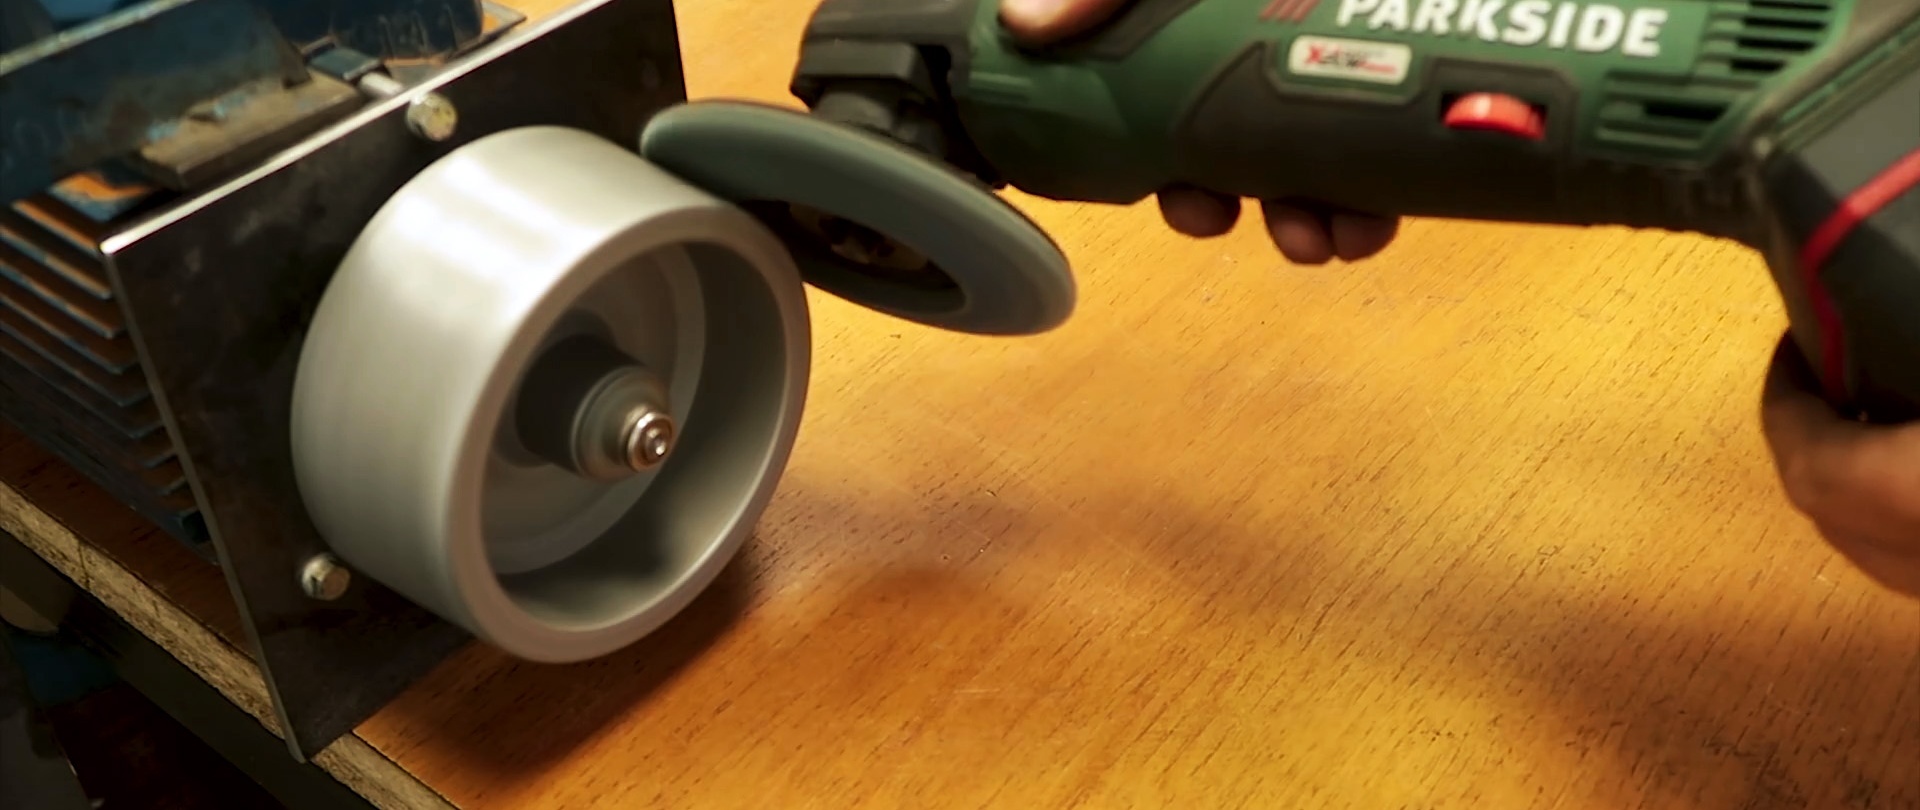
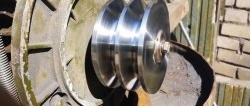
Now we start the rotation and grind the pulley with a grinder with a flap disk to remove rough irregularities.After this, we fix the improvised support table with a clamp, and use a cutter to bring the pulley to perfection. This results in full-fledged turning for balancing. That's it, the pulley can already be used for its intended purpose.