Nickel, having high corrosion resistance, perfectly protects other metals from corrosion and gives them an attractive appearance. Assembling a galvanic installation for nickel plating in a home workshop is not at all difficult and does not require expensive materials.

Will need
Materials and accessories:- two nickel anodes;
- bowl-shaped container;
- wires;
- Crocodile clips;
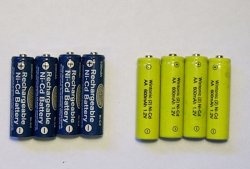
- 4.5 V battery;
- power supply;
- plug for connecting wires to the power source;
- salt;
- ten percent vinegar;
- old lighter housing.
Manufacturing process of a nickel plating plant
Since galvanic processes are not harmless to humans, we take all available safety measures, including room ventilation and the presence of protective gloves.
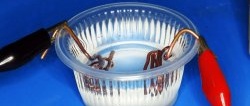
Pour vinegar into the container and lower the two nickel anodes. We connect the wires to them, and the other ends to the terminals of the 4.5 V battery.
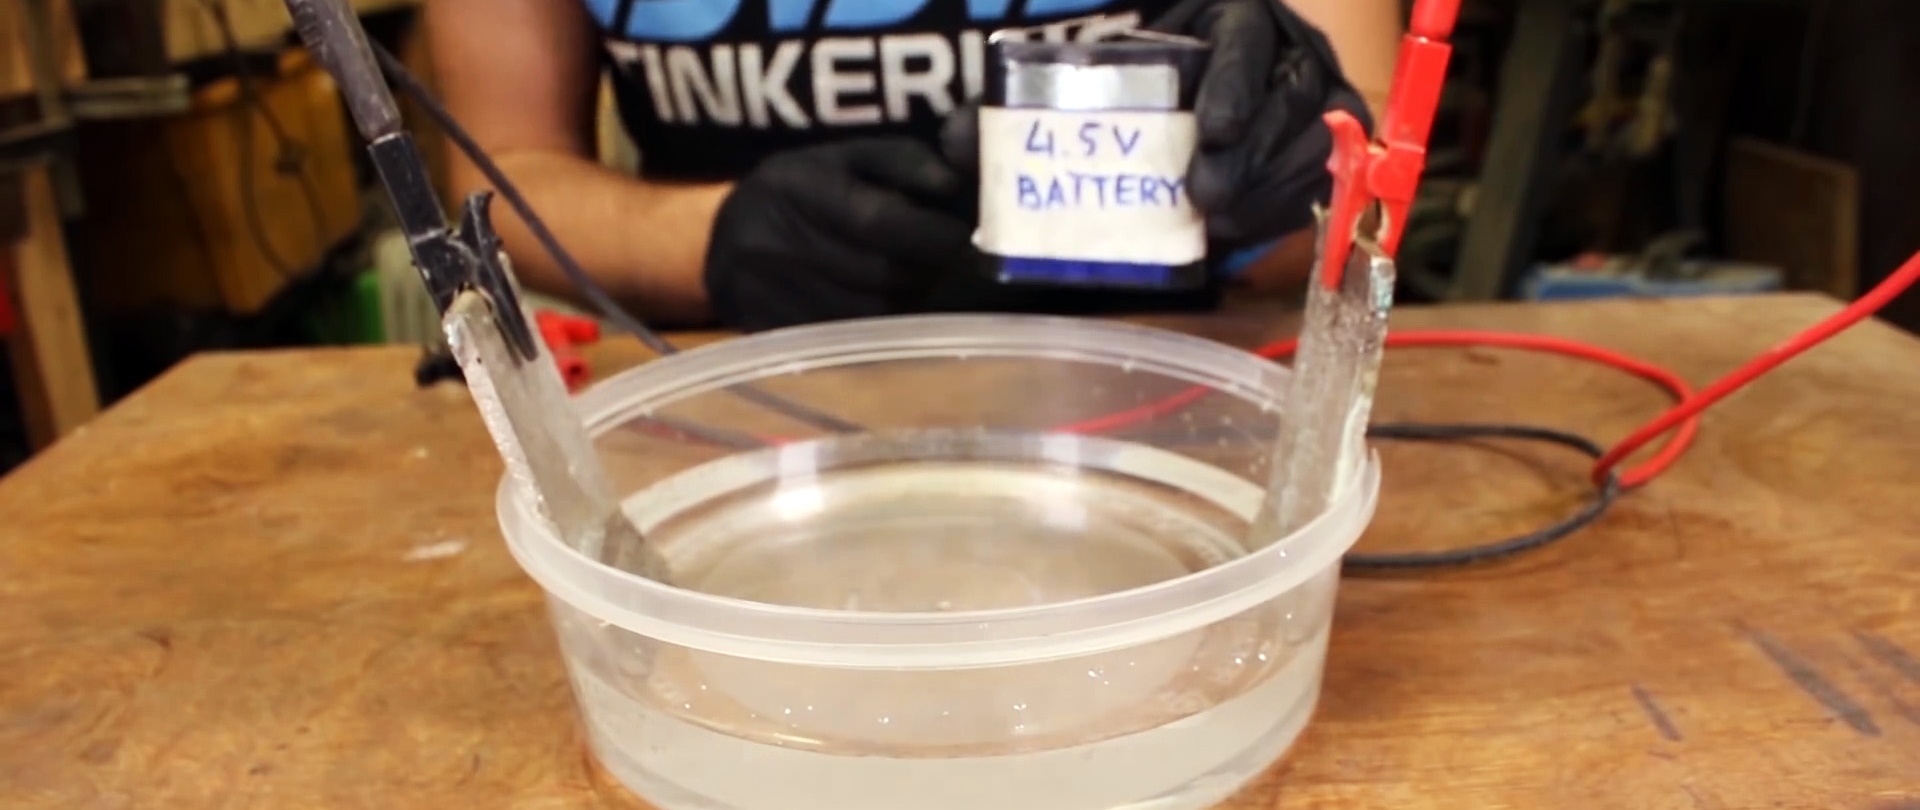
After some time, bubbles will begin to appear on the negative plate and the electrolyte will become enriched with nickel ions.
We insert and secure in the adapter the pieces of wire to which we connect the wires.
We set the voltage to 5 V on the power supply and plug it into the network. We connect the adapter to it, but we don’t see anything special.
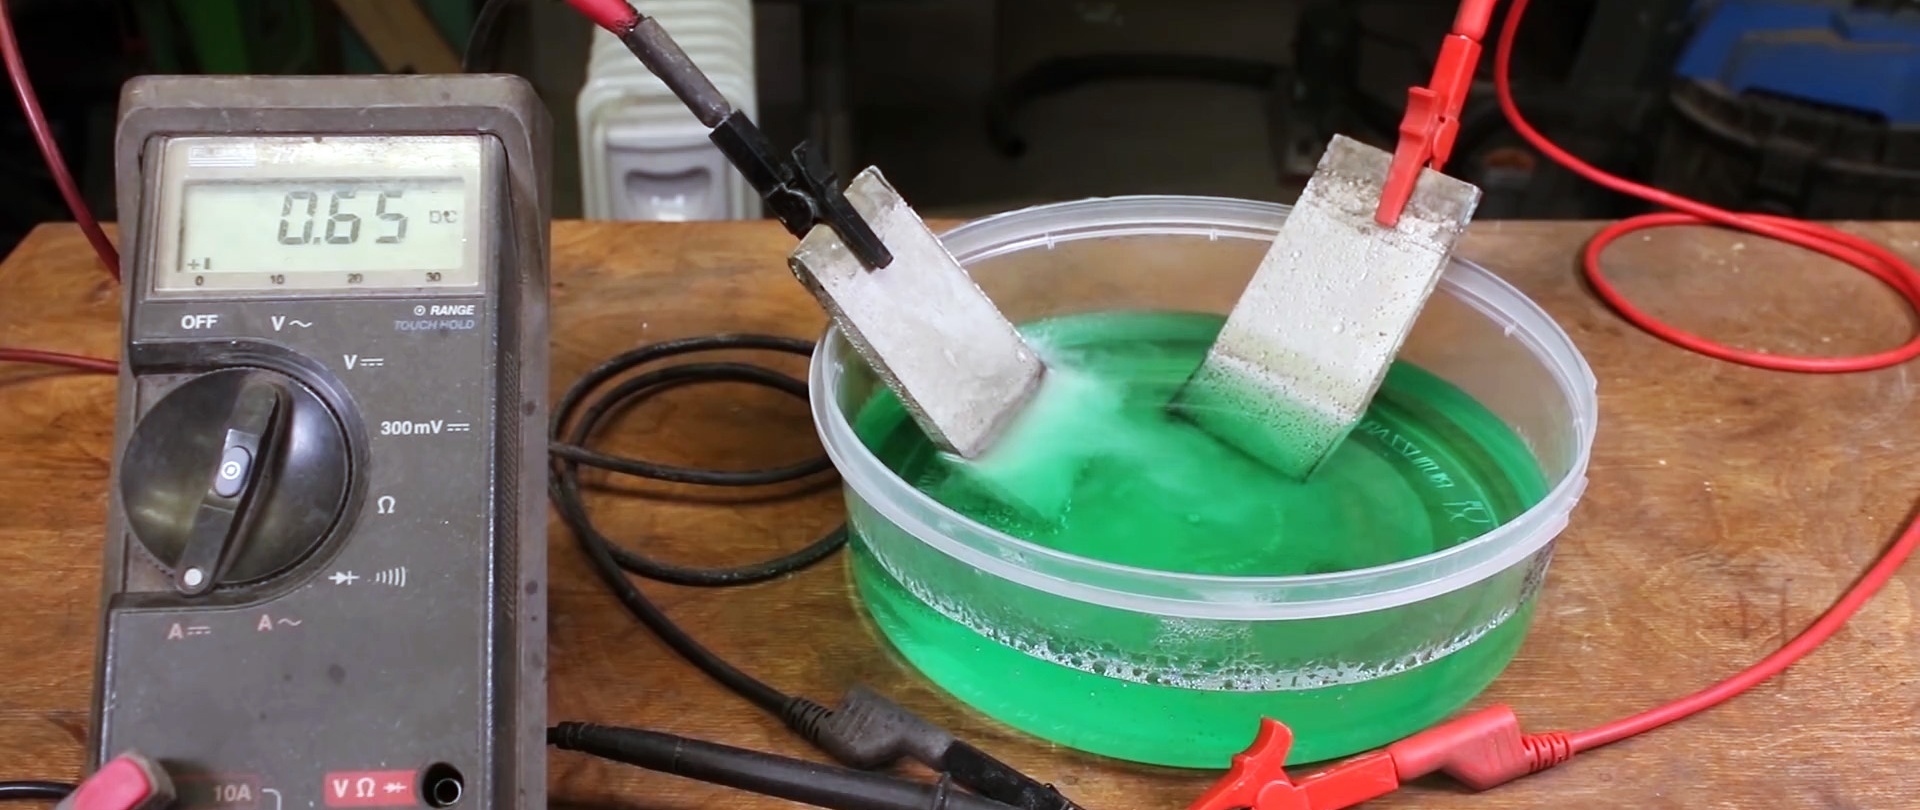
After adding salt to vinegar, its conductivity increases, and multimeter records an increase in current.

Now you can clearly see hydrogen bubbles released on the negative plate, and oxygen bubbles on the positive plate.

After two hours, the formation of nickel ions increases even more, which is confirmed by the reading multimeter.
In this case, vinegar, partially turning into gas, is released from the electrolyte, which is immediately felt by smell. Therefore, we quickly ventilate the room.
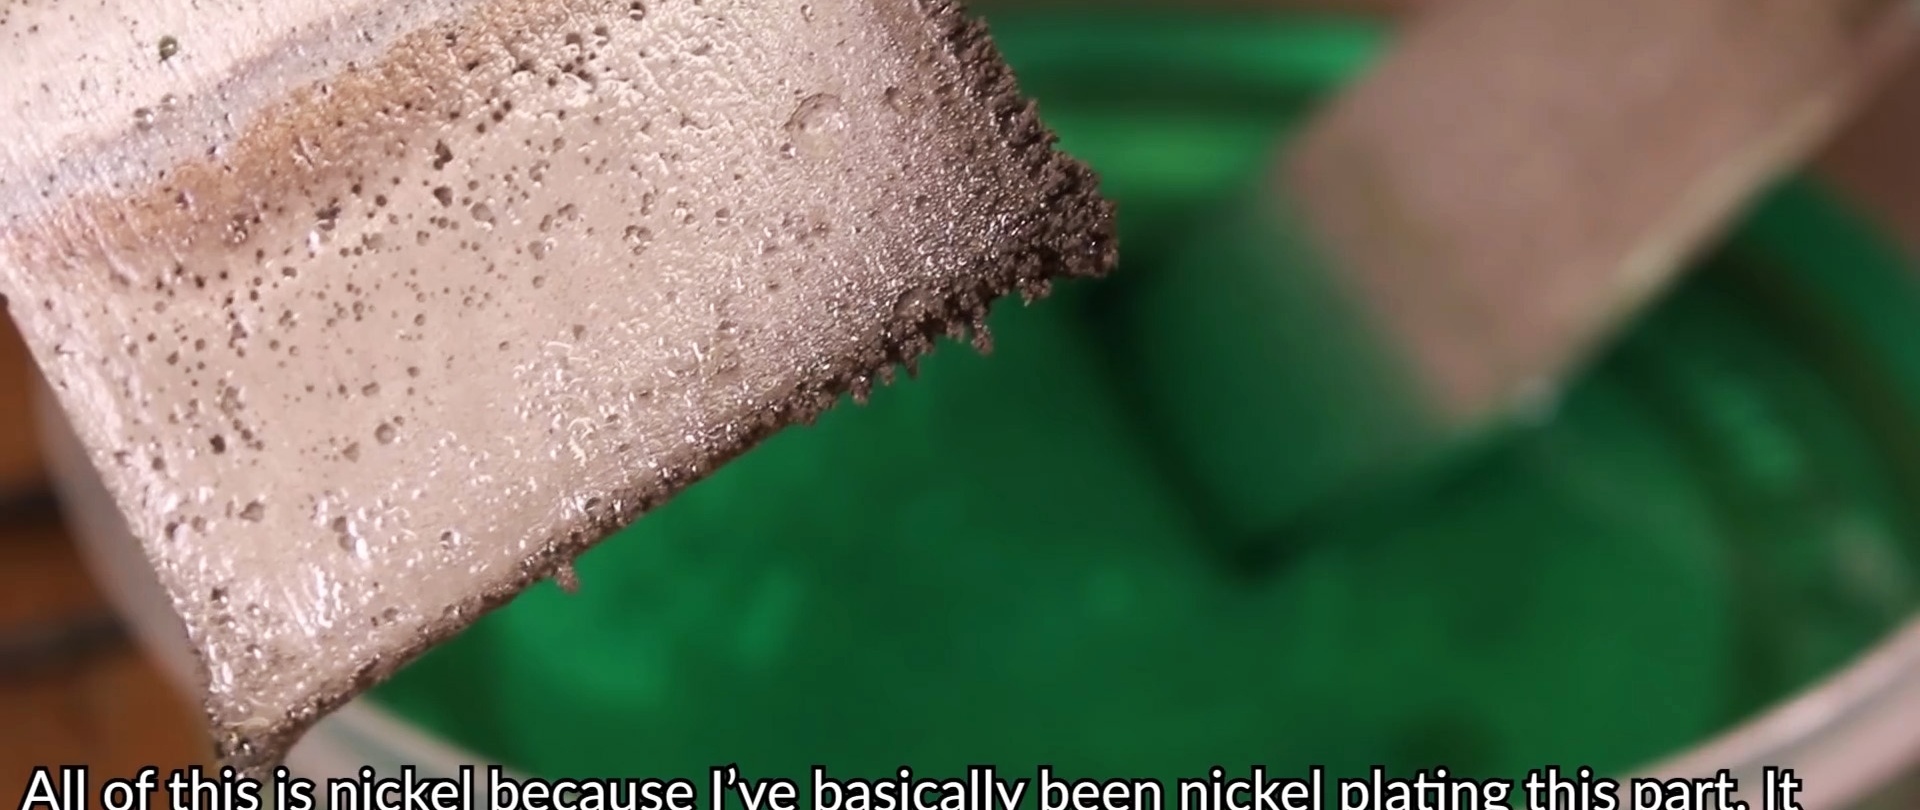
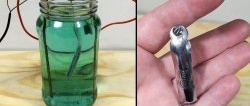
Our installation has reached operating mode, and we are replacing the negative plate with the part that we are going to nickel plating. We see that a lot of nickel has settled on the plate, probably due to the fact that the plates were too close to each other for a long time. To optimize the nickel plating process, we use a coin that is thoroughly polished and degreased with acetone. Since we replaced the negative plate with it, nickel ions “Ni2+” will be deposited on it from the electrolyte.
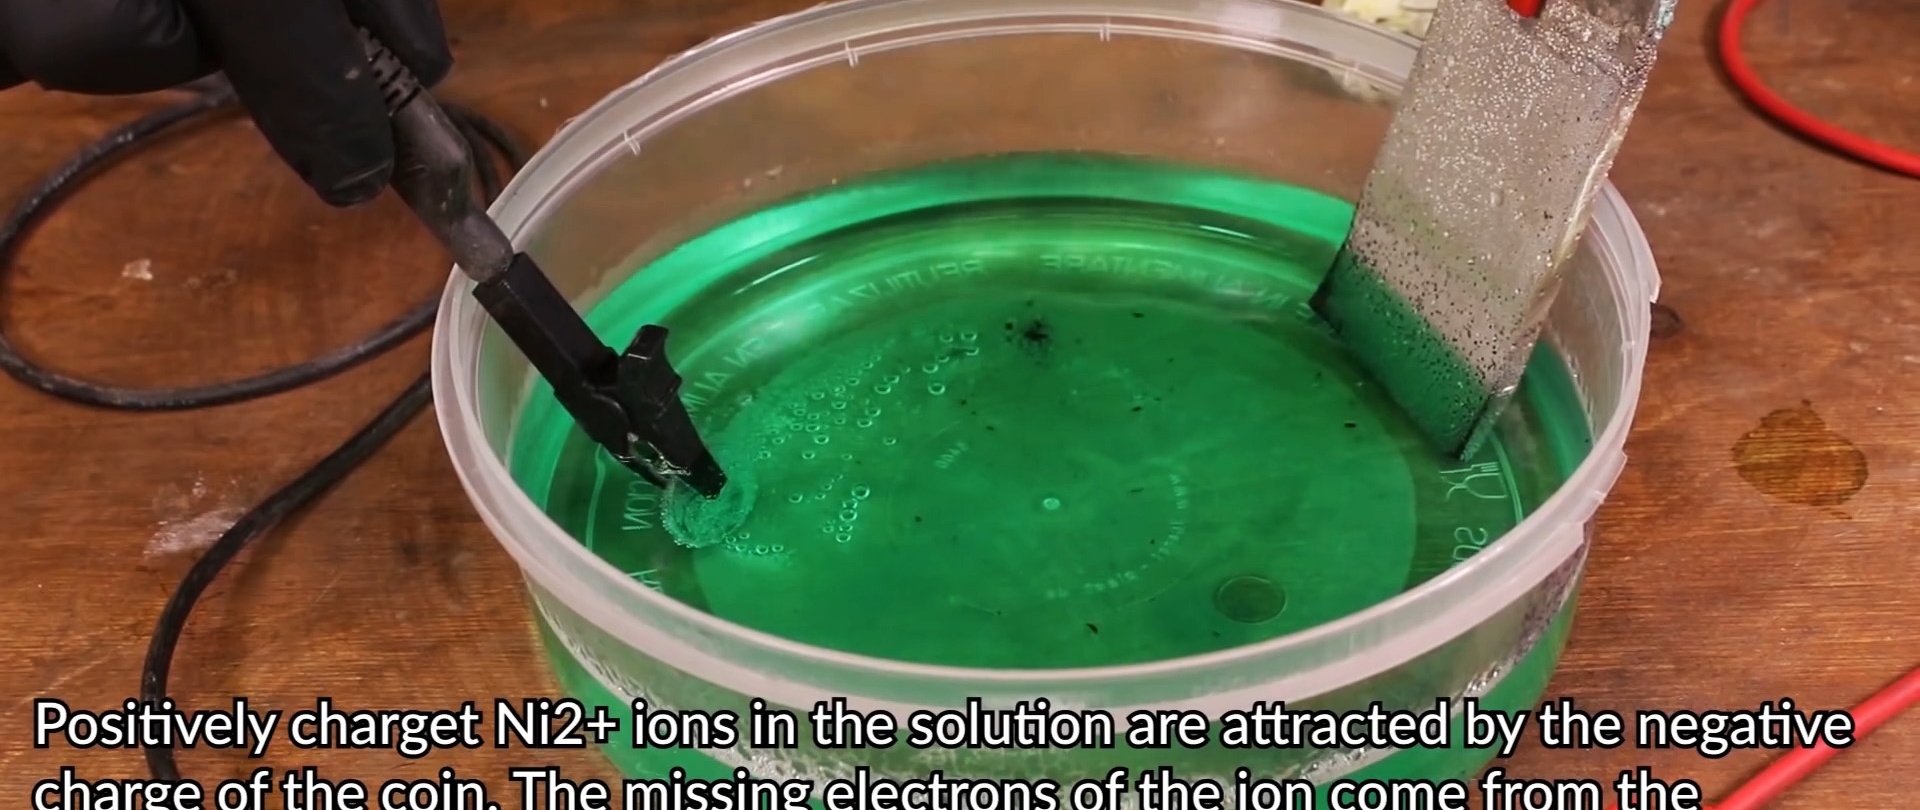
Positively charged nickel ions are converted by electricity into metallic nickel and deposited on the surface of the coin in a thin and durable layer.
After just 15 seconds, a beautiful thin coating appears on the coin. To strengthen it, we intensively move the coin through the clamp in all directions. After two minutes of galvanic nickel plating, the coin is unrecognizable.

The electrolyte heats up during nickel plating and this is recorded by the temperature meter - 29.3 degrees Celsius.At the same time, the walls are colder - 18.3 degrees Celsius, as is the container with water - 18.1 degrees Celsius. The temperature of the electrolyte clearly affects the nickel plating process. So, if it is equal to 19.2 degrees Celsius, then nothing happens to the coin in 10 or even 30 seconds. But when the electrolyte temperature increases to 40 degrees Celsius, due to the additional connection of a 4.5 V battery, the quality of nickel plating increases noticeably.
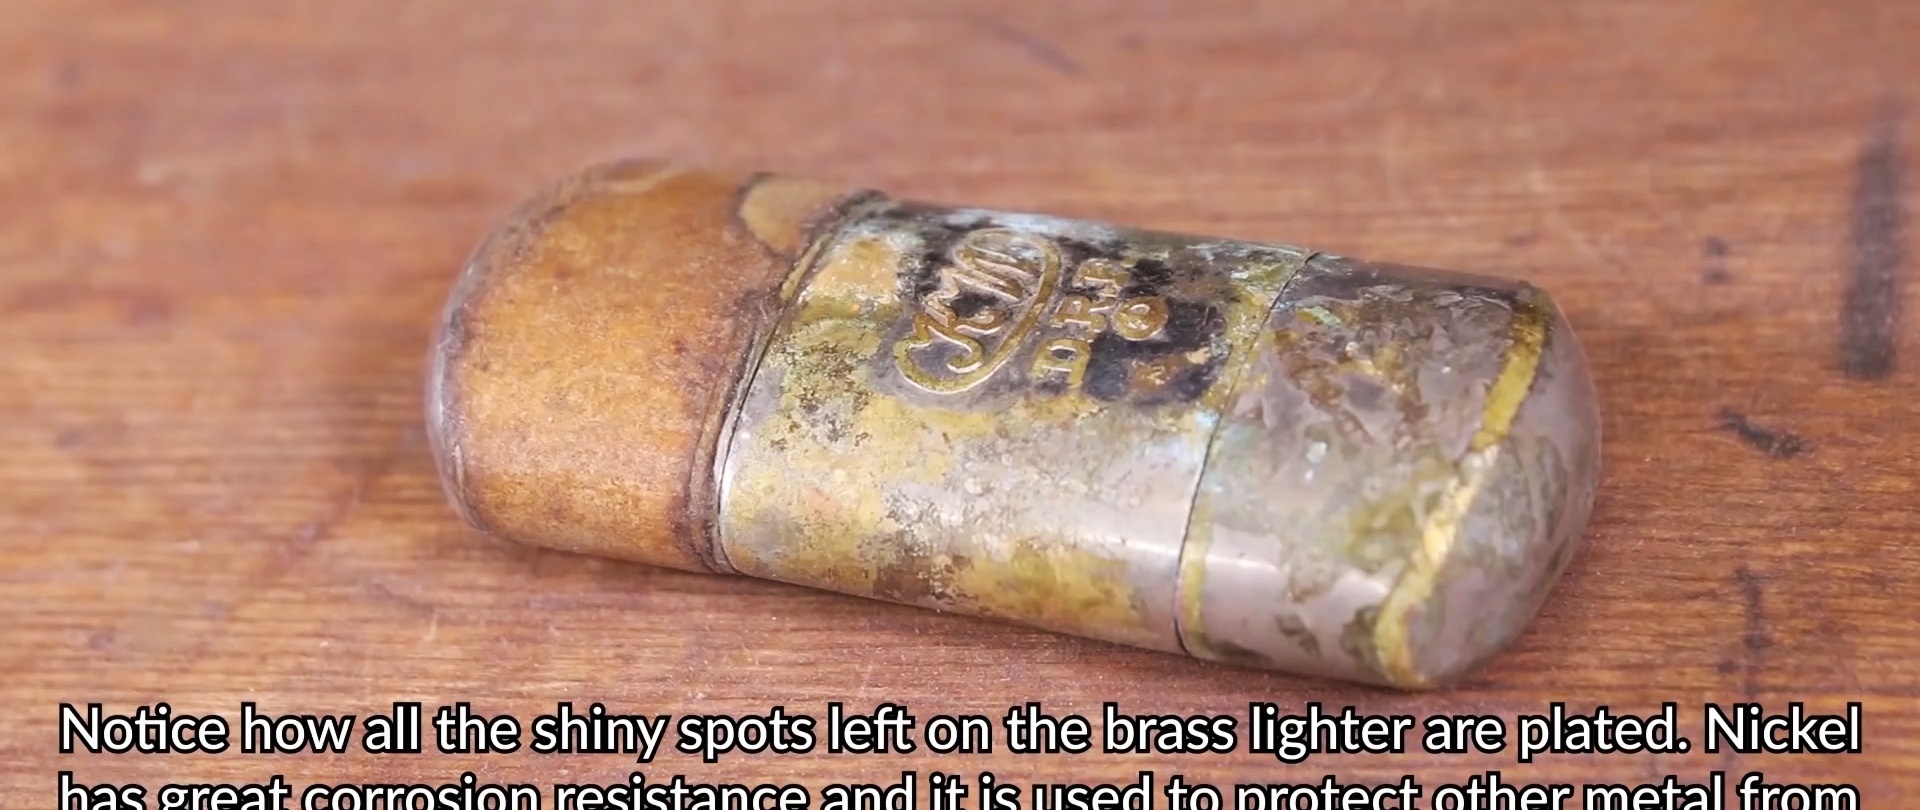
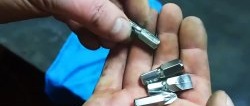
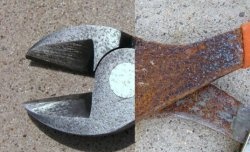
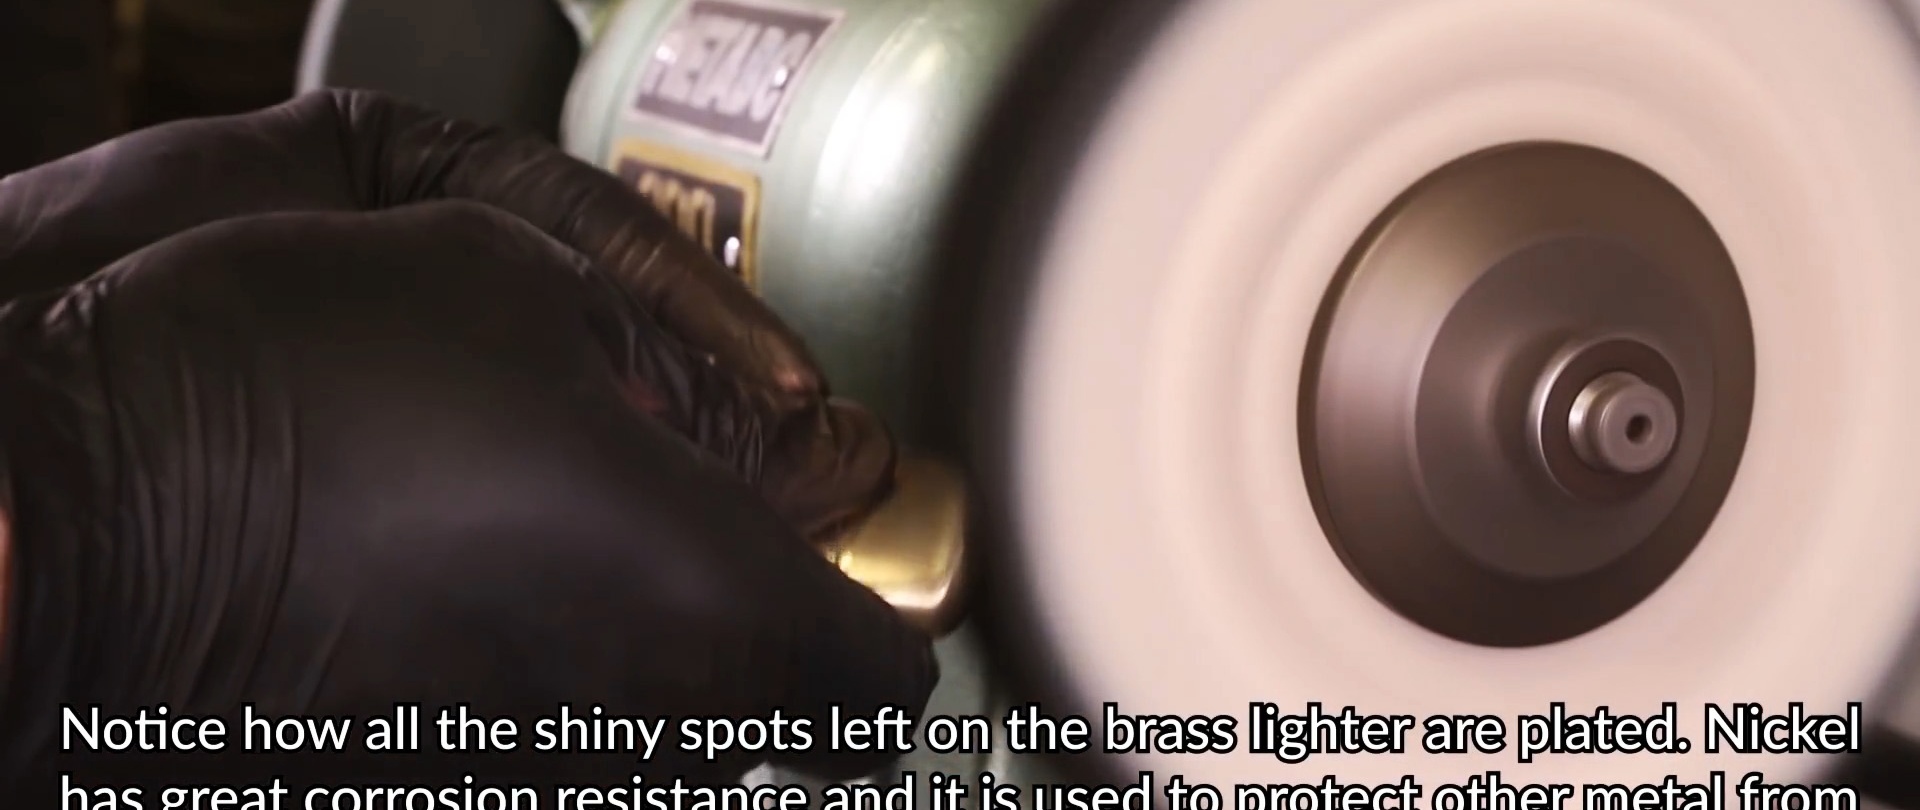
Before nickel-plating, remove oxidized areas from the body of an old lighter using an emery wheel, since they do not conduct current and therefore are not nickel-plated. Also, the coating will not be smooth and shiny.
Next, use acetone to remove grease and grease from the parts. They also do not conduct current and therefore the quality of nickel plating will be poor.

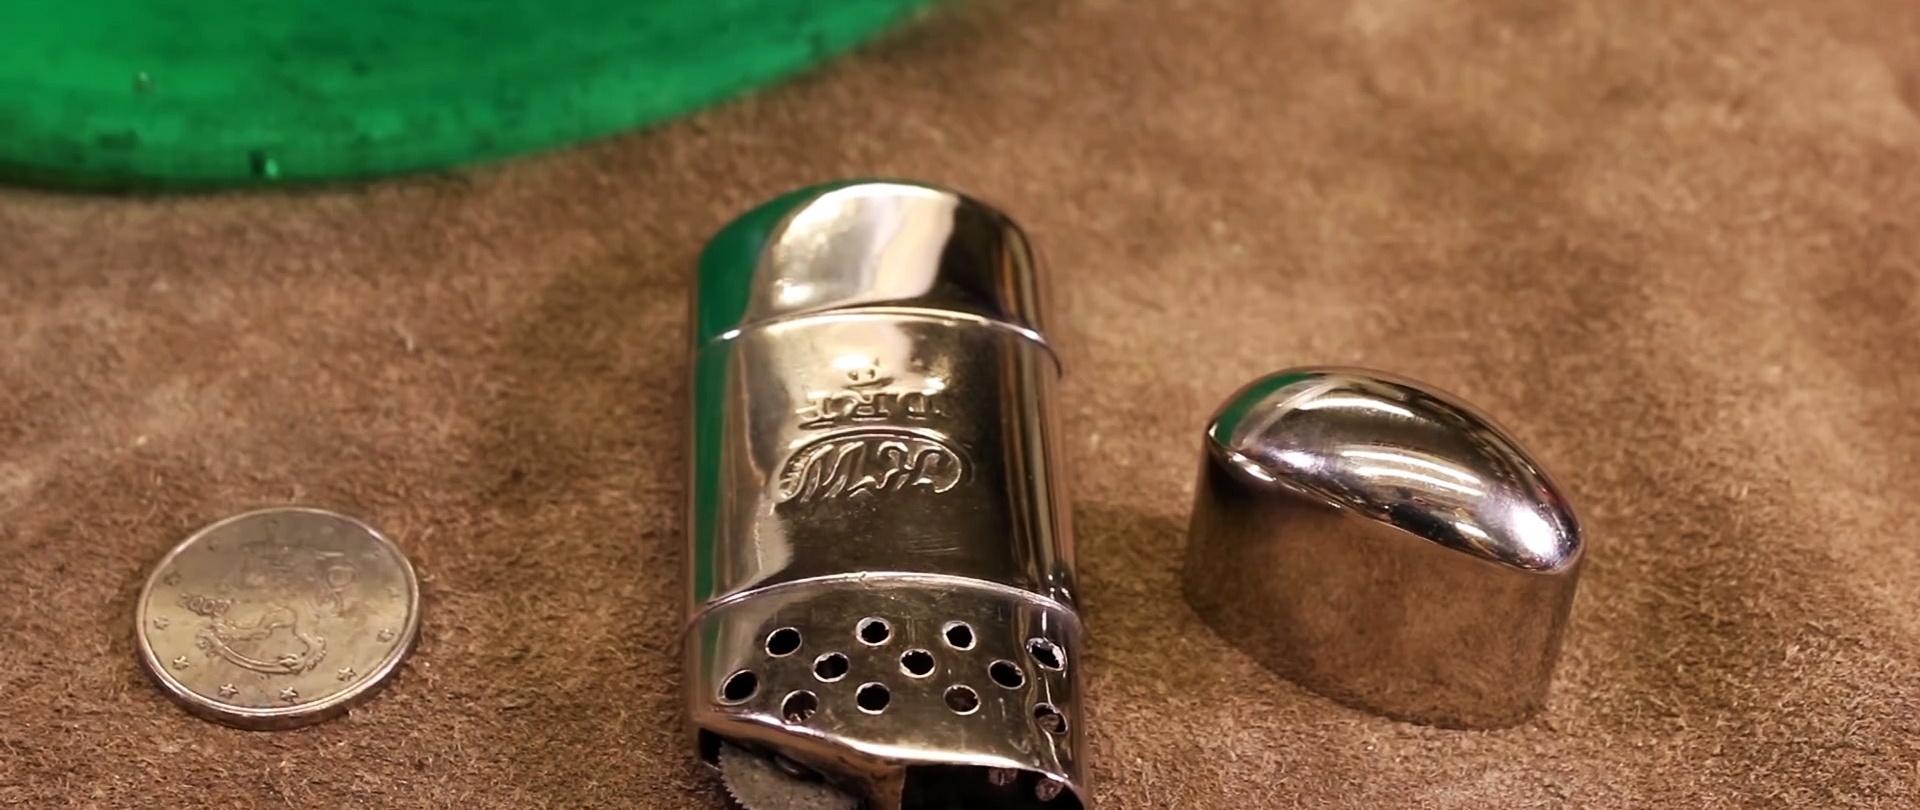
The lighter parts are larger than coins, so we keep them in the electrolyte longer.

The quality of nickel plating will be higher if the parts are constantly moved in the electrolyte and turned over. The nickel-plated lighter body is superior to an unplated lighter.
Watch the video
Simple nickel plating of parts at home with your own hands - https://enn.washerhouse.com/8156-prostoe-nikelirovanie-detalej-v-domashnih-uslovijah-svoimi-rukami.html