Traditionally, a steel hammer head is secured to a wooden handle with wooden or metal wedges. In this case, there is a danger of the handle splitting and the fastening becoming loose over time, as the wood dries out over the years. Let us attach the hammer in a way that completely eliminates the above-mentioned disadvantages. Moreover, any adult can cope with this work.

Will need
- a hammer with a dry handle;
- furniture screw tie;
- steel washer;
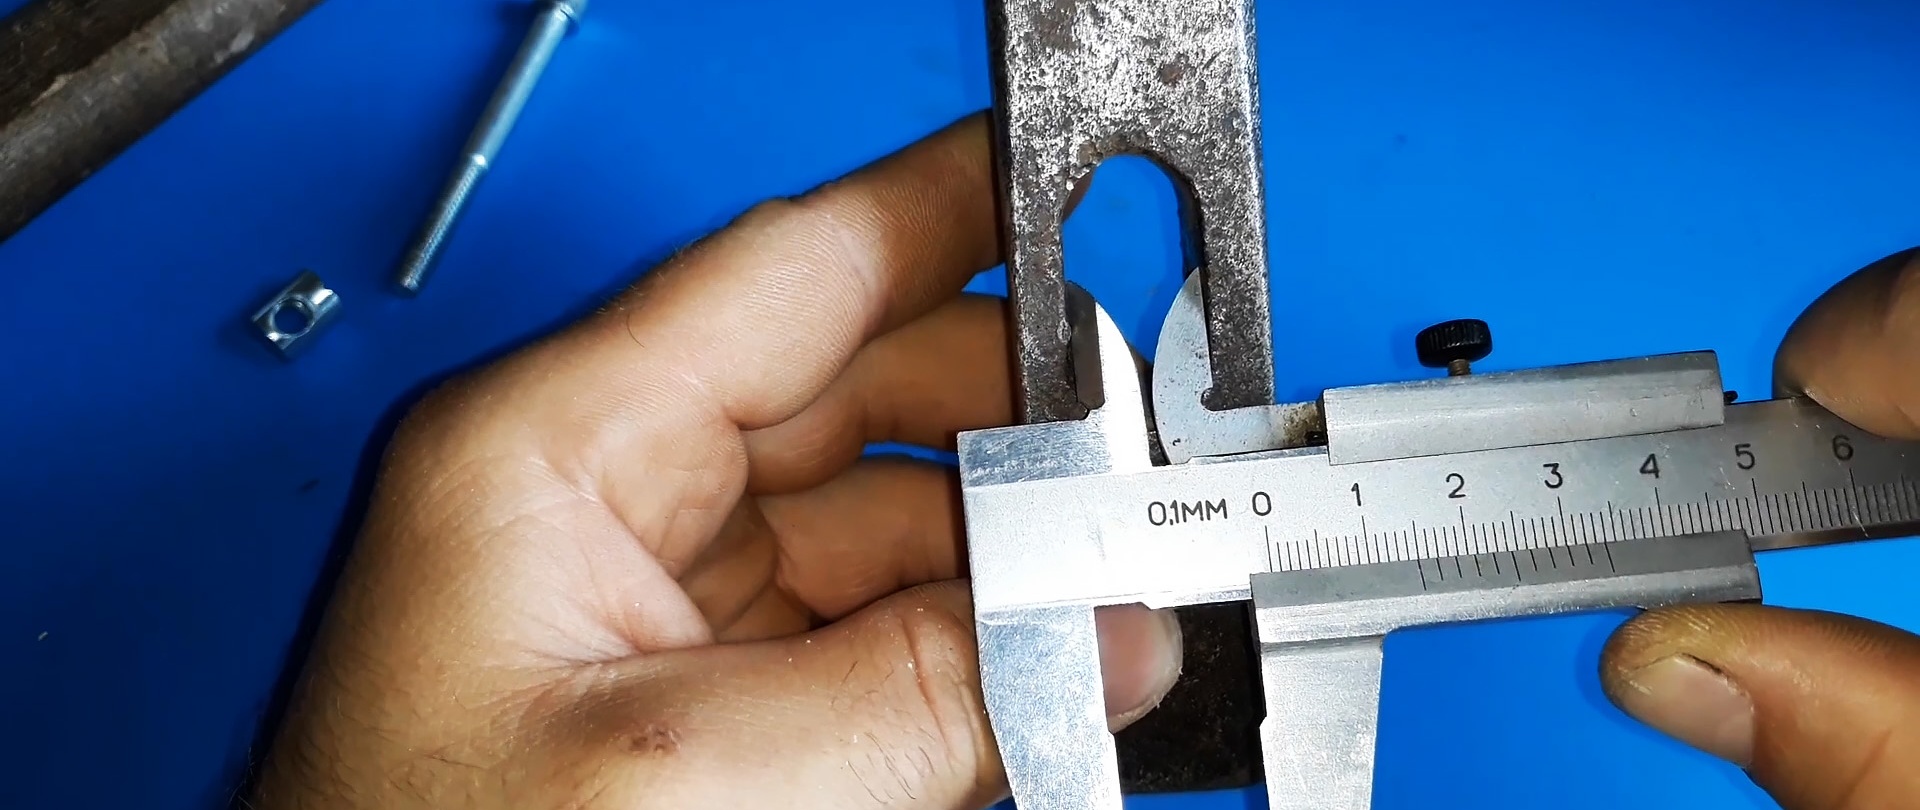
- caliper and pencil;
- Bulgarian;
- electric drill;
- hexagonal L-shaped key.

The process of wedging a hammer with a wooden handle using a screw furniture wedge
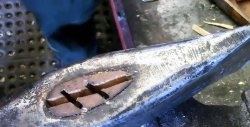
Let us take into account that the width of the hole (bore) in the hammer head on the outside is greater than on the inside. This is done so that when the handle wedges in the seat, the expanded part does not allow the head to fly off the handle.
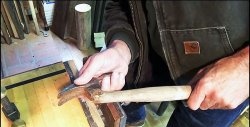
We remove the hammer head from the handle, saw off the damaged part and mark the depth to which the hammer head can go onto the handle.We trim the marked part of the handle to a size at which it will fit tightly into the hole. We chamfer the end of the handle around the perimeter for better fit into the hole of the hammer head.
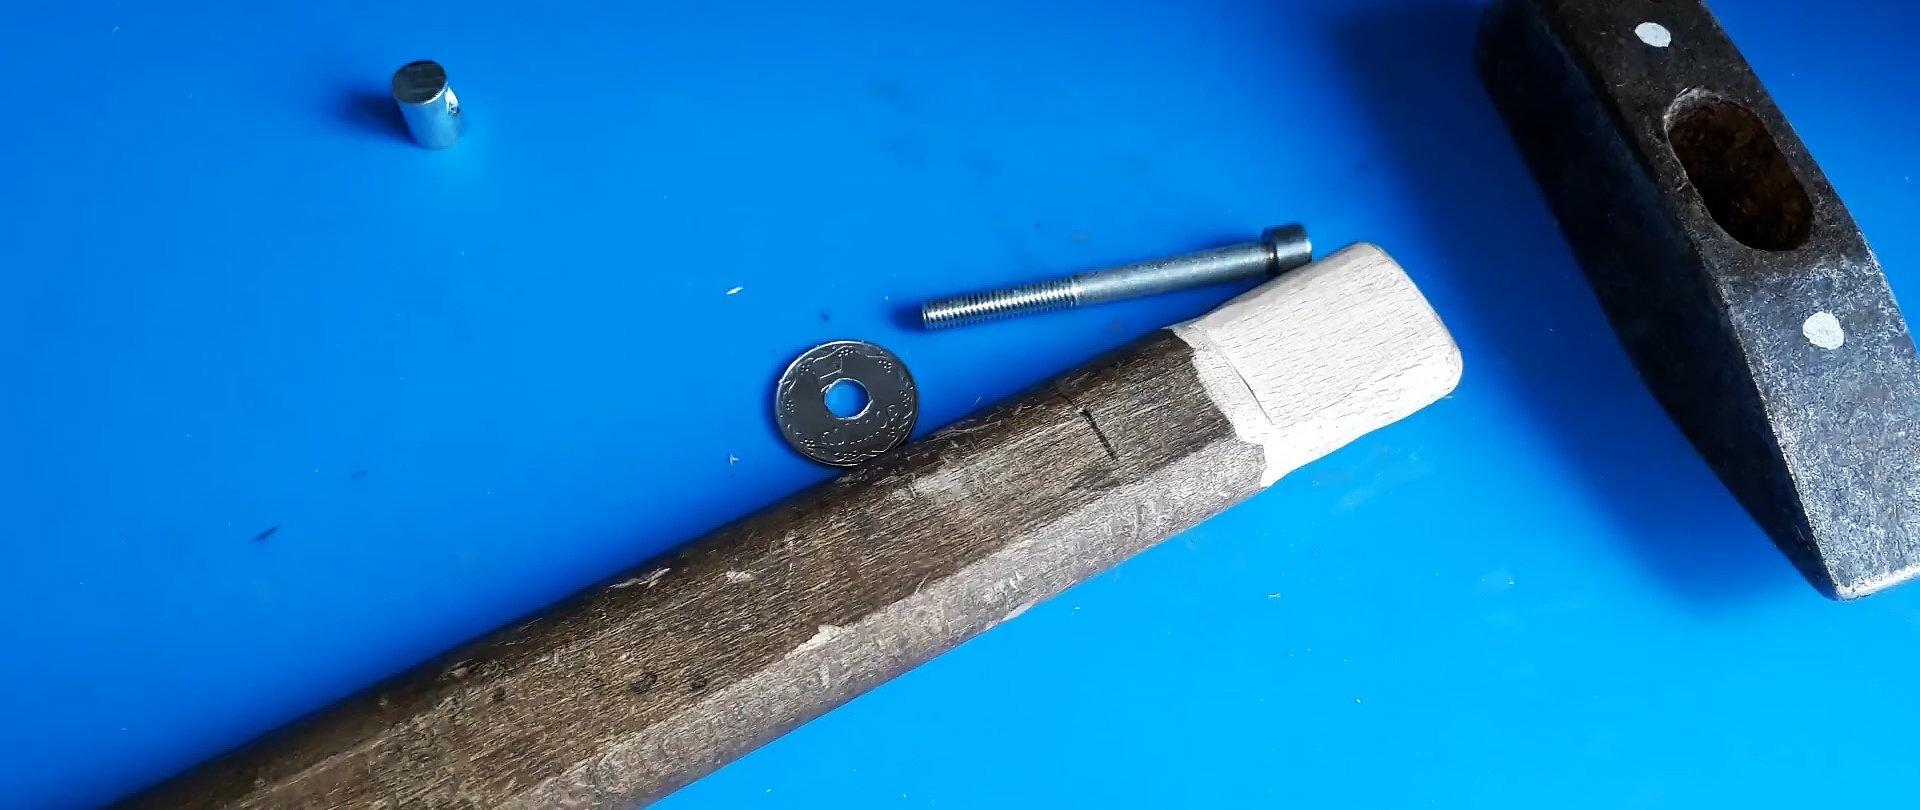
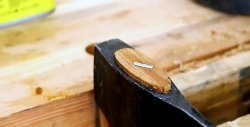
We apply the furniture tie bolt longitudinally to the end of the handle with the lower part of the head and mark its end on the handle. In this place we will install the counter part of the furniture tie, which is a cylinder with a transverse threaded hole in the center.

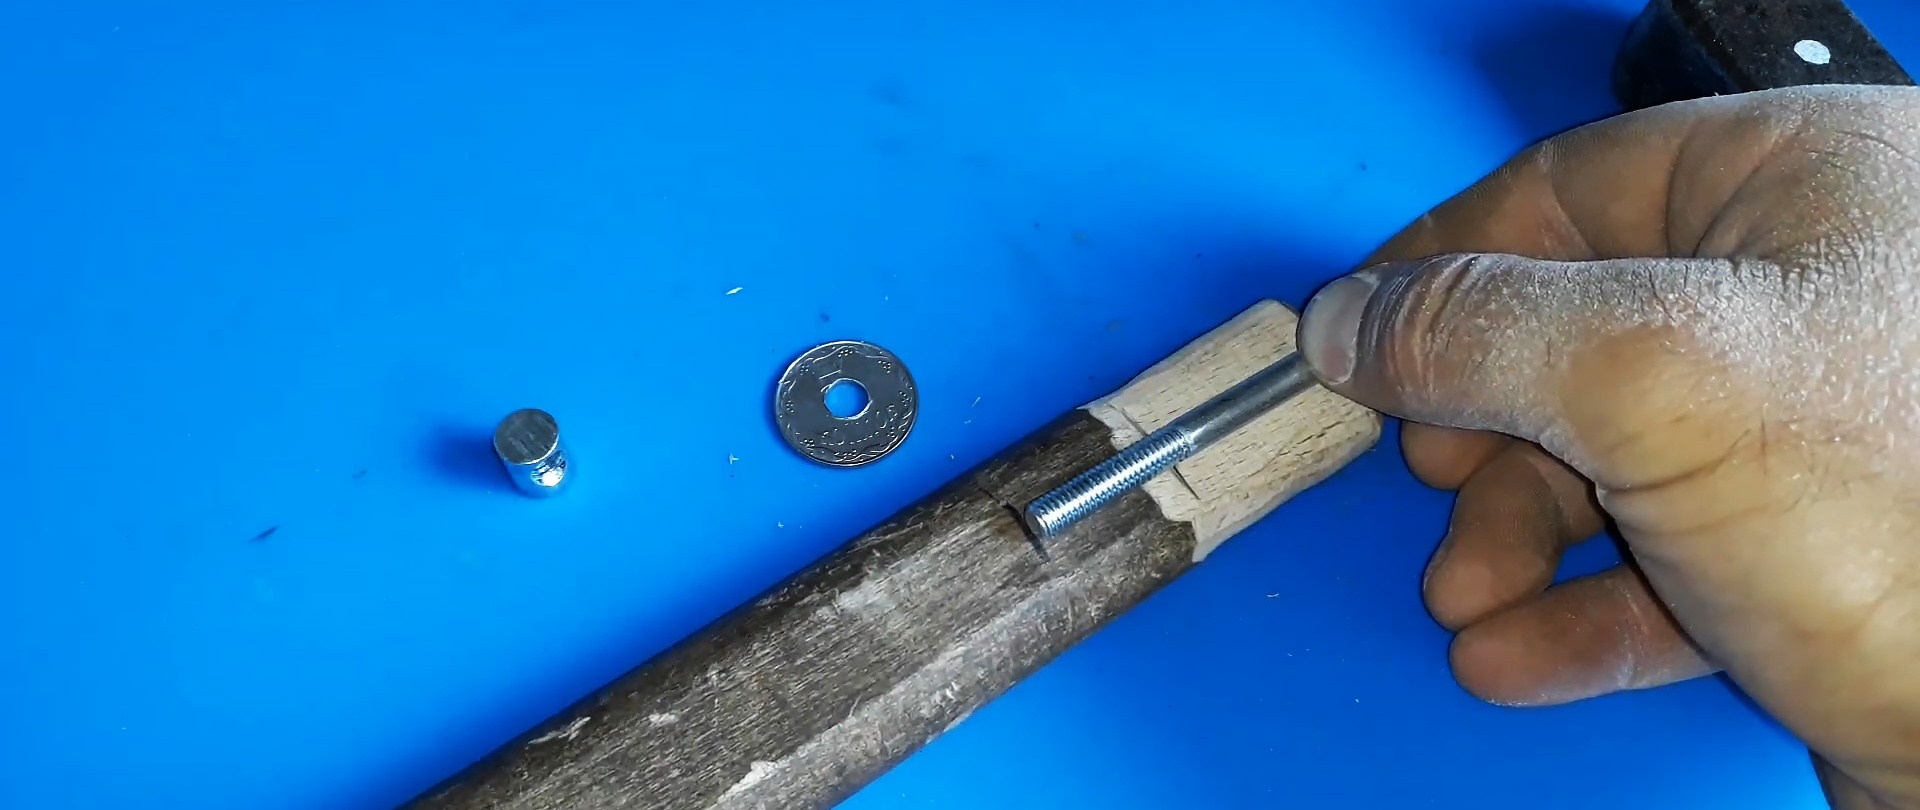
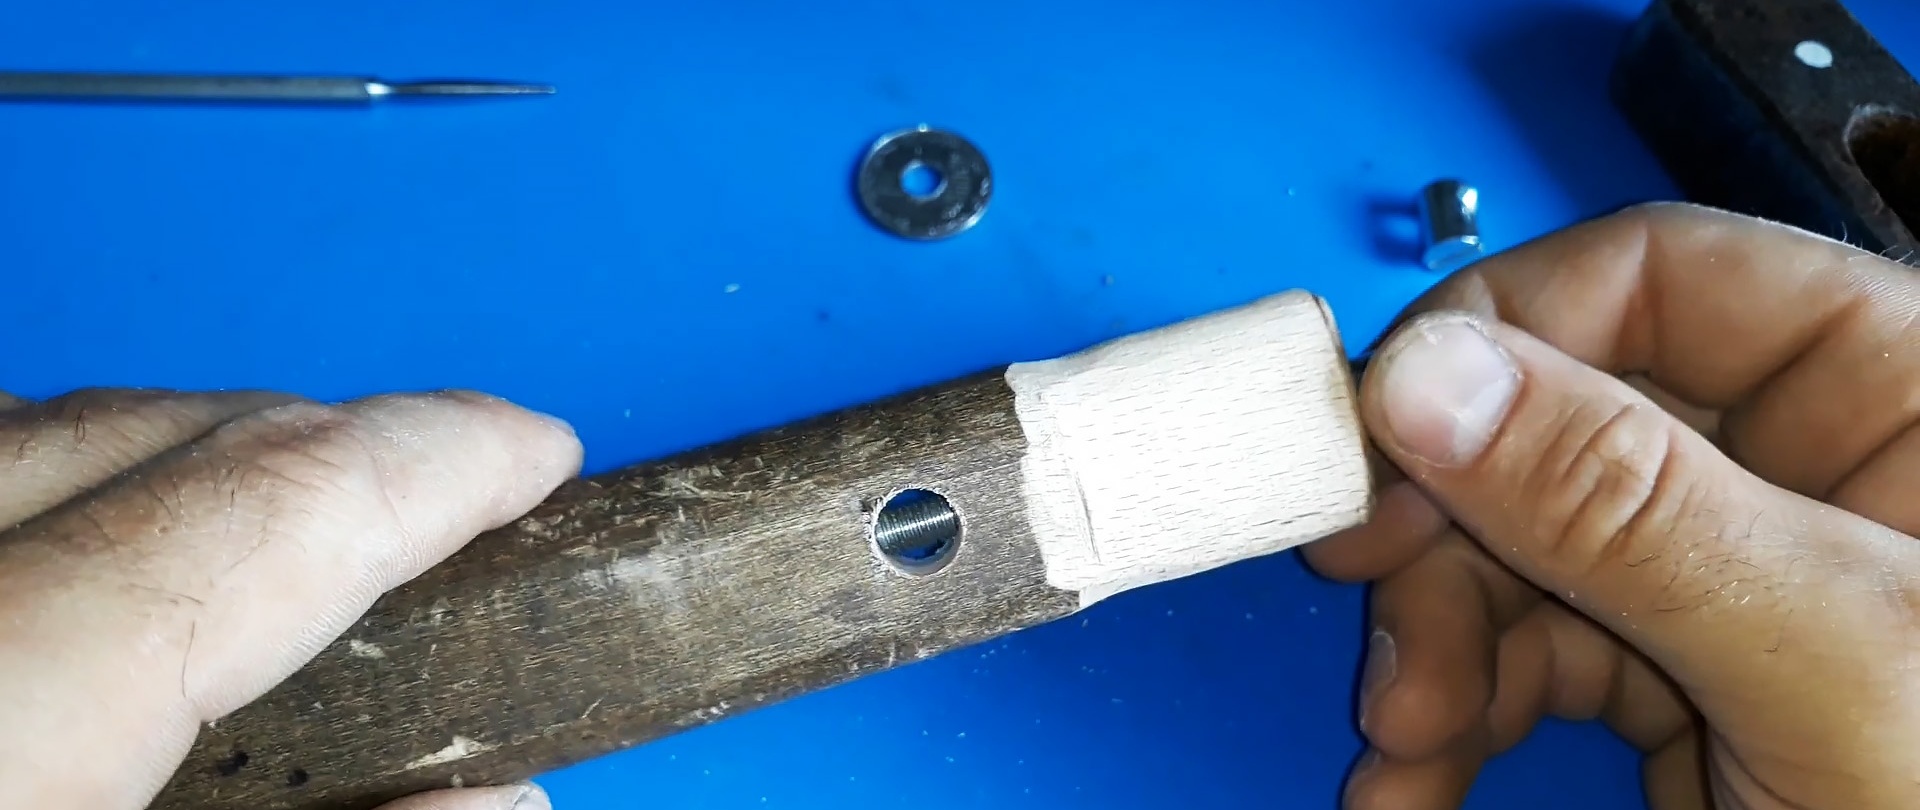
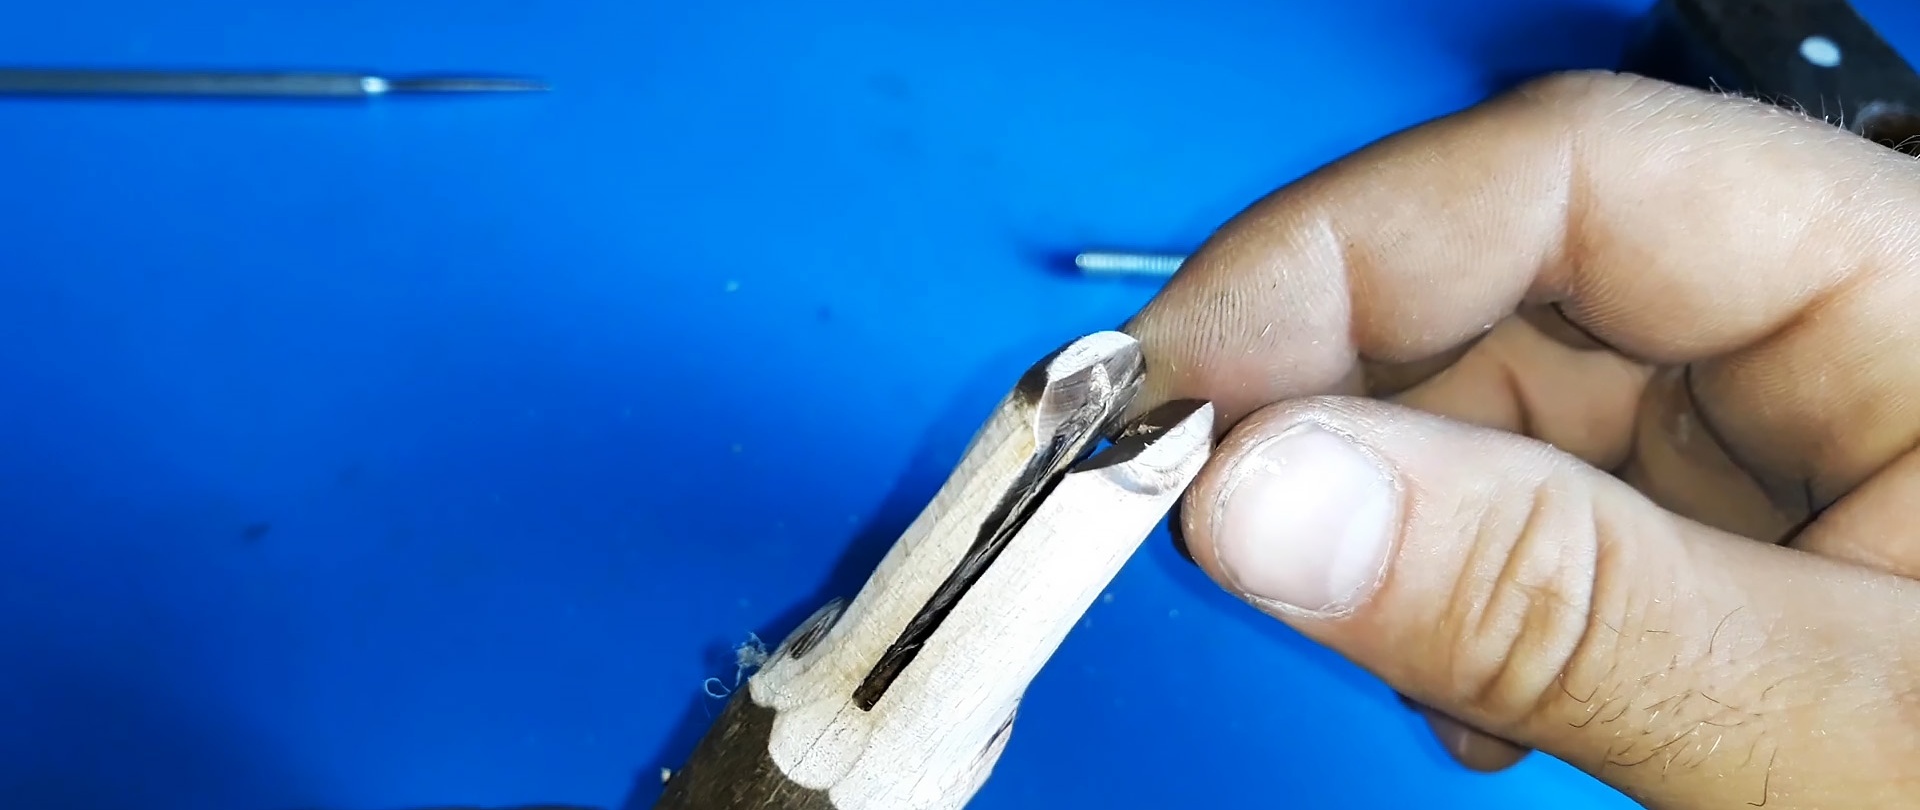
To do this, we drill a transverse hole in the handle according to the markings according to the diameter of the cylinder of the furniture tie. At the end of the handle we also make a longitudinal hole for the diameter of the tie bolt, approximately one to one and a half centimeters below the transverse hole.
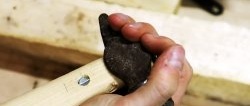
Along the entire sample of the handle, we make a longitudinal cut with a grinder and remove chamfers from the inner sides of the cut. We bend the washer along the diameter at an angle corresponding to the angles of the chamfers at the end of the handle.

We place the hammer head on the handle, install the tie cylinder in the transverse hole intended for it, and through the longitudinal blind hole in the end of the handle, screw the bolt into the mating part of the furniture tie using a hex L-shaped key.

The connection turned out to be strong and durable, since the washer, bent along the diameter, fits into the chamfer of the cut on the handle and wedges its end, preventing the hammer head from flying off the handle.