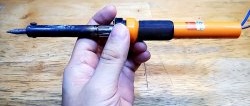
What you will need:
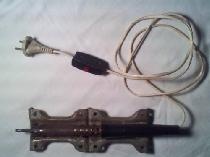
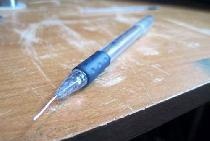
- soldering iron with replaceable tips of different sizes;
- flux-containing lead solder;
- regular solder;
- flux gel RMA 223 or NC-559;
- copper braid for desoldering;
- degreaser.
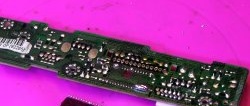
Micro USB replacement process
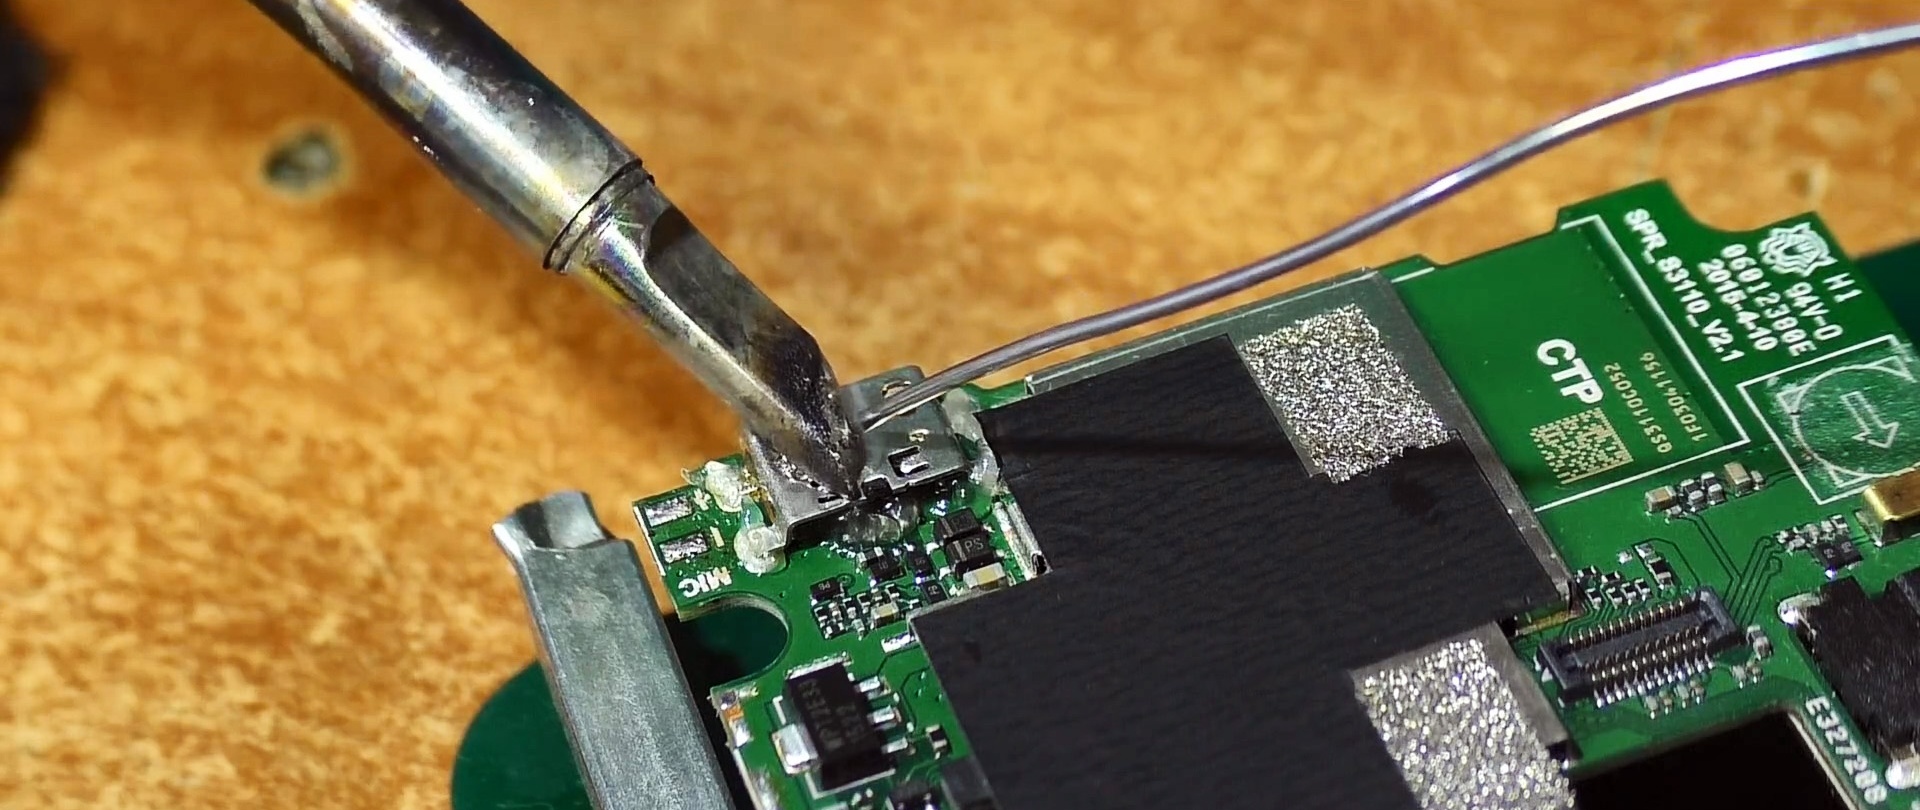
Flux is applied to the connector contacts.

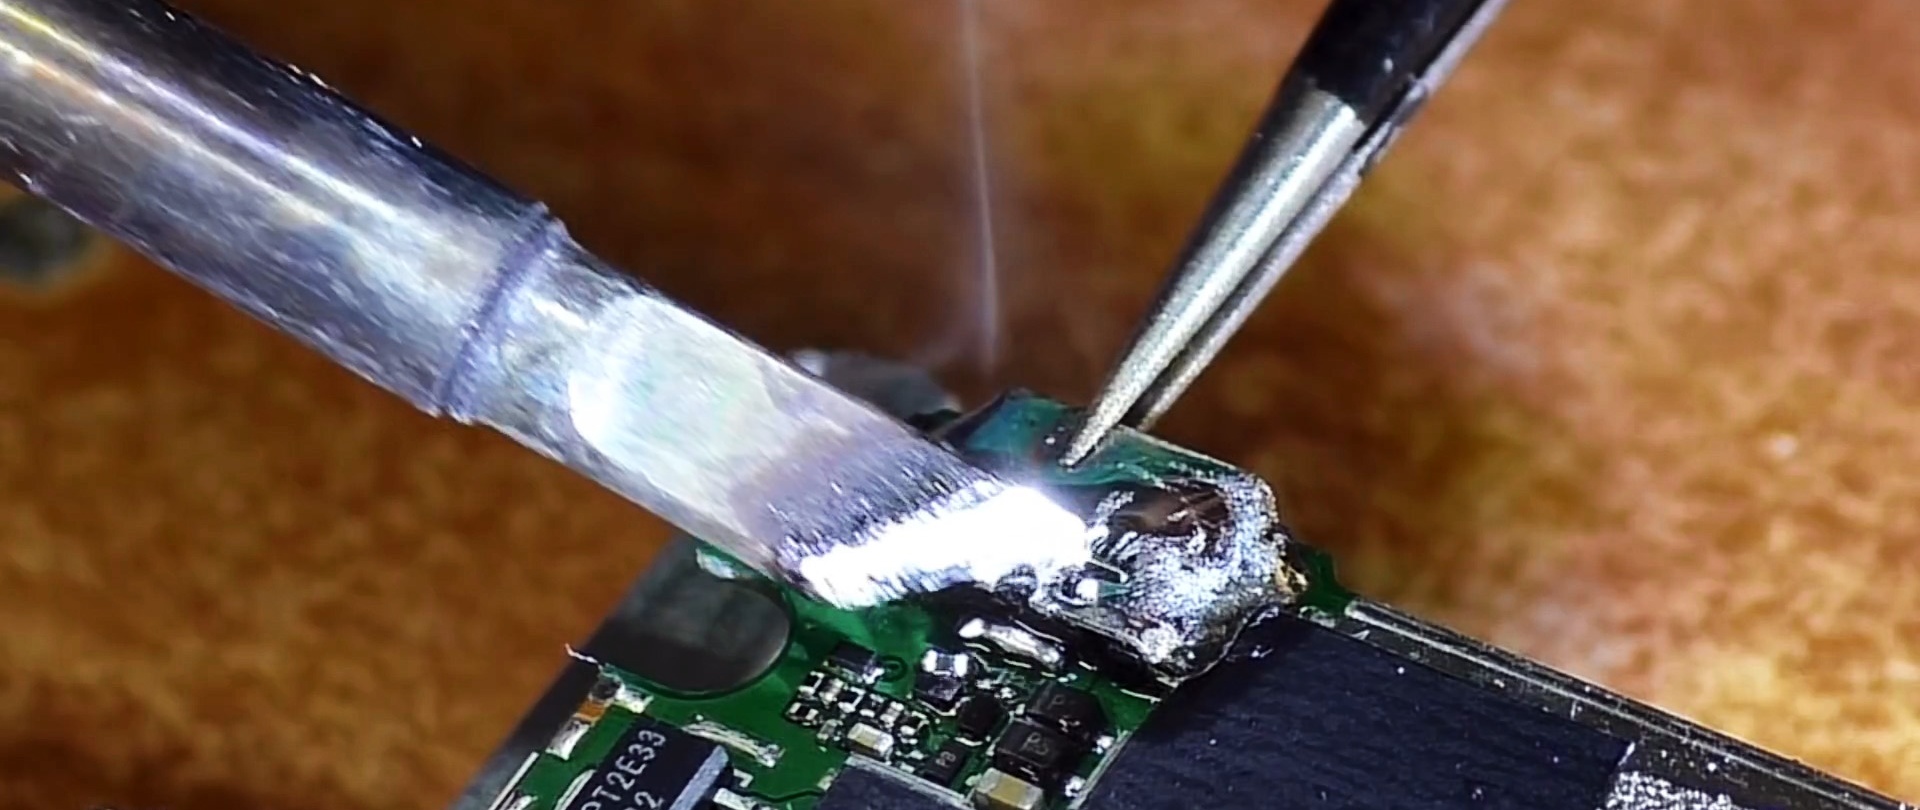
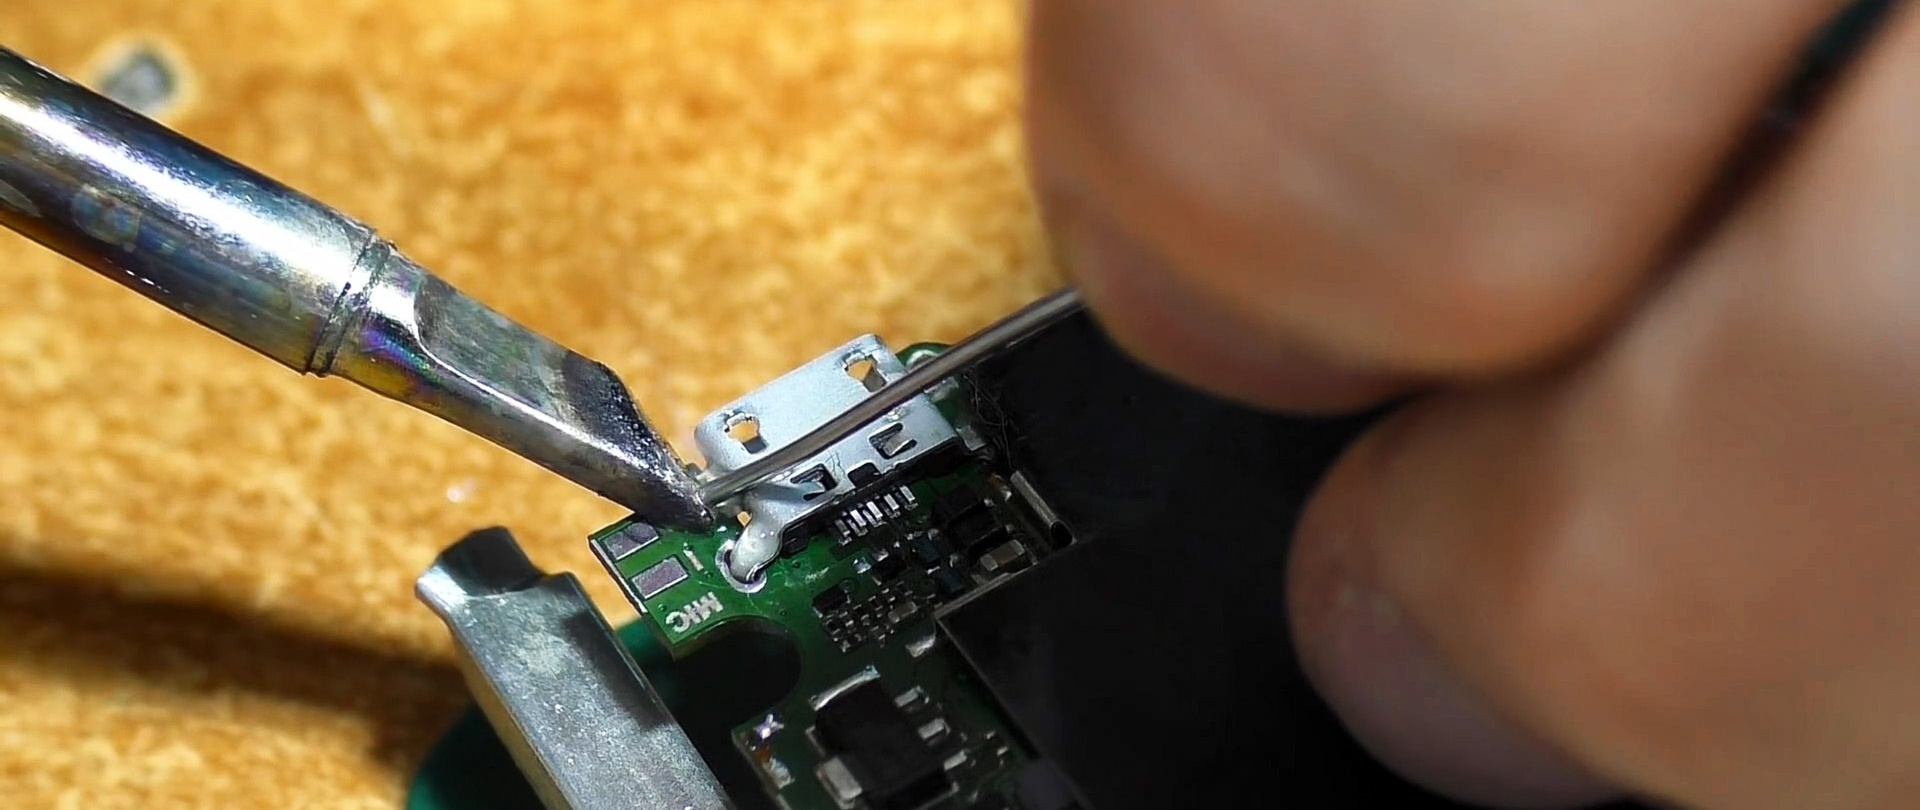
Next you need to melt the solder at all points at the same time. To do this with a soldering iron, you need to heat the connector in the center with a large tip. Then flux-containing lead solder is applied to all contacts. It will mix with what is already there, causing the melting point of the tin on the board to decrease.
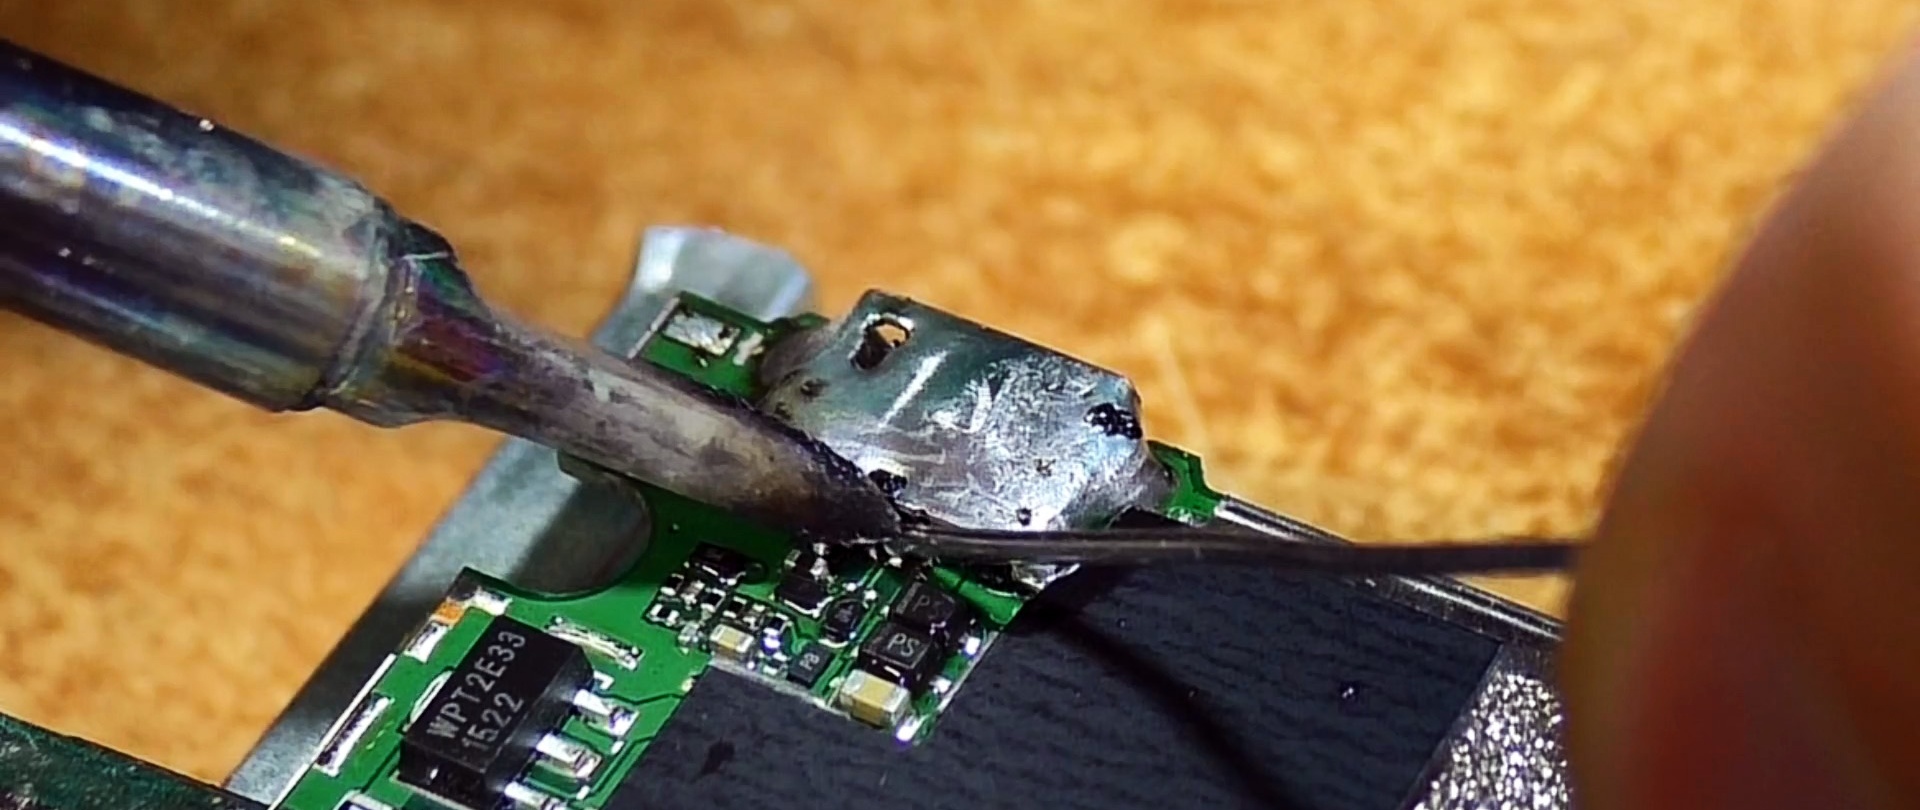
For better heating, it is better to apply lead solder to the center of the connector, then everything will melt evenly, and the part can be removed with tweezers.
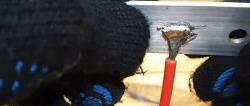
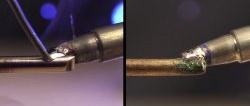
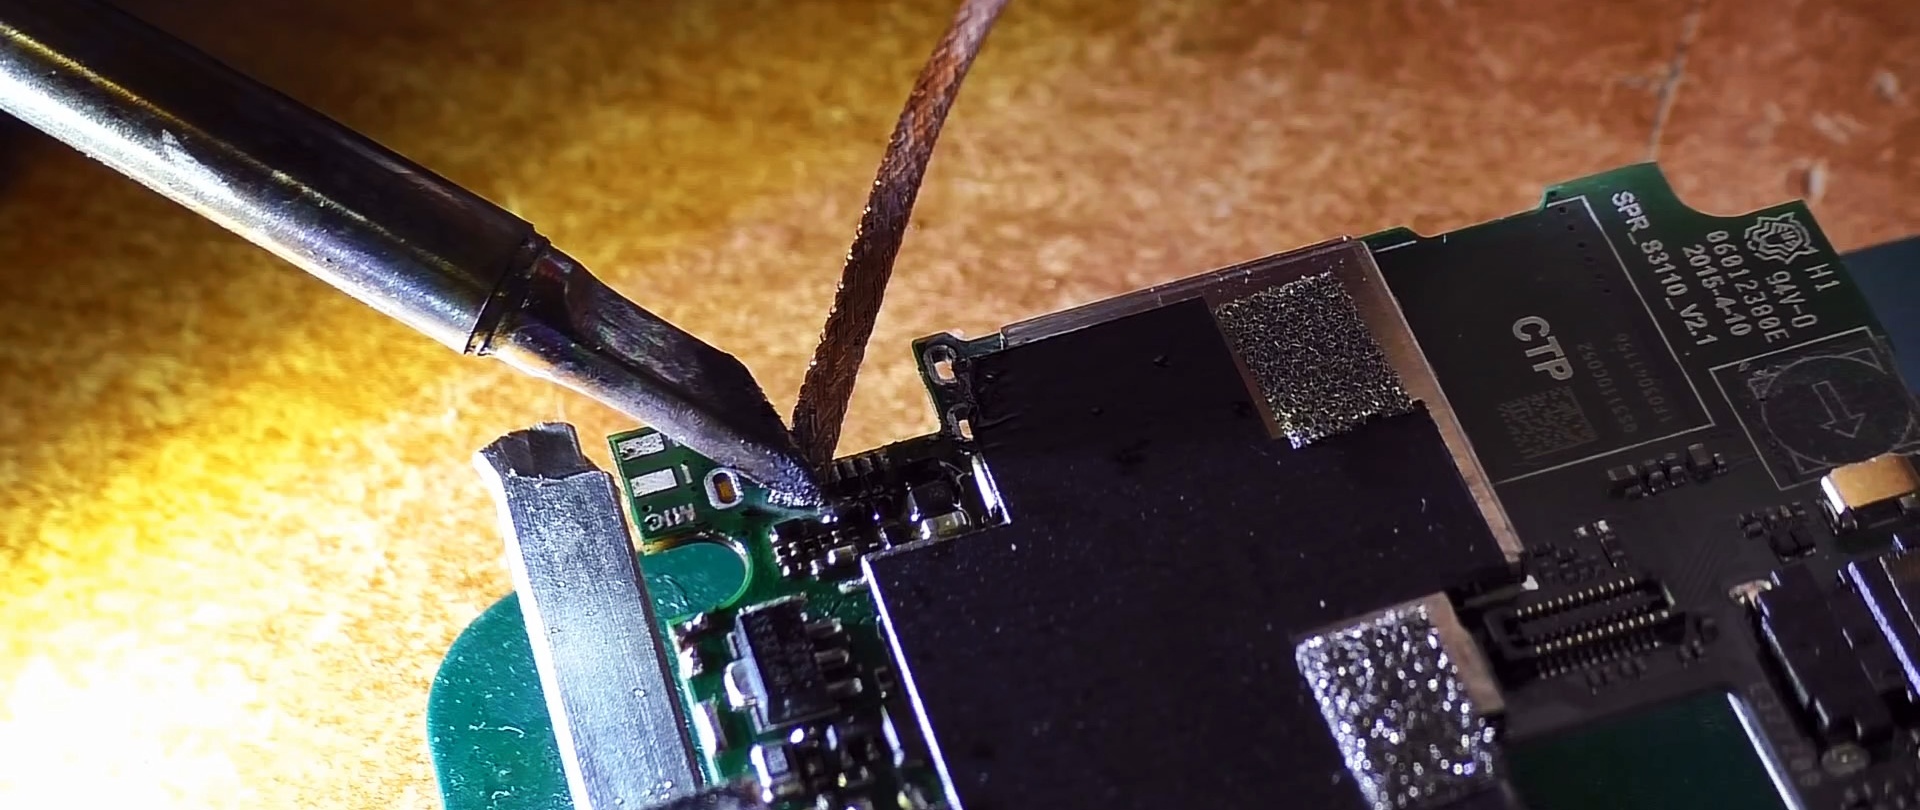
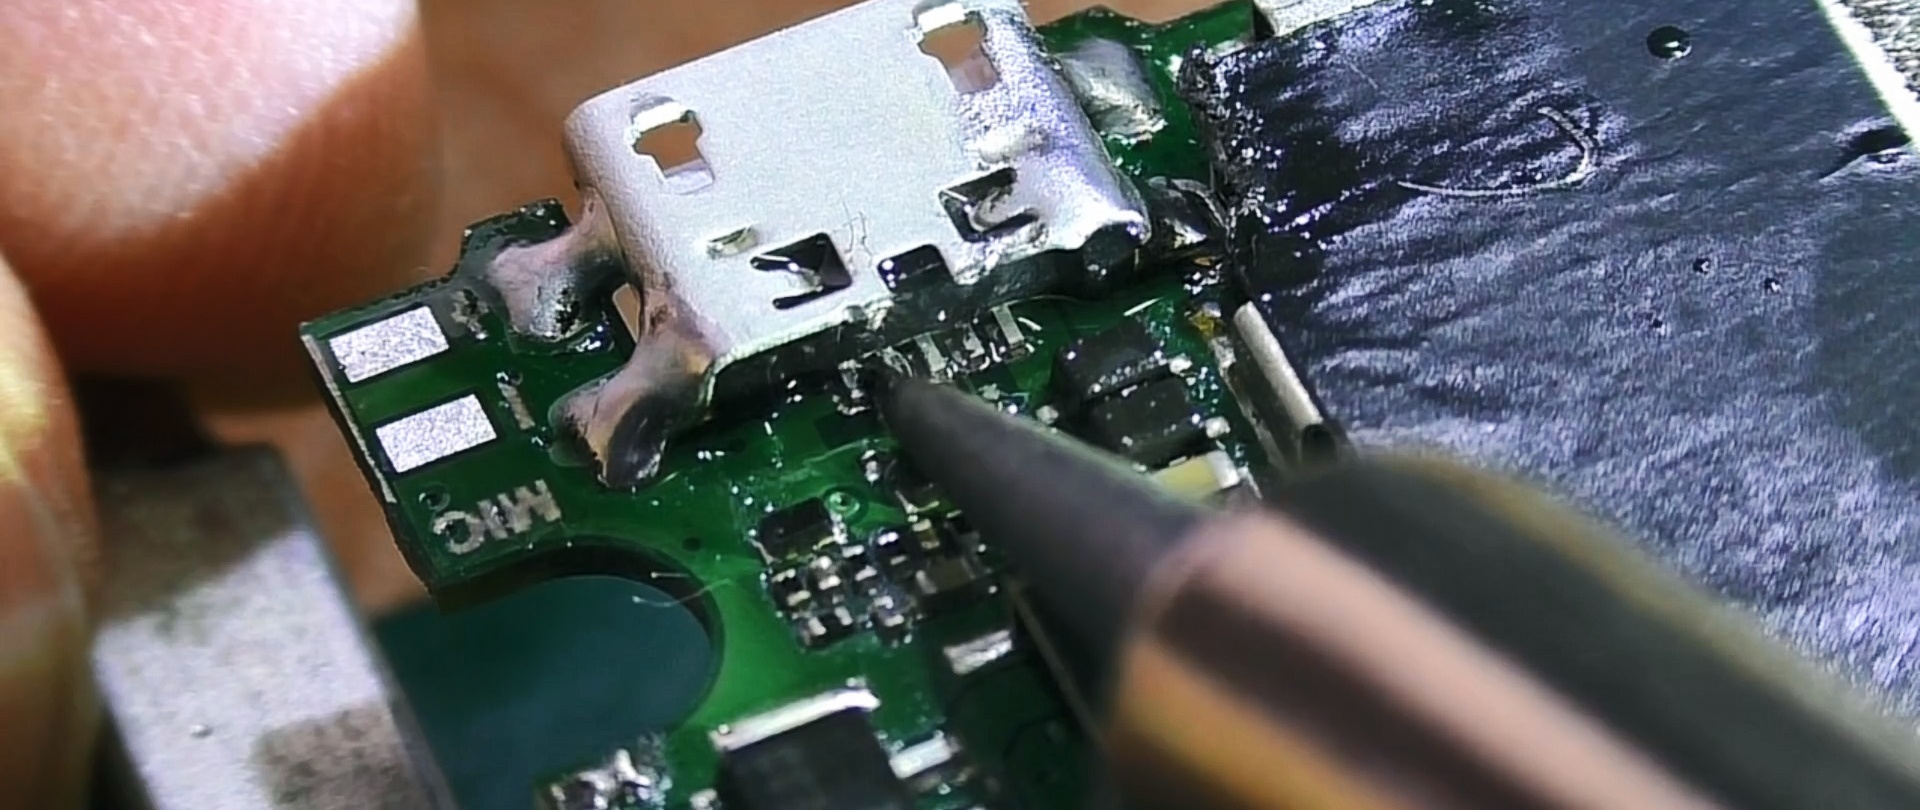
Next you need to clean the mounting holes on the board to solder in a new connector. To do this, a copper braid moistened with flux is applied to them. The holes are heated through it, as a result, all the solder spoiled by lead is absorbed between its wires.

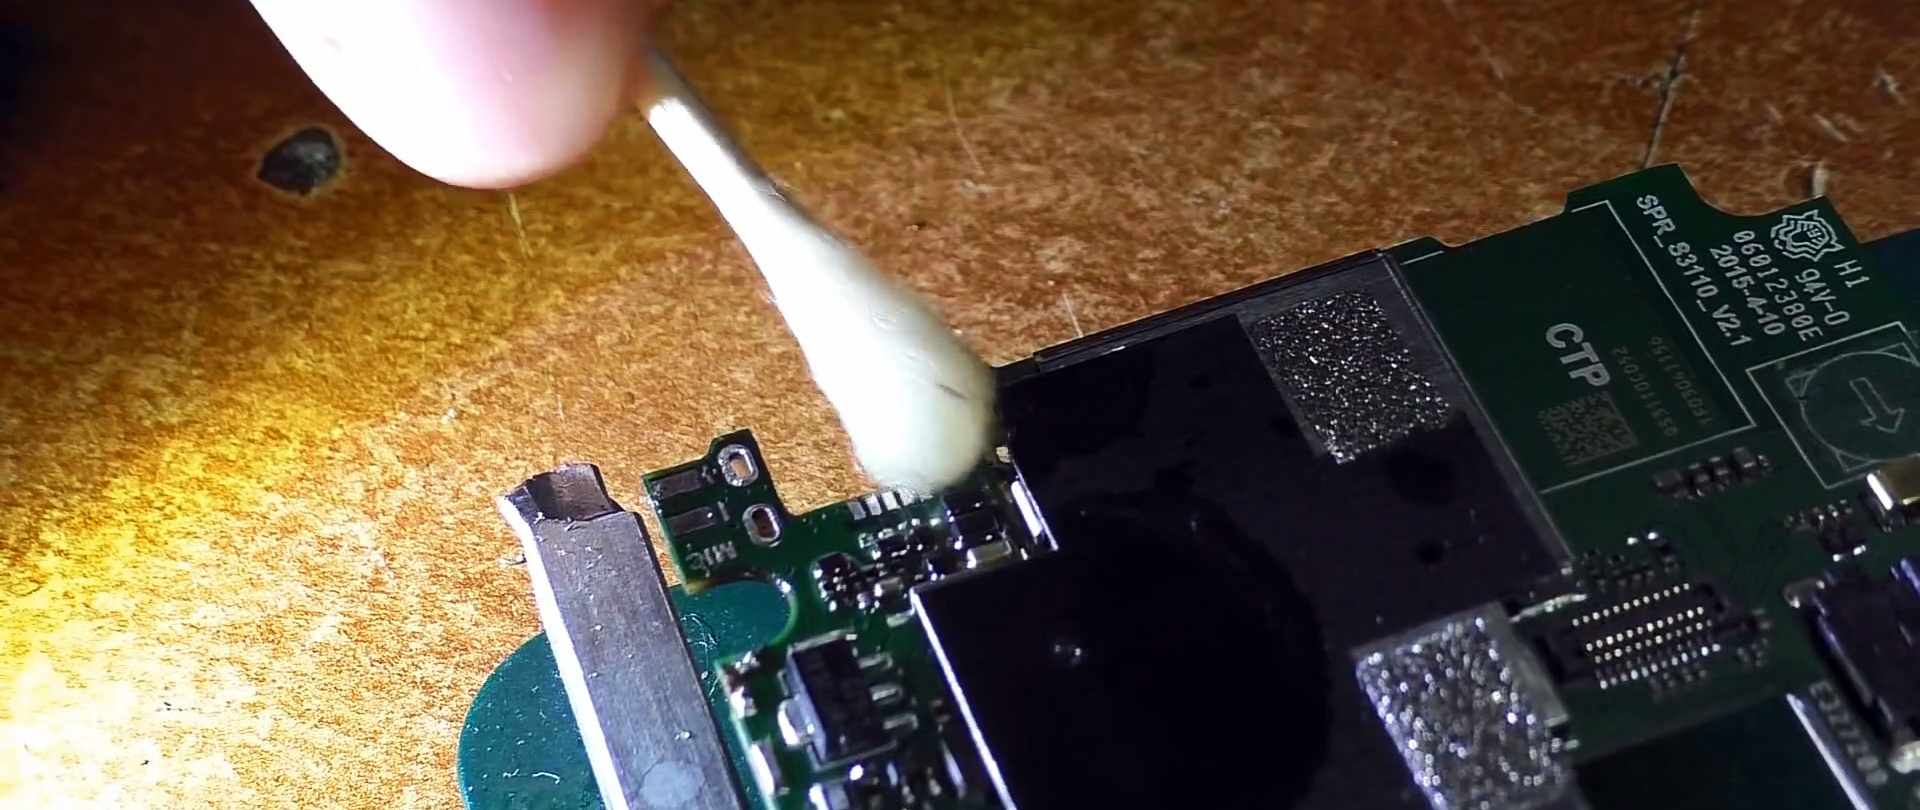
The contacts are wiped with a degreaser to remove spent flux.
Next, the connector is installed. All connections are coated with flux. After this, the large contacts are soldered one by one with the same tip, and the small ones with a thin tip. The latter are very small, so it is better to solder them under a microscope or magnifying glass.

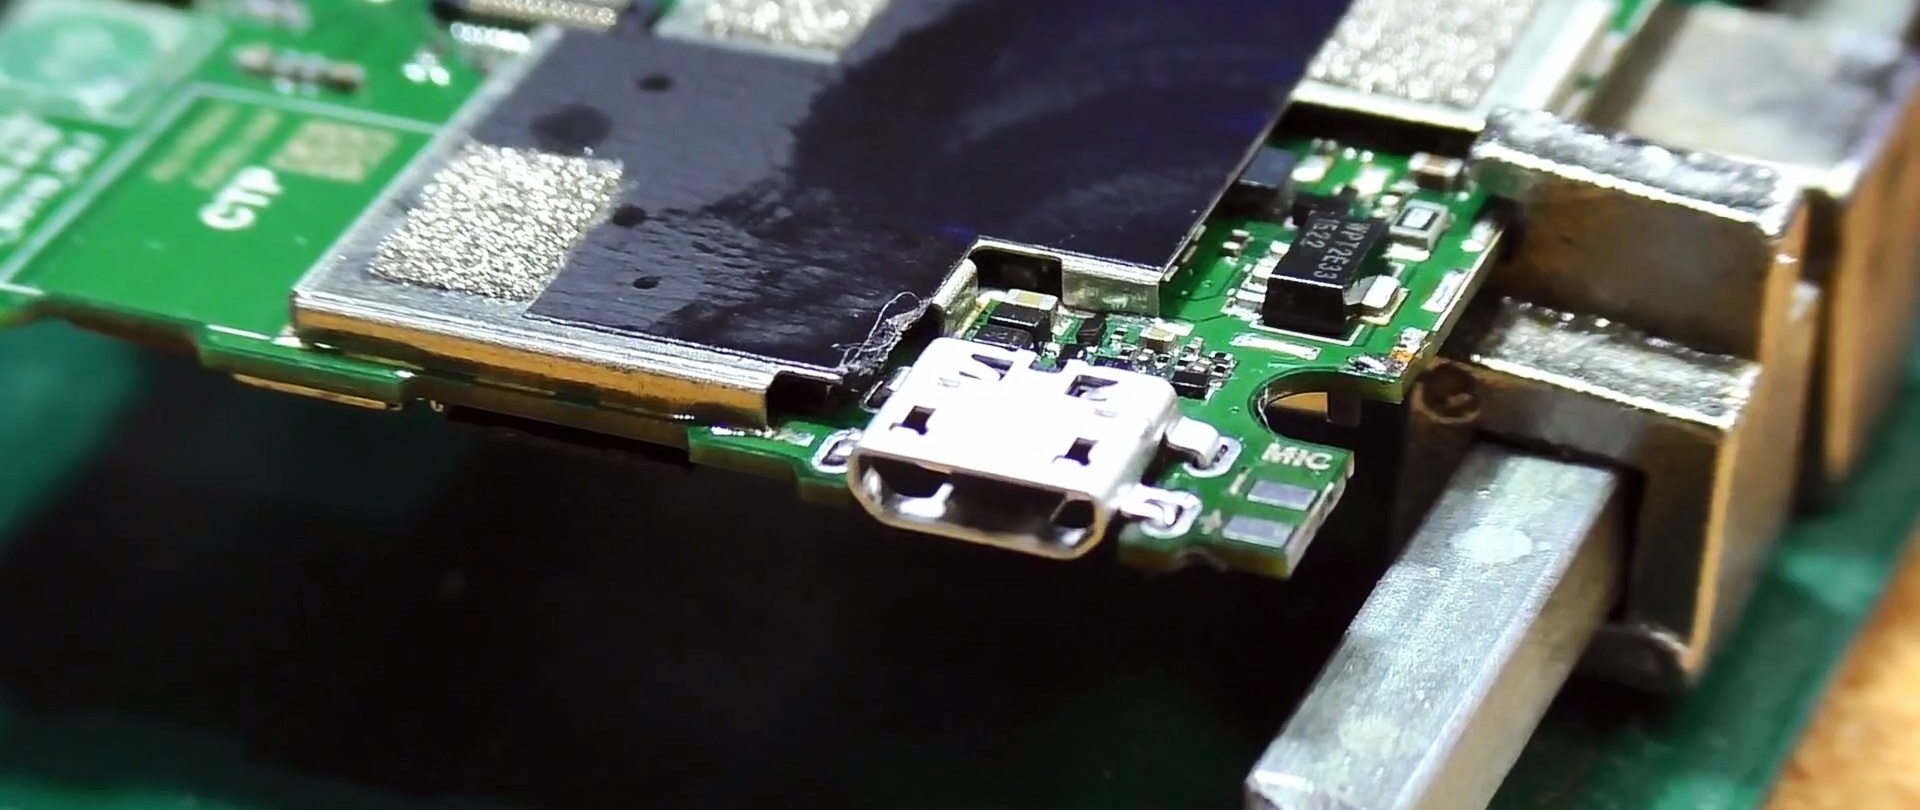
After soldering, the flux is washed off, then the phone is put back together to connect the display if it was removed. After this, you can check the functionality of the connector both when charging is turned on and when connecting to a computer.