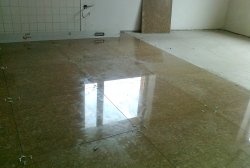
Installing a film heated floor is one of those types of work that can actually be done efficiently, no worse than hiring installers. There's nothing complicated about it. Therefore, anyone can save money by installing an infrared heated floor with their own hands. You won’t need much time; one day will be enough. Let's look at the intricacies of its installation.

Materials:
- Lavsan thermal insulation;
- double sided tape;
- reinforced tape;
- heat-resistant insulating tape for heated floors;
- infrared film heated floor;
- contact clamps for connecting the power cable;
- bitumen tape for insulation;
- red and blue single-core connecting wires.

Infrared floor, temperature controllers on AliExpress at a discount - http://alii.pub/63cmhb
Heated floor installation process
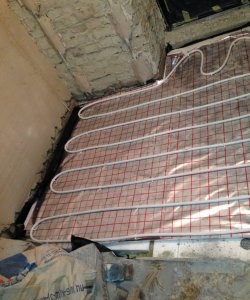
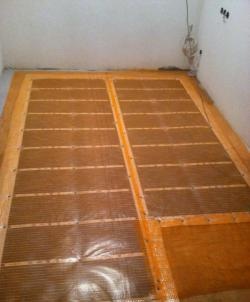
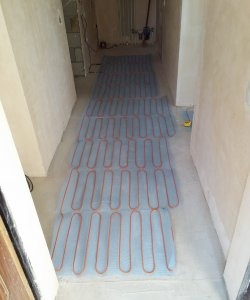
On the prepared, cleaned subfloor, it is necessary to lay mylar insulation with the reflective side up. To keep it in place, it should be glued with double-sided tape.


The insulation joints are secured with reinforced tape.

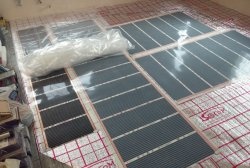
Next you need to cut the film floor.You can cut only in the transverse direction and strictly according to the cutting marks. They may be indicated by a dotted line and a scissors design, or in some other way. How to find such marks can be found in the instructions for a specific film. In this case, a warm floor is used, which can be cut between the white transverse lines.

One edge of the workpiece needs to be insulated. To do this, wide heat-resistant electrical tape is glued to it.

Half of it lies on one side of the film, and the rest is folded onto the other.


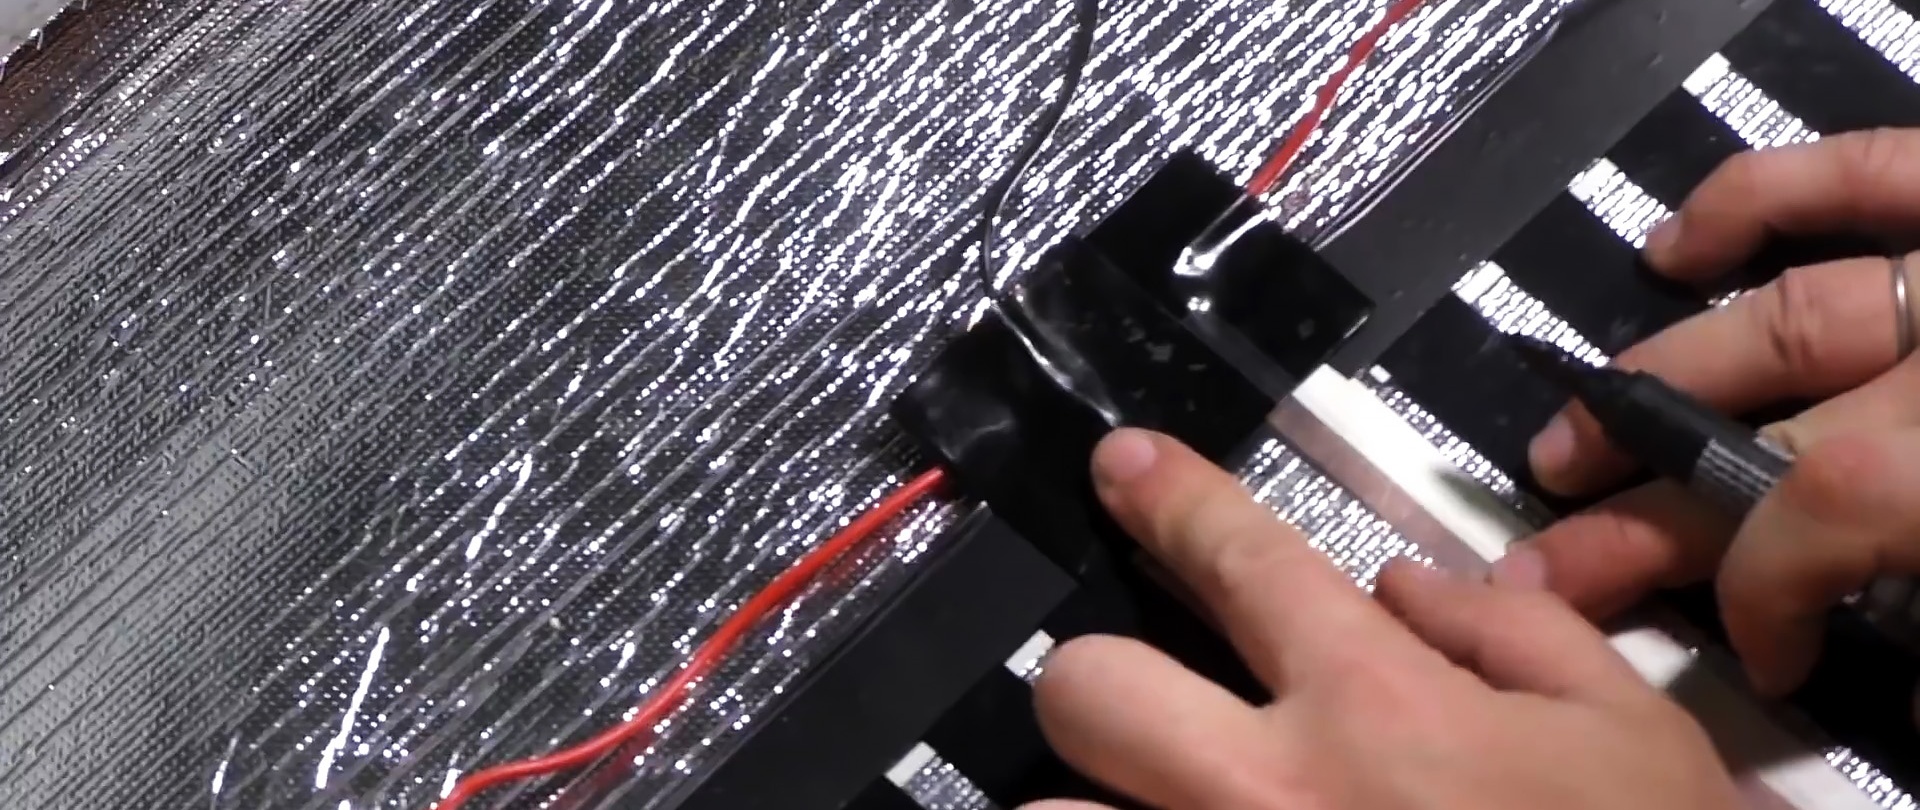
On the opposite side of the film, it is necessary to place contact clamps on wide copper bars located along them. They need to be put on and squeezed with pliers.

The notches of the clamps will pierce the insulation of the film and compress tightly onto the conductor. After this, the end of the film is insulated between the clamps with electrical tape.
Strips of film are laid out on the floor. It is necessary that the contacts be turned towards the wall on which the thermostat is located. It is important to note that they should not reach 5-10 cm from the wall. Most films are also not recommended to be laid under furniture, so that in the places of its future location, warm floors are not laid. The floor strips are secured to the reflector with pieces of electrical tape. The distance between them is 1 cm, or more if this is recommended by a particular manufacturer.

After laying out the strips, you need to connect them to the thermostat in parallel. That is, we connect all the right terminals with a black wire, and the left ones with red. First, take a piece of wire of such length that it will be enough from the thermostat to the first clamp. Then we prepare a second one for the jumper from this clamp to the terminal of the next strip. The ends of the wires are cleared of insulation and crimped with pliers on the second part of the clamps.

After connecting the wires, the terminals are insulated with bitumen tape. For each connection it is cut into 2 pieces of at least 35-40 mm. One is applied from below, and the second is pressed from above.
To prevent the contacts from sticking out, you need to cut a recess for them in the reflective substrate. It is cut through the bitumen insulation with a knife. Clamps are inserted into the resulting cavities. To prevent them from rising, tape is placed on top. It may also be necessary to cut grooves for dips if the unevenness from them is not smoothed out by thermal insulation.
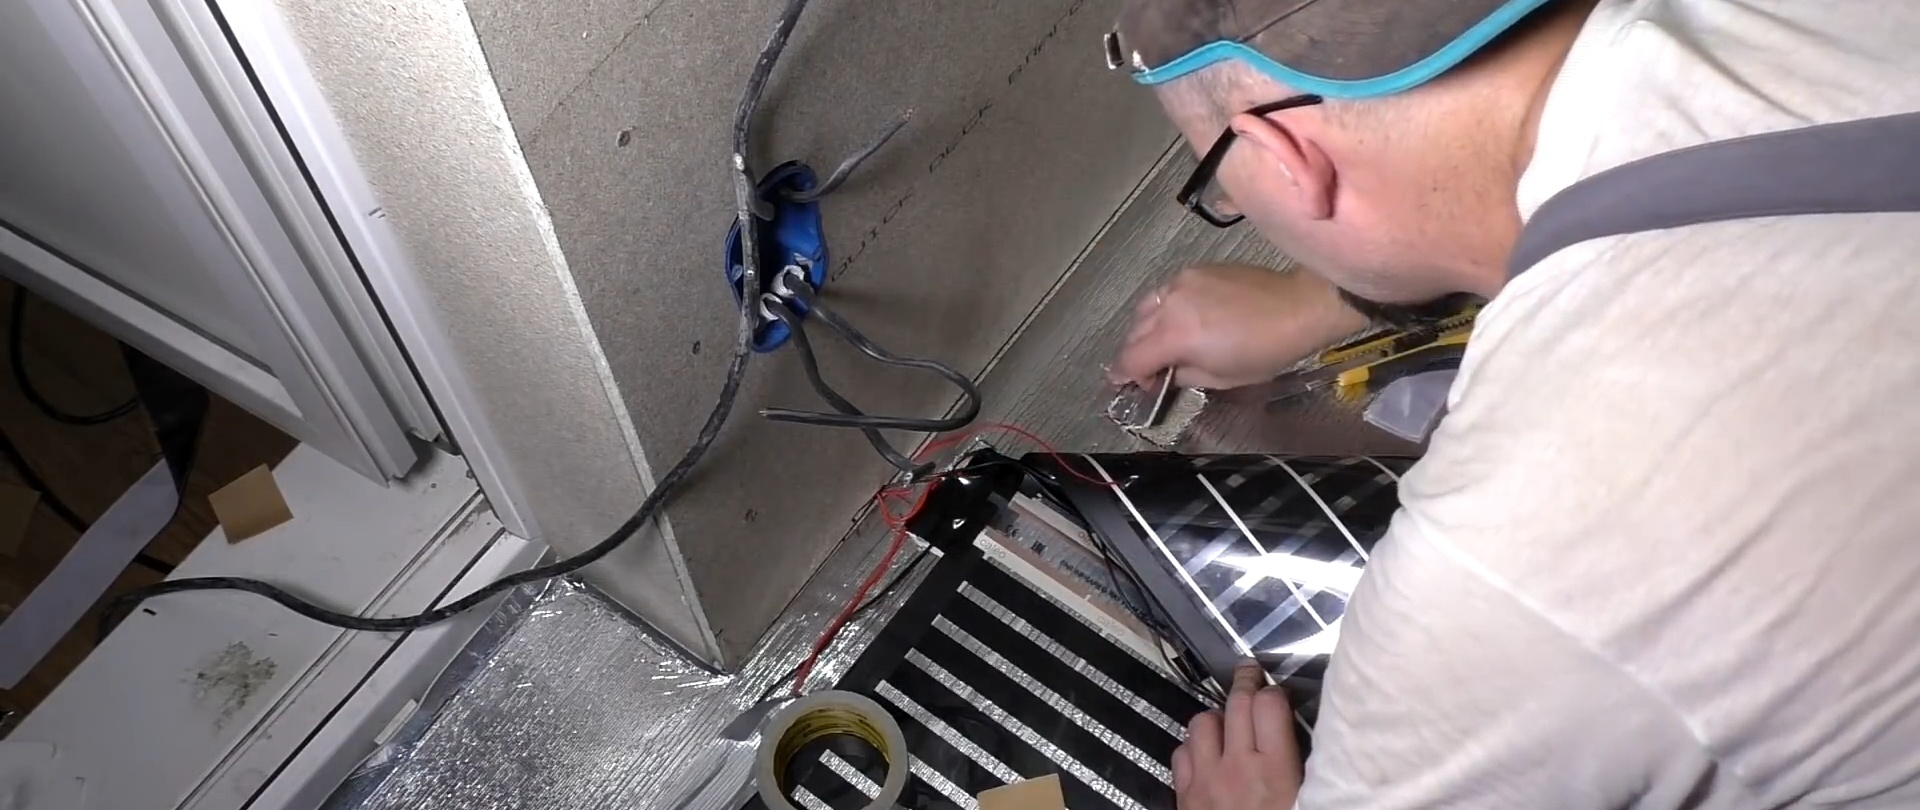
Then a groove is cut in the insulation for the remote thermostat sensor. It must be located under the heating part of the film in order to accurately respond to heating. The sensor is glued over the groove onto a butyl insulating film. Its wire is routed to the thermostat.
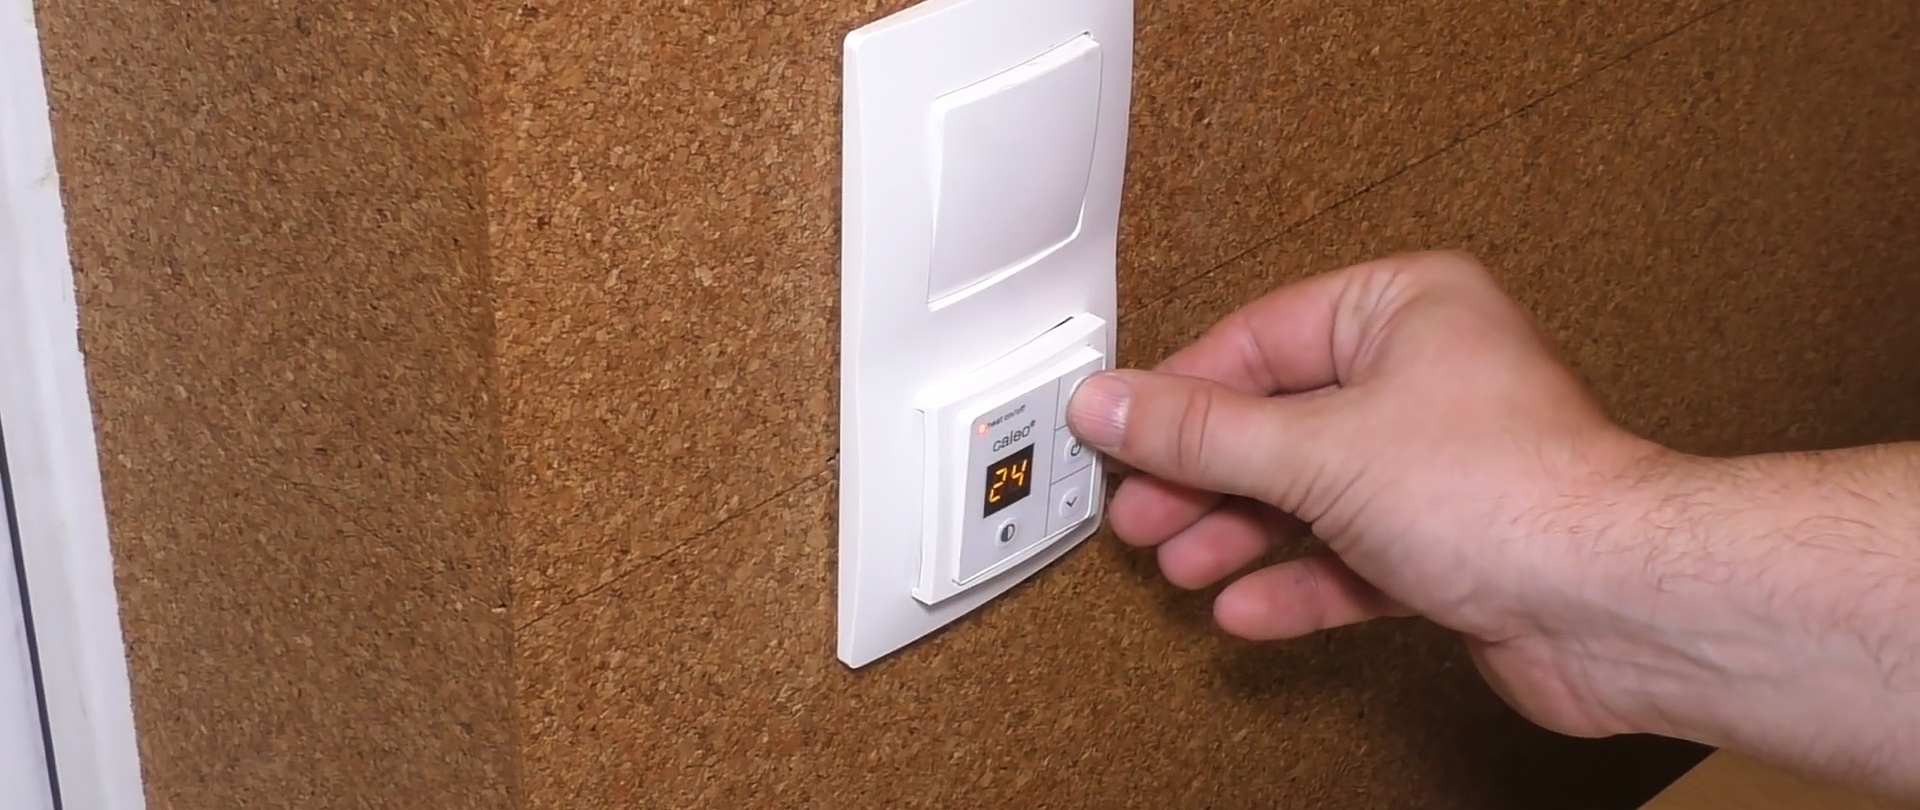
The film is glued around the perimeter with reinforced tape. After this, you need to check the installation before laying the final floor covering. To do this, connect the thermostat in a previously prepared socket box. A wiring diagram is printed on the back of the regulator. It is important not to confuse phase and zero. Usually, first the phase is clamped into the first terminal, then the zero, then the wires of the heated floor and temperature sensor.
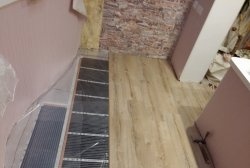
An open heated floor heats up very quickly. Therefore, to check its functionality, it takes less than a minute, after which the thermostat turns off. After this, it is better to cover the floor with plastic film, and then you can begin installing the finishing coating.


It can be laminate or parquet board. Also, if you lay thin plywood on top of the film, you can lay linoleum or carpet.
Infrared floor, temperature controllers on AliExpress at a discount - http://alii.pub/63cmhb