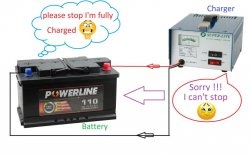
As you know, lithium-ion batteries are extremely sensitive to recharging voltage and easily fail even with a slight deviation. To avoid this you need an accurate charger.
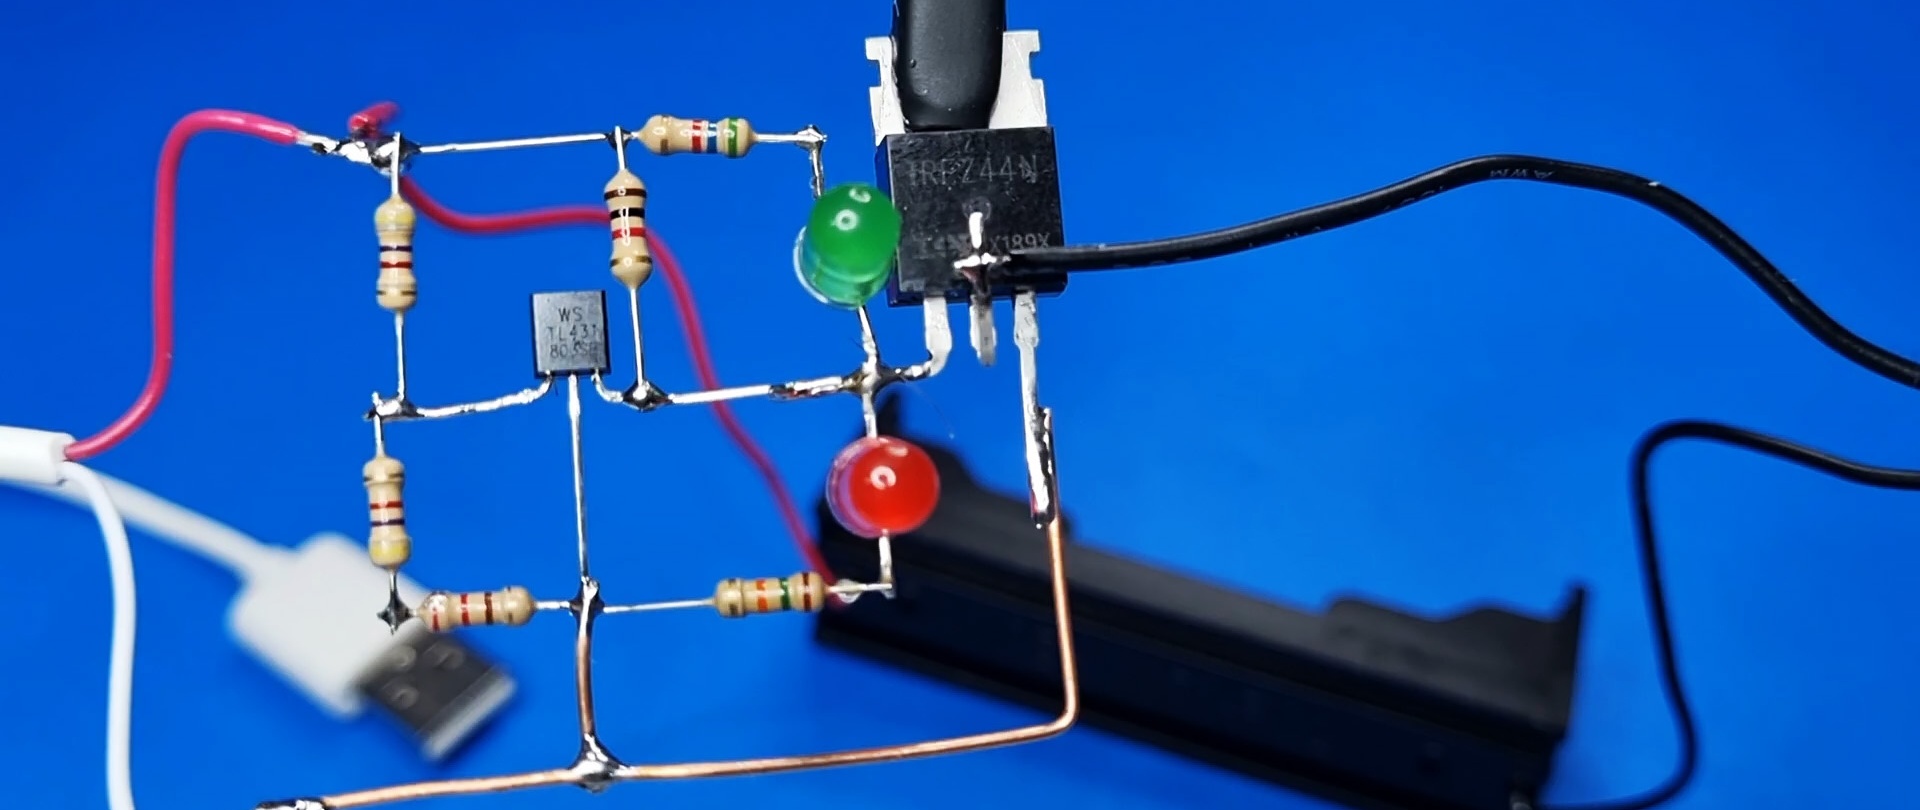
The simple charger circuit is easy to use, does not contain scarce parts, and has a clear response threshold and status indication. High accuracy is achieved through the use of the “TL431” stabilizer chip.
Required Parts
- Transistor IRFZ44N - http://alii.pub/5ct567
- Stabilizer chip TL431 - http://alii.pub/5mclsi
- Two LED - http://alii.pub/5lag4f
- Resistors: 4.7 kOhm, 15 kOhm, 1 kOhm, 5.6 kOhm, 220 Ohm - http://alii.pub/5h6ouv
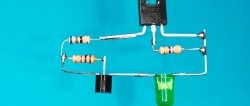
Charger circuit

A switch is built on transistor “Q1” that switches the battery with the power source. The “U1” chip contains a logical threshold stabilizer. With help LEDs status indication is displayed.
With resistor “R4” you can select the exact response level. Instead, you can install a trim resistor.
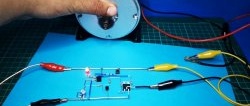
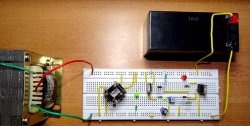
Making a charger for a 3.7V lithium-ion battery
The circuit does not have a board and is soldered by surface mounting. Single-core copper wire is used as jumpers.
On the left are soldered the wires from the 5 V power supply (charger from the smartphone). On the right are the wires from the battery box.
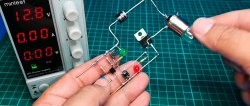
We install the 18650 battery in the box. We connect the circuit to the block via a USB connector. Lights up red Light-emitting diode, indicating the flow of charging current.

After a certain time, when the battery charging is complete, the transistor will close and the green light will turn on. Light-emitting diode, indicating the battery is fully charged.

Testing with a tester shows that the battery is charged to a maximum voltage of 4.2 V.

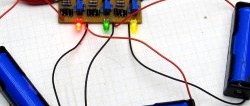
You can connect several batteries connected in parallel to the circuit at once.
Watch the video
Simple 3.7 V battery level indicator - https://enn.washerhouse.com/6056-prostoj-indikator-urovnja-zarjada-akkumuljatora-37-v.html