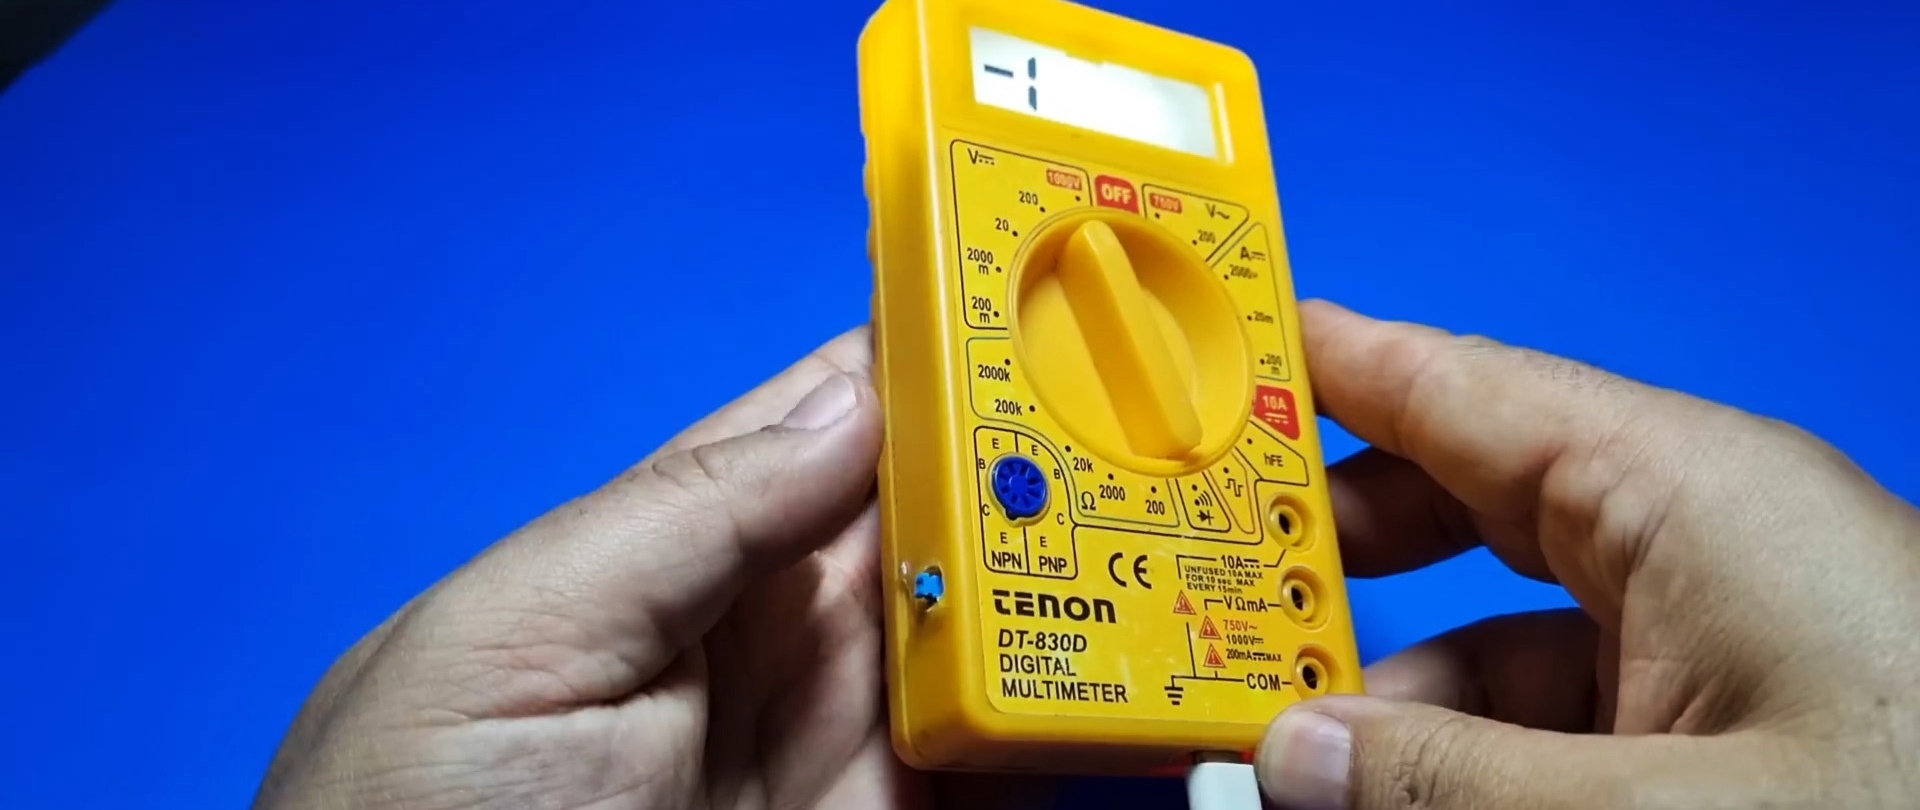
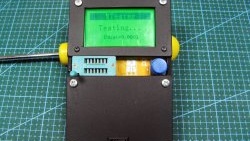
Are you tired of changing batteries in your gadgets? Then this post is for you. We'll tell you what needs to be done so that electronic devices can be charged from a standard power supply with a microUSB connector. For rework we'll take “very popular” multimeter 830 series.

In principle, most battery-powered devices used in everyday life can be converted: all kinds of remote controls, flashlights, probes, etc. The main thing is that there is space inside to place additional parts.
What will you need?
To remake a digital tester powered by Krona, you will need the following:
- charger controller (module) TP4065;
- boost DC-DC converter MT3608;
- li-ion flat battery 3.7 Volt;
- locking button to turn on.
All this can be bought inexpensively in an online store or taken used from some old unnecessary gadget.
Converting a multimeter to battery power
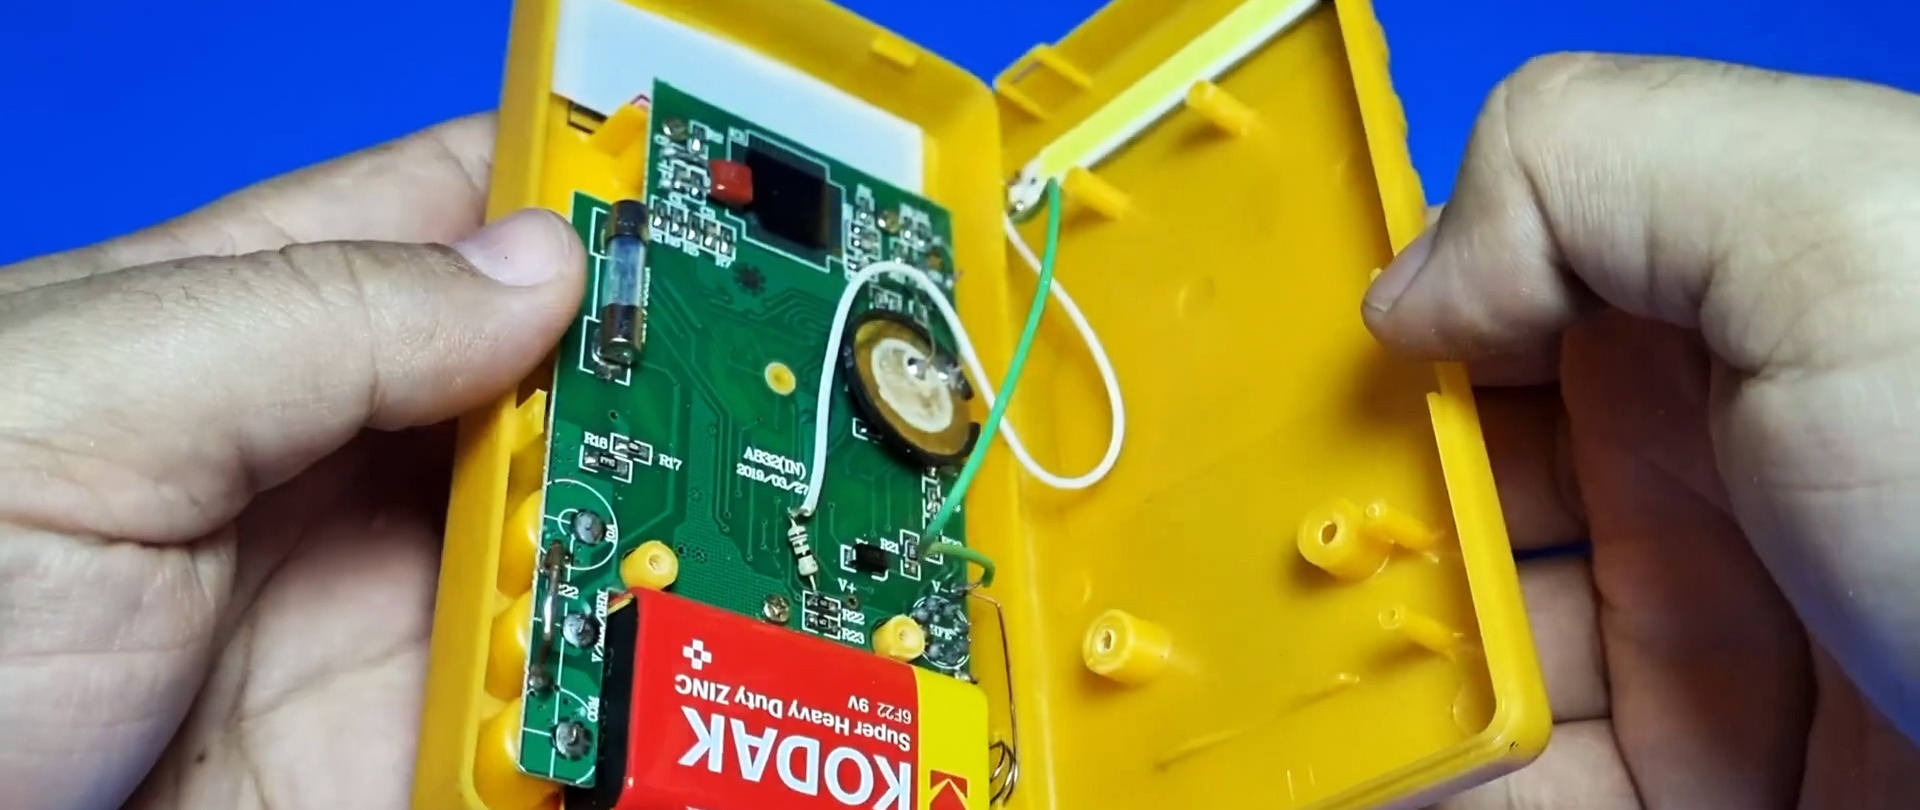
The first thing you need to do is check whether there is enough space in the tester body to accommodate additional parts.Our free space is fine. We begin installing the charger circuit.
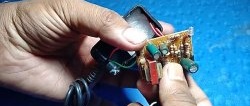
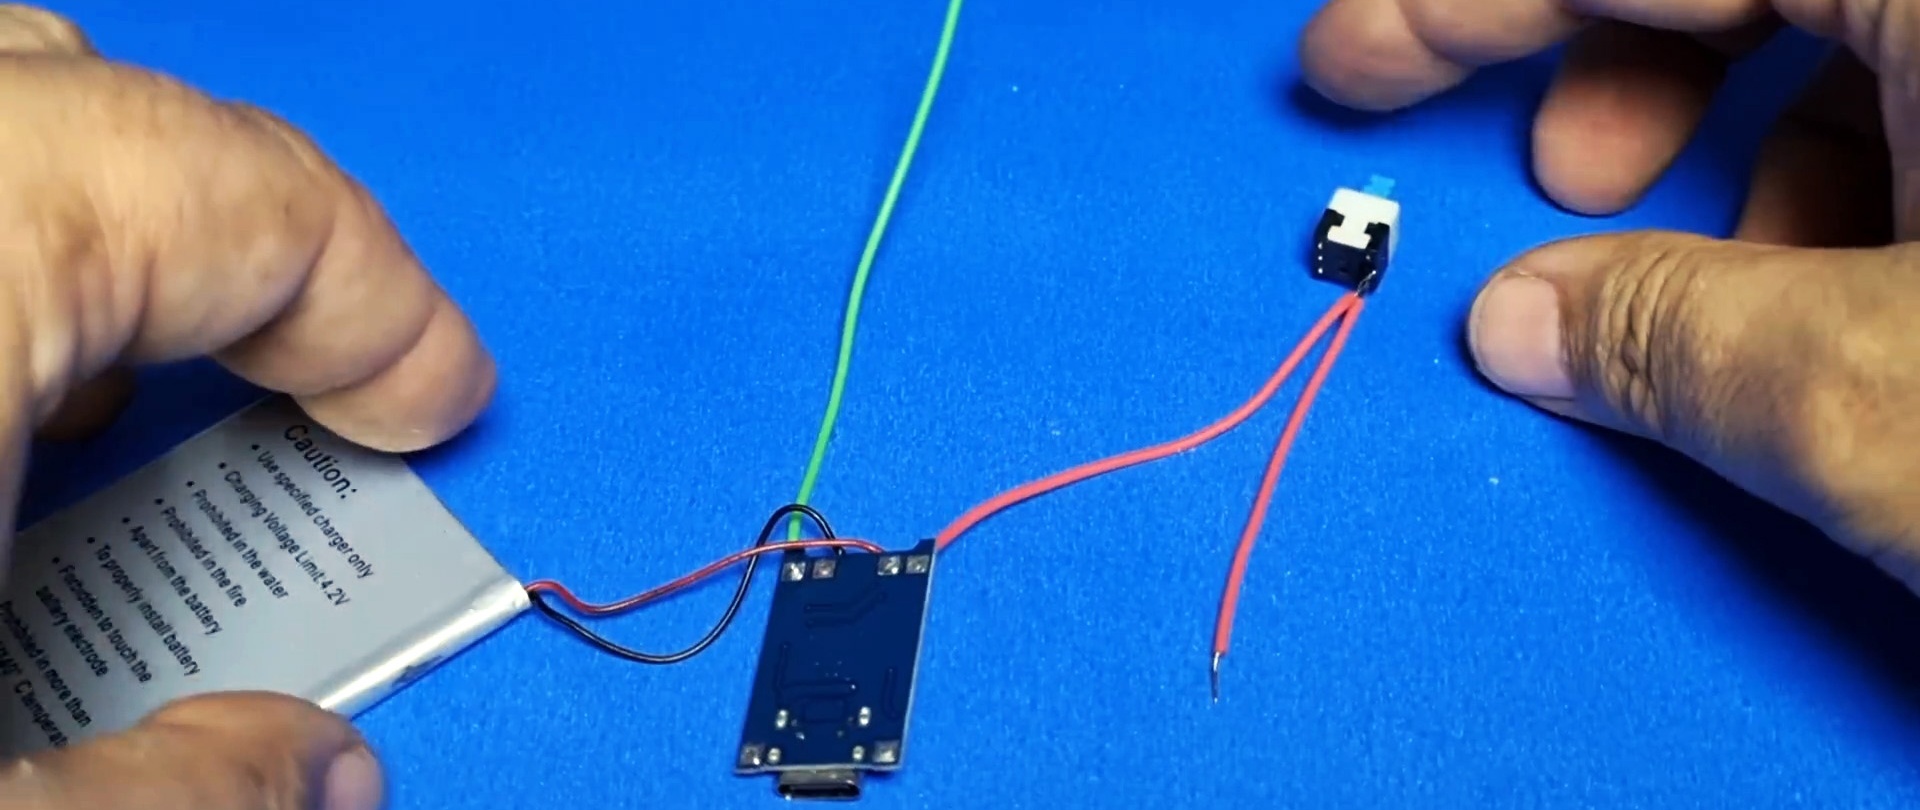
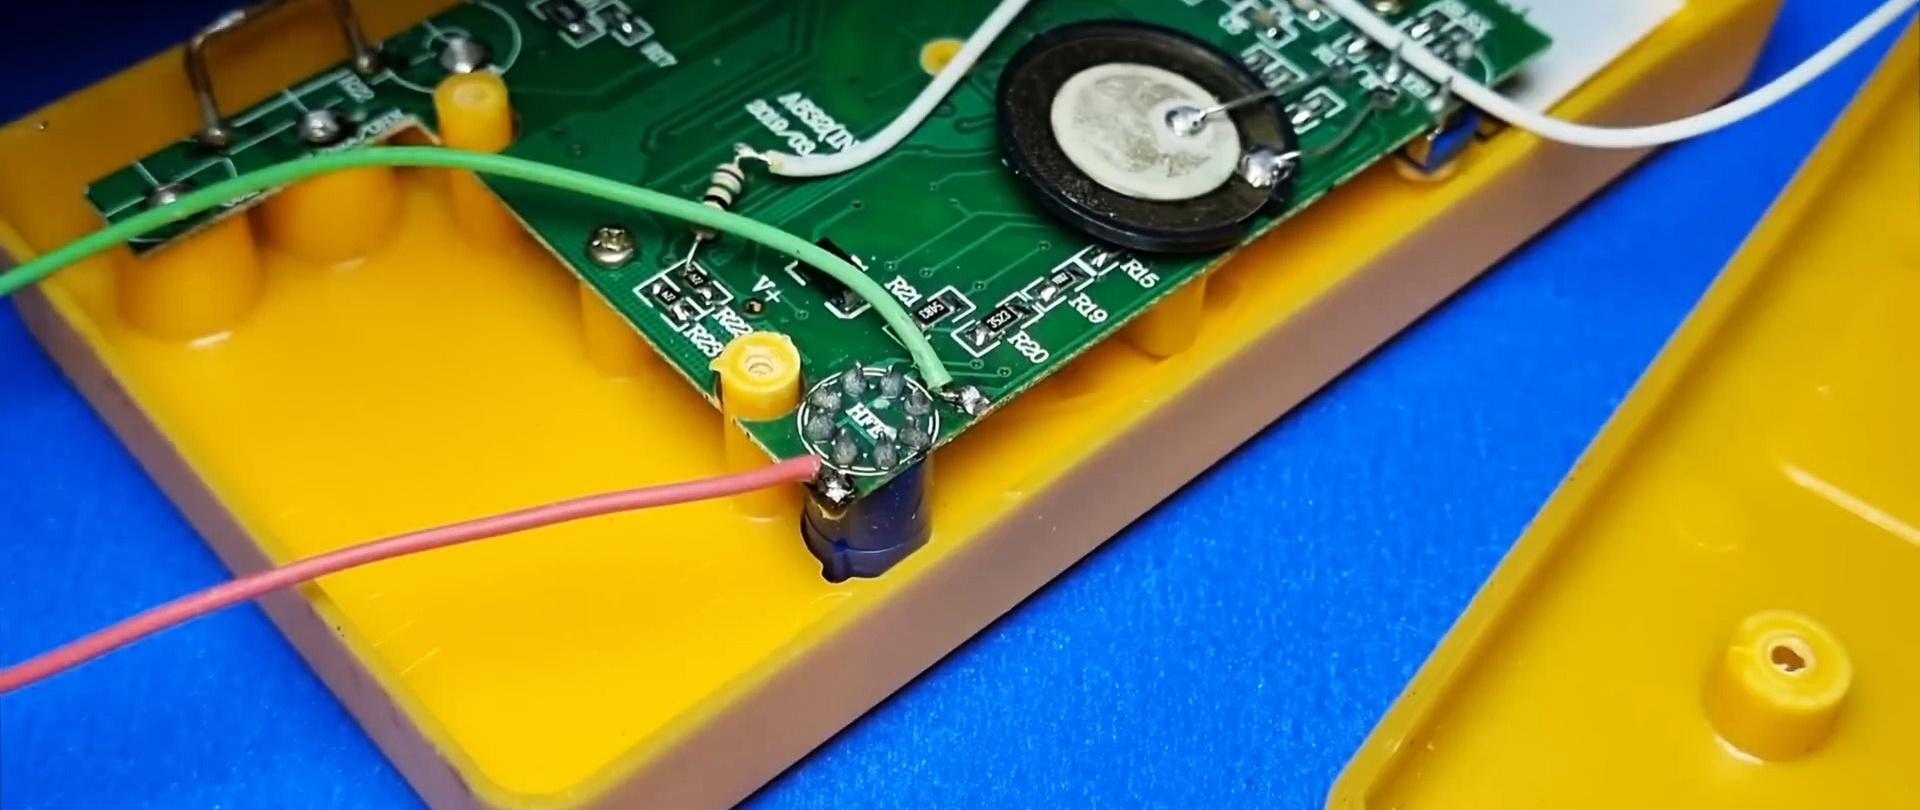
Absolutely all connection points are labeled on the boards. It's very difficult to make a mistake. Solder to charging module power output wires (out+/out-) and battery (B+/B-).

We install a switch in the gap in the positive wire.
Now it's the turn of the boost converter. We need it in order to power a tester with a 9 V power supply from a 3.7-volt battery. MT3608 – universal device, with an input voltage of 2 to 24 V, the output produces from 5 to 28 V with a maximum load power of 7 W.
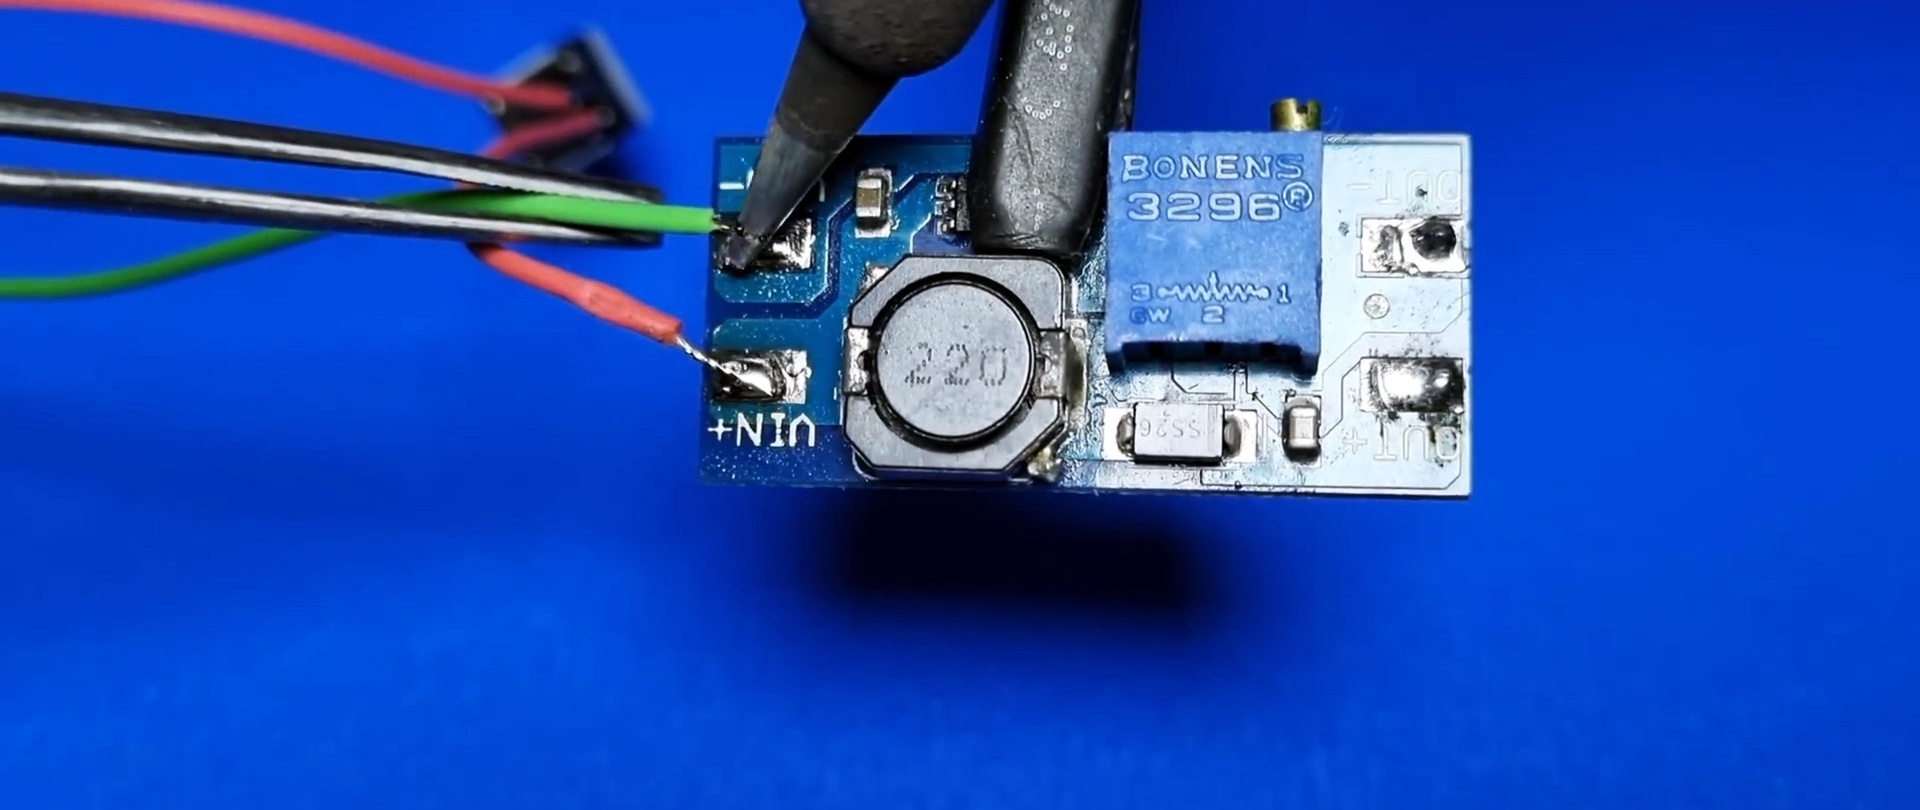
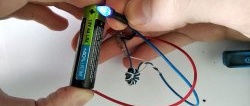
The output voltage is adjusted by a precision multi-turn potentiometer. We solder the wires according to the inscriptions on the printed circuit board. We turn on our assembled device and set the output voltage to 9 V.

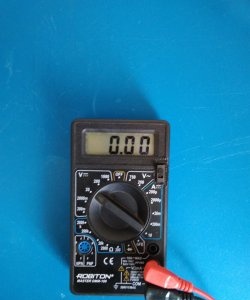
Everything works, now it should be nicely placed in the case.

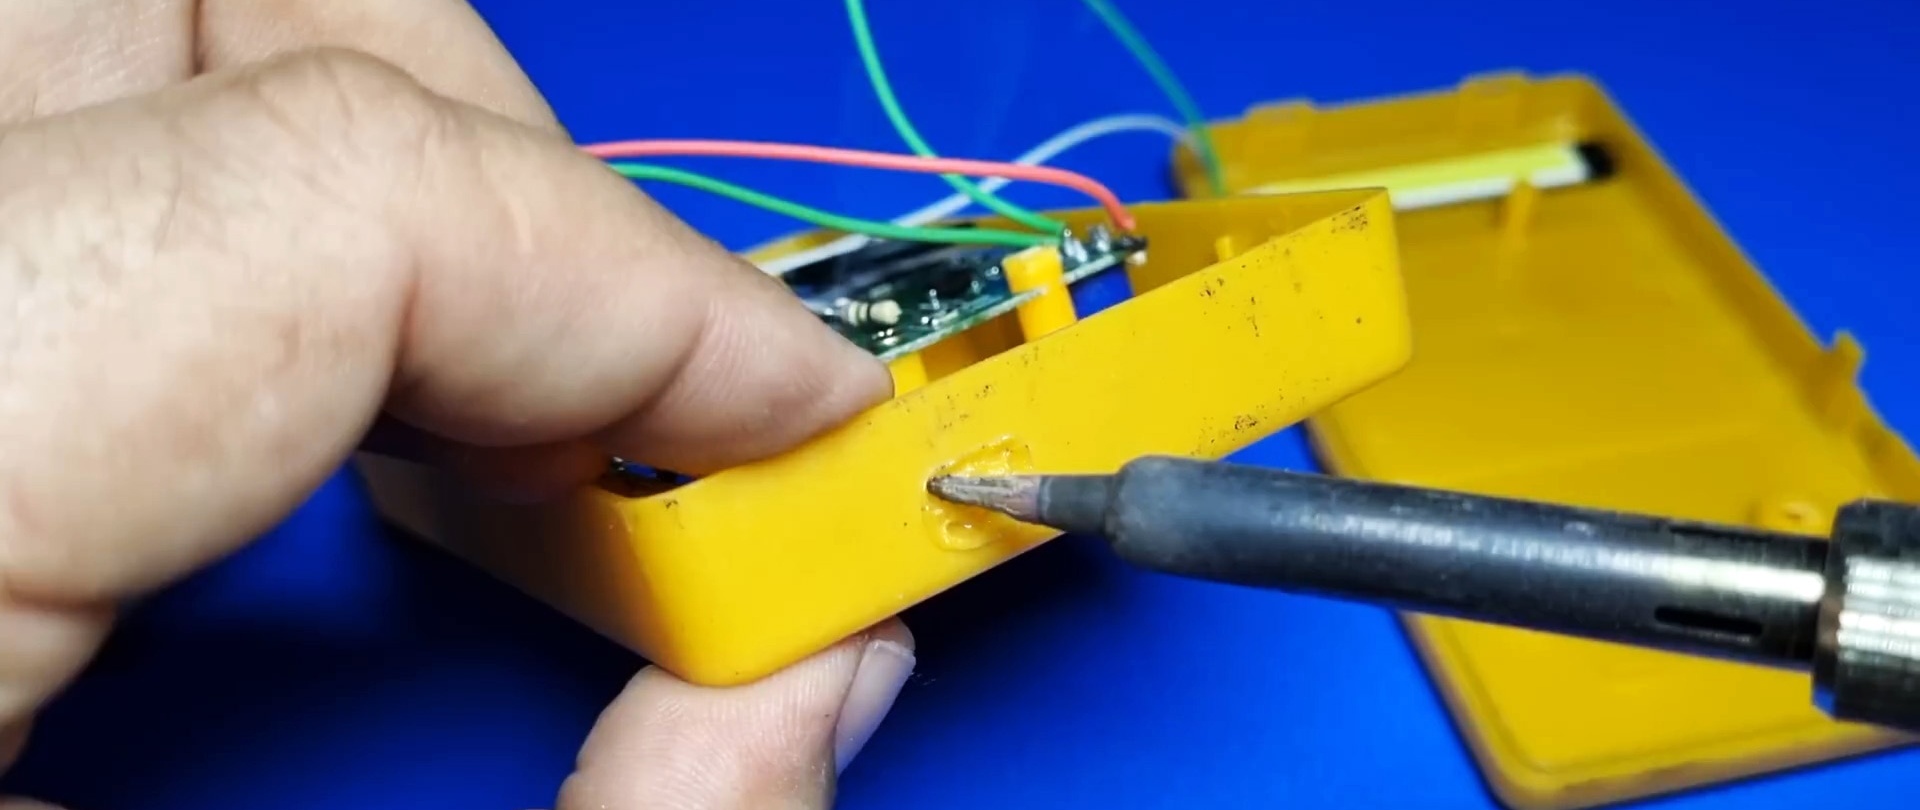
Use a soldering iron to make holes for the charging socket and switch.


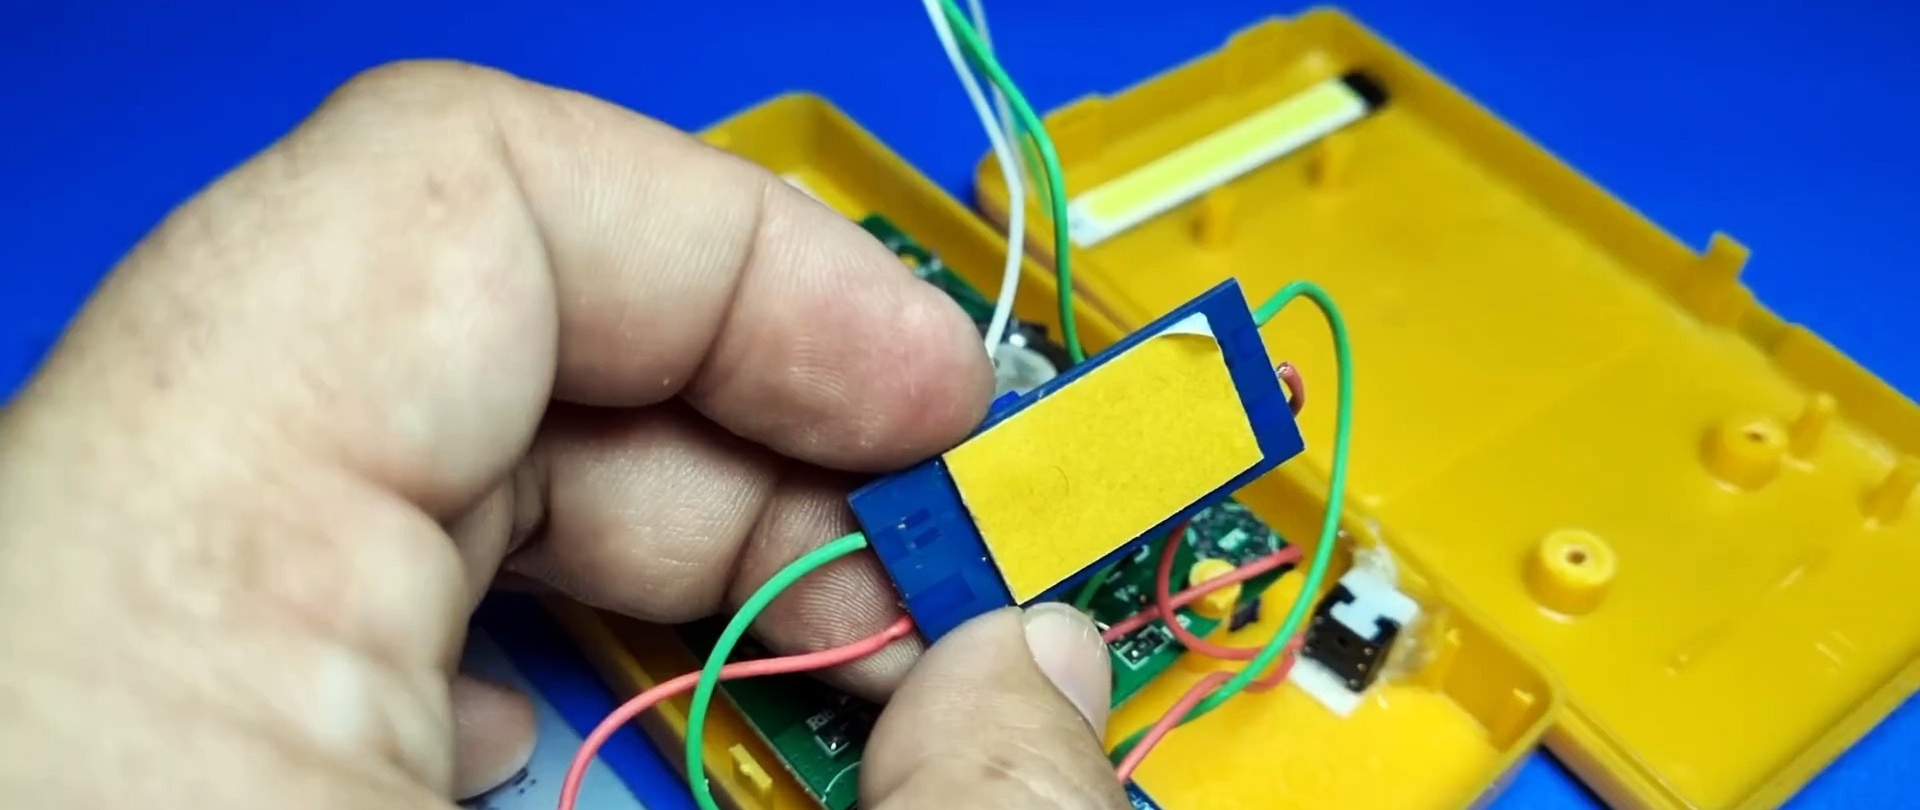
Double-sided tape and hot glue help us with this. We make sure not to short anything, and if necessary, apply insulating tape. Closing multimeter. Examination.

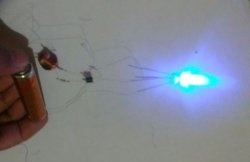
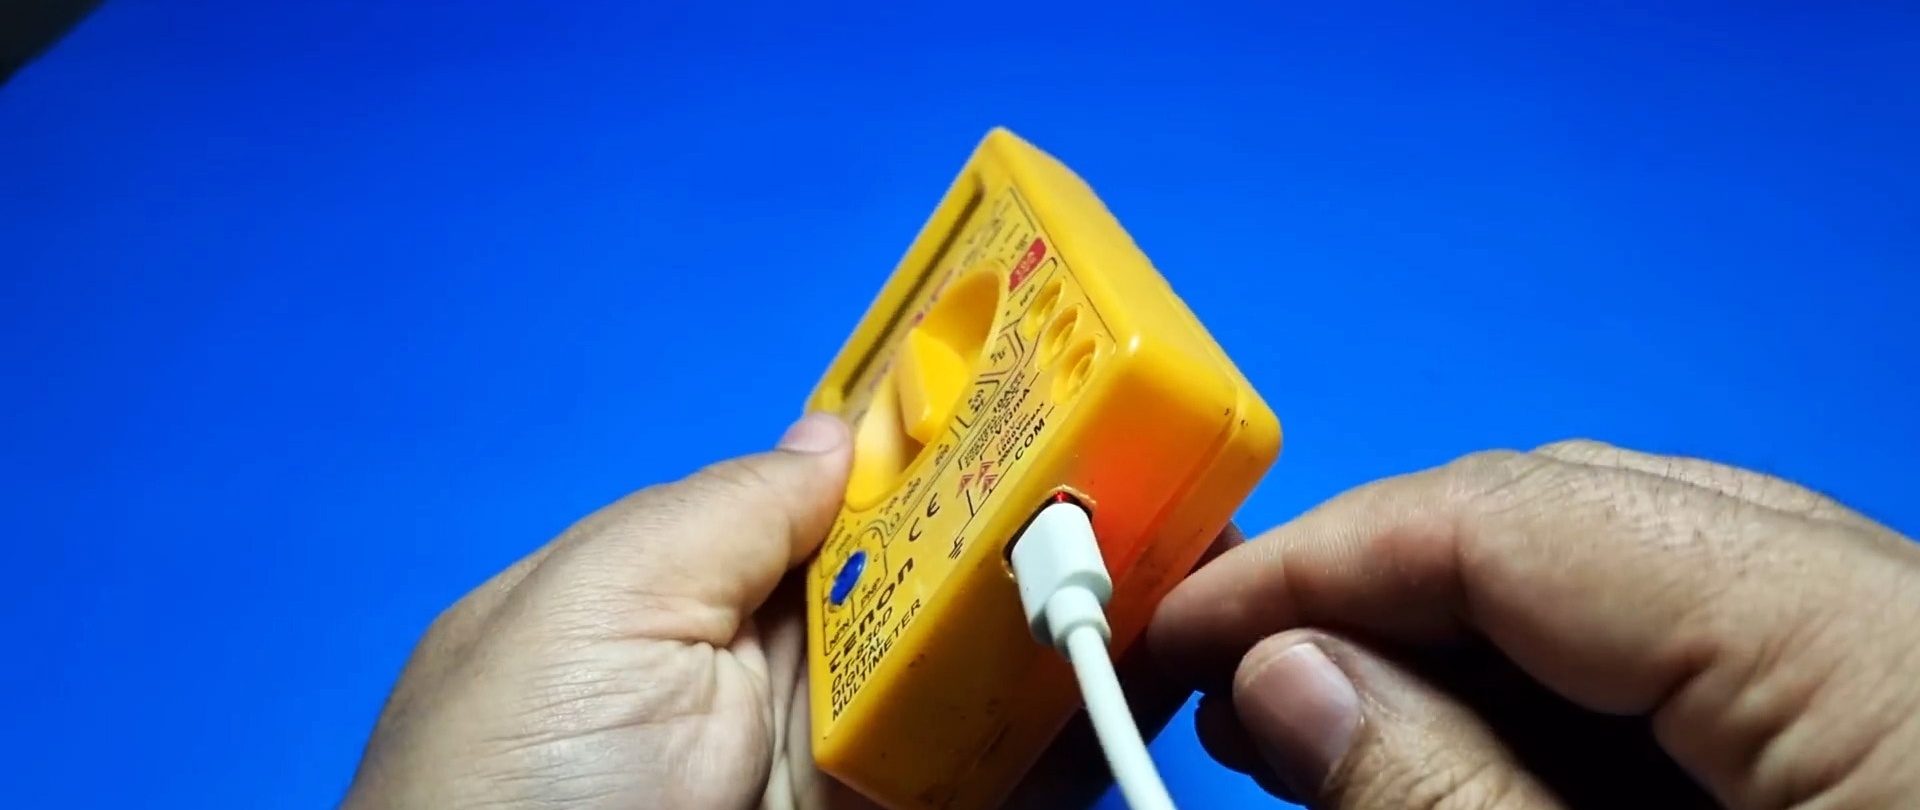
We connect the wire from the charger to the microUSB connector. Lights up red Light-emitting diode, which is clearly visible through the plastic of the case. Charging started. When the battery is fully charged, red Light-emitting diode goes out and lights up green. When you press the newly installed button, the tester switches on to measurement mode.
The modernization of the digital device was successful.