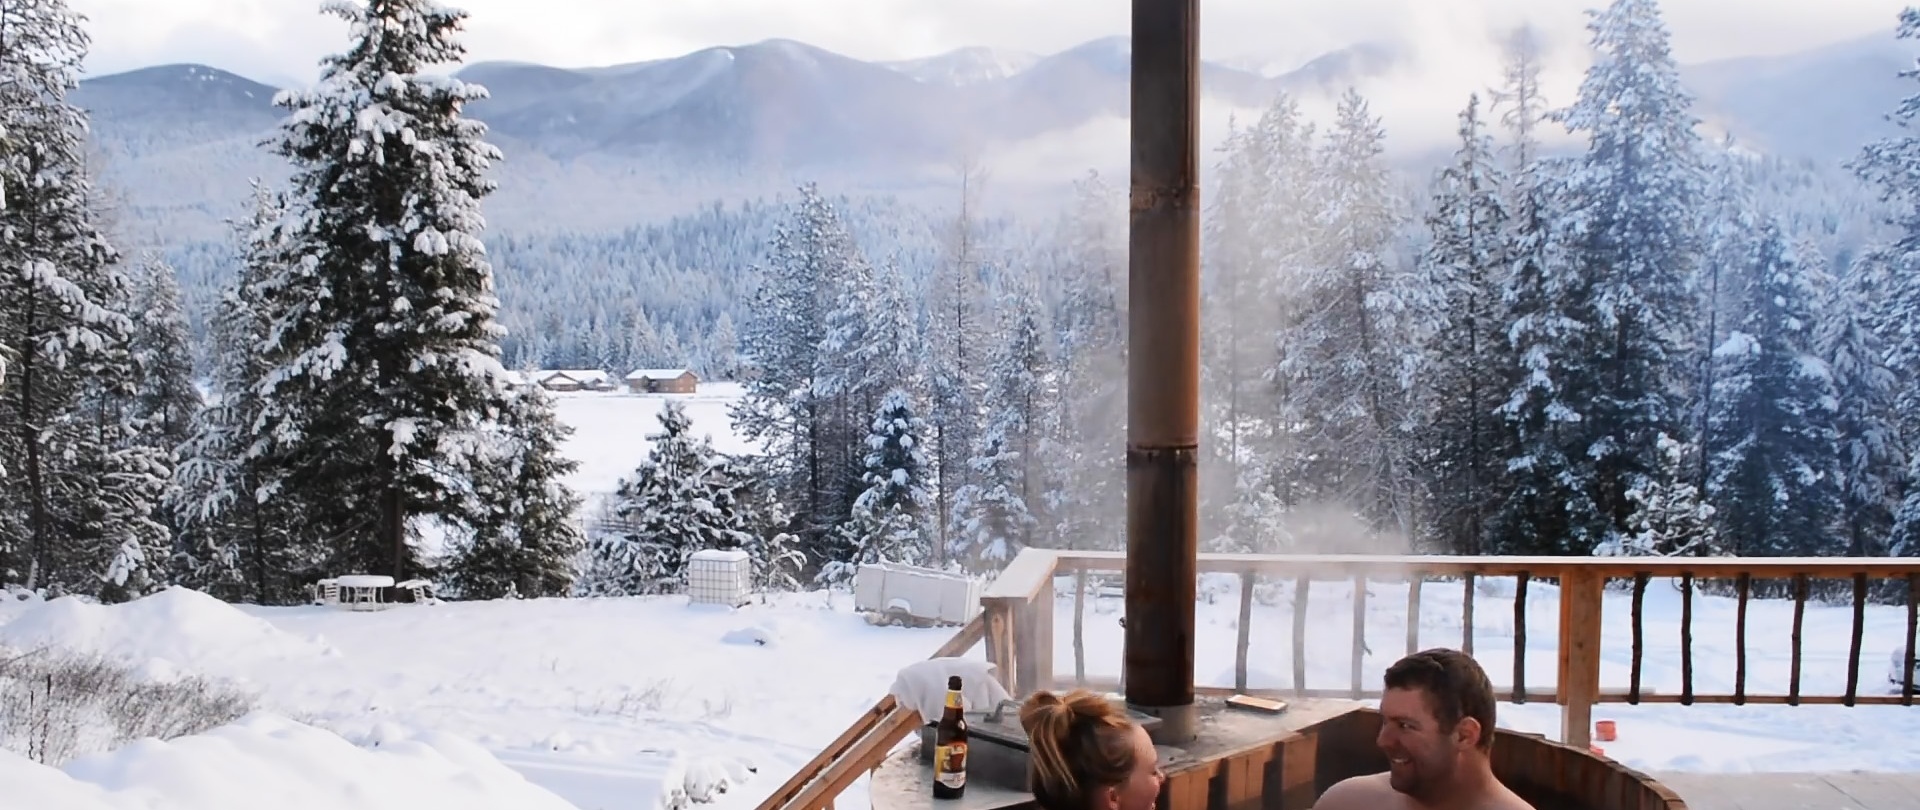
A good way to relax and improve your health is an outdoor hot water bath in the open air. The cold season gives special relaxing emotions to the procedure. It's frosty outside, and you're sitting in warm water under the open sky. Bathing in a vat is an expensive pleasure, but you can make it from wood with your own hands. We’ll tell you in this article how easy it is to make a wooden Japanese bathhouse using simple technology.
Materials and tools
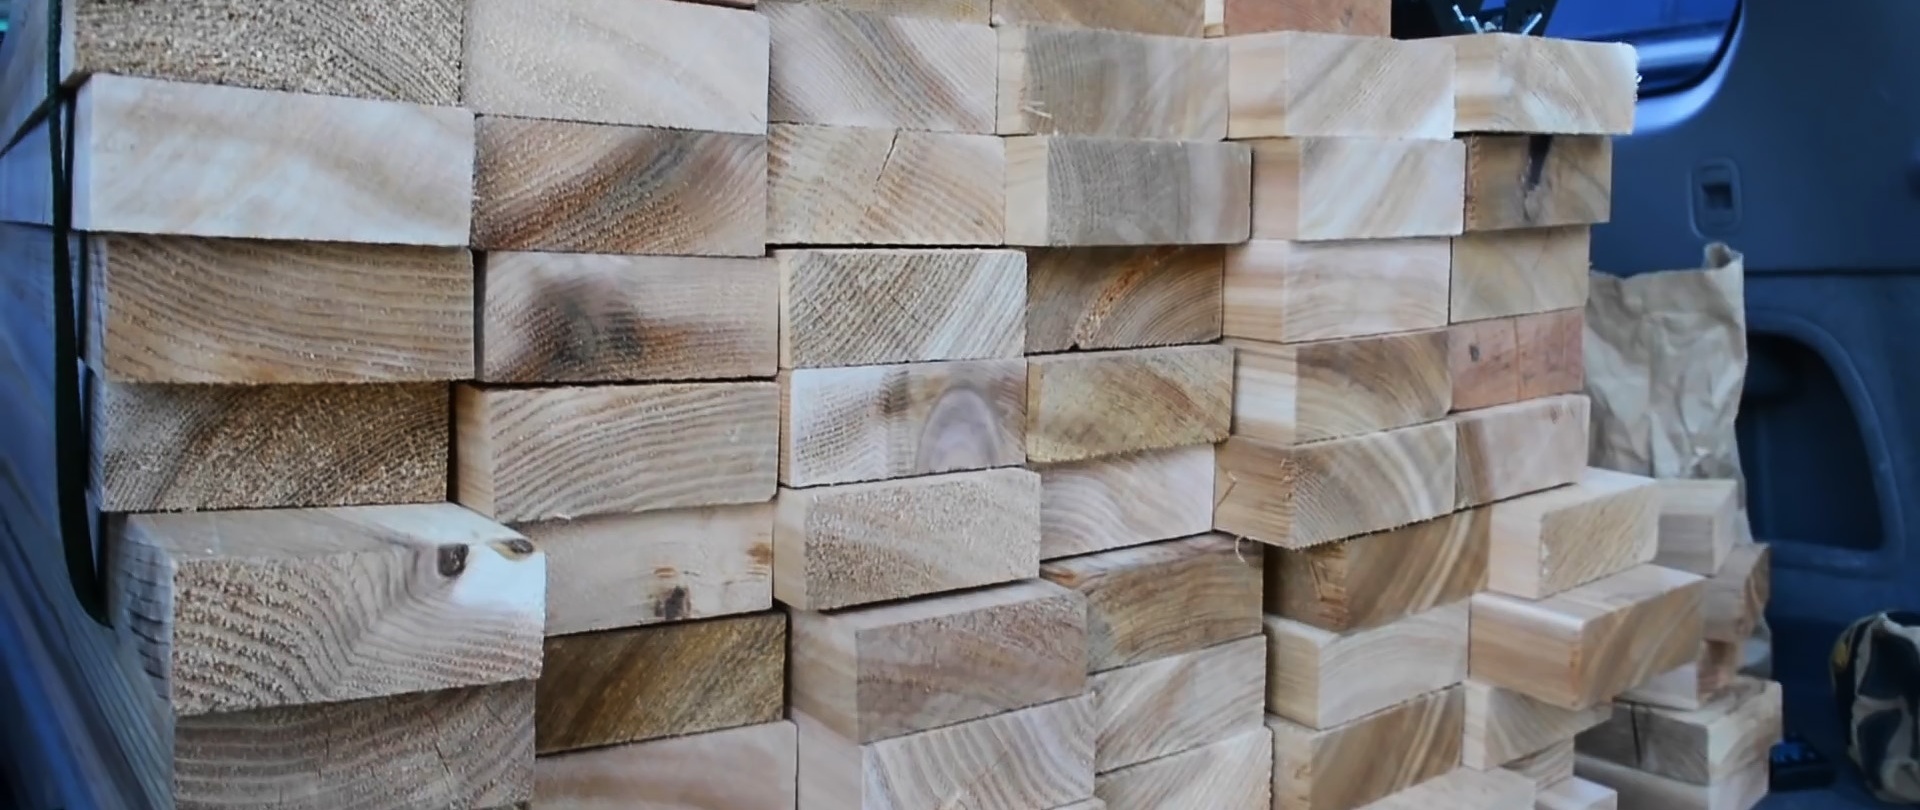
- boards 3 cm x 10 cm x 90 cm (quantity depending on the diameter of the bath);
- boards 2.5 cm thick;
- 3 cables with tension elements;
- boards for the platform (if necessary), benches, steps;
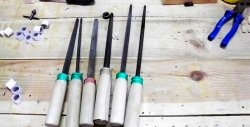
- woodworking Machine;
- jigsaw;
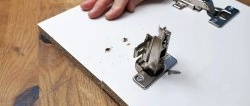
- drill;
- screwdriver;
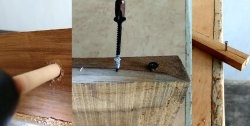
- bolts with nuts and self-tapping screws;
- drain element with pipe and tap.
- rubber hammer.
The process of making a wooden outdoor bathtub
First, let's choose a place on the territory of a country house or private house. In our case, we take a free plot near a house in the mountains. Since the terrain is uneven, we make a platform.We install a frame made of timber on concrete bedside tables, and cover the floor with boards.
For practical use and aesthetic appearance, we enclose the platform with railings and install stairs. If you have a flat surface of the territory, then you just need to clear it.

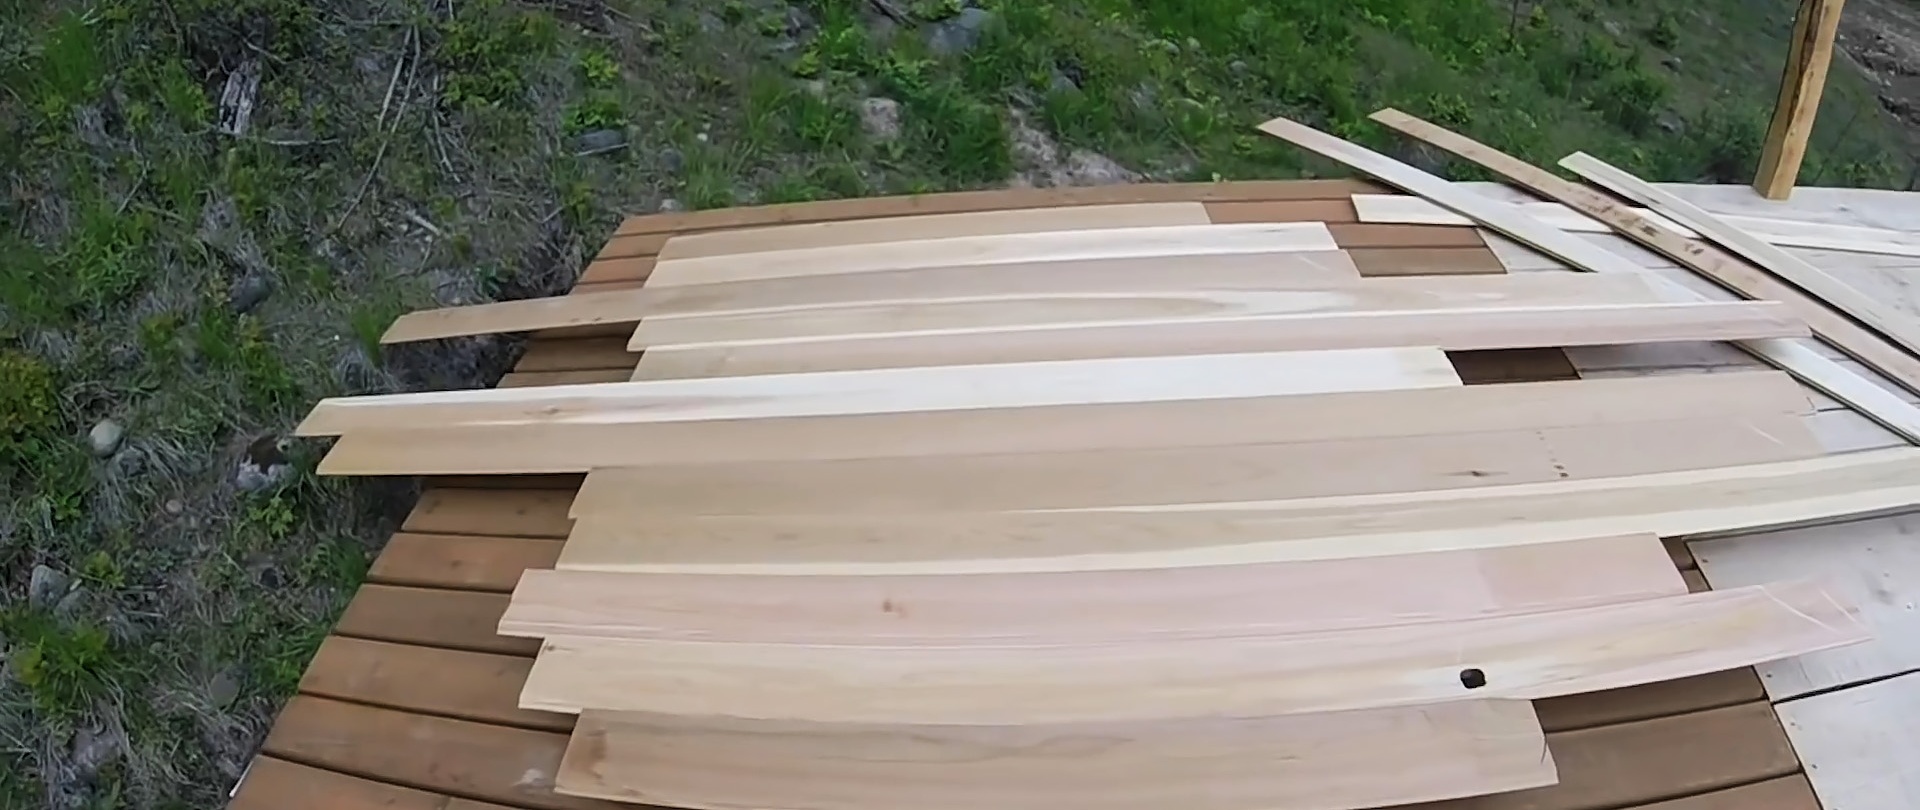
Next we proceed to the bathhouse itself. First, we will make the boards from which the walls will be mounted. The thickness of the boards is 3 cm, width – 10 cm, height – 90 cm.
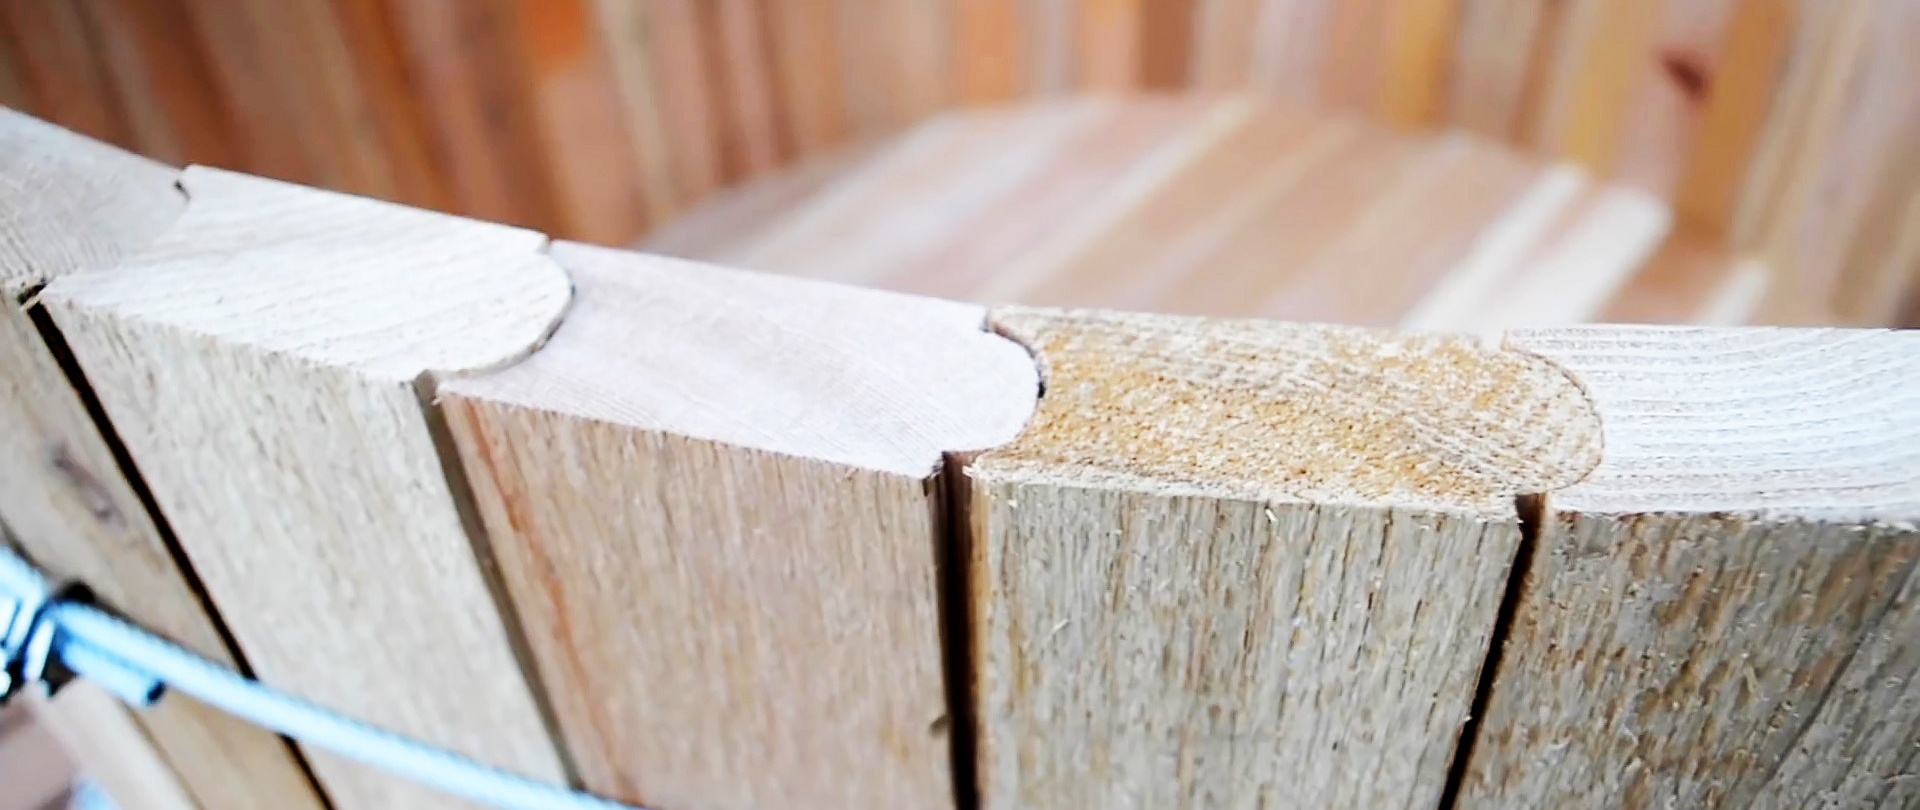
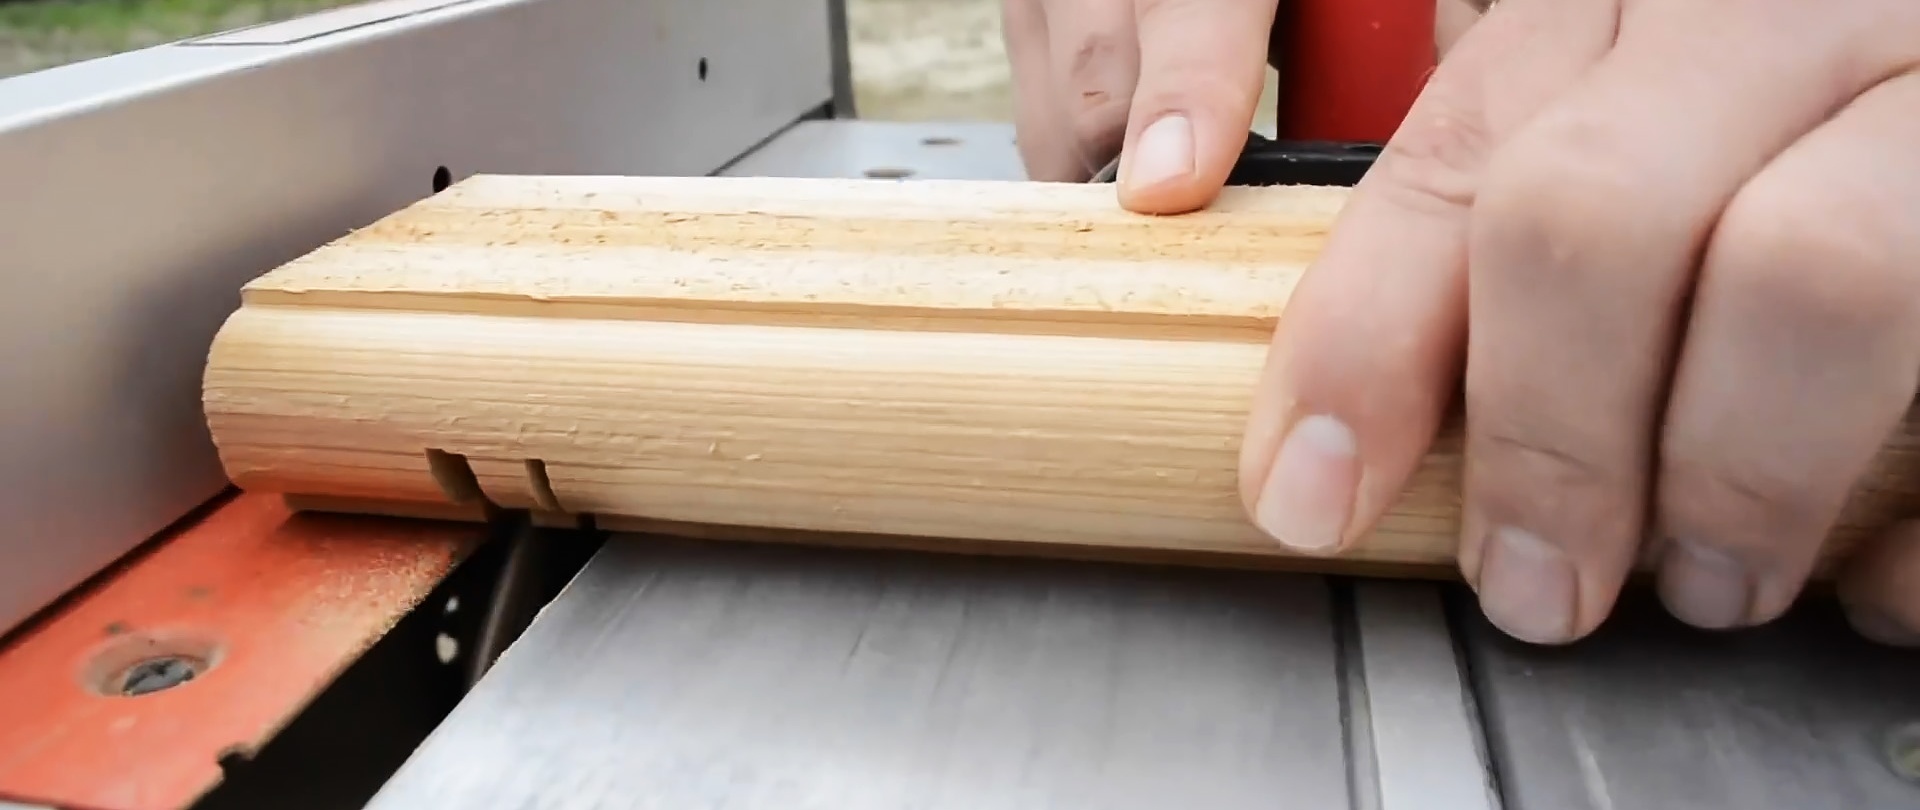
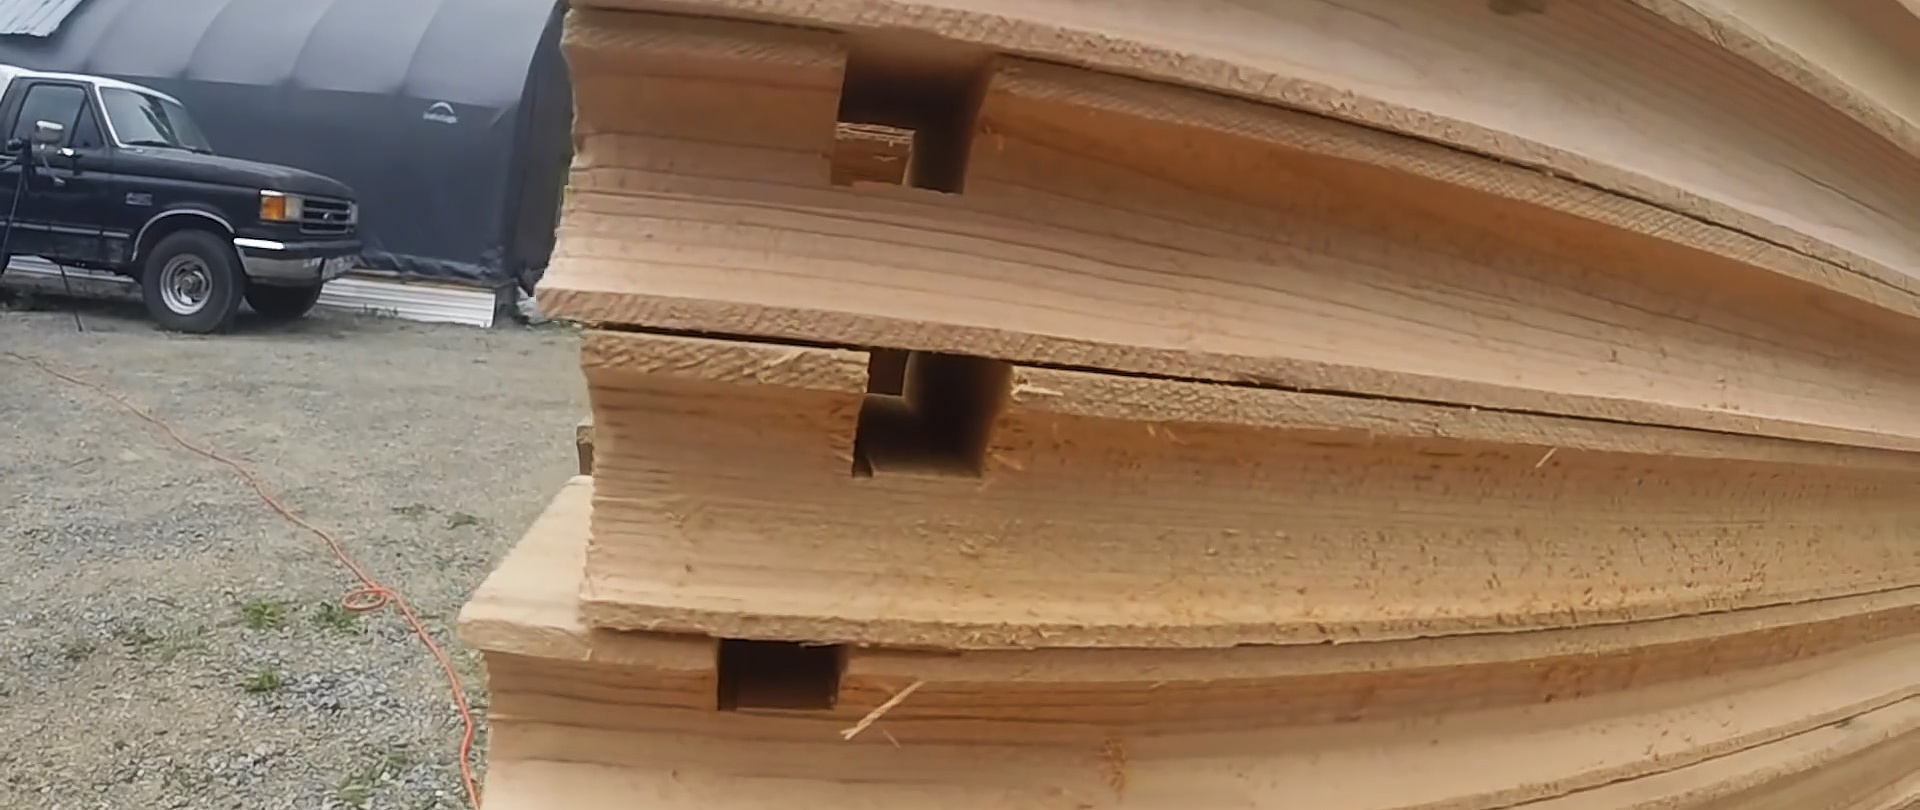
We process the boards with a milling cutter - we round one side, and make a groove on the other side. The planks should fit into each other like the walls of a barrel, so we clean the rounded part with sandpaper.


At a distance of 5 cm from the edge of each board, we make a groove 2.5 cm thick. This can be done using a circular saw, running it several times along the saw. The floor of the future vat will be mounted in this groove.
We join boards 2.5 cm thick together so that a circle with a diameter of 1 m 60 cm can be drawn on them. We nail an 80 cm long block to the center of the fastened boards using a nail, and attach a pencil to the other end. Thus, we get a large compass, which we use to draw a circle on the floor.
Using a jigsaw, cut out a circle along the drawn line. We treat the joints of the resulting floor parts with glue and compress them together using tension belts. Place a weight on top and let it dry.
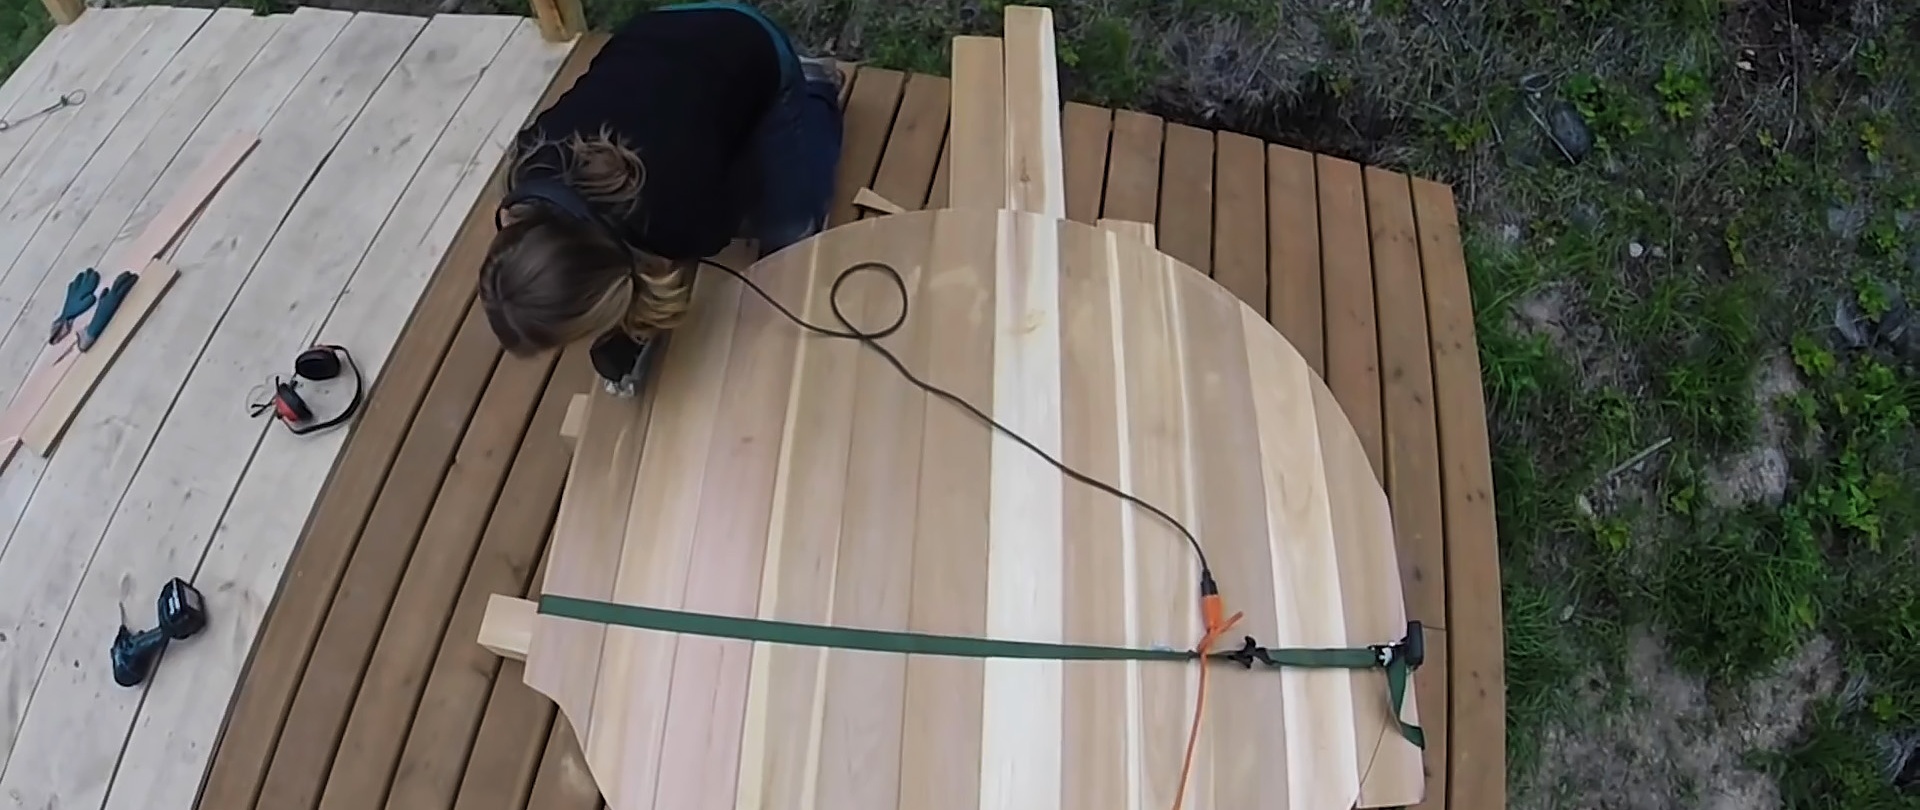
Next, we place the floor upside down on a high stand and clean the end part with sandpaper. It is easier to attach planks with prepared grooves to an inverted floor.
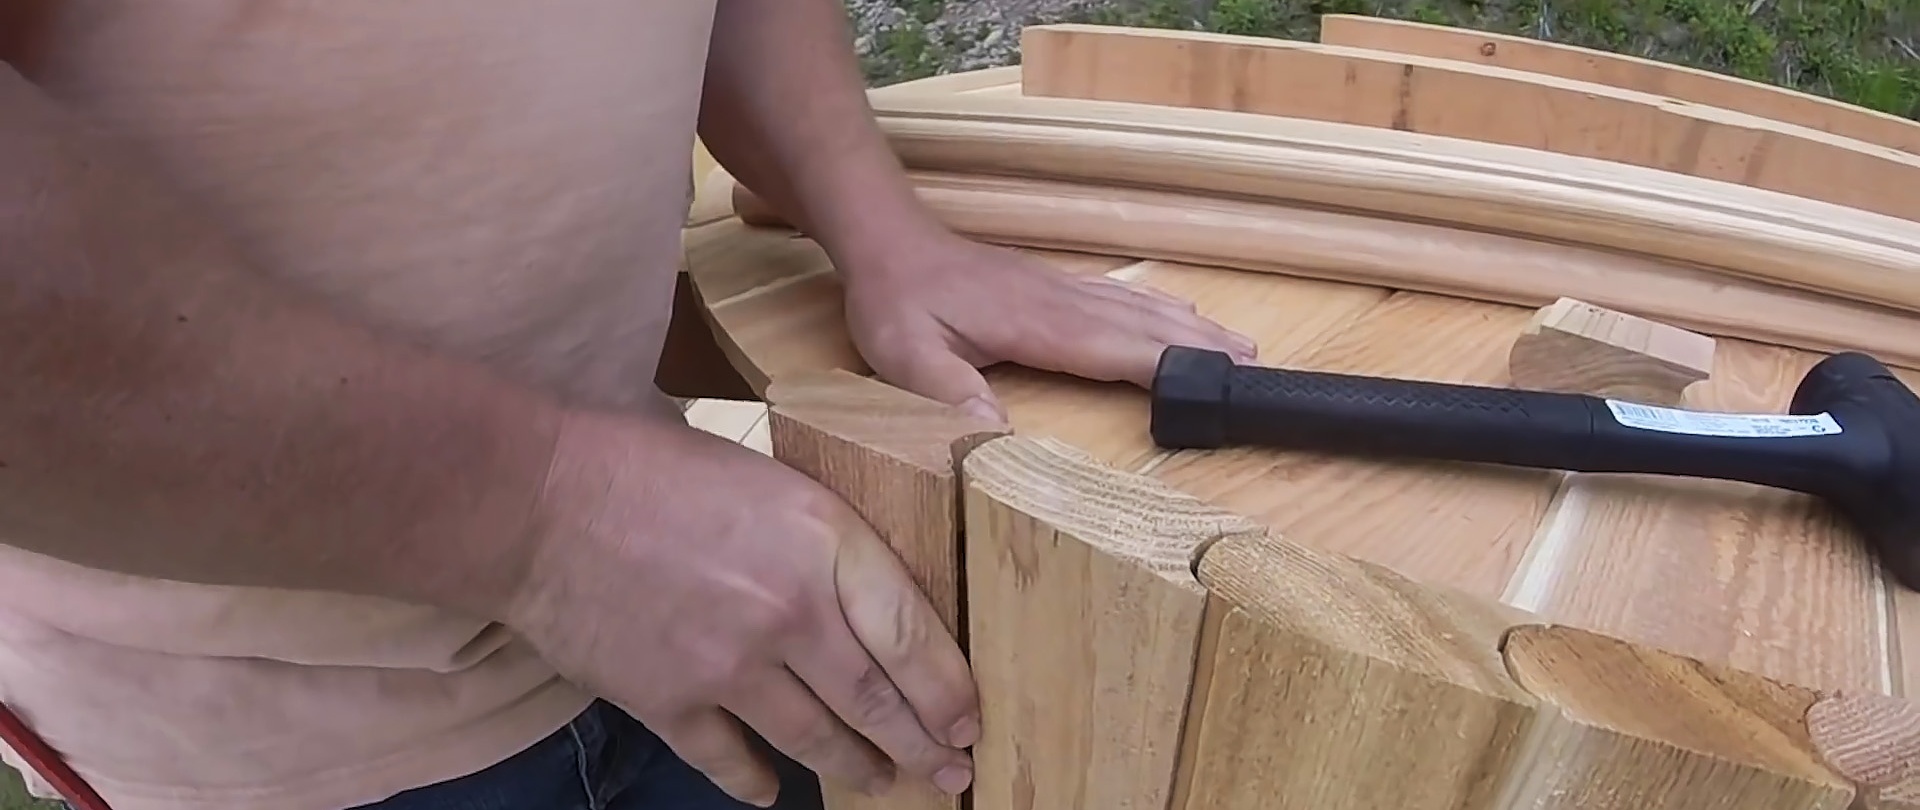
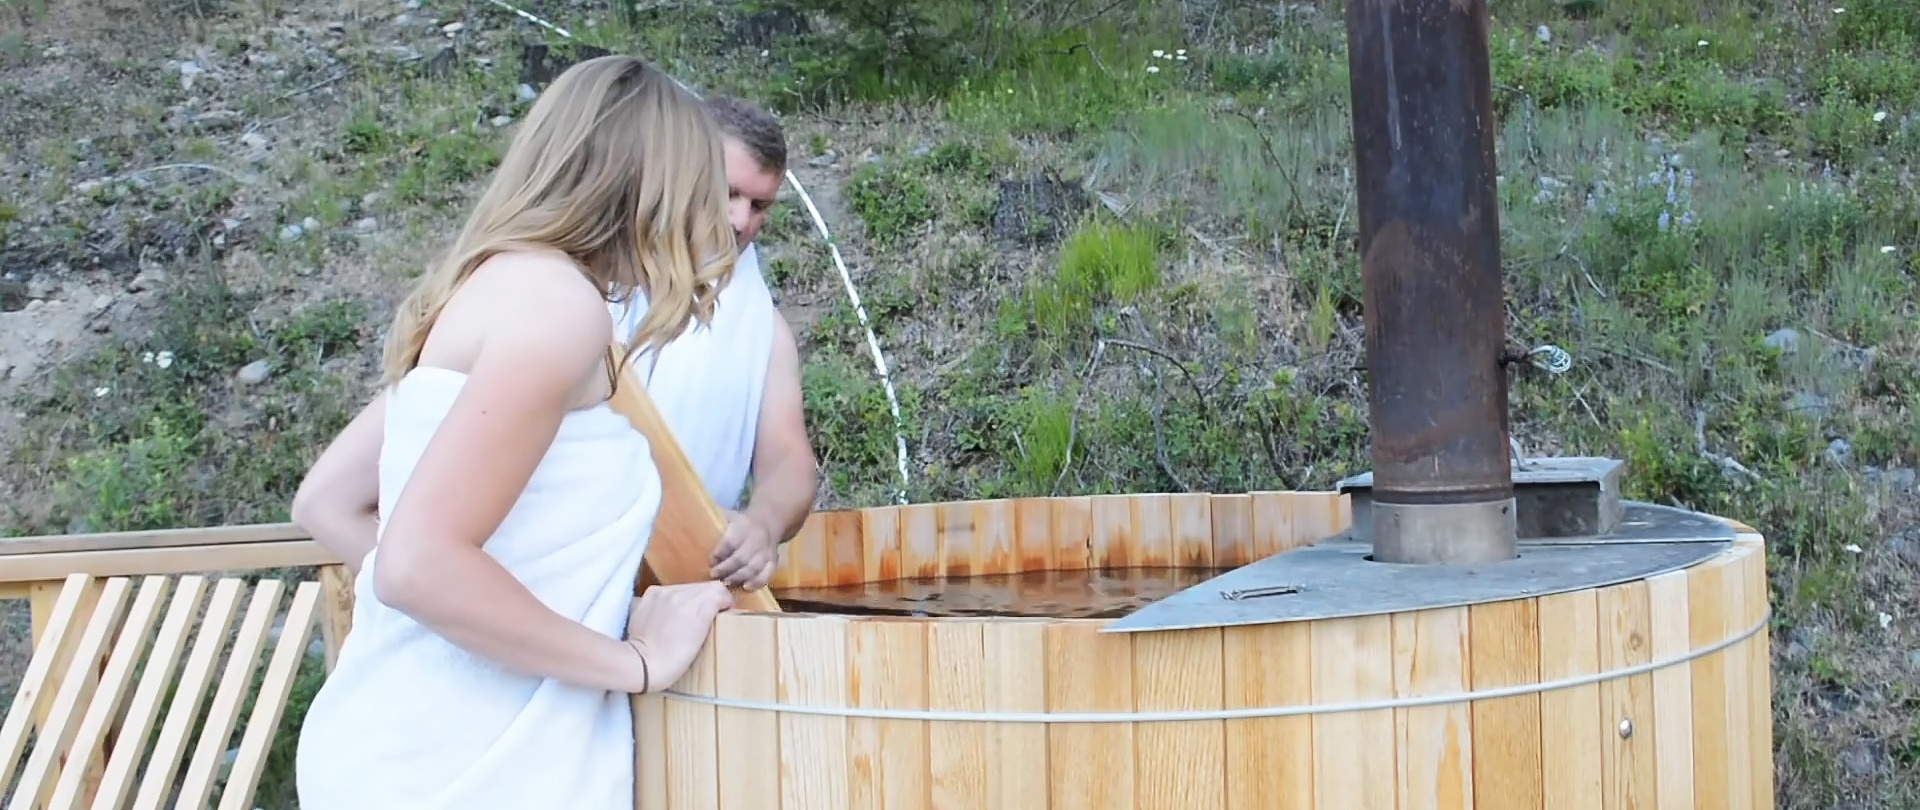
We are installing the walls of the future font. We insert the planks with grooves into the floor and join them together with the rounded part into the groove. To seal the wall elements, we use a rubber hammer and a wooden stand made from scraps.

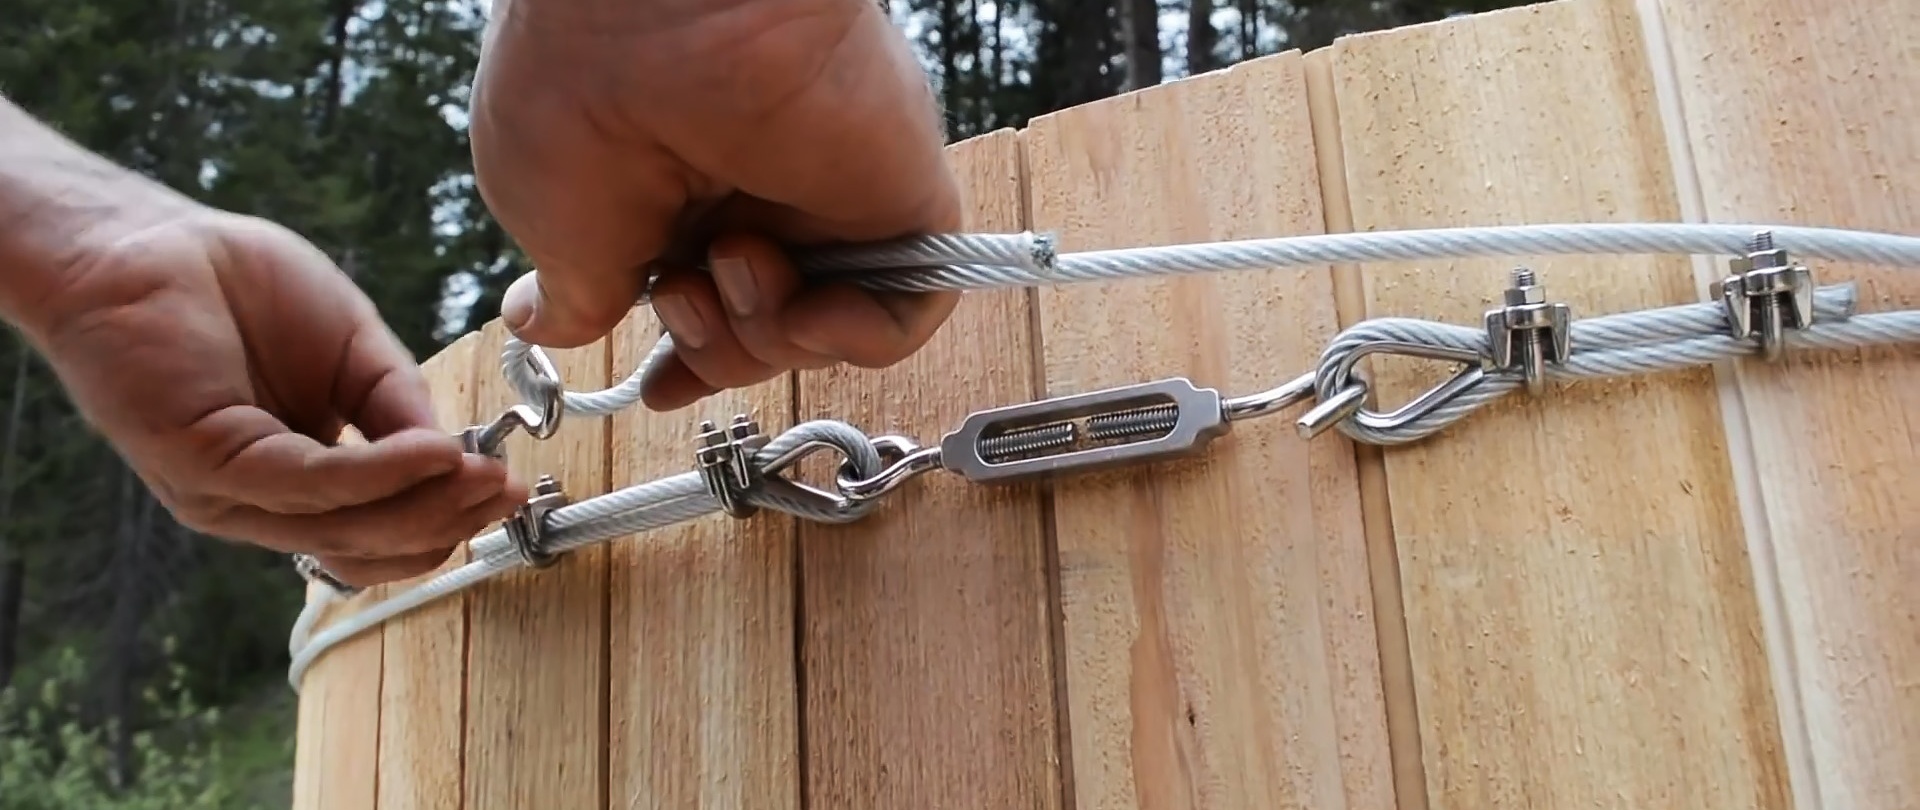
We tighten the walls of the resulting bath using three cables with tension elements. We turn the structure over and place it on the platform.

Halfway around the vat we make a bench for sitting and steps for easy climbing. We attach the elements to the structure.
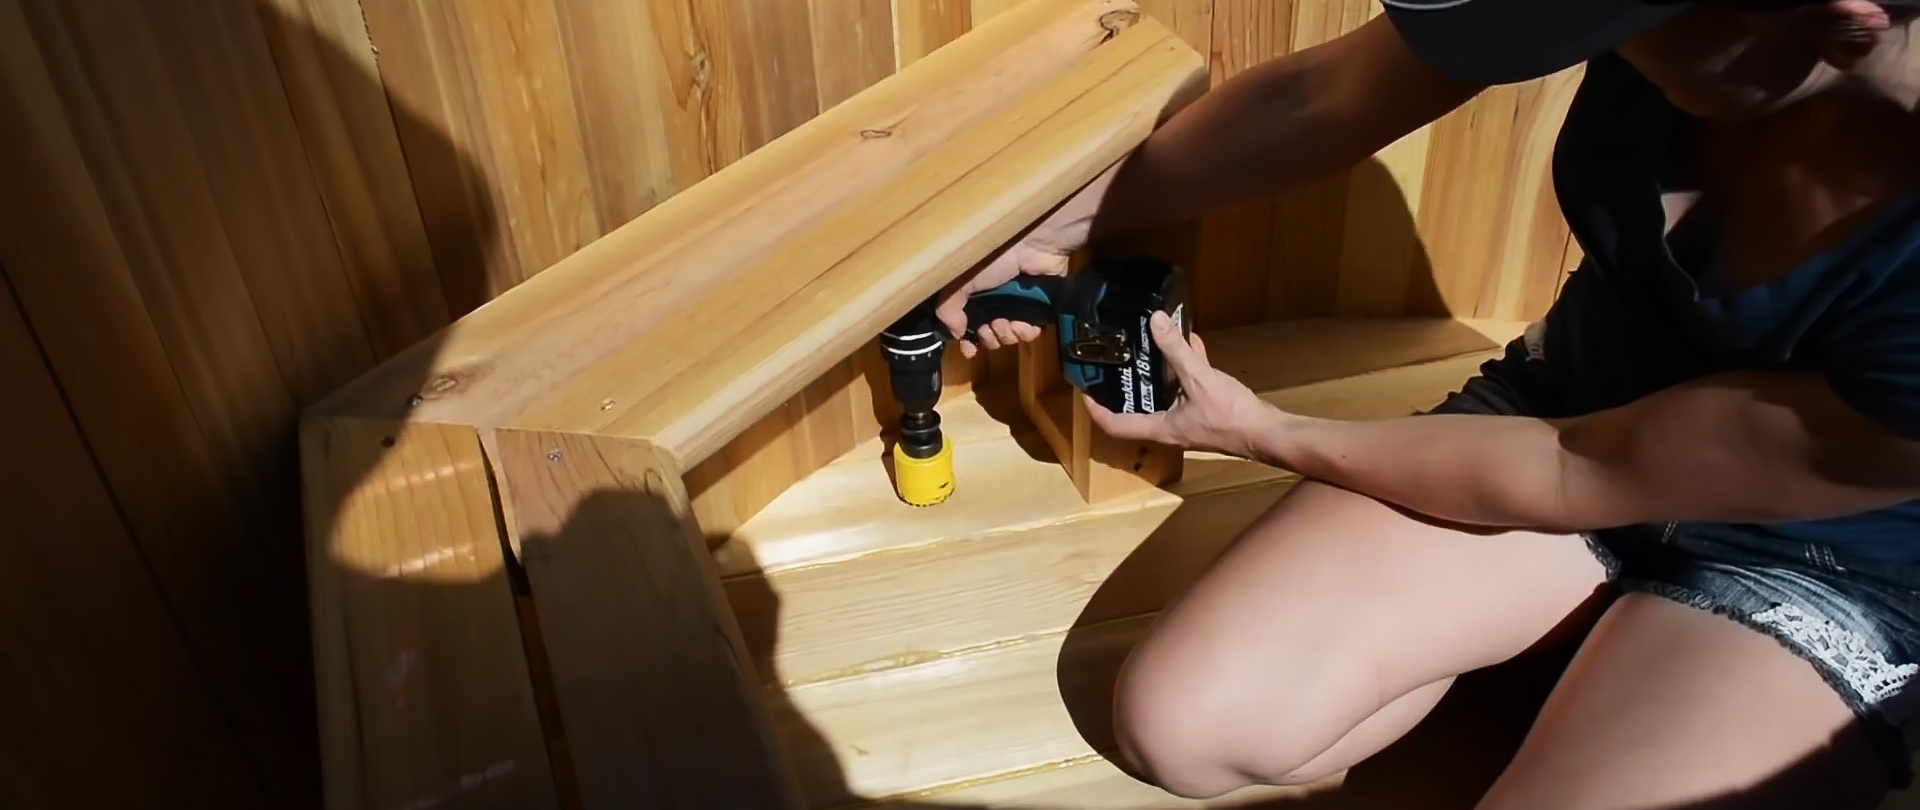
We make a hole in the floor under the bench to drain water. We install the drain neck, and attach a drainage pipe with a ball valve to it. We treat the drainage elements with a waterproof sealant.

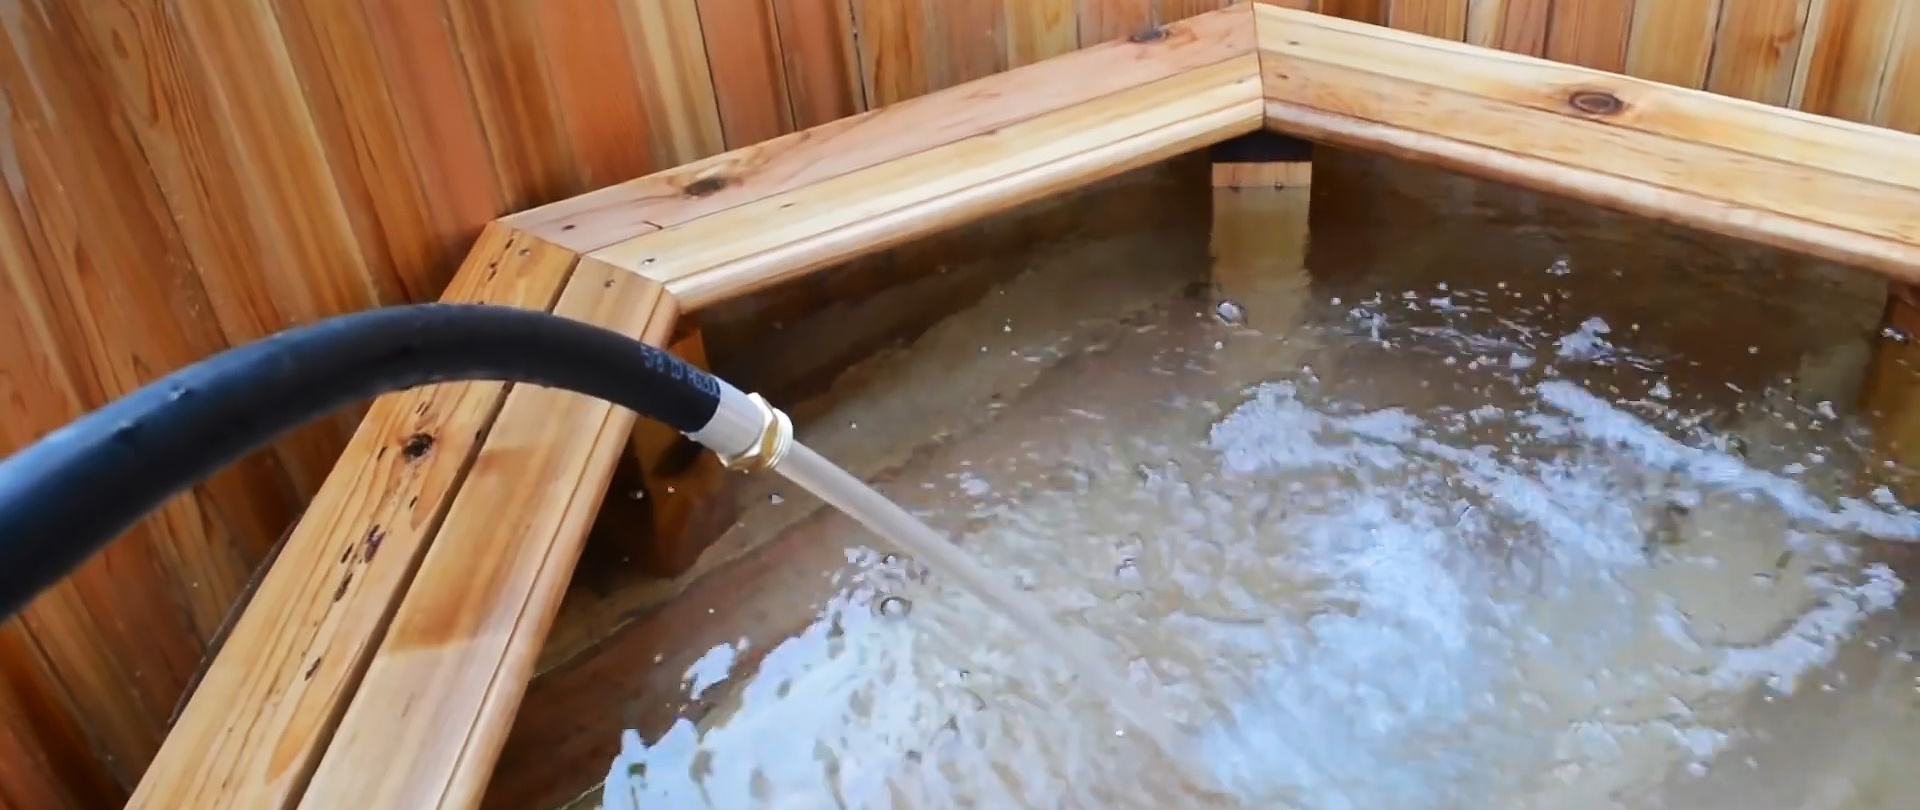
Pour in water so that the wooden structure swells and thickens. Thus, the wet structure clogs the leakage points.
In the part of the bathhouse opposite the bench we place a potbelly stove with a top loading of firewood. We fix it to the walls of the vat and light it.

The water in the bathhouse is heated and you get a hot tub in the open air. Have a nice holiday!