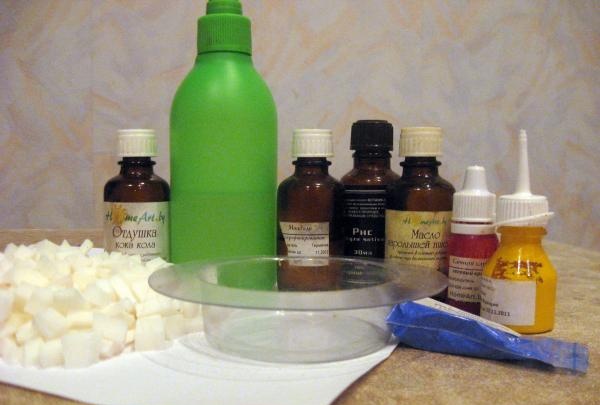
In order to make soap at home we will need:
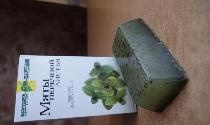
1. 70 grams of soap base (white base was used here);
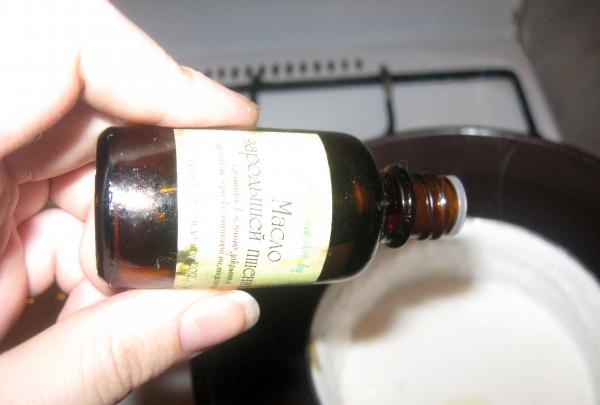
2. Basic oils of wheat germ, almond and rice (you can use any oils that you have on hand);
3. Coca-Cola flavor;
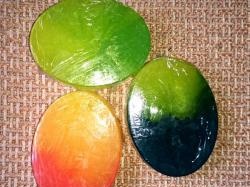
4. Pigments of blue, yellow and red (they can be replaced with food coloring, but in this case you need to take into account that they may mix with each other over time);
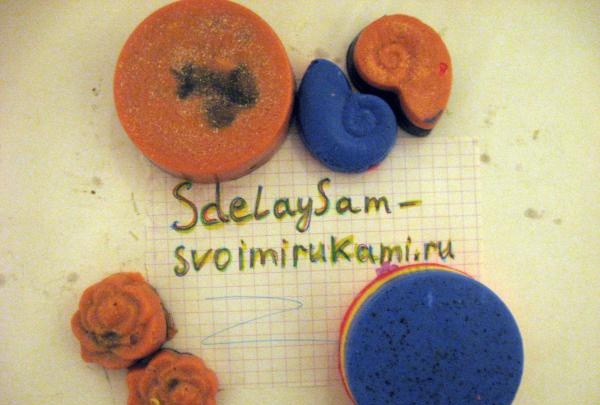
5. Soap mold;
6. Utensils for melting the base (make sure that the utensils you choose will not be used in future cooking);
7. Liquid to remove bubbles (can be replaced with alcohol);
8. And, of course, the most necessary thing in soap making is inspiration and imagination.
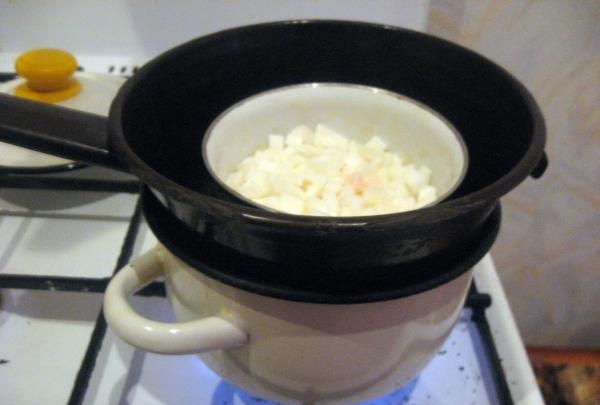
After all the components of your future soap have been found, you can begin the soap making process itself. First, you need to finely chop the soap base, so it will melt faster. After which the container with the base must be placed in a water bath. To do this, you will need a small saucepan with water, into which you then place a container with the base. It is important to ensure that water does not get on the soap base. As the water heats up, the temperature of the container will increase, and as a result, the base will melt. In this case, you need to ensure that the base does not boil.
After the base has melted, you can add fragrance and base oils (7-10 drops of each oil).
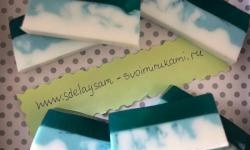
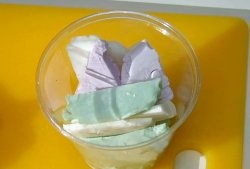
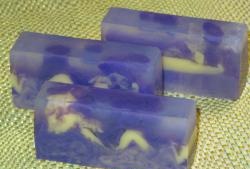
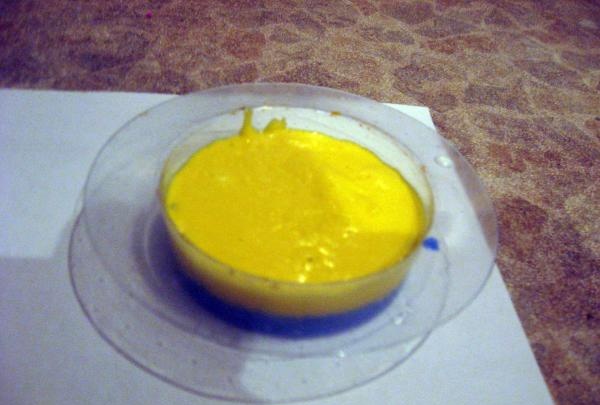
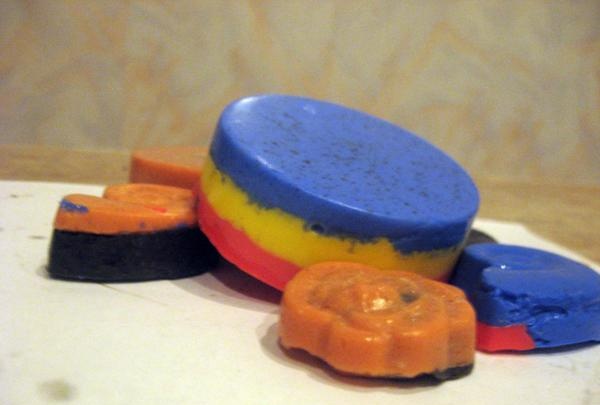
In this master class, the soap is three-colored, so the base needs to be divided into three equal parts and pigment added to each part (3-4 drops are enough). Now we take a container with a blue base and pour it into a soap mold (the mold must first be sprayed with liquid to remove bubbles).

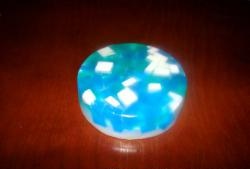
After the blue base has hardened a little, pour the yellow base into the mold and then add the remaining red base. Then again spray the soap with liquid to remove bubbles.
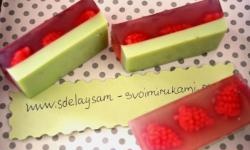
Now the mold with almost finished soap needs to be placed in the refrigerator (this will allow your product to cool faster). After 30-40 minutes, the soap can be removed from the mold.
The finished soap should “ripen” for another 2-3 days in a cool, dry place. After which it can be used.