Most construction work is difficult to do alone without a helper. However, if you choose materials wisely and plan your action plan correctly, you can even do insulation quite comfortably. Let's consider how and with what you can insulate a house, saving at least 2 times compared to standard solutions.
What you will need:
- Foam plastic 100 mm;
- glue foam;
- foam cutter;
- spray;
- bubble level.
The process of insulating a house
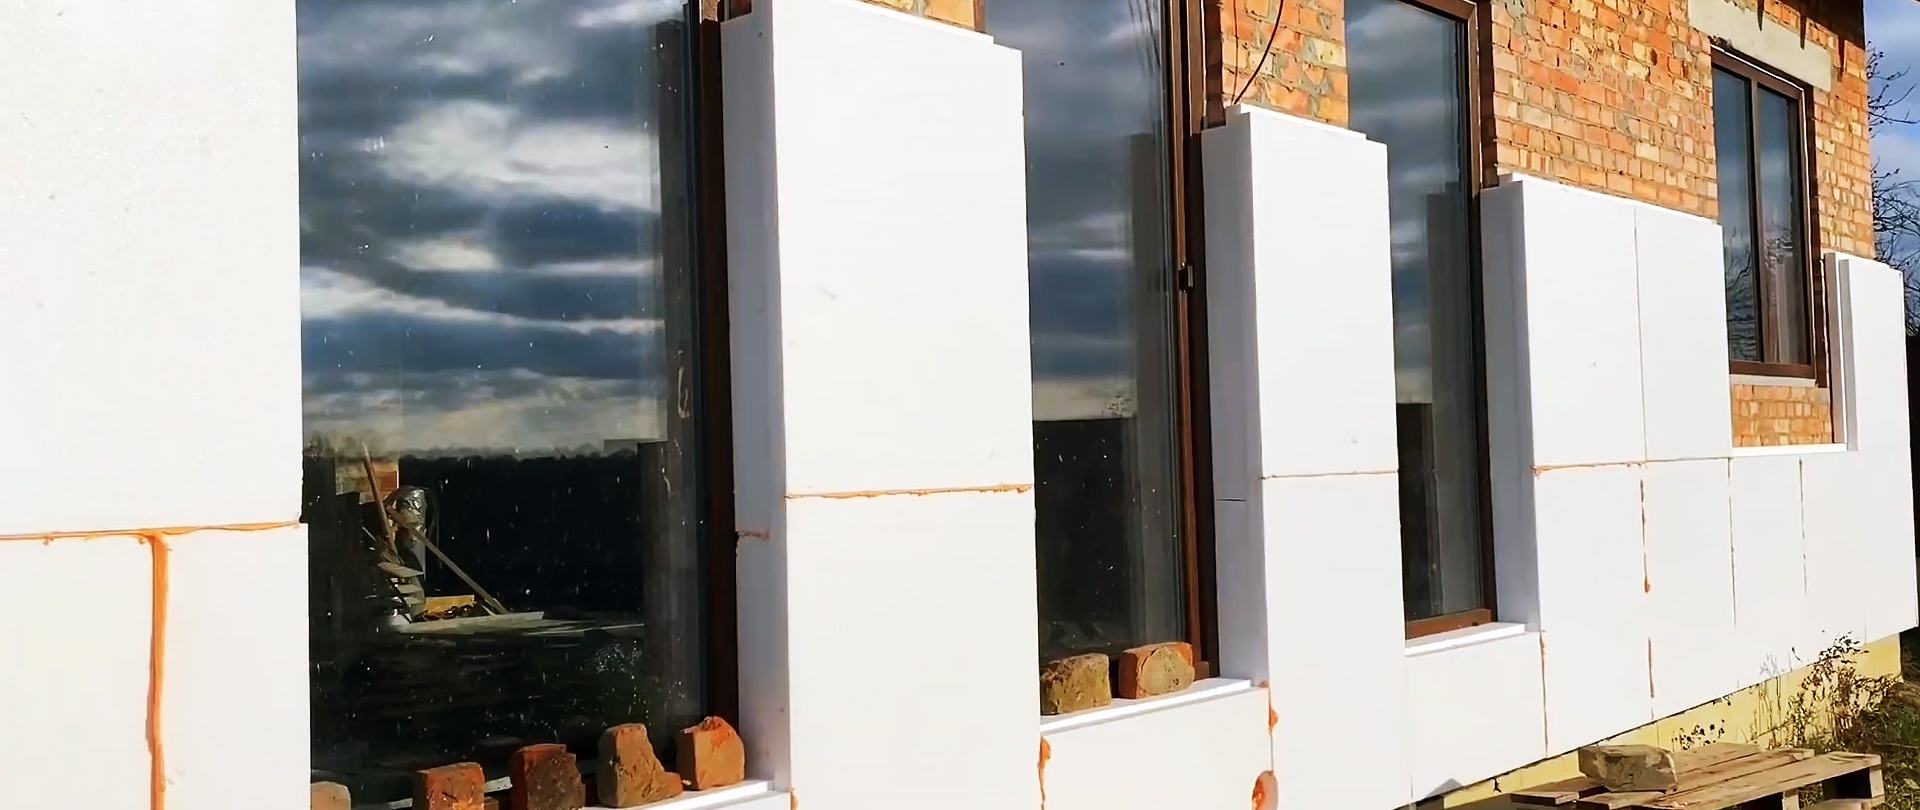
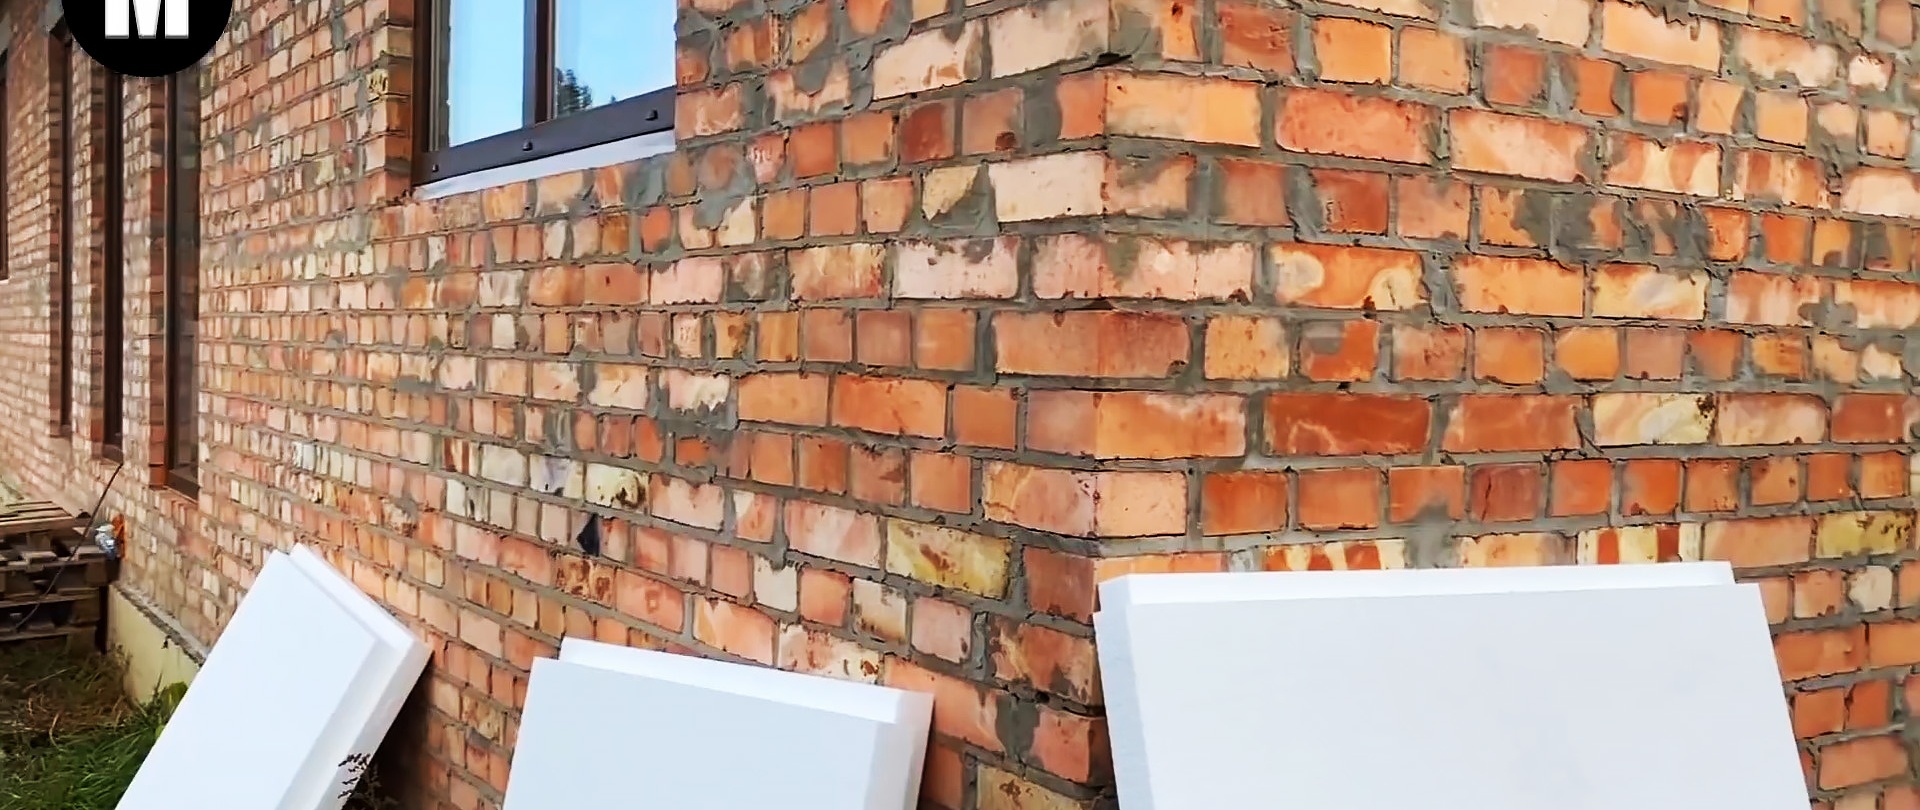
The cheapest facade insulation on the market is polystyrene foam. It is compatible with most materials used for masonry walls, so it can be considered universal. If you want to save money, it is best to stop there. For a central climate, its thickness should be about 80 mm, so we feel free to purchase 100 mm sheets.
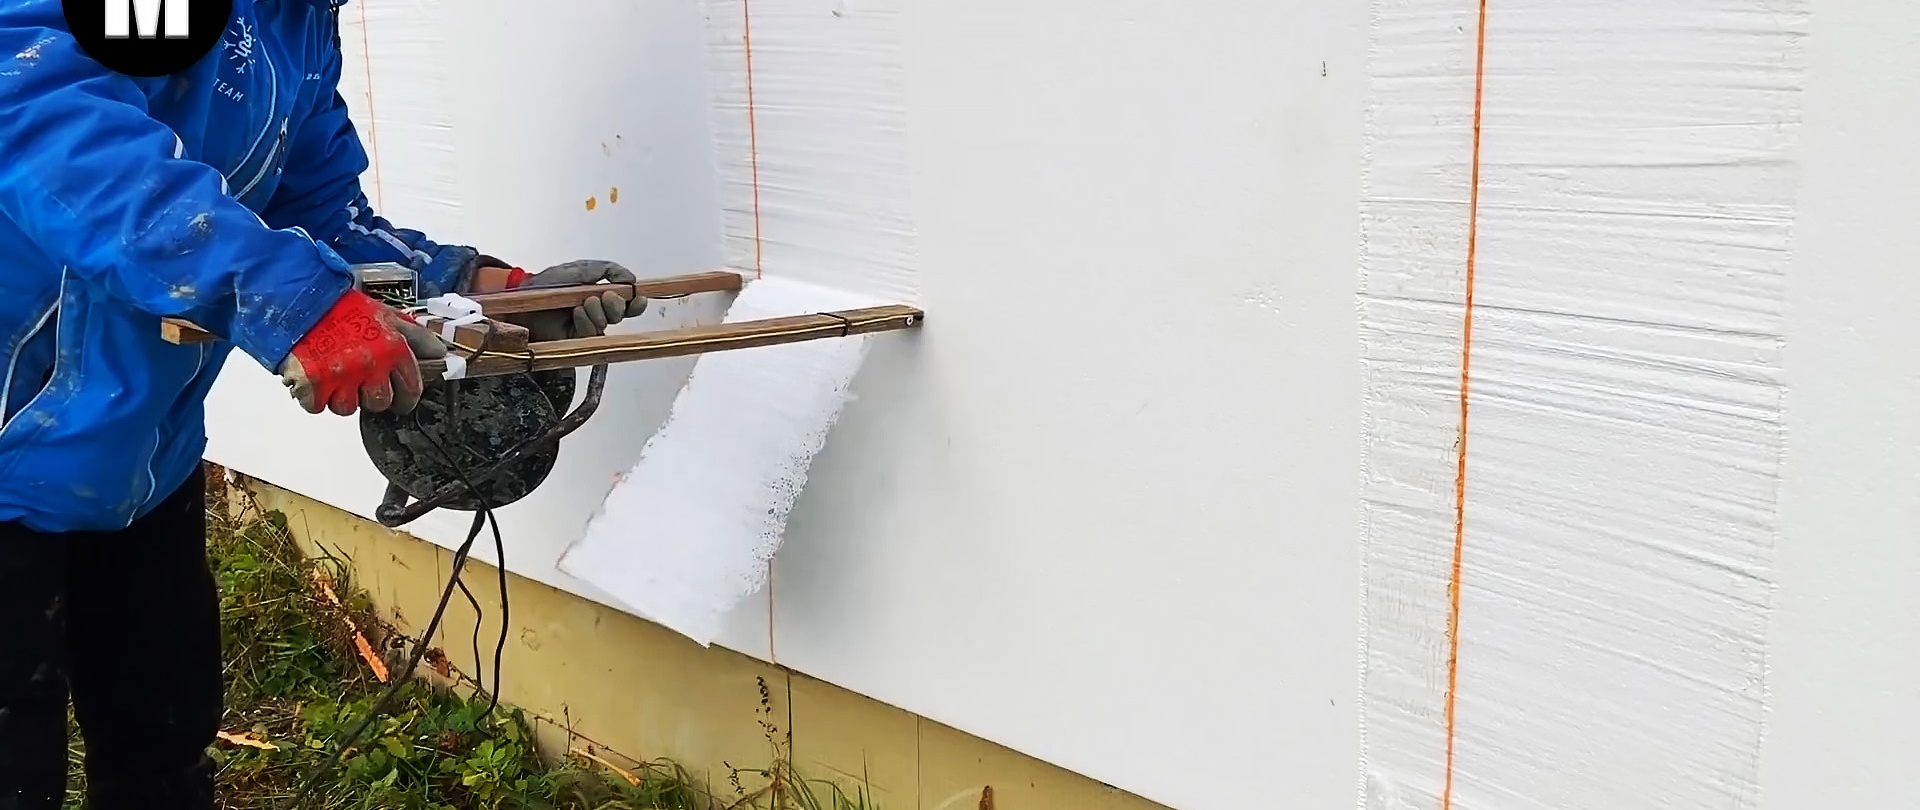
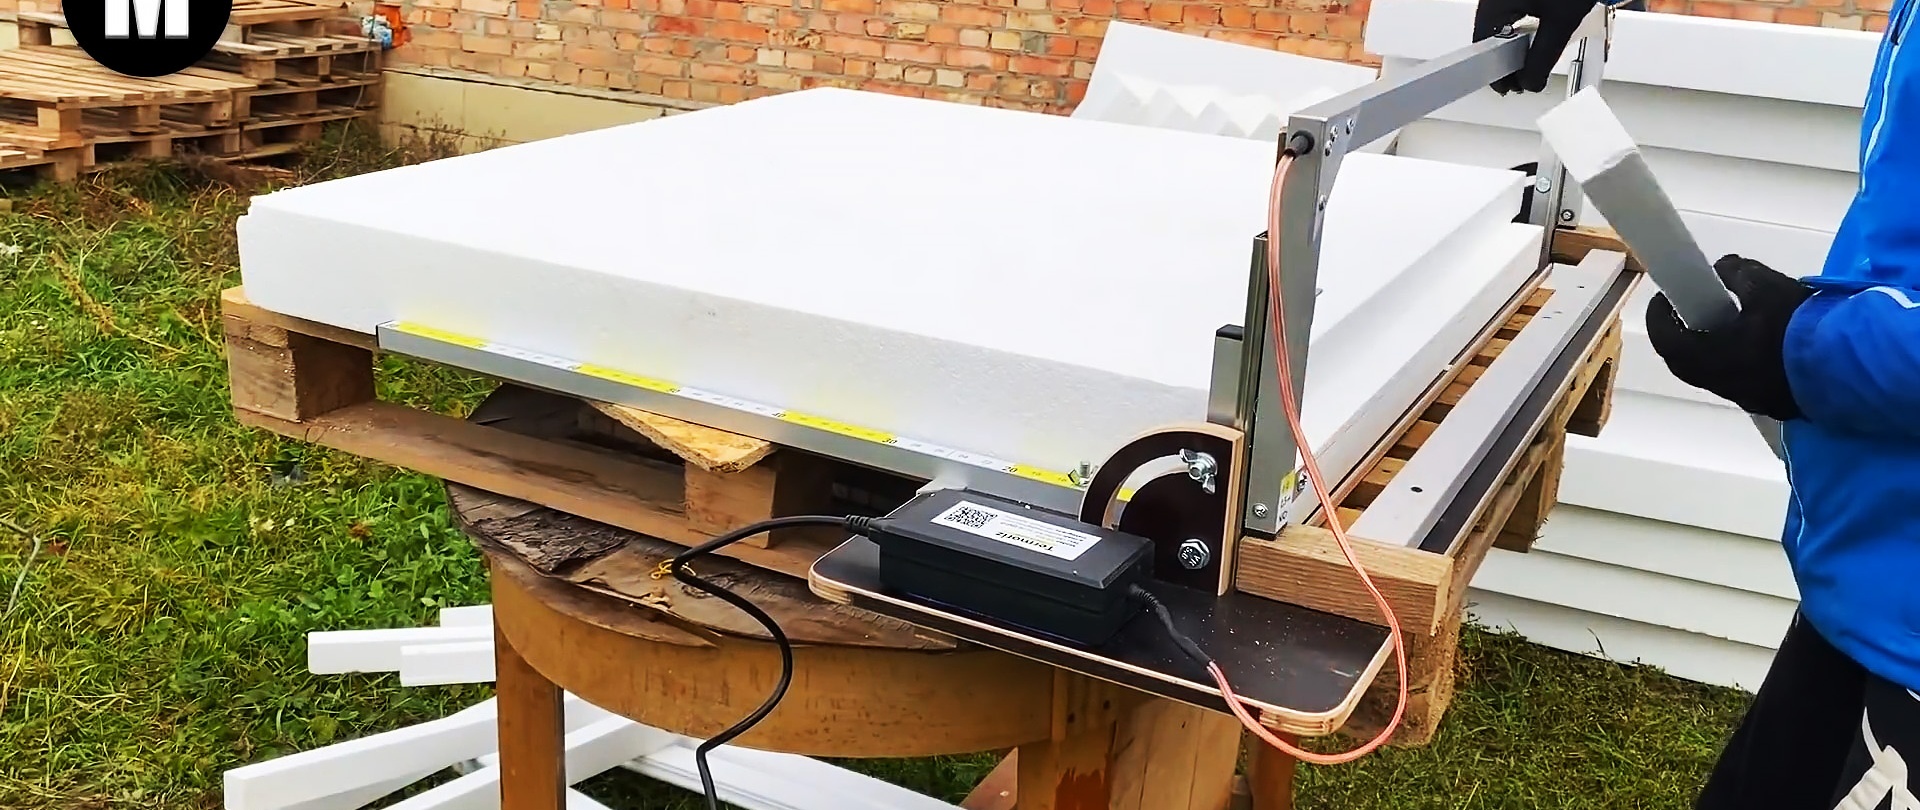
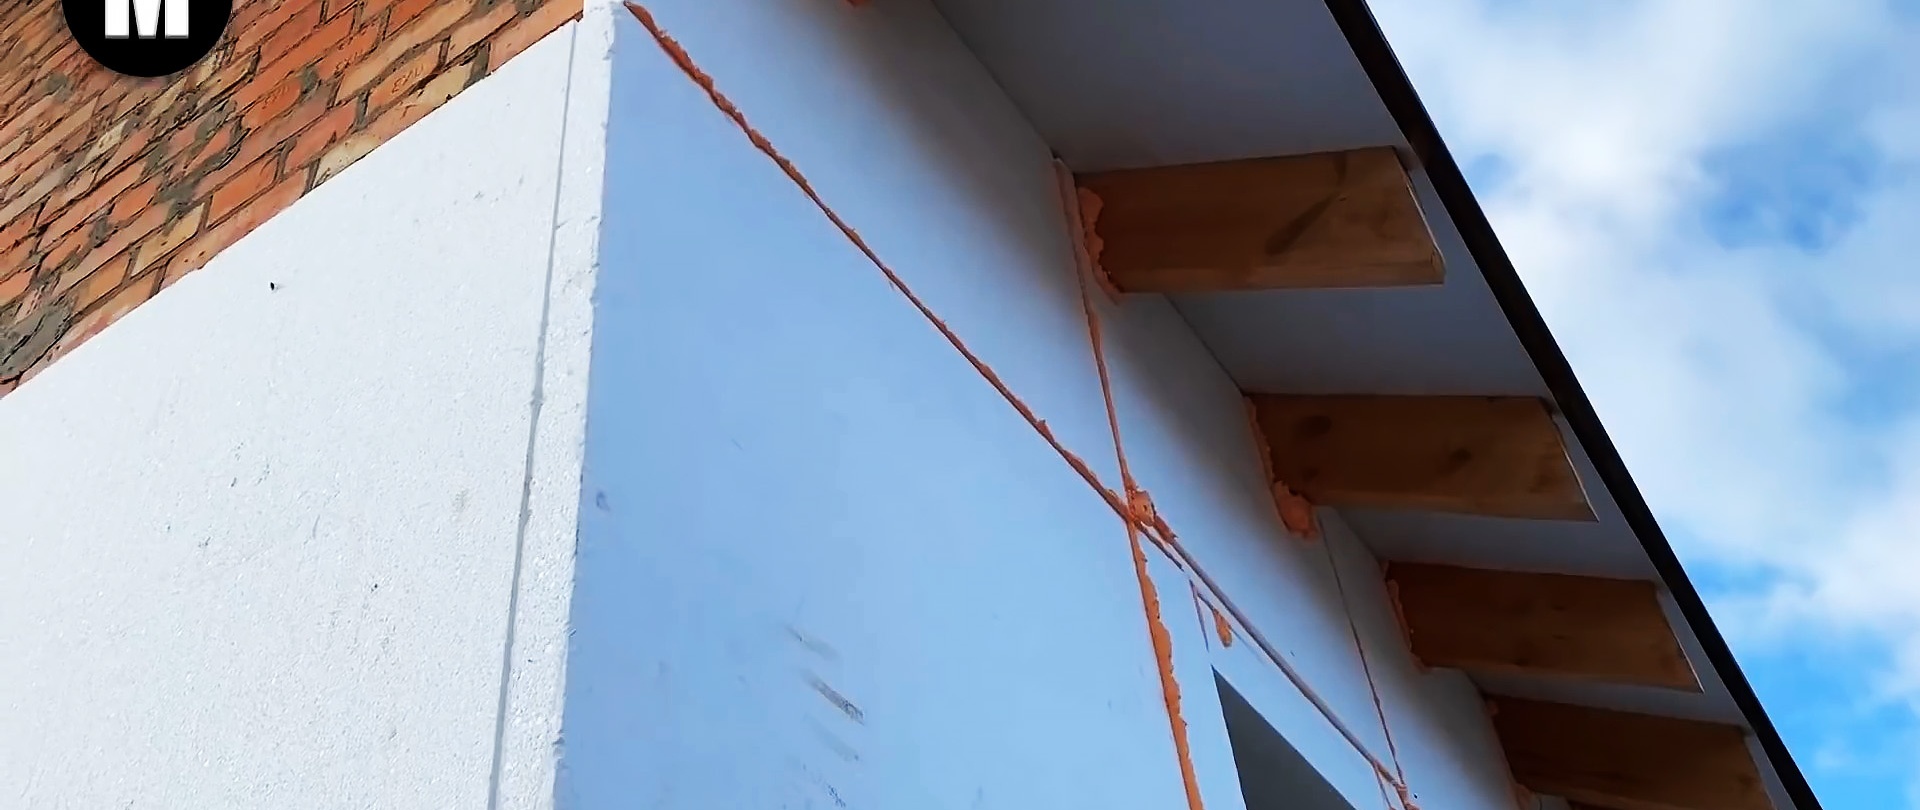
In order to join the sheets on the facade without creating cold bridges at the seams, they need to be modified. On them, using a purchased or homemade cutter, you need to cut grooves to a depth of 50 mm and a width of 35 mm. The cutter is a stretched nichrome thread, which is heated by a 12V transformer.

Cutting is performed as follows. We set the height of the horizontally stretched thread above the table at 50 mm. Then, after 35 mm, we attach the limiting rail behind the thread. Thus, running a sheet over the thread, we cut it 35 mm lengthwise, and then cut off half with an upward movement, thereby forming the desired lock. To join sheets at the corners, grooves are made 50x50 mm.
It should be taken into account that polystyrene foam weakly withstands mechanical stress, so it is better to pre-insulate the protruding part of the foundation with dense polystyrene foam. It tolerates winter soil heaving better. Expanded polystyrene will serve as a flat base for the placement of foam sheets. If your project does not include polystyrene foam, then you can temporarily screw a block on which the sheets will rest, which will make installation of the first row easier.

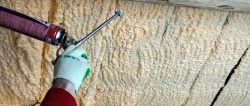
Attaching foam plastic to the wall is best done using foam adhesive. It is much easier and faster, and at the same time very reliable. The foam is applied along the perimeter of the sheet with an indentation of 3 cm from the edge, as well as diagonally. After this, the sheet is left for a couple of minutes so that it finally expands. But you need to glue it before the foam is covered with a dry crust. If this happens, she will no longer hold on. When applying foam, it is better to point the gun backwards rather than forwards.
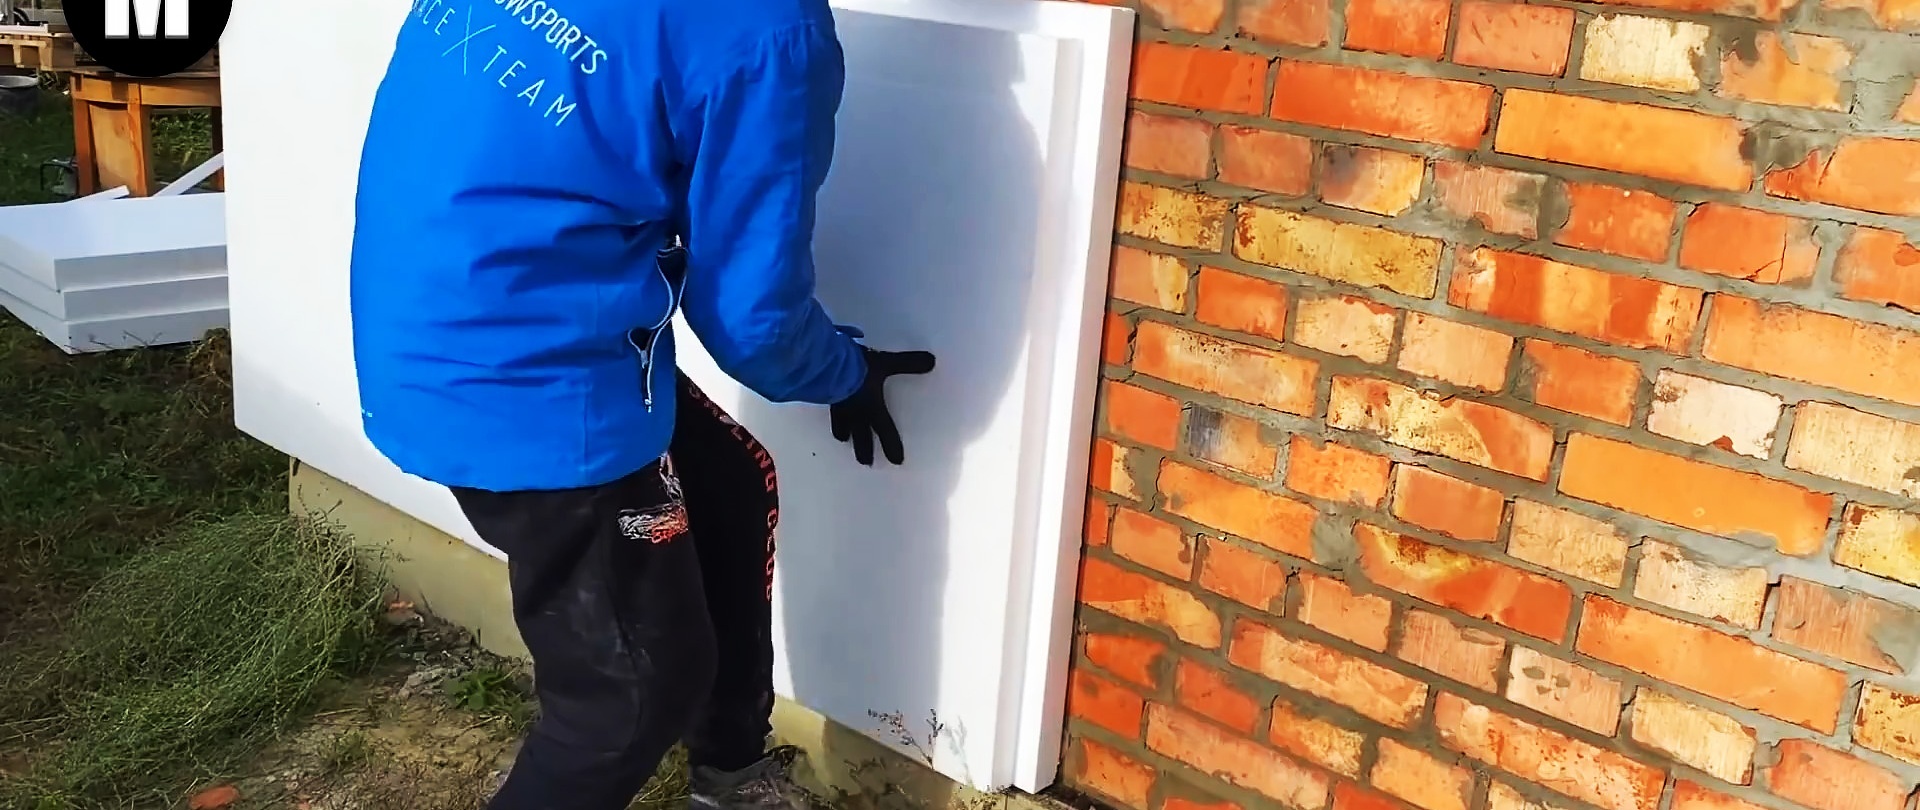
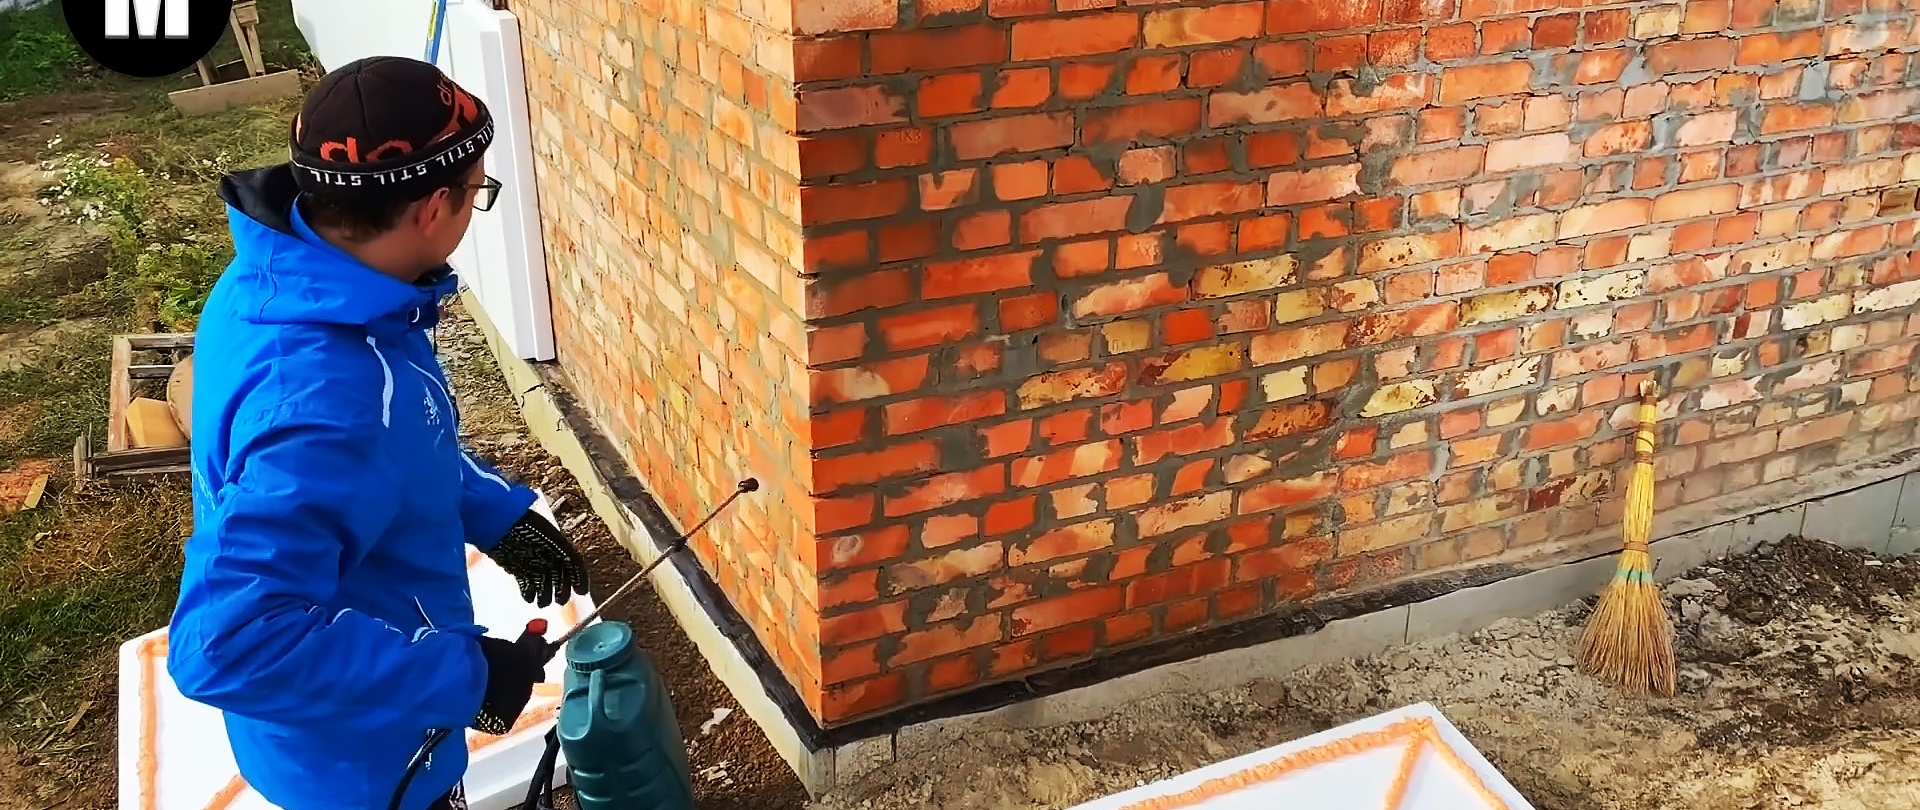
Before gluing the sheets, the wall must be sprayed with a spray bottle. Letting the foam stand for a couple of minutes will prevent the foam from starting to bend from linear expansion after being leaned against the facade.
After pressing the sheet, we control the plane with a long level or rule.You need to hold the foam for about a minute, after which the foam will no longer allow it to move, and you can work on the next sheet.

It is optimal to first glue the sheets in the corners, and then glue the rest of the foam between them along a stretched thread. If the wall under the sheet is crooked, then when gluing it you need to hold it for 2-4 minutes until the foam fills the unevenness and fixes the desired position.
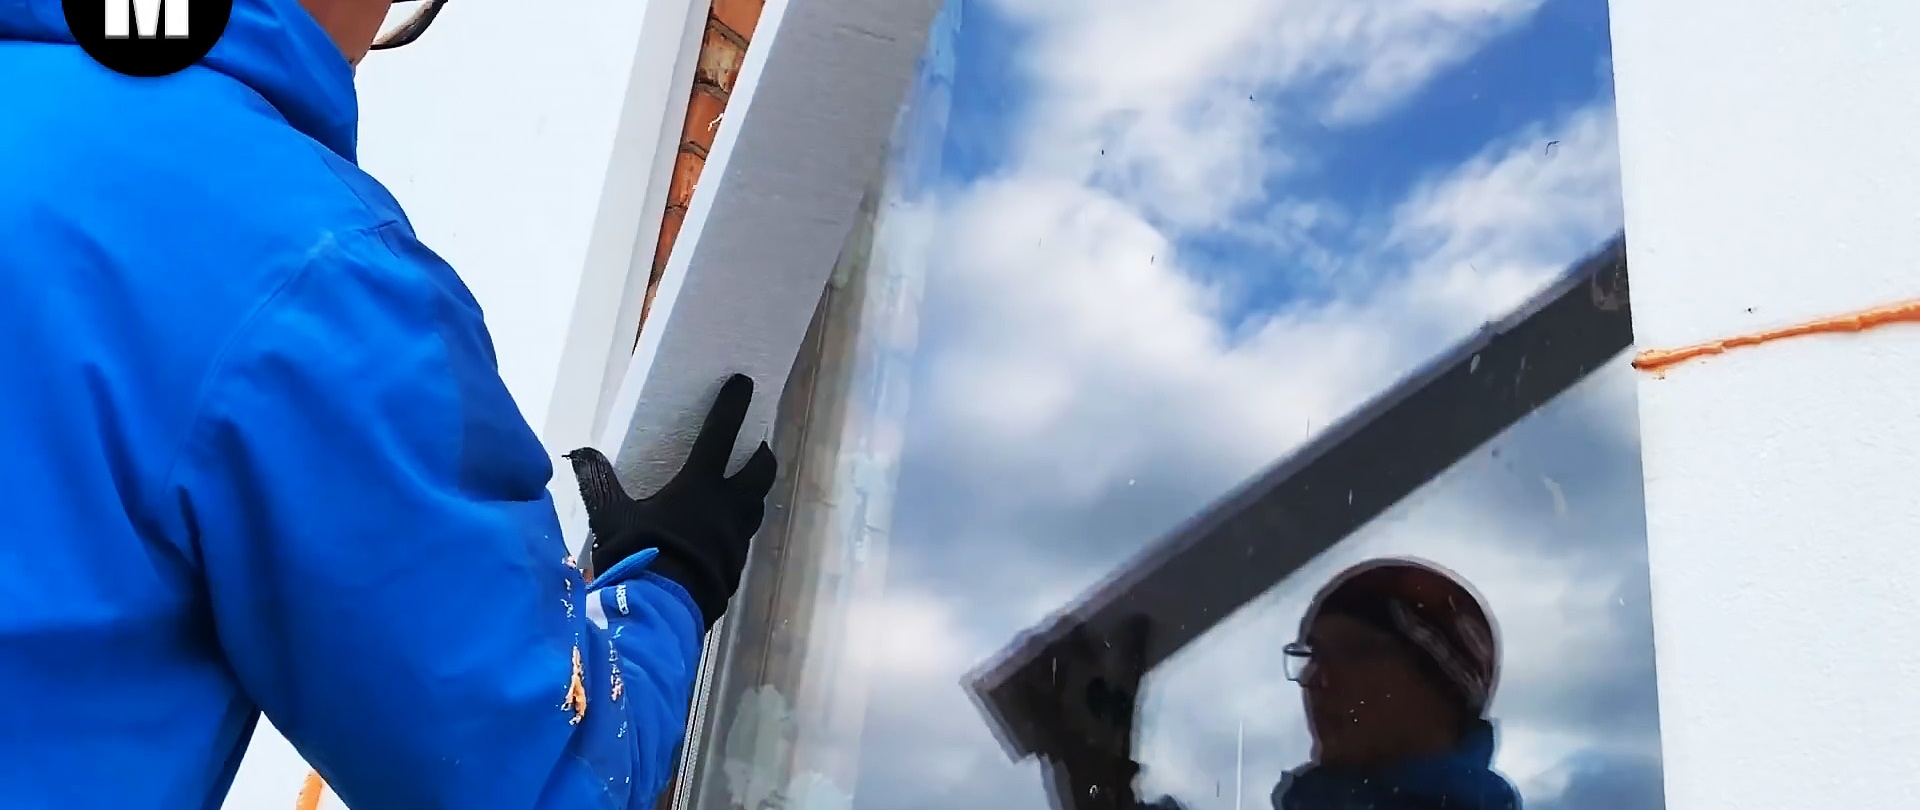
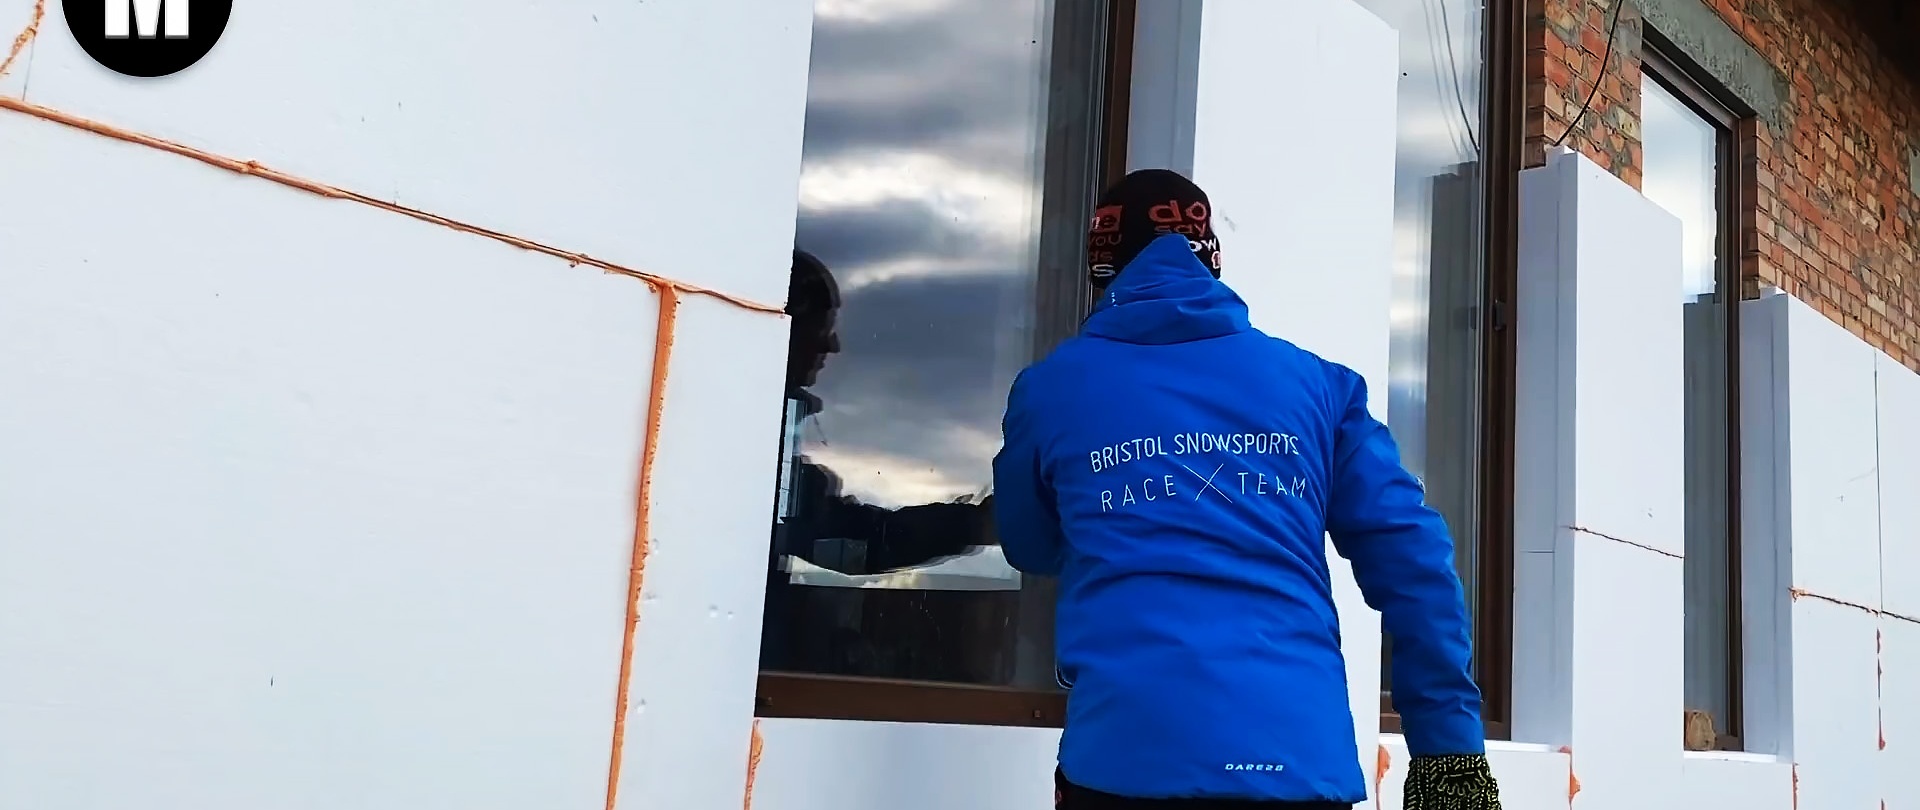
Thanks to the grooves, it is possible to simultaneously insulate the slopes, completely eliminating cold bridges. It is worth gluing on them not polystyrene foam, but dense 30 mm polystyrene foam. It fits perfectly with the cutter cut locks.
After gluing the polystyrene foam with foam, you can begin plastering work on the second day, since it does not require much time to set.

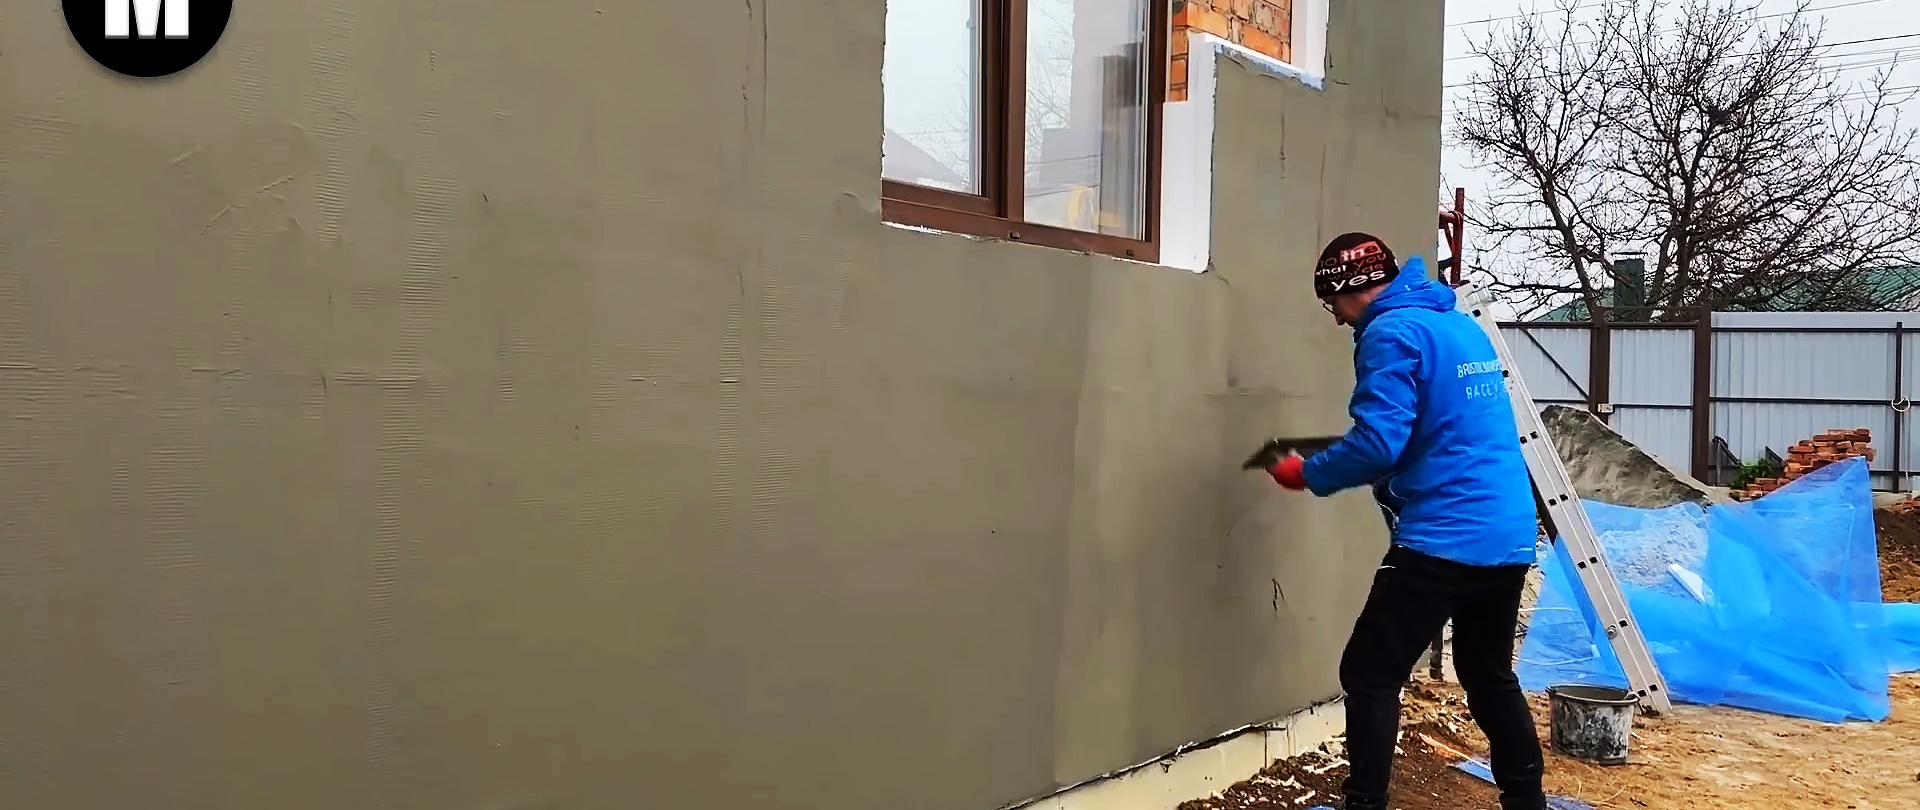
To avoid overuse of plaster, the foam that sticks out in places can be cut off.