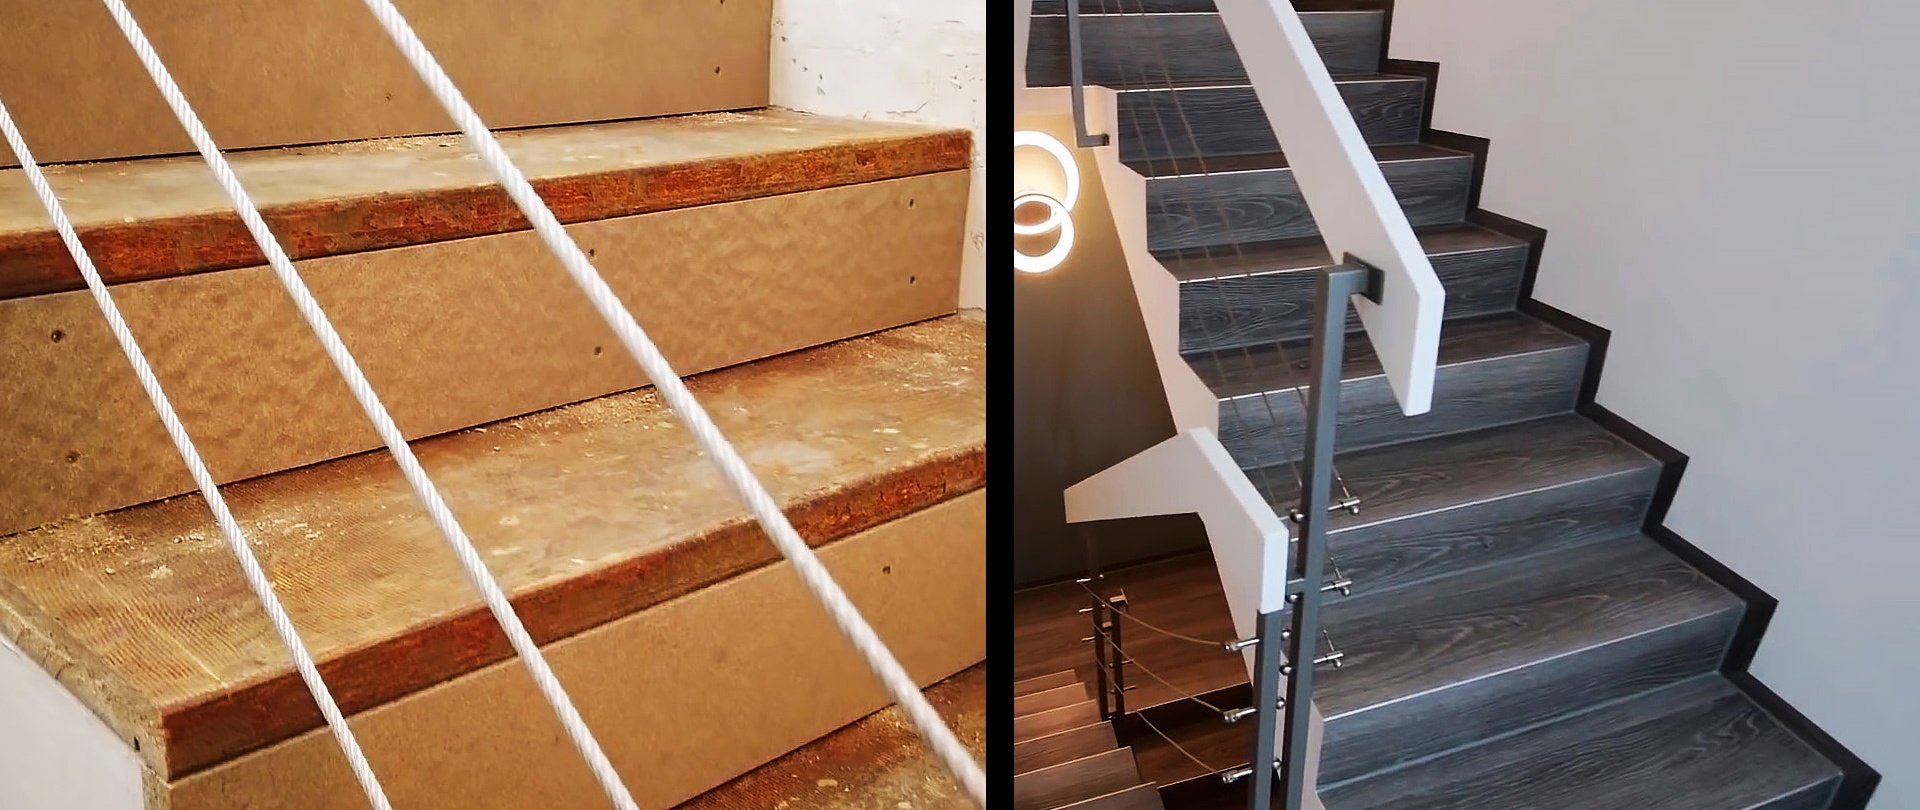
Vinyl tiles are one of the most attractive materials for finishing stairs. It is relatively warm, light and non-slippery, and most importantly it looks beautiful. In addition, it normally tolerates vibrations and deformation of the base underneath it, so it is ideally suited for finishing a wooden staircase. Regular tiles do not stick to a sagging wooden base, so vinyl will be the only equivalent alternative. But in order to glue it onto wooden steps reliably and beautifully, you need to know the technology.
Materials:
- Vinyl tiles;
- chipboard;
- external embedded aluminum profile for vinyl tiles;
- silicone sealant;
- elastic filler for wood;
- self-tapping screws;
- contact adhesive for vinyl tiles.
The process of finishing stairs with vinyl tiles
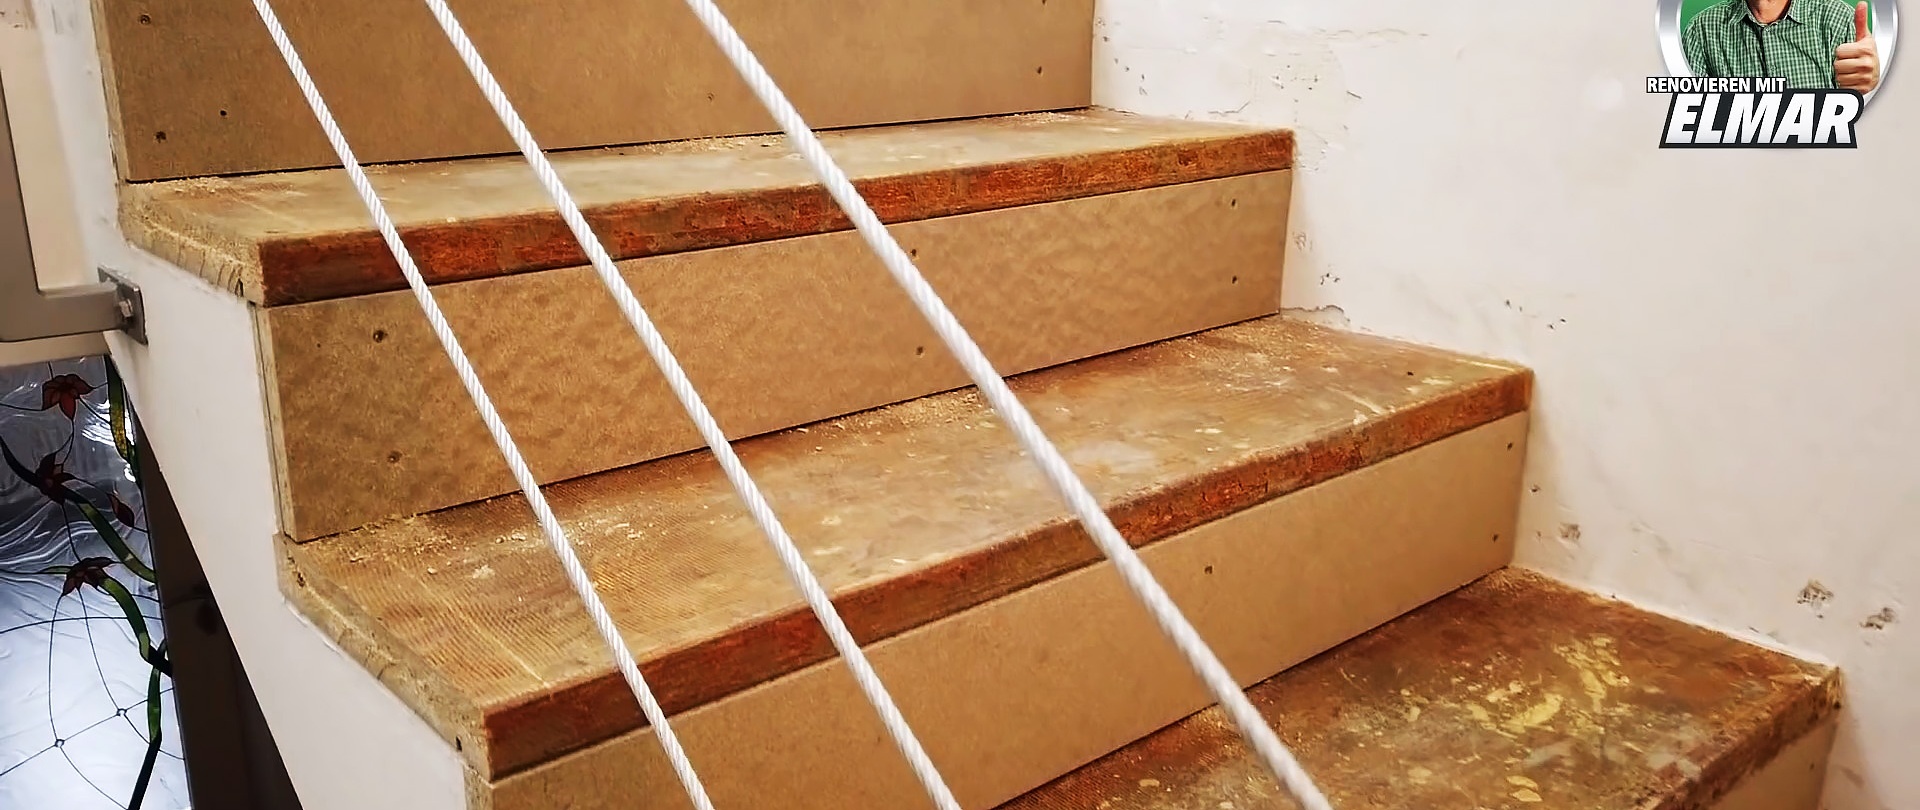
If the degree protrudes to the side beyond the stringer of the stairs, then it needs to be trimmed, since it will not be possible to finish this area with vinyl tiles. You can cut it down with a jigsaw or a hand-held circular saw.
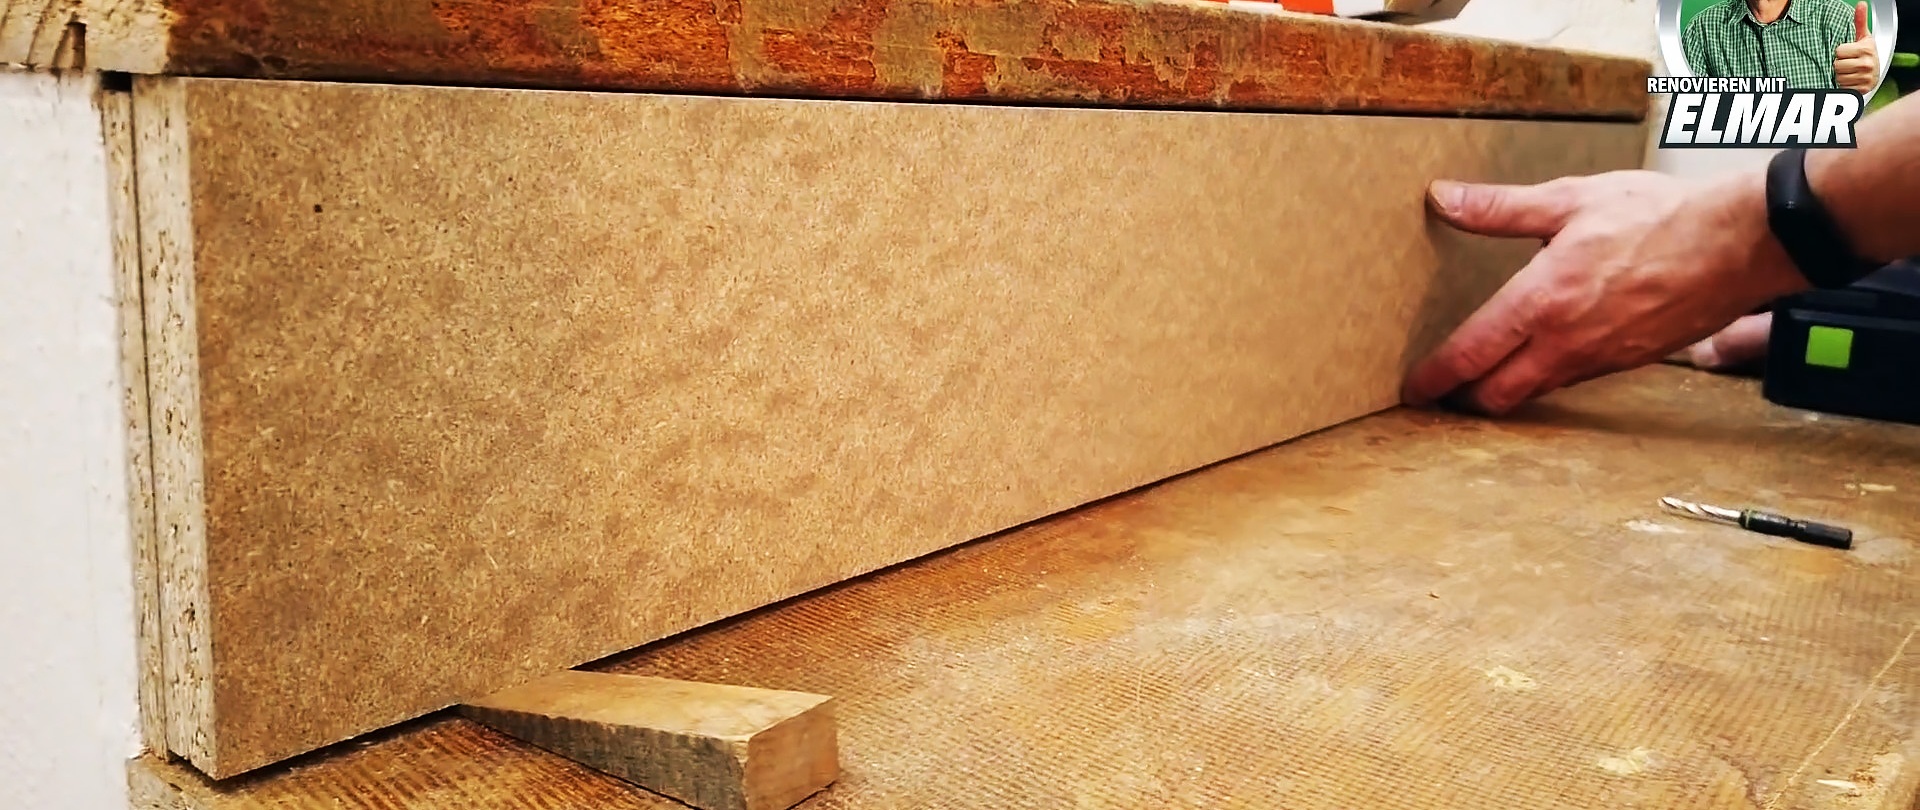
In order for vinyl tiles to hold well, it is important to glue them only to a flat, smooth base.If the treads stick out beyond the riser, they need to be leveled. To do this, you can screw chipboard of a suitable width onto the riser. It is important not to skimp on self-tapping screws, and to do everything tough.

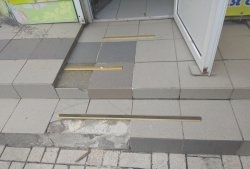
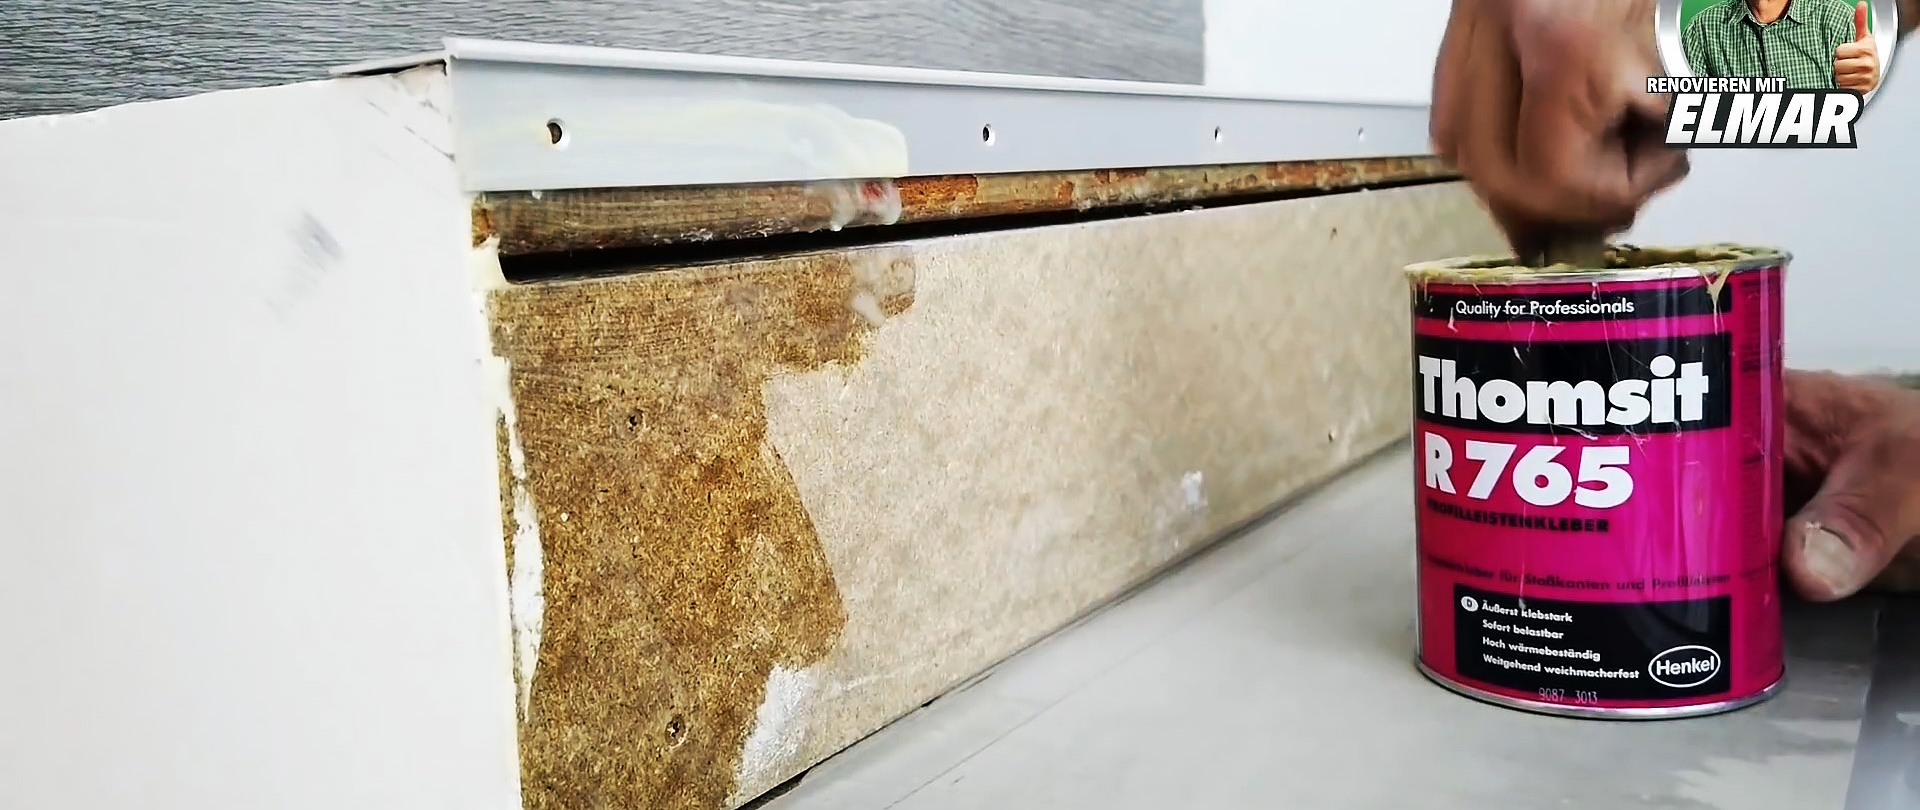
Then an external embedded aluminum profile is screwed onto the corners of the steps.

After this, its visible part is covered with masking tape.

If the treads are rough and uneven, then it is better to cover them with elastic wood filler. They can literally plaster over all defects using a spatula.

After the composition has set, its excess on the profile is cut off with a scraper.

Using a brush, contact adhesive is applied to the steps.
After the pause specified in the instructions, vinyl tiles cut to size are glued to the composition.
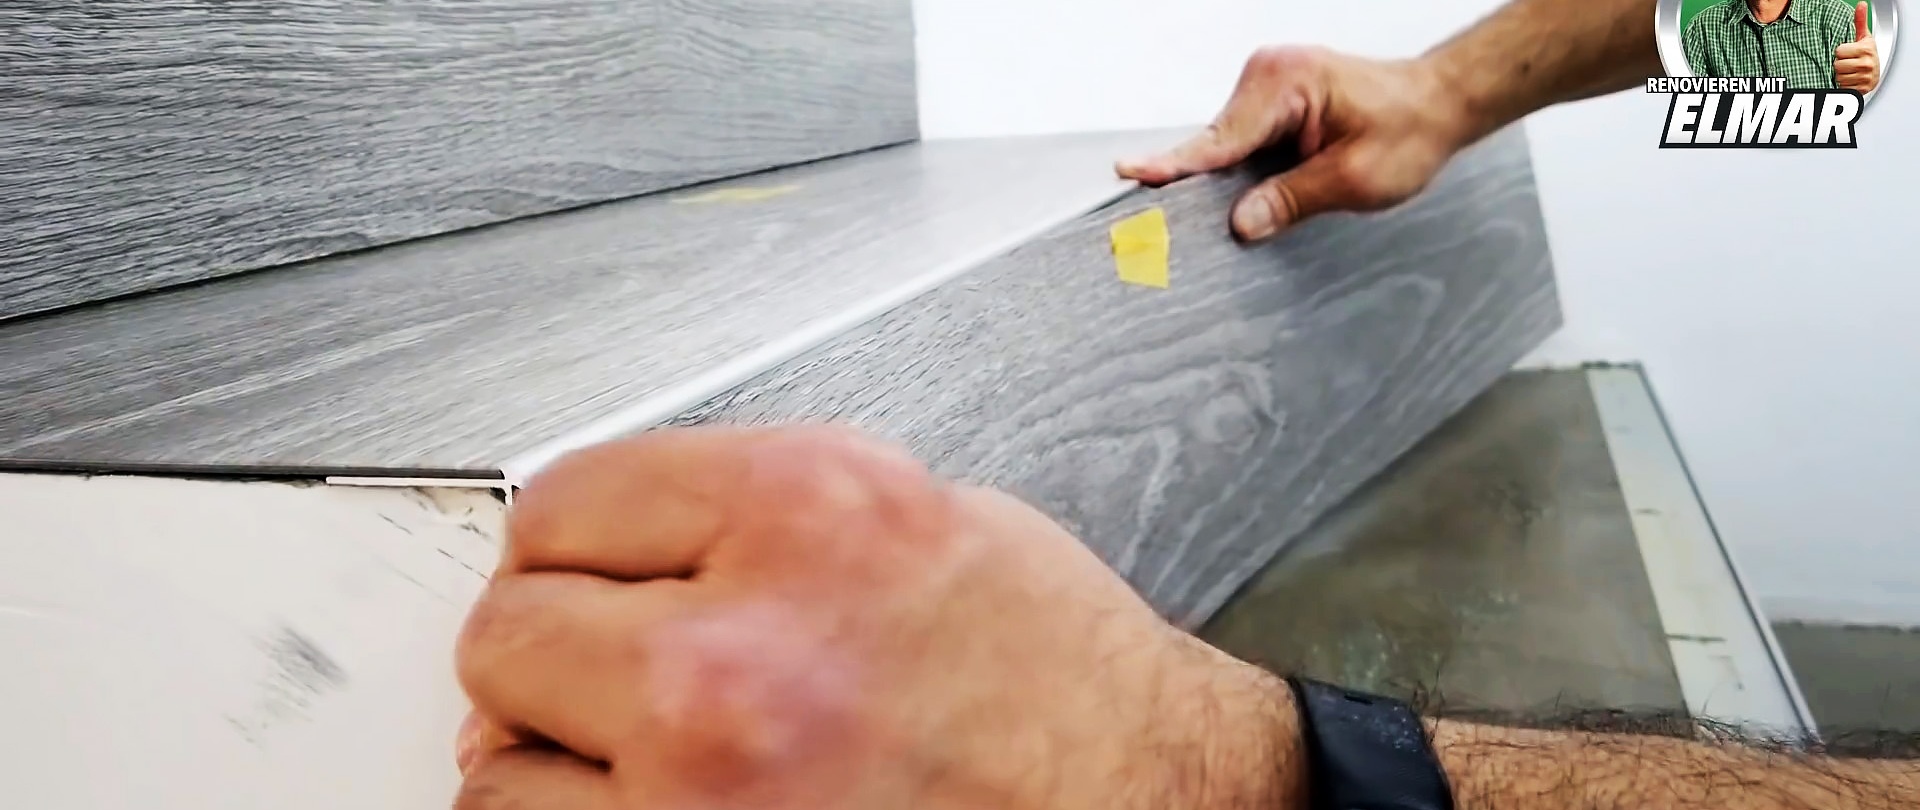
Glue should be from the top step to the bottom. If the width of the tread exceeds the tiles, then first glue the fly piece on the side of the profile, and then the narrow one at the riser.


After this, you need to update the appearance of the stringer by filling it with putty and painting it, if necessary. For this, elastic putty is used.

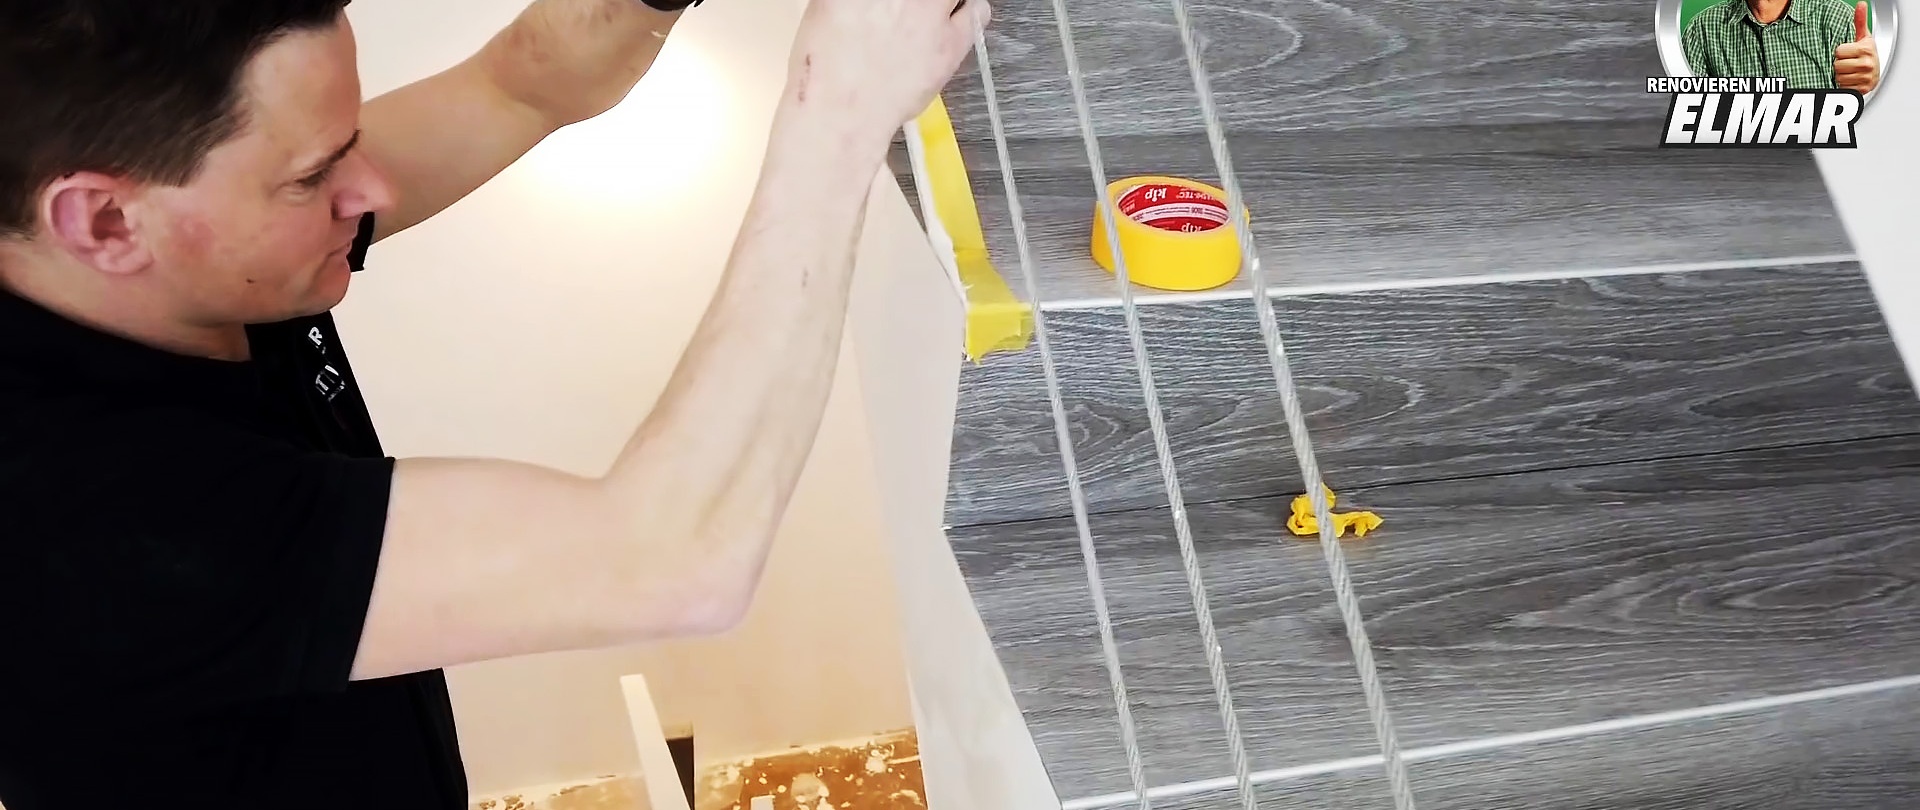
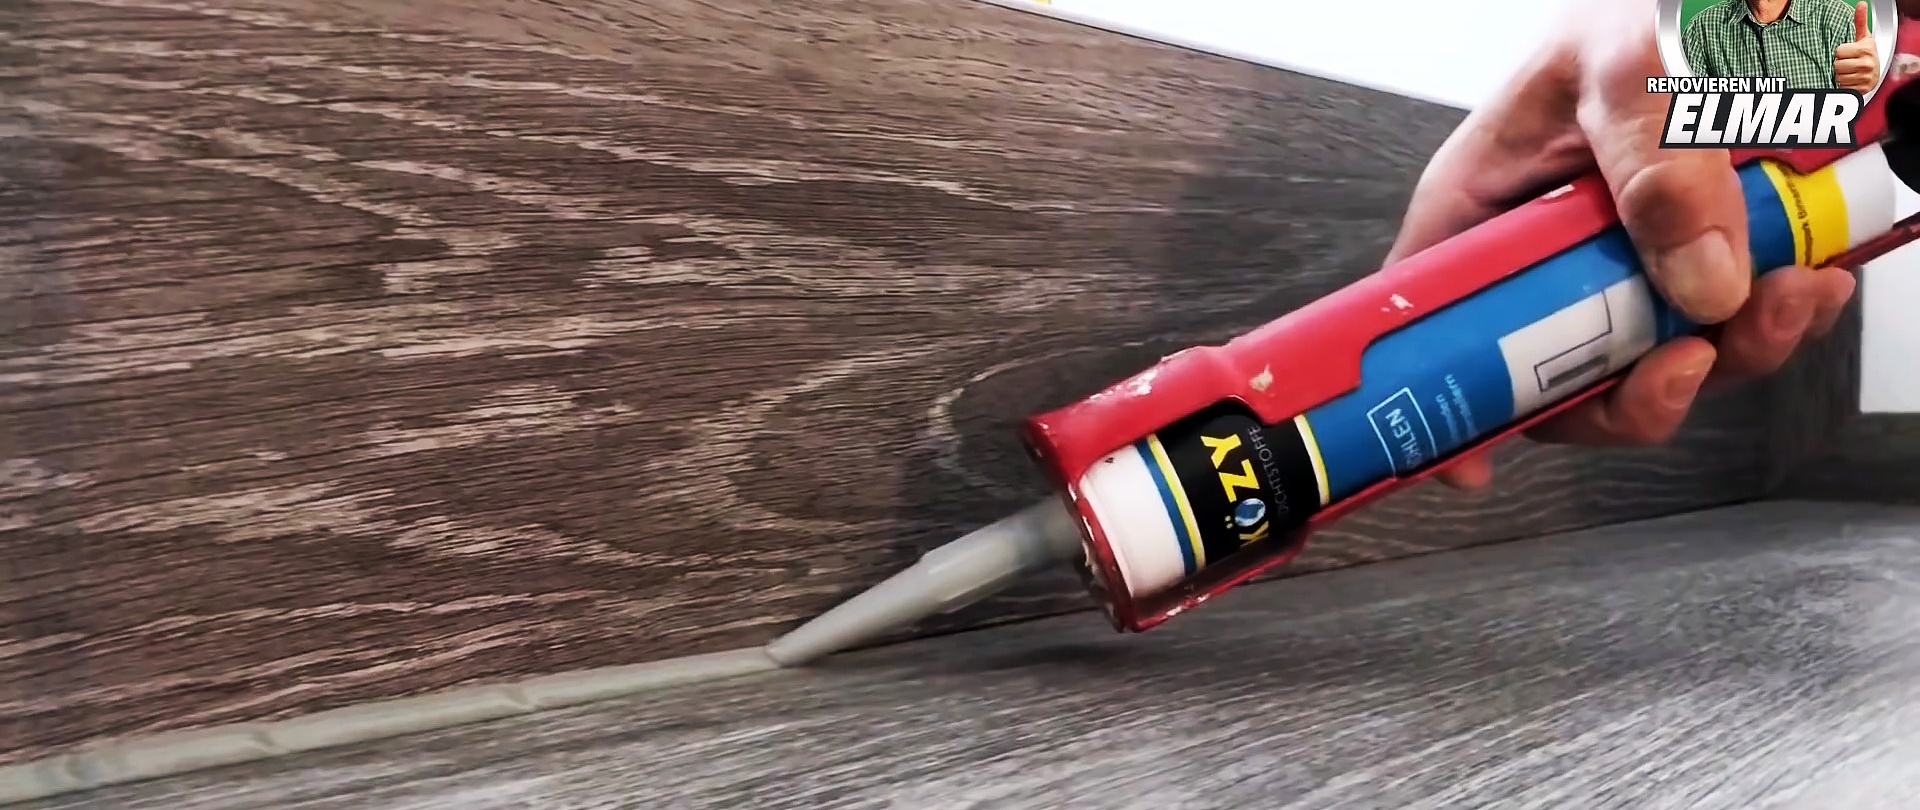
The final touch is to seal the joints in the corners. To do this, use regular silicone sealant, matched to the color.


When using spatulas with a cut corner, such a seam is very neat and does not spoil the appearance of the stairs at all.