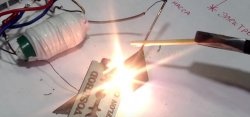
Microwave ovens are equipped with powerful transformers, which, after simple modifications, can be used to make a welding machine. The device assembled from them is not inferior to a purchased one when welding with electrodes with a diameter of up to 3 mm. Thus, making it yourself is completely justified.
Materials:
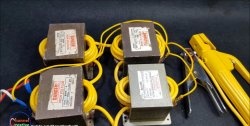
- microwave transformers – 2 pcs.;
- copper cable 4 mm2 in silicone insulation – 13 m;
- Dimmer - http://alii.pub/67rgwi
- cable with plug;
- triacs VT136, VT137 or VT138 – 4 pcs. - http://alii.pub/67rguk
- sheet aluminum;
- plywood;
- panel sockets 10-25 mm – 2 pcs.;
- cable plugs – 2 pcs.;
- cable 10 mm2;
- terminal block;
- power supply 12V - http://alii.pub/67rgww
- 12V fans from the computer – 2 pcs. - http://alii.pub/67rgy2
- ground contact;
- welding holder.
Welding machine manufacturing process
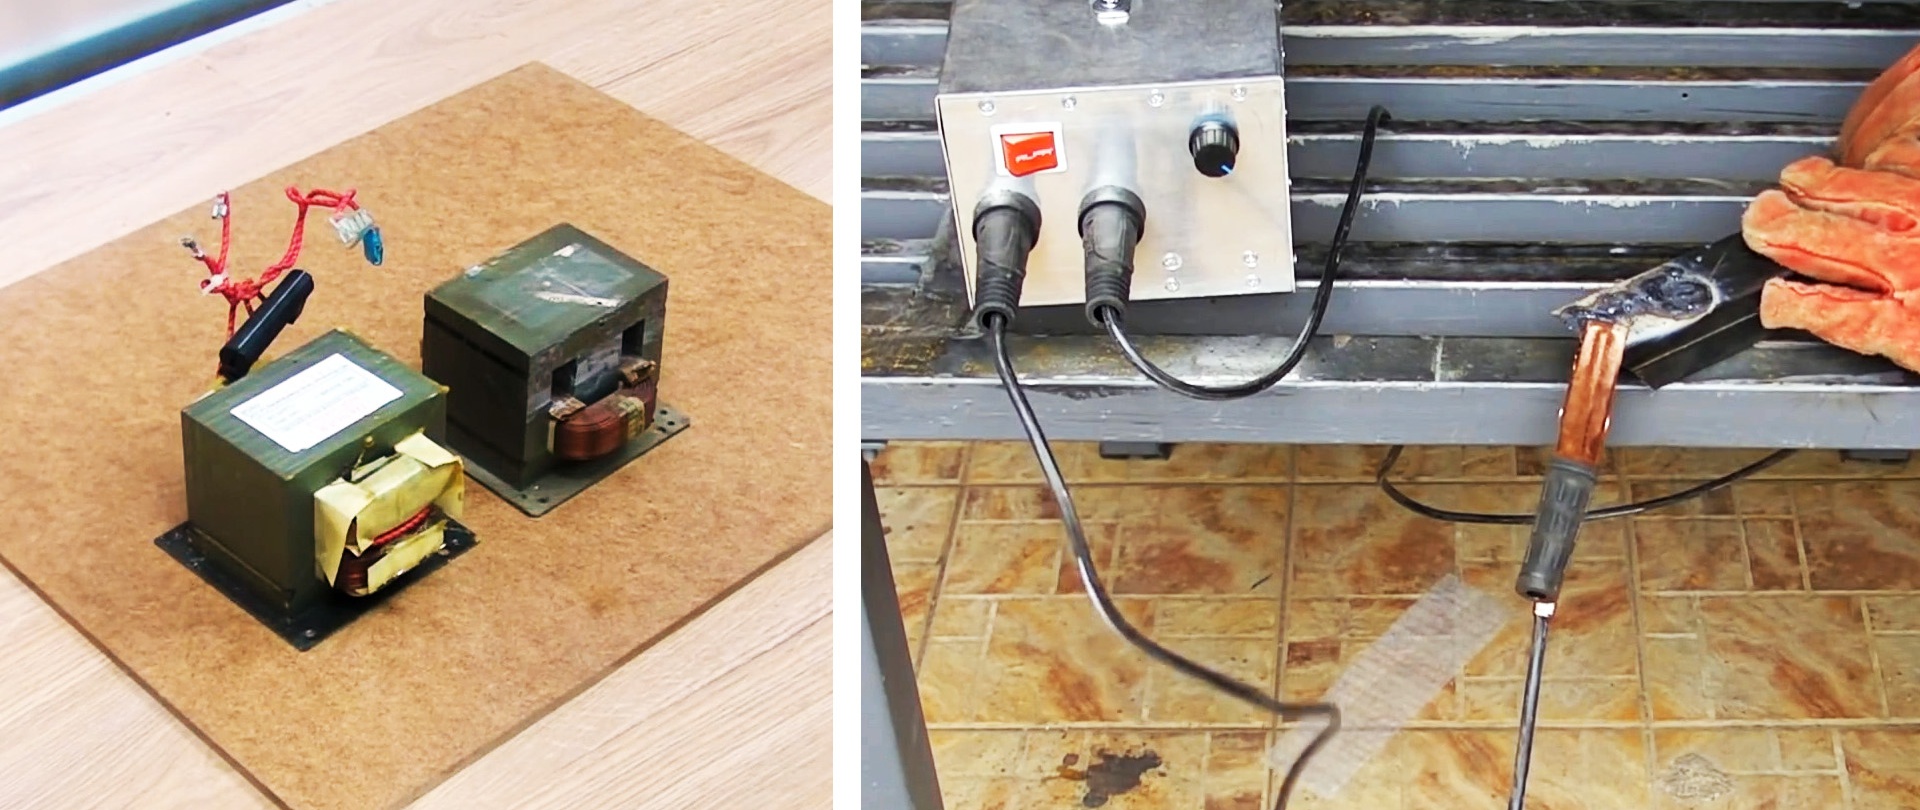
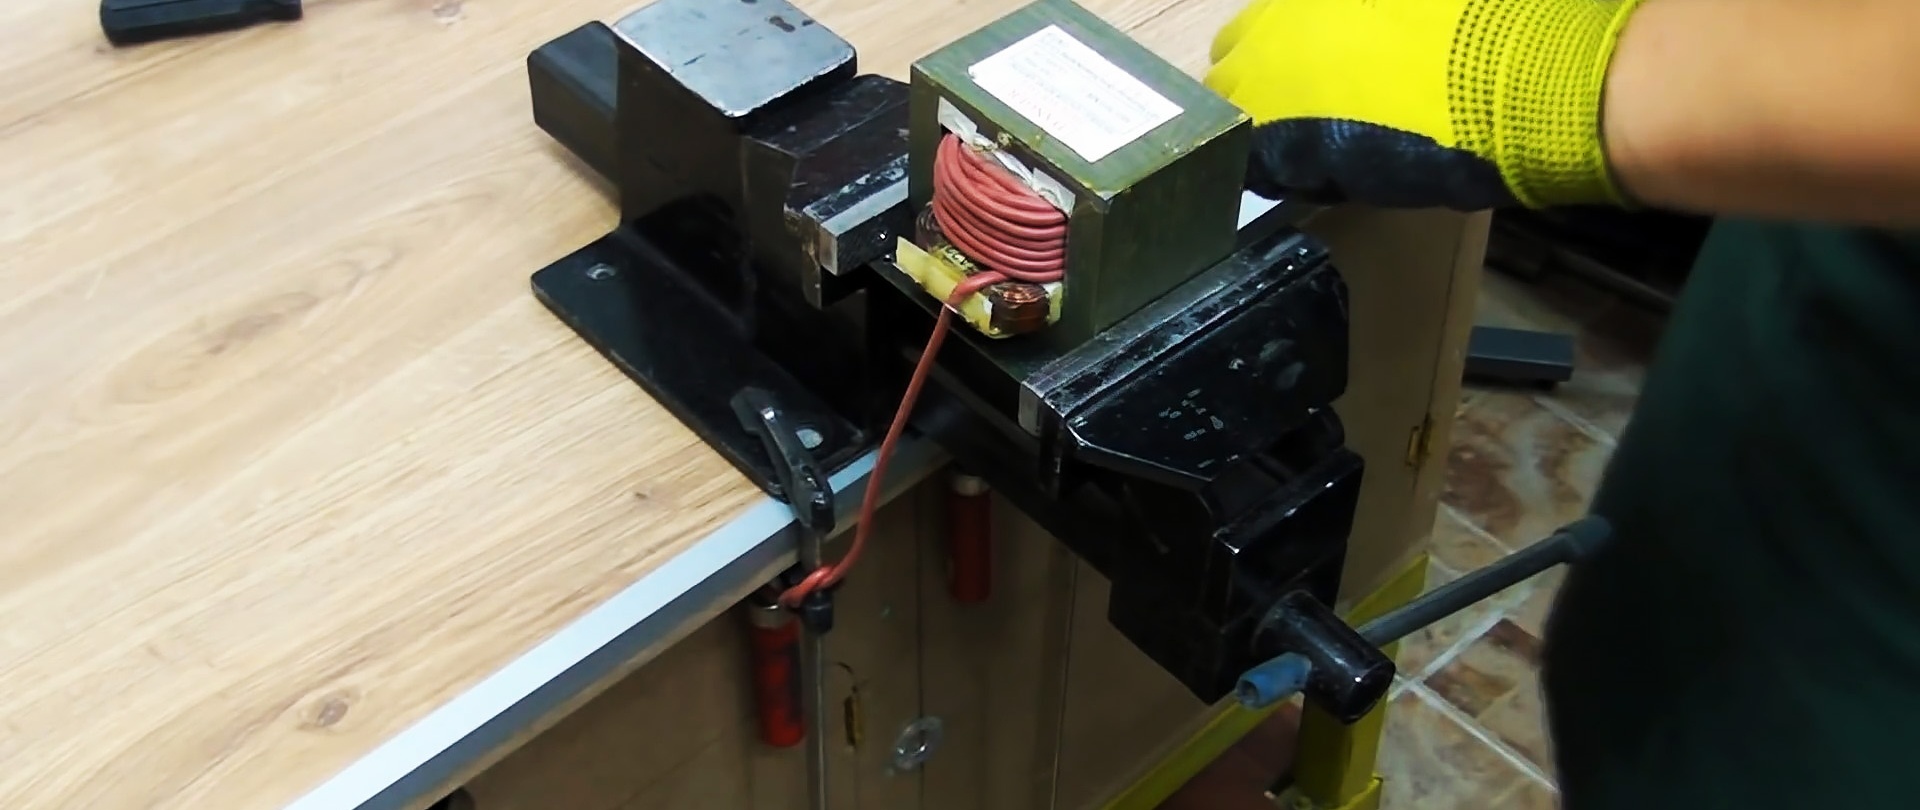
Transformers for the manufacture of a welding machine must first be modified. To do this, their secondary winding is removed. Its protruding part on one side needs to be cut off with a hacksaw.It is better not to use a grinder, as it can cut excess. The filament winding located in the center is also cut off.
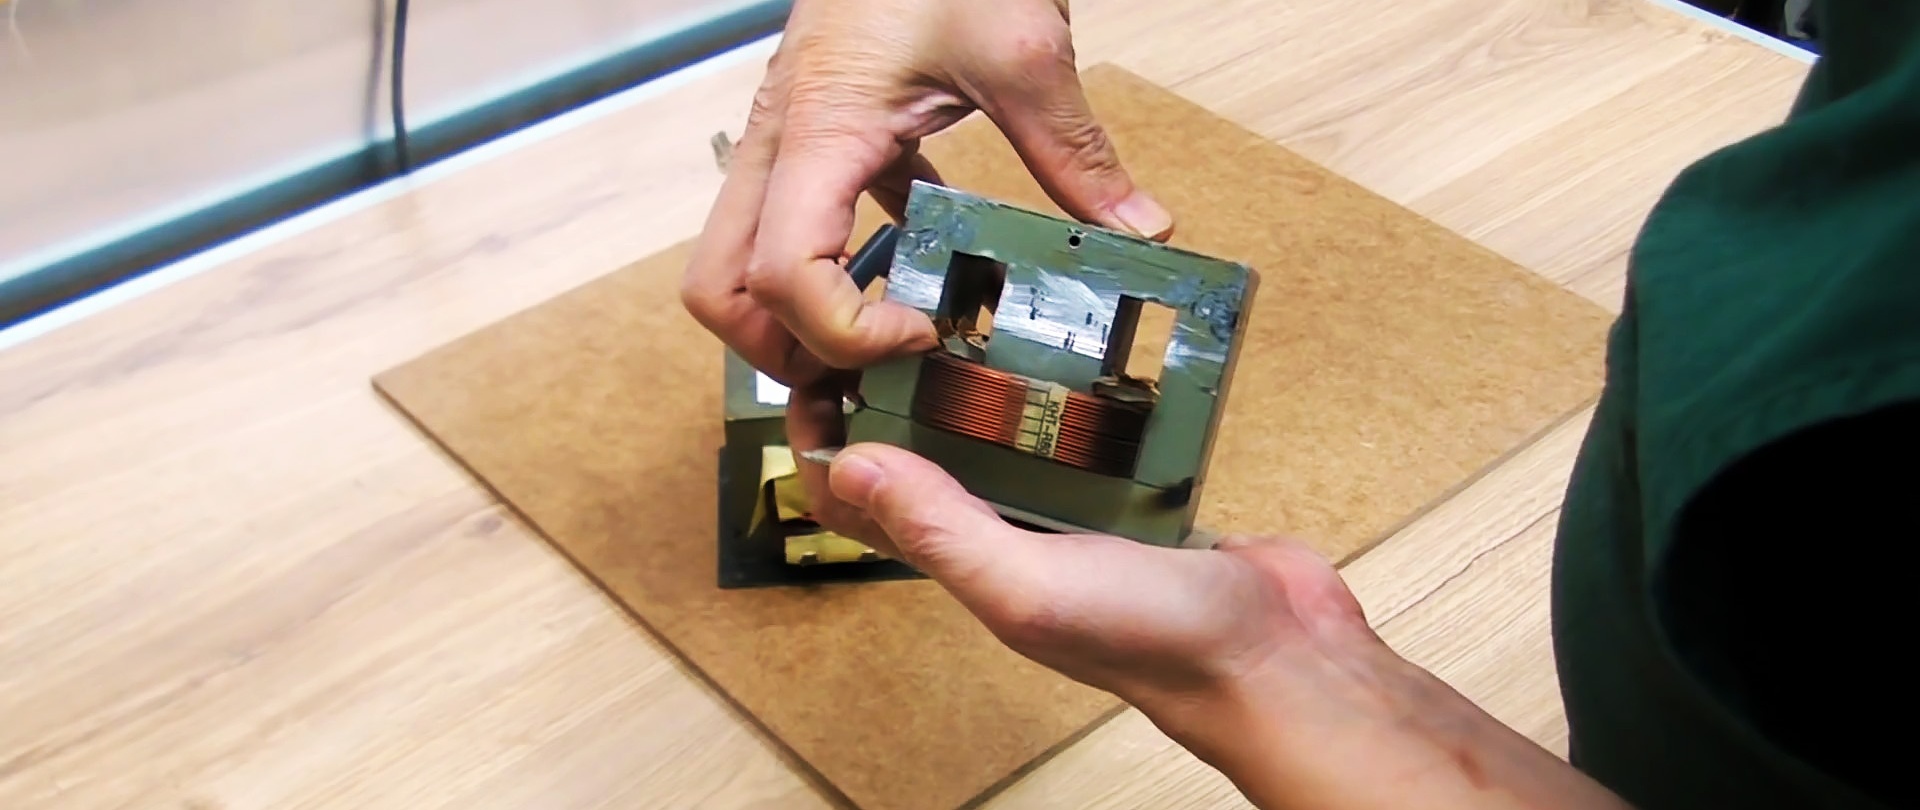
After this, you need to knock out the sawn windings from the core and clean it of insulation residues. Then you need to stick paper tape on the inner corners of the core so that they do not damage the soft insulation of the new winding.
Now a silicone insulated cable with a cross section of 4 sq. mm is threaded into the core. It is required to lay it as tightly as possible in order to accommodate 23-24 turns.
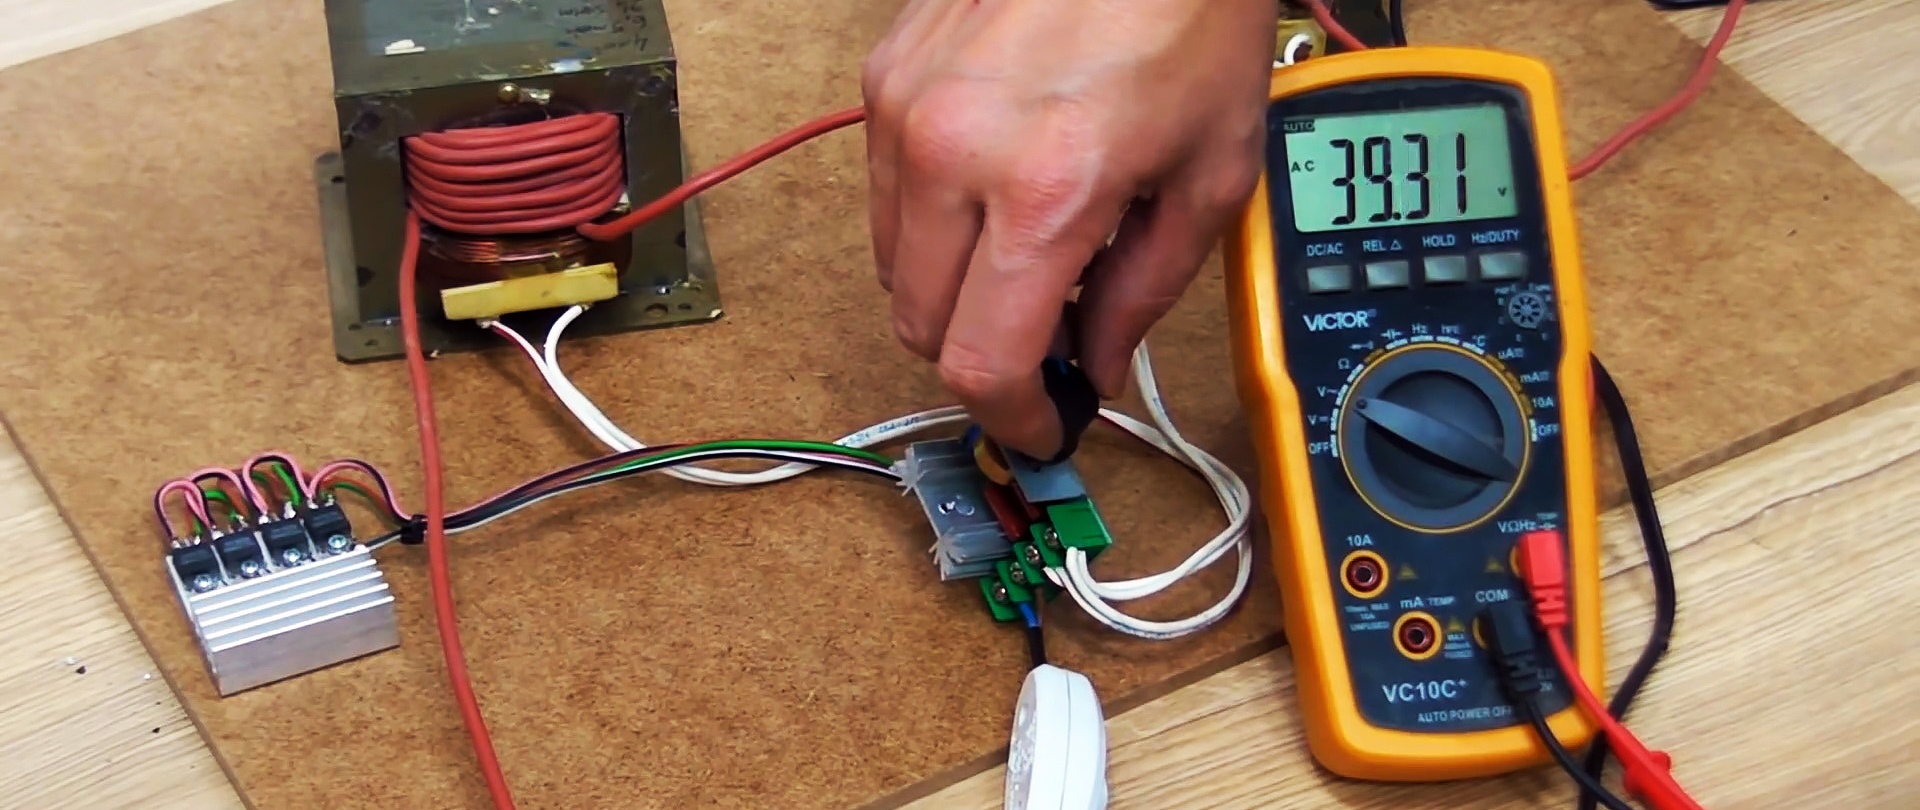
Having converted 2 transformers, you need to connect them in series. As a result, when 220 V AC is supplied, the output should be 40 V.
To adjust the current, you will need a dimmer on the welding machine.

To increase the power of its circuit, 4 triacs installed in parallel according to the proposed circuit will be used.
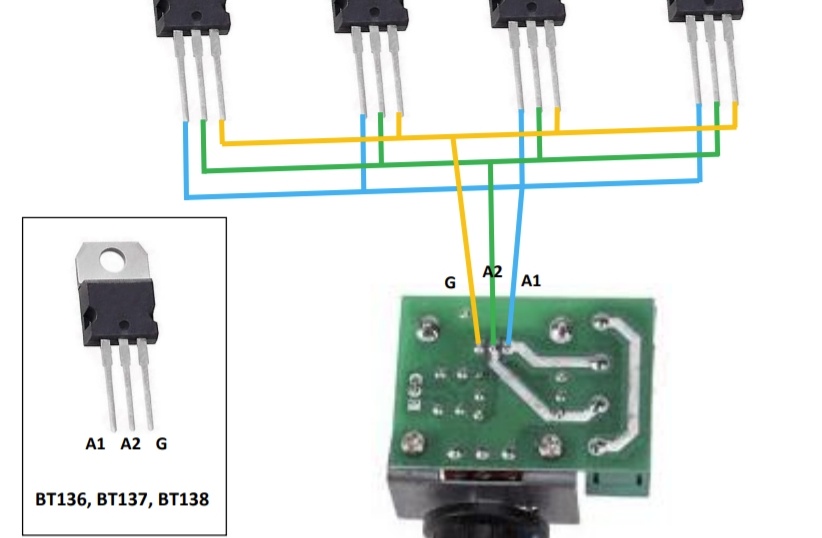
If you have a 4 kW dimmer, you can do without triacs. If you still include them in the circuit, be sure to mount them on an aluminum radiator for normal cooling.

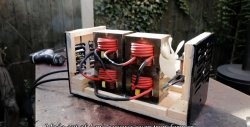
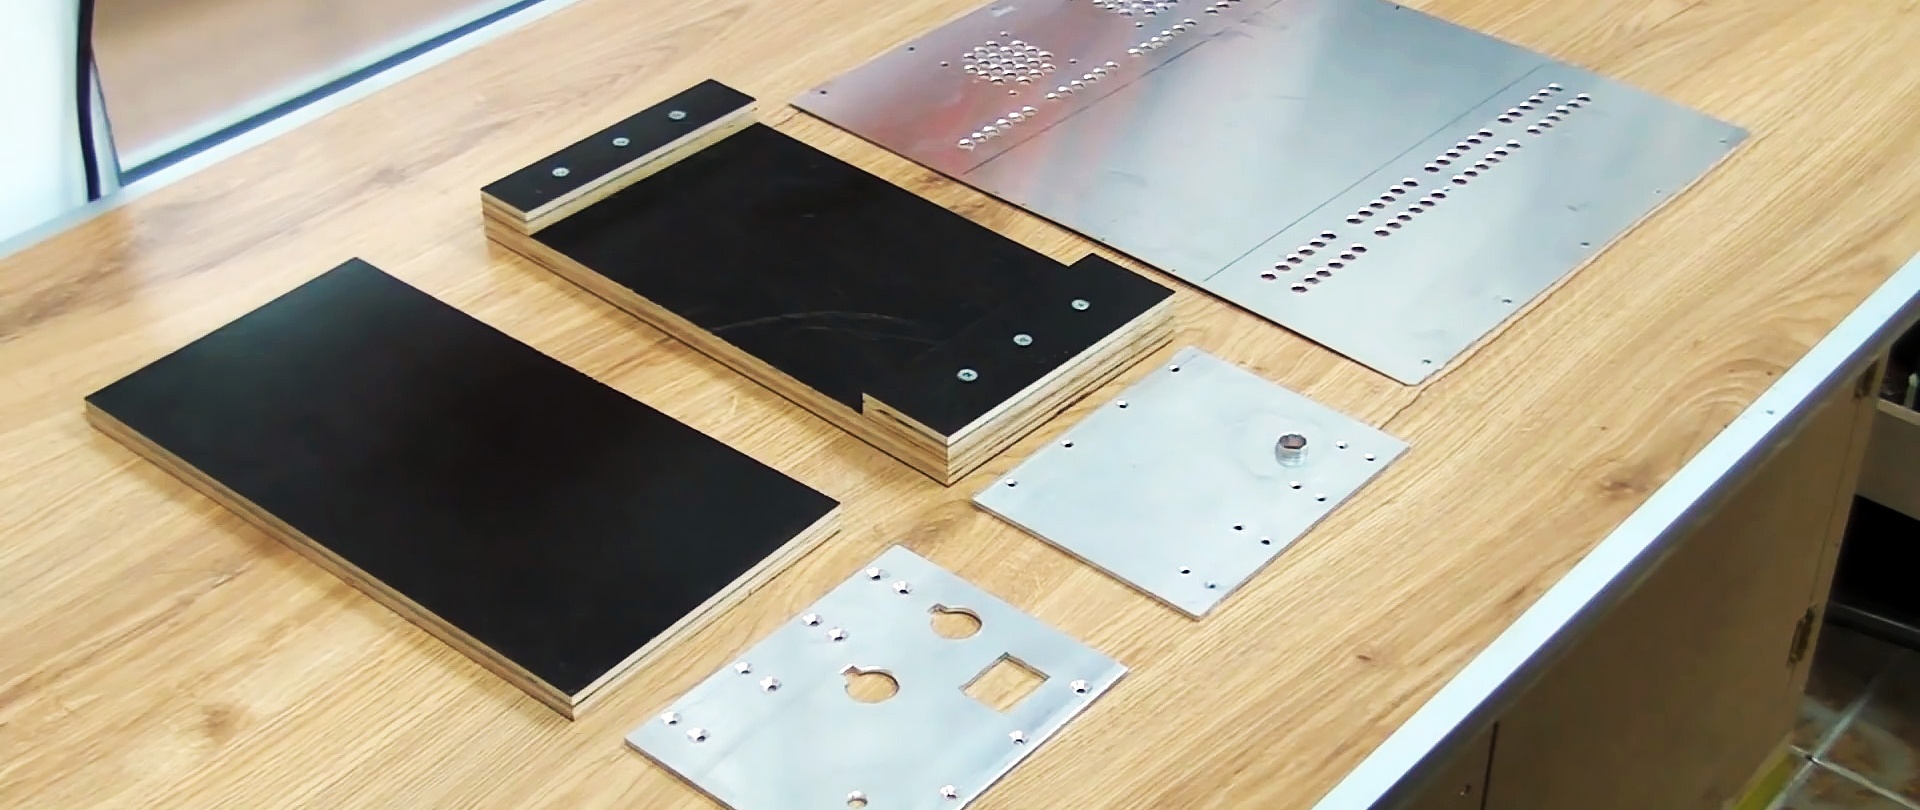
The body of the welding machine is made of sheet aluminum and plywood. A U-shaped part is bent from aluminum, which will serve as the top and side walls. You also need to make end walls from it. The bottom is cut out of plywood. An insert is cut out of it to stiffen the U-shaped aluminum part. The aluminum parts will need to be drilled to provide ventilation, as well as install a switch, two fans, two hardware sockets, a power cord entry, and a dimmer wheel exit.
You will need to secure 2 overlays to the plywood bottom so that the end walls can be screwed to them. Then the transformers are installed. They are connected in series.

The connection must be soldered and insulated with heat shrink.
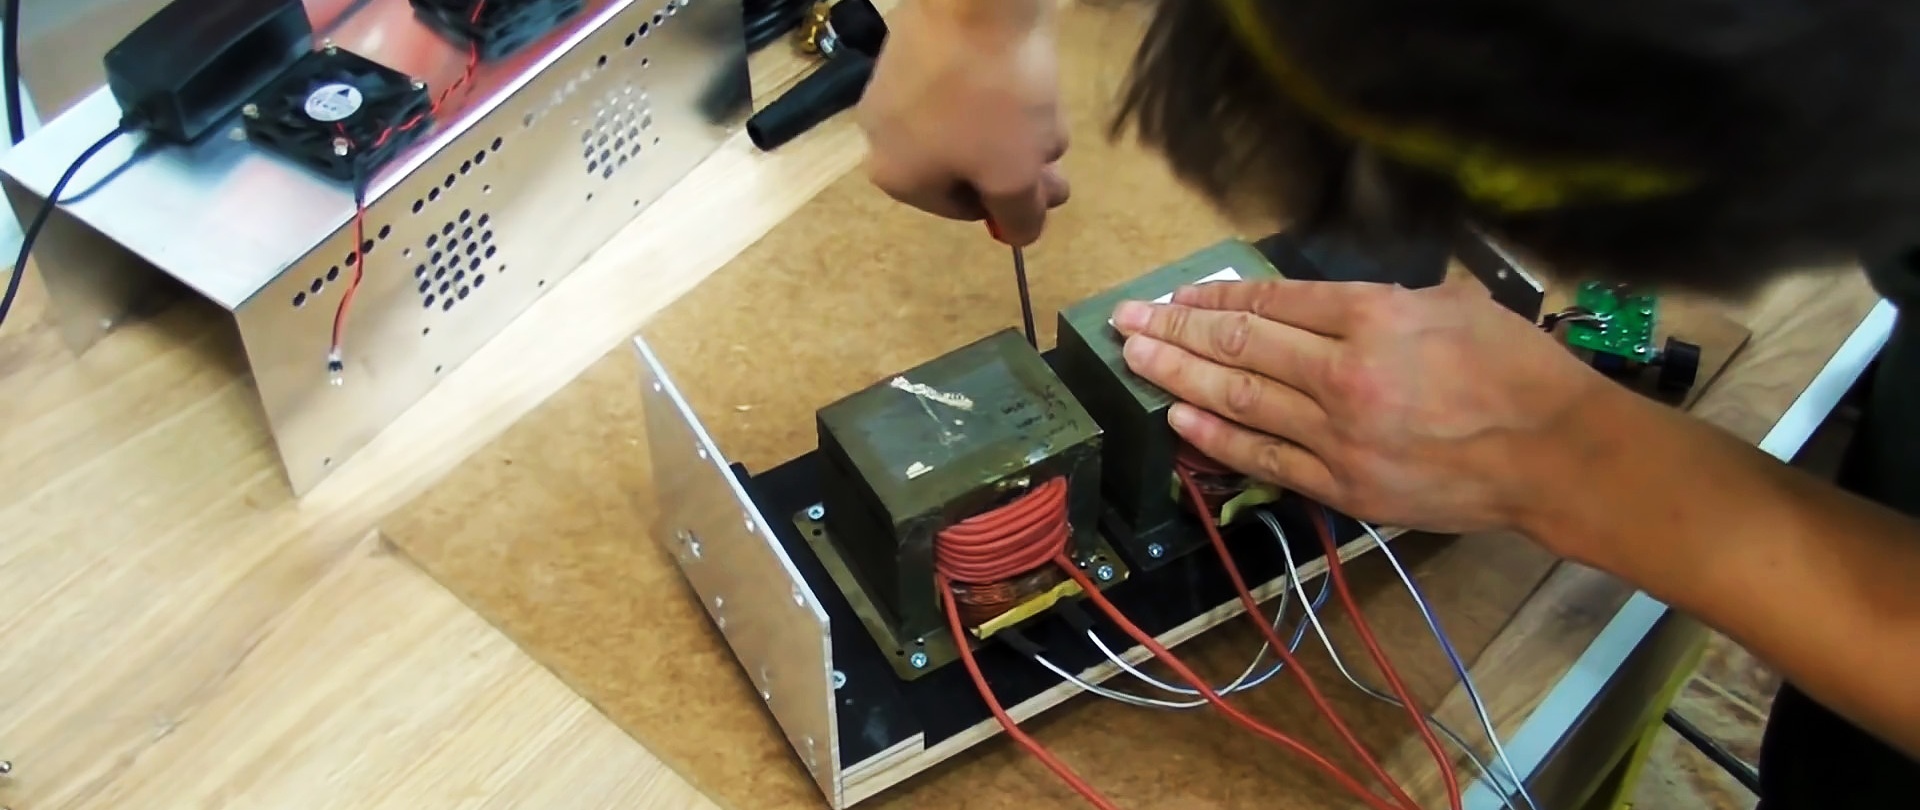
Tips are installed at the ends of the homemade transformer windings. They are used to connect to panel sockets.
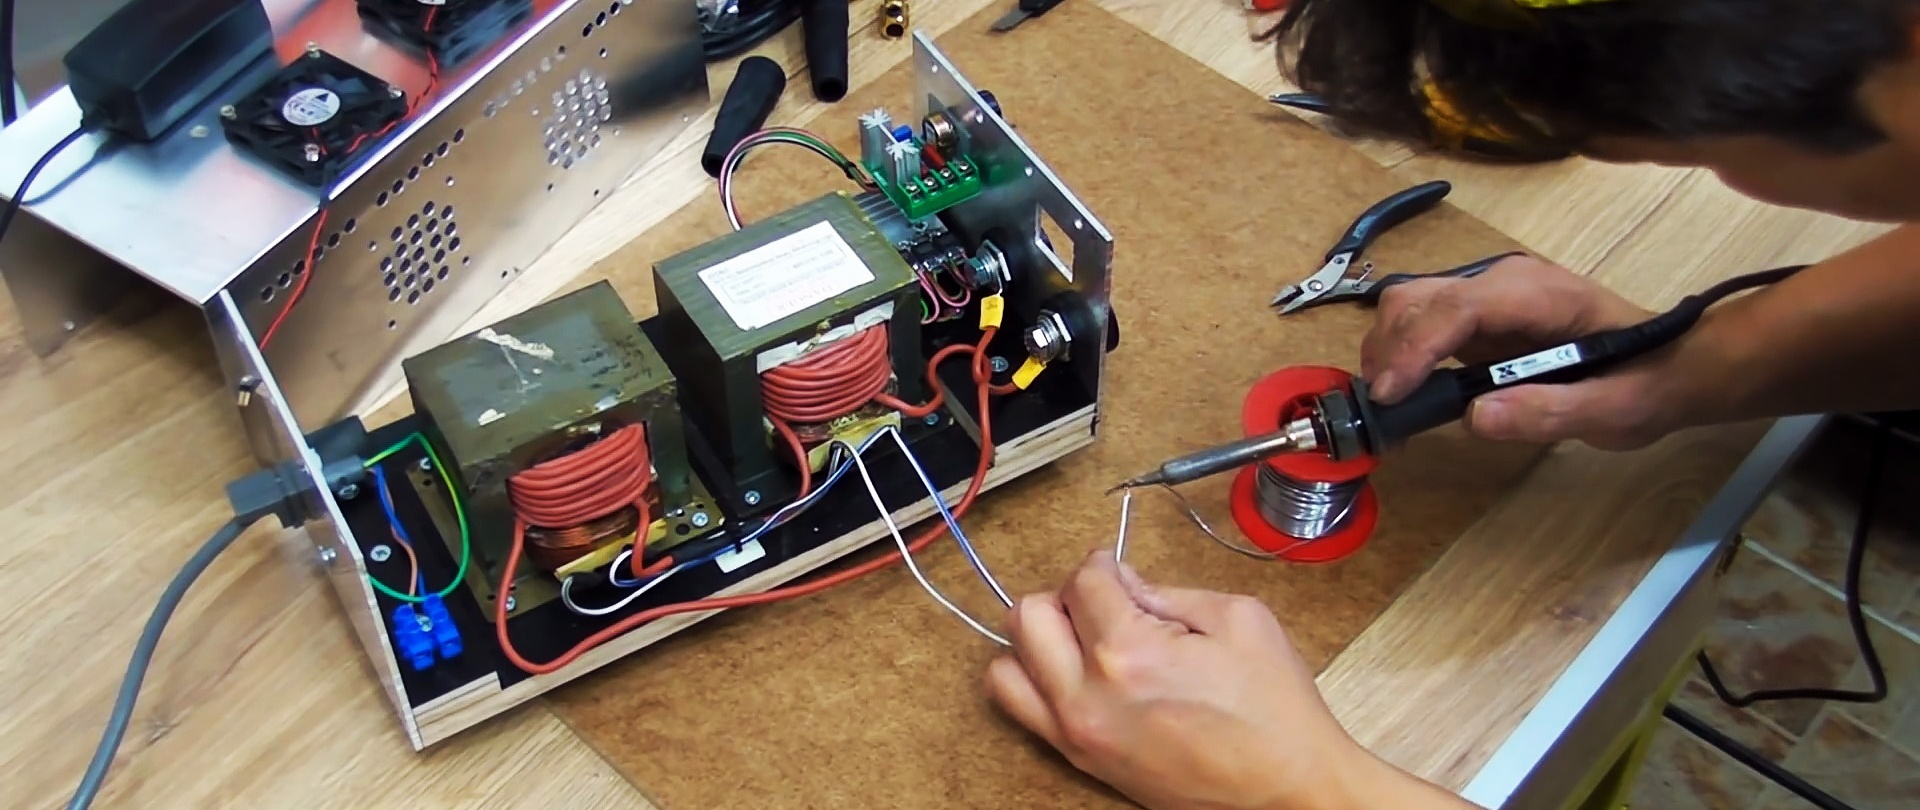
A terminal block is attached to the bottom. A wire with a plug is connected to it. The grounding conductor from it should be connected to the welding body. Then the dimmer is installed. Power wires from transformers are connected to it.
A switch is installed in the housing. You need to run wires from it to the dimmer. Next, a 12 V power supply is glued into the case with double-sided tape. It must be connected to the terminal block. Fans are installed in the U-shaped aluminum part, which are connected to the unit. A handle is also screwed onto it.


All that remains is to connect the terminal block to the switch. Now, when you press it, voltage will be supplied to the transformers and fans. You need to check the functionality of the system, and then assemble the case.

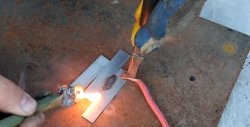
Finally, the wires are made. Plugs, ground contact and holder are installed on them. After this, the welding machine is ready for use.


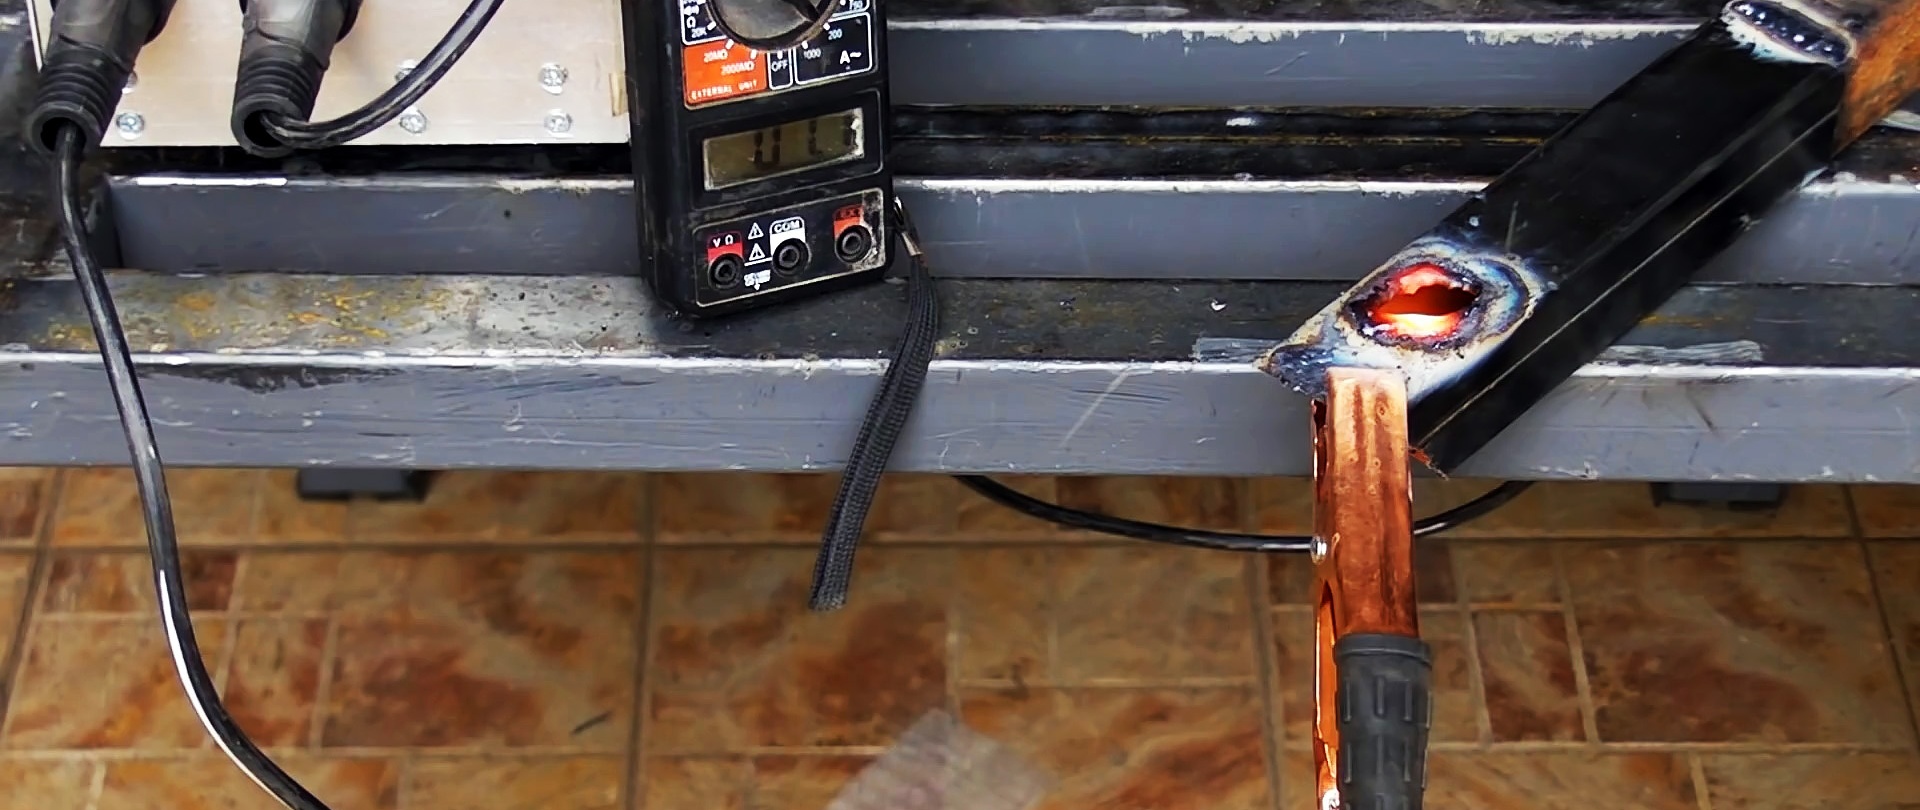
With this arrangement, it is capable of excellent welding with electrodes up to 3 mm. Burning through steel is also easy.