We will talk about restoring the functionality of LED light bulbs, which last exactly as long as they are covered by the warranty. What happens after? One of them burns out LEDs, and light bulbs are usually thrown away by users. And all because they are considered beyond repair. Well, those craftsmen who try to repair them simply cannot open them. Let us reveal the secret of repairing these lighting fixtures.

How to disassemble a lamp
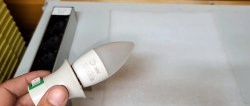
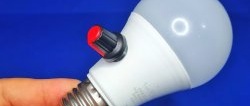
Let's start with the simplest thing. Why is it difficult to open LED light bulb? Yes, because there is sealant applied here. And it's quite durable. It is impossible to just take and disconnect the flask from the base. The sealant is applied over the entire contact diameter of the base. But you can weaken its effect, for example, using a regular stationery knife.
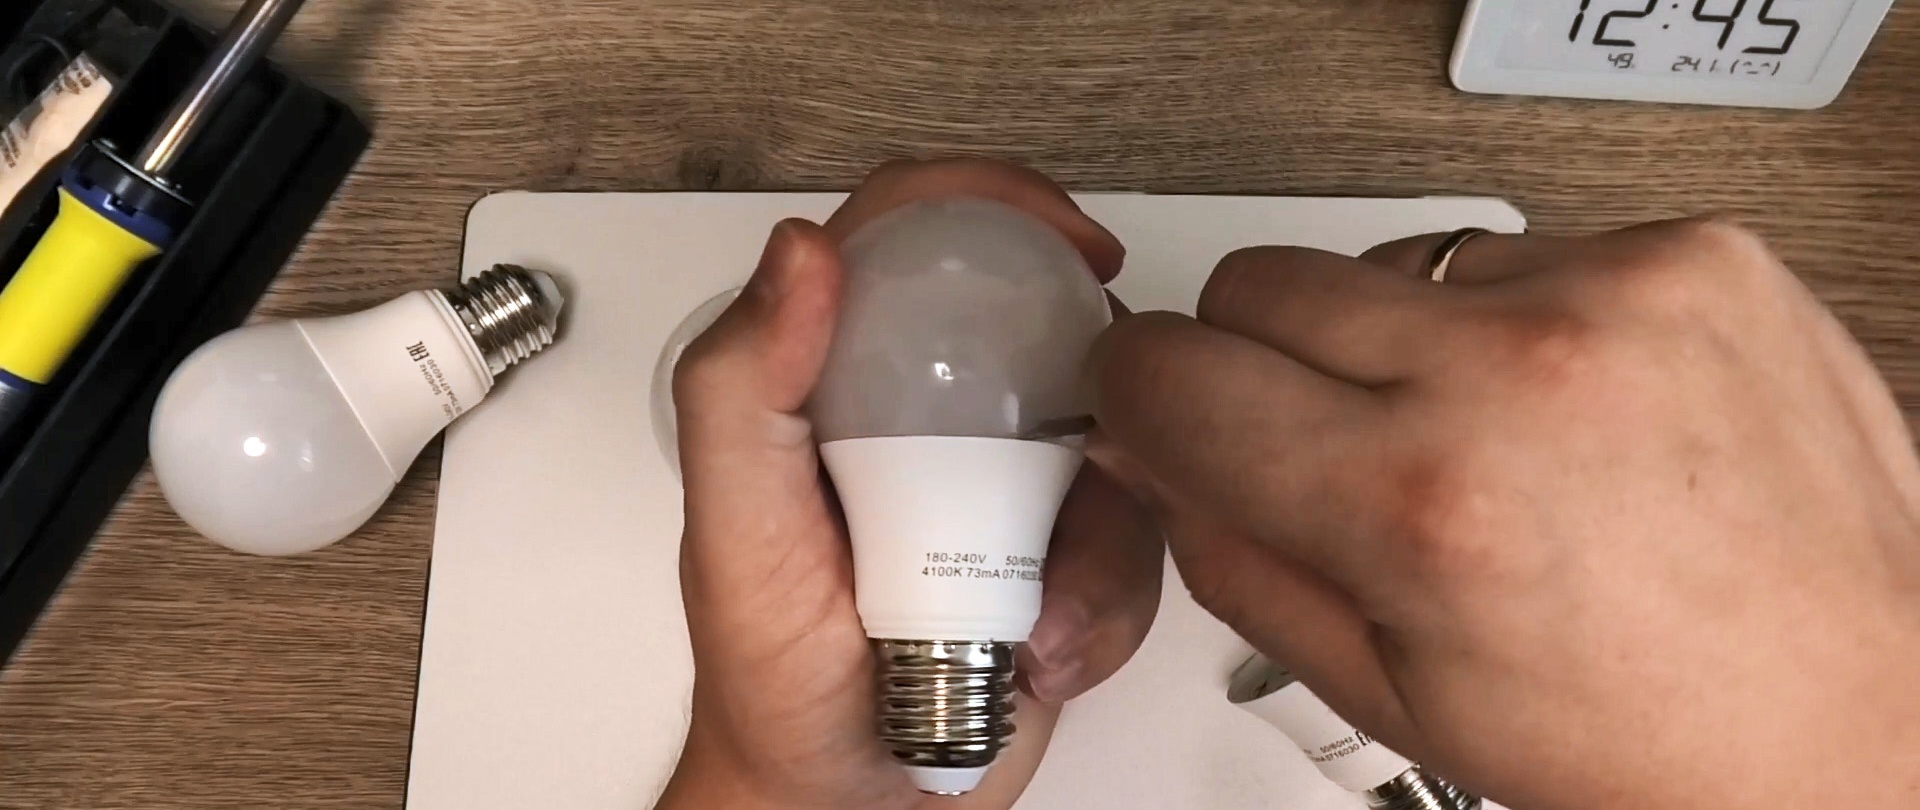
Carefully squeeze the knife between the bulb and the base. He must go deep. The shape of the base of the bulb is chosen by the manufacturer with a slight bevel, and moving with a knife only cuts off the sealant without damaging the lamp. If everything is done consistently and carefully, then the flask can be separated without destruction.This will allow you to return it to its place after repair.

How to identify a malfunction and repair an LED light bulb
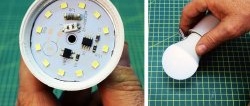
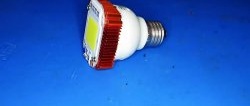
How to identify burnt Light-emitting diode, if you are not strong in electronics and you do not have a basic tester to check. Simple visual inspection. A burnt-out element has a black dot on the phosphor. Because in the diagram LED lamp serial connection is used LEDs, then if one burns out, then power stops flowing to everything. What can be done? The burnt element can be removed. It can be replaced with a working one if you have replacement options. And this will be the best option. But there is not always Light-emitting diode for replacement, and not everyone has sufficient skills to work with a soldering iron. You can simply remove the burnt element from the board and install a jumper in its place. But here it should be said that the characteristics of the driver that powers the electronic circuit of the lamp are designed for the fact that ALL LEDs. When one of the elements is replaced by a jumper, the resistance of the circuit changes, and the current increases accordingly. Many people believe that the driver itself will “adjust” to new conditions, equalize the voltage, and optimize the current. But this is a mistake. The driver is configured to operate exactly all LEDs installed in the lamp. And replacing one of them with a jumper leads to emergency operation. It has been noticed that after such a repair with a jumper, the lamp works for six months or a year. Due to the increased heating of the LEDs, it fails faster.

The actual repair itself
So, we remove the burnt out LED. Using a regular knife, we simply roughly “pick it out.” We try not to damage neighboring elements.

We install the jumper with a drop of solder using a simple soldering iron.

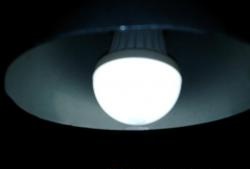
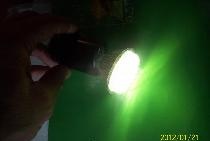
We turn it on - the lamp is working.

Having counted the number of remaining LEDs, we come to the conclusion that the lamp will shine approximately 10% weaker.
And now you should glue the flask with sealant. You can use a simple plumbing product; it is more convenient to apply using a mounting gun. A few drops around the perimeter of the base are enough.


After it dries, LED lamp ready for use.