Do it yourself
Life hacks, master classes, useful tips, recipes.
The brightest and most colorful time has come - summer. This time of year is always accompanied by berries and abundant blooming of everything blooming and fragrant. The bright colors of flowers remain in the memory for a long time and warm you with warmth. But spring will come very soon, followed by winter. At this time of year it is difficult to see flowering plants in nature. To solve this problem, you can use handicrafts, namely ribbon embroidery. The time for tulips to bloom gave me the idea of ​​creating such a canvas.

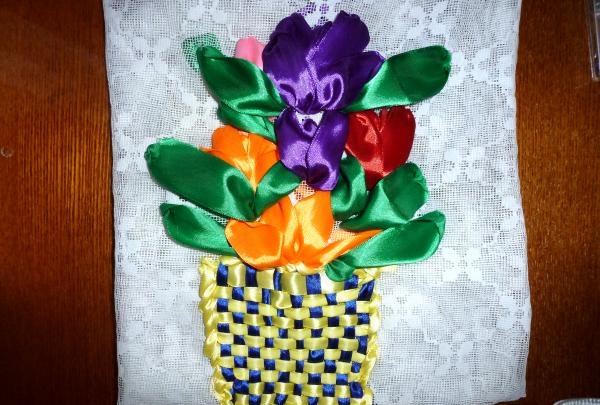
Tulips in a basket


To make it I needed the following materials:
satin ribbons of various sizes;
hoop;
scissors;
fabric (I used tulle, but I really regretted it in the process);
scissors;
needle with a wide eye.
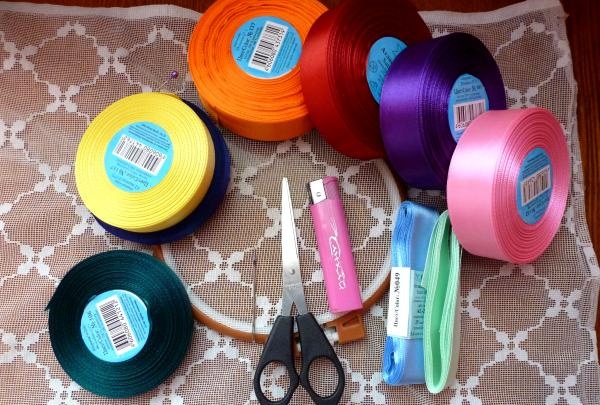
satin ribbons of various sizes


The first step is to stretch the fabric onto the hoop. It is important to find the tension line at which the fabric will not sag, but it will also be possible to move it a little so as not to tear. For the most successful outcome of the work, it is best to outline the outline of the future embroidery fragment. I decided to start with the basket.
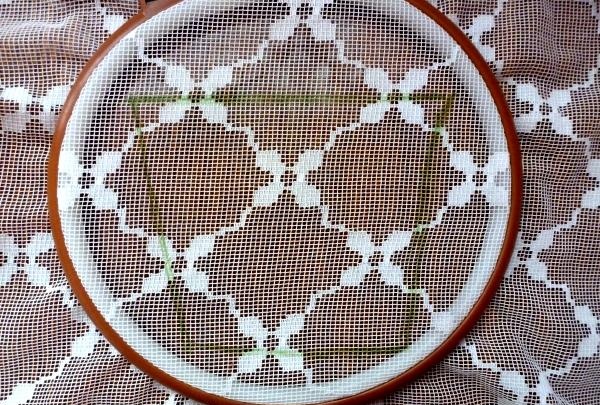
fragment of embroidery


The best option for applying a design would be a water-washable felt-tip pen. We embroider vertical lines in blue.
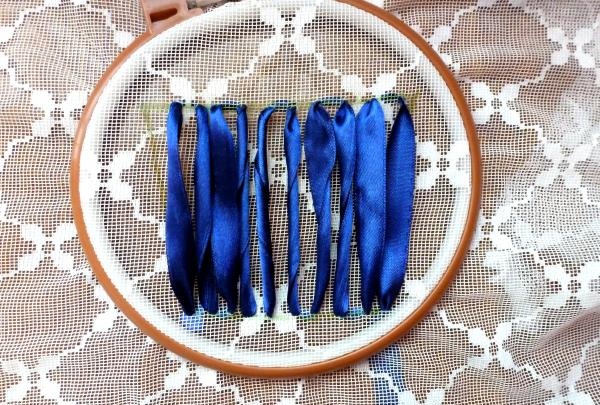
I decided to start with the basket


Now, using the method of weaving the ribbons alternately with each other (basket weaving), we introduce a ribbon of a different color.
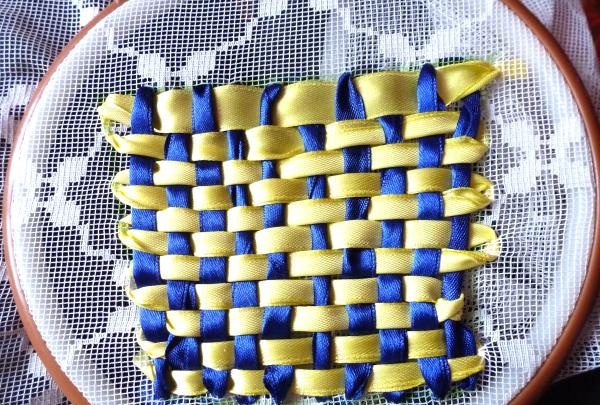
embroider vertical lines


I finished the edges of the basket with a stem stitch, it is very clearly visible in the photo, so I will not describe it in detail.
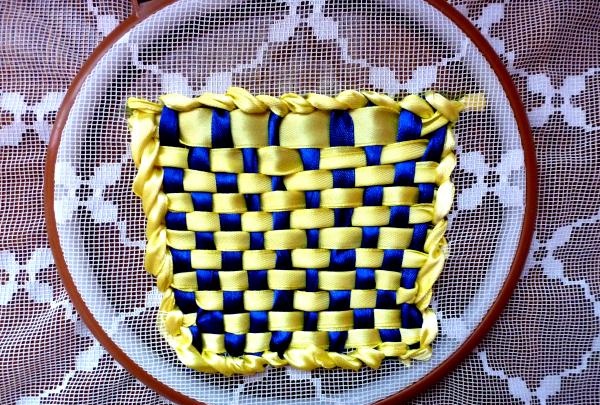
processed with a stem seam


Let's start embroidering the buds. To do this, place a wide ribbon in the right place.
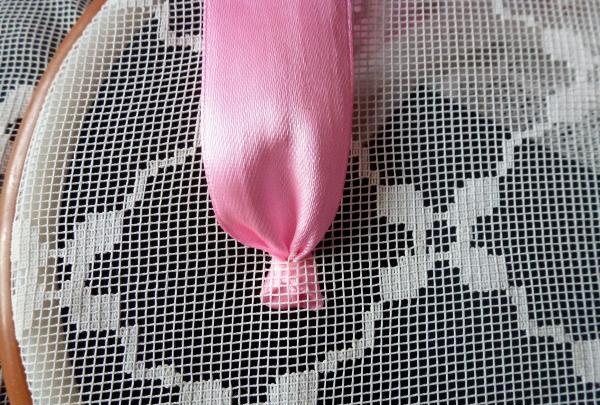
Let's start embroidering buds


We step back a little upward and insert it into the fabric, the remaining segment will be a petal.
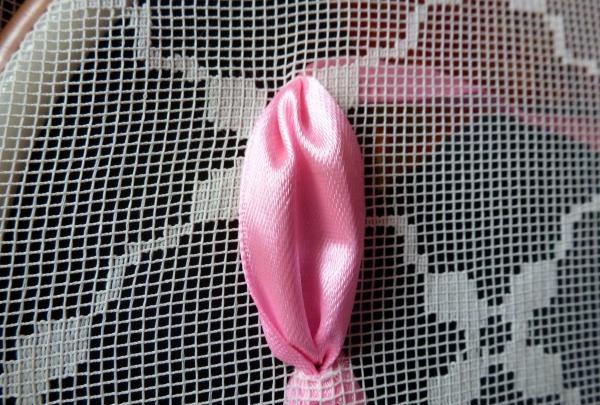
Let's start embroidering buds


Then, we bring the thread a little lower and hide it higher. Having done this procedure on both sides, we will get such a neat bud of the future tulip.
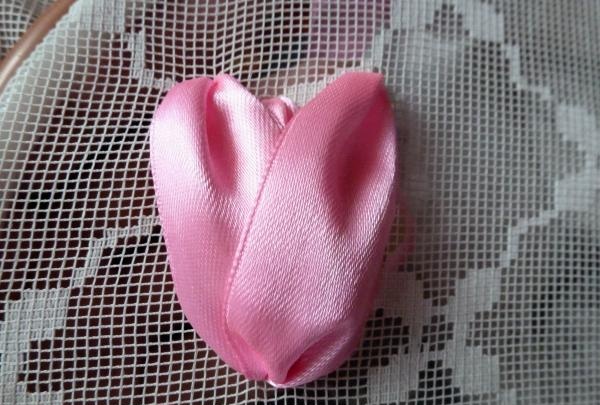
Let's start embroidering buds


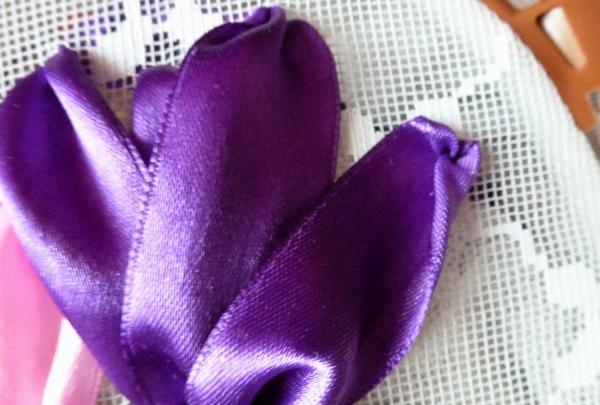
I decided to make my tulips in different colors. I made one of the purple tulips more blooming. To do this, after embroidering the main bud, we bring the ribbon down again, measure the distance needed for the petal and, piercing it with a needle from above, bring the ribbon down.
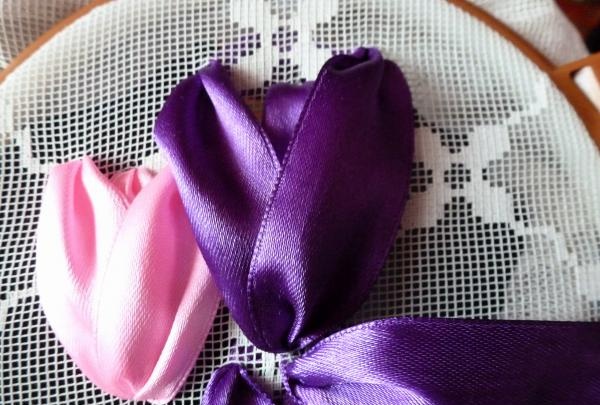
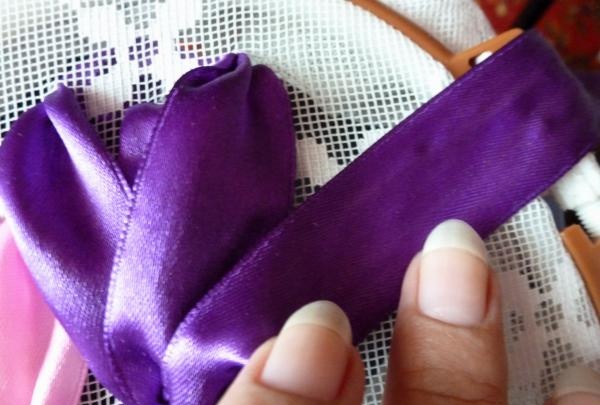
display the tape again

tulip bud

tulip bud


The final stage of embroidery will be landscaping the picture. Where you consider it necessary, you need to make the same stitches as the last tulip petals, only with a green ribbon.

Tulips in a basket


In the end, I ended up with this bright basket of spring flowers. I have no doubt that even on cold winter evenings, it will lift my spirits and give me warmth.
come back
Comment
  • bowtiesmilelaughingblushsmileyrelaxed relaxedsmirk
    heart_eyeskissing_heartkissing_closed_eyesflushedrelievedsatisfiedgrin
    winkstuck_out_tongue_winking_eyestuck_out_tongue_closed_eyesgrinningkissingstuck_out_tonguesleeping
    worriedfrowninganguishedopen_mouthgrimacingconfusedhushed
    expressionlessunamusedsweat_smilesweatdisappointed_relievedwearypassive
    disappointedconfoundedfearfulcold_sweatperseverecrysob
    joyastonishedscreamtired_faceangryragetriumph
    sleepyyummasksunglassesdizzy_faceimpsmiling_imp
    neutral_faceno_mouthinnocent
5+two=
Comments (0)

An original epoxy handle for any DIY tool

Shortbread cookies “Through a meat grinder”

Do it yourself - crafts and master classes | Page 151

How to make a protective cover for a chain saw bar with your own hands

«Do it yourself - with your own hands» - a site of interesting homemade products made from scrap materials and items at home. Step-by-step master classes with photos and descriptions, technologies, life hacks - everything a real master or just a craftsman needs for needlework. Crafts of any complexity, a large selection of directions and ideas for creativity.

We recommend reading

Washing machine error codes