The lack of a welding machine is not a reason to assemble frame structures exclusively from lath. There are methods that allow you to reliably and accurately connect profile pipes without welding equipment. Let's look at 5 of them.
1. Simple right angle
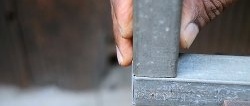
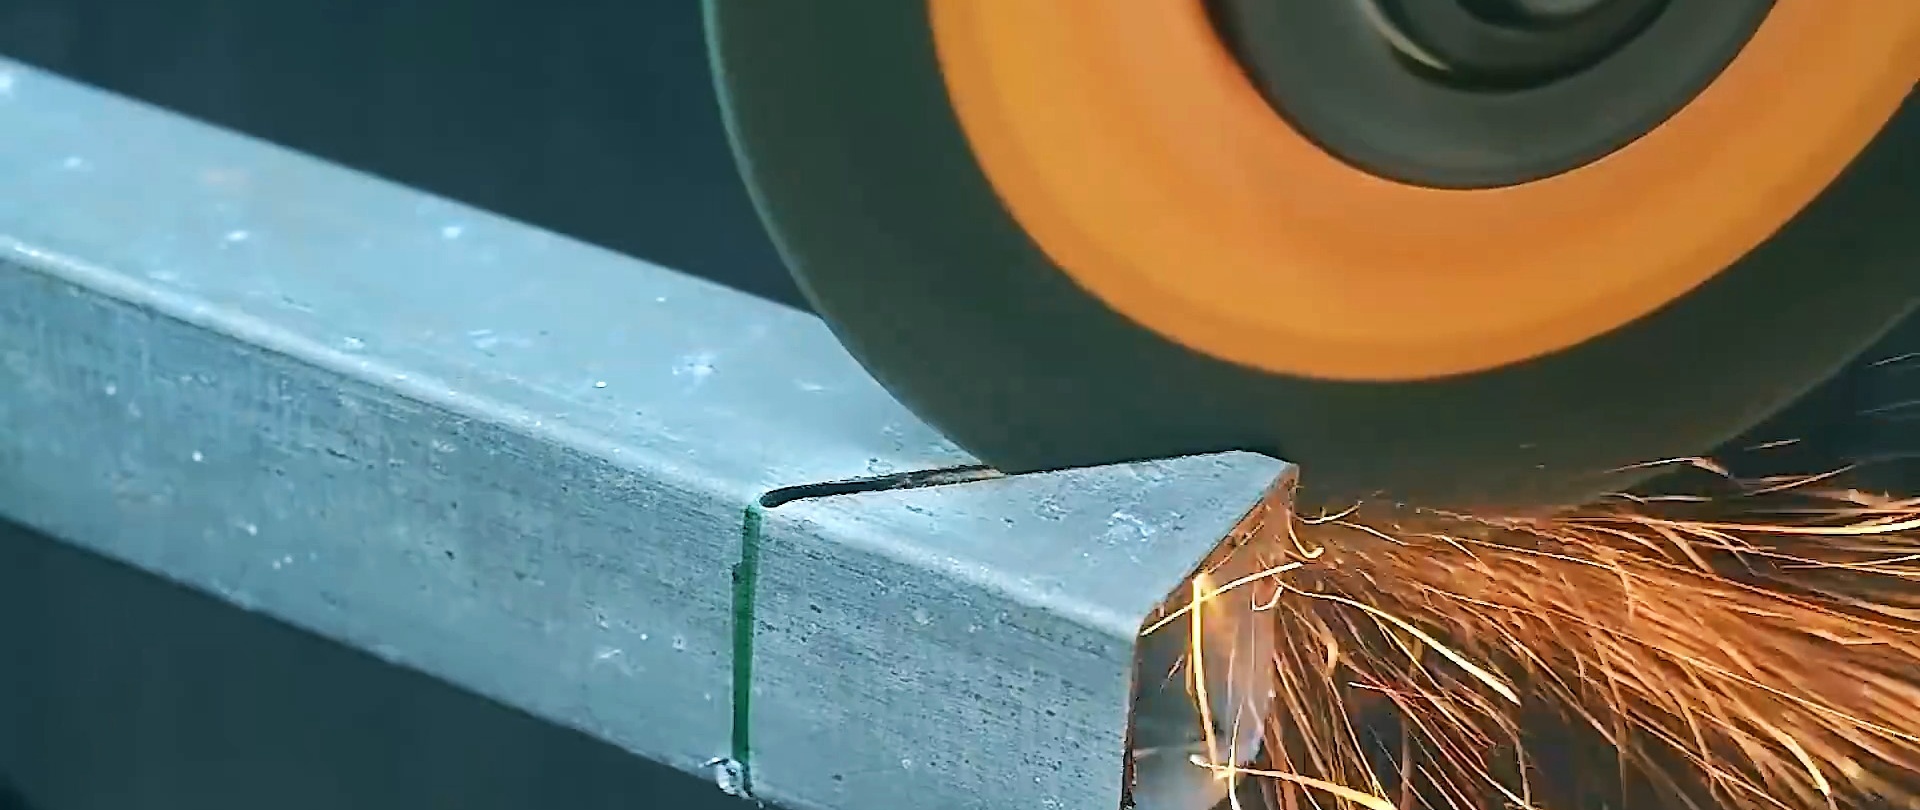
Without welding, a right angle can be obtained by bending the pipe, after making a simple trim. To do this, at the bend point it is necessary to make a marking consisting of two parallel transverse lines, the distance between which is equal to the width of the pipe.

This marking is transferred to the sides of the pipe. Then you need to use a grinder to make cuts along the marks and edges of the pipe and cut out the marked side walls. On the front side, only one transverse line is left without a cut.
The cut out side walls are removed. The remaining tendril bends outward at a right angle.
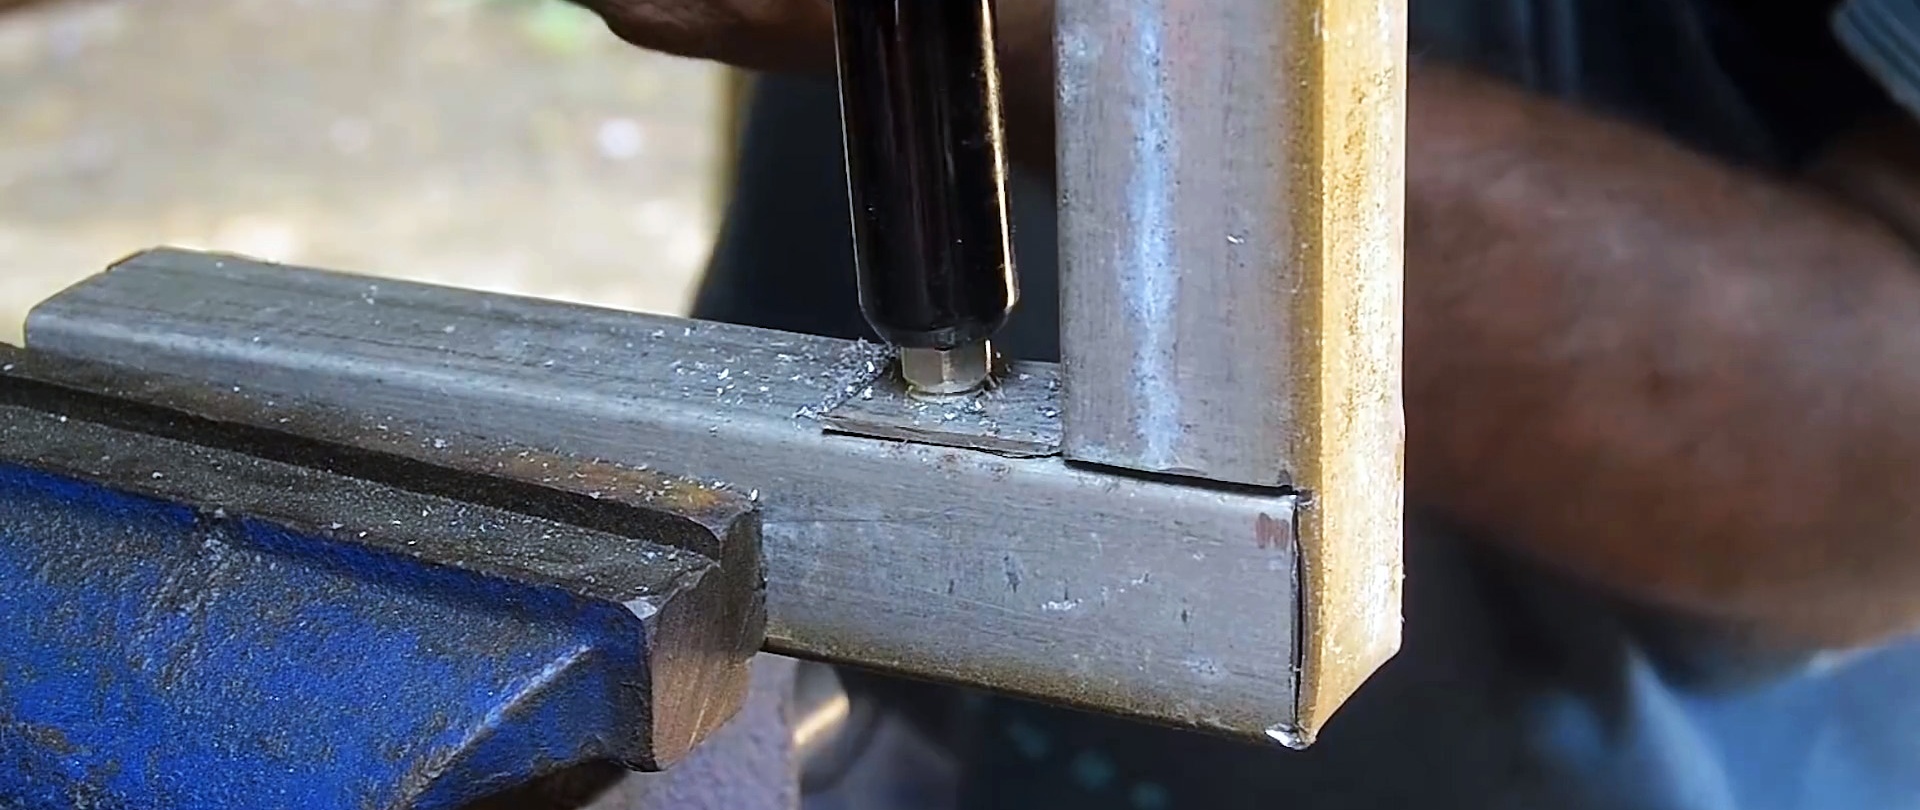
Now you need to clean off the burrs and bend the pipe. In order for it to bend as required, it should be beaten with a hammer. At the end it is fixed with a rivet installed through the remaining tongue.

2. T-shaped pipe connection
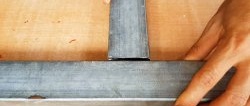
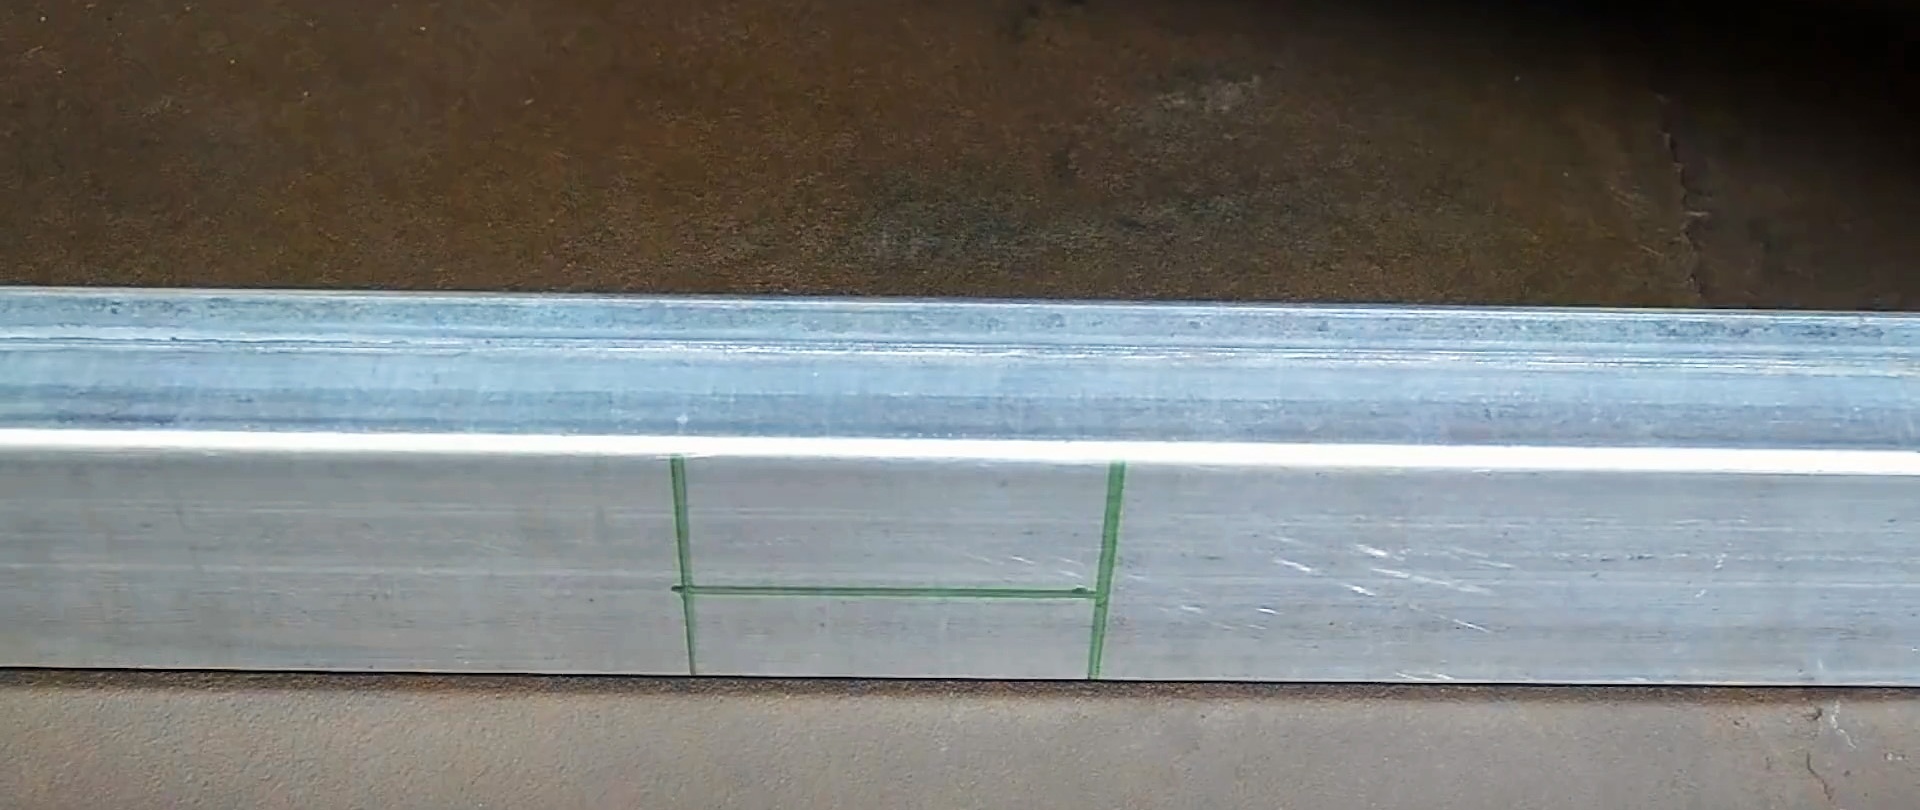
For a T-shaped connection, it is necessary to mark on one workpiece with parallel lines on three sides a section corresponding to the width of the pipe being joined. Then the central front wall is divided in half across, and the sides along.
Now you need to cut the central wall with a grinder to get 2 tongues. The lateral halves of the walls adjacent to these antennae are removed.

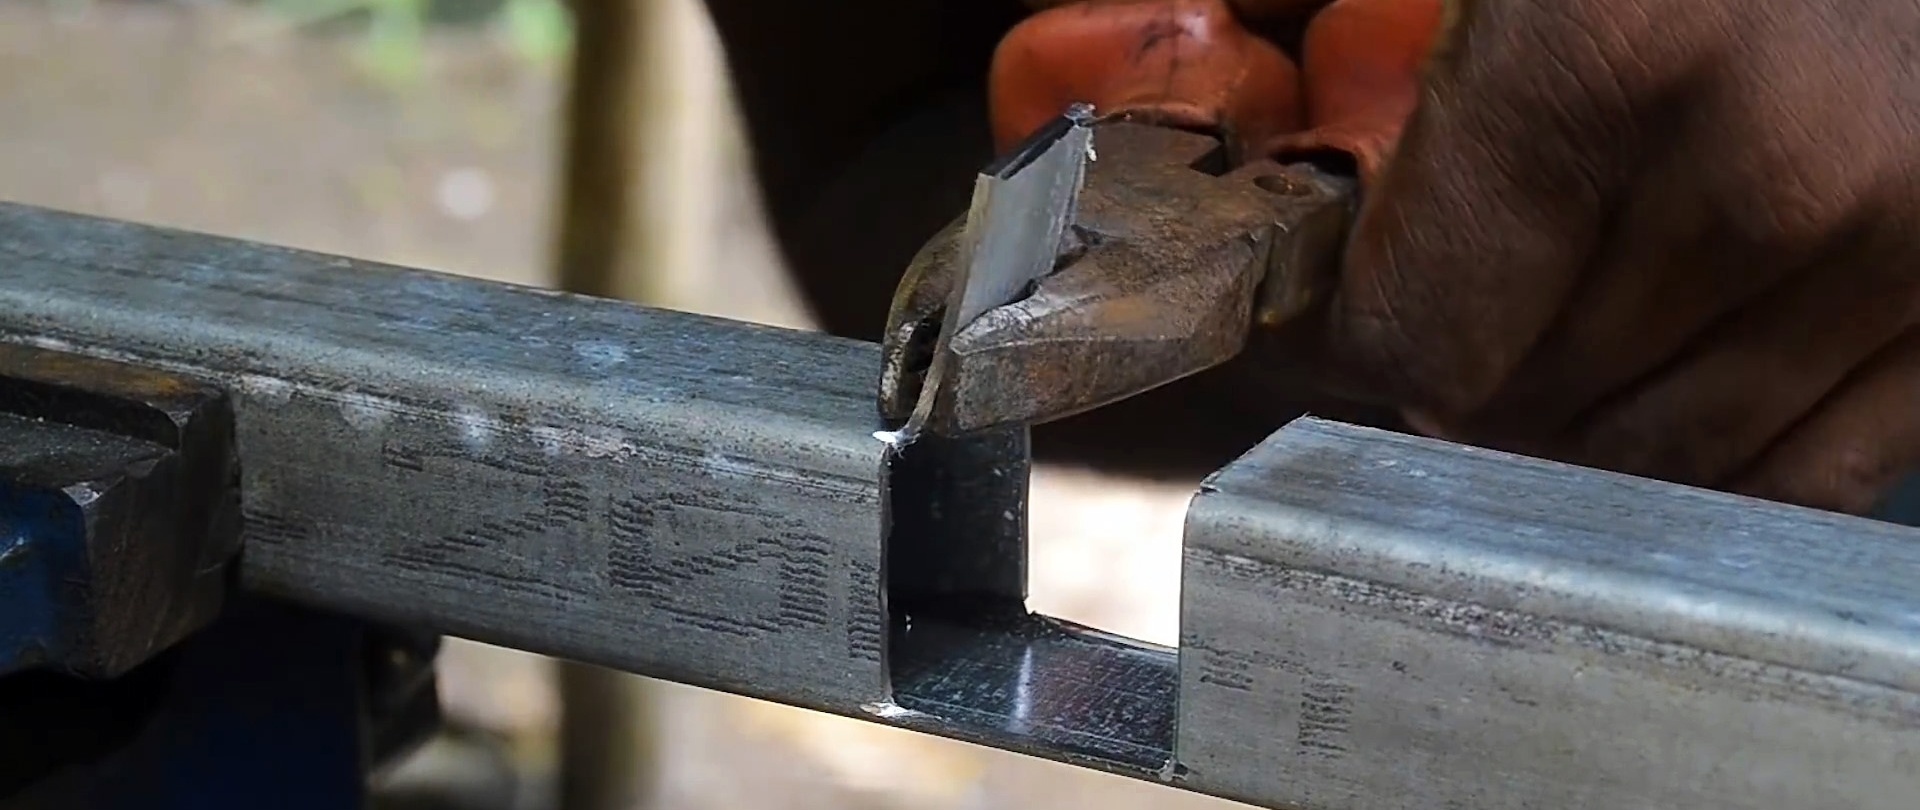
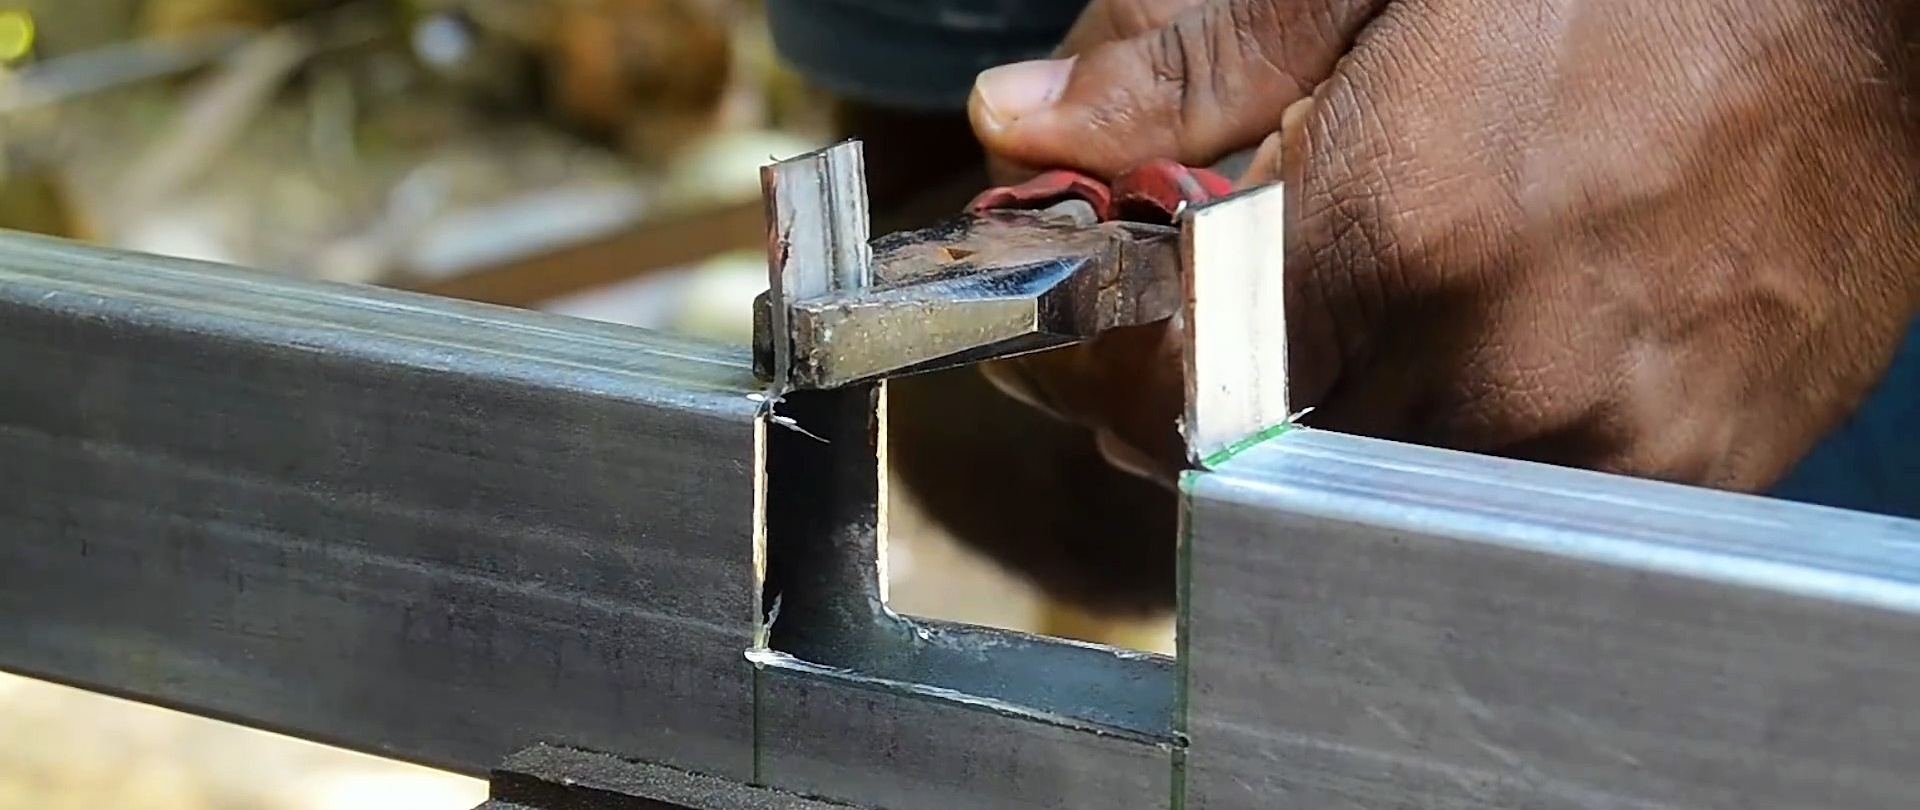
Next, the tongues on the pipe are bent outward at right angles. At the end of the second pipe, you need to make longitudinal cuts along the edges to a length corresponding to its width. After this, with hammer blows it can be narrowed to the width of the cut.

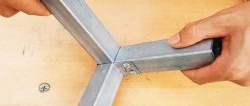
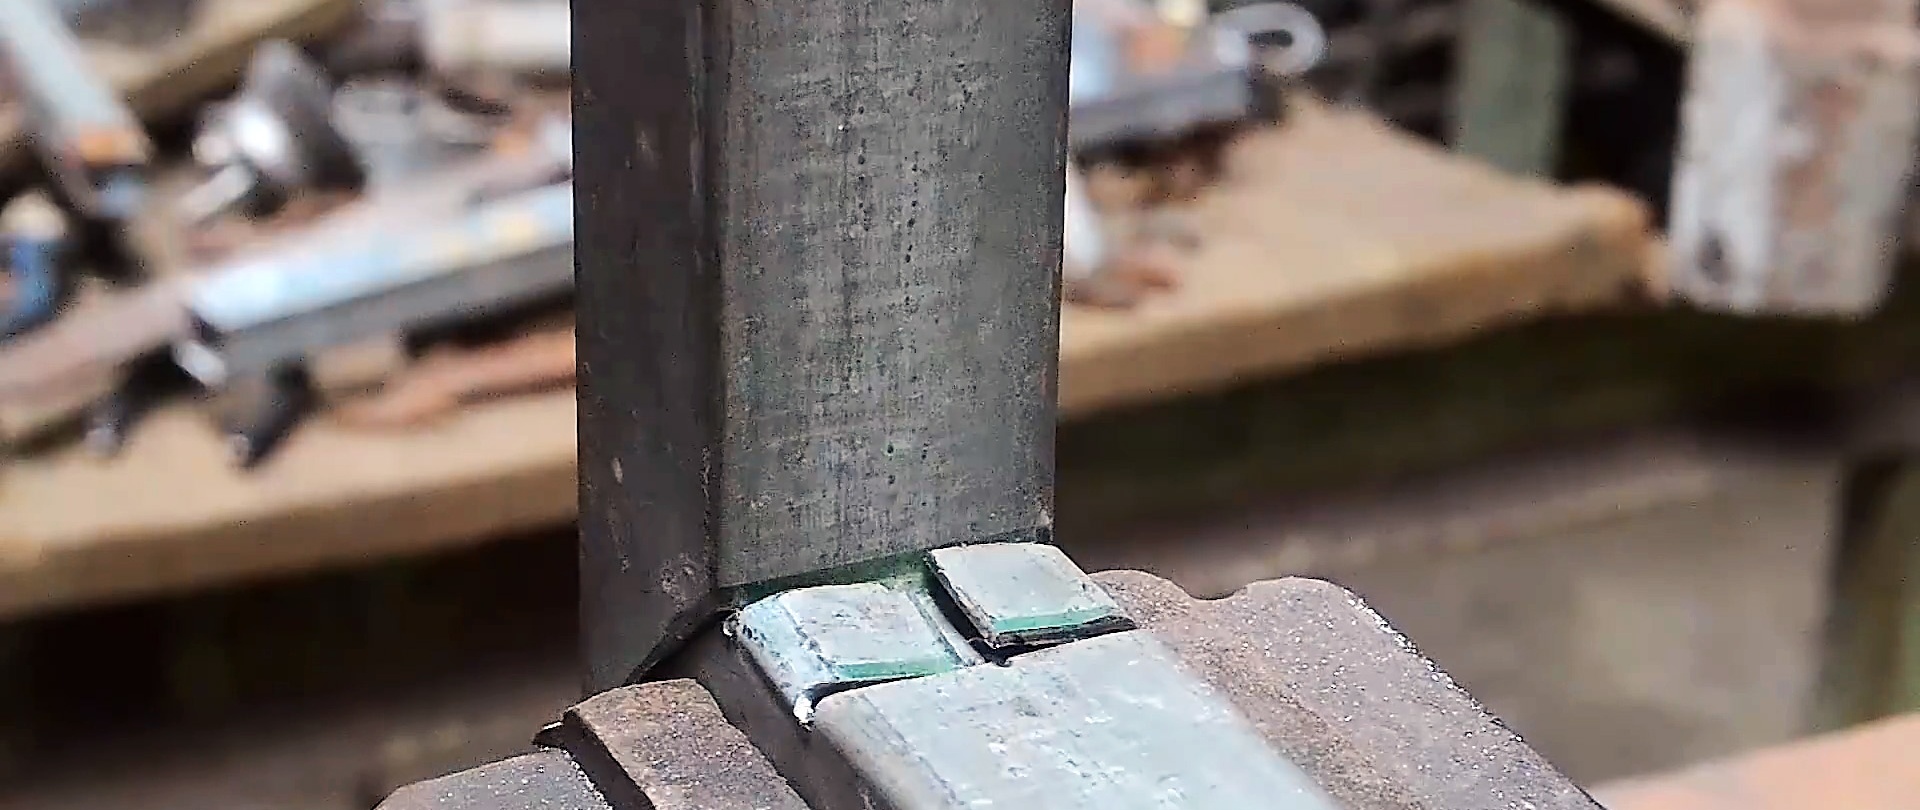
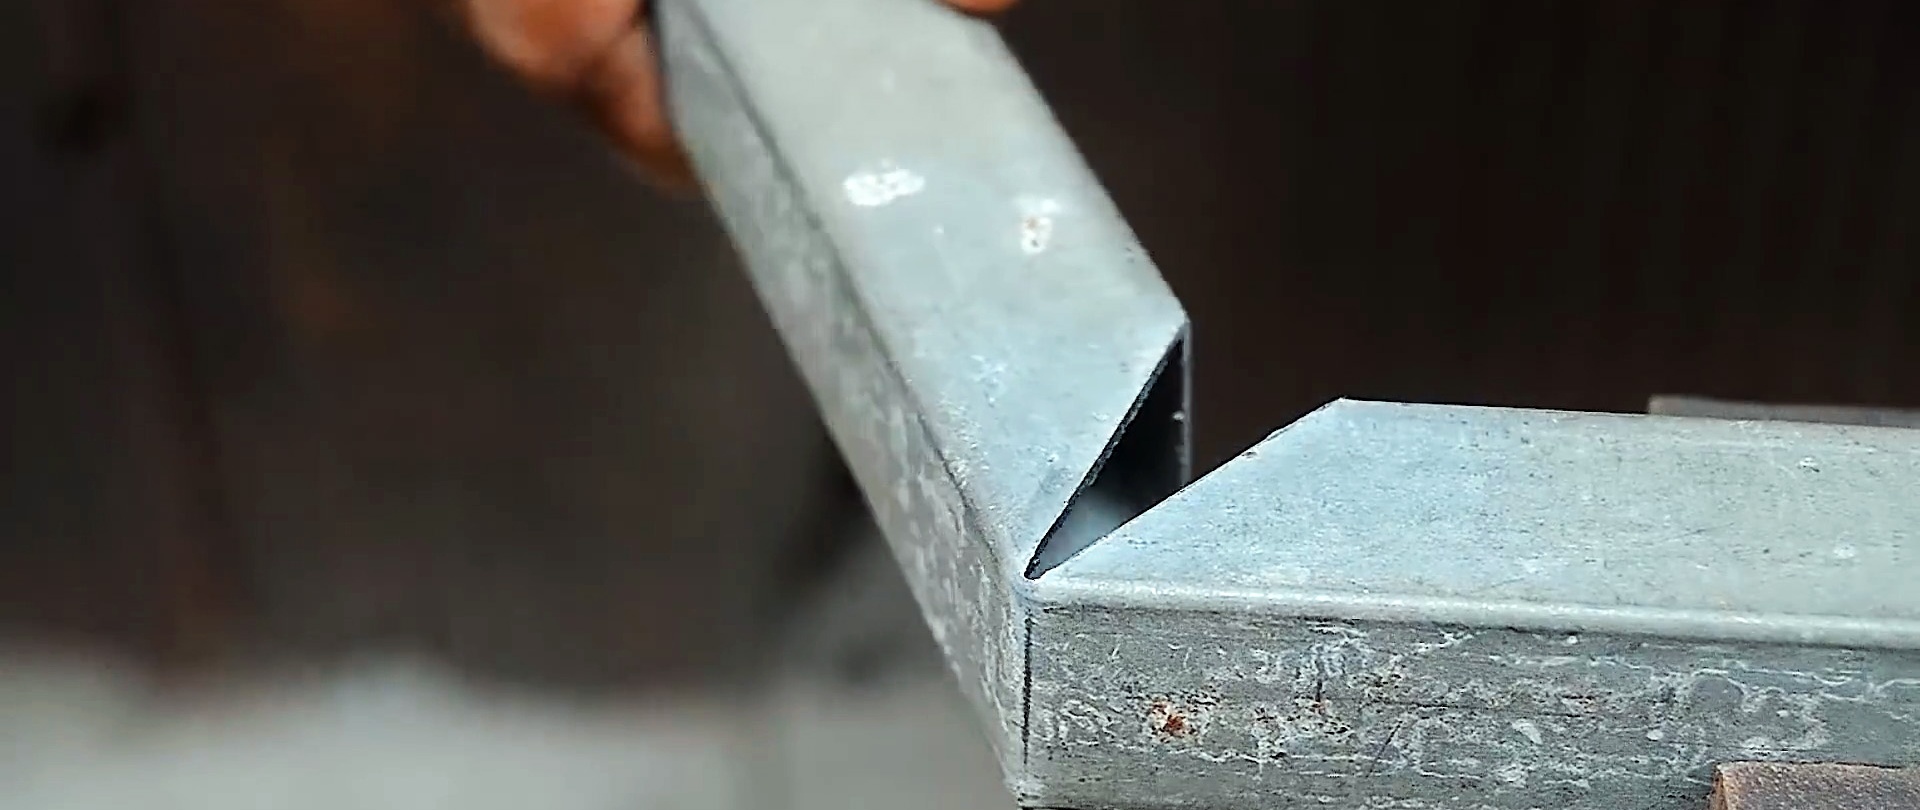
Then we hammer the narrowed end into the prepared groove on the first pipe until it stops.
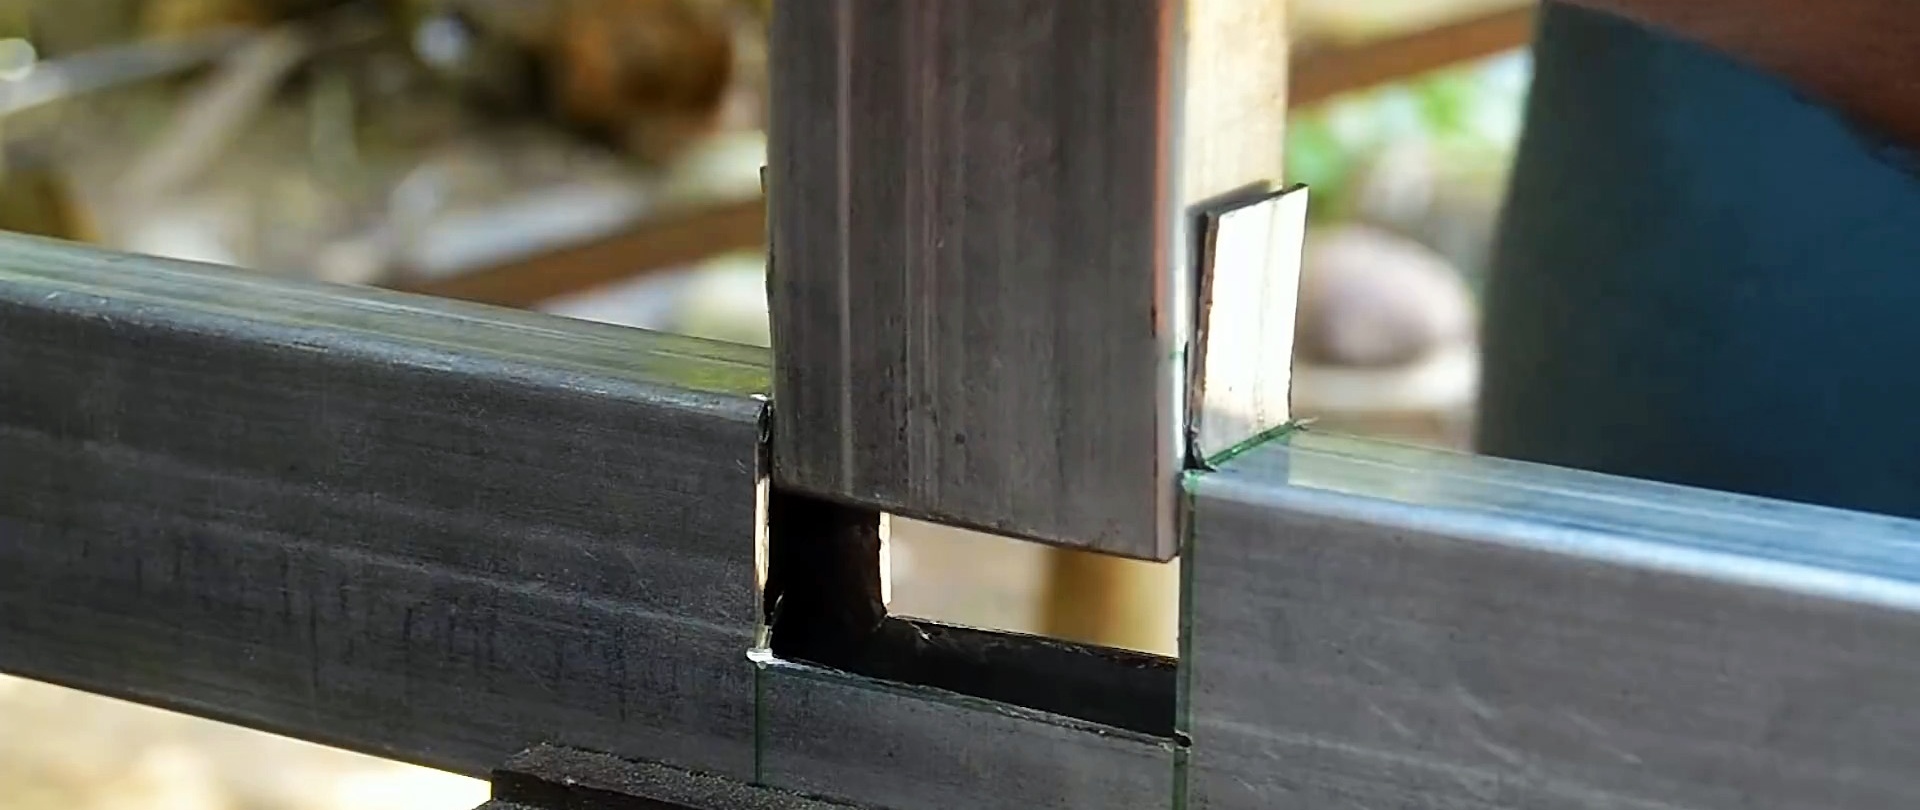
The final rigidity will be provided by the rivets featured through the tongues.

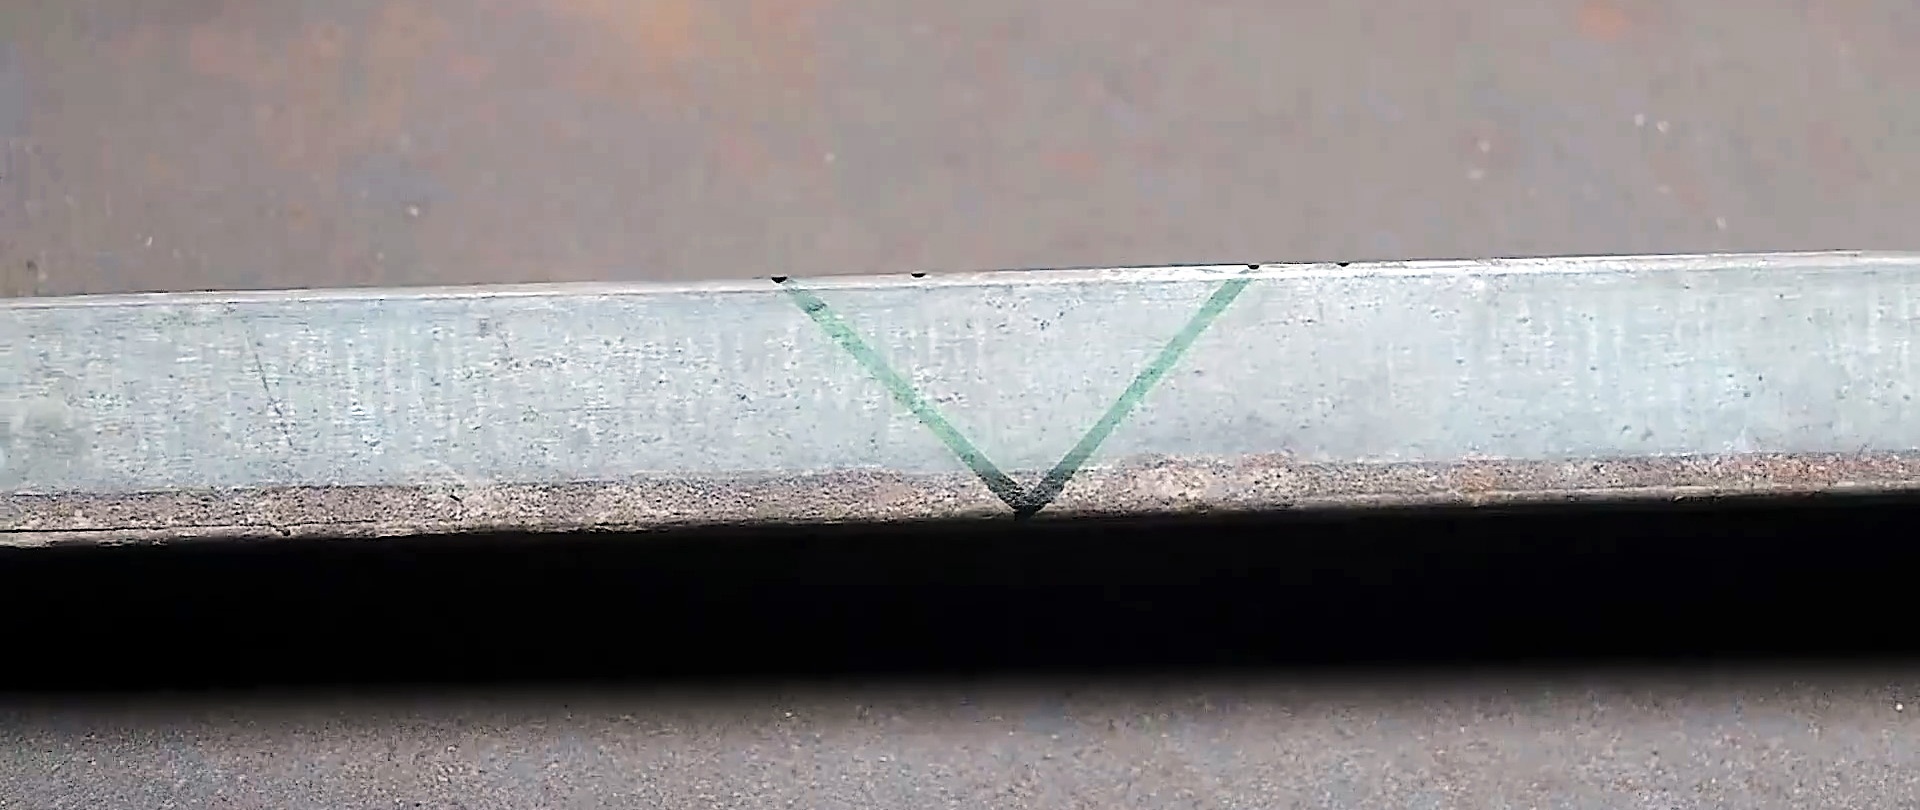
3. Right angle with a 45 degree cut
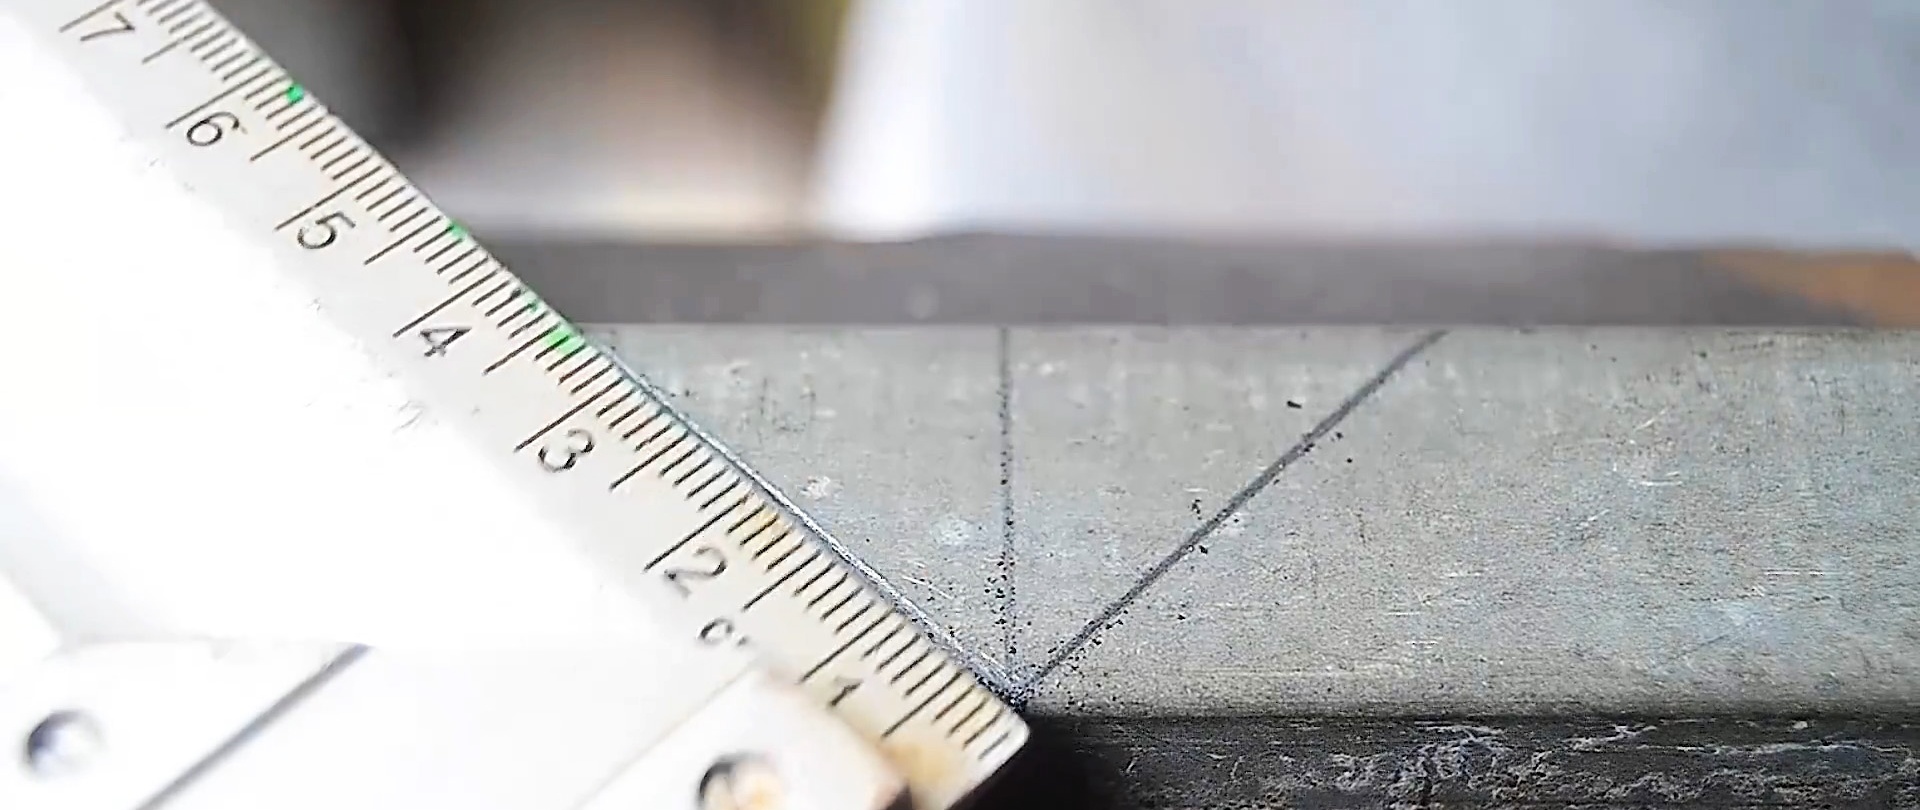
You can get a right angle by bending the pipe, after making cuts in it at 45 degrees. To do this, the center of the bend is marked on it, which will later become the outer corner. From it in 2 directions you need to draw lines at 45 degrees using a square. The same is done on the opposite wall of the pipe.
On the front side of the pipe, the edges of the oblique lines are connected parallel. Then, stepping back 10 mm to the right from the extreme one, a third parallel line is drawn. It needs to be divided in half lengthwise.
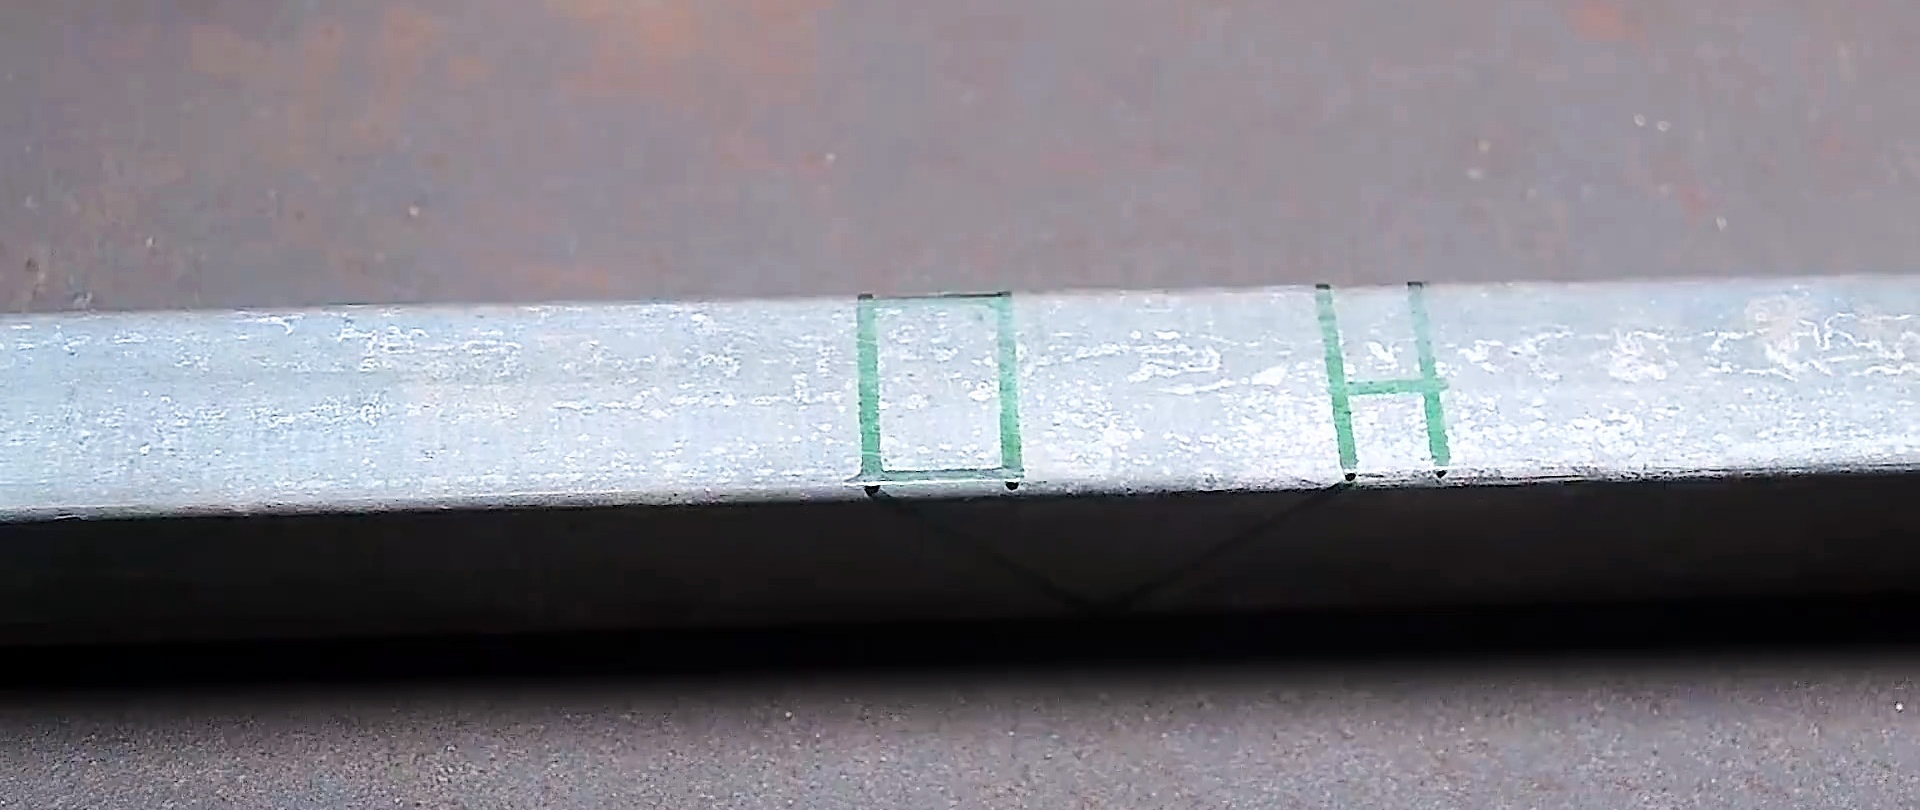
The fourth parallel line must be drawn with an indentation of 15 mm to the right of the leftmost one. Then you need to draw the edges between it and the first line.
Now, using a grinder, you need to make cuts along oblique lines on the sides, and cut out the tabs drawn on the front wall of the pipe. The metal cut out from the middle is removed.

The large tongue is bent at a right angle 1 mm from its origin. You also need to straighten 2 small antennae.
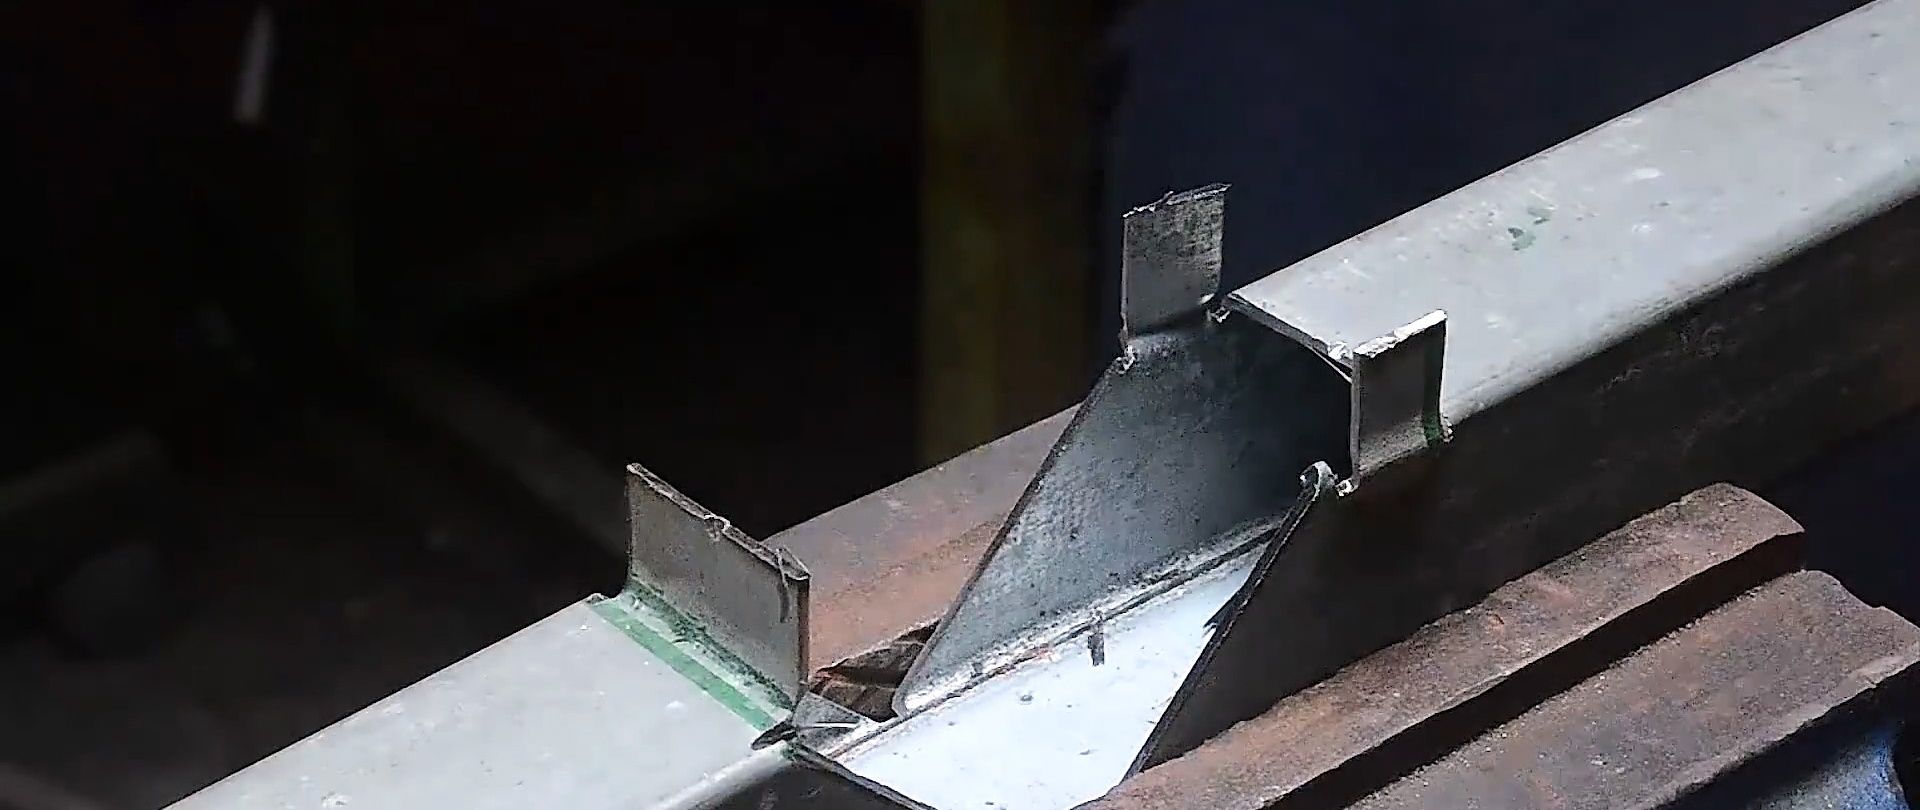
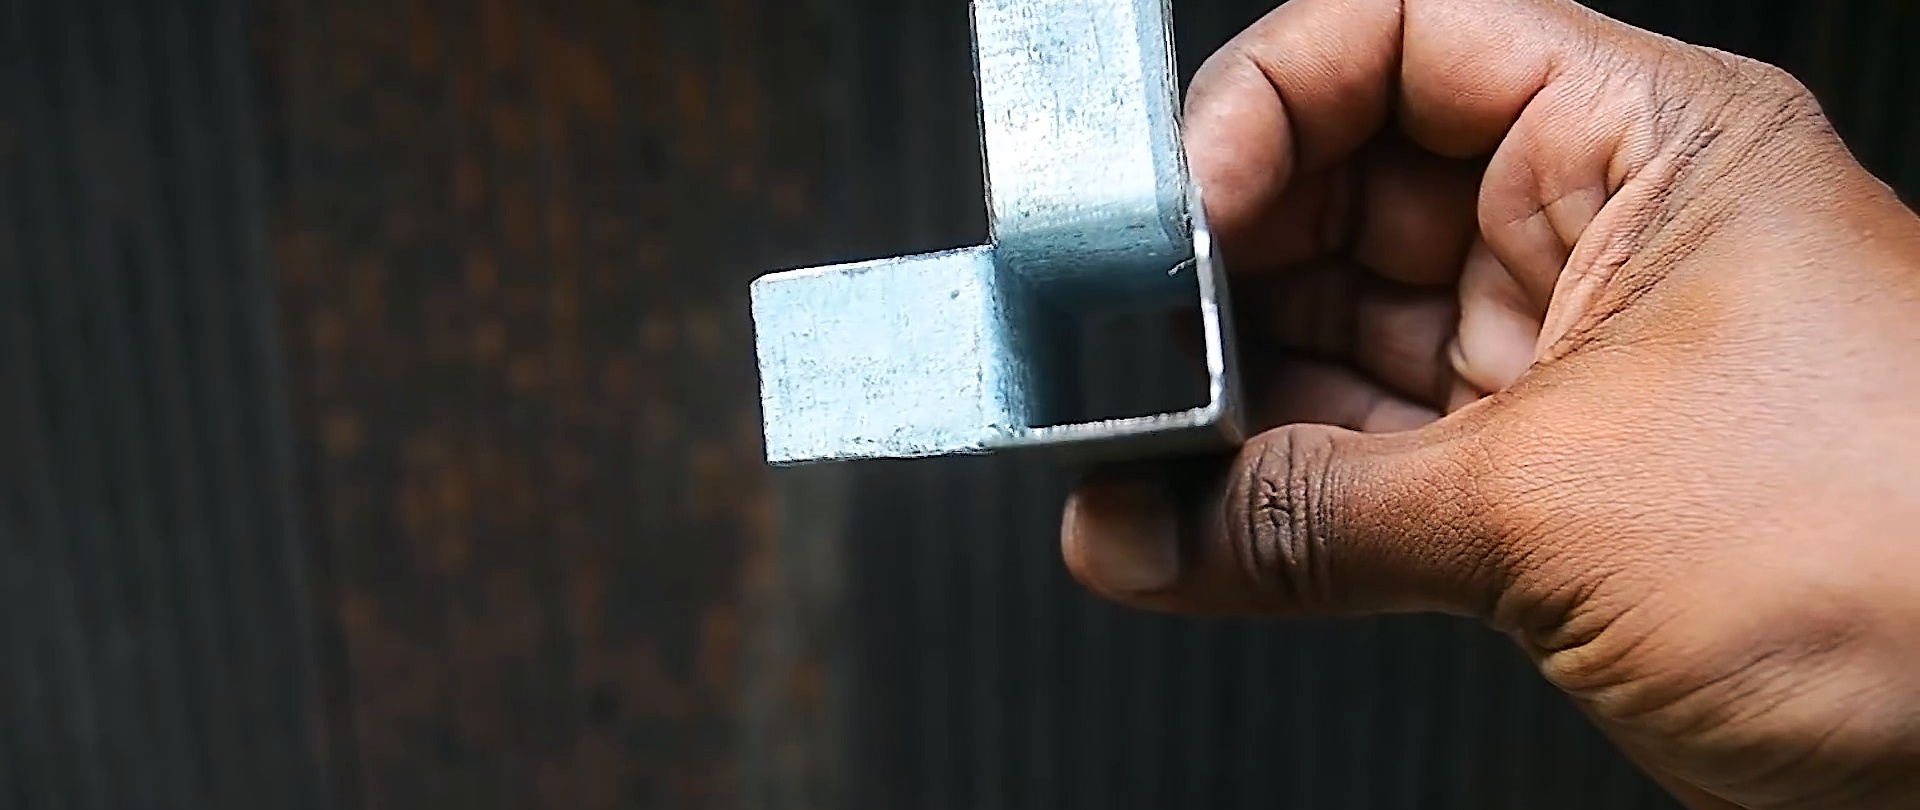
After this, the pipe bends and the small antennae return back to their original position. Thus, a right angle is obtained, and it is quite rigid even without the use of rivets.

4. Triple angle
On one pipe it is necessary to draw 2 oblique lines at 45 degrees from one point. The same is done on the opposite wall. The lines are then connected on the front side. Now you need to cut out the marked parts with a grinder and bend the pipe.

At the end of the second pipe, 3 longitudinal cuts are made along the edges. Their length must correspond to the width of the pipe. The resulting 2 tongues are bent outward at a right angle.

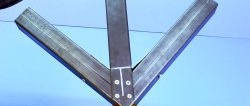
Now you need to dock the second tube with the curved corner of the first. They are then fastened with rivets.

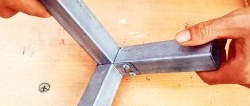
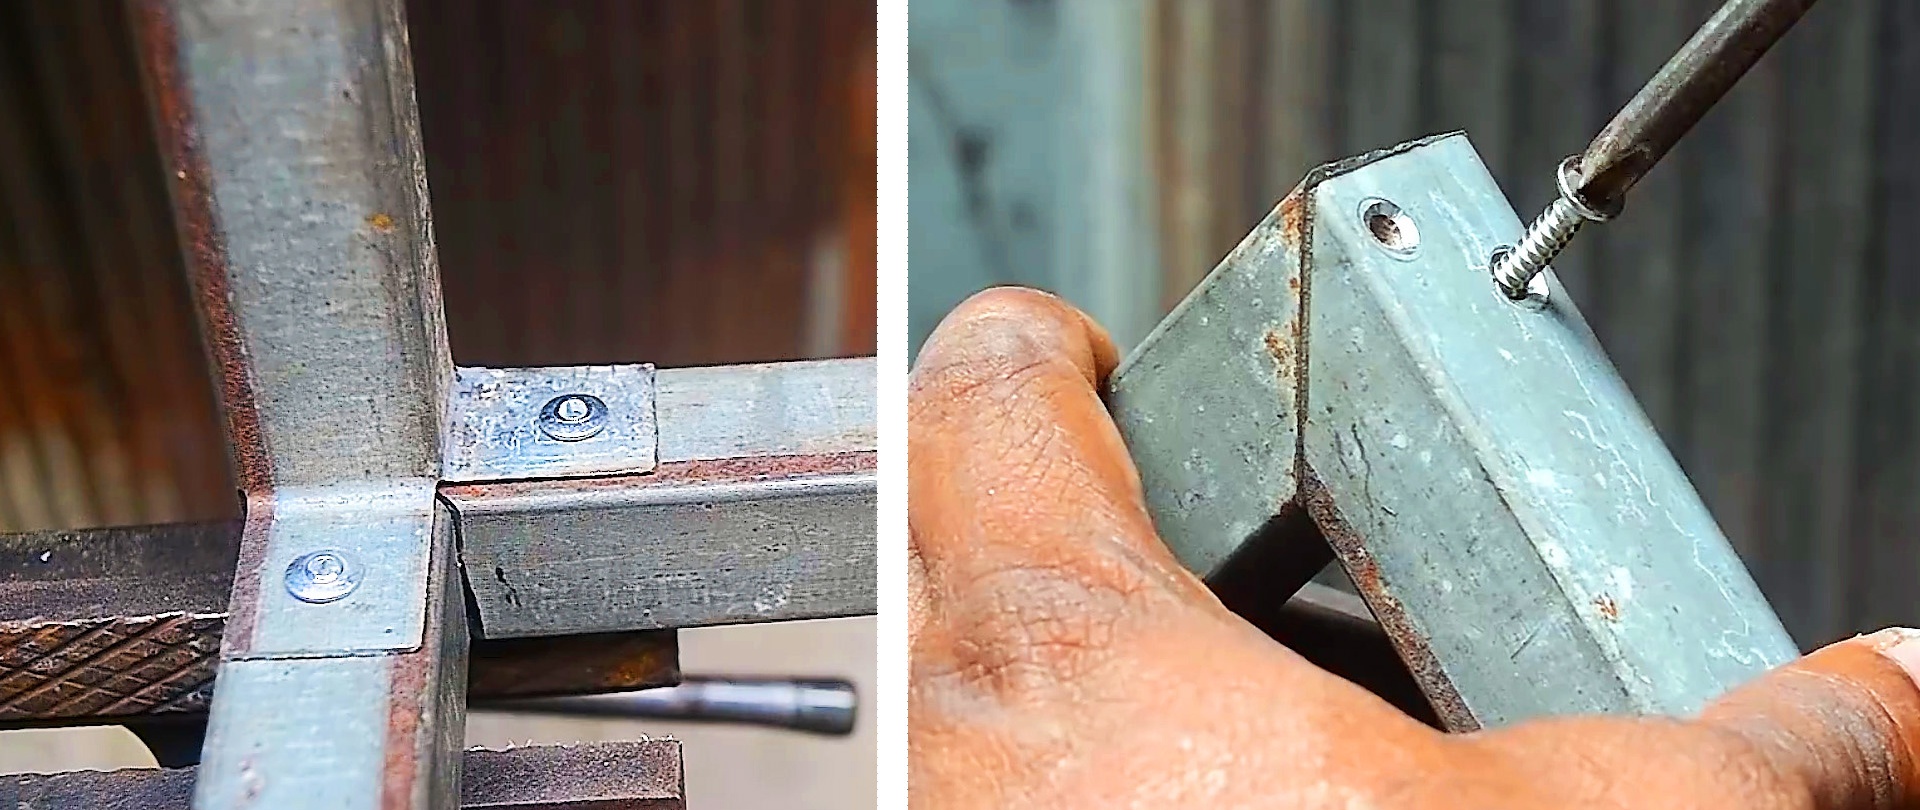
5. Connection at right angles with wooden mortgages
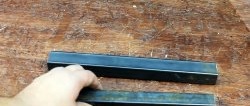
To make such a connection, it is necessary to cut the ends of the two tubes at 45 degrees.
Then a wooden strip is hammered into them and trimmed.

Now the tubes with mortgages are folded into a corner, after which they are drilled and tightened with self-tapping screws.