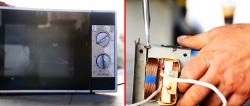
In a home workshop there is always a use for a spot welding machine, but the simplest of them in a store costs from several thousand rubles. If you remove a transformer from an old microwave oven, you can make such a device yourself at minimal cost.
Will need
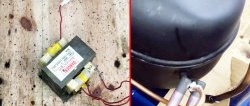
Materials:- Microwave transformer;
- cable and wires;
- fan;
- multilayer plywood;
- cable lugs and casings;
- screws, nails and staples;
- switch, switch and indicator light;
- copper threaded rods and nuts;
- steel sheet, etc.
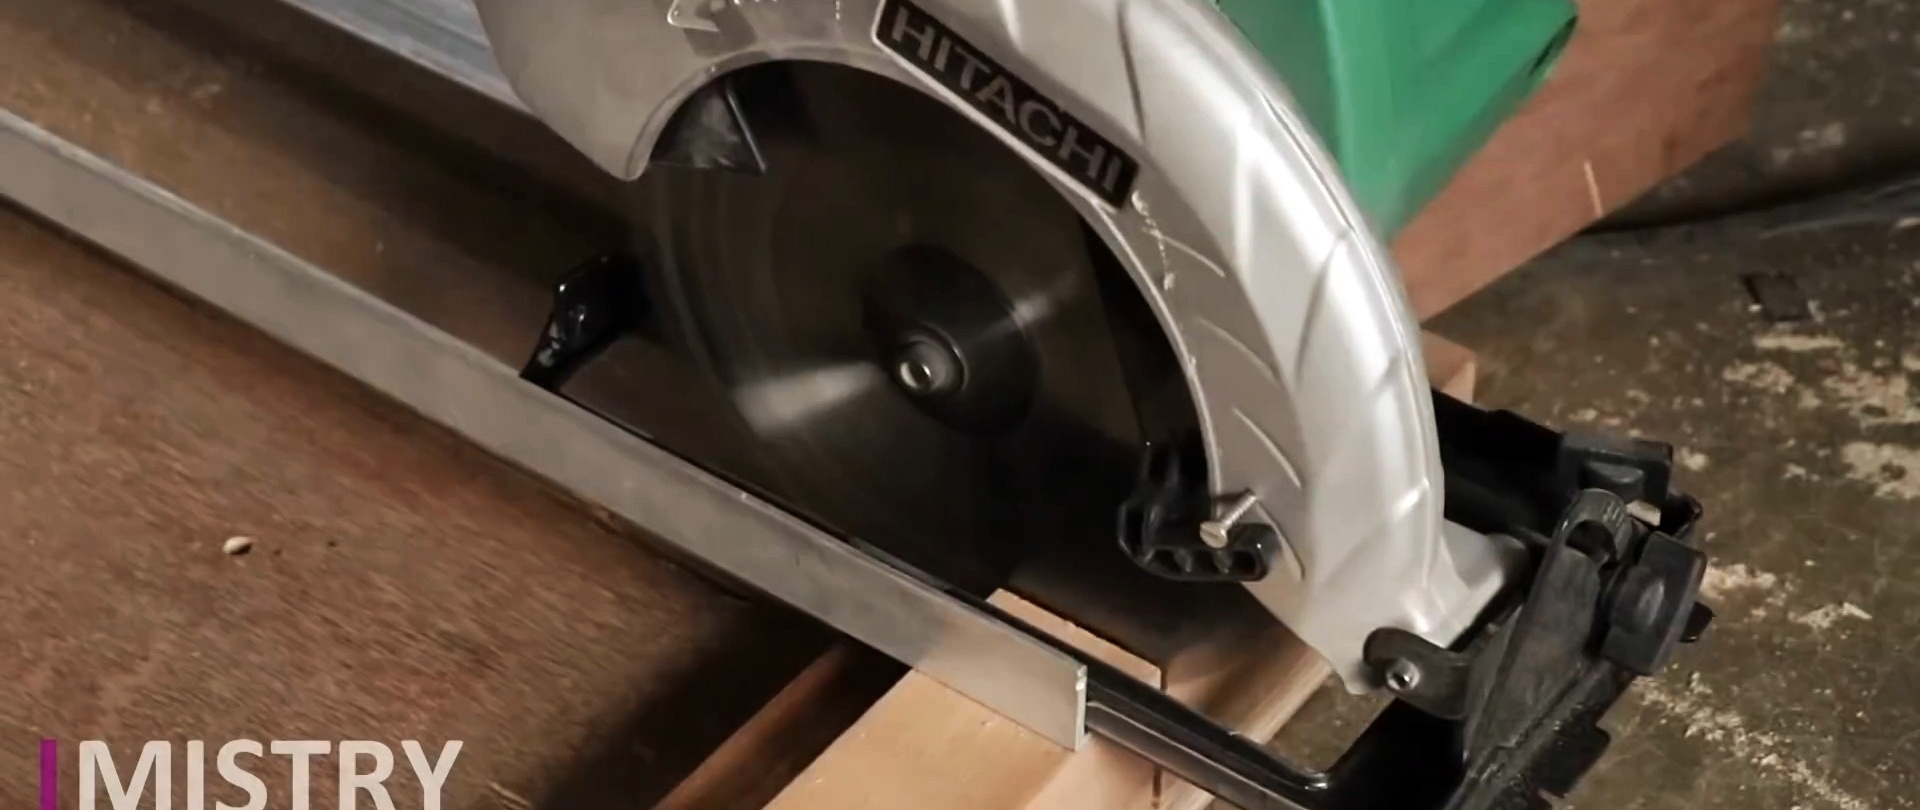
Tools and accessories: wire cutters, hacksaw, knife, crimping pliers, drilling machine, circular saw, bending machine, etc.
The manufacturing process of a spot welding machine
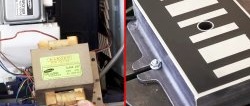
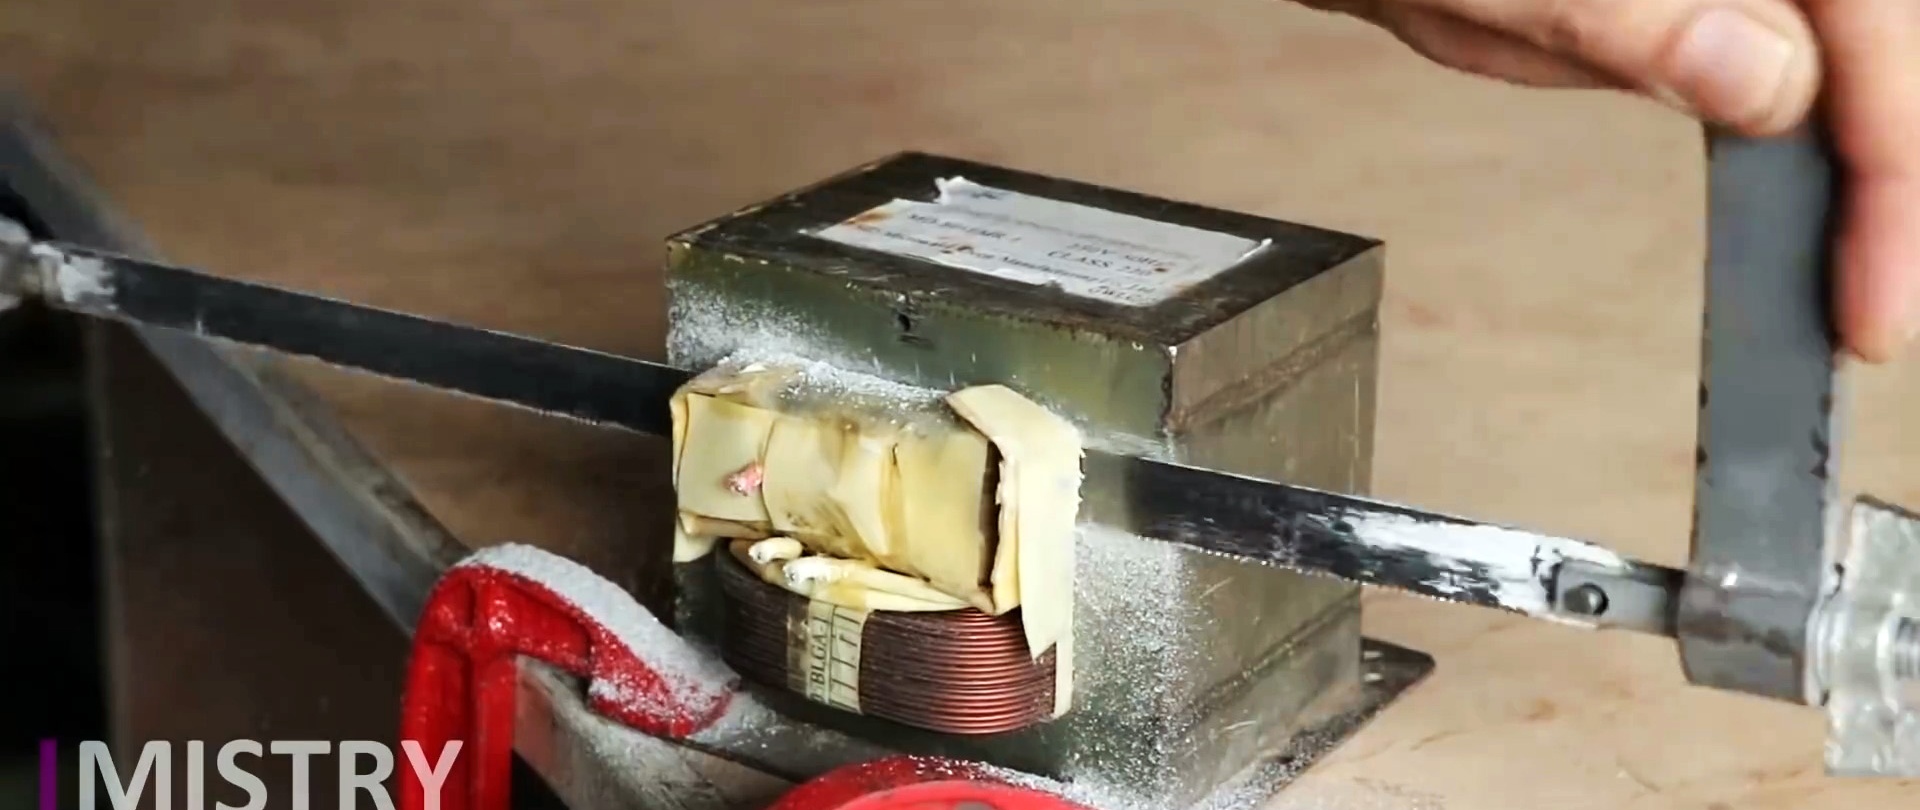
Using hand tools, we remove the secondary winding and insulation from the transformer of the old microwave.
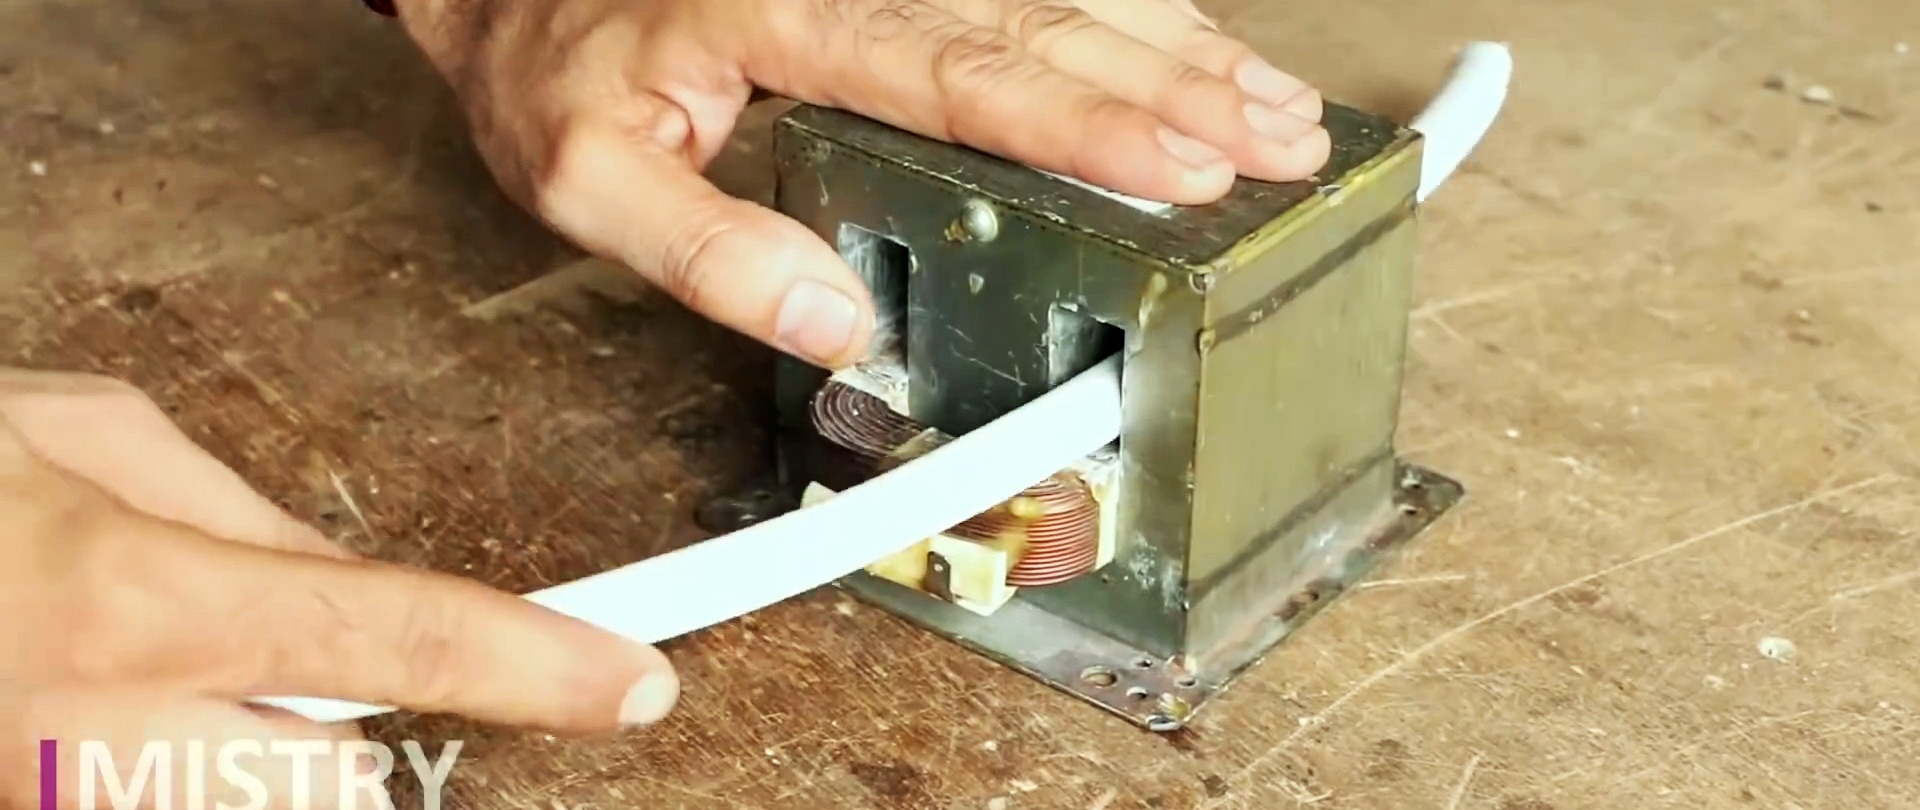
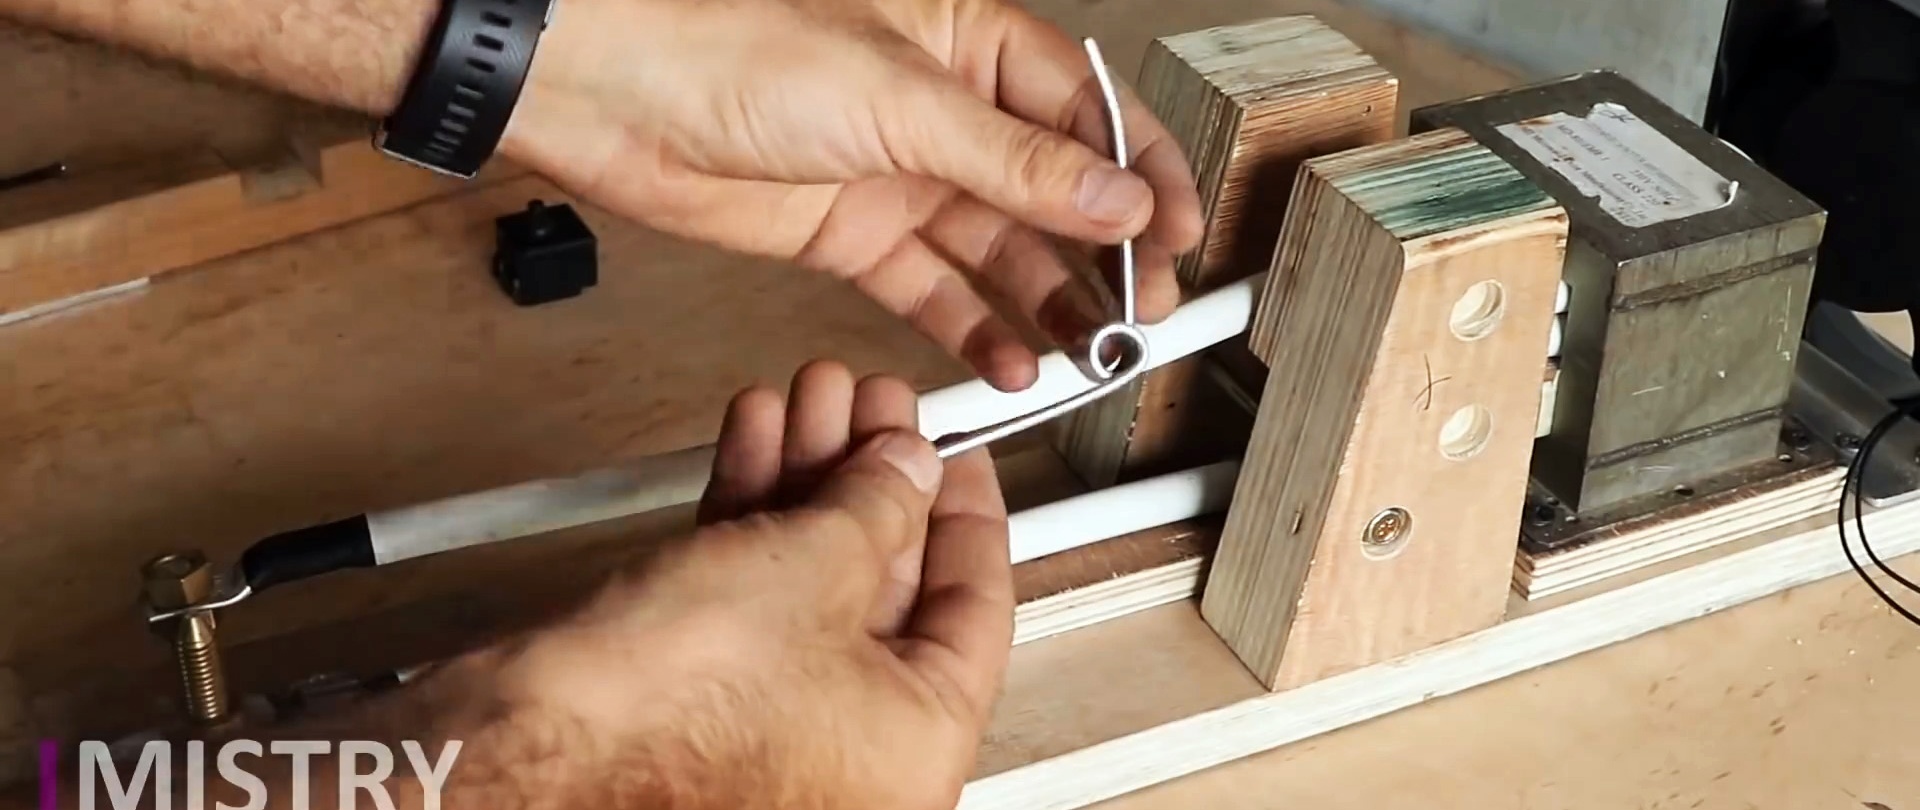
We insert the cable into the resulting holes with a double loop, having previously removed the outer sheath.
We trim the ends of the cable, expose the cores and crimp them with lugs using crimping pliers.
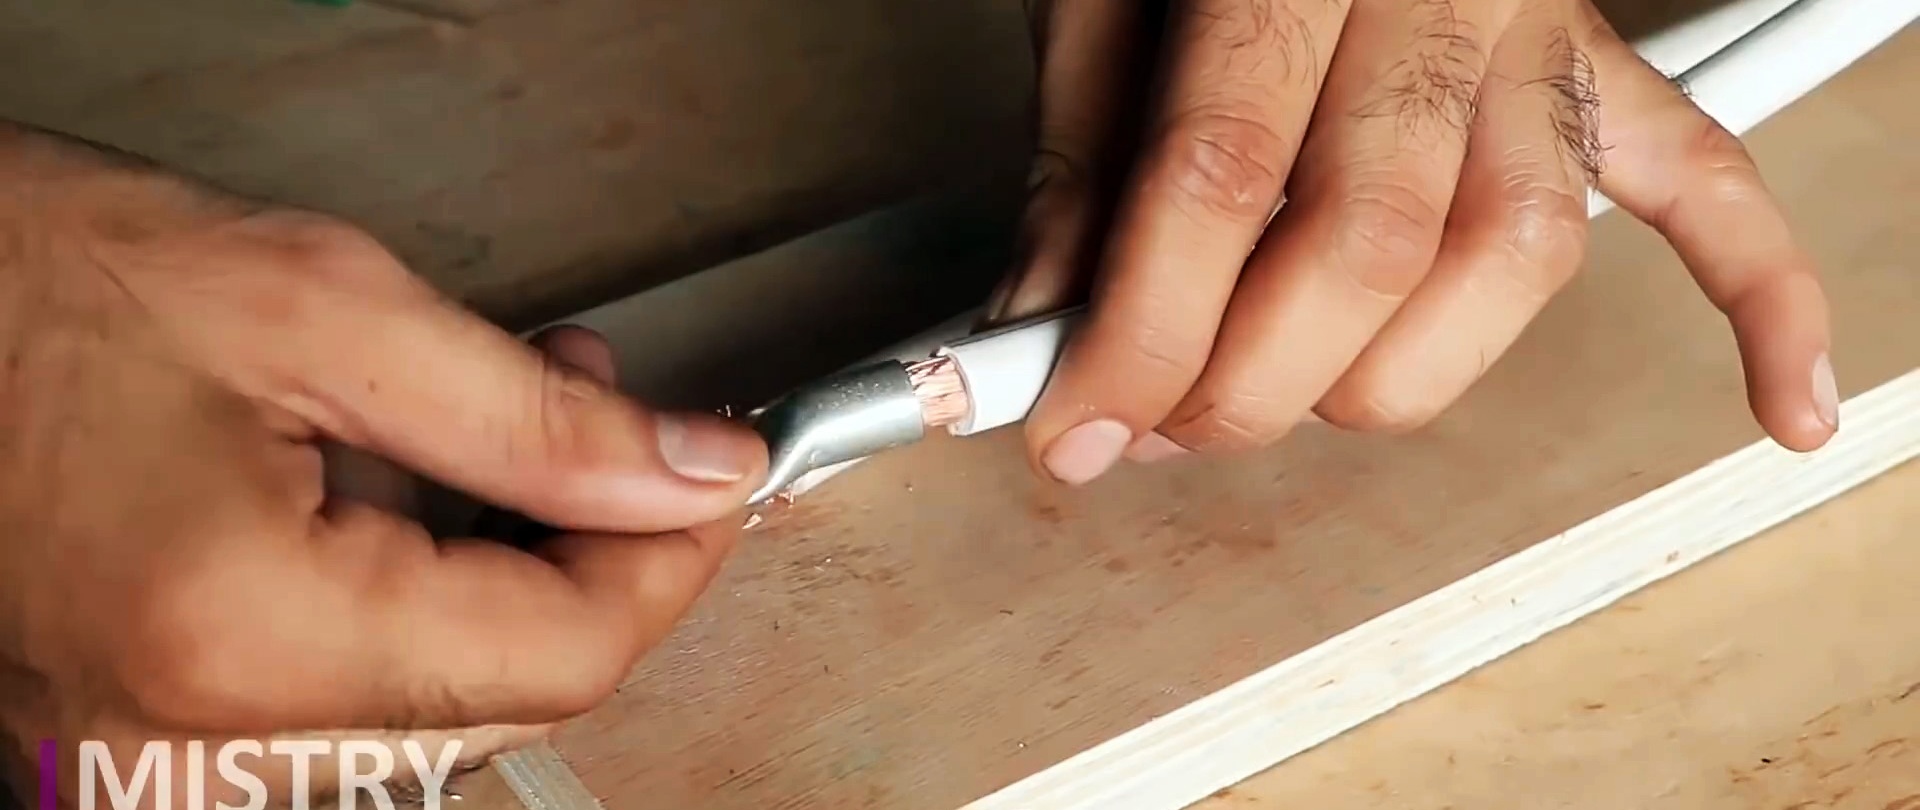
We put heat-shrinkable casings on the contact line, cut off the excess and use the fire of a lighter to shrink (seal) them.
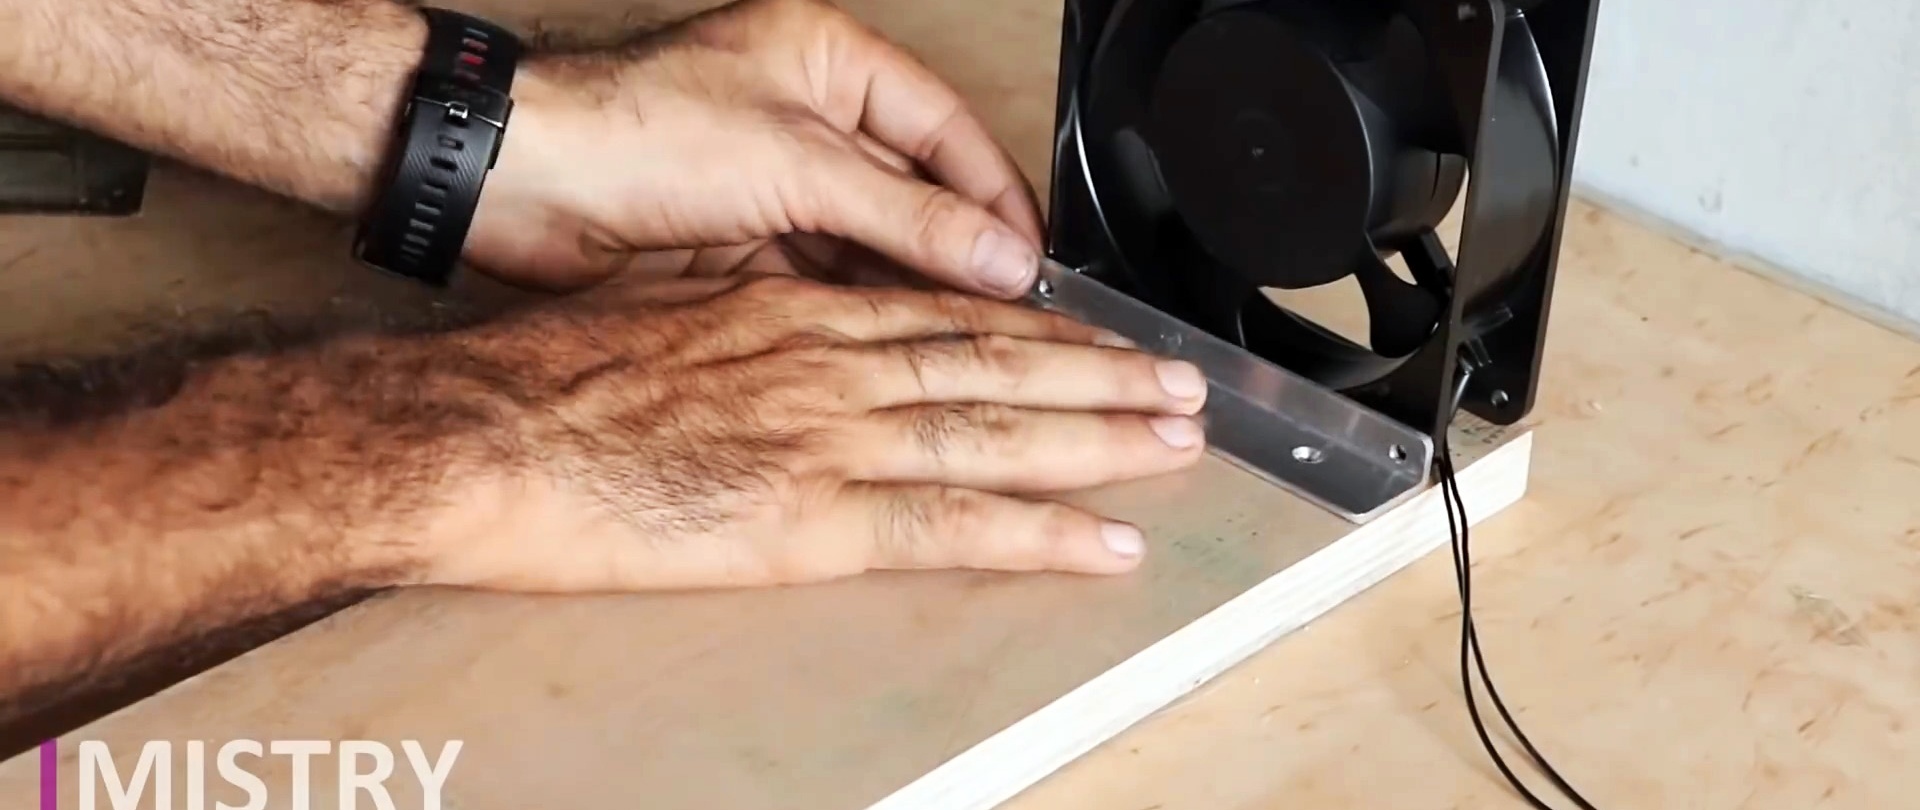
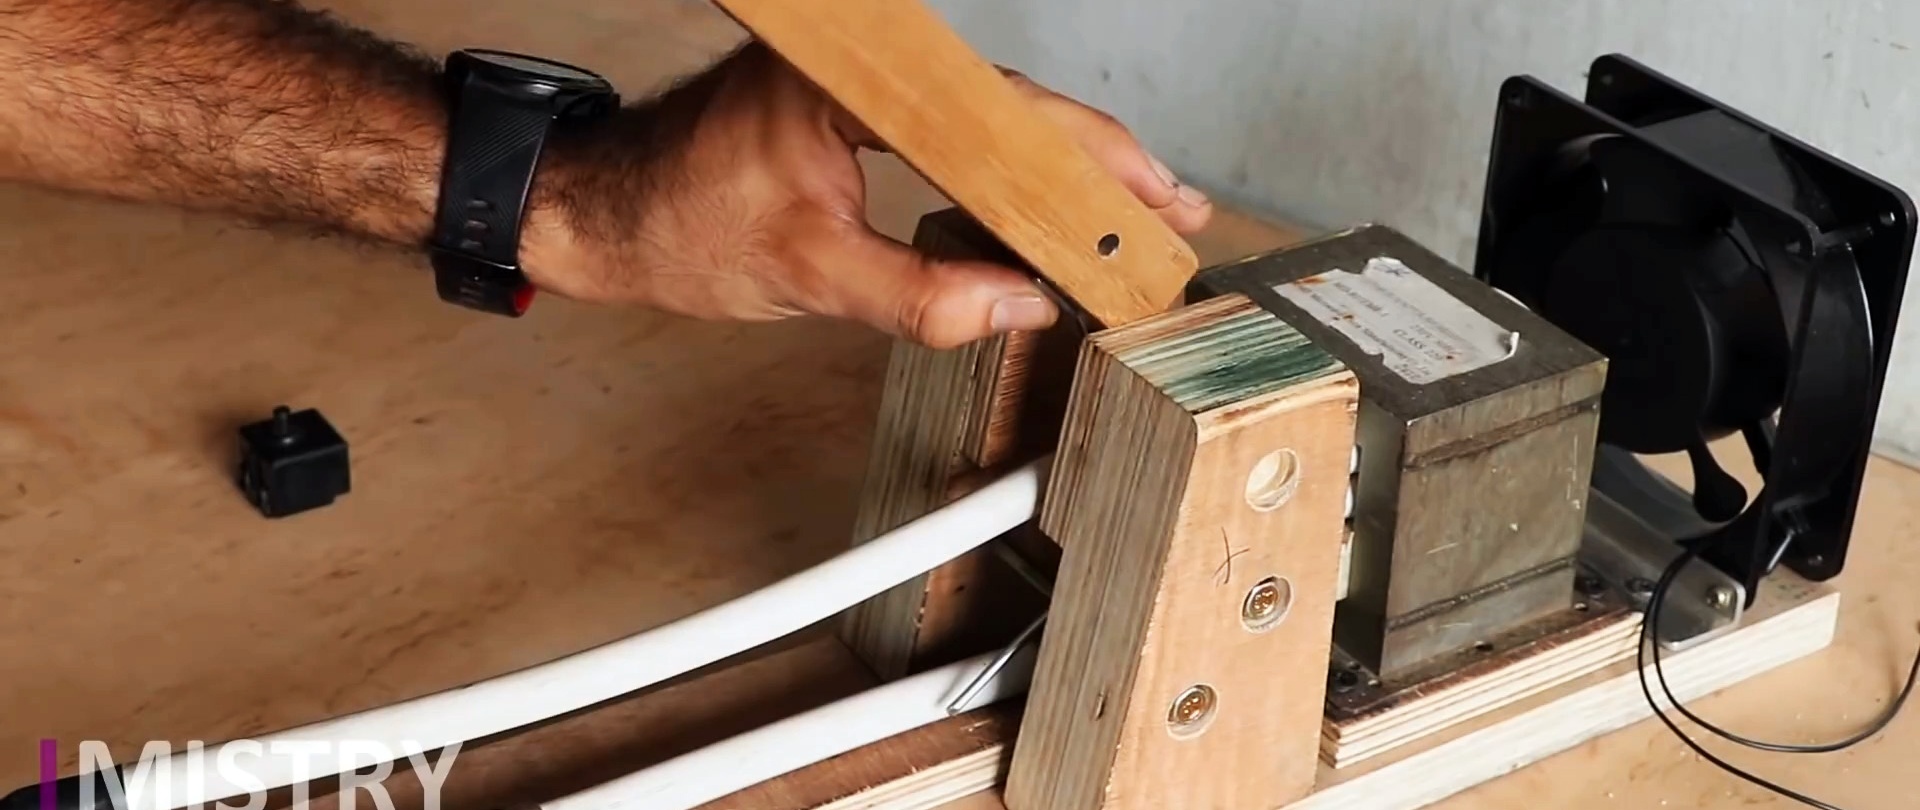
We attach a fan to a strip of multilayer plywood transversely along the end using an aluminum angle.
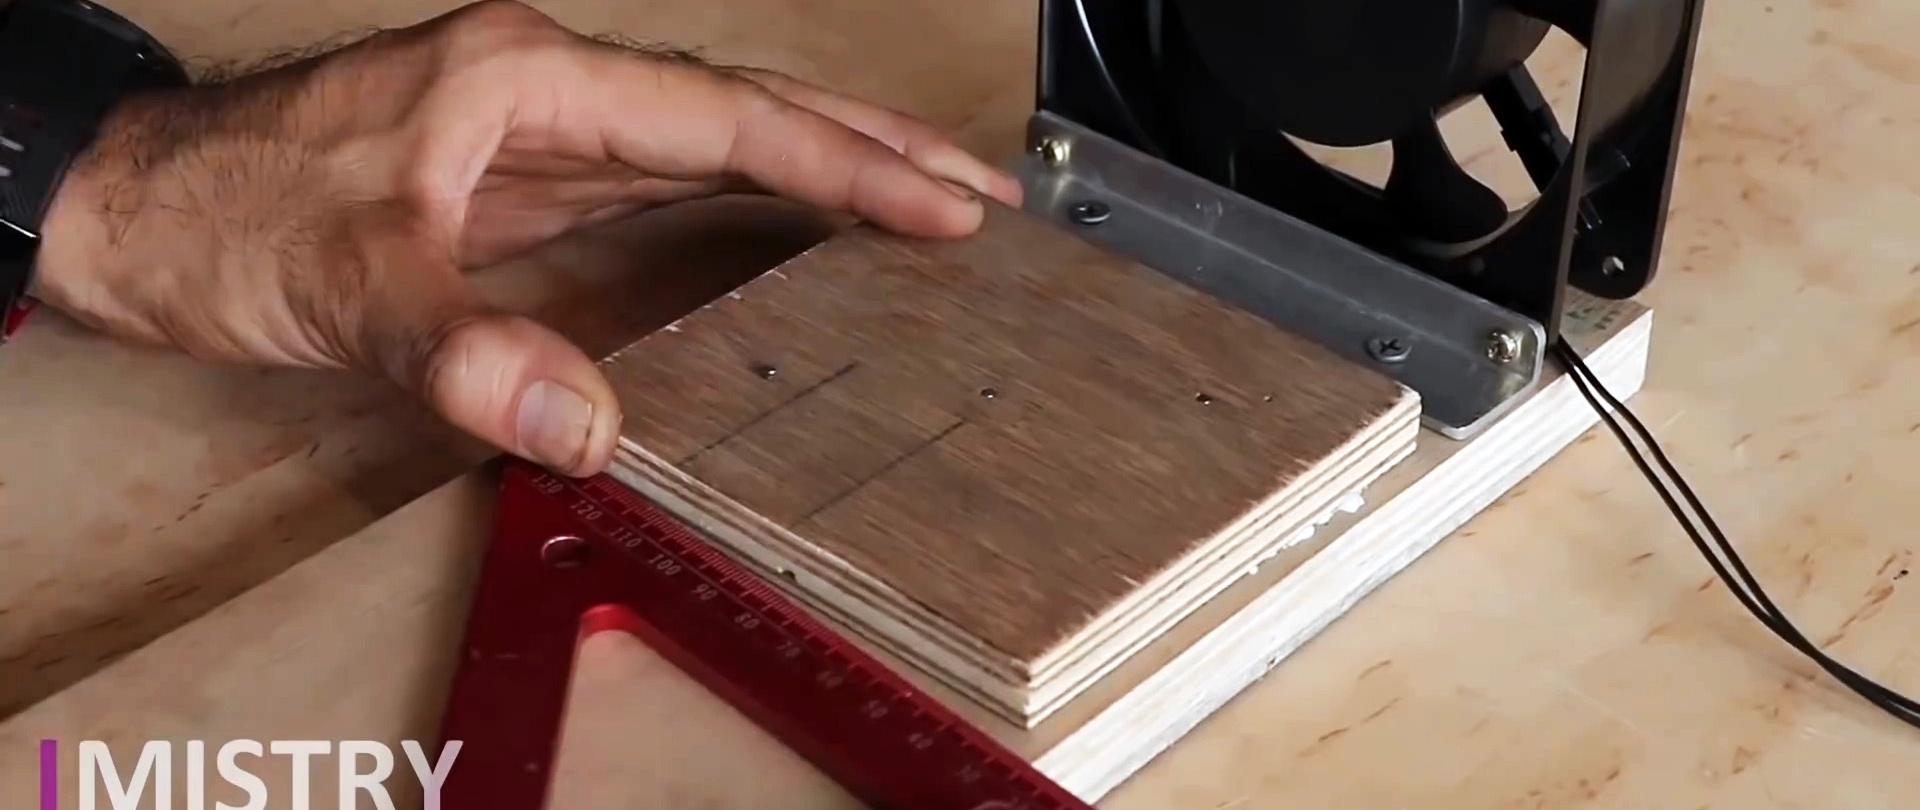
We glue and nail a square of multilayer plywood to the strip in front of the fan.
We fix the transformer on it through gaskets cut from the outer sheath of the cable.
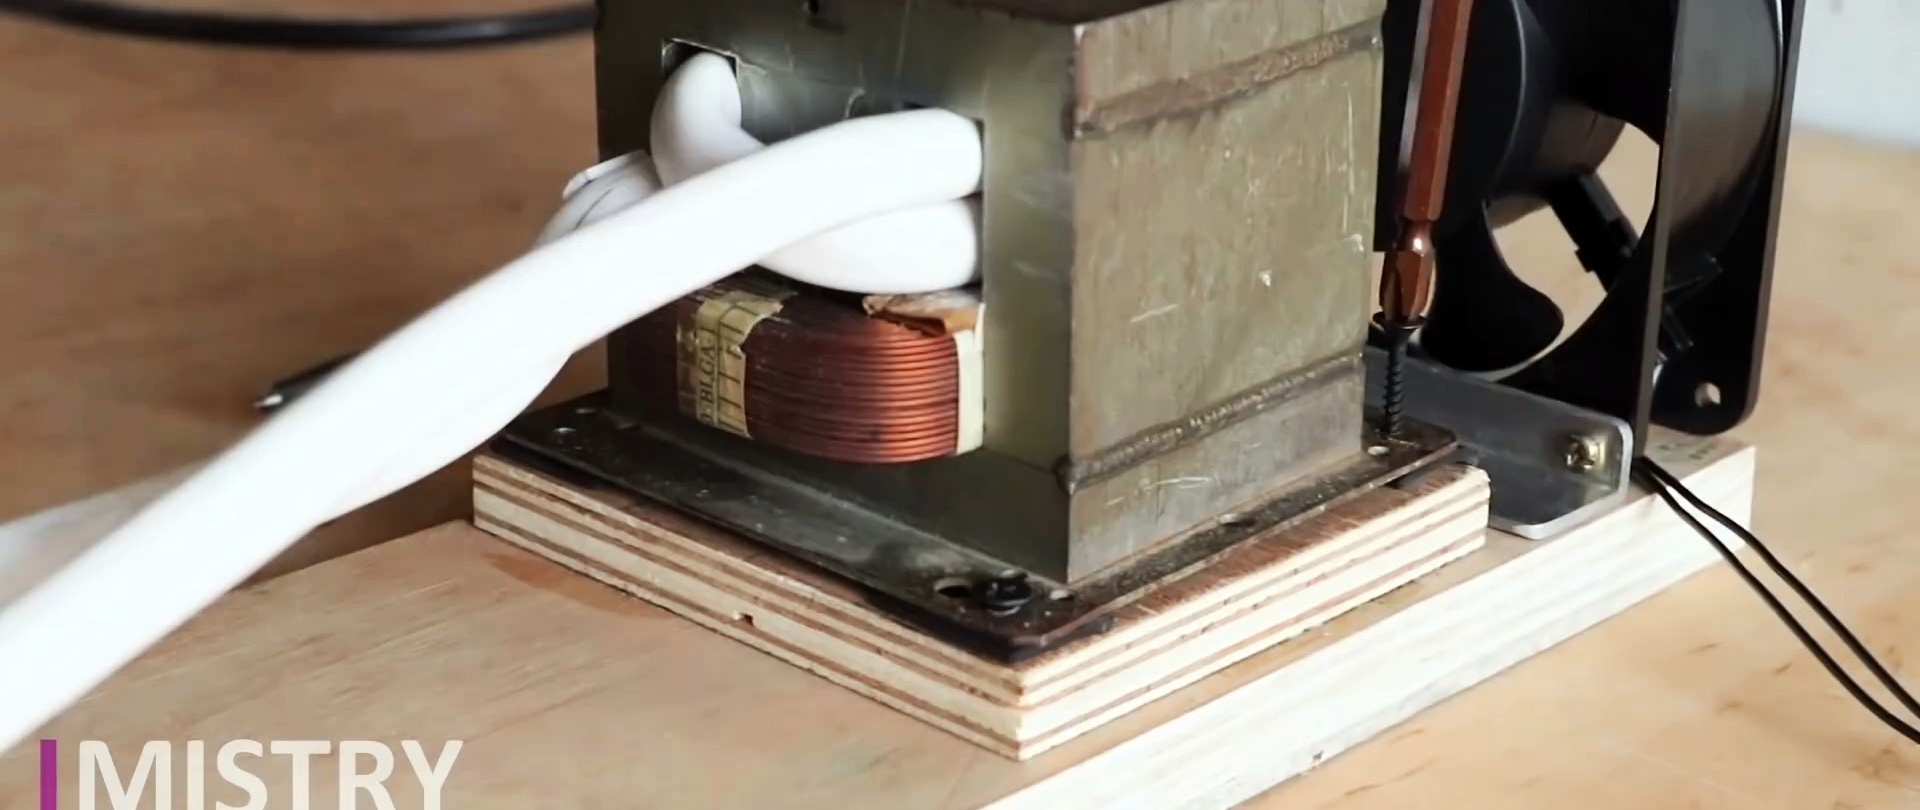
We glue and nail a narrow strip of plywood close to the base of the transformer in the center of the bottom strip.
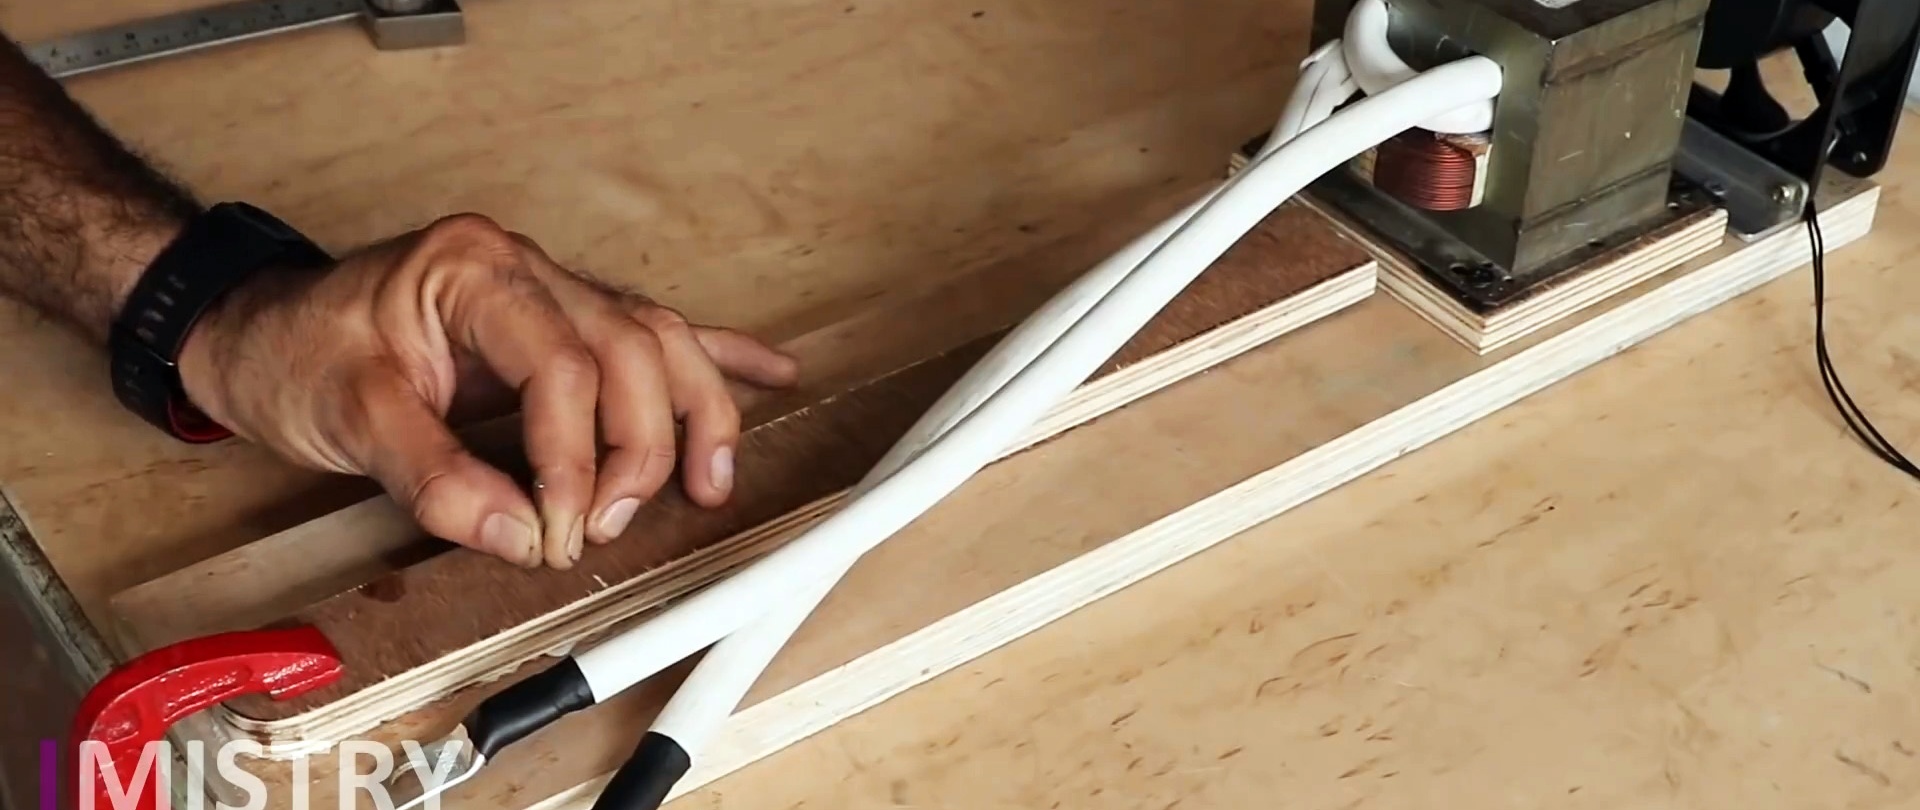
We glue two identical plywood squares along large planes and cut them into two equal parts along an oblique line.
To the narrow edges of the resulting fragments we glue and nail two short plywood overlays that follow their contours.
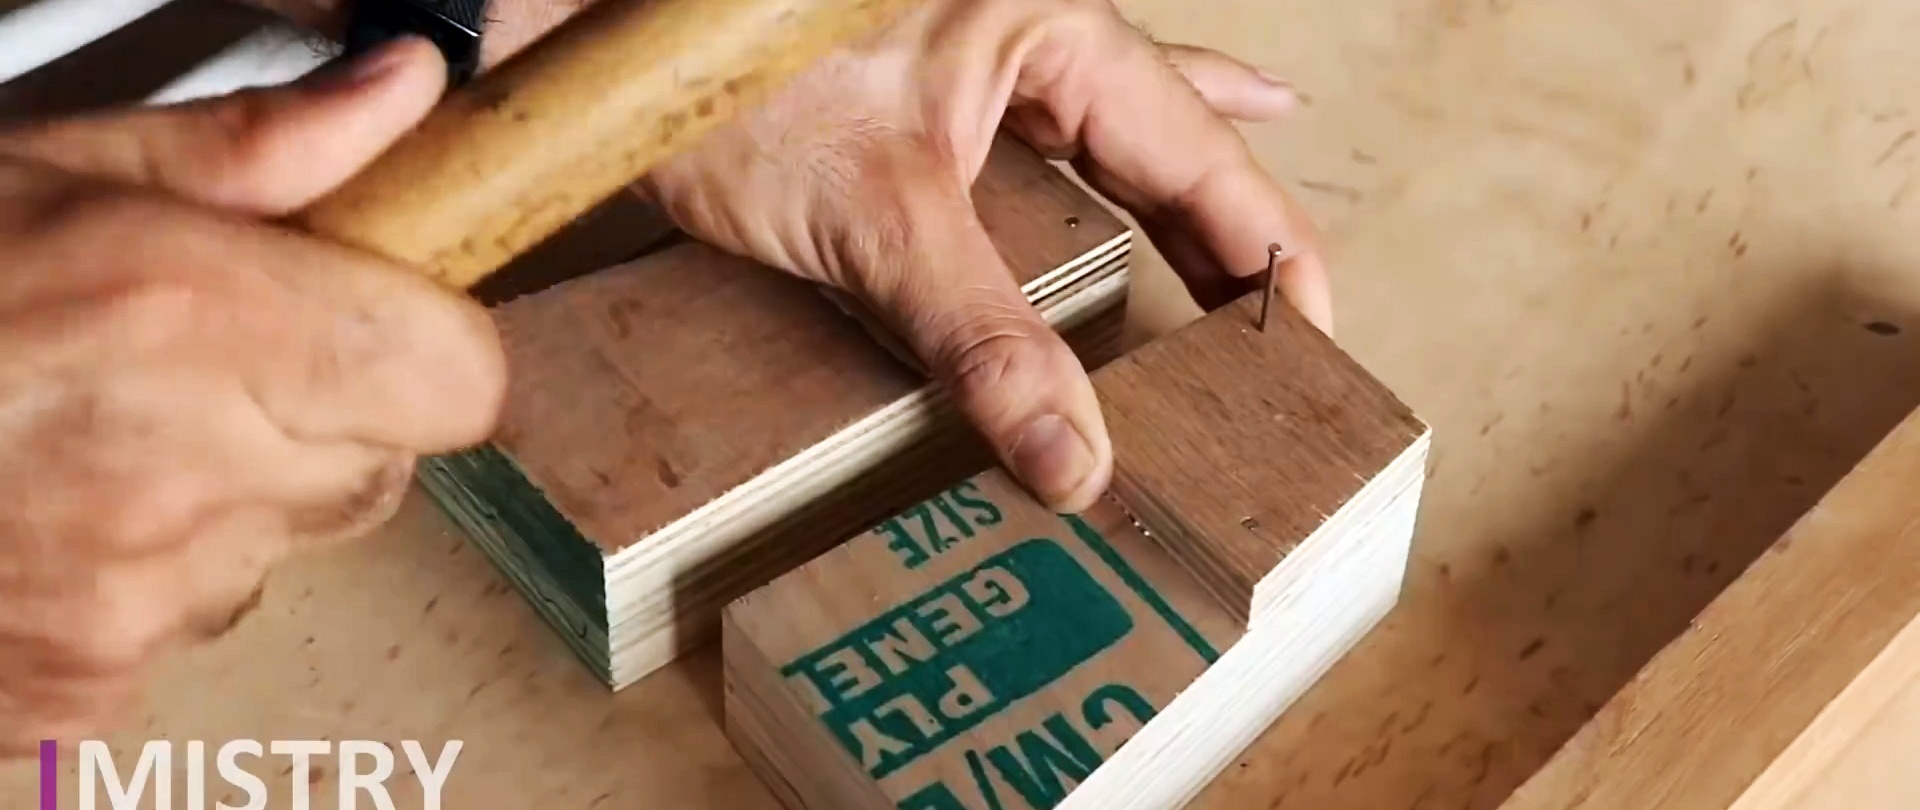
We fasten one end of the cable to a narrow strip with two staples.
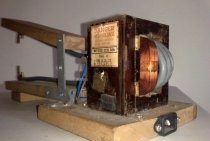
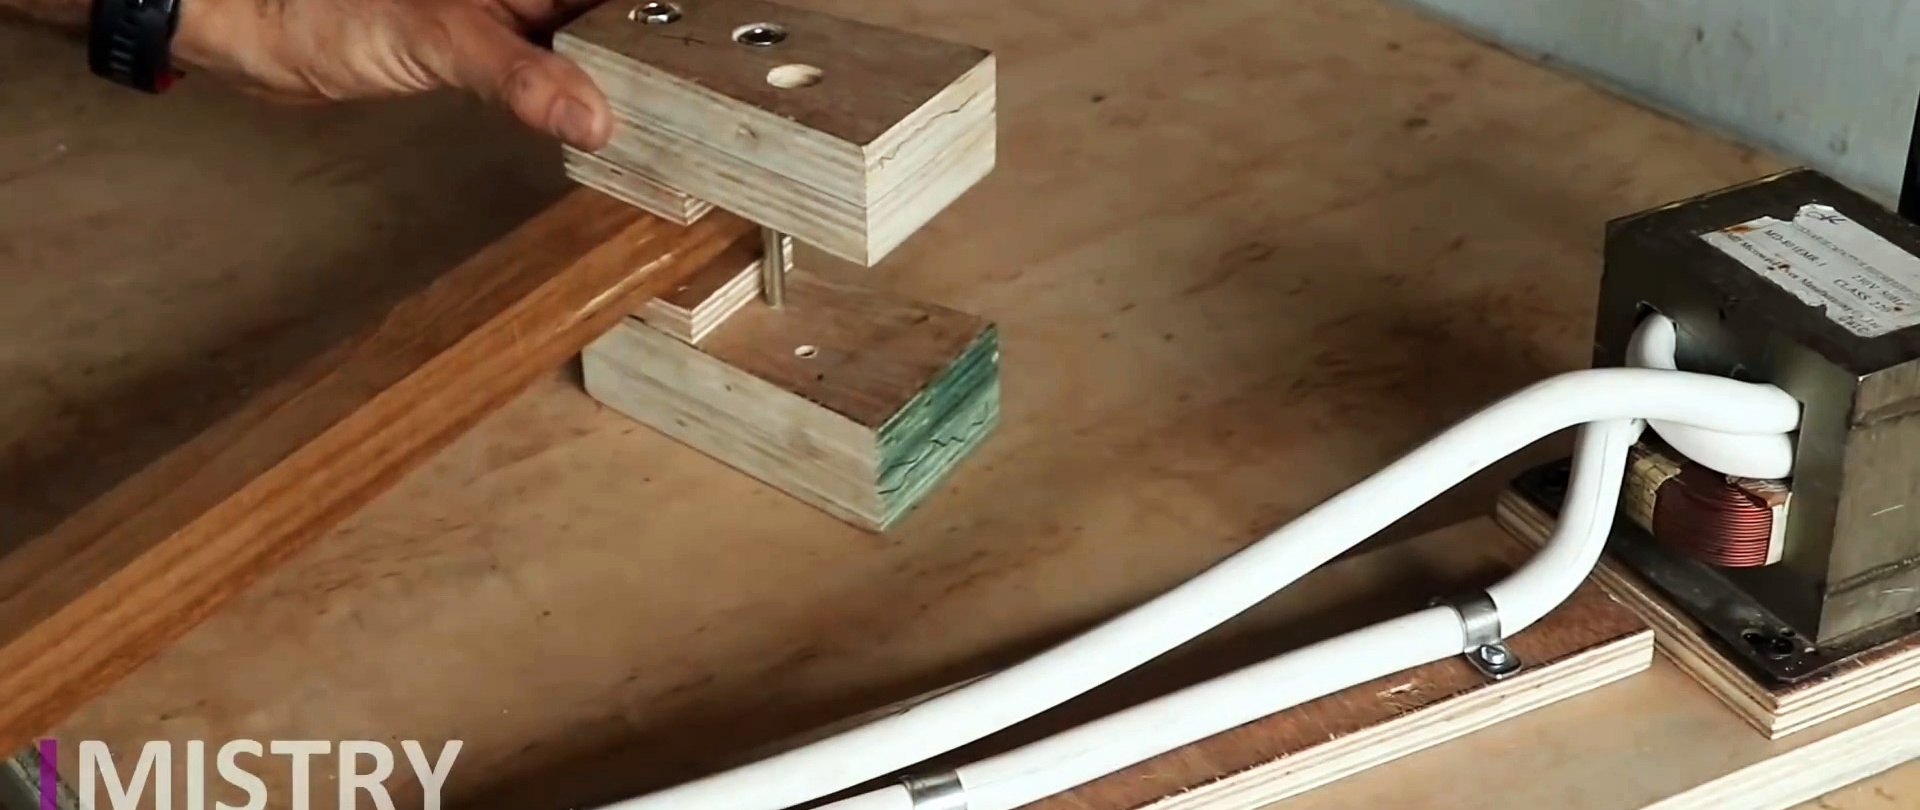
We place the parts with the braid and overlays on the base and press them against the transformer with the vertical side so that a wooden beam swings freely between them from above.
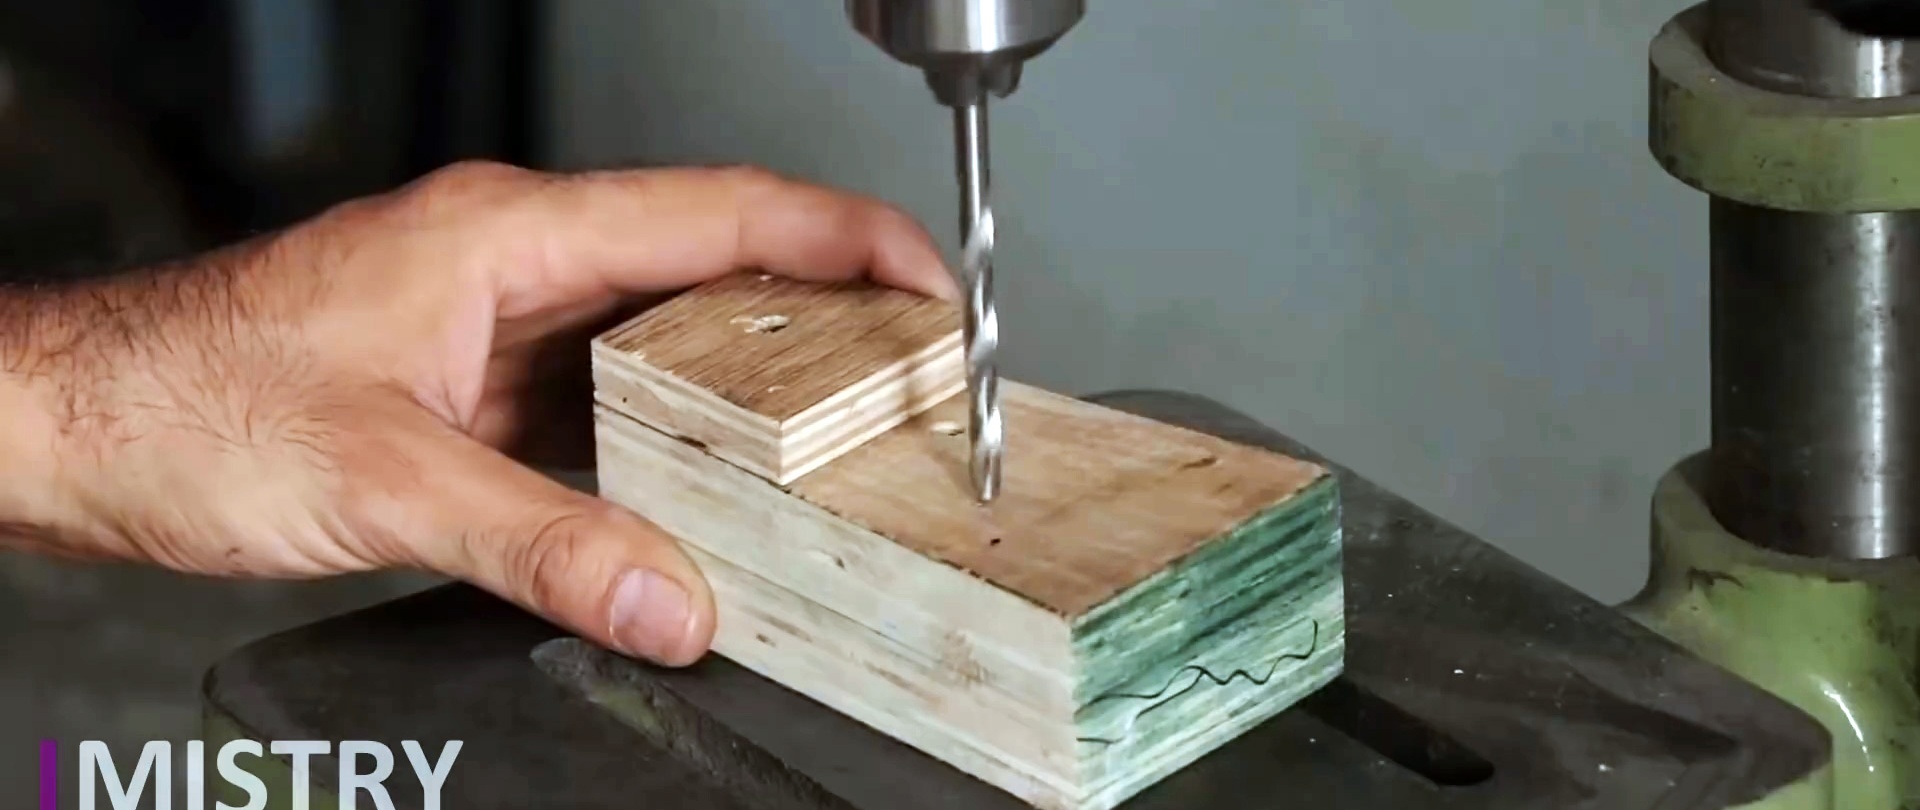
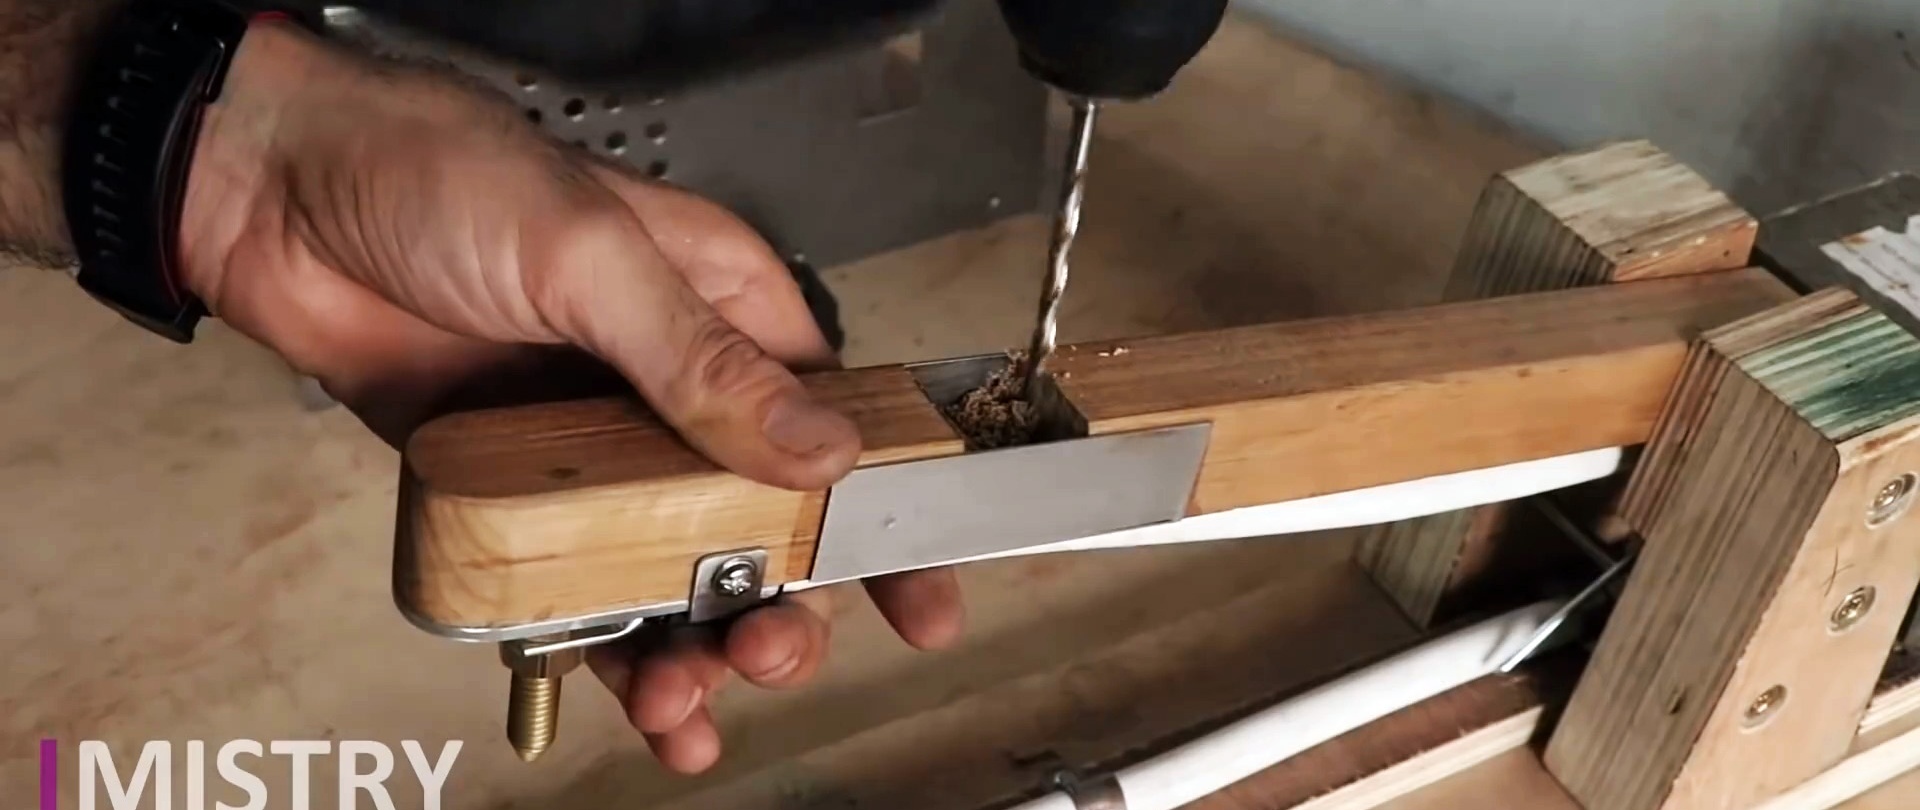
We make a hole on the side of the fragment with a braid on top, passing exactly in the middle of the overlay. Below the lining in the racks we drill two more holes.
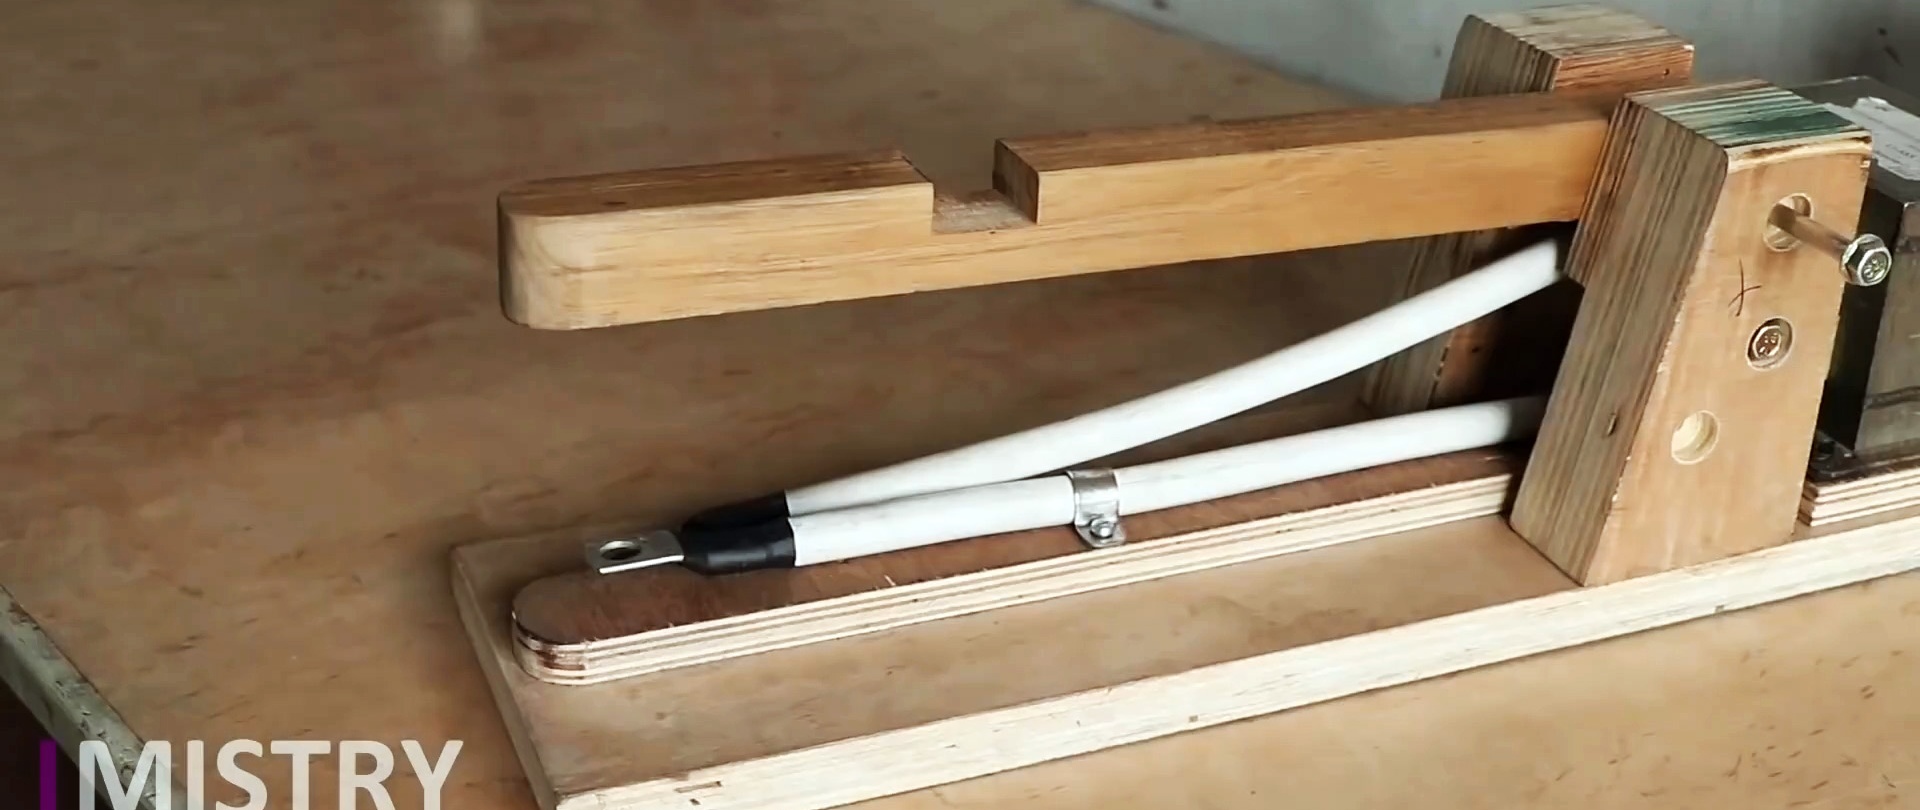
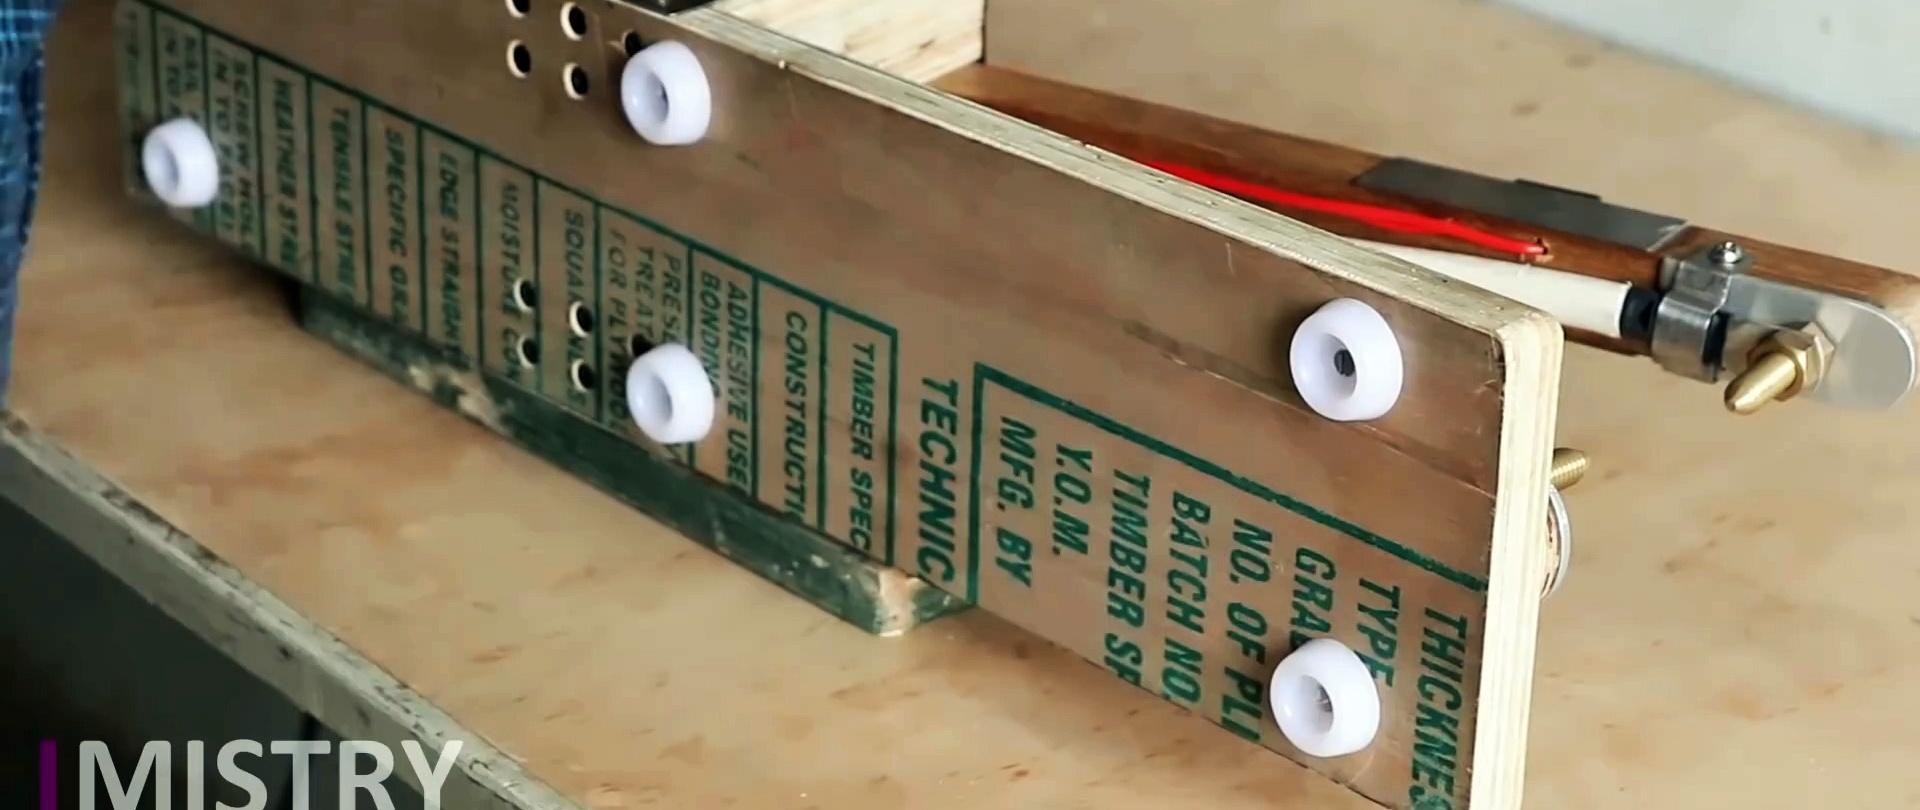
We insert a bolt into the upper hole, around which the wooden beam will swing between the two posts.
We apply glue to the large bases of the fragments with a braid and install them in place. We secure them with screws from below through the base.
In the calculated location of the wooden rocking beam, we cut out a recess for installing the switch.
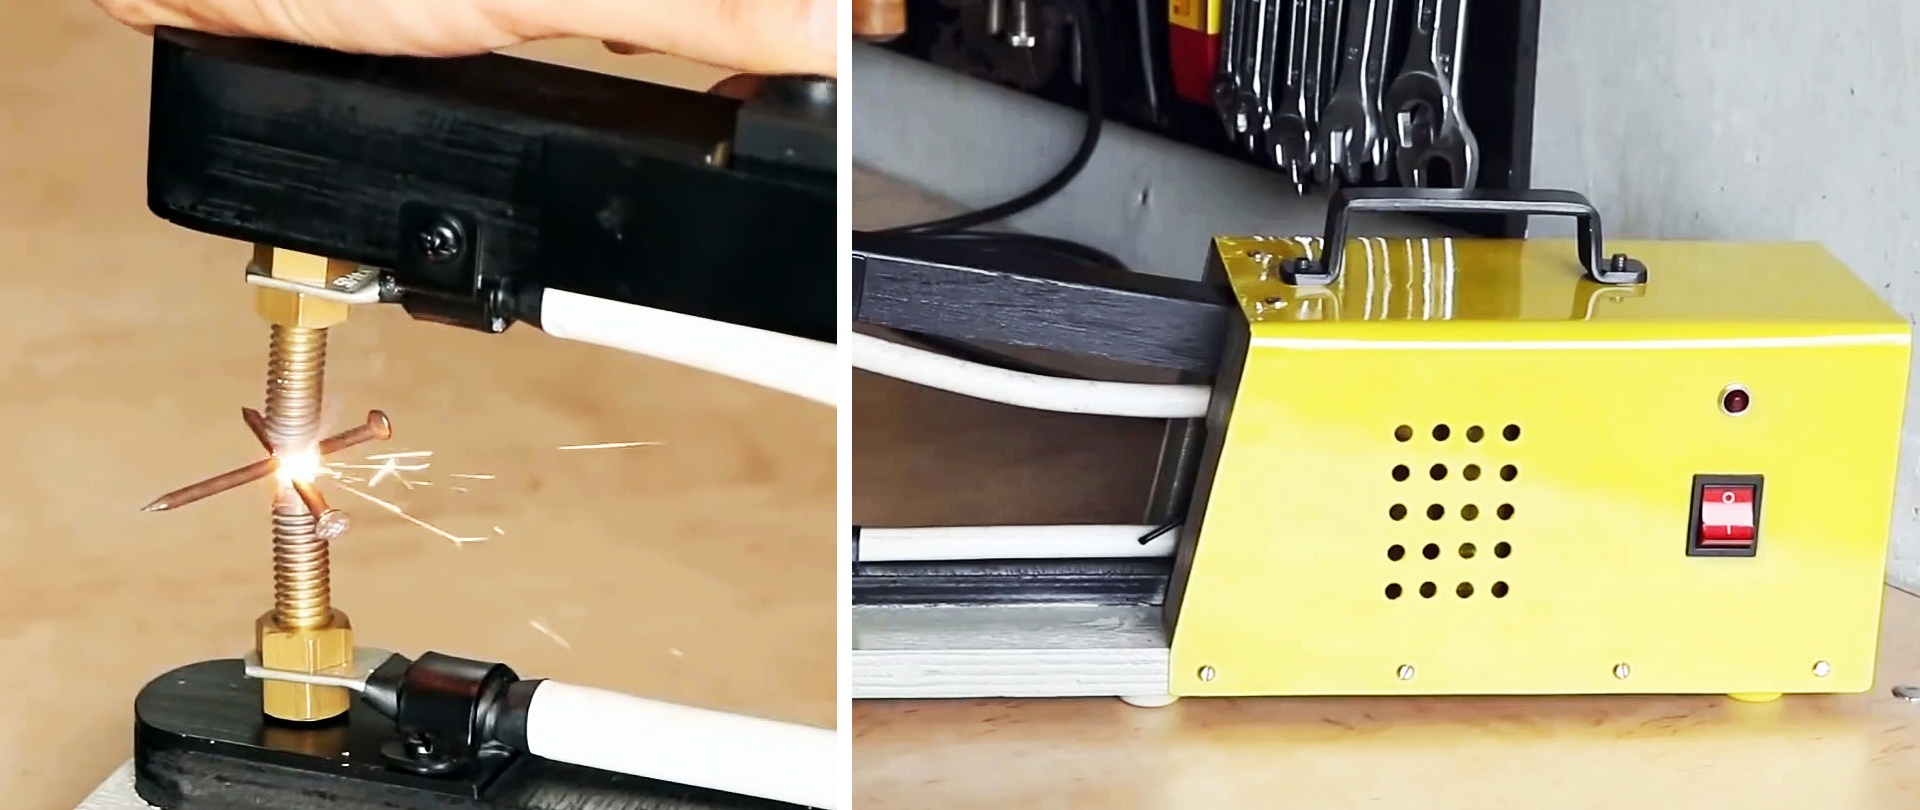
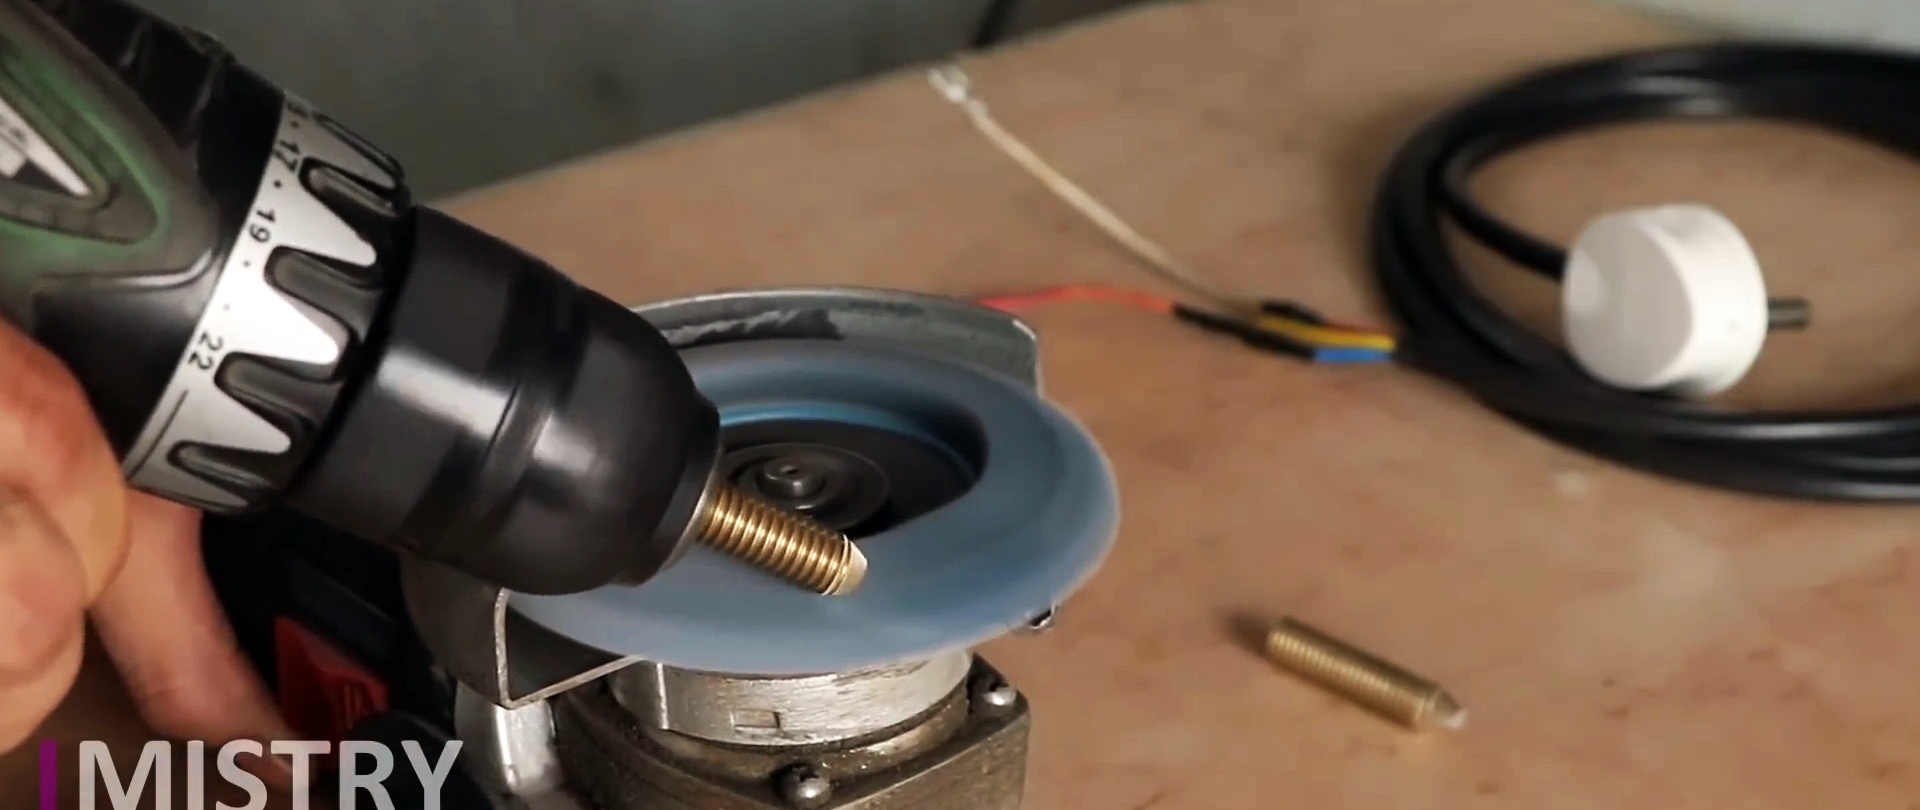
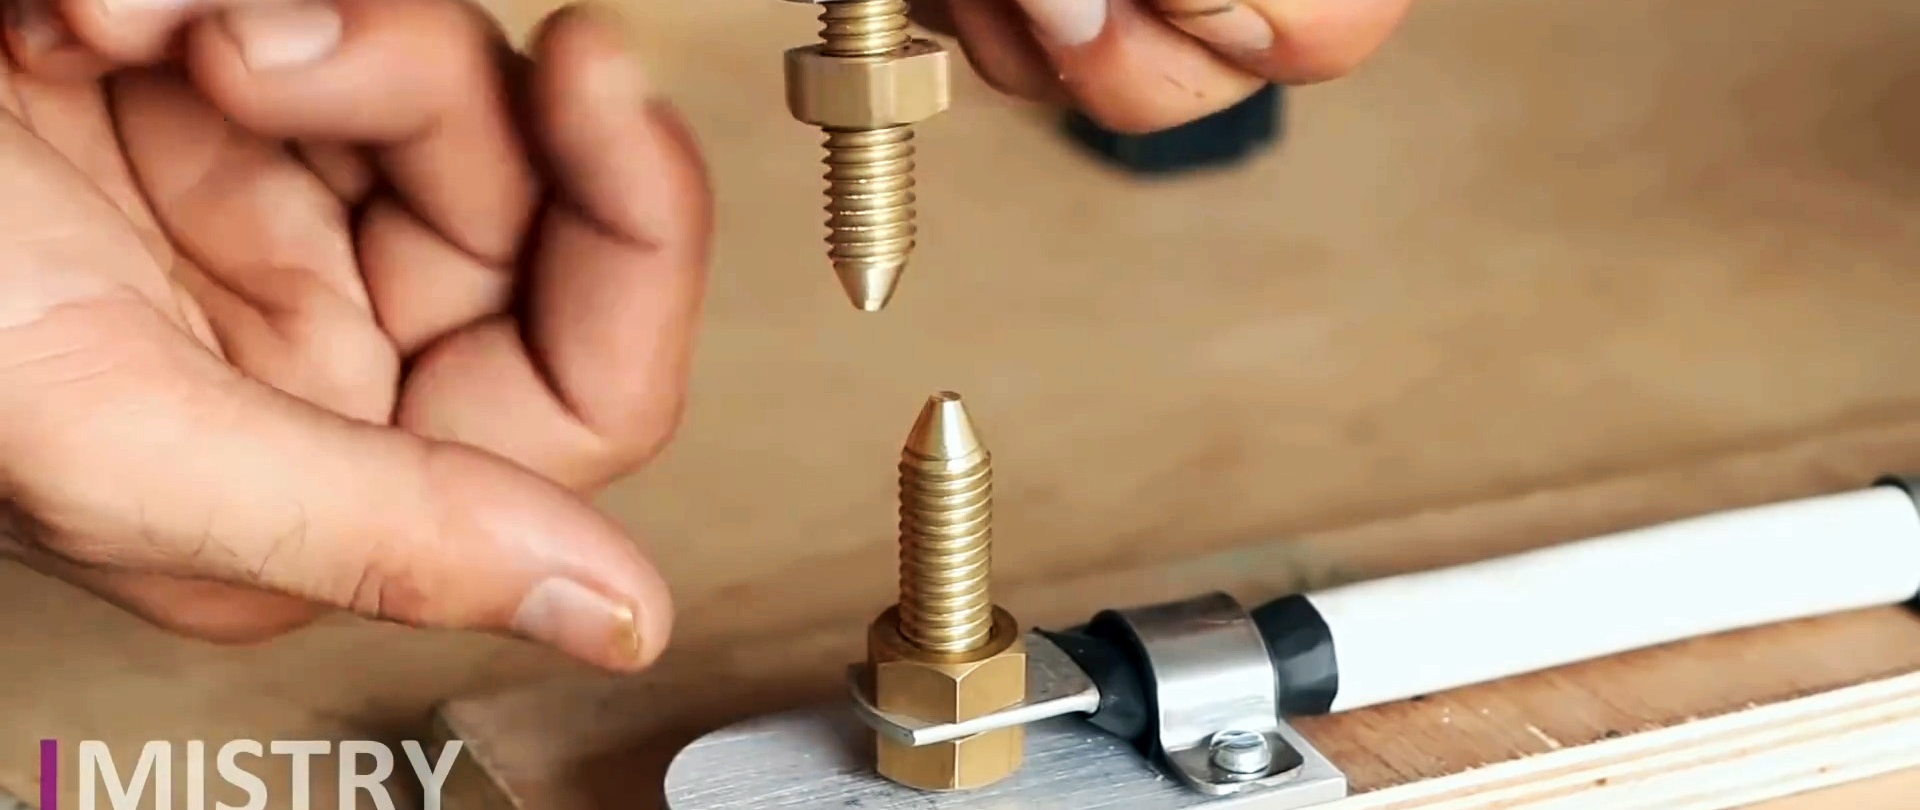
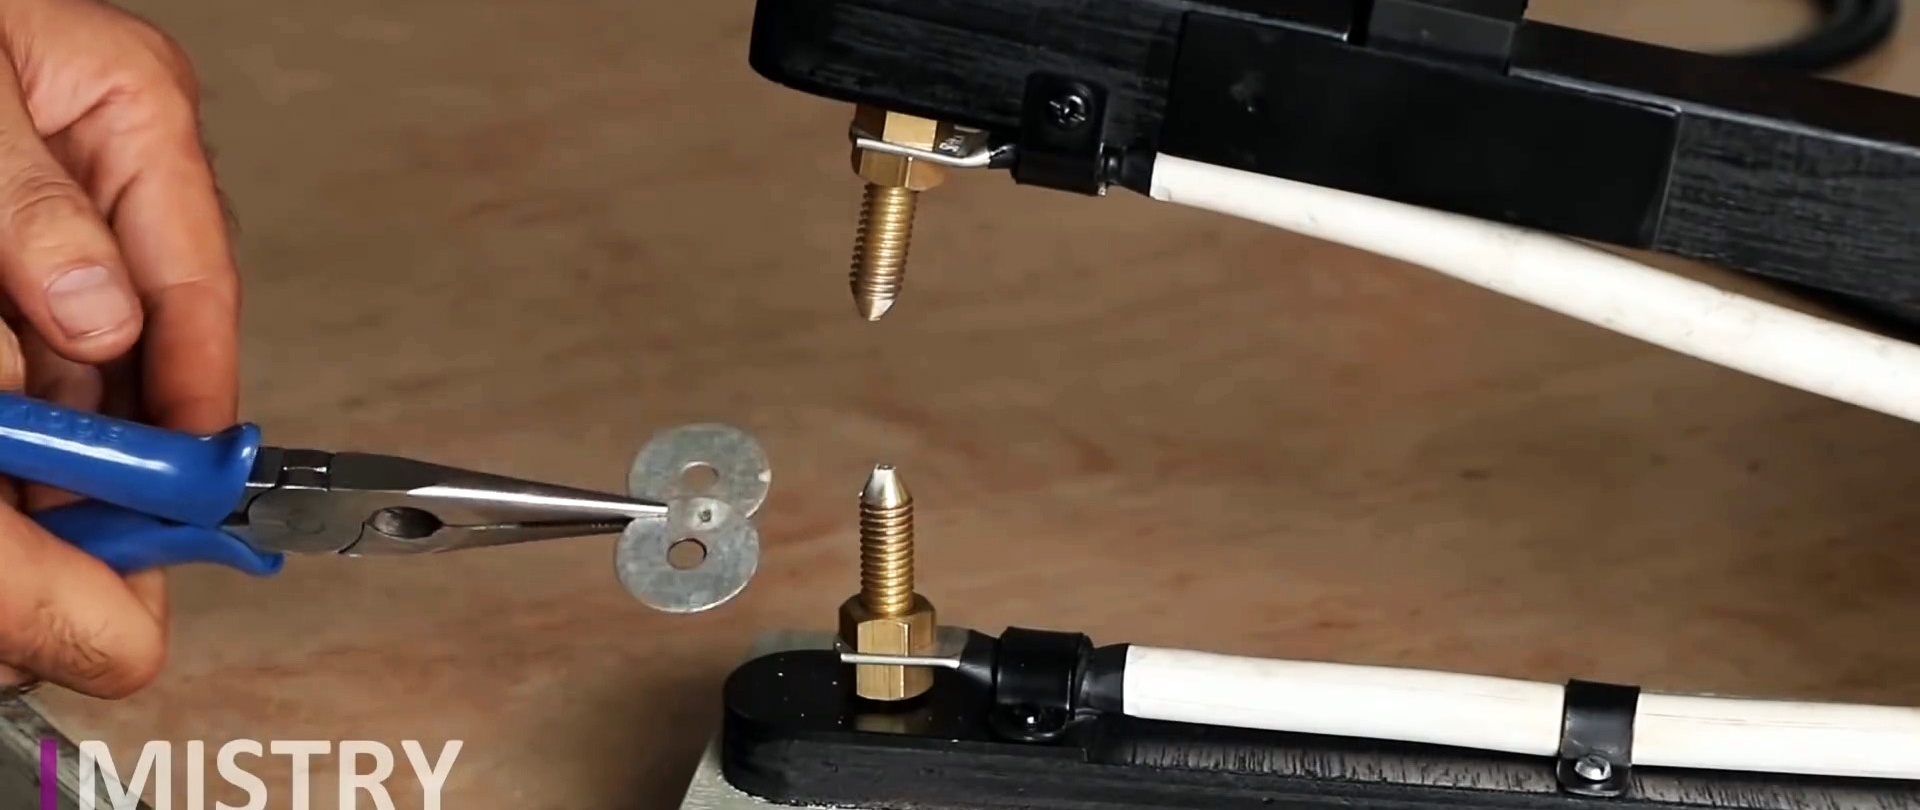
We sharpen the ends of two copper rods using a grinder disc.
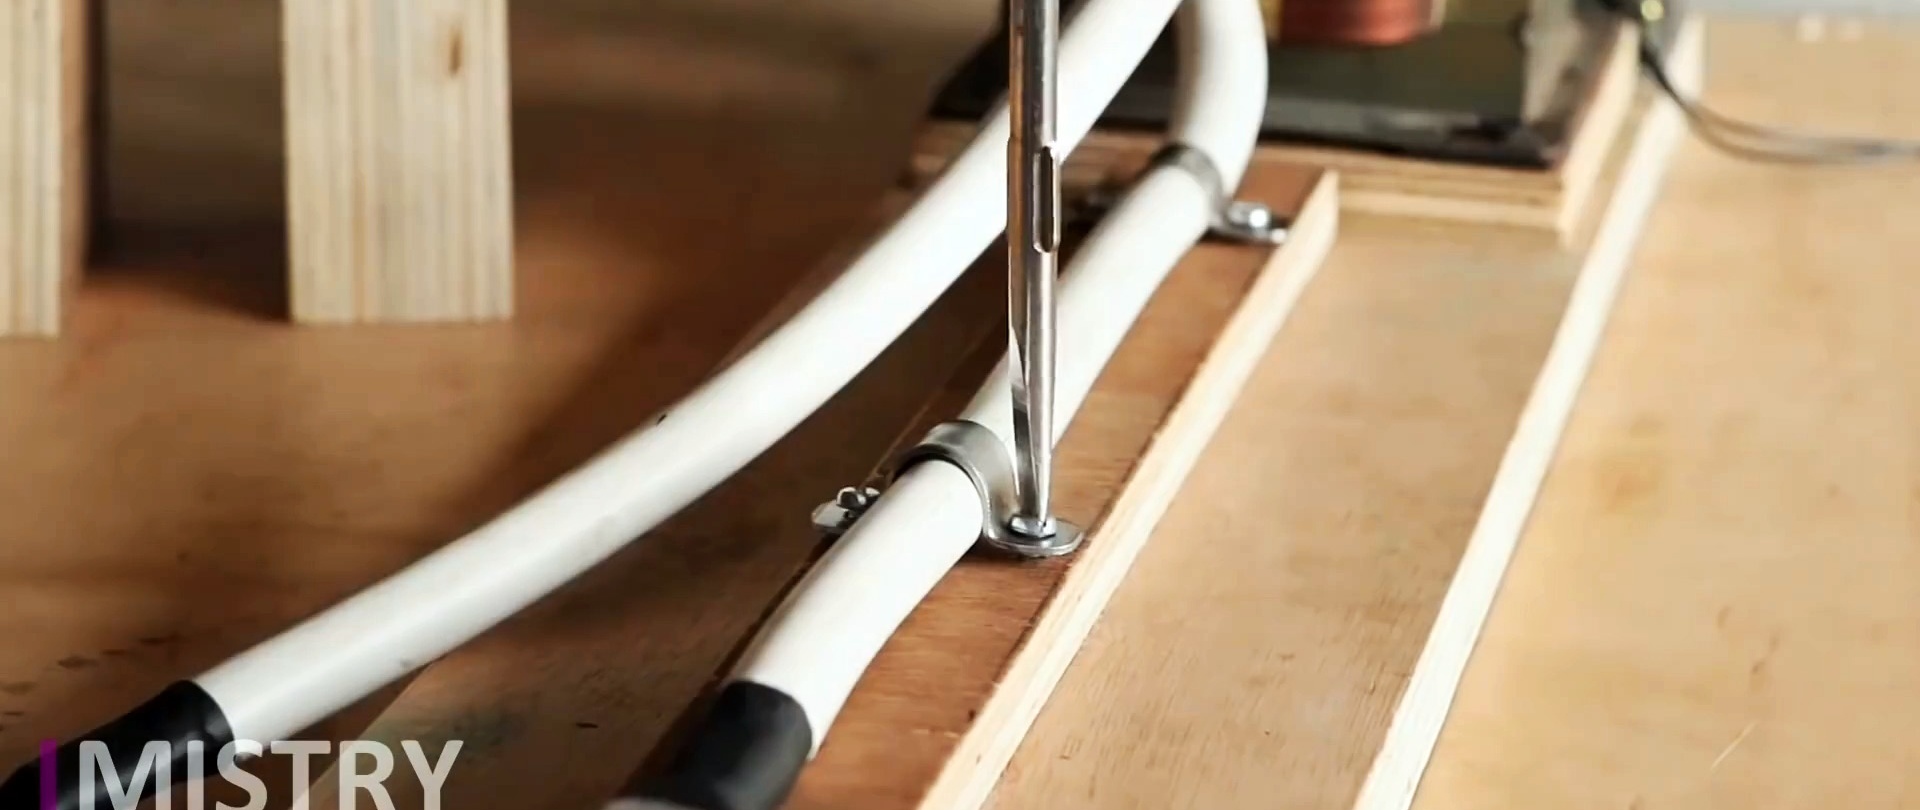
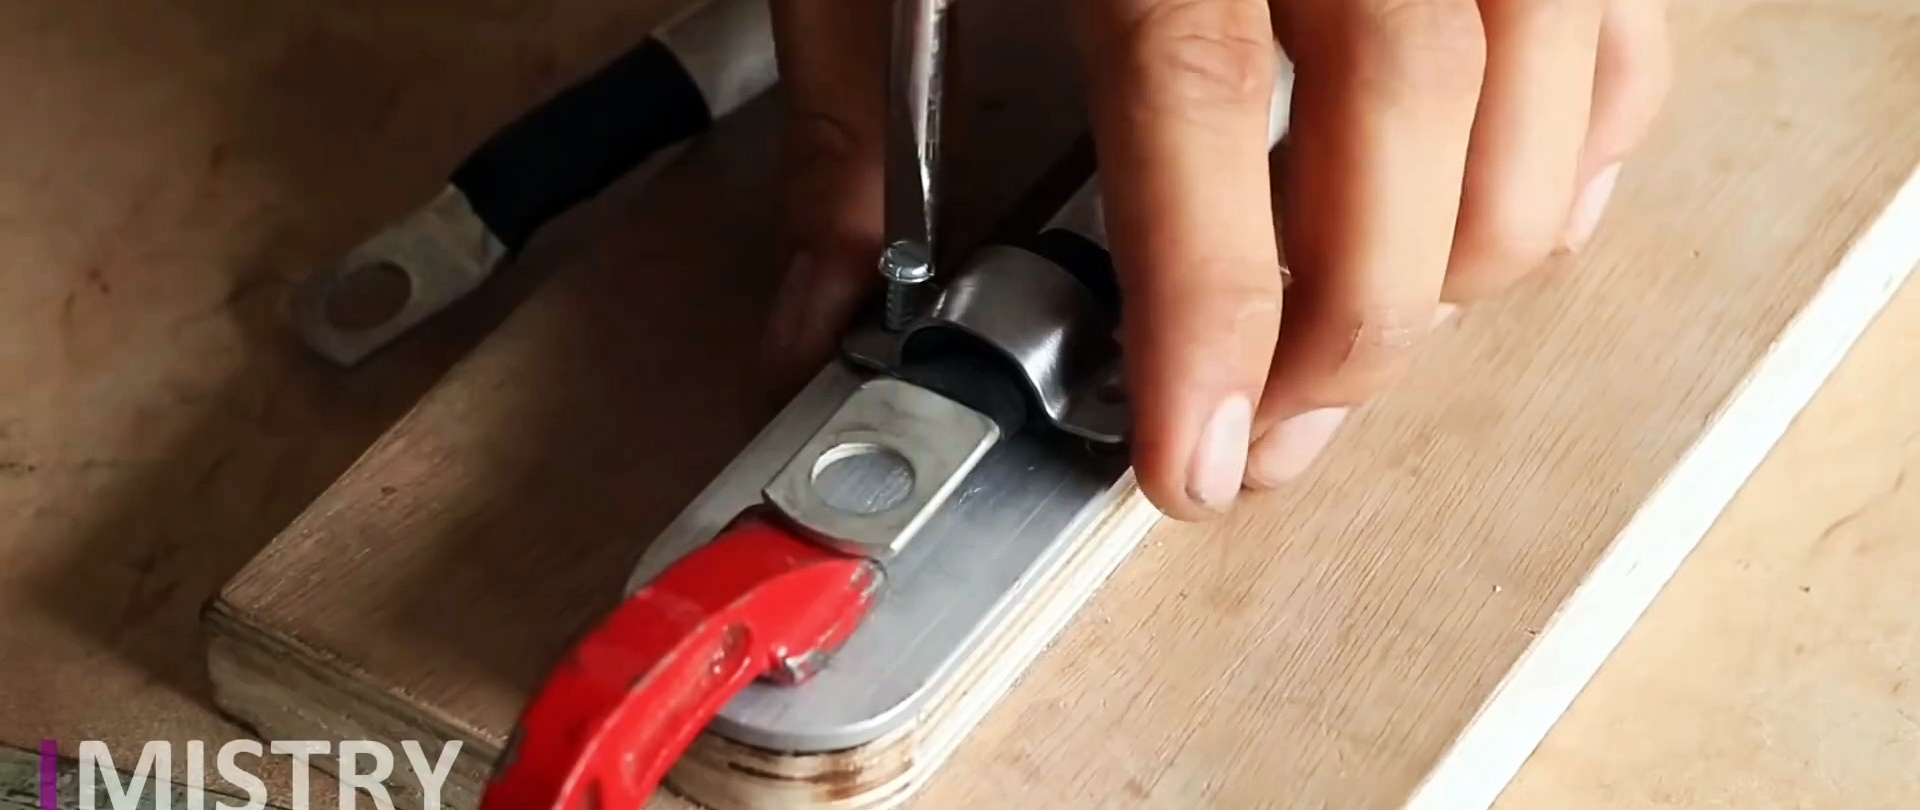
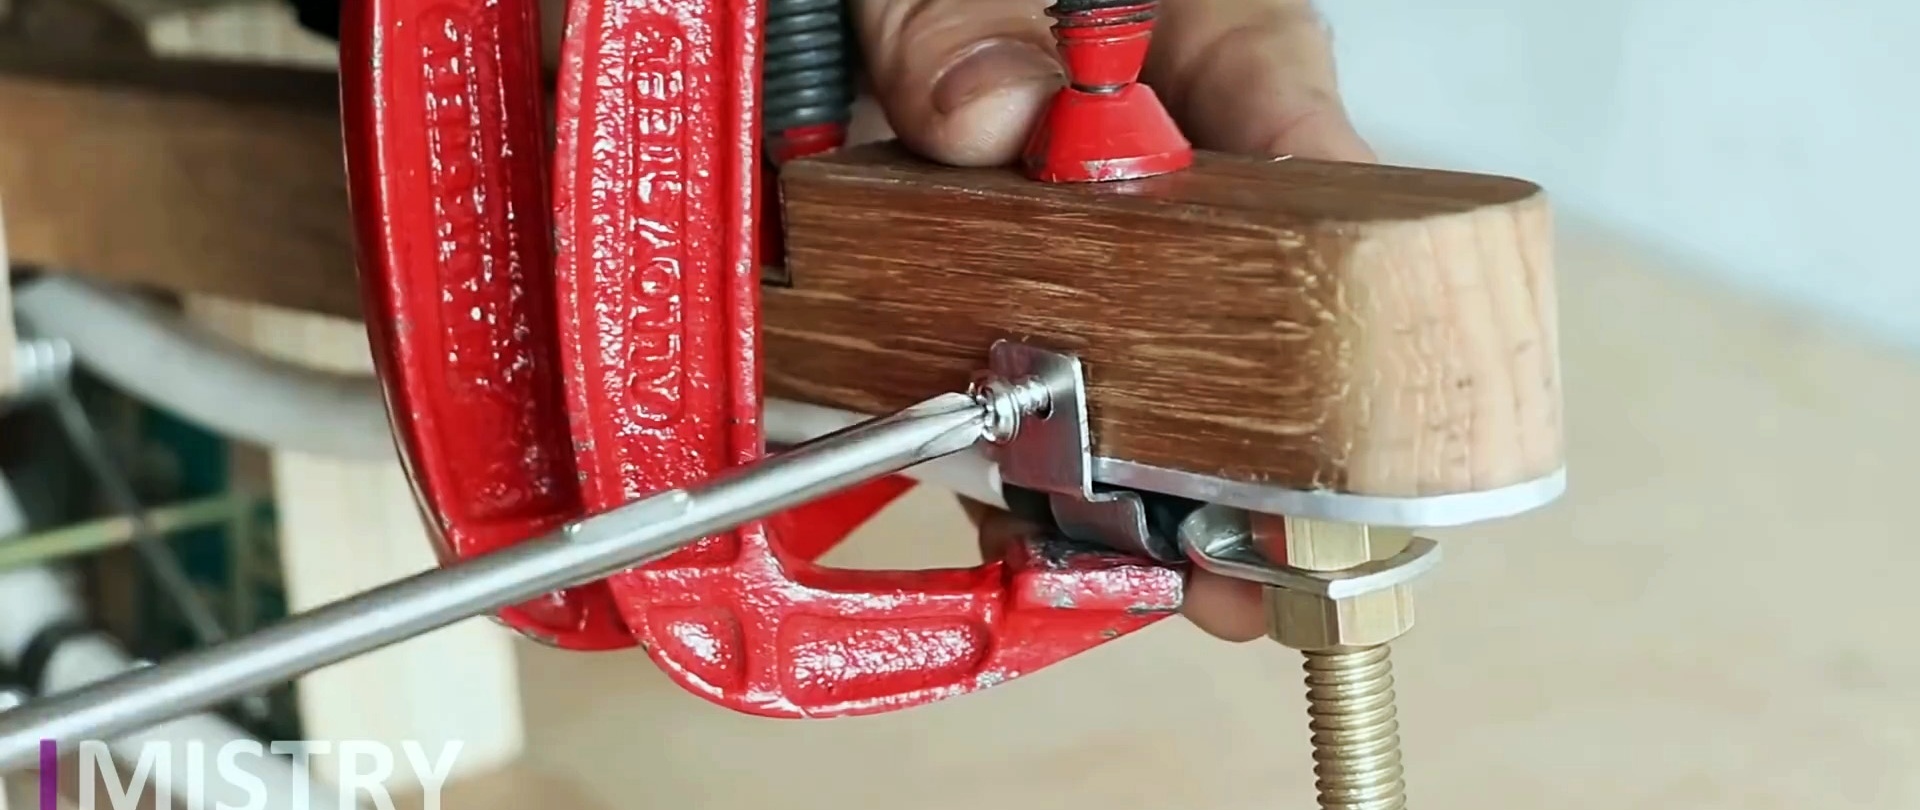
We place a dielectric gasket under the tip of the lower end of the cable and secure it through the holes in the bracket with screws.
We insert a copper rod with the flat end into the tip of the lower cable from above and screw it into the copper nut under the tip. We screw the second copper nut on top and tighten it firmly.
We fasten the second copper rod with its pointed end down in the same way to the upper tip of the cable end.
We rest the lower tendril of the spring against the lower tightening bolt, and the upper one against the swing axis of the wooden beam.
We fasten the upper end of the cable with a bracket from below to a wooden beam, placing a dielectric gasket.
We close the slot on top of the beam for the switch with plates, gluing it to the sides of the beam.
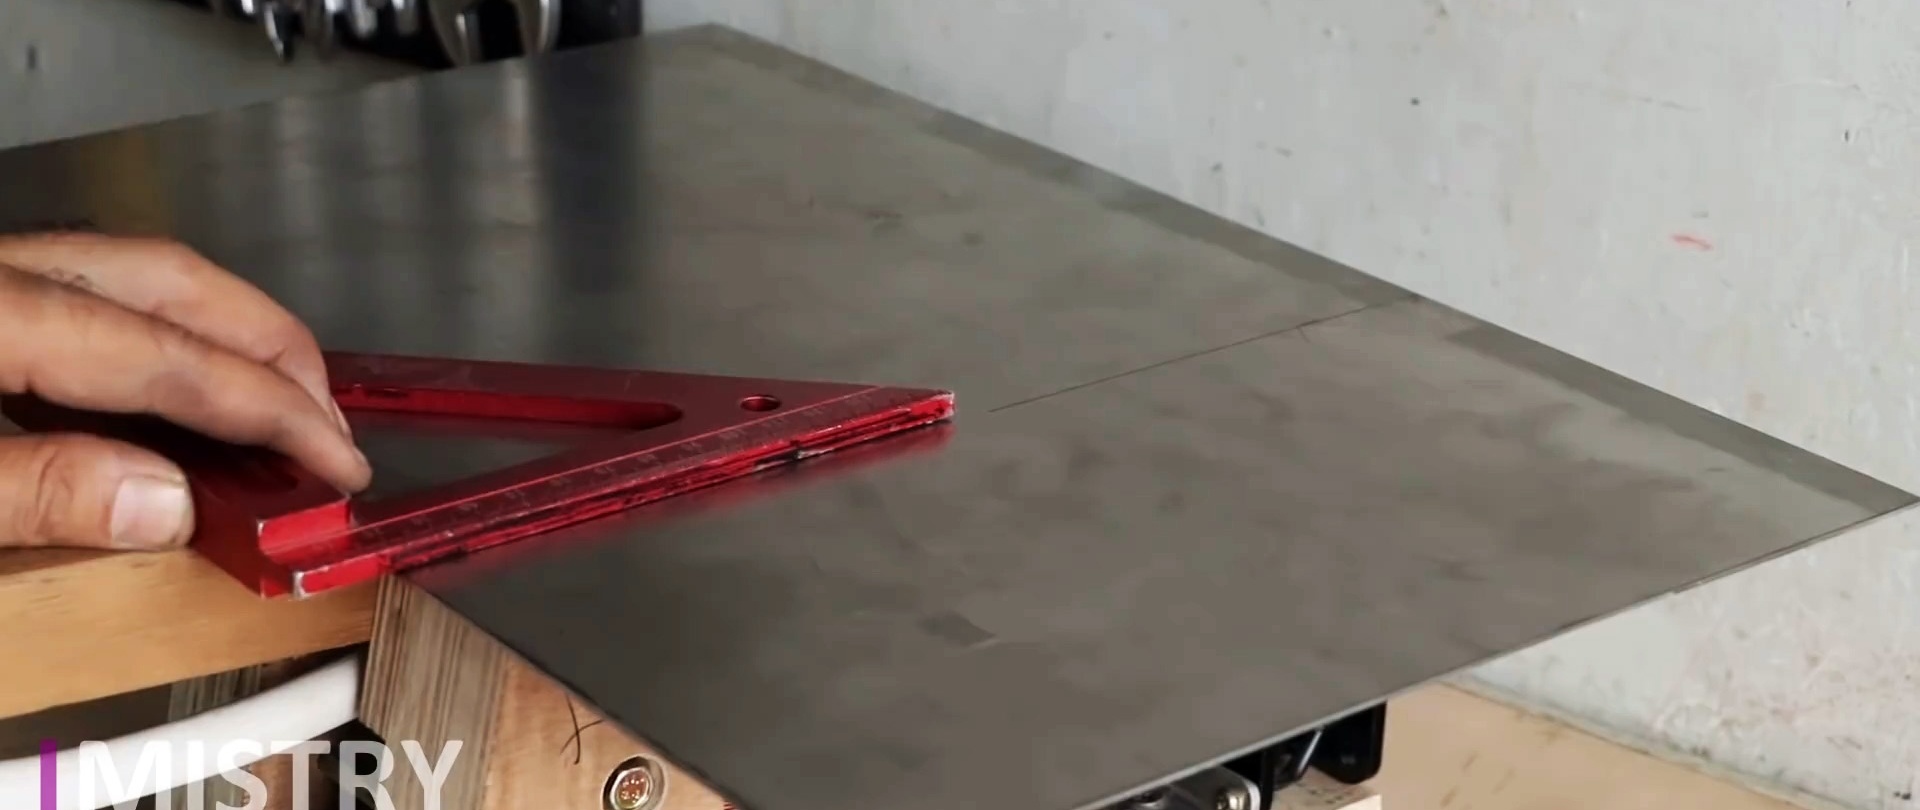
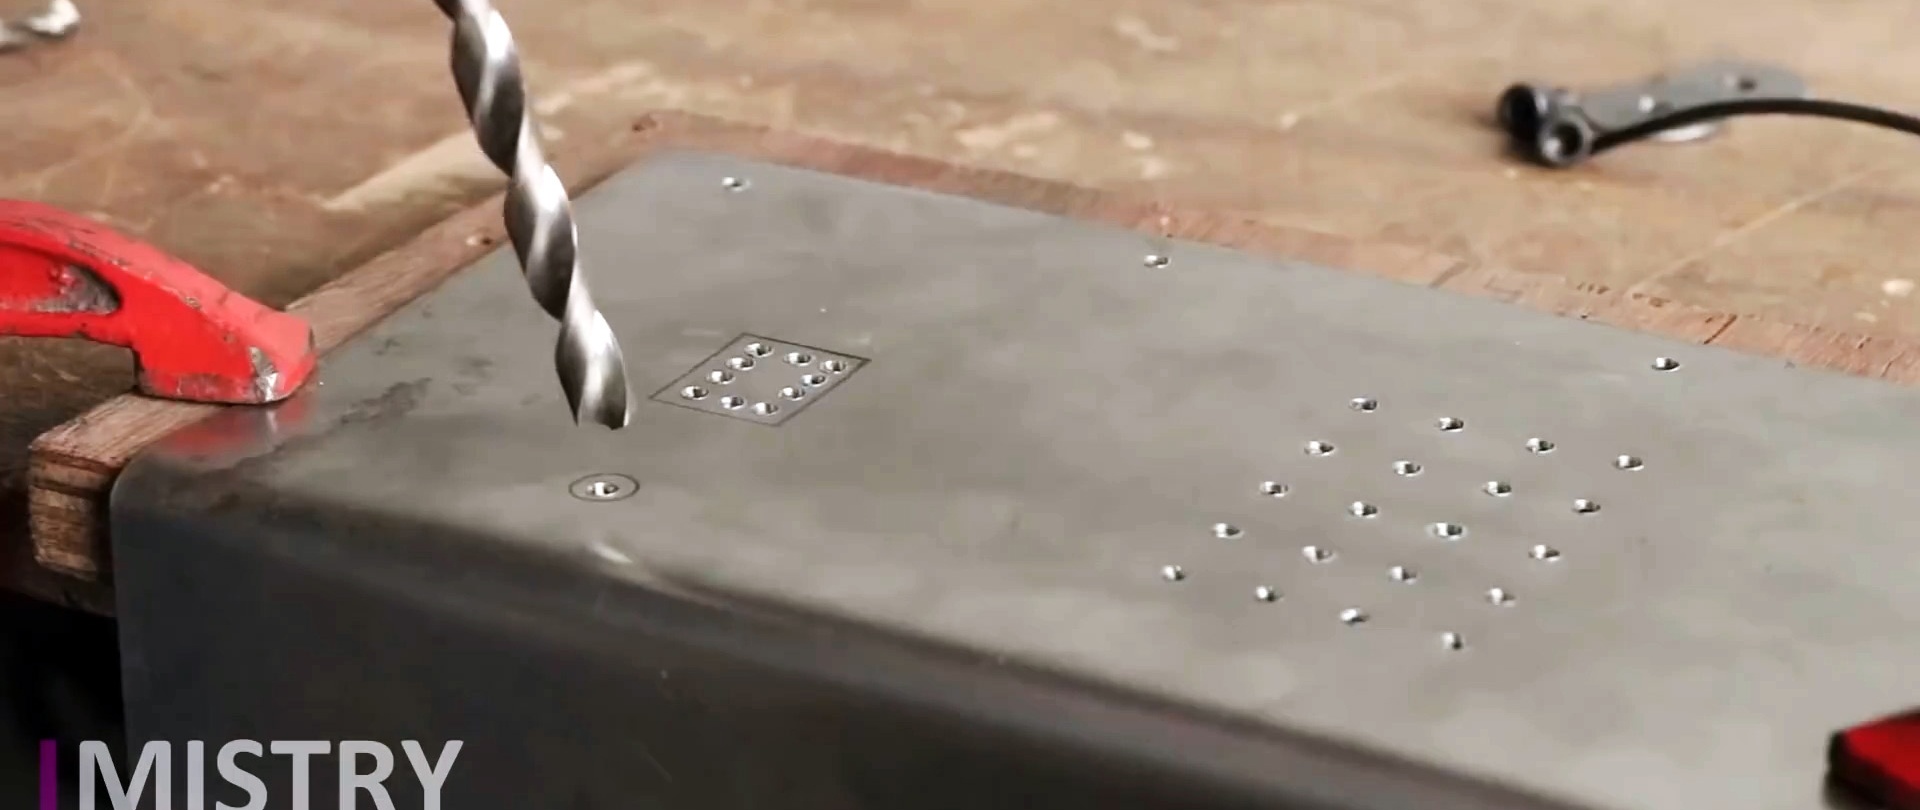
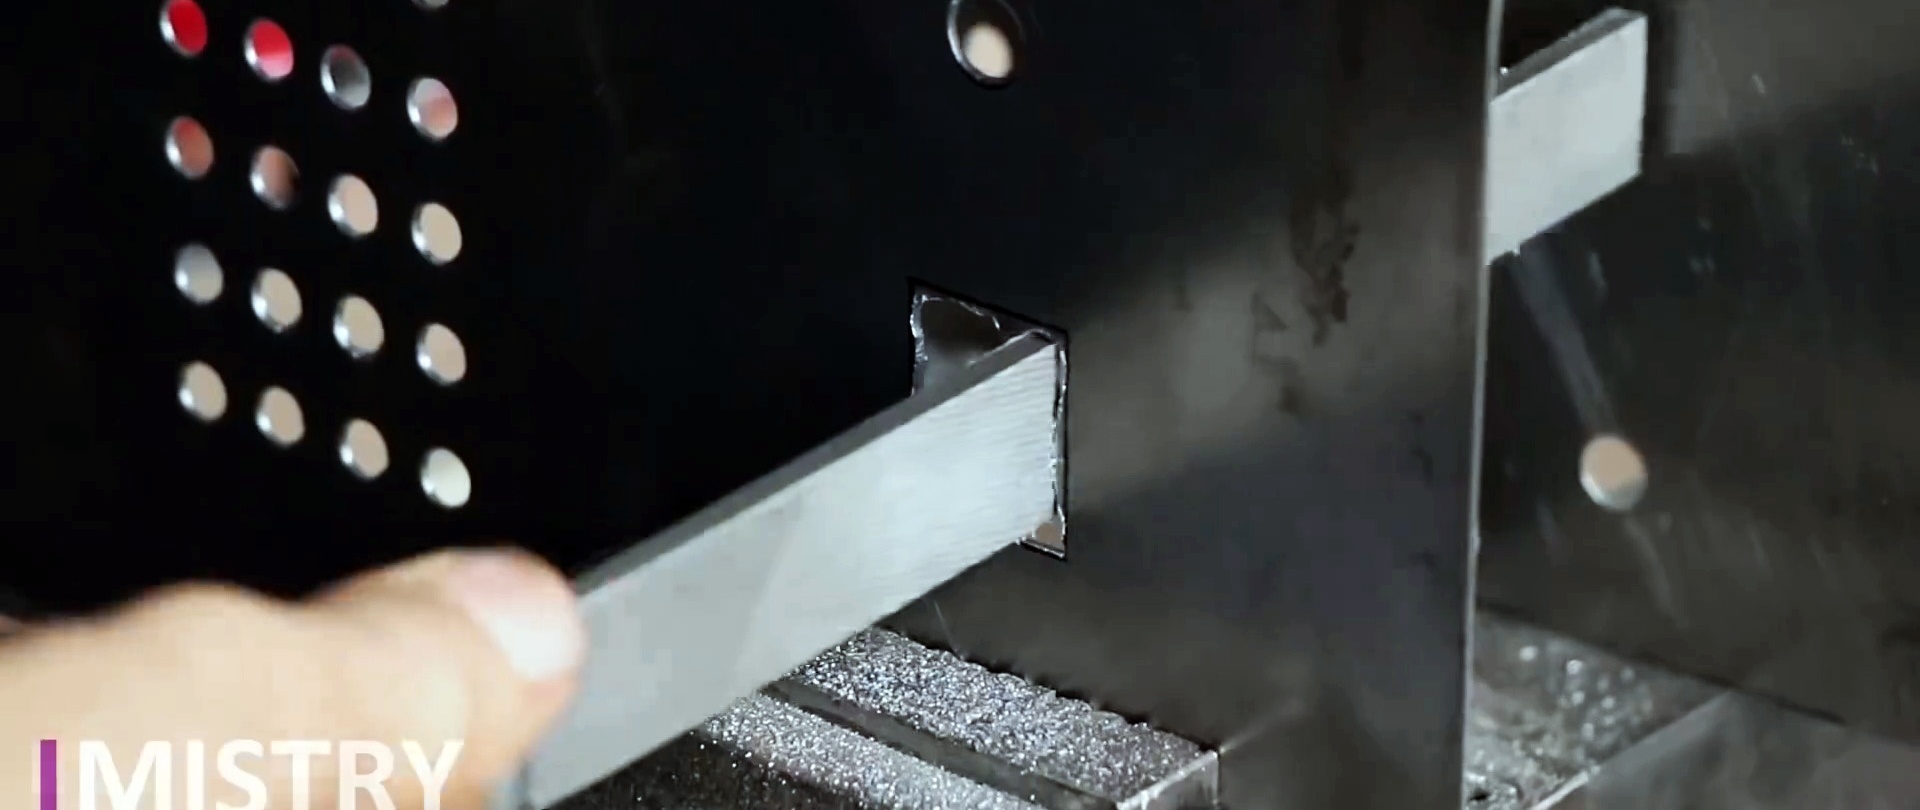
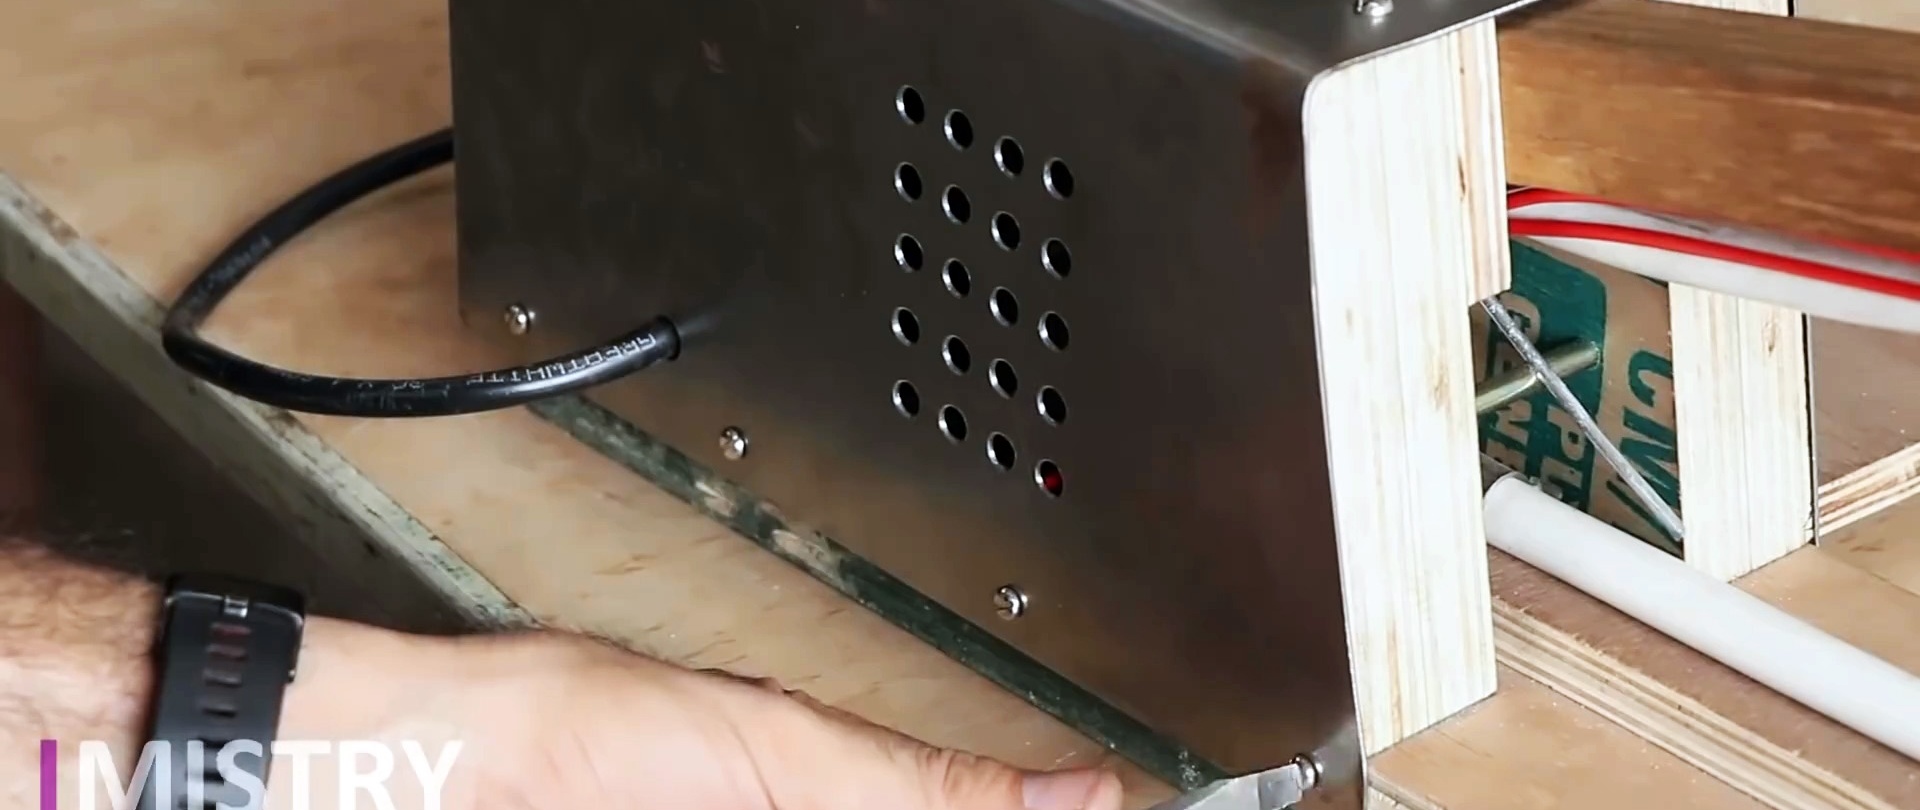
We bend the casing from a metal sheet on a manual bending machine for the transformer and fan. We make nests and holes in its walls.
In the bottom of the slot for the switch, drill two holes for the wires and connect them to the switch.
We connect one of the strands of the wire coming from the switch to the end of the transformer winding.
We pass a wire with three cores through the hole in the casing and secure it with a clamp to the aluminum plate. We attach one core to the ground.
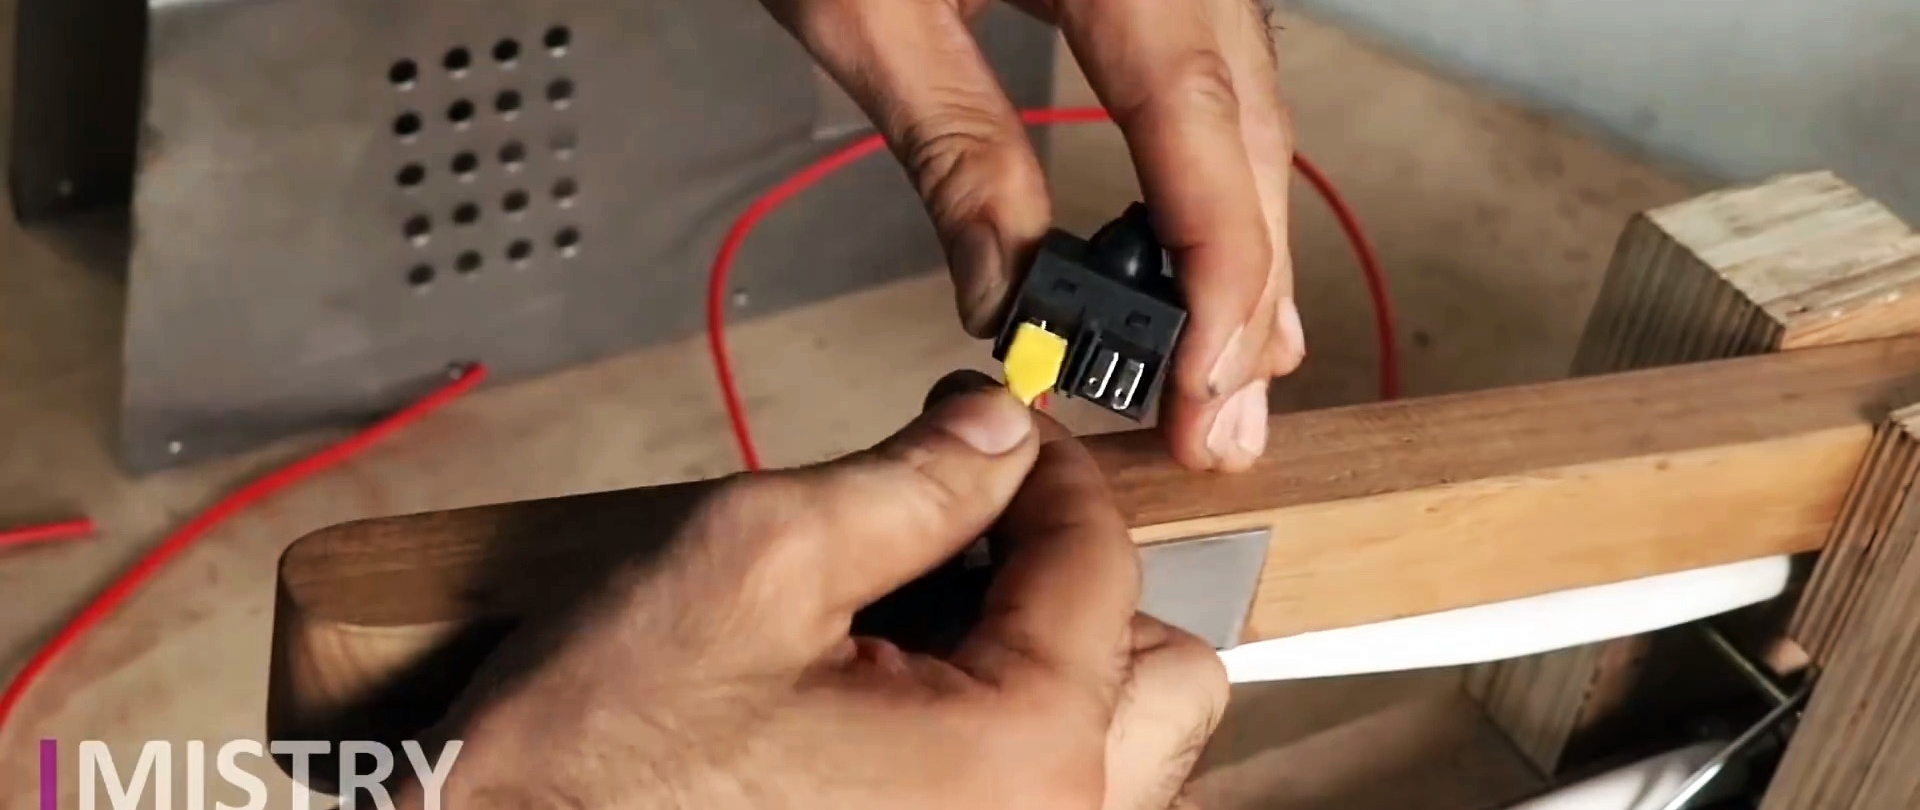
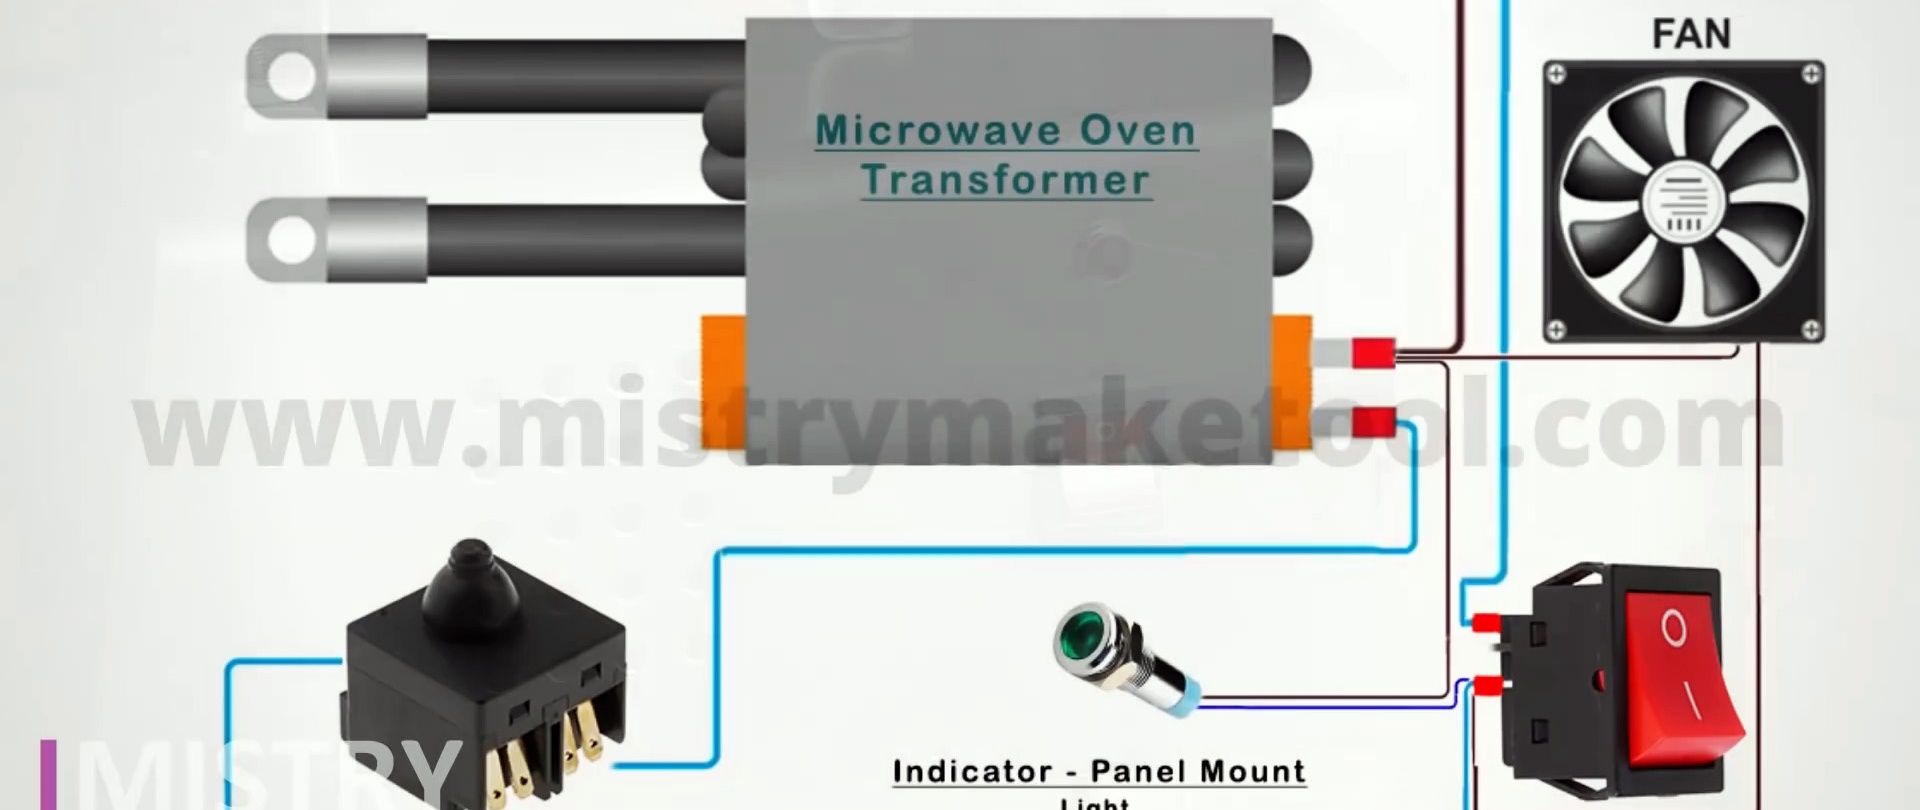
We insert the indicator and switch into the places intended for them in the casing and connect them according to the diagram.
We secure the casing at the bottom with screws to the base.
We screw plastic supports to the bottom of the base in six places.
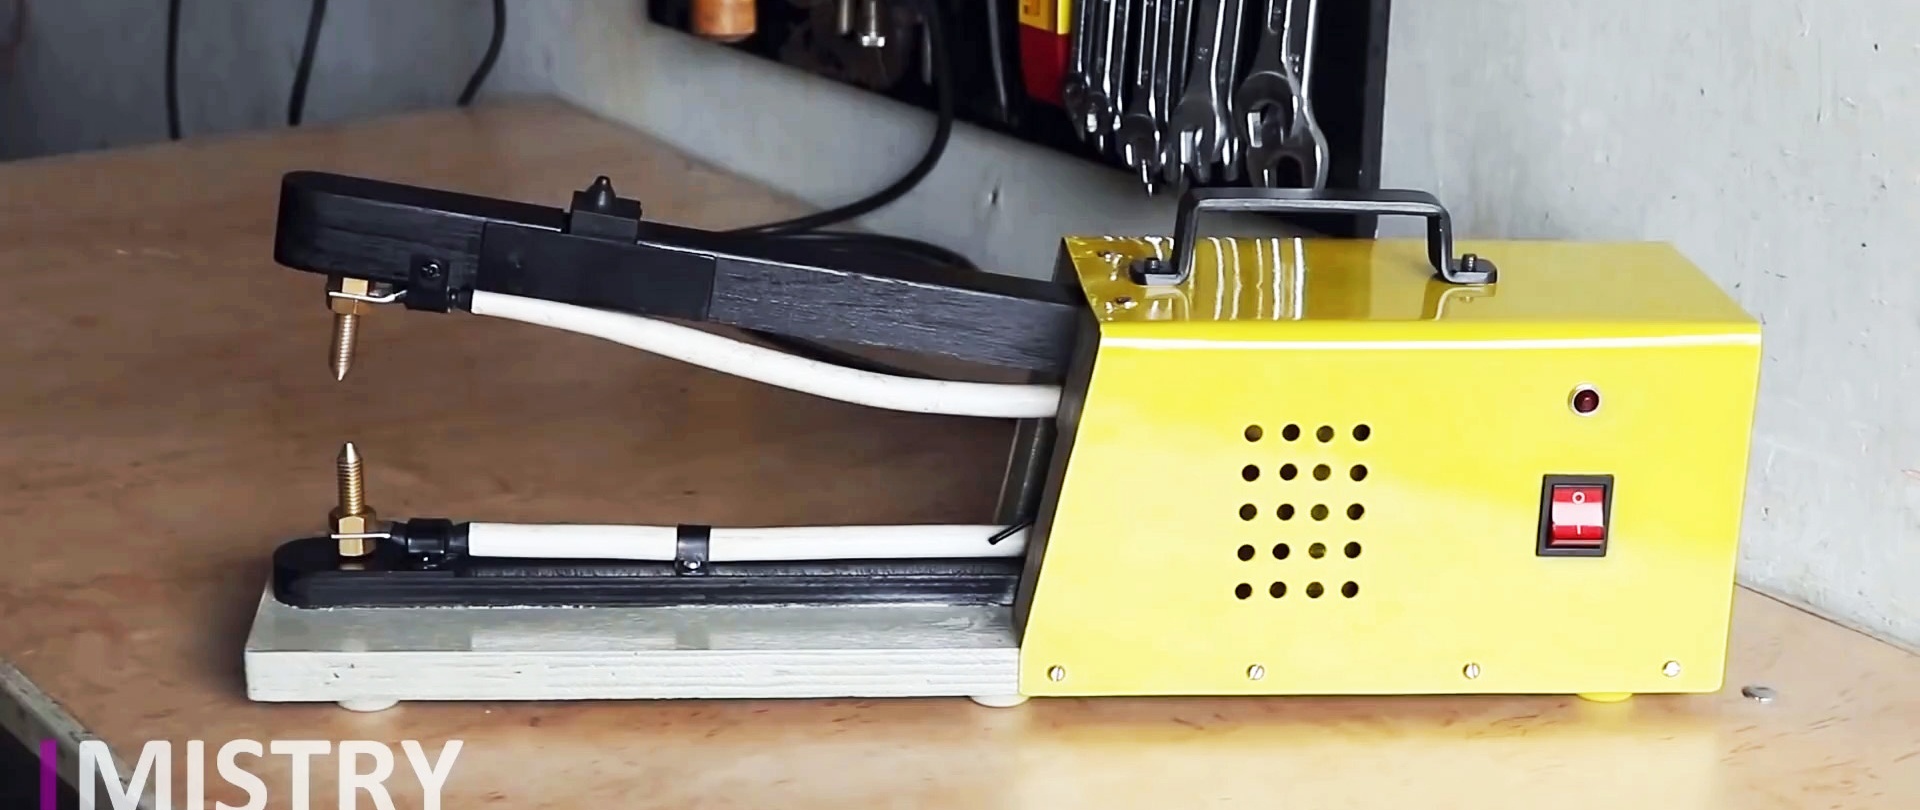
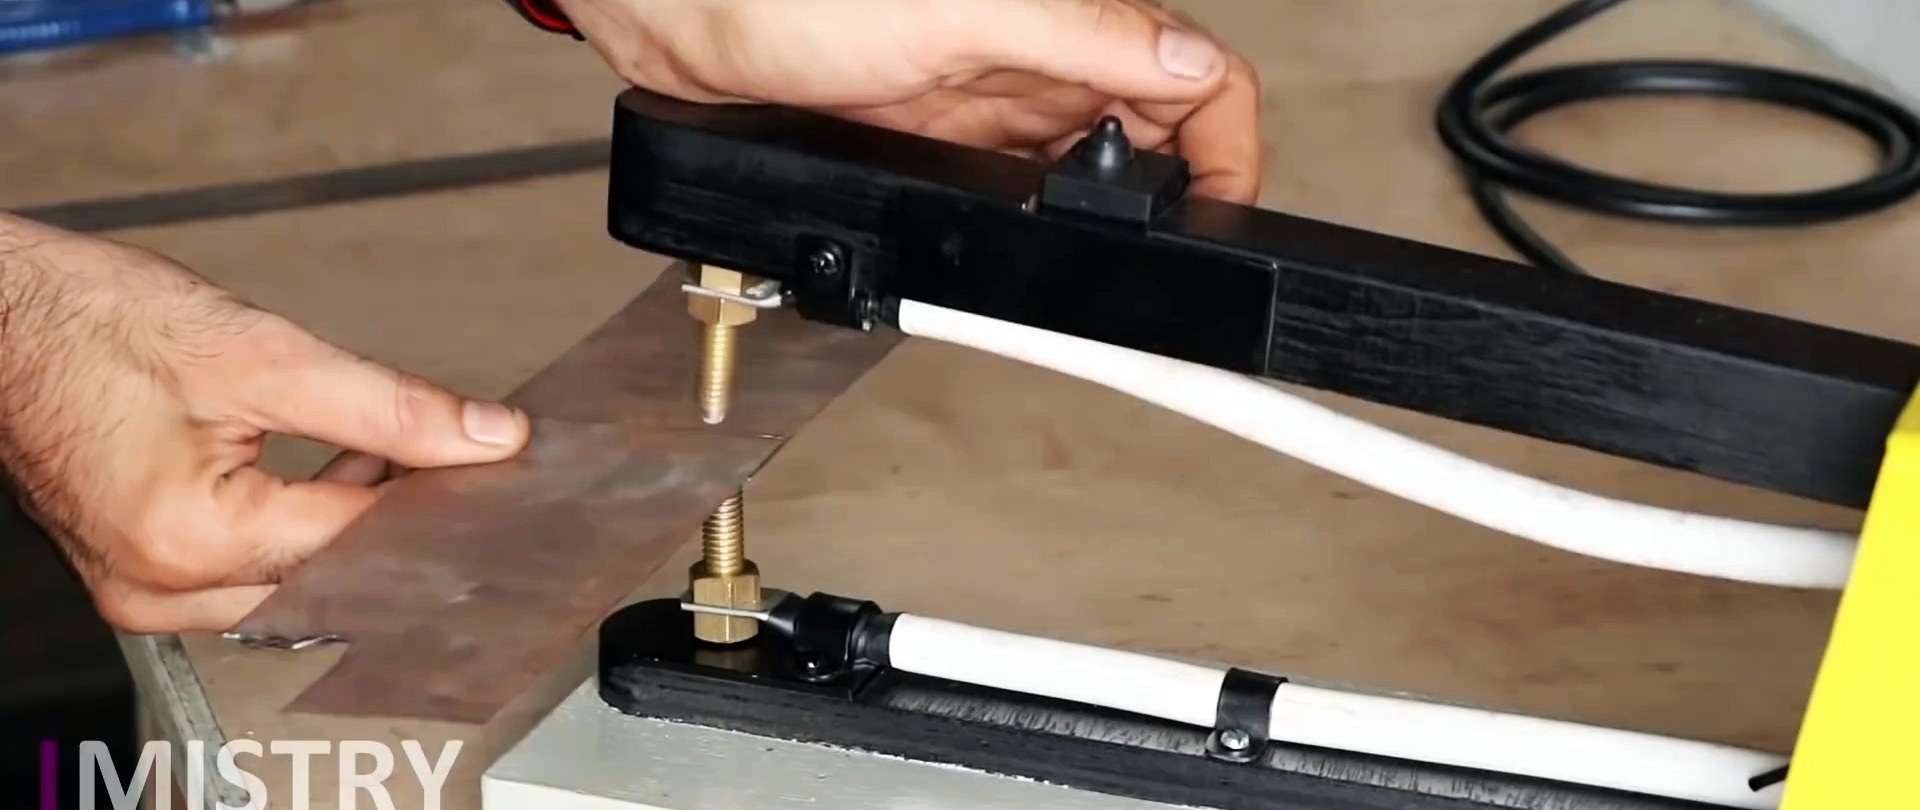
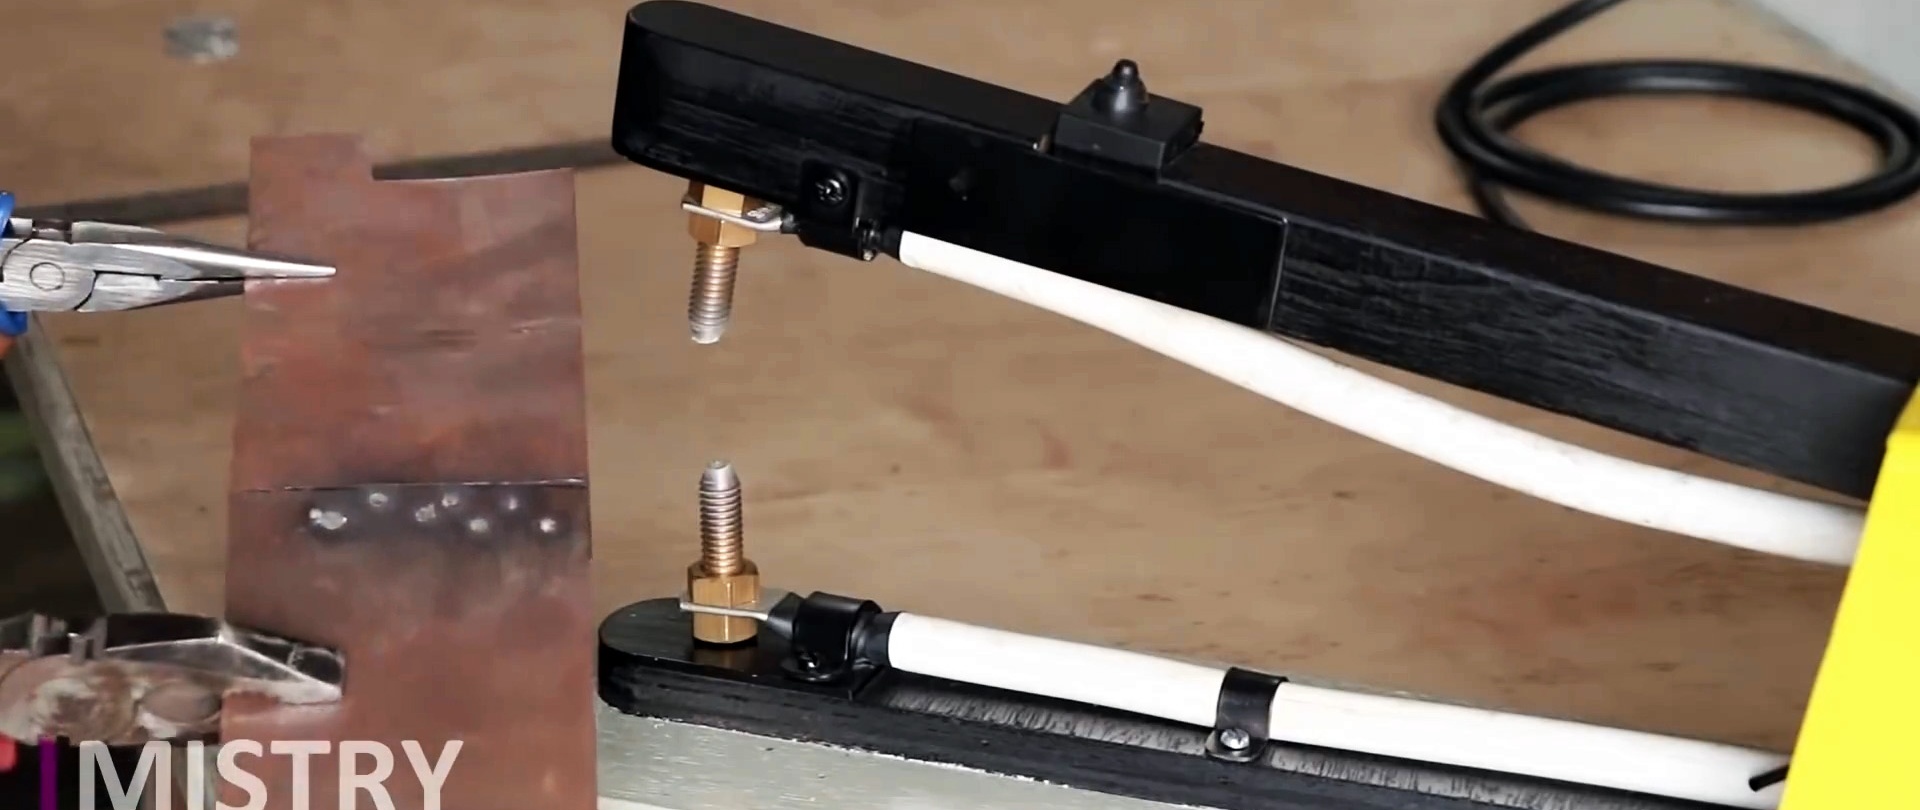
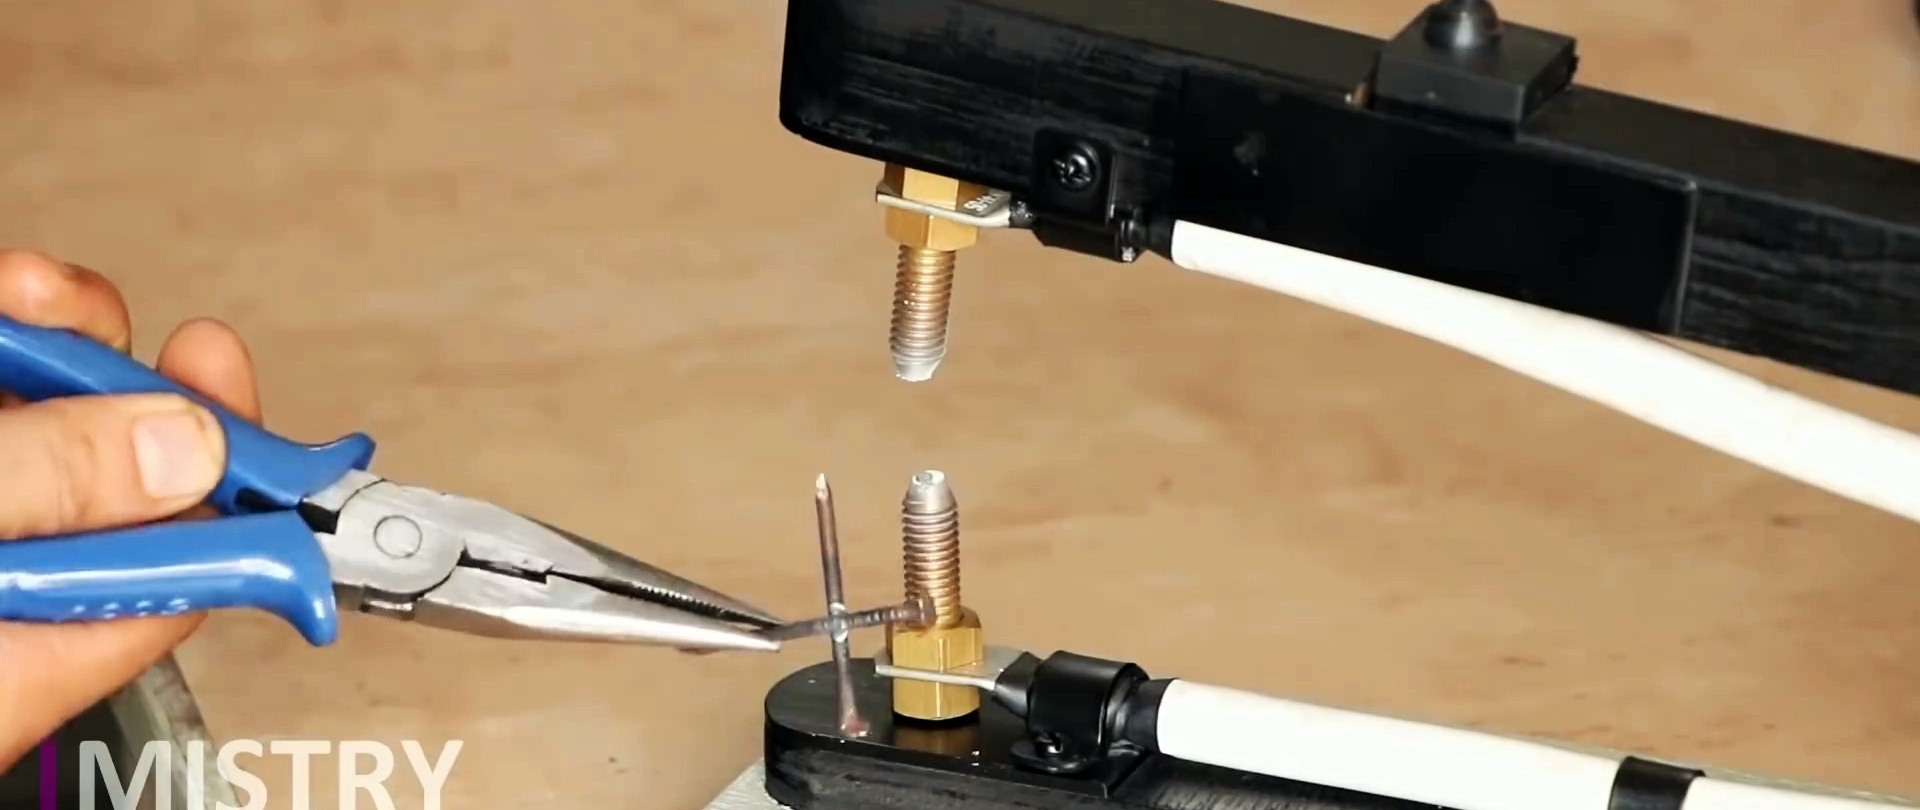
We plug the power cable into the socket, turn the switch to the “On” position, and when the indicator lights up, we begin welding the parts, pressing the upper electrode against the parts to be welded lying on the lower electrode.
After welding is completed, turn the switch to the “Off” position and remove the plug from the socket.