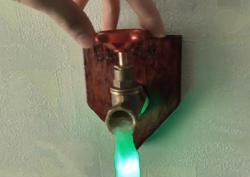
Beautiful night light in present for the holiday, can be purchased in the store. This thing is not particularly expensive and consumes little electricity. Also, if this gift was intended for a child, then it will also help get rid of night fears. In general, some advantages. However, it is doubly pleasant for anyone to receive a beautiful thing made by hand using natural materials. The night lamp that I made in this master class is not intended for reading books, writing, or doing any work. It serves as a purely decorative element, designed to decorate the bedroom or living room in the dark. To assemble such a night light, special efforts and skills are not required. If only a little patience. Everyone can handle it.

Will need
Tool:
- Drill for tube diameter.
- 10 mm drill.
- Small cutting disc (for engraver).
- Drill or engraver.
- Brush for applying varnish.
- Bowl and stirring stick.
- Thin pliers.
- Soldering iron, tin, and flux.
- Hot glue gun.
Consumables:
- Pine bark.
- Moss-lichen.
- Varnish for wood.
- Soda, flour (1 tablespoon each).
- Green dye.
- Light-emitting diode green on 5v (3 pcs.).
- The wire is thin (can be from old headphones).
- Aluminum tube (30 cm).
- Hot melt adhesive.
- Secondary glue.
- White acrylic paint.
- USB cable for charging phones.

Making a night lamp
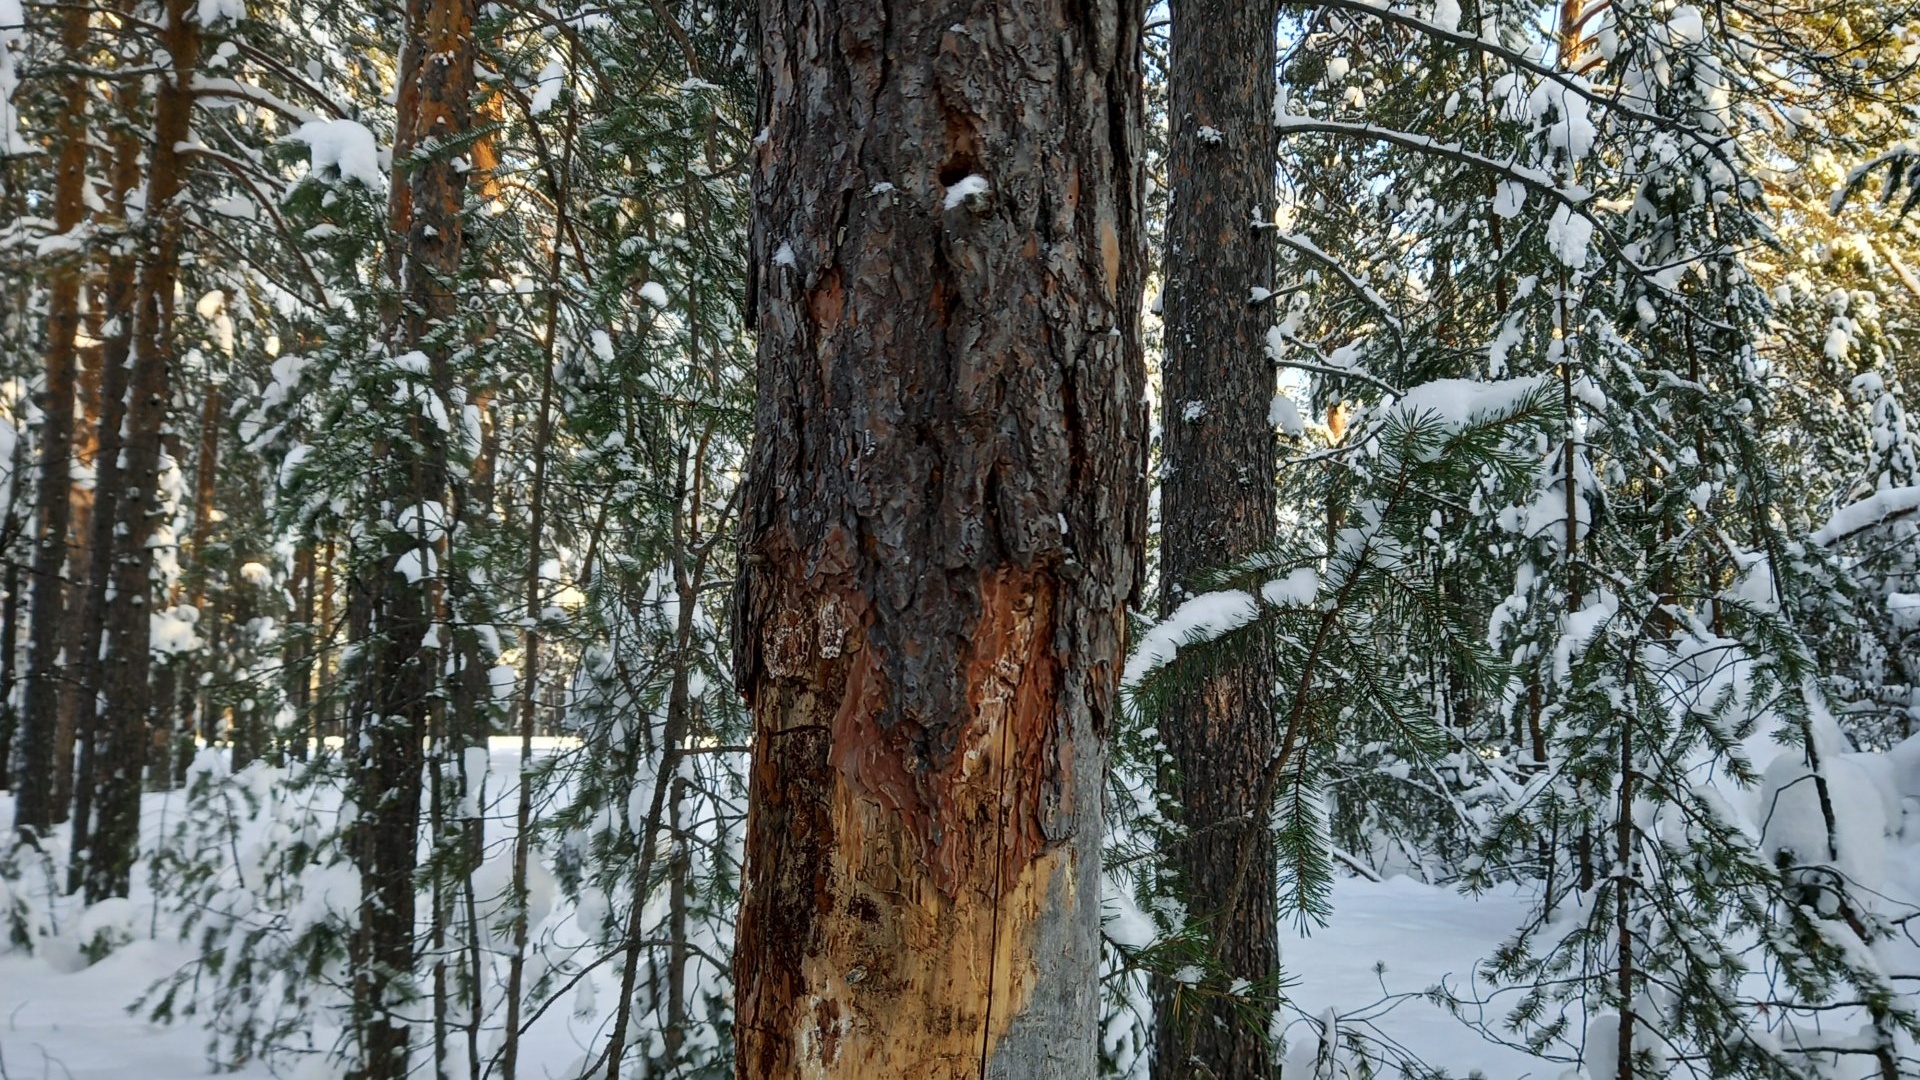
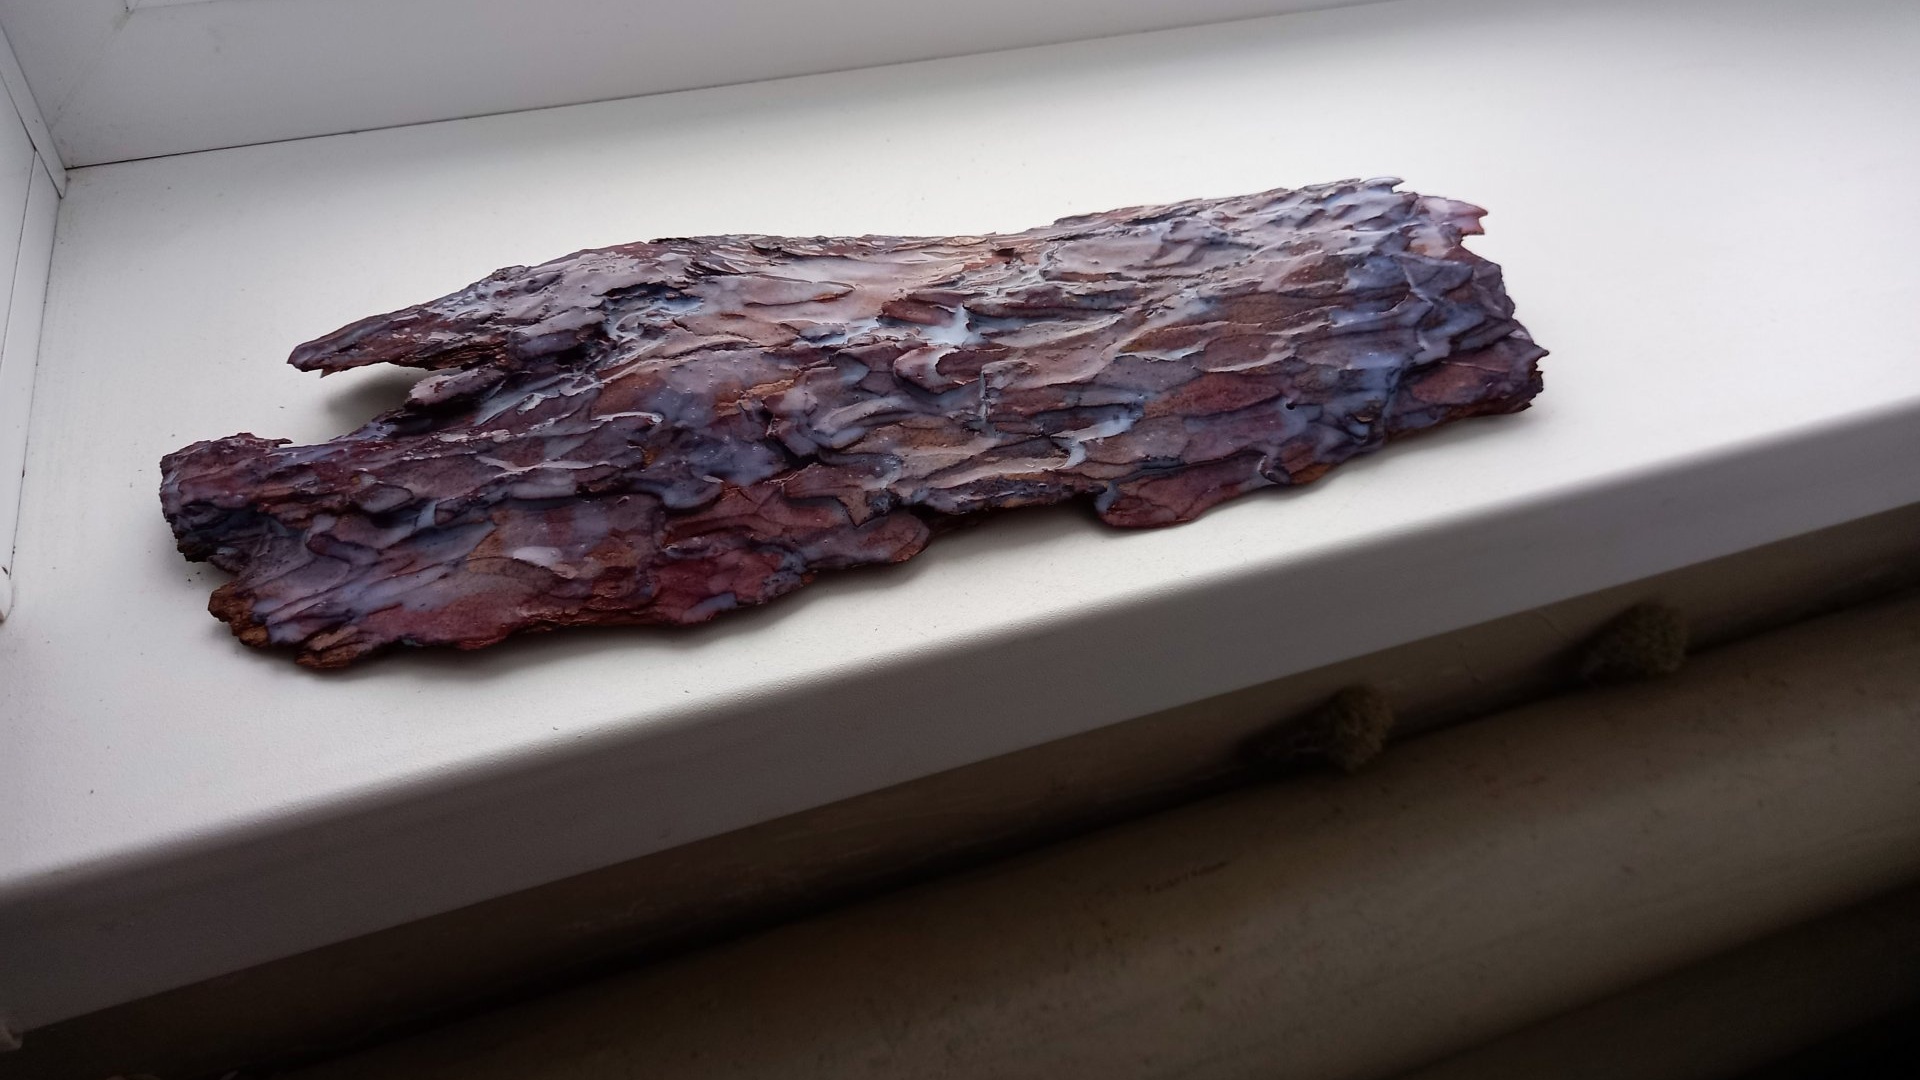
First you need to prepare the material. The base of the night light will be made of a thick piece of pine bark. You can buy it in any park, forest belt, or in a pile of firewood at the dacha. I tore it from a dried tree in the forest. You should not torment living trees; besides, it is much easier to remove the bark from a dried log.
You also need to pick some lichen mosses.

They also grow on the trunks and branches of old trees. These are wood parasitic fungi, so we won’t cause any damage to the tree, quite the contrary. Next, the piece of bark needs to be dried for a couple of days on a heating radiator. On the contrary, place the mosses in a plastic bag and leave them in a cool place. Because if the moss dries out, it will become fragile and you won’t be able to work with it. After 2 days, remove the bark from drying and cover with a generous layer of acrylic varnish.

After this procedure, we again remove the varnish bark to dry.
Until next day. However, while the bark is drying, you won’t have to sit idle. You need to make mushrooms. First you need to prepare something like a polymer mass. Of course, you can buy it in a store, but if you’re going to do the thing yourself, then let it be 100% complete. So, for the polymer we need a bowl, 1 tbsp. a spoonful of flour and soda, green food coloring, a stirring stick, and the same acrylic varnish.
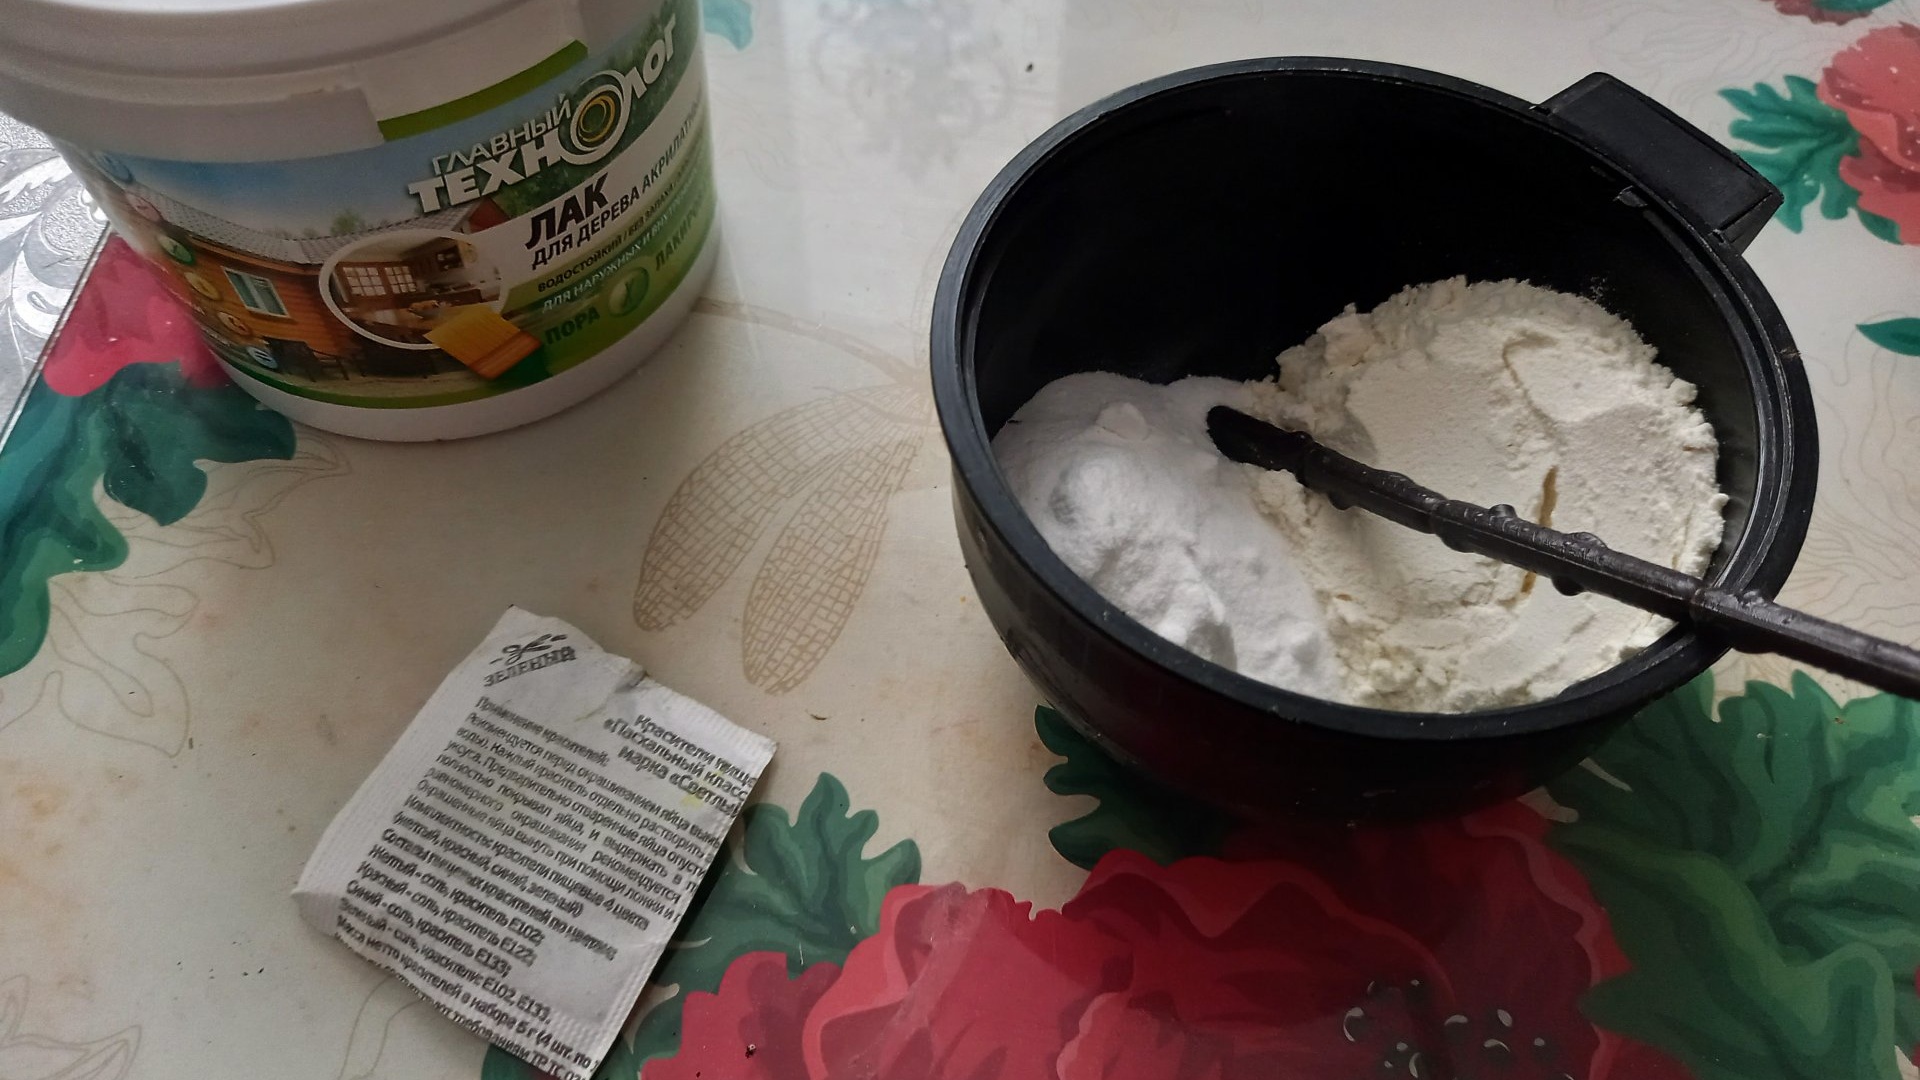
Pour flour and soda into a bowl, pour in about 1.5 tbsp.spoons of varnish, a little dye, and mix everything with a stick.
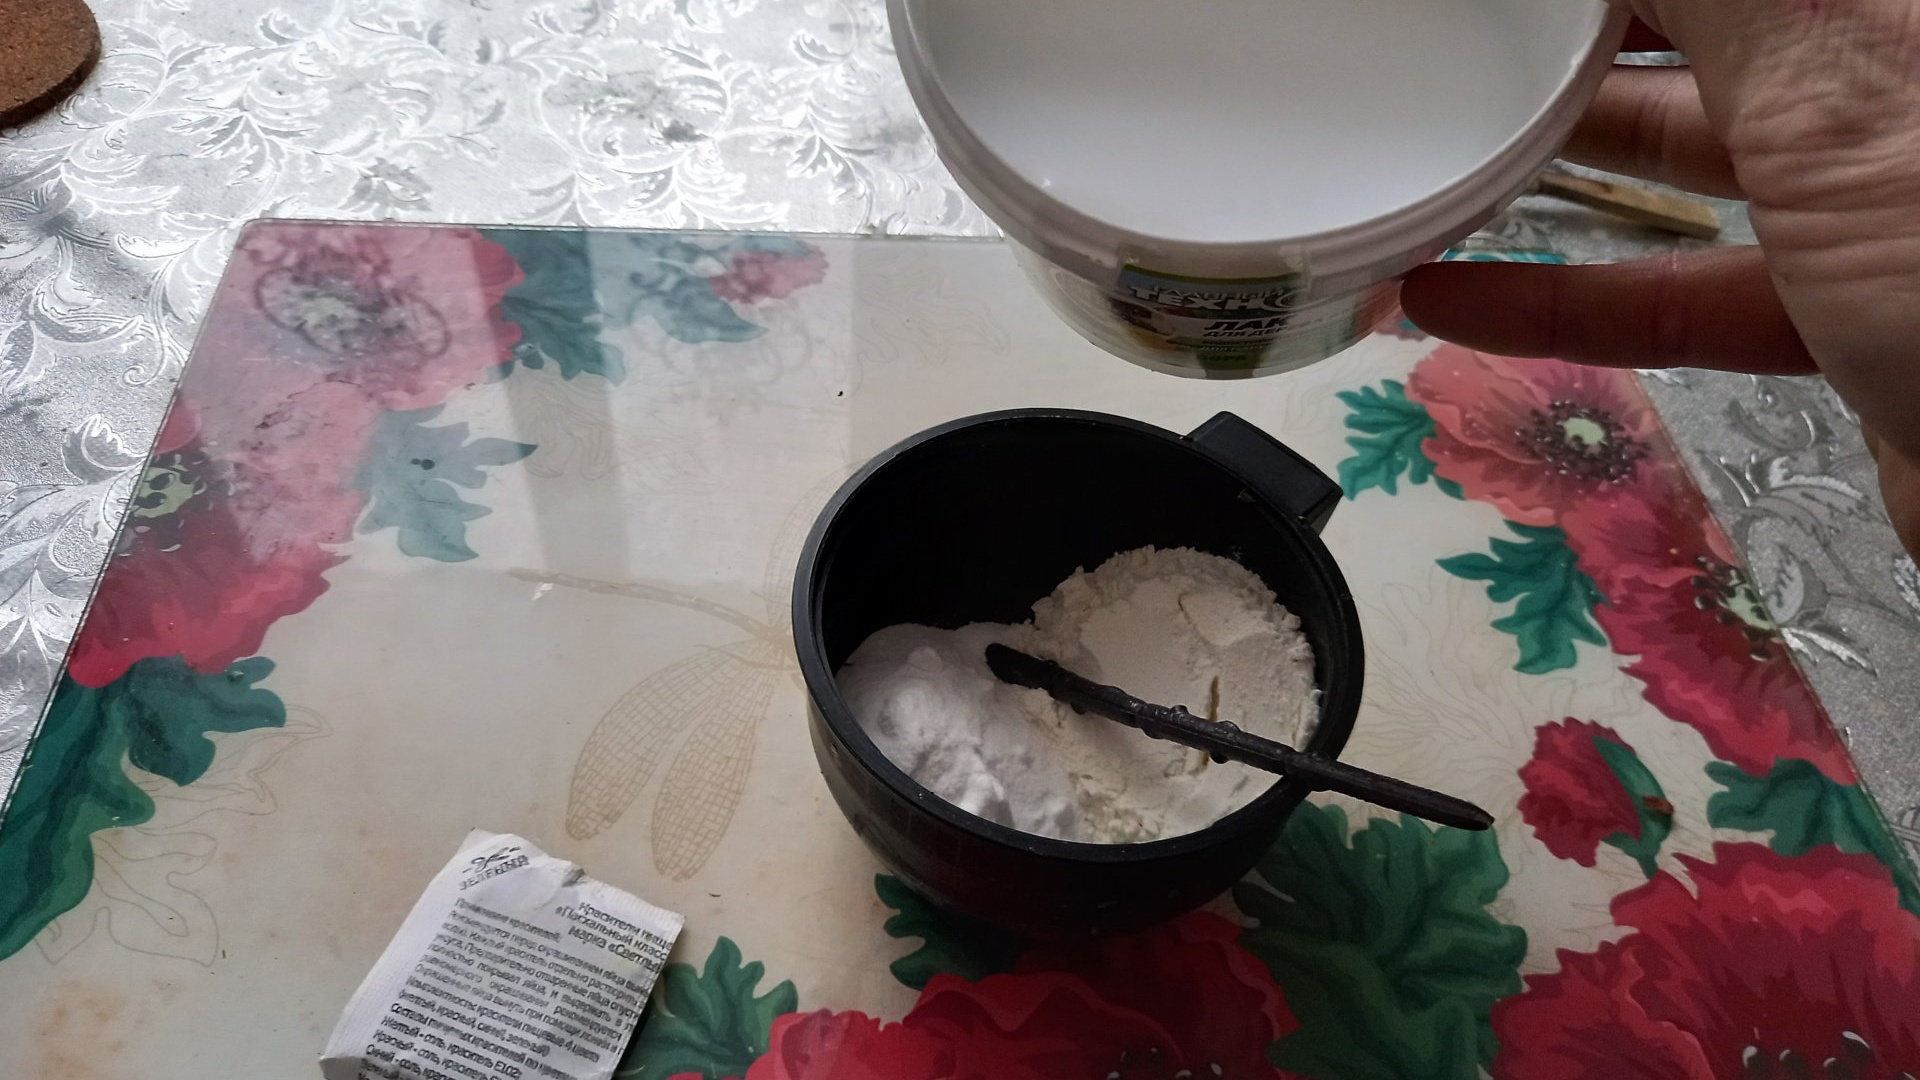

Stir until the dough is mixed with a stick. When it becomes dense enough, you can take it out of the bowl and crush it in your palm, periodically rolling it in soda so that it does not stick to your palm.
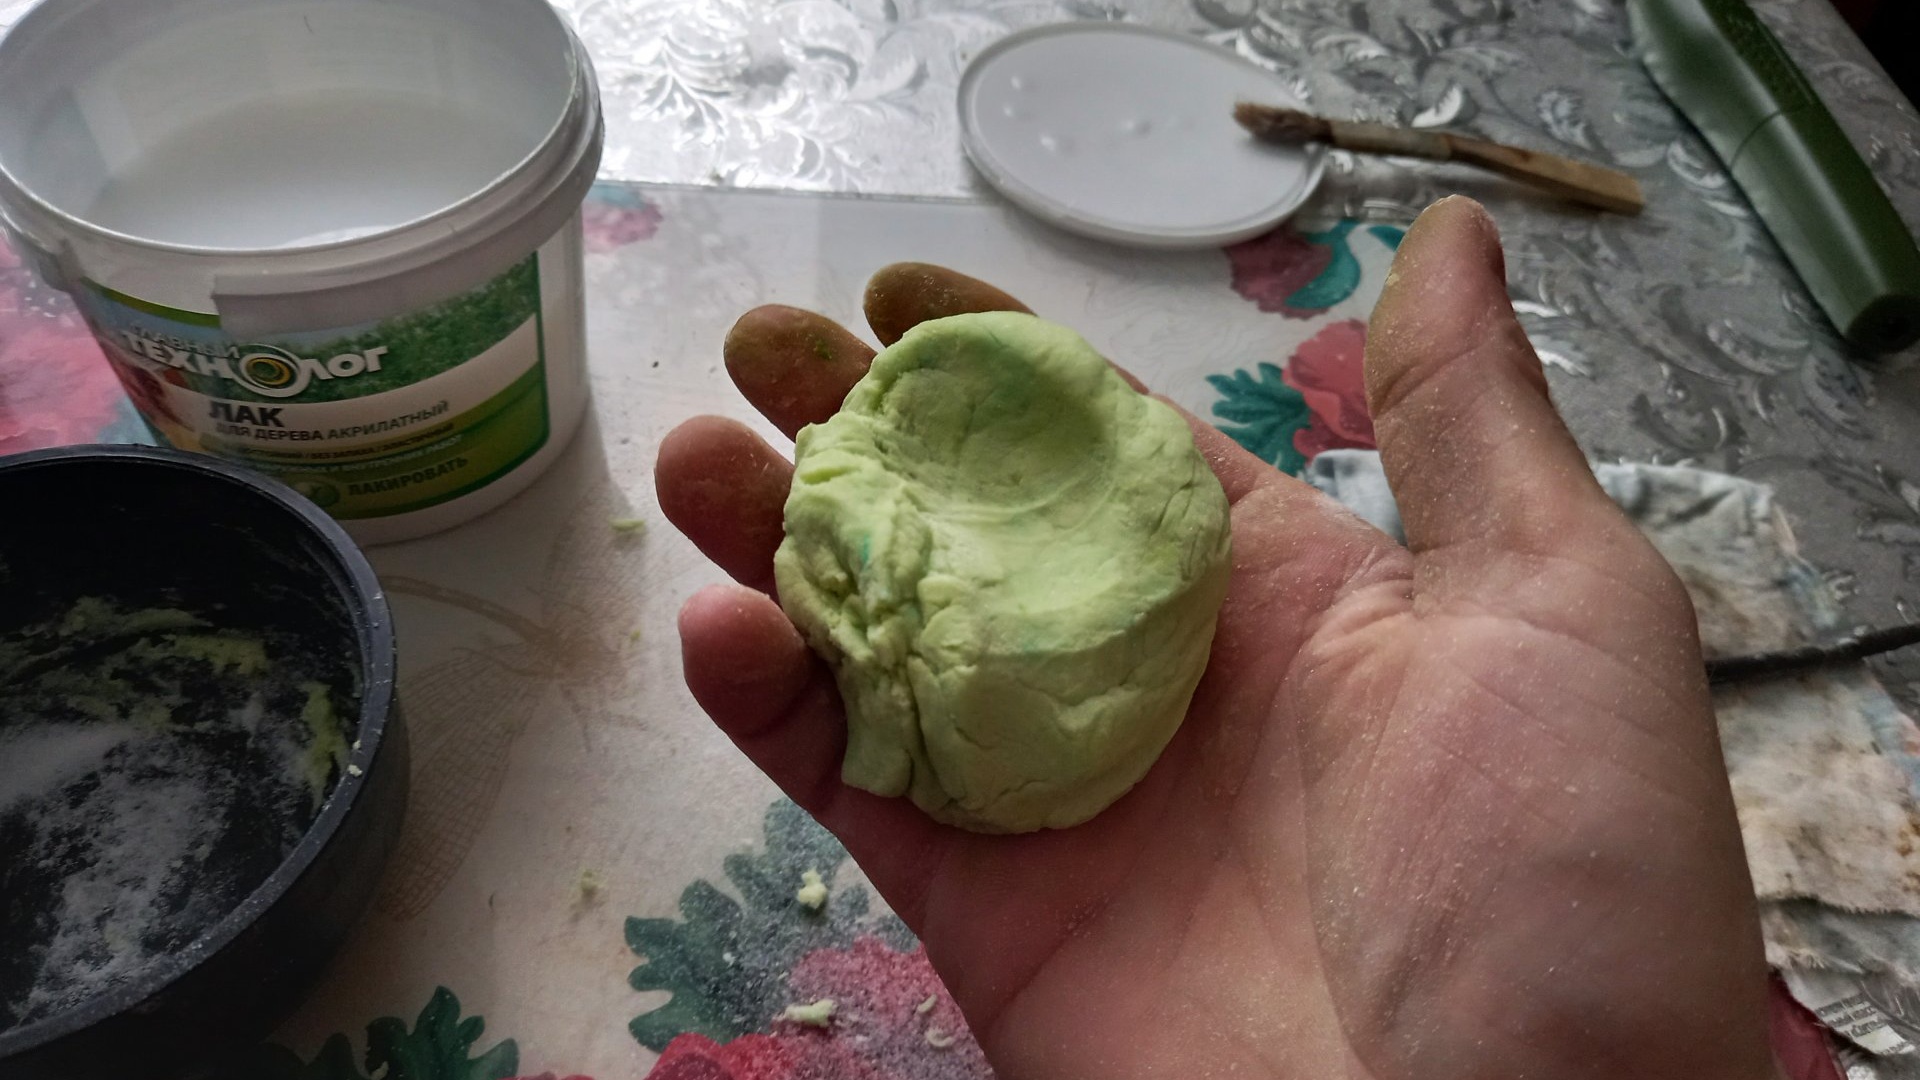
When the dough stops sticking to your palms, we form mushroom caps out of it and place them on something round so that the given shape is preserved when it hardens. I took the removable halves of the light bulbs as stands.
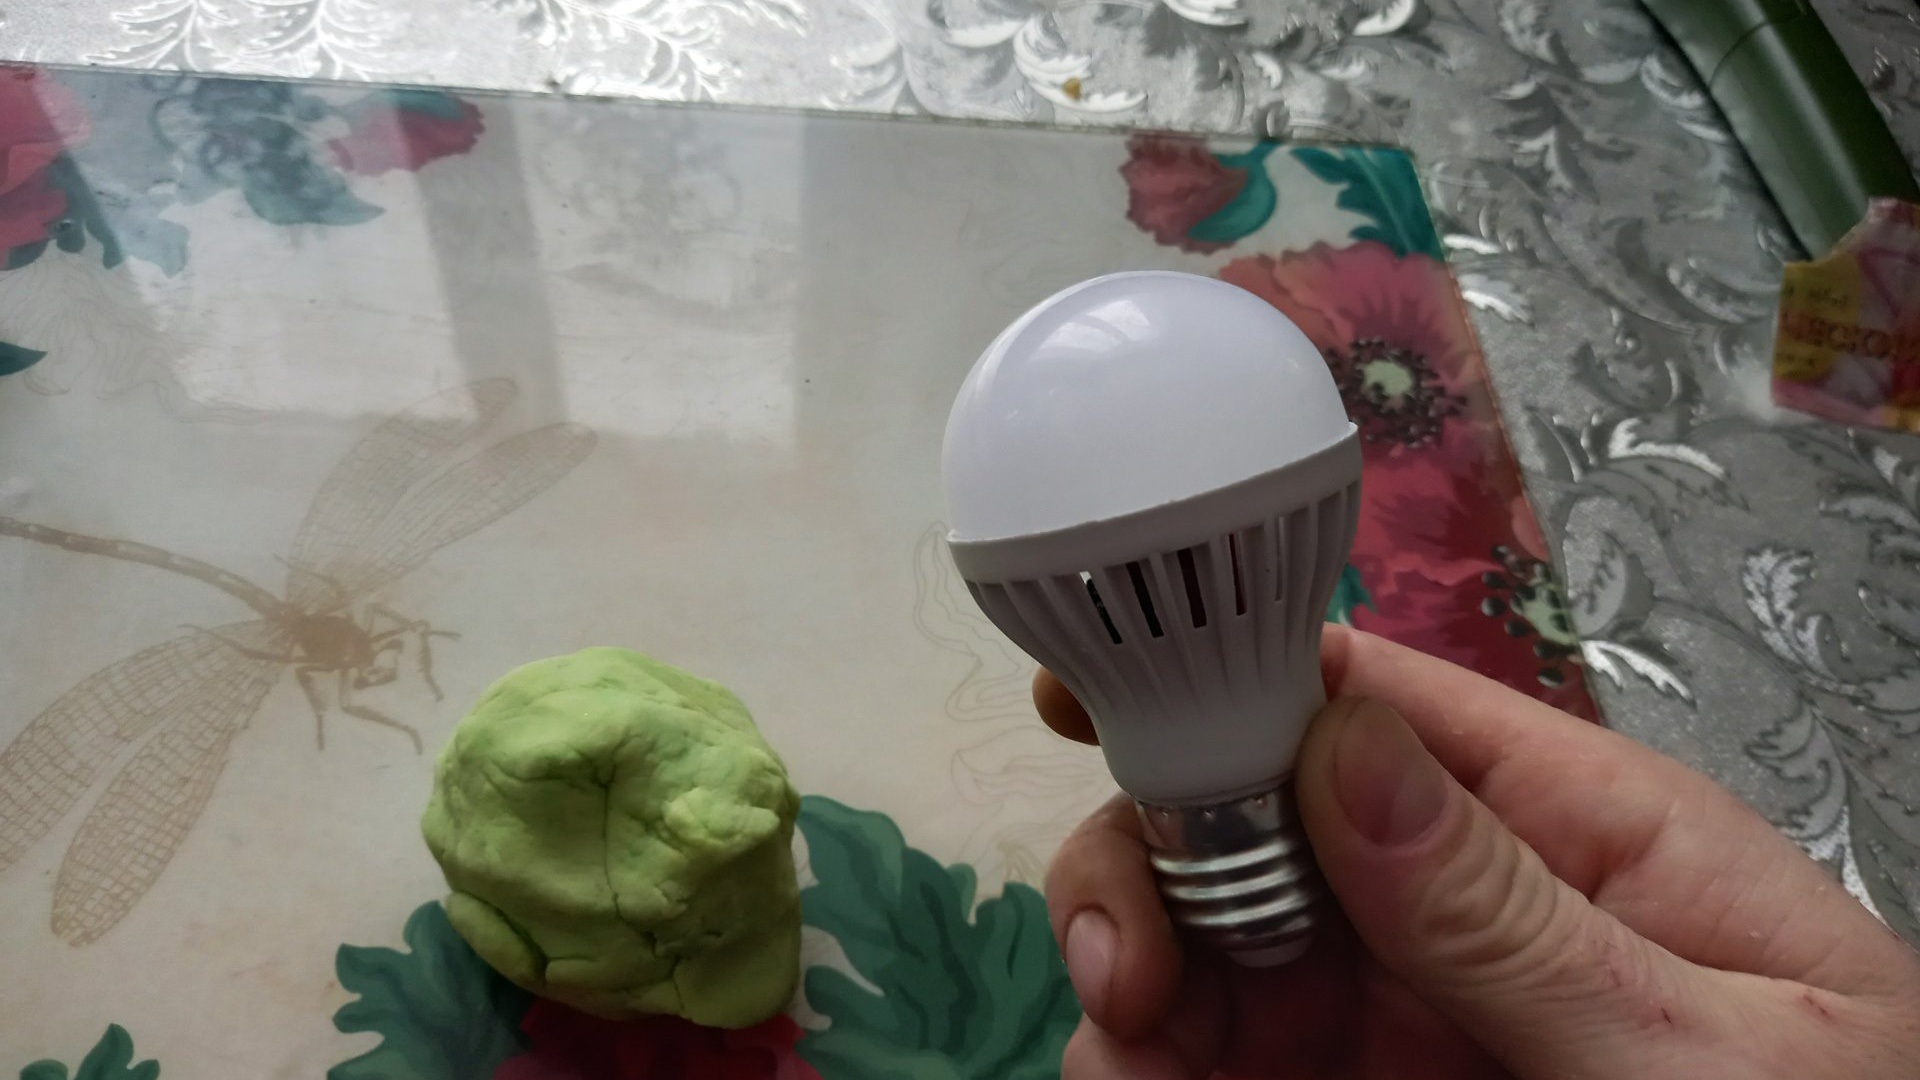

We also remove the finished hats for a day to dry.

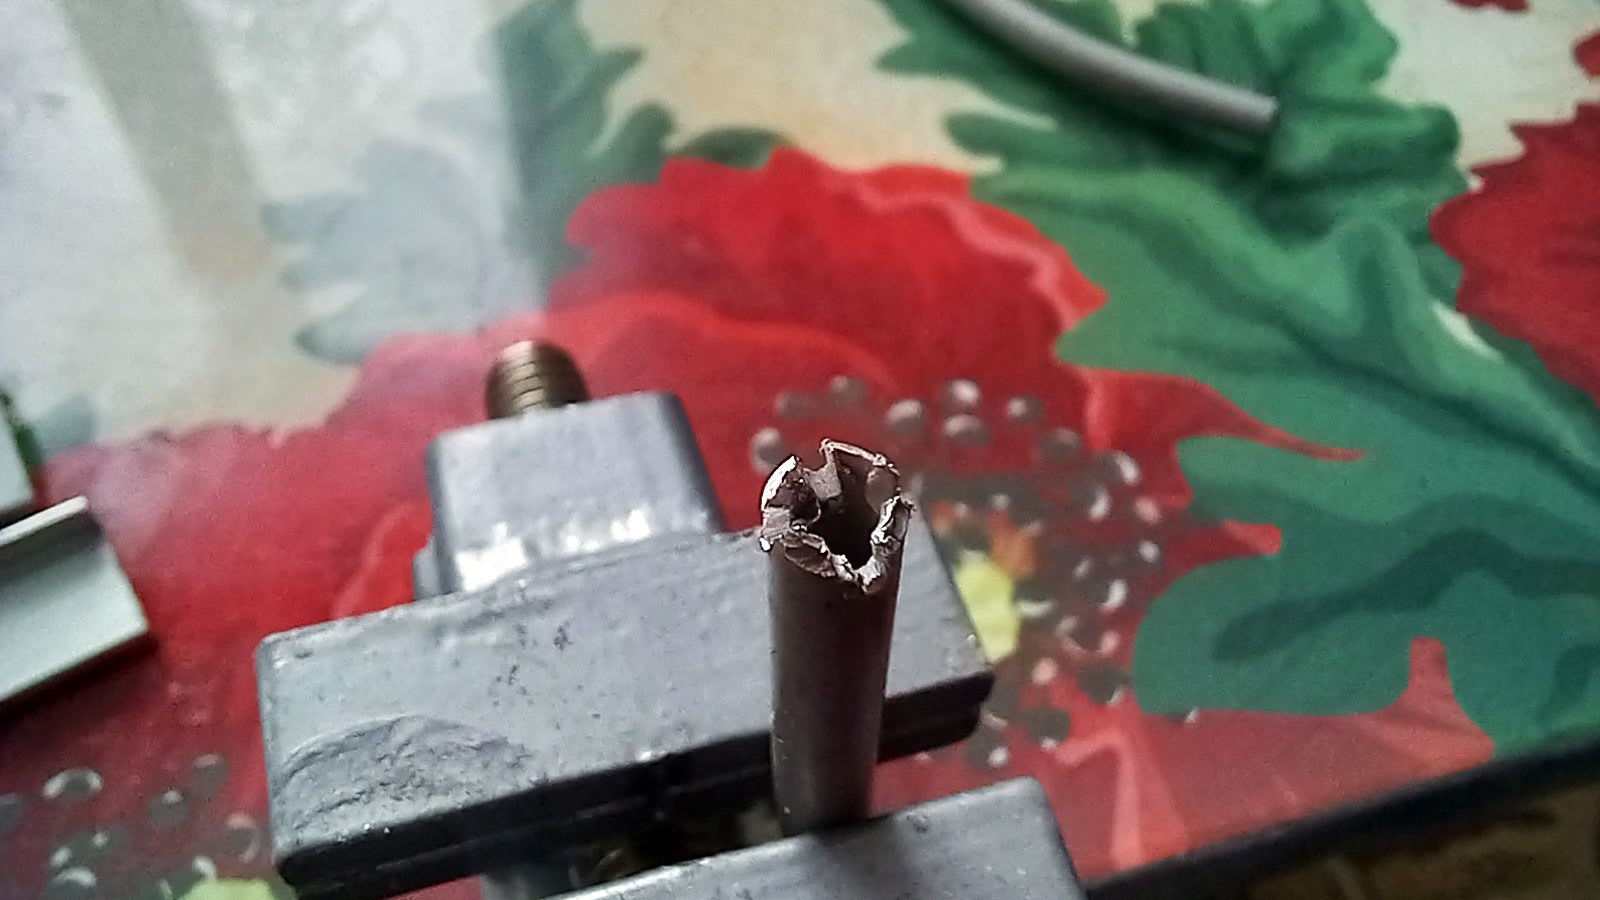
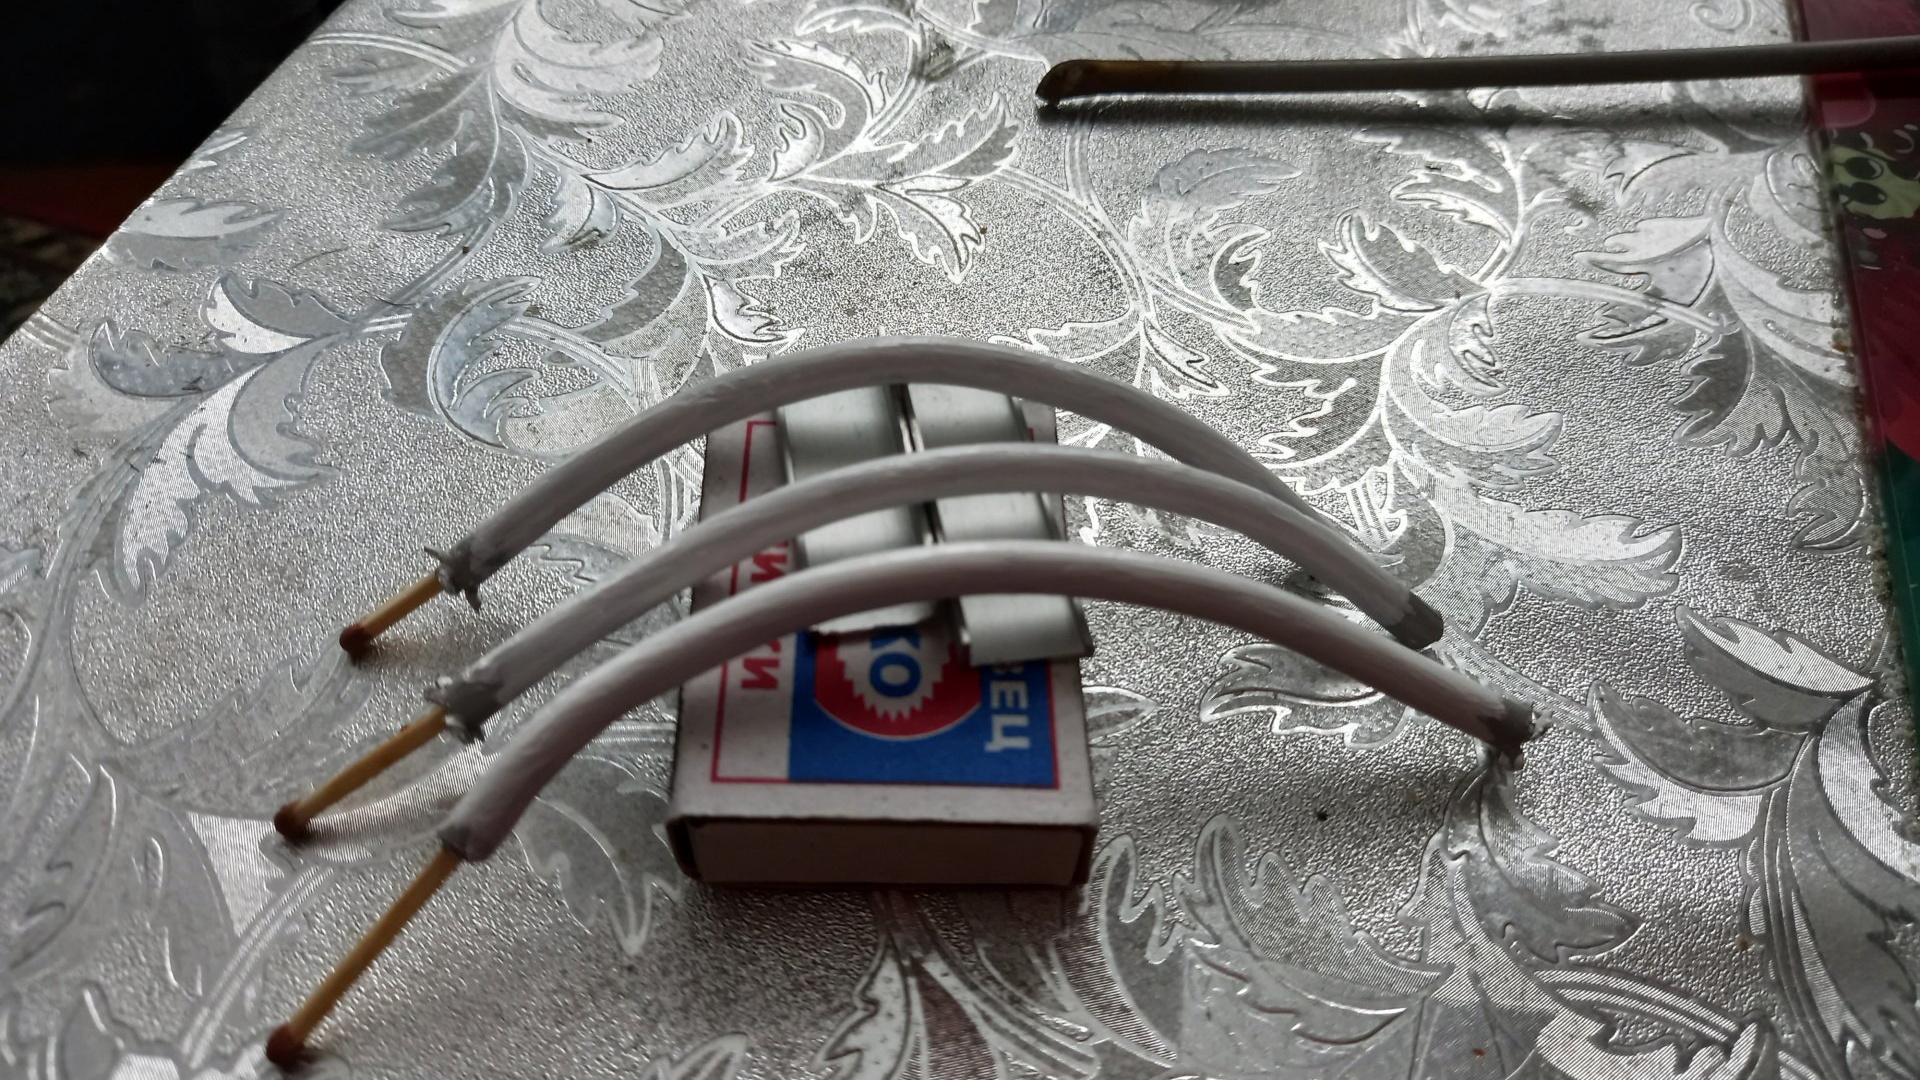
Now let's take care of the mushroom stems. From a thin aluminum tube (I took it from an old antenna), cut 3 pieces 10-12 cm long, and bend them into a smooth angle, about 100 degrees. Like this:
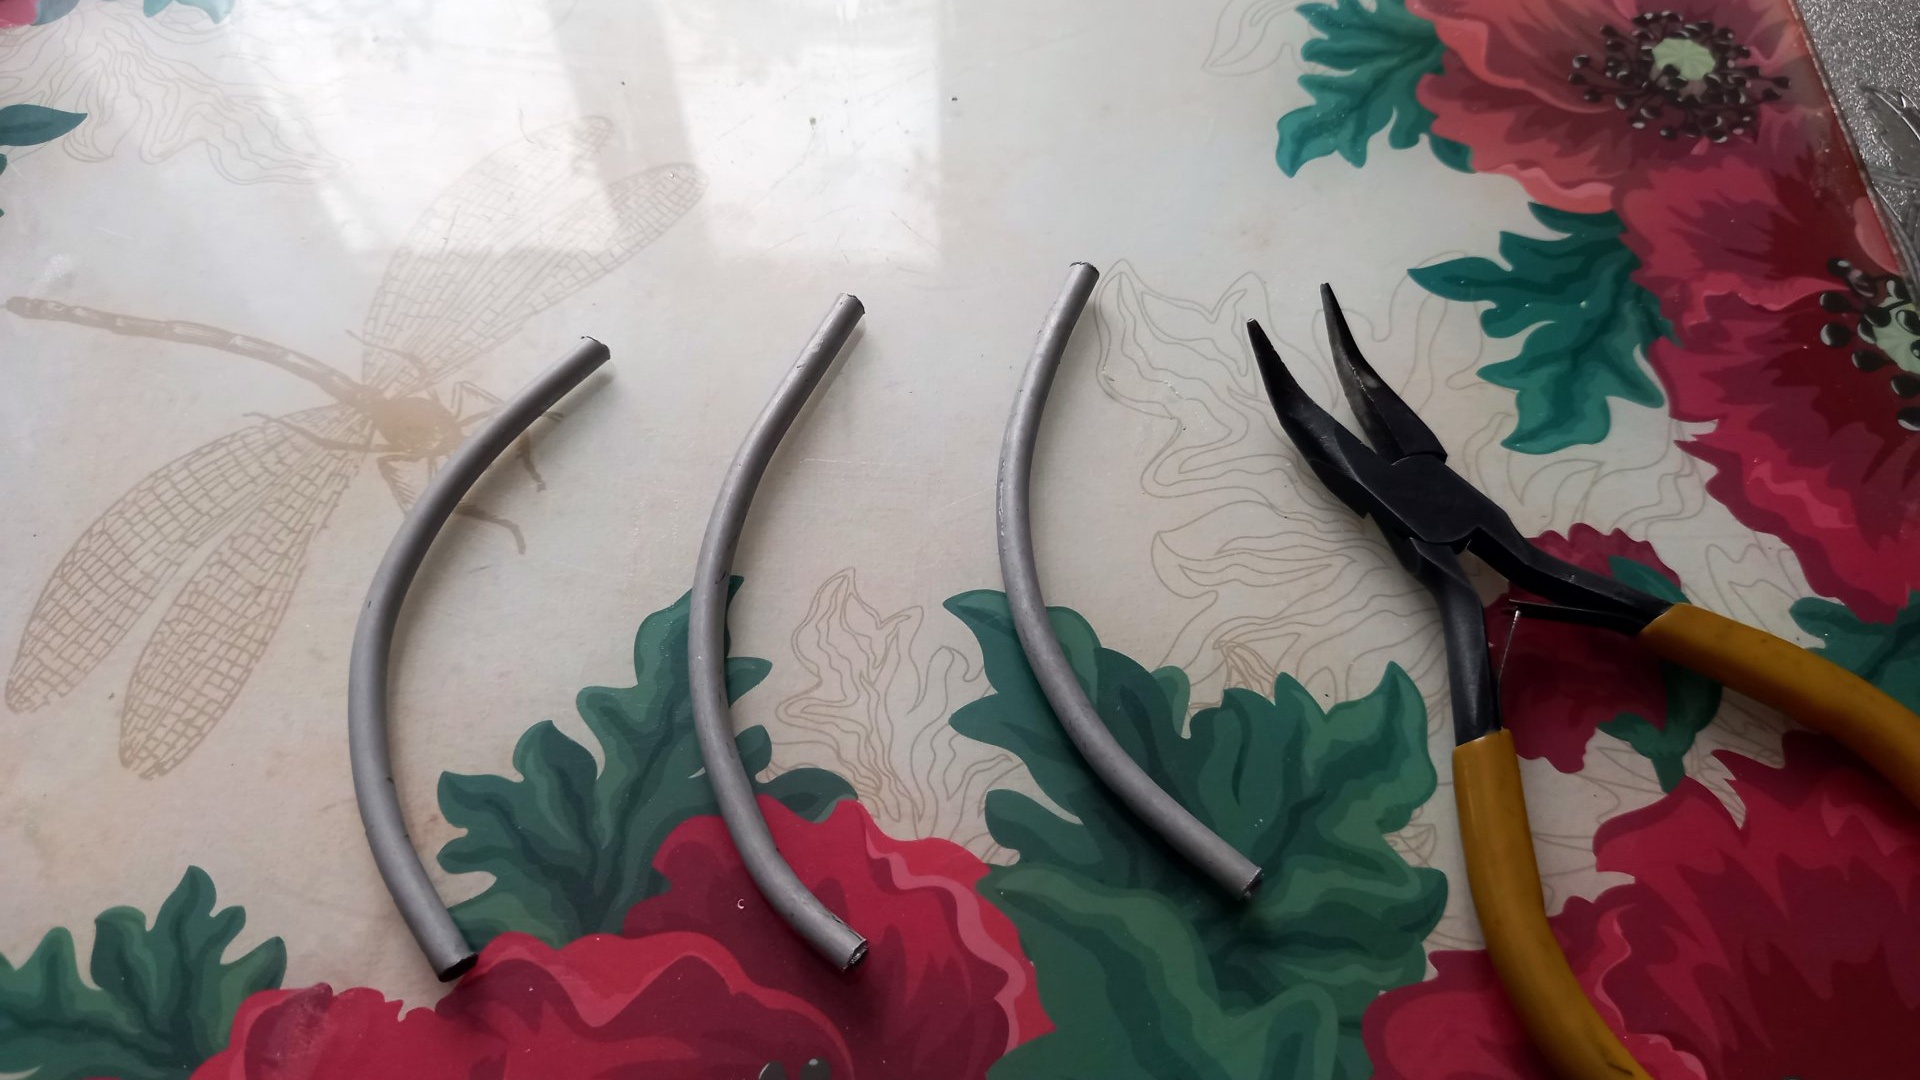
The end that will be attached to the cap can be slightly flared to ensure better adhesion to the glue.
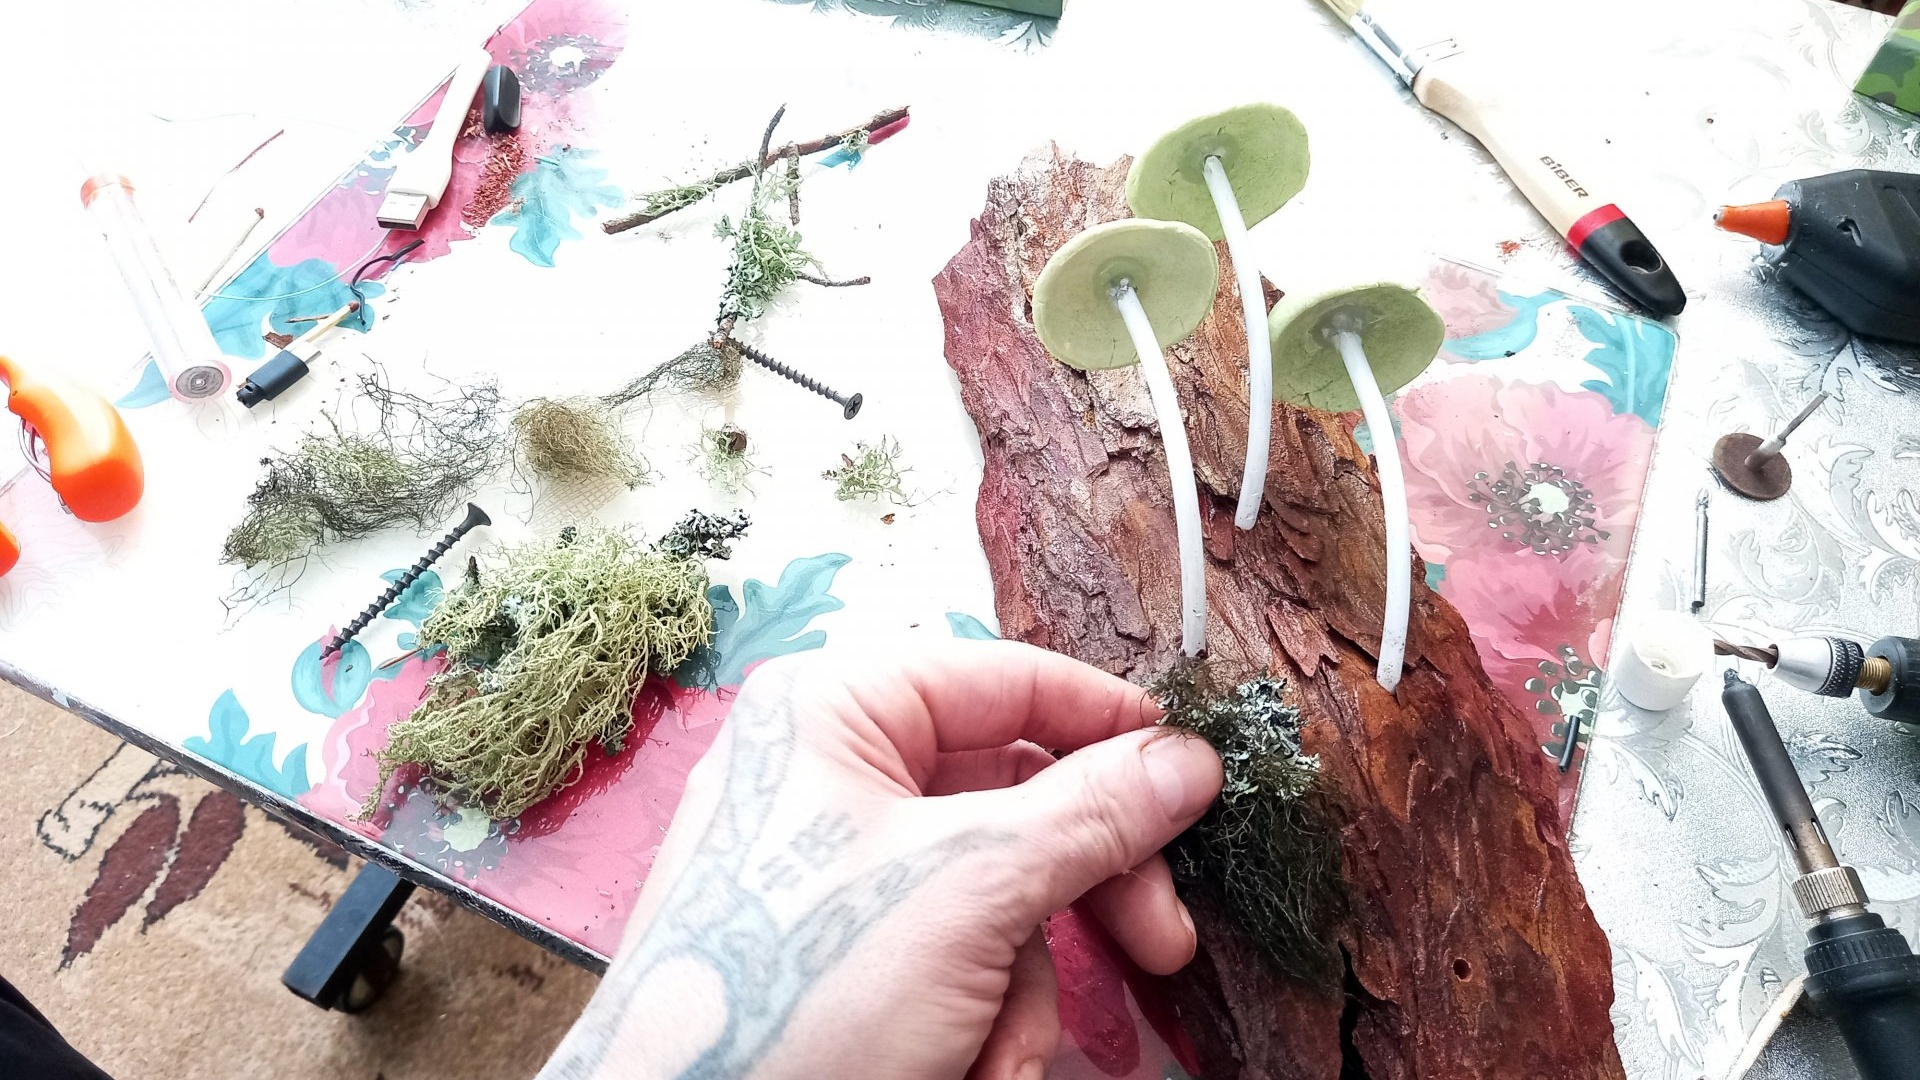
Next, apply white acrylic paint to the finished legs and leave to dry.
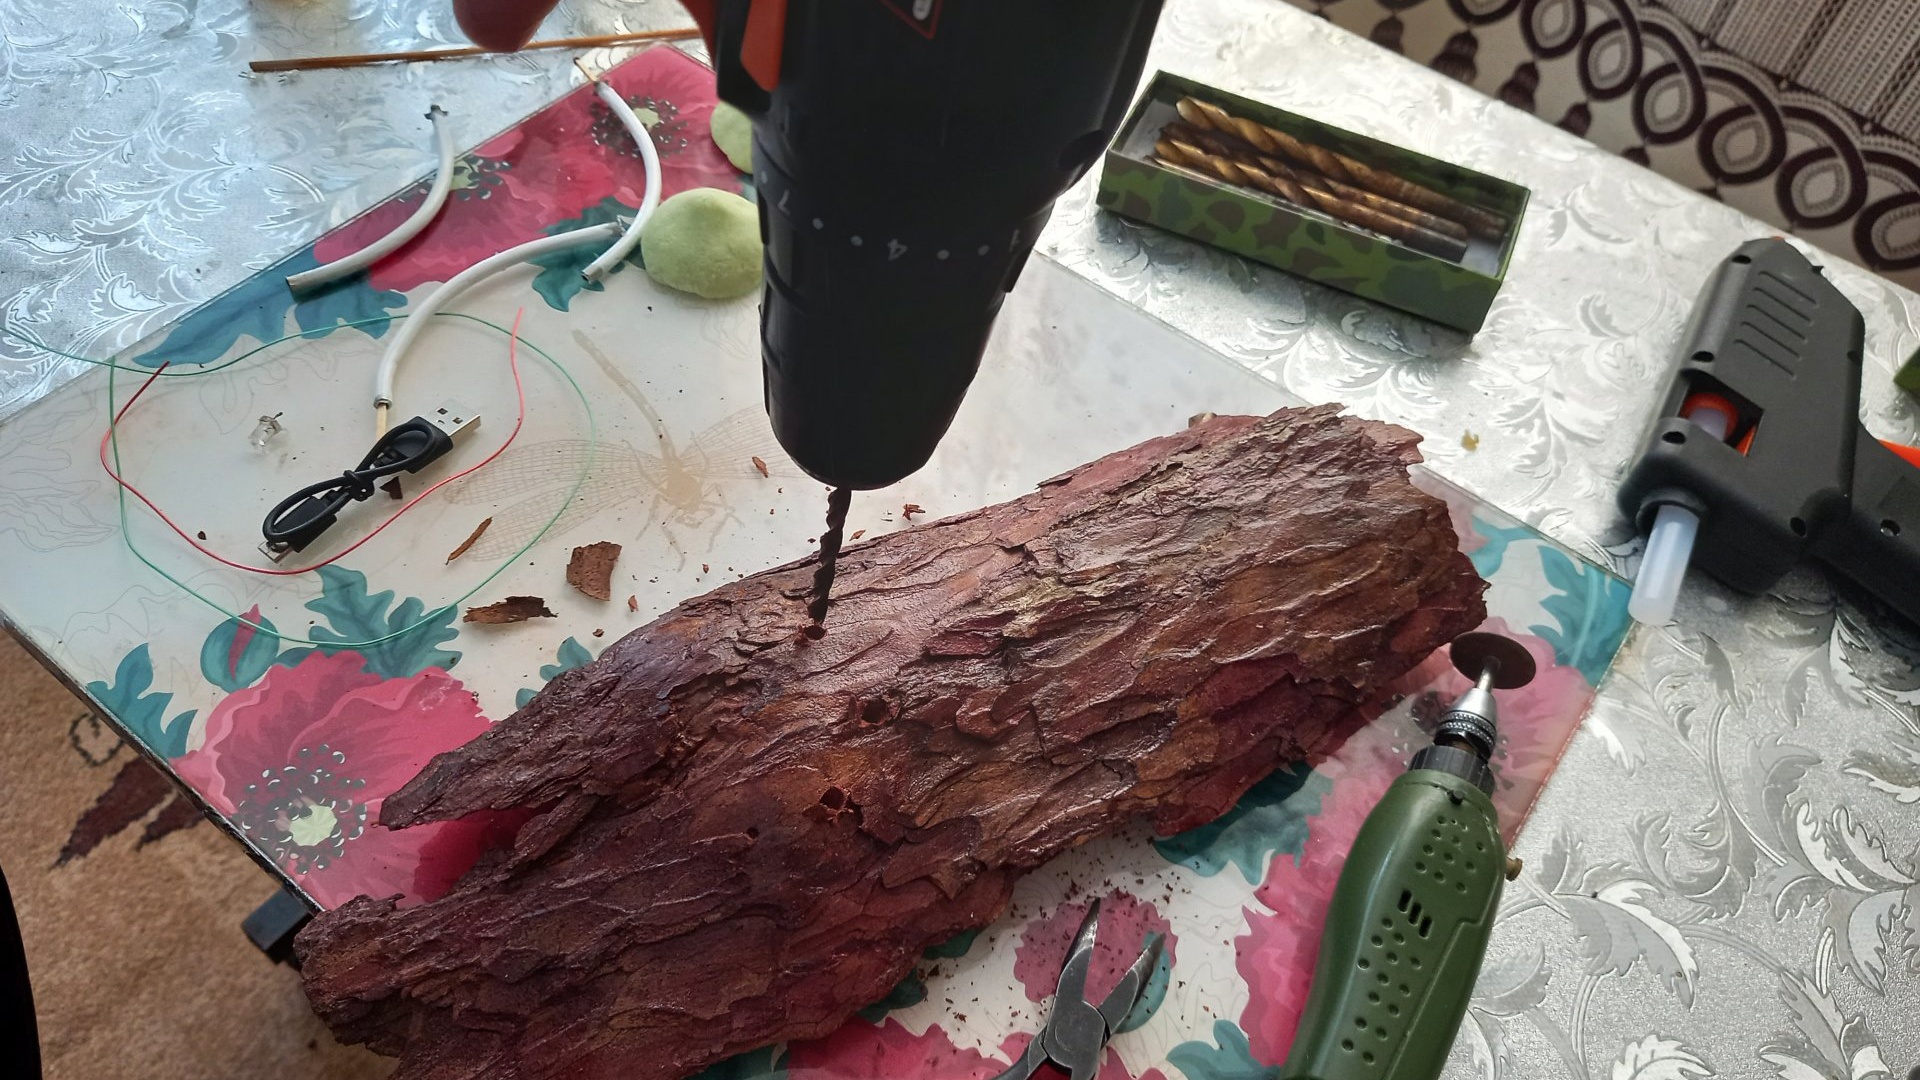
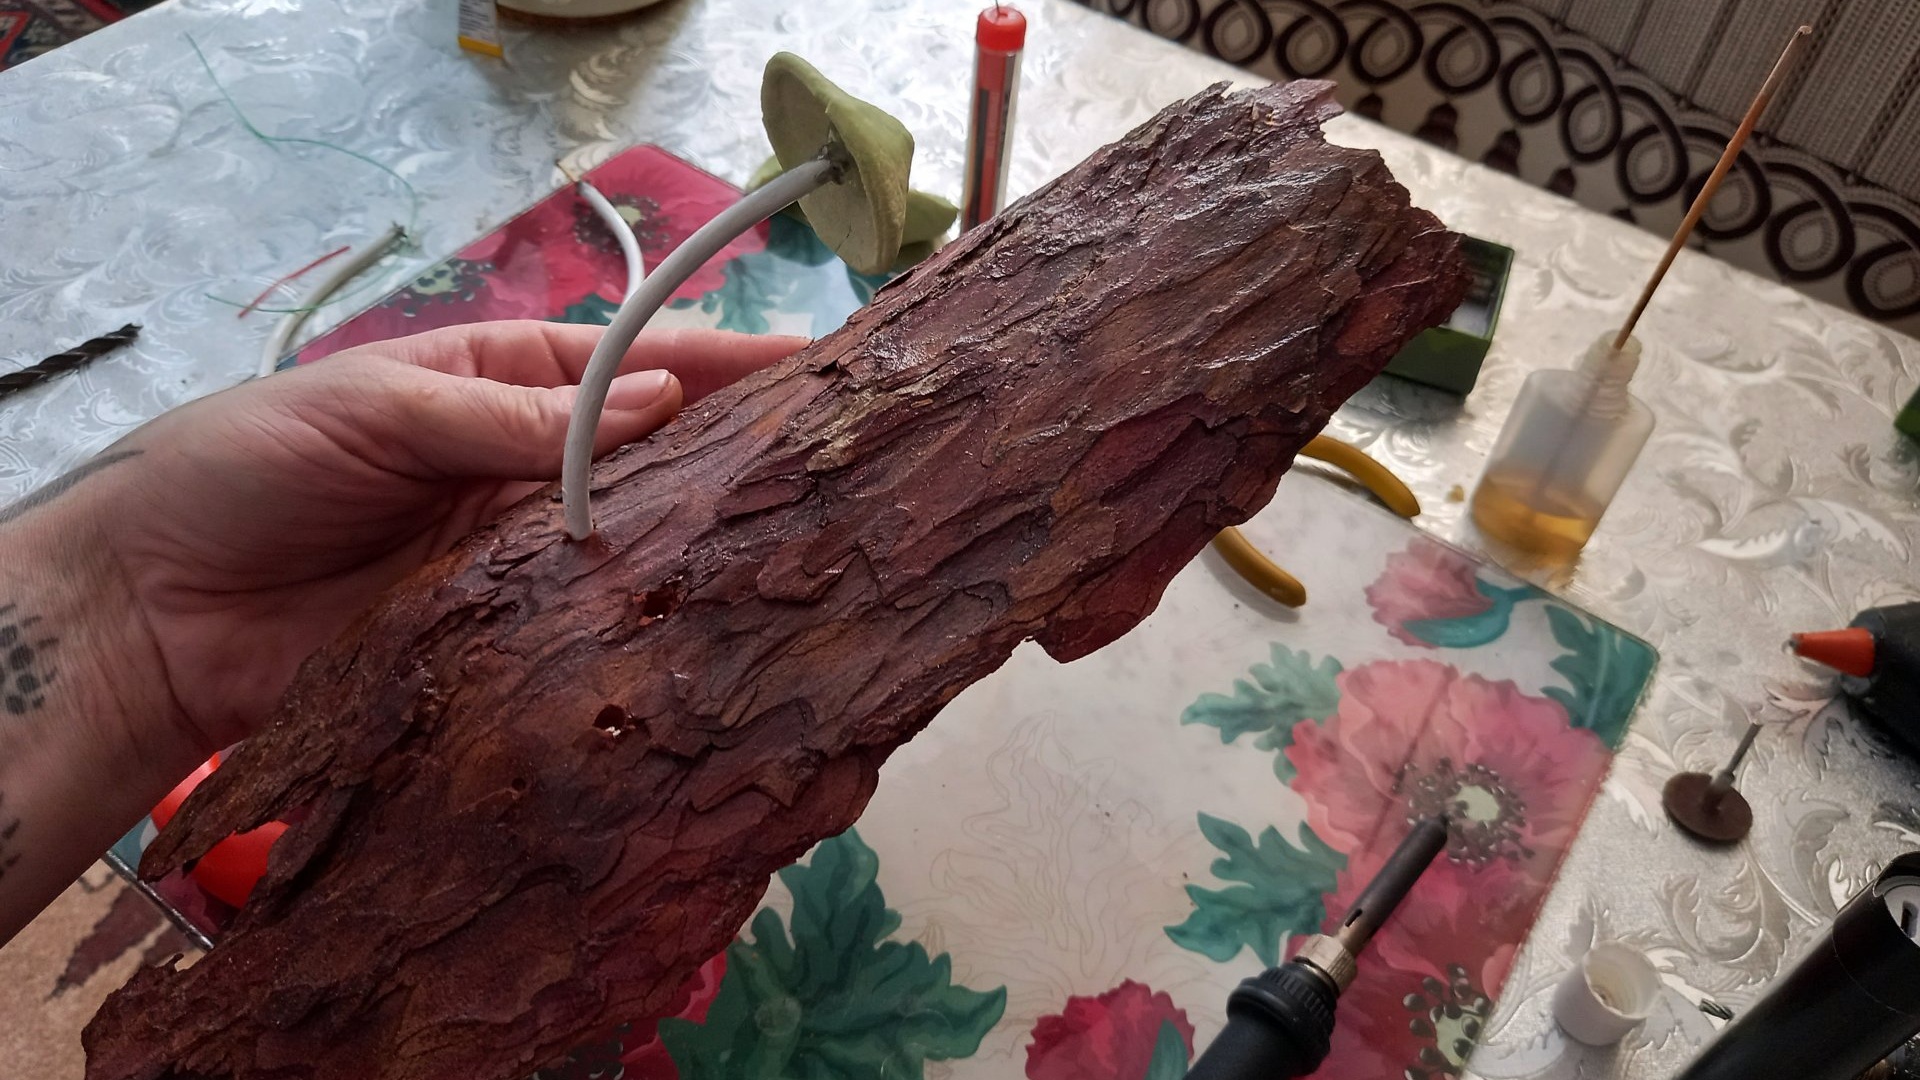
The next day, drill 3 holes in the varnished piece of bark. According to the diameter of the tubes. In no particular order.
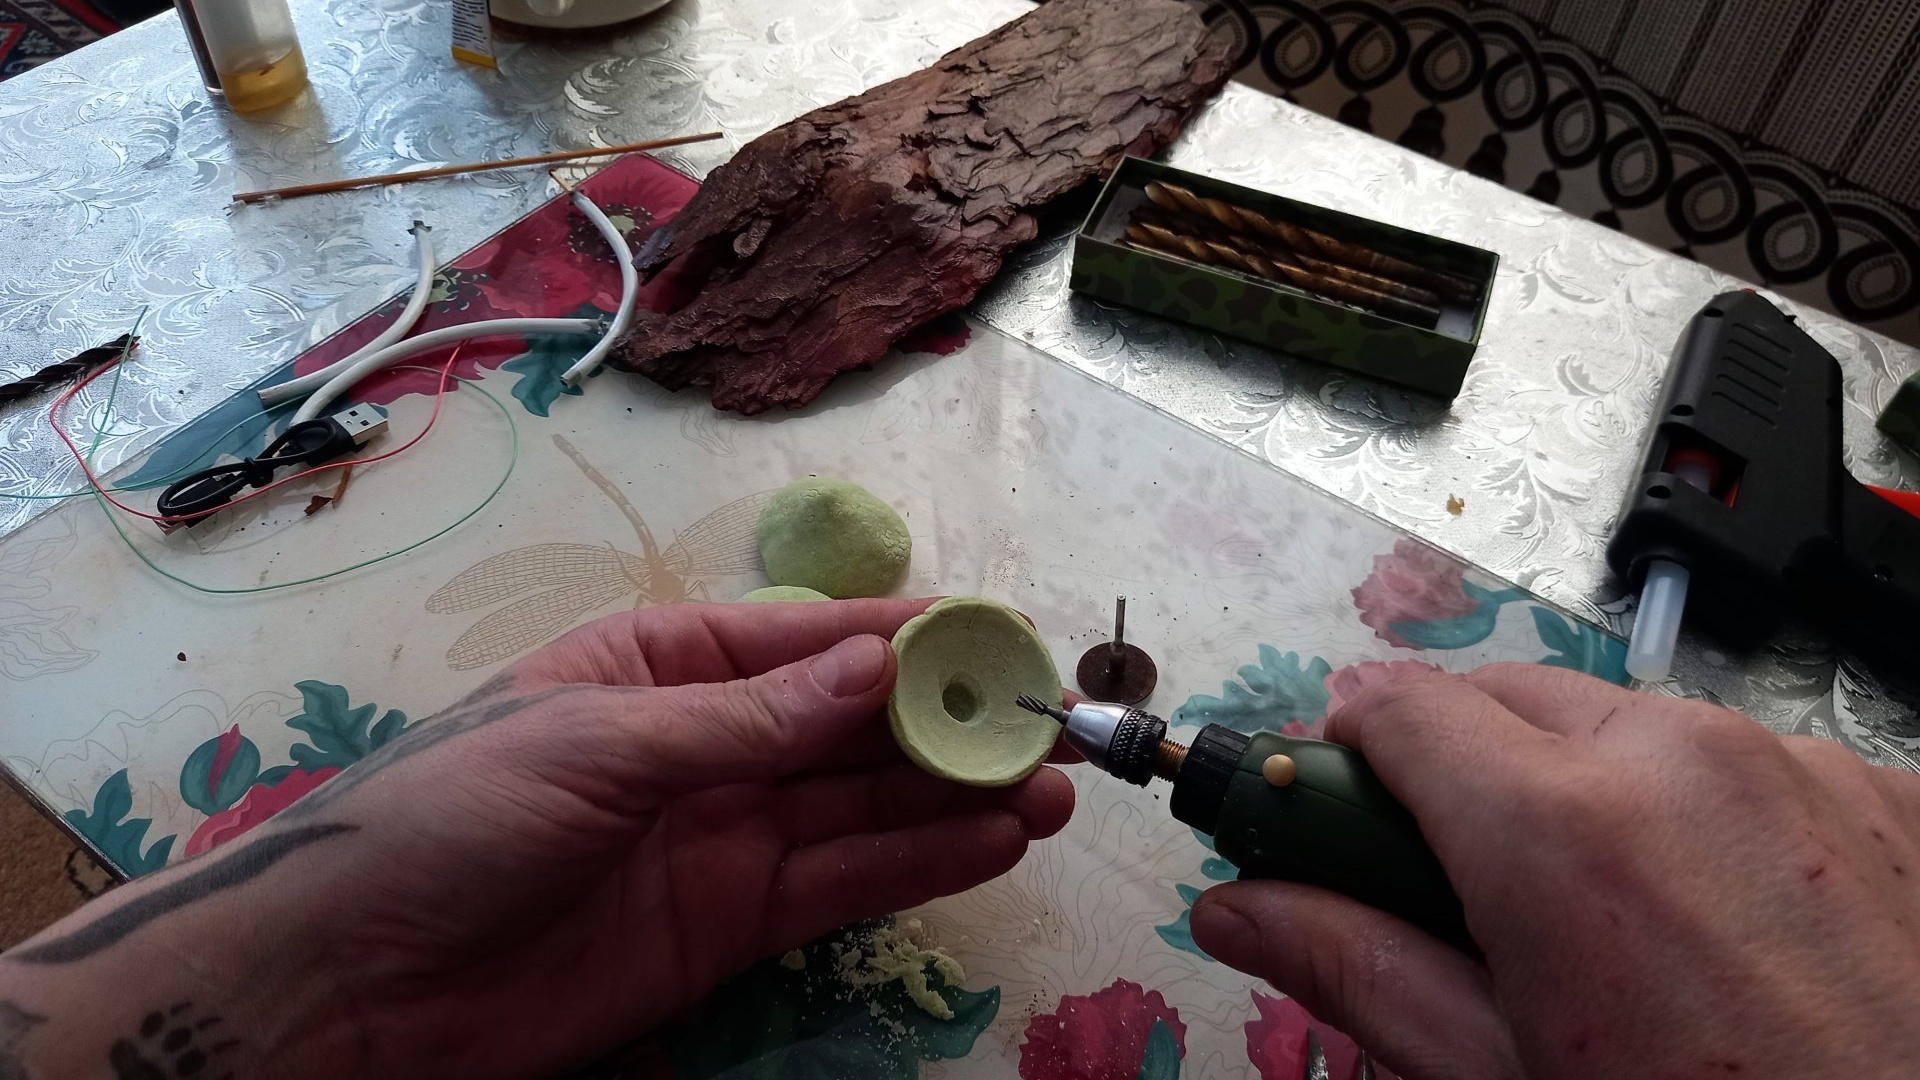
Next, using a 10 mm drill, we drill holes in the frozen caps, 5 ml deep, and align the edges of the holes.

Solder to the contacts LED wires. Red is a plus, so as not to be confused in the future.
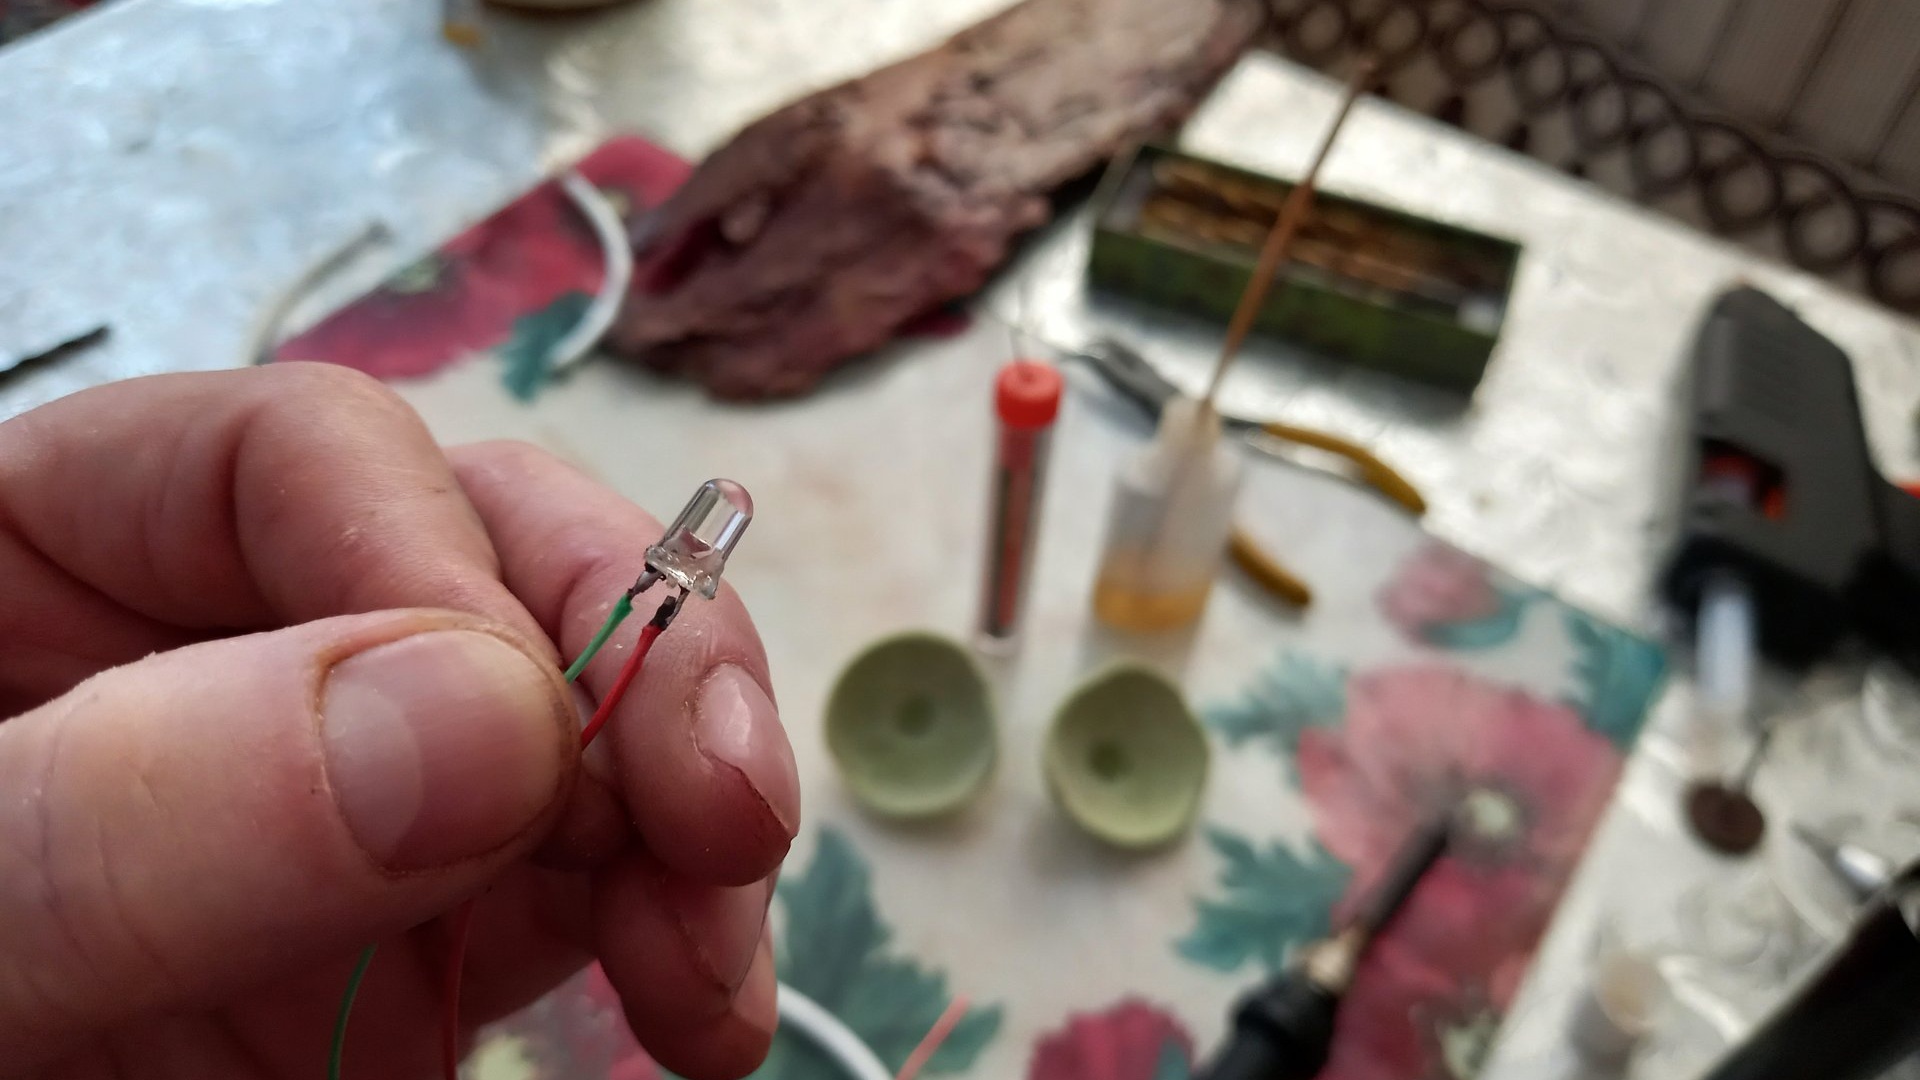
We push the wiring into the tube so that the diode contacts do not touch the metal.
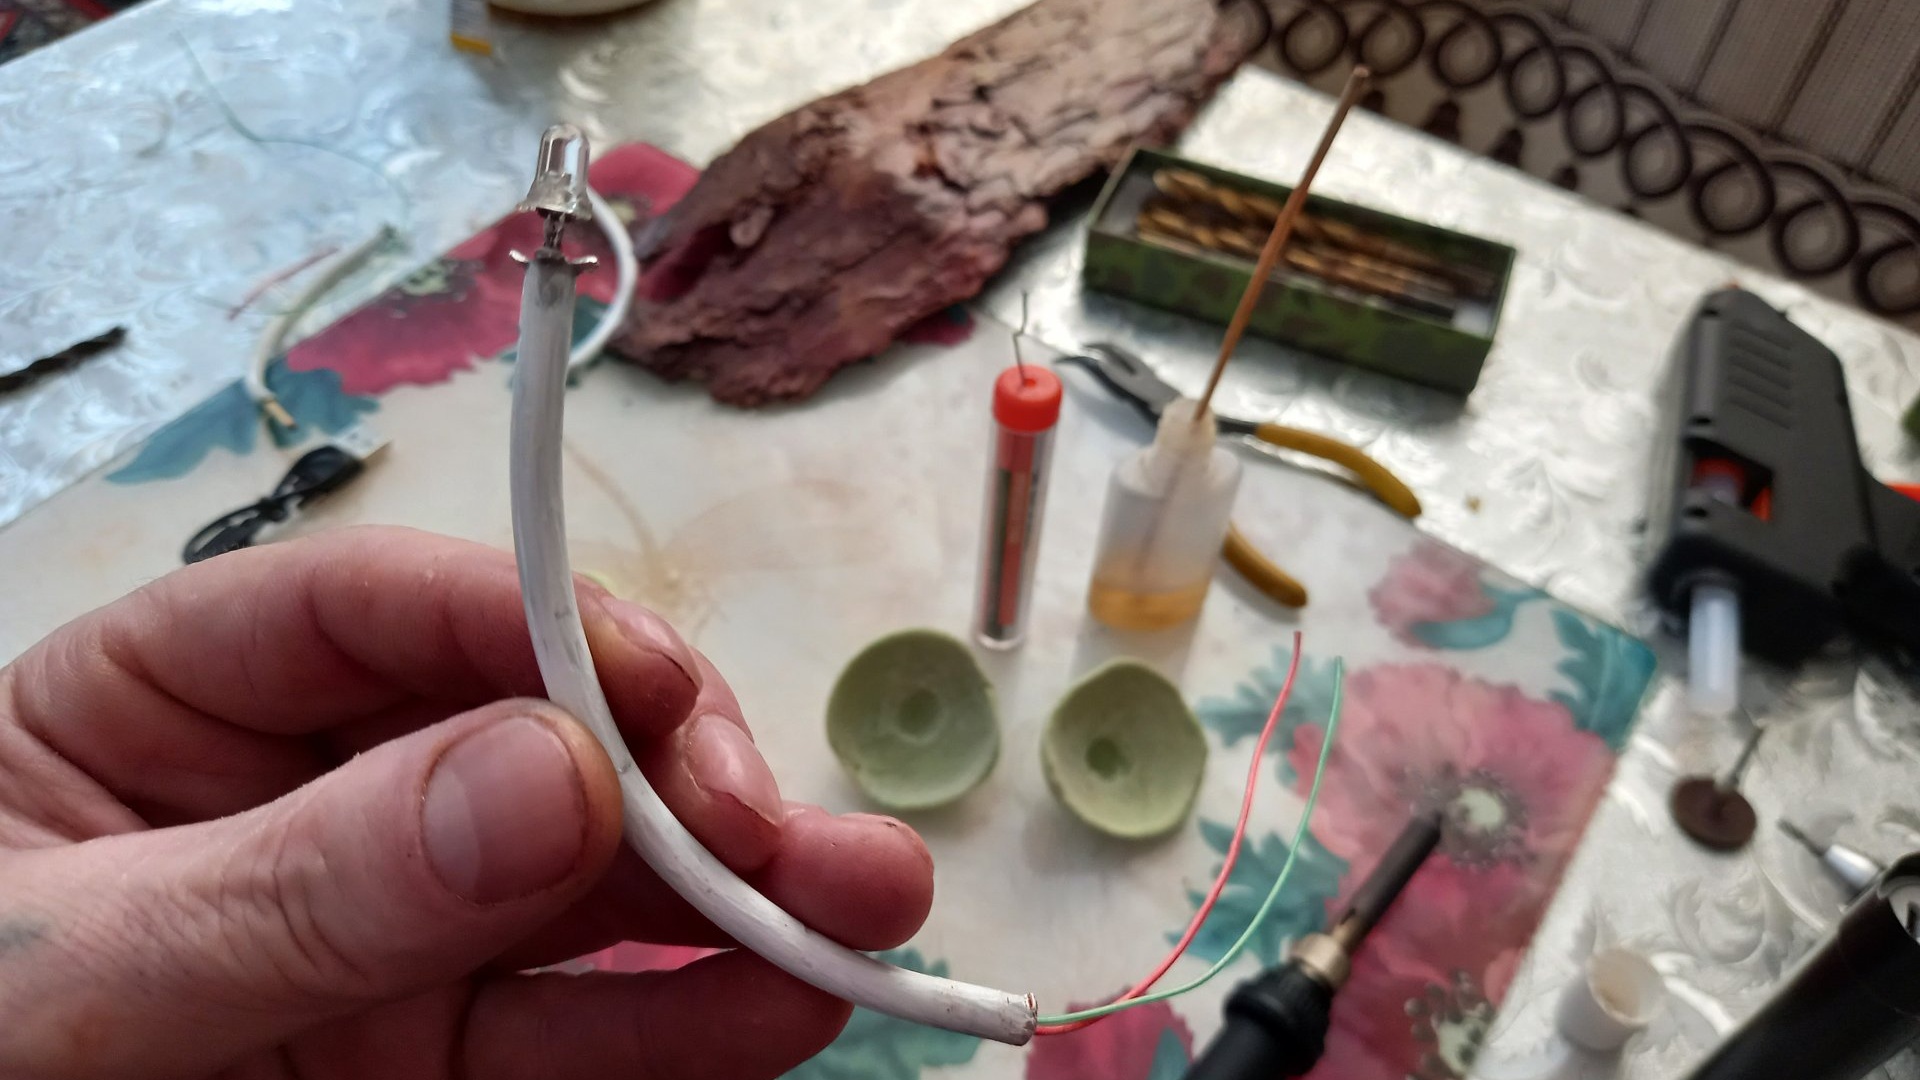
Insulate with hot glue.

We also pour hot-melt glue into the recess made in the cap, and immediately place a leg with an LED at the end there. We wait until it hardens.
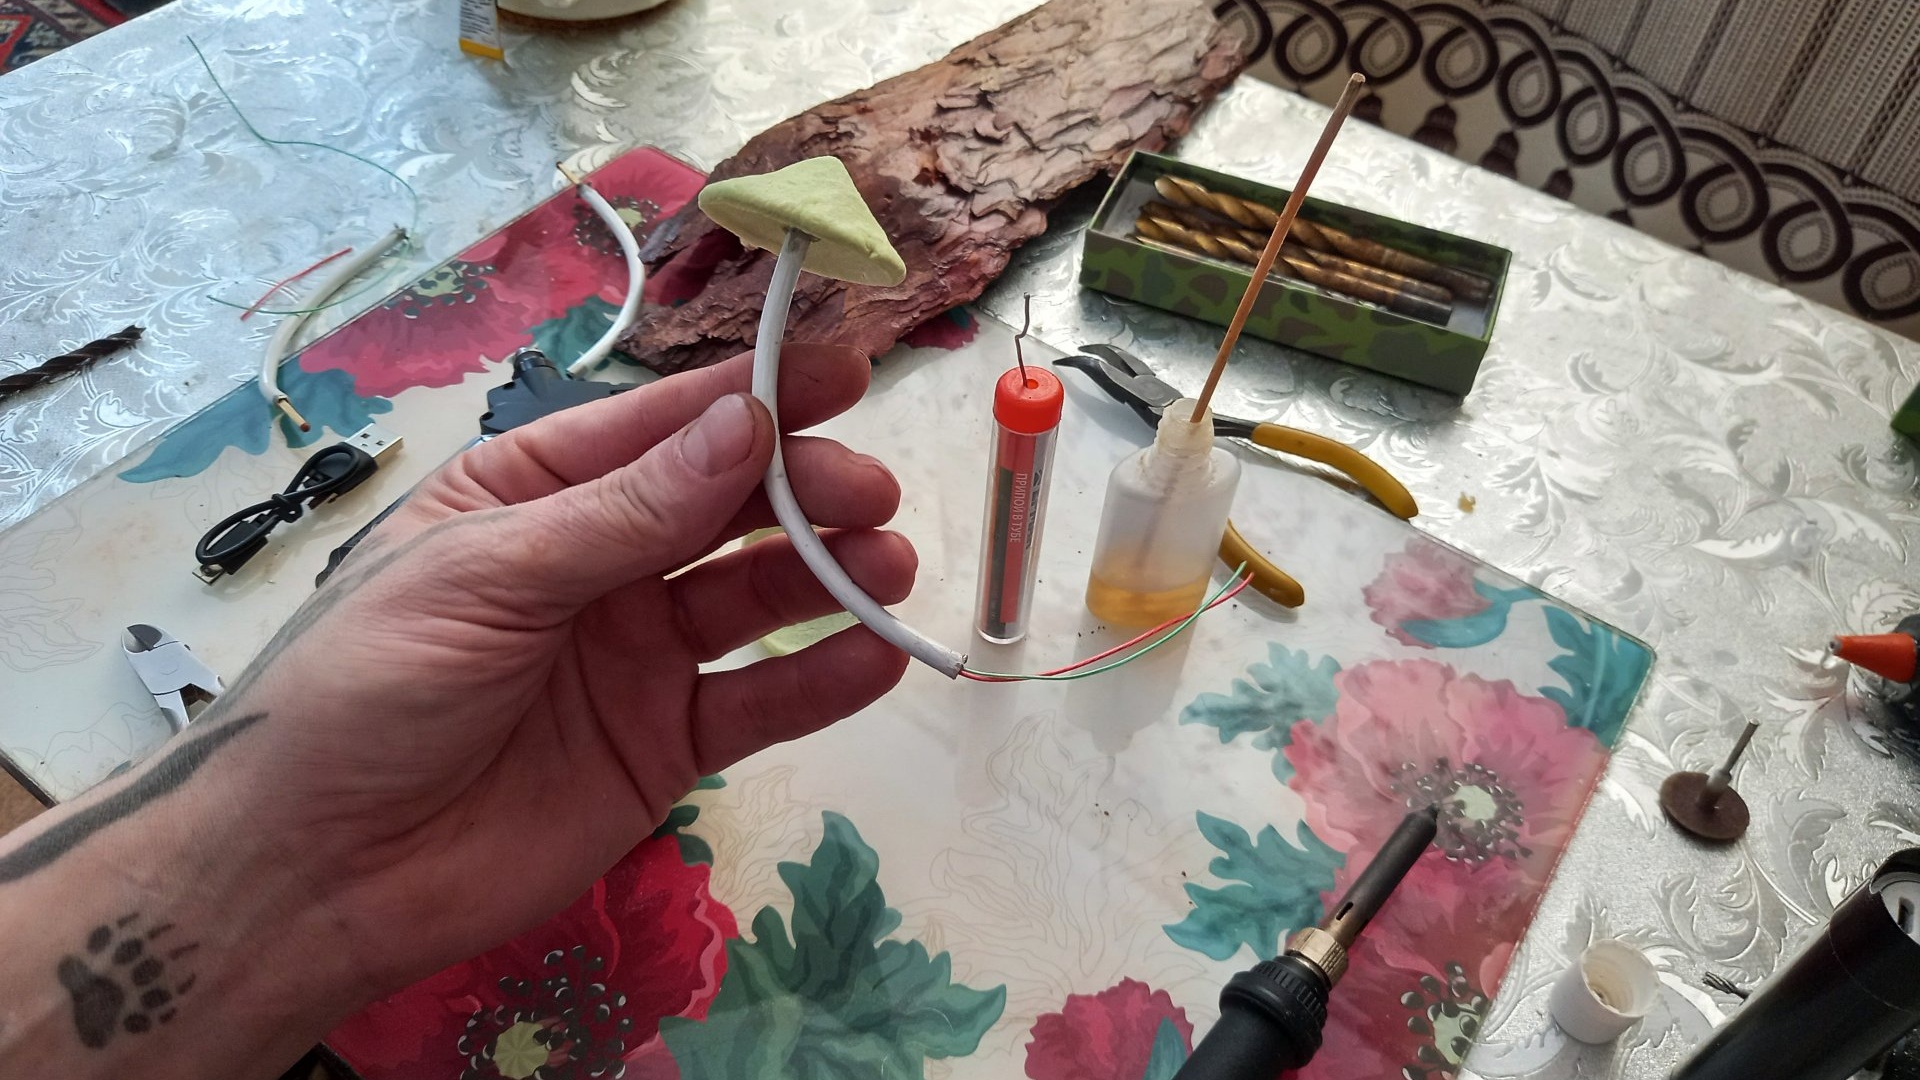
We insert the other end of the leg into the hole in the bark. We fix it with hot glue on the inside, and a drop of second glue on the outside.
We carry out the above procedures with the remaining parts of the mushrooms. This is what you should get:

Next, we solder the contacts together, in parallel. LEDs.

We take a cable with a USB plug, strip the wiring, and solder the red wire from the USB to the red wires of the diodes.
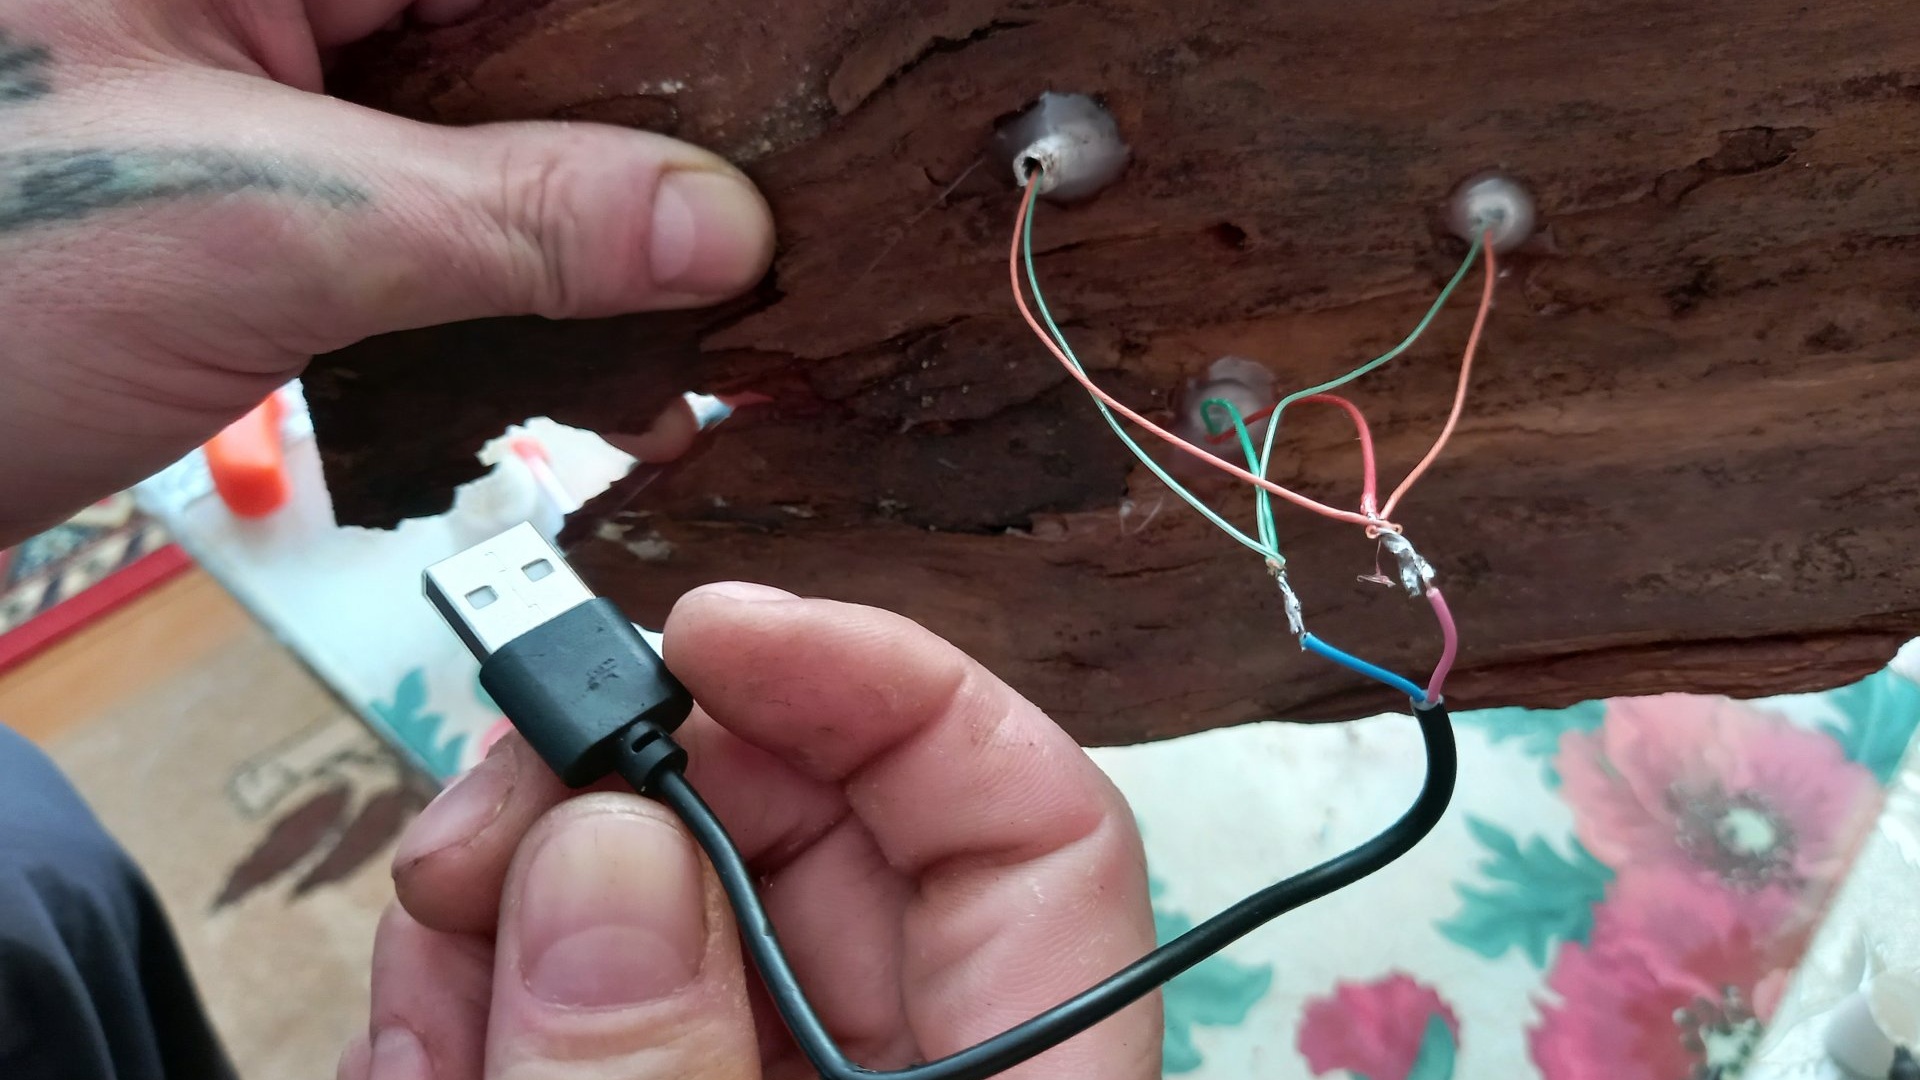
In all USB cables, the red wire is always connected to the positive terminal. The USB cable can be attached to a night light of any length. Which one will be convenient for you. Personally, I find it more convenient to attach a small wire. It is more convenient to connect an external charger to it.
Or you can use a USB extension cord, which will be powered by a charger from the 220 network. Next, we attach the soldered twists to the bark from the inside with hot glue, and at the same time we insulate the twists with it.

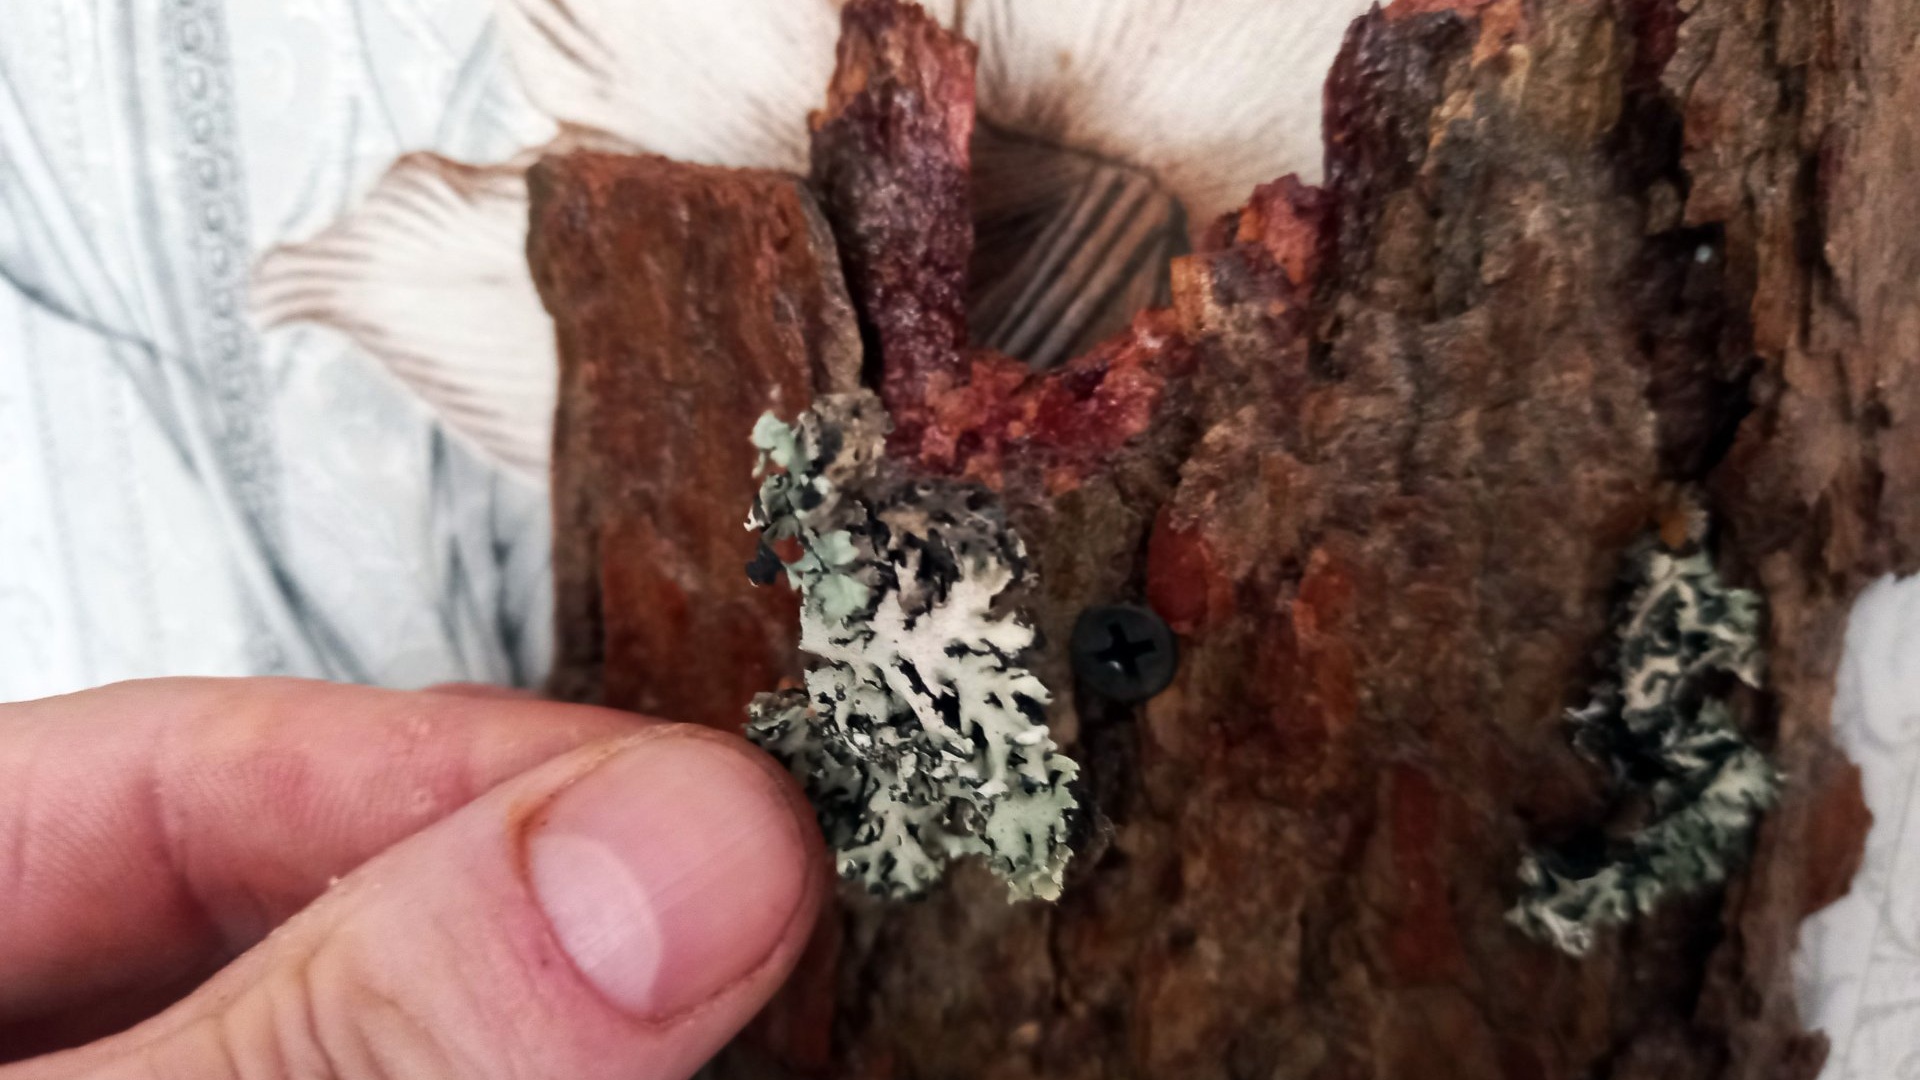
In the upper and lower parts of the finished lamp, we drill holes for screws for fastening to the wall.

After installation, protruding screw heads can be covered with hot glue and moss.
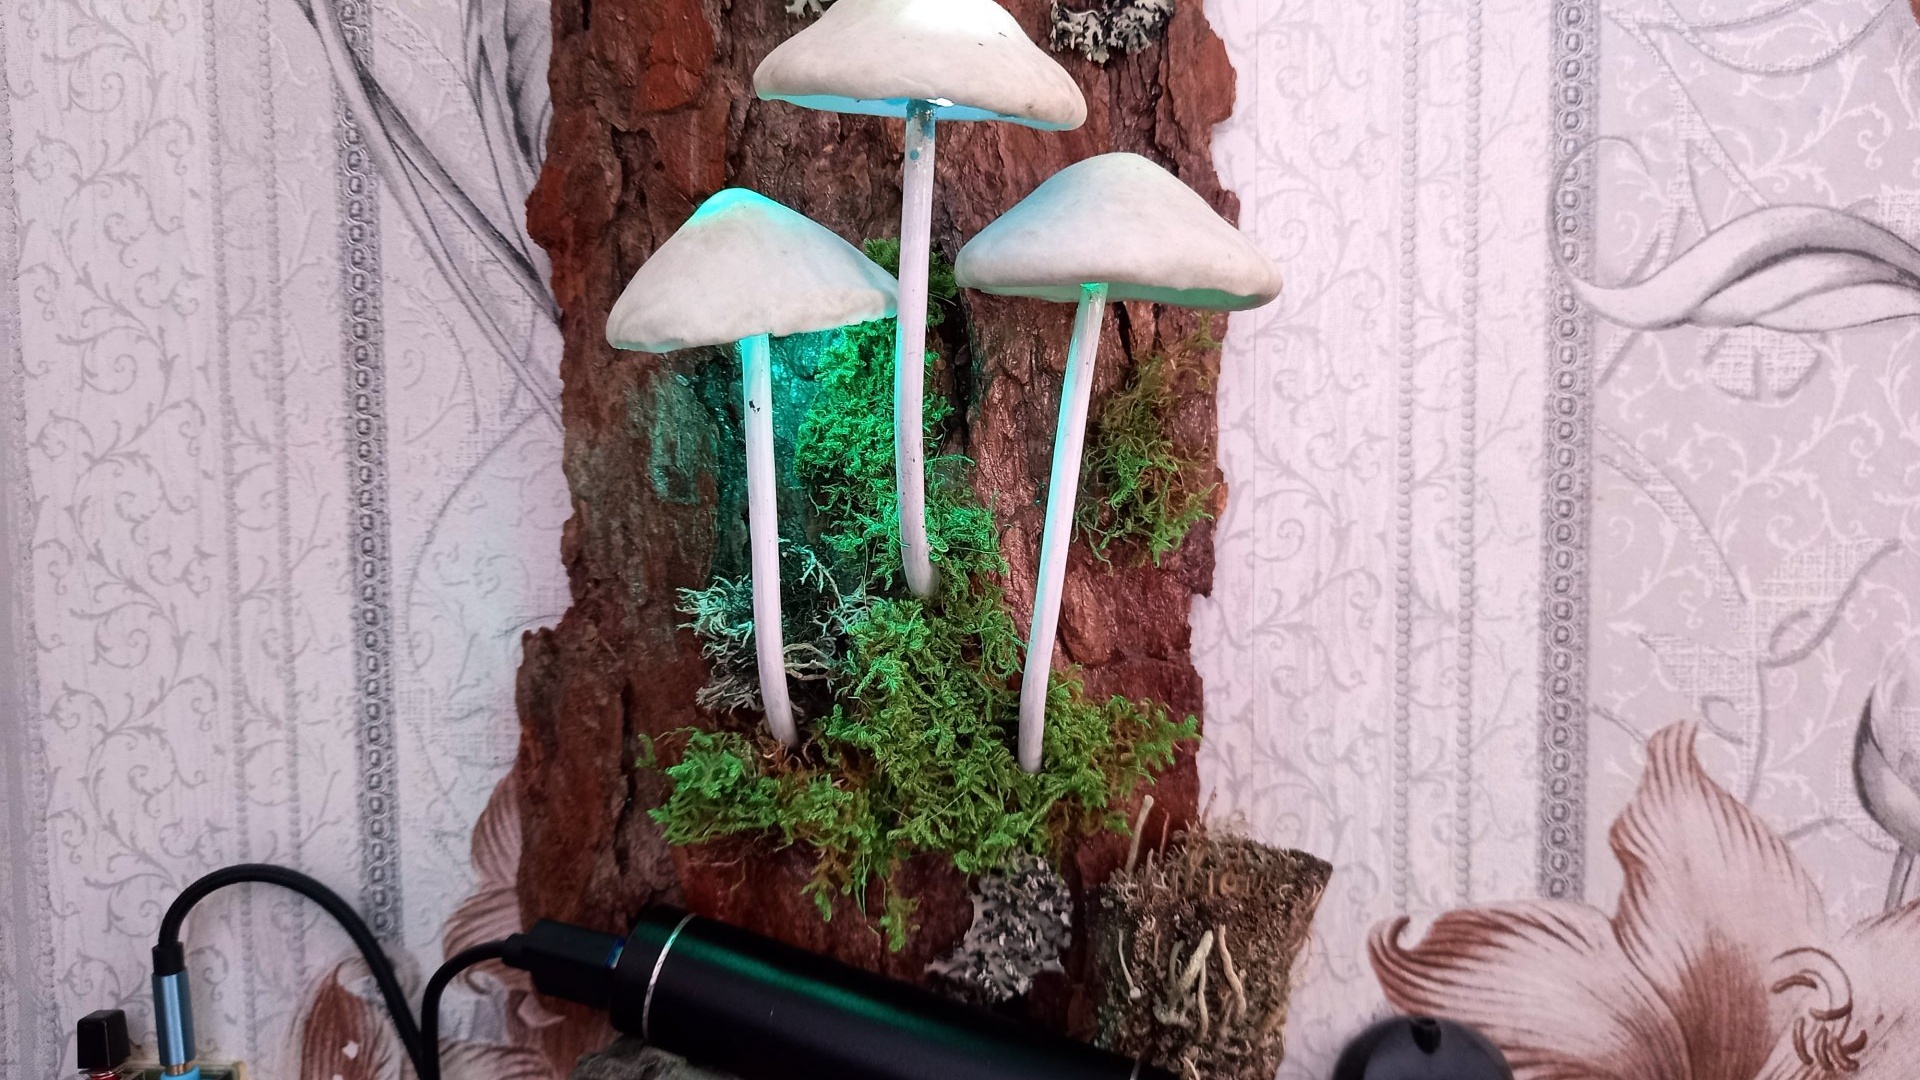
Now we decorate the lamp with moss. In no particular order.
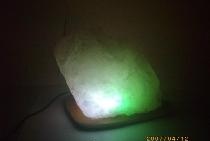
In the end, this is what should happen:

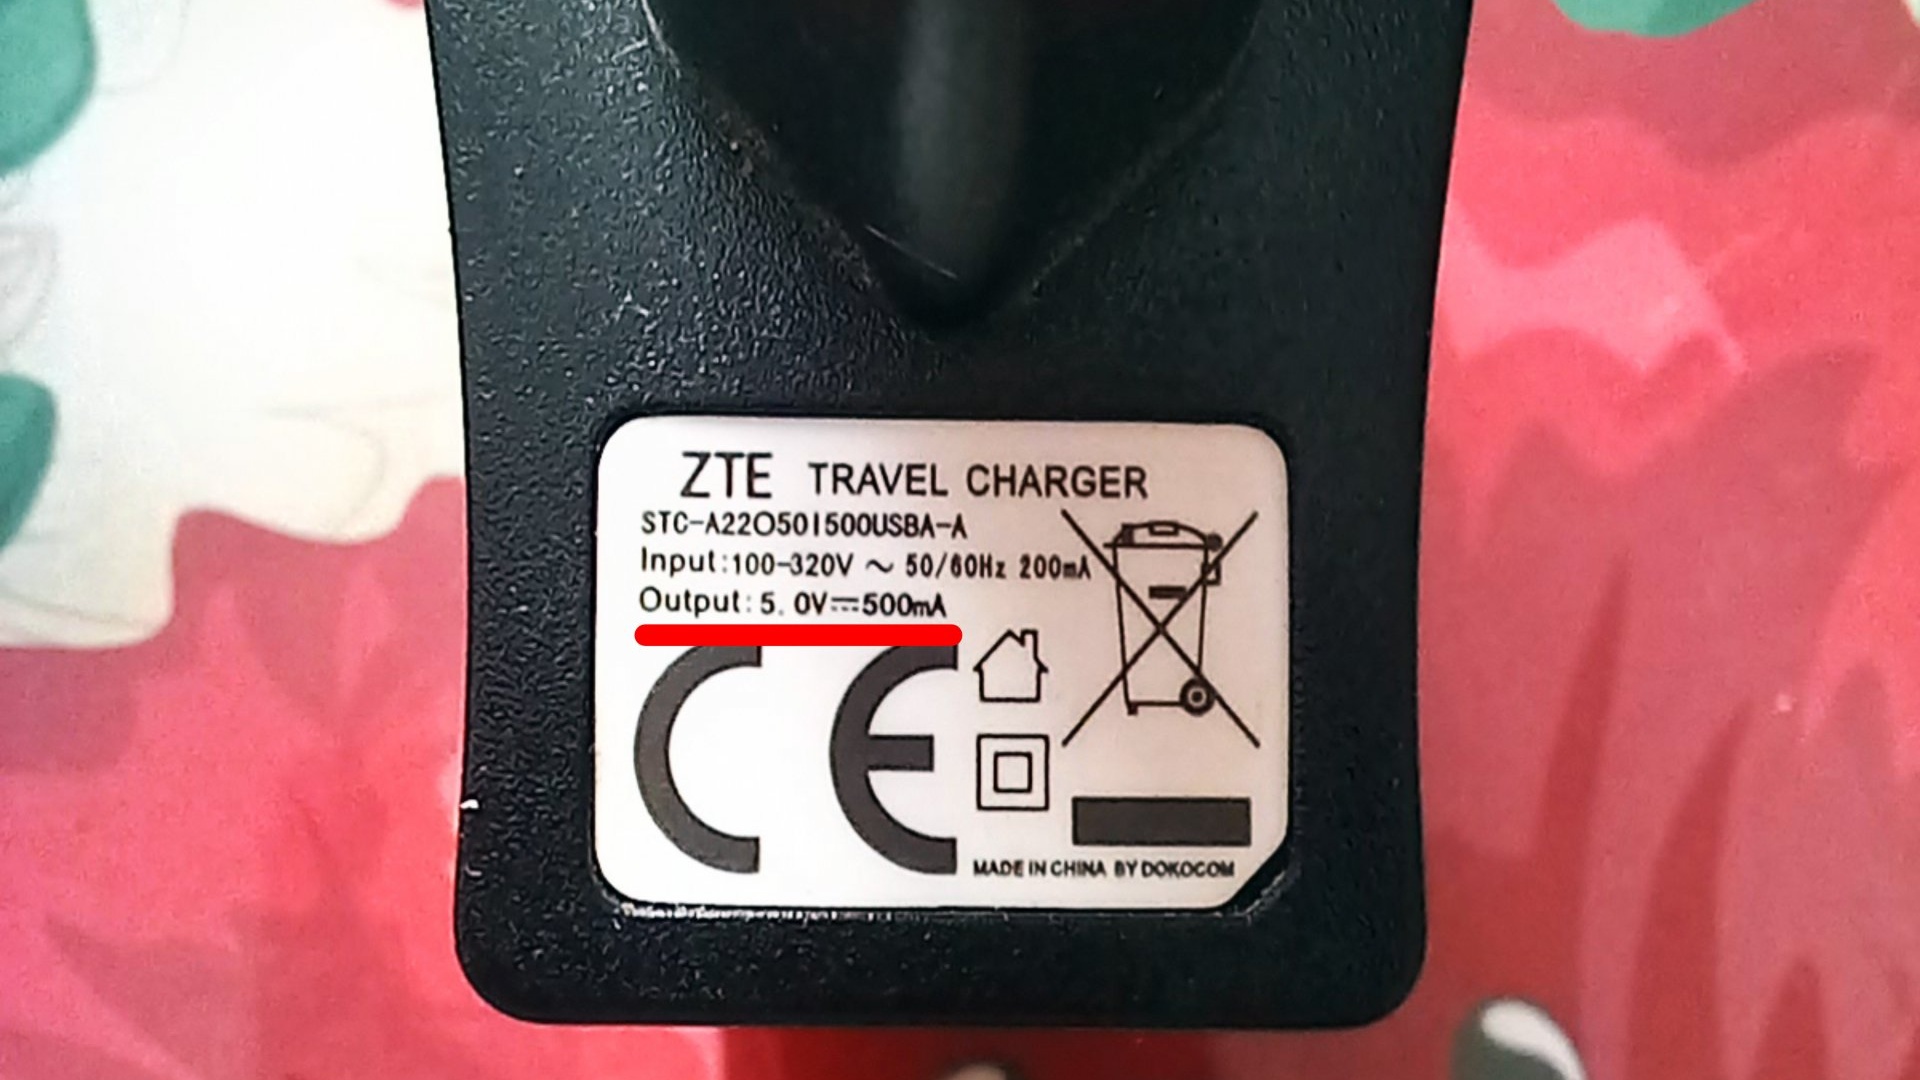
Yes, I liked the night light so much that I couldn’t resist and made another one for myself. And one more point: LEDs For a standard charger you need exactly 5v. If you connect a light bulb with lower consumption, for example, 3 or 4v, it will become very hot, which will lead to melting of the hot-melt adhesive. Then the caps will simply slide off the mushroom legs. Well, if you add light elements with high consumption, then the night light will simply not shine as brightly as it should. Since all ORIGINAL chargers (not counterfeit ones) have an exact voltage of 5v, there will be no problems with voltage. But you should pay attention to the current strength. It should not exceed 500-550 mA. Maybe less. The main thing is no more. Otherwise LEDs, will begin to heat up very much, which can again lead to melting of the hot-melt adhesive. And the LEDs themselves will fail before their intended service life.
Such chargers used to come with phones that are now obsolete. Surely many thrifty users still have these chargers lying around in a distant drawer somewhere.