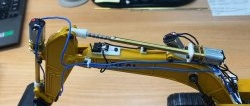
At home or at the dacha, a winch will be completely useful. But it costs a lot of money in the store. However, you can make it yourself from a windshield wiper gear motor, and this does not require special knowledge, skills or expensive materials.

Will need
Materials:
- windshield wiper gear motor;
- profile rectangular pipe;
- bolts, nuts and washers;
- asterisks – small and large;
- sheet metal and round rod;
- bearing units with housings;
- transmission chain;
- electrical parts;
- synthetic rope;
- hook, clamp, etc.
Tools: drill, grinder, welding, circular saw, grinder, drilling machine, pliers, flat file, soldering iron, etc.
High-quality and durable drills on AliExpress at a discount - http://alii.pub/5zwmxz
The process of making a winch from a windshield wiper gear motor
We separate the gear motor from the trapezoid and remove the operating mode control relay. We connect the wires to the power supply and check the serviceability of the gear motor.

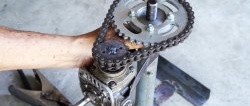
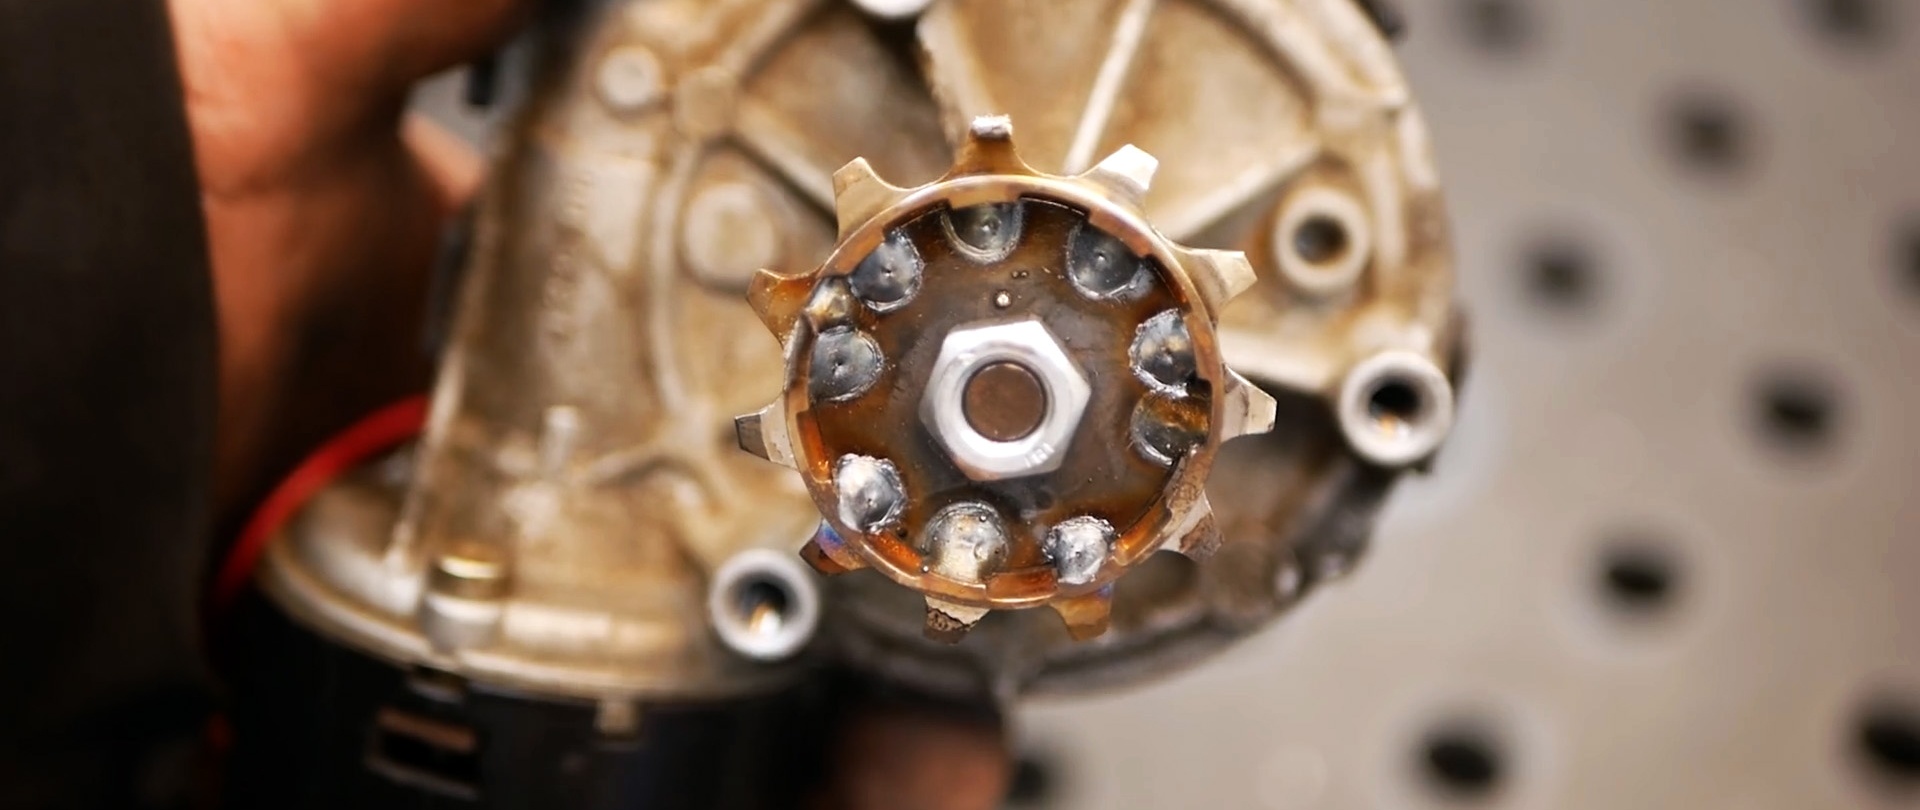
We cut off a fragment with a hole from the trapezoid driver, which we place in the form of a ring under the small sprocket on the gearbox shaft.
Long-lasting discs for angle grinders on AliExpress at a discount - http://alii.pub/61bjly
We cut out a disc from the profile pipe, grind it under the hole of the small sprocket and weld these parts.

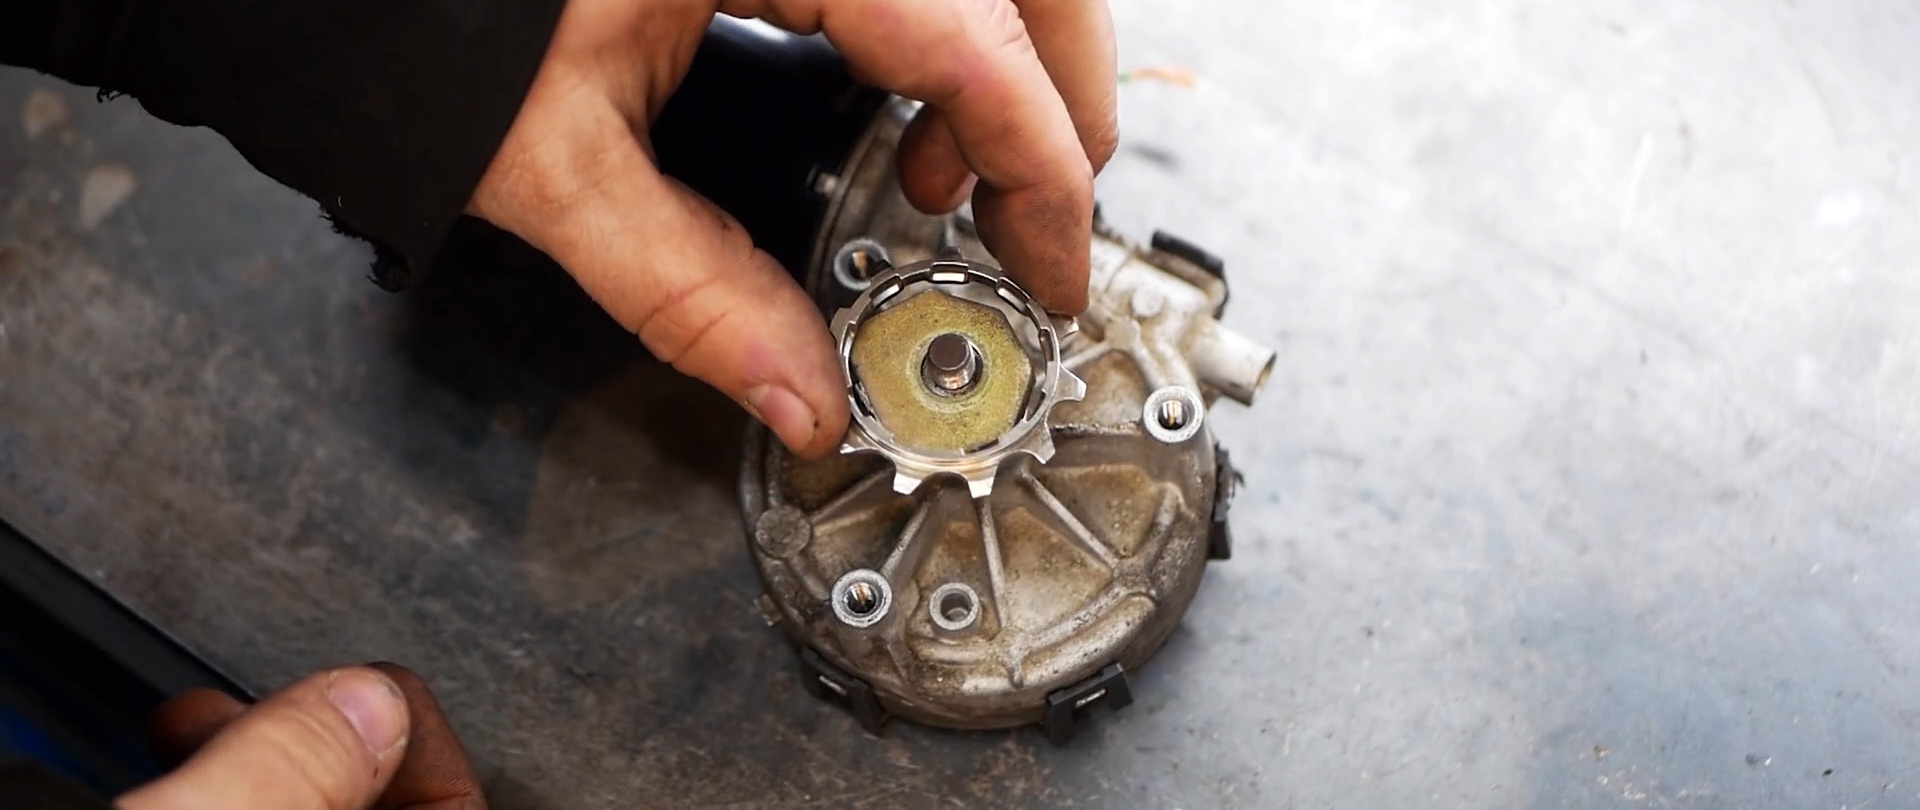
We put a small sprocket with a welded ring on the gearbox shaft and tighten the nut.

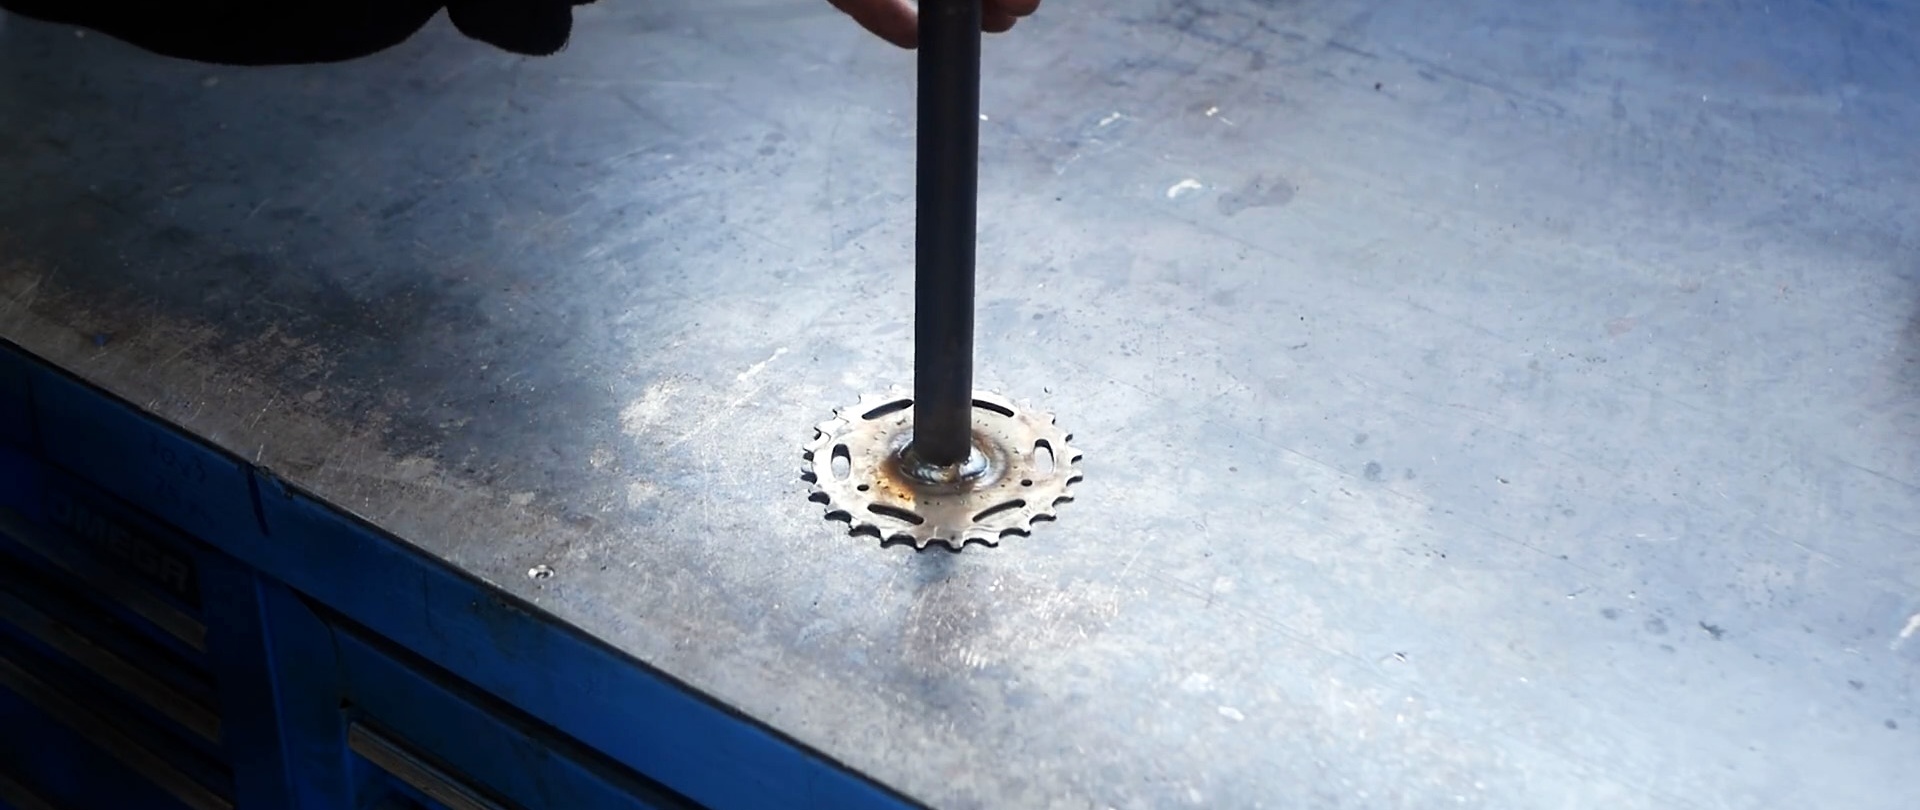
We cut a disk from sheet metal and weld it into the hole of the large sprocket. We expand the hole in the center to the size of a round rod. We insert a round rod into it, check the verticality with magnetic holders and weld it there.
Welding electrodes for general purposes on AliExpress at a discount - http://alii.pub/606j2h

We put two bearing units with housings on the free end of the rod and fix them with a set screw.

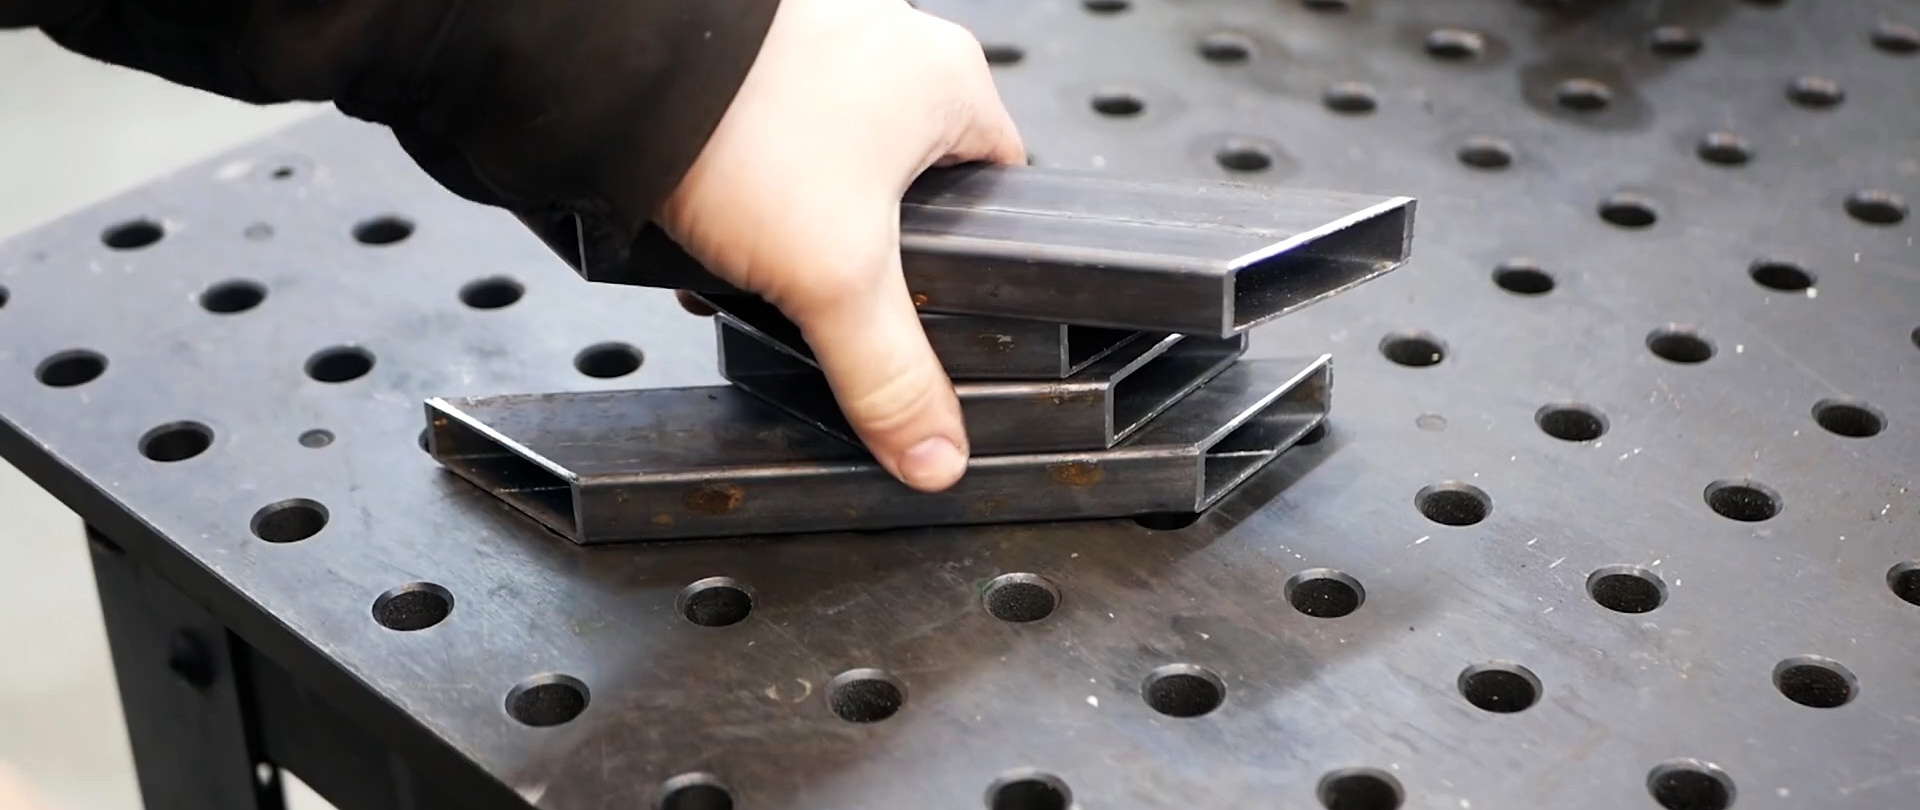
We measure the distances between the holes in the legs of the housings and cut out 4 pairs of equal sections with beveled edges from the profile pipe. We weld a frame from them and weld a steel plate on top. In the corners we drill holes for fastening the bearing units.

We transfer the distances between the mounting holes of the gear motor onto a steel plate and drill holes. We give the plate a shape to mate with the gear motor housing.


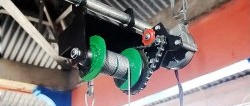
We weld a strip horizontally to the frame with the plate at the bottom of one end, and a shaped plate to it vertically. From the outside we insert the gearbox shaft into it so that the motor is at the bottom. We attach the gearbox housing to the plate. We put a small sprocket on the gearbox shaft and secure it with a nut. We put a closed chain on the sprockets. We fasten the bearing units with bolts and nuts to the base.

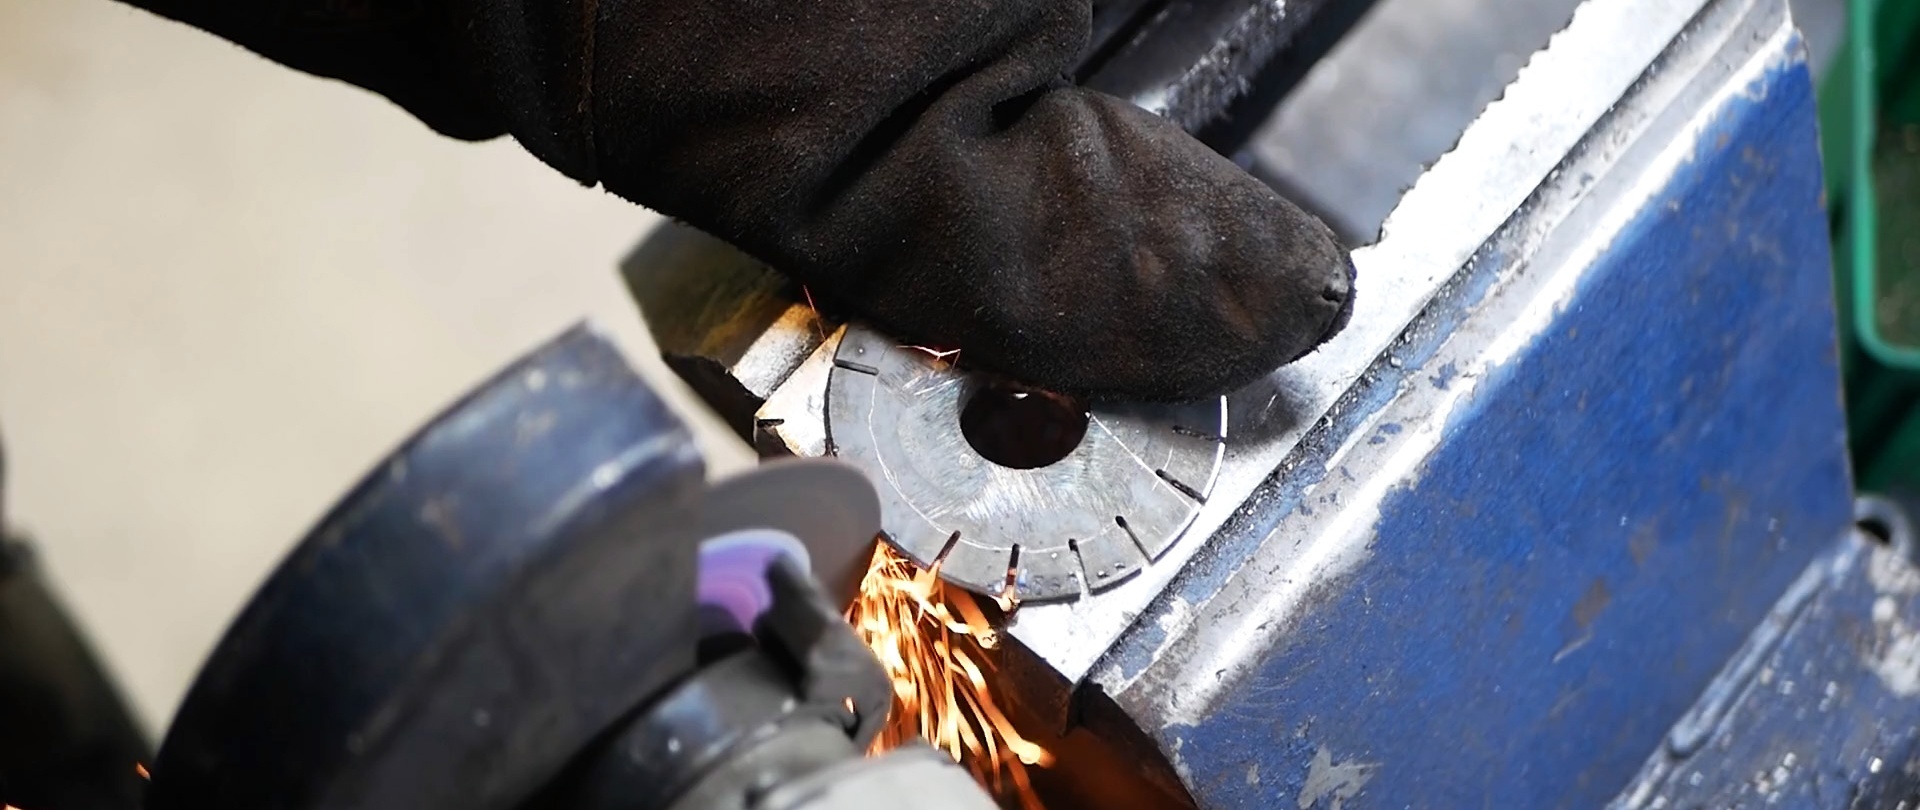
We cut out 2 identical disks from a steel plate, drill holes in the center and weld the nuts concentrically. We make slots along the edges of the disks with the same pitch and depth. We bend the petals in one direction at the same angle, weld the slots and remove the sagging.

We drill holes in the nuts and in the rod closer to one of the supports. We put the nuts with “bowls” on the rod and secure them closer to the supports with set screws.


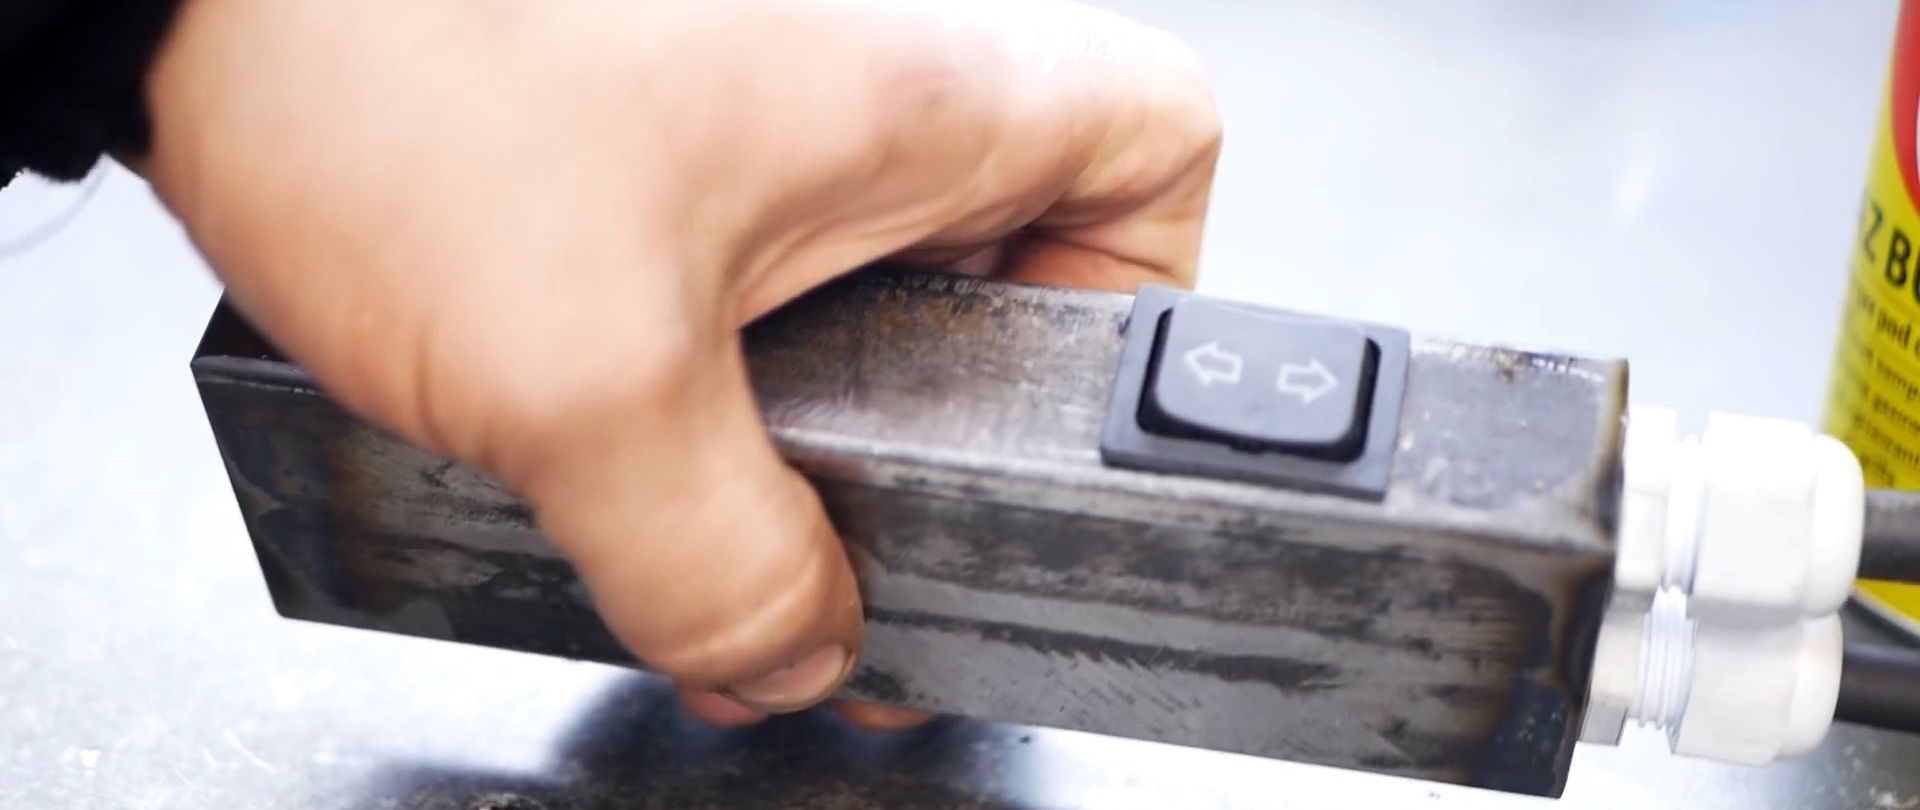
We weld plates into the ends of the rectangular pipe. On the wide side, we drill two holes on one edge and one on the adjacent side, which we turn into a rectangular one. We screw threaded bushings for the wires into the round holes.

We stretch wires with cores through the bushings, the ends of which are exposed, put on cambrics and press in the terminals. We push the cambrics onto the joints and press them with a gas burner. We fix the terminals on the legs of the switch and insert it into the socket.
We solder the wires from the switch to the terminals of the gear motor. We cover the soldering points with cambrics and thermally upset them. We wrap the wires with electrical tape, fasten them with a worm clamp to the motor body and with a plastic clamp to each other.
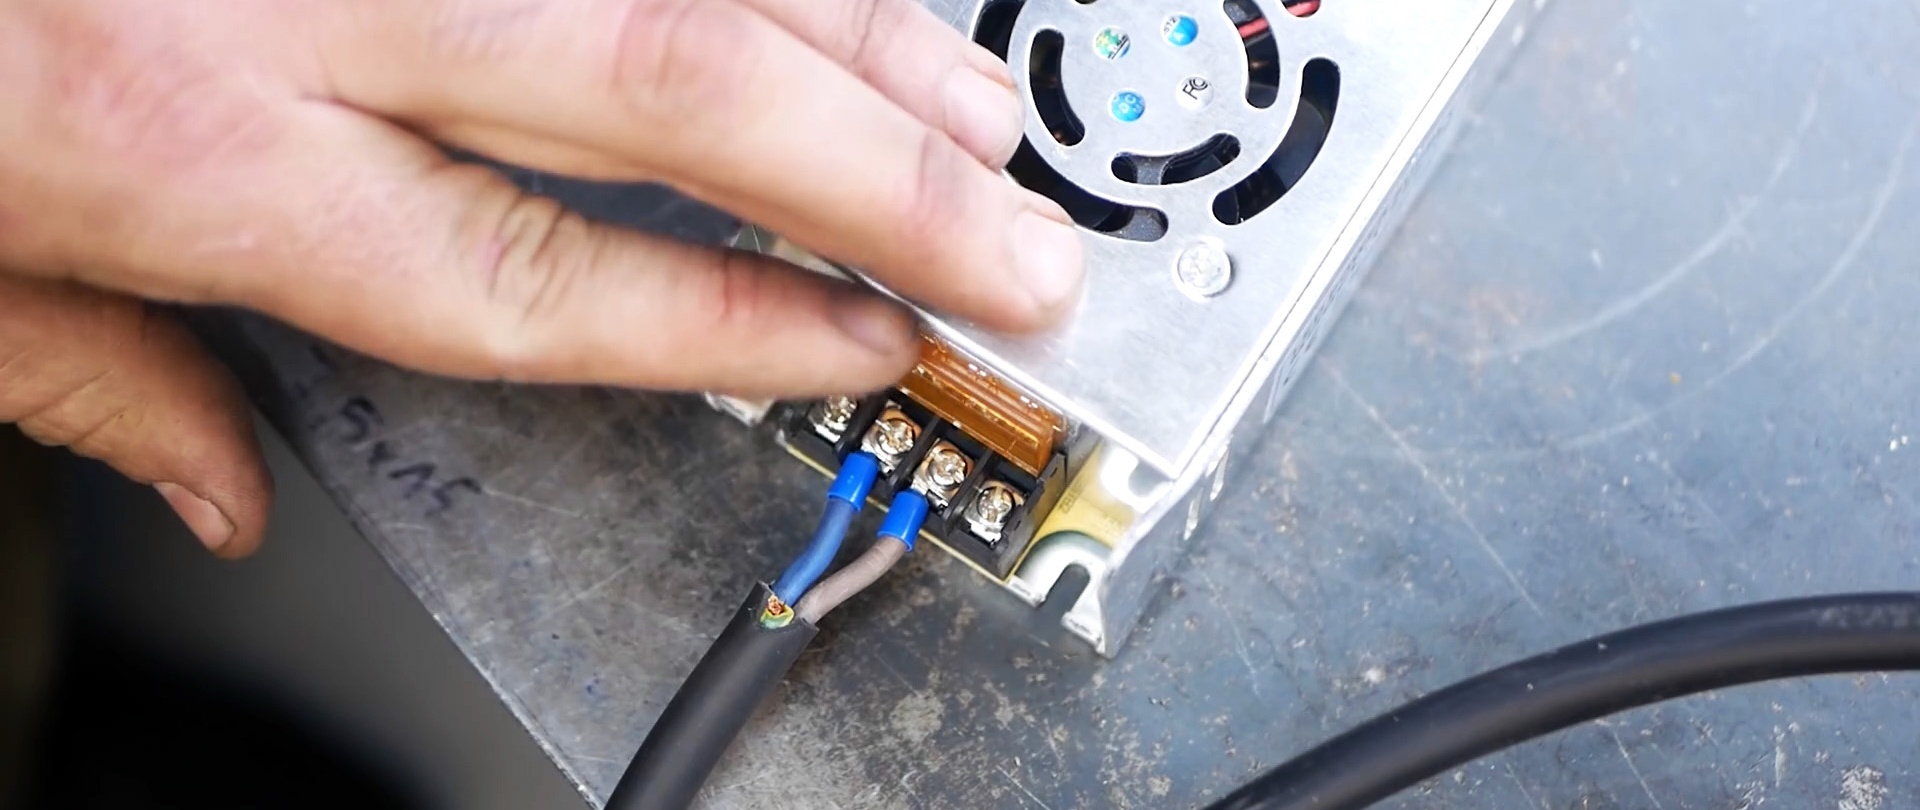
We press copper contacts onto the ends of the two wires for power supply and connect them to a 12 V and 20 A LED power supply.
We thread the end of the synthetic rope into the hole of the rod, tie a knot and tighten it. Using a switch, we supply power to the electric motor and wind the rope onto the drum.
We attach a hook to the free end of the rope with a clamp and our winch is ready for work.


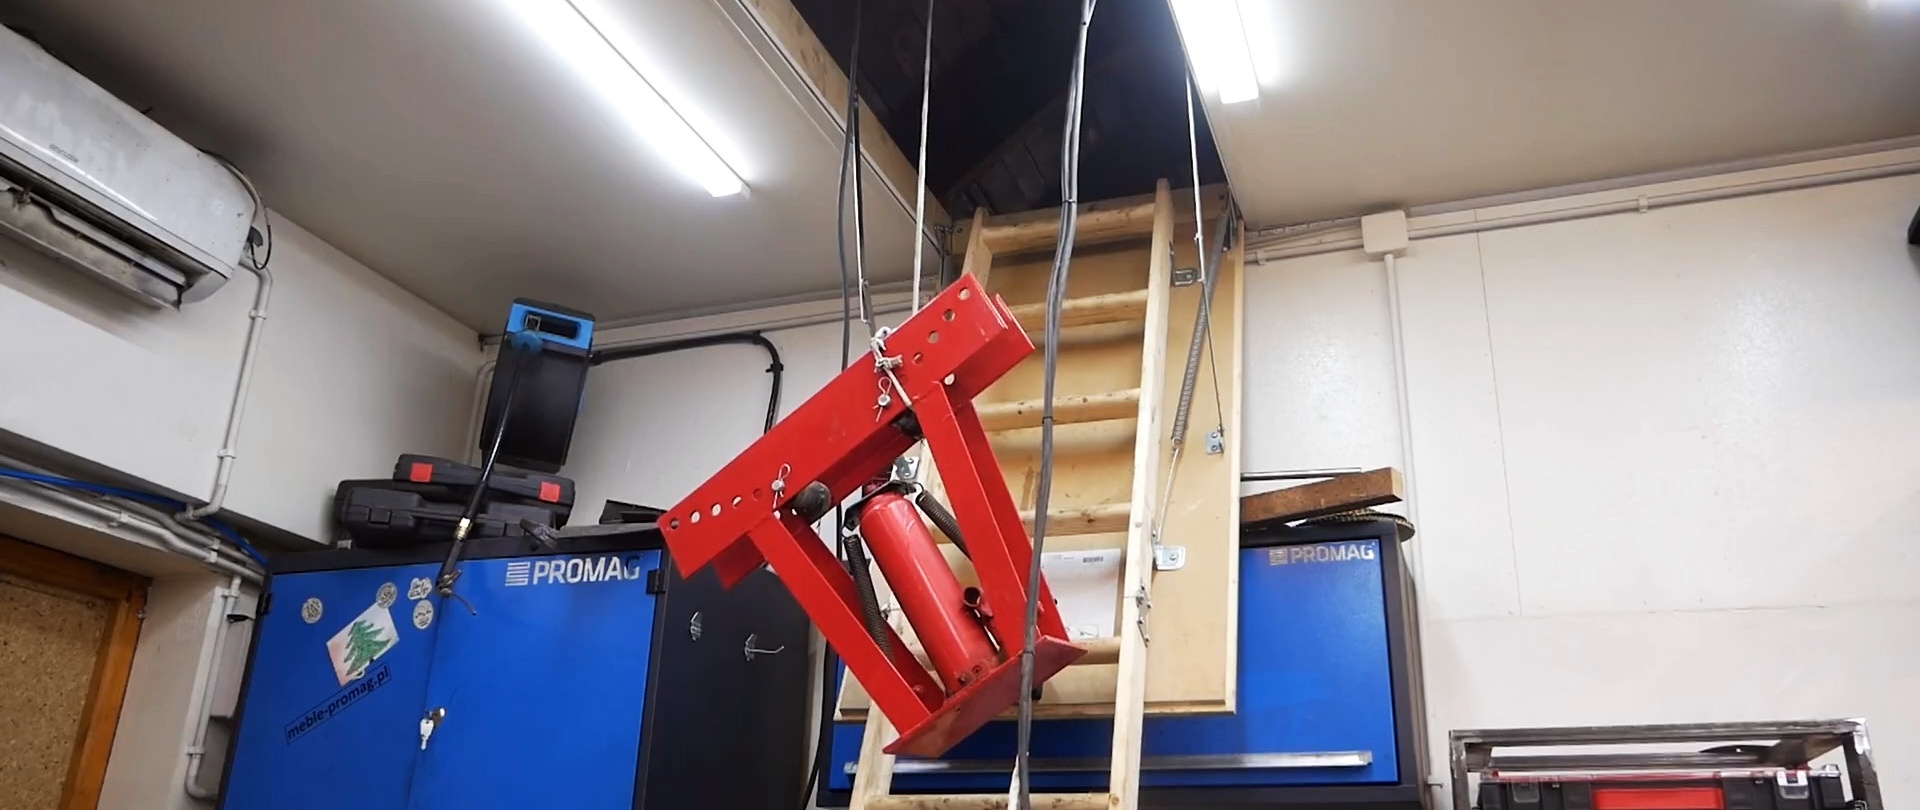
We fix it, for example, above a crawl space in the basement to lower and raise loads.