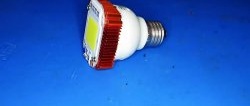
The LED lamp operates within a wide voltage range of 100-250 V, and if there is a need to adjust its glow, it simply cannot be done. Standard dimmers will simply be powerless here.
Why might this adjustment be needed? Say, to create a darkened environment in a room or to save electricity. After all, if you dim the llama’s glow, then it LEDs will begin to be used in harsh conditions. And if you take into account their service life, then such a lamp will become almost eternal.
Will need
- Resistor 10 Ohm - http://alii.pub/5h6ouv
- Variable resistor 1 kOhm - http://alii.pub/5o27v2
- Multi-core wires.
- Solder, flux.
Improvement of LED paws
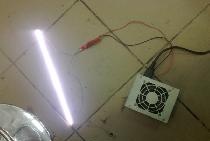
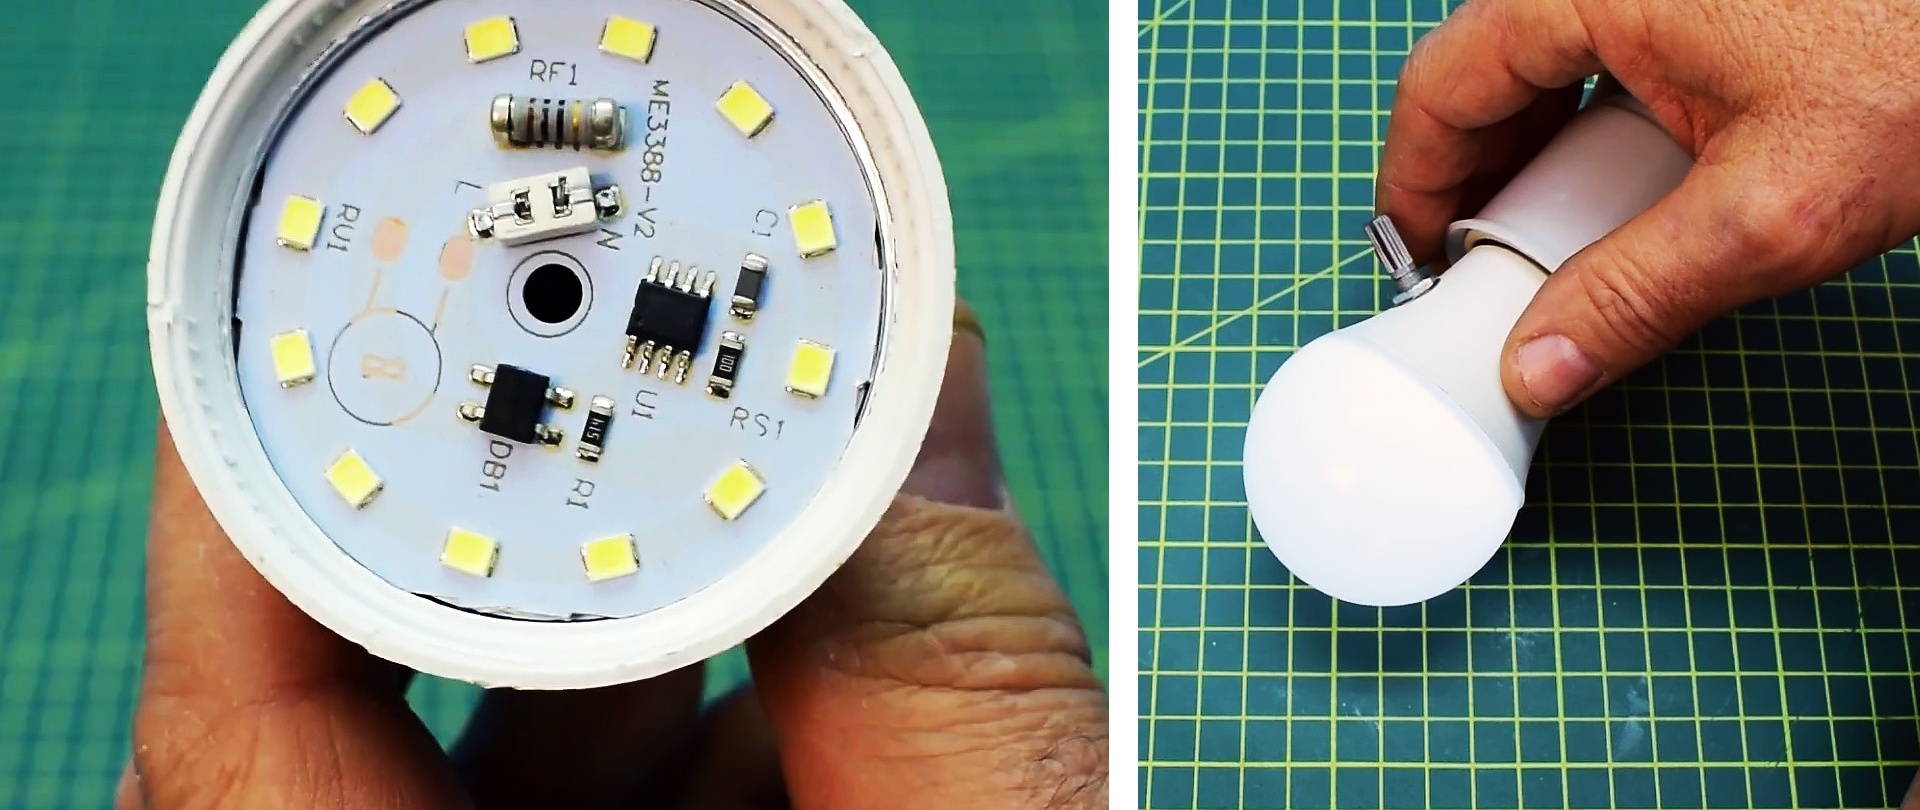
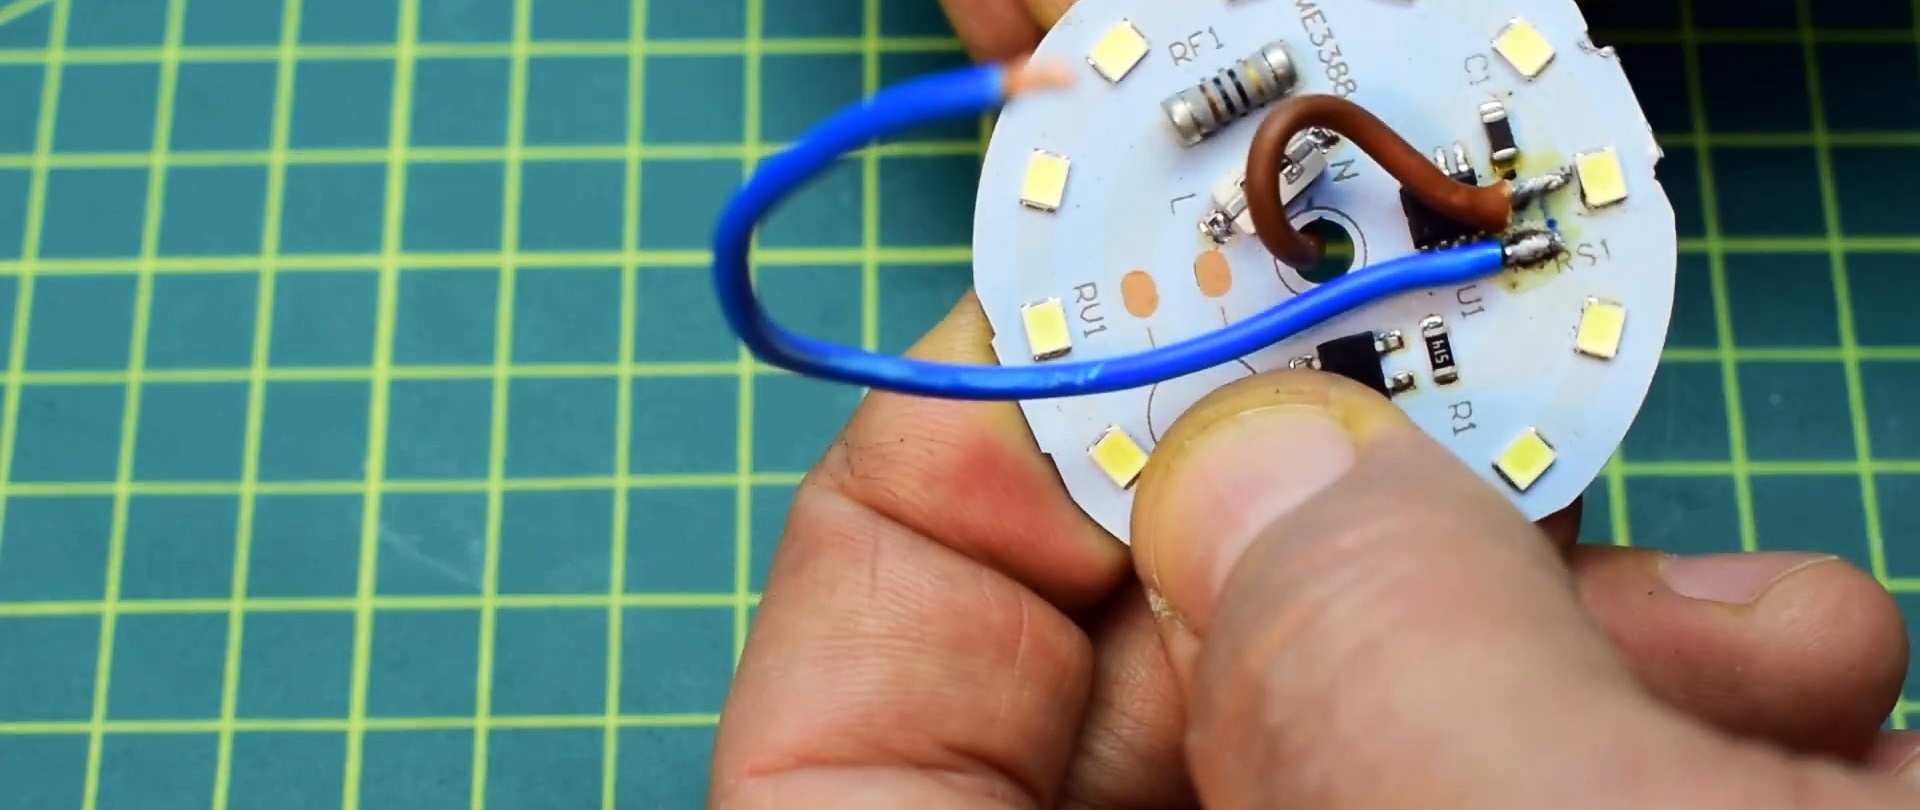
The circuits of most modern lamps are very similar. They no longer have a transformer unit, and the conversion occurs directly from the network using a special driver on a chip. Finding a datasheet for such a scheme will not be difficult.
In most cases, there is a 10 ohm resistor next to the microcircuit, which is responsible for the current passing through the circuit LEDs. All that remains is to replace it with a variable one and the trick is in the bag.
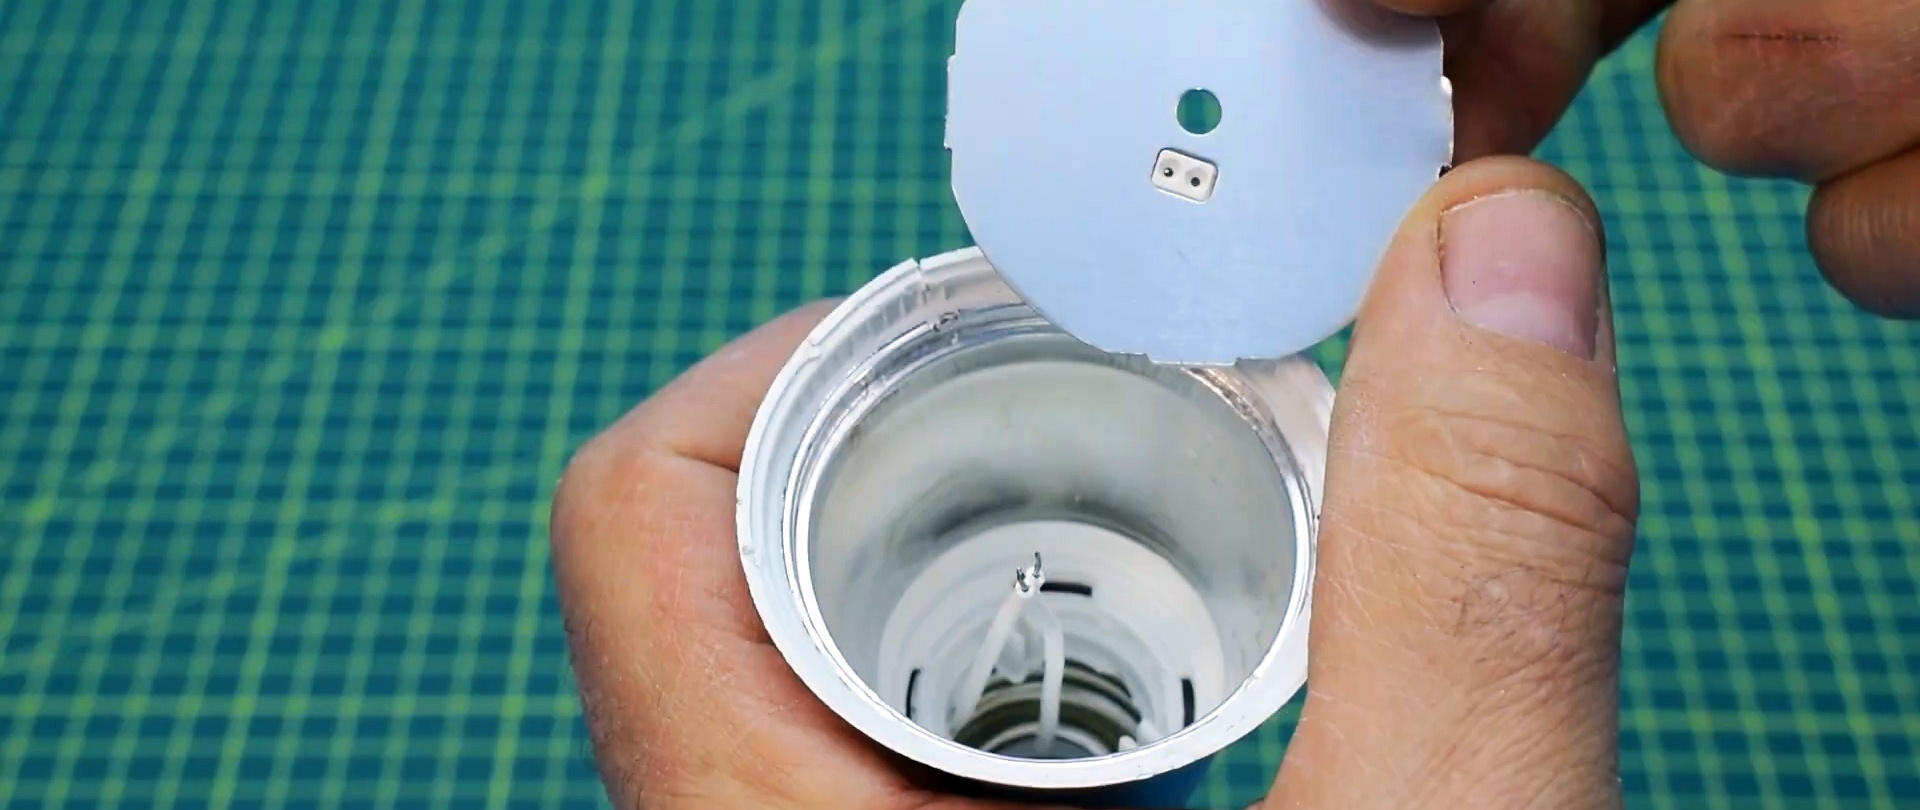
Carefully, using a utility knife, cut the sealant around the bulb and remove the lamp bulb.

Next, pry up the radiator board with a sharp object. Wires clamped into terminals can be easily removed.
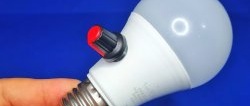
We drill a hole in the housing for the variable resistor.
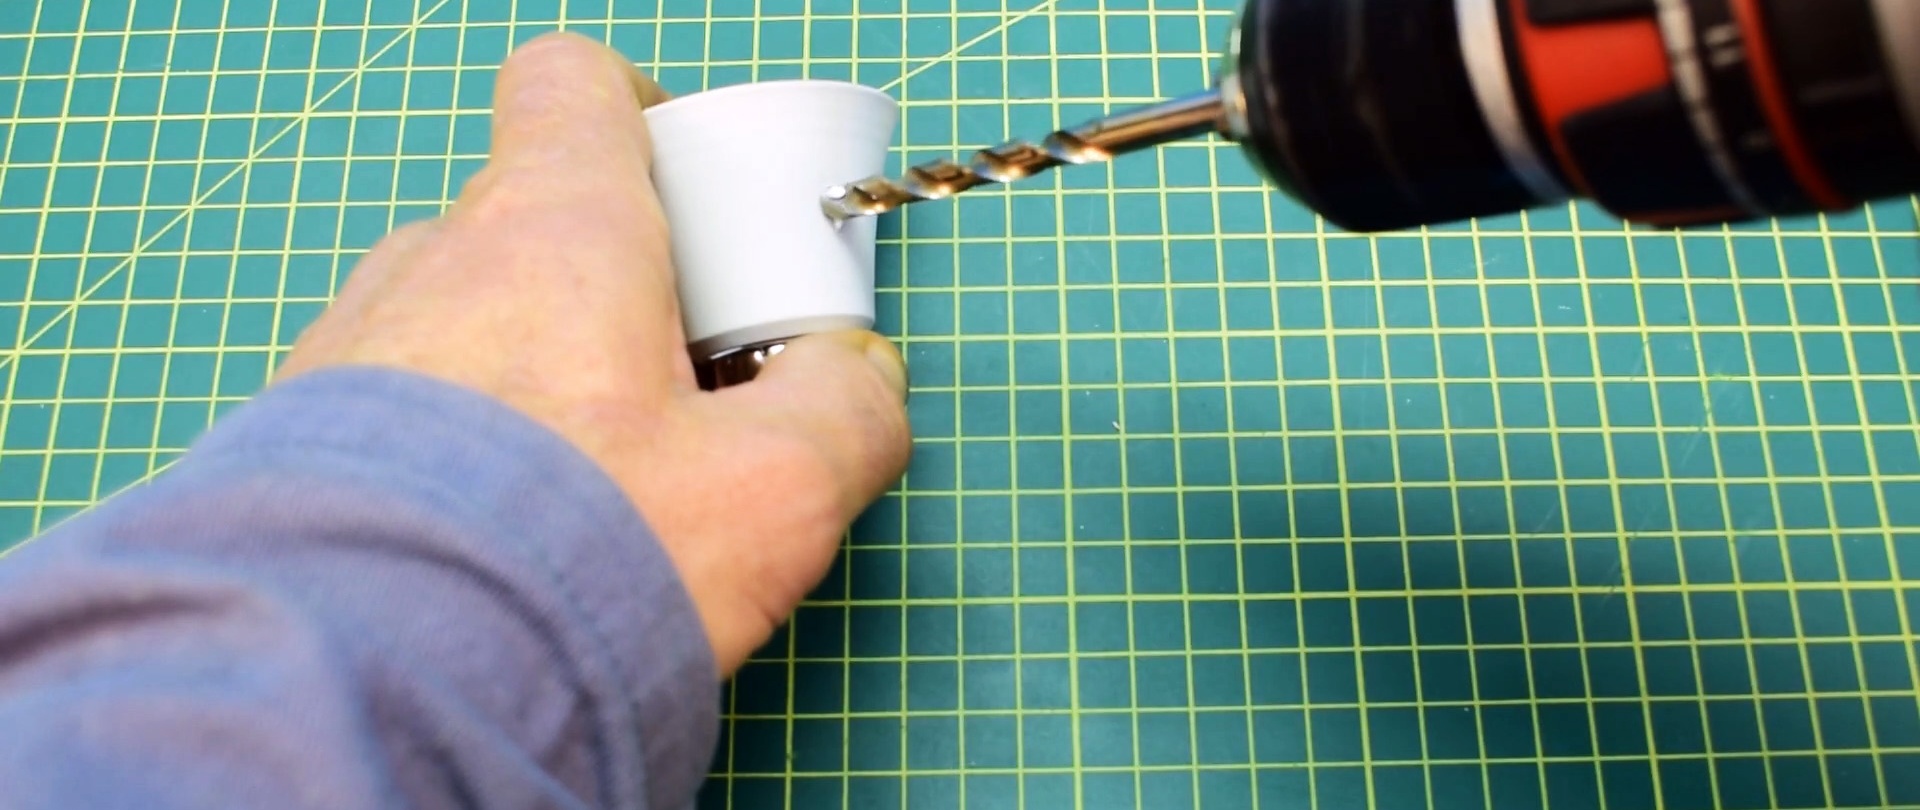
We try on the variable resistor in place. If everything is done correctly, then nothing will interfere.

We unsolder the 10 Ohm resistor from the board, located near the microcircuit. Instead, we solder small wires to the contacts. Next, we pass them inside through the hole in the center.
We solder a 10 ohm limiting resistor to the variable resistor.

Next, we solder the wires from the board and insulate all the pins with heat shrink.

We install the variable resistor into the housing and secure it with a nut. We connect the network wires to the terminals on the board.

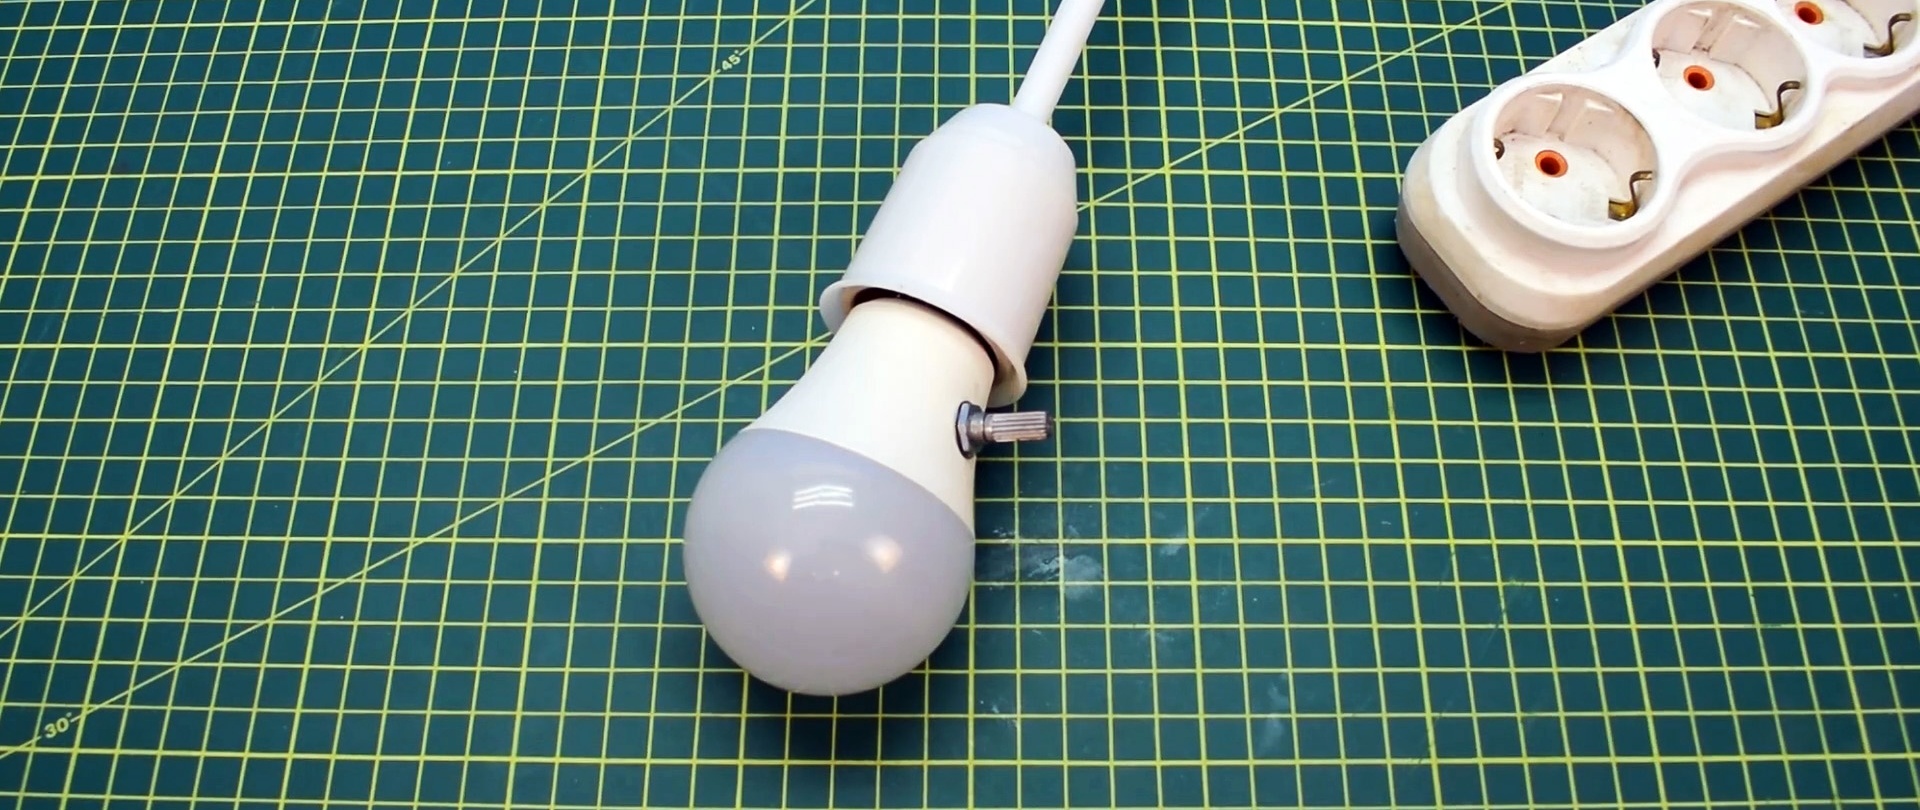
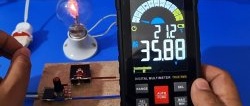
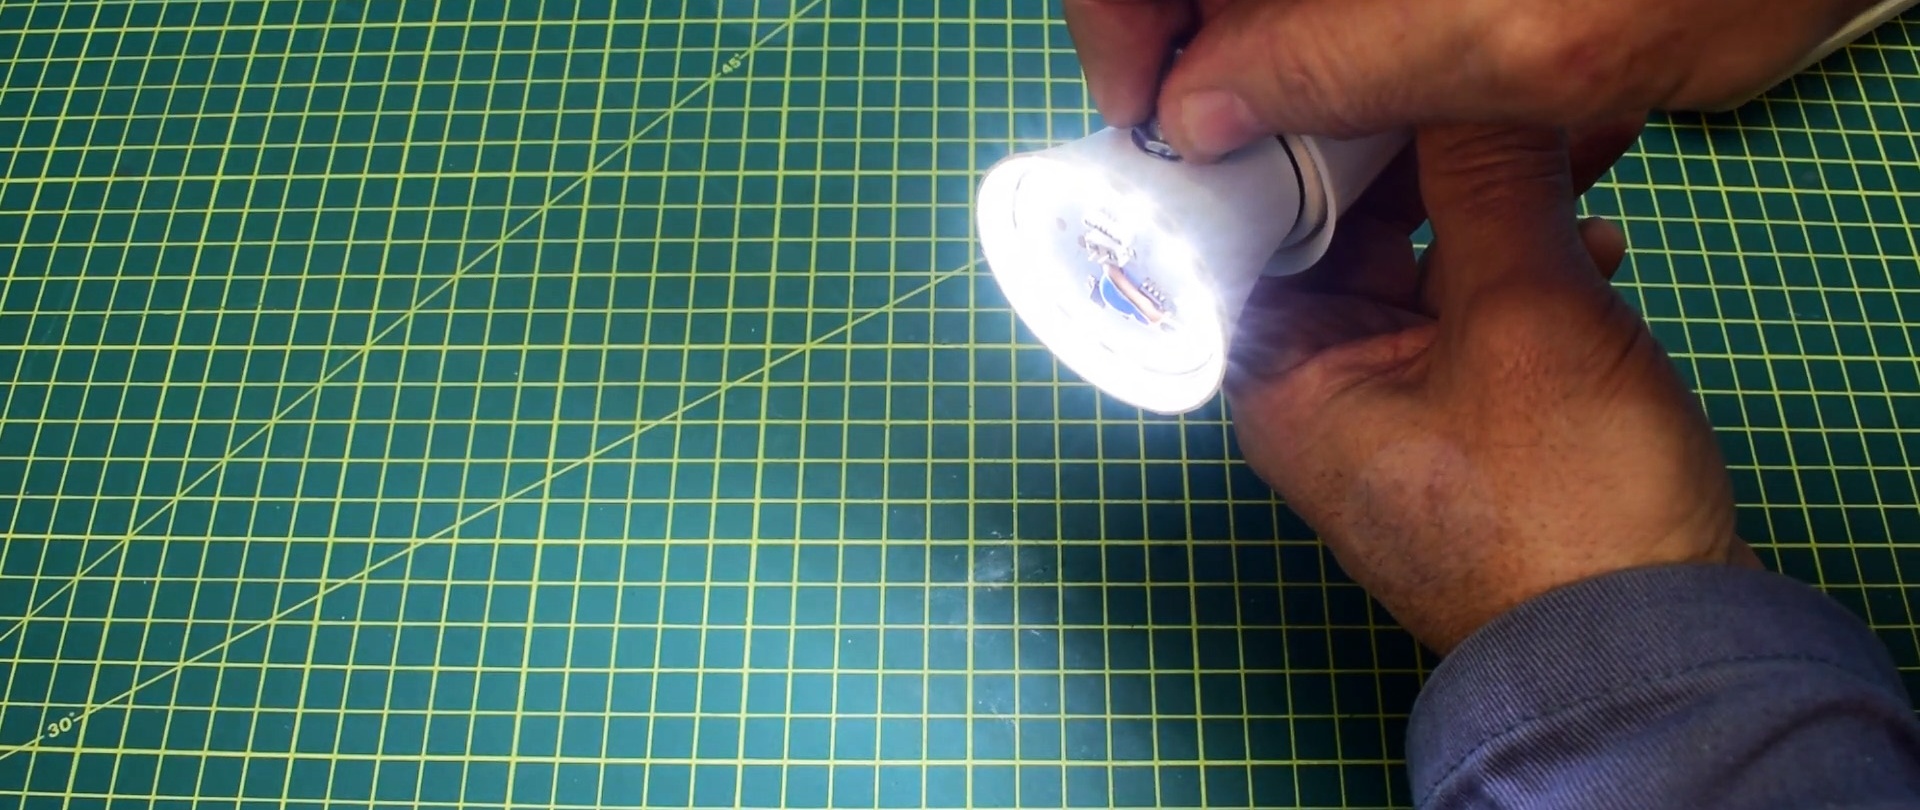
We install the board in place. We turn on the lamp and check the brightness adjustment.

If you are satisfied with the work, glue the flask in place.

The LED lamp is ready for use.