Do it yourself
Life hacks, master classes, useful tips, recipes.
home » Electronics » How to assemble a three-LED flasher powered by 220 V
How to assemble a three-LED flasher powered by 220 V

It is very simple and easy to make a funny flashing light from several parts, and even powered directly from an alternating current network of 220 Volts. Three LED will flash vigorously and create an unusual lighting effect.

For the flasher you will need:


Transistors BC547 - 3 pieces -
LEDs - 3 pieces, any color. It’s better, of course, to take multi-colored ones.
Capacitors 470 uF 25 V - 3 pieces.
Resistor 100 K - 3 pieces.

Flasher circuit


How to assemble a three-LED flasher powered by 220 V

As can be seen from the diagram, it contains three identical nodes with a single power supply through a diode. Transistors are connected in an unusual way and play the role of a threshold element. Their bases are not used. The principle of operation is simple: As soon as the capacitor is charged through a resistor to a certain value, the transistor opens and Light-emitting diode will flash, thereby discharging the capacitor. The cycle then repeats ad infinitum.

Assembling the flasher


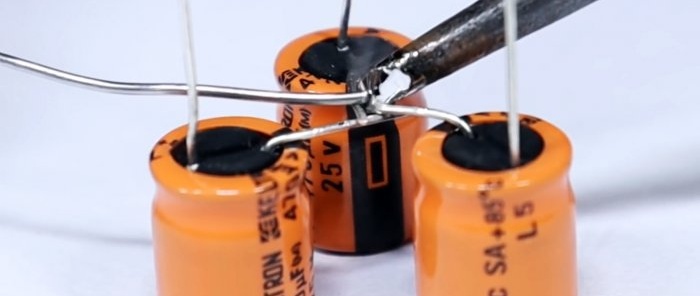
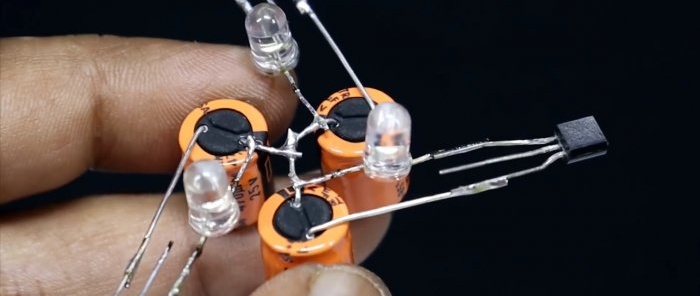
For clarity, we will assemble it using a hinged installation. We solder the capacitors with a common minus to each other.
How to assemble a three-LED flasher powered by 220 V

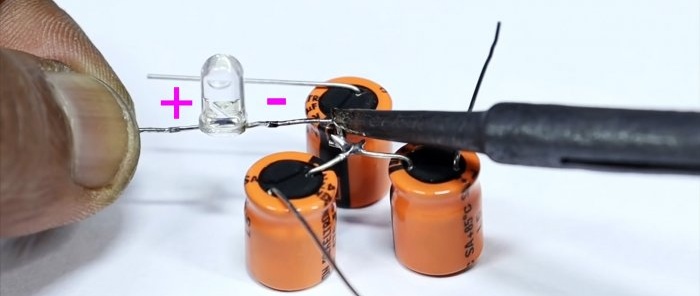
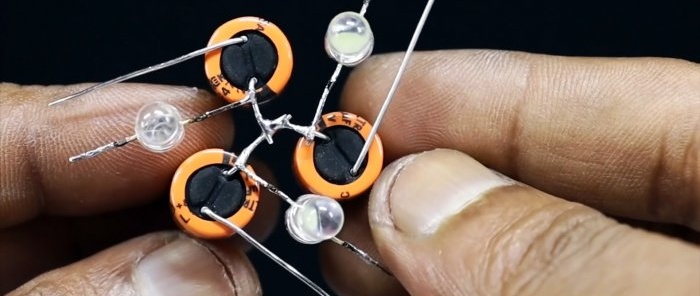
Soldering the contacts LEDs according to polarity.
How to assemble a three-LED flasher powered by 220 V

How to assemble a three-LED flasher powered by 220 V

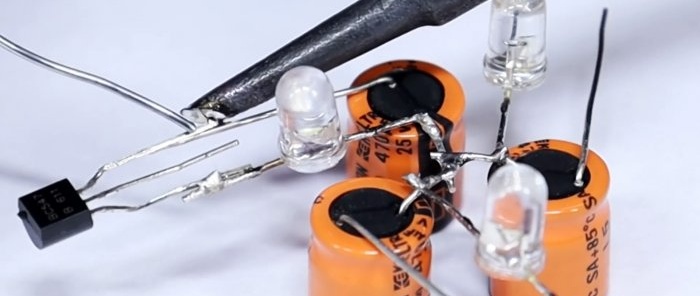
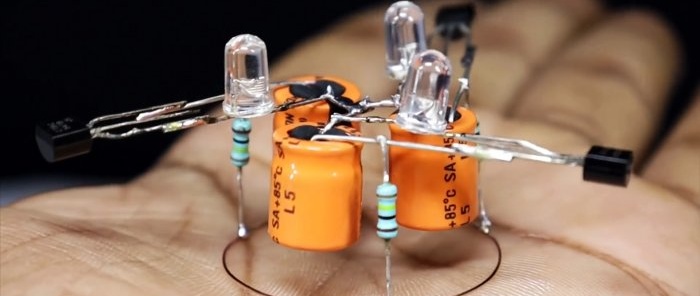
Now transistors come into play.
How to assemble a three-LED flasher powered by 220 V

How to assemble a three-LED flasher powered by 220 V

Solder the resistors.
How to assemble a three-LED flasher powered by 220 V

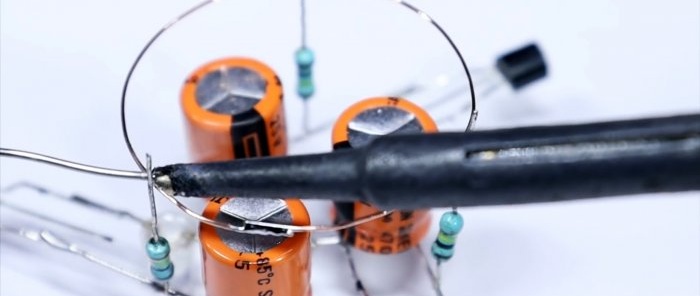
Let's make a ring of copper wire and use it to connect all the resistors together.
How to assemble a three-LED flasher powered by 220 V

How to assemble a three-LED flasher powered by 220 V

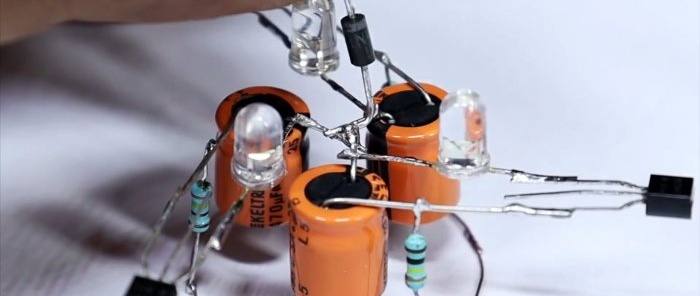
Solder a diode into the place where the capacitors are soldered.
How to assemble a three-LED flasher powered by 220 V

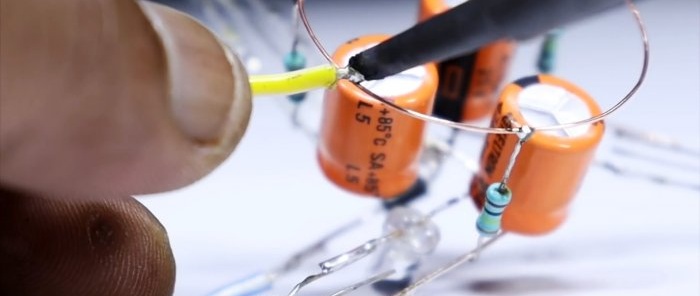
This completes the flasher. All that remains is to solder the power wires from the power plug.
How to assemble a three-LED flasher powered by 220 V

Examination


Be especially careful not to touch live contacts after the circuit is connected to the network!
How to assemble a three-LED flasher powered by 220 V

The circuit does not require adjustment and, if the parts are in good condition, works immediately.
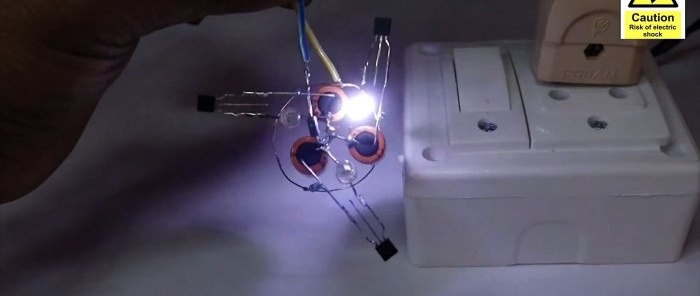
We serve food. The lights begin to flash periodically in a chaotic manner.
How to assemble a three-LED flasher powered by 220 V

A very beautiful effect, which you can check out firsthand in the video below.
It is not necessary to use a scheme consisting of three blocks. Their number can be either reduced to one or increased to infinity. It's up to you to decide.
Watch the video


come back
Comment
  • bowtiesmilelaughingblushsmileyrelaxed relaxedsmirk
    heart_eyeskissing_heartkissing_closed_eyesflushedrelievedsatisfiedgrin
    winkstuck_out_tongue_winking_eyestuck_out_tongue_closed_eyesgrinningkissingstuck_out_tonguesleeping
    worriedfrowninganguishedopen_mouthgrimacingconfusedhushed
    expressionlessunamusedsweat_smilesweatdisappointed_relievedwearypassive
    disappointedconfoundedfearfulcold_sweatperseverecrysob
    joyastonishedscreamtired_faceangryragetriumph
    sleepyyummasksunglassesdizzy_faceimpsmiling_imp
    neutral_faceno_mouthinnocent
5+two=
Comments (3)
  1. Zuhel
    #1 Zuhel Guests 20 September 2020 19:56
    3
    Oga, the base of the transistor hanging in the air is straight up fun. Oh well. Yes, such “inventors” were pierced through with an electric current!
  2. Guest Andrey
    #2 Guest Andrey Guests 24 September 2020 17:11
    0
    Transistors in avalanche mode?
    It’s better to take DB3 dinistors - they are designed for this,
    100 ohm resistors in series*,
    and increase the capacitor voltage to 35 - 50 volts.
  3. Sds
    #3 Sds Guests 9 October 2020 19:05
    0
    Excellent fireworks, great, I give it a five for the invention, but for the exam (in electronics, apparently) it was bad, you'll forgive me

Mini welding machine 12V | Do it yourself

Spider Robot | Do it yourself

Herbal tooth powder | Do it yourself

Gauss Cannon | Do it yourself

«Do it yourself - with your own hands» - a site of interesting homemade products made from scrap materials and items at home. Step-by-step master classes with photos and descriptions, technologies, life hacks - everything a real master or just a craftsman needs for needlework. Crafts of any complexity, a large selection of directions and ideas for creativity.

We recommend reading

Washing machine error codes