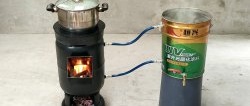
An old household gas cylinder that is not fit for purpose can serve as the basis for creating a compact, efficient and economical wood stove. Moreover, this does not require theoretical knowledge, professional skills or special tools. Any adult can do this kind of work.
Will need
Materials:
- household gas cylinder;
- pieces of round pipes;
- pieces of metal sheet;
- bolts and nuts;
- pieces of reinforcement;
- steel bars;
- aerosol heat-resistant paint, etc.
Tools: paint remover, hacksaw blade, grinder, wire brush, marking and measuring tools, small sledgehammer, adjustable wrench, welding, etc.
High-quality and durable drills on AliExpress at a discount - http://alii.pub/5zwmxz
The process of making a wood stove from an old household gas cylinder
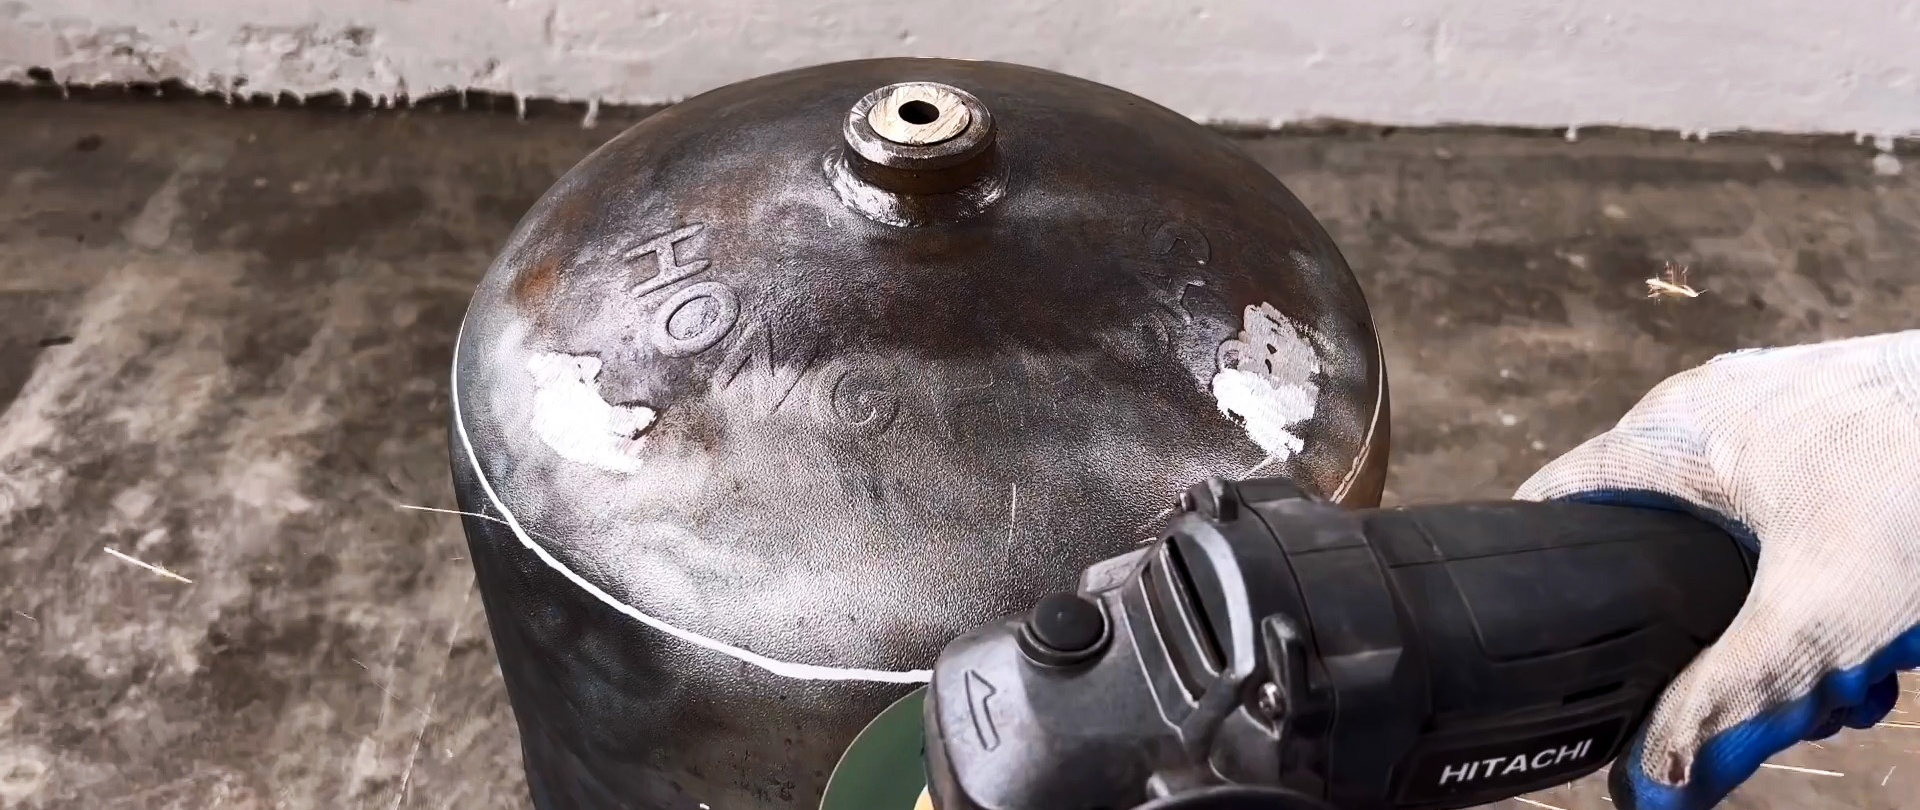
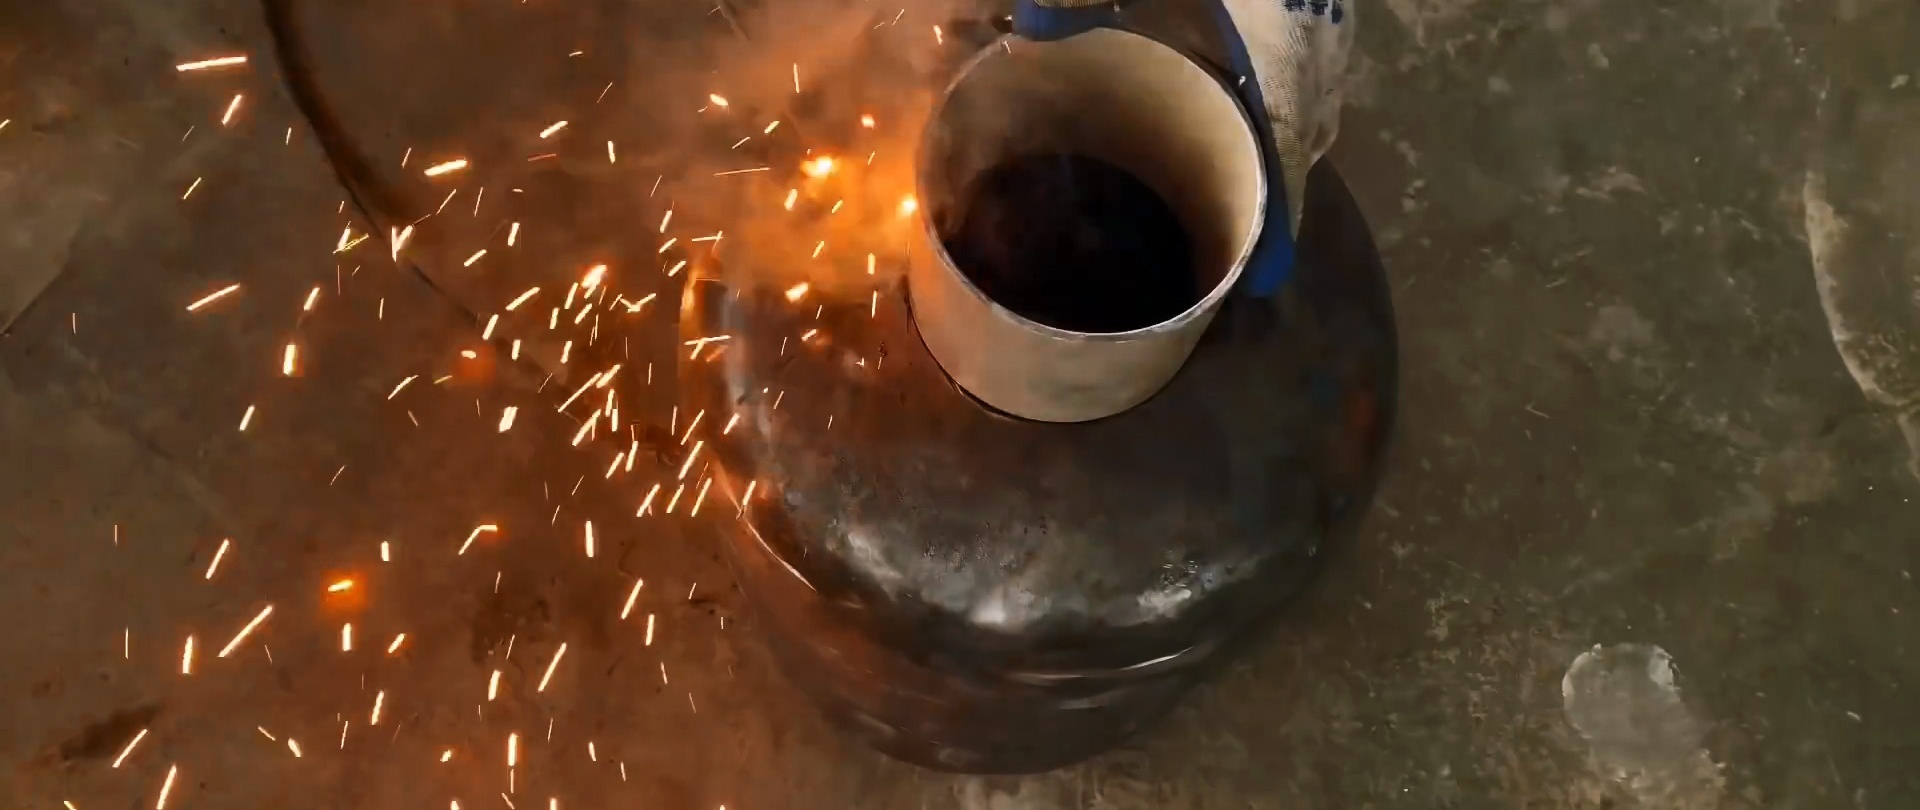
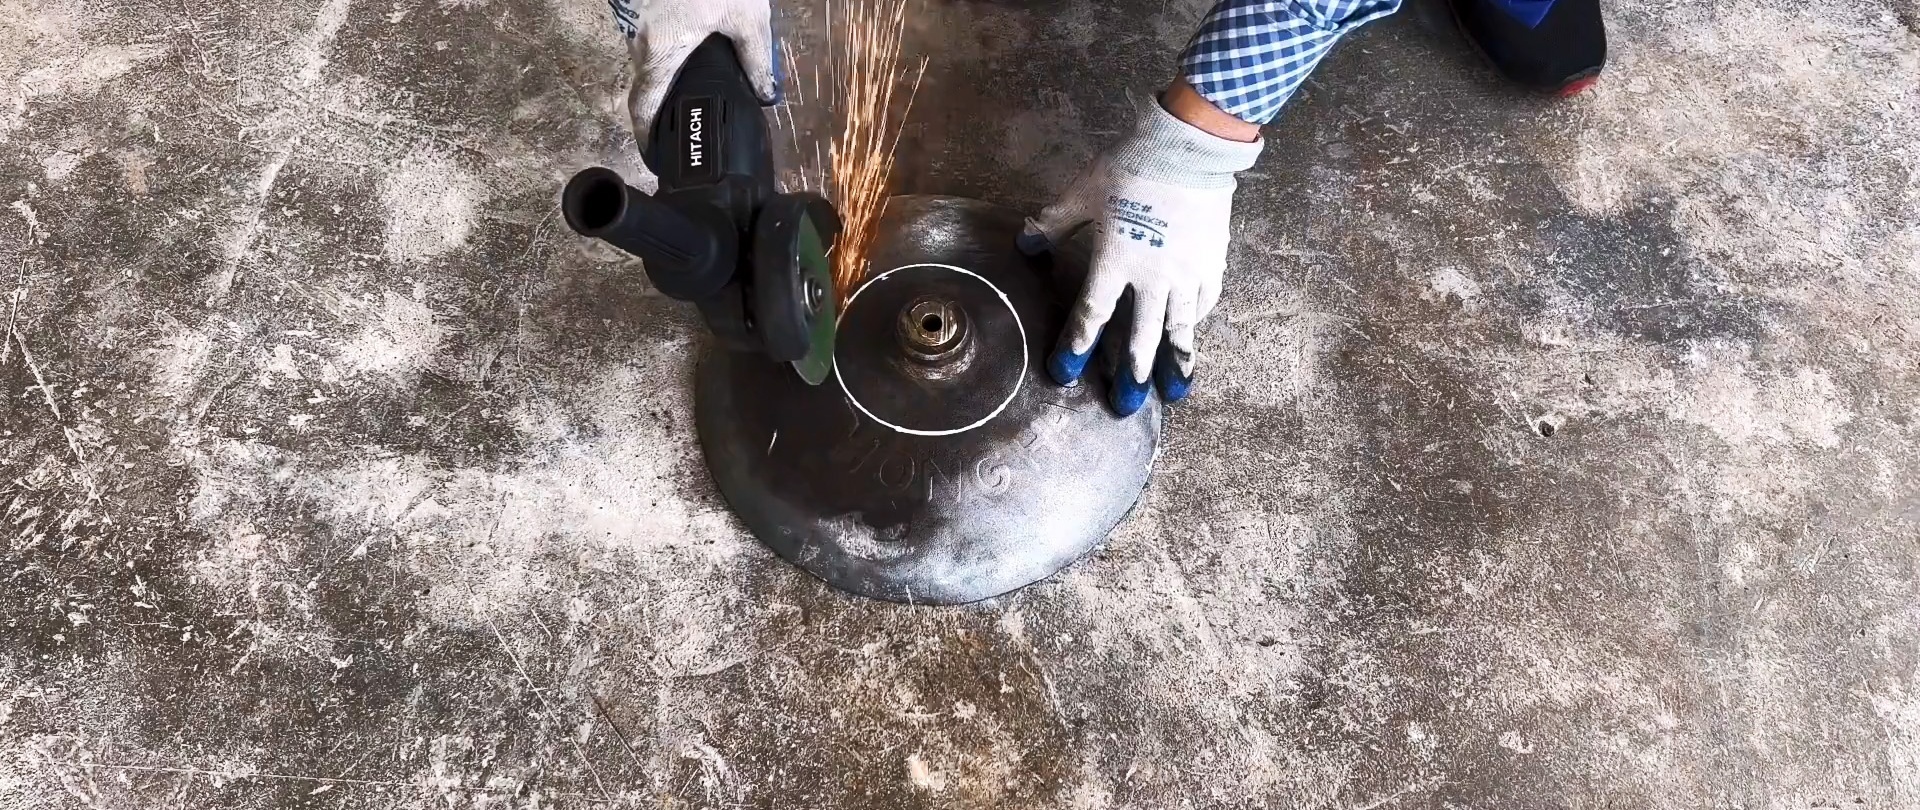
We rinse the container with water and remove the paint from it. We cut the valve at the base and break it off with an adjustable wrench. Cut off the protective collar from the top bottom.

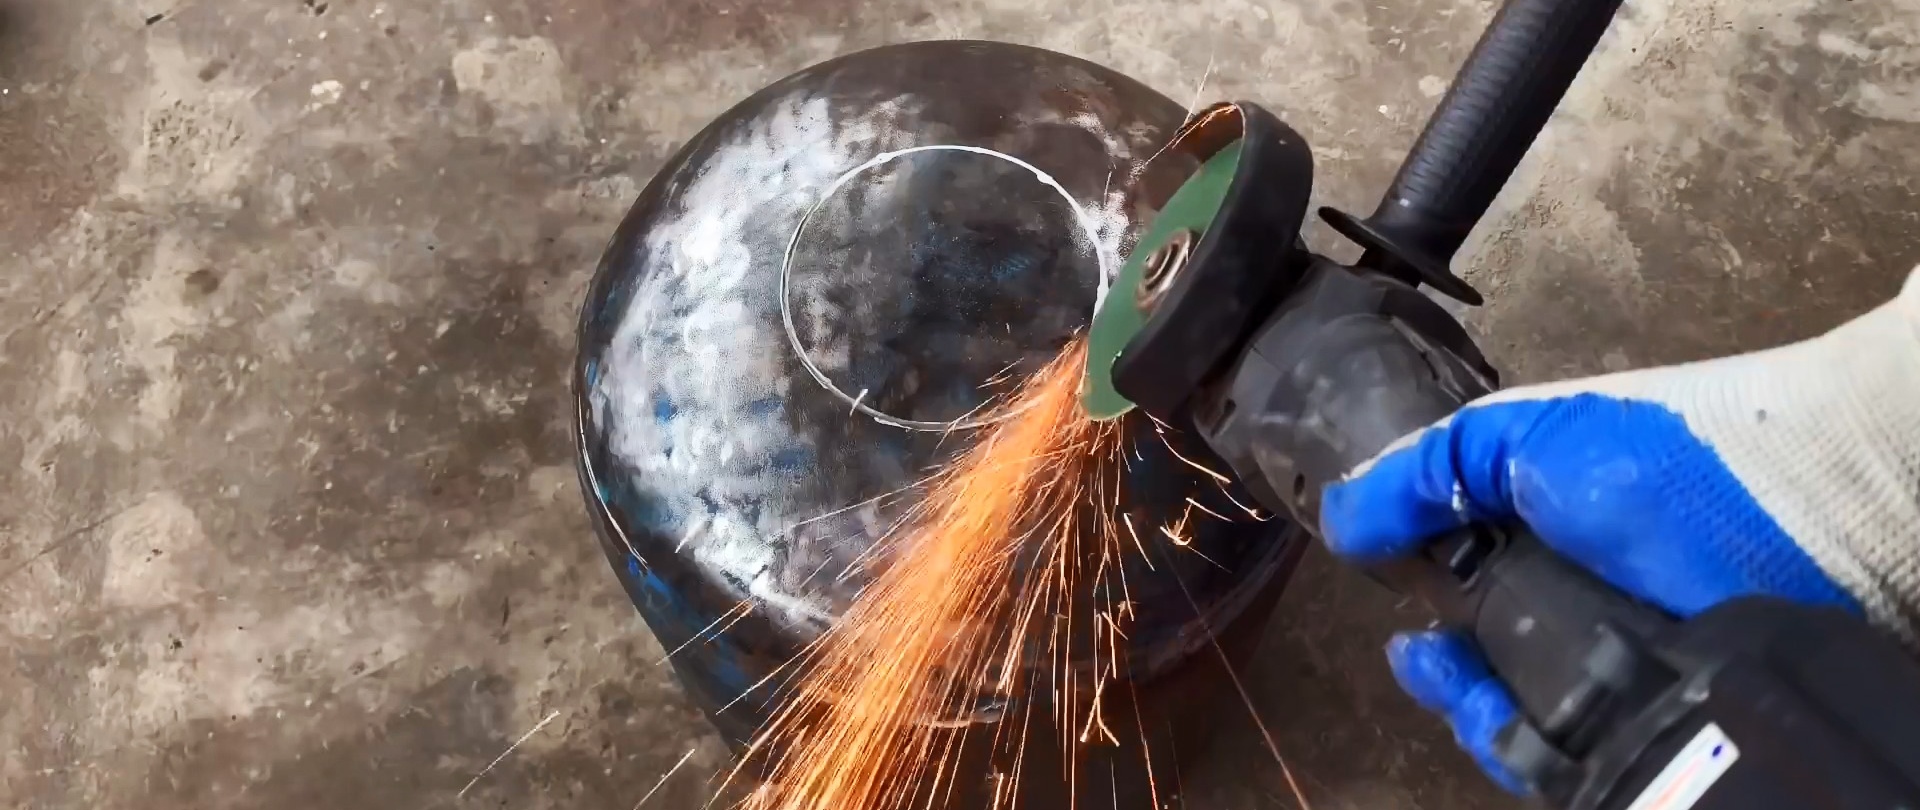
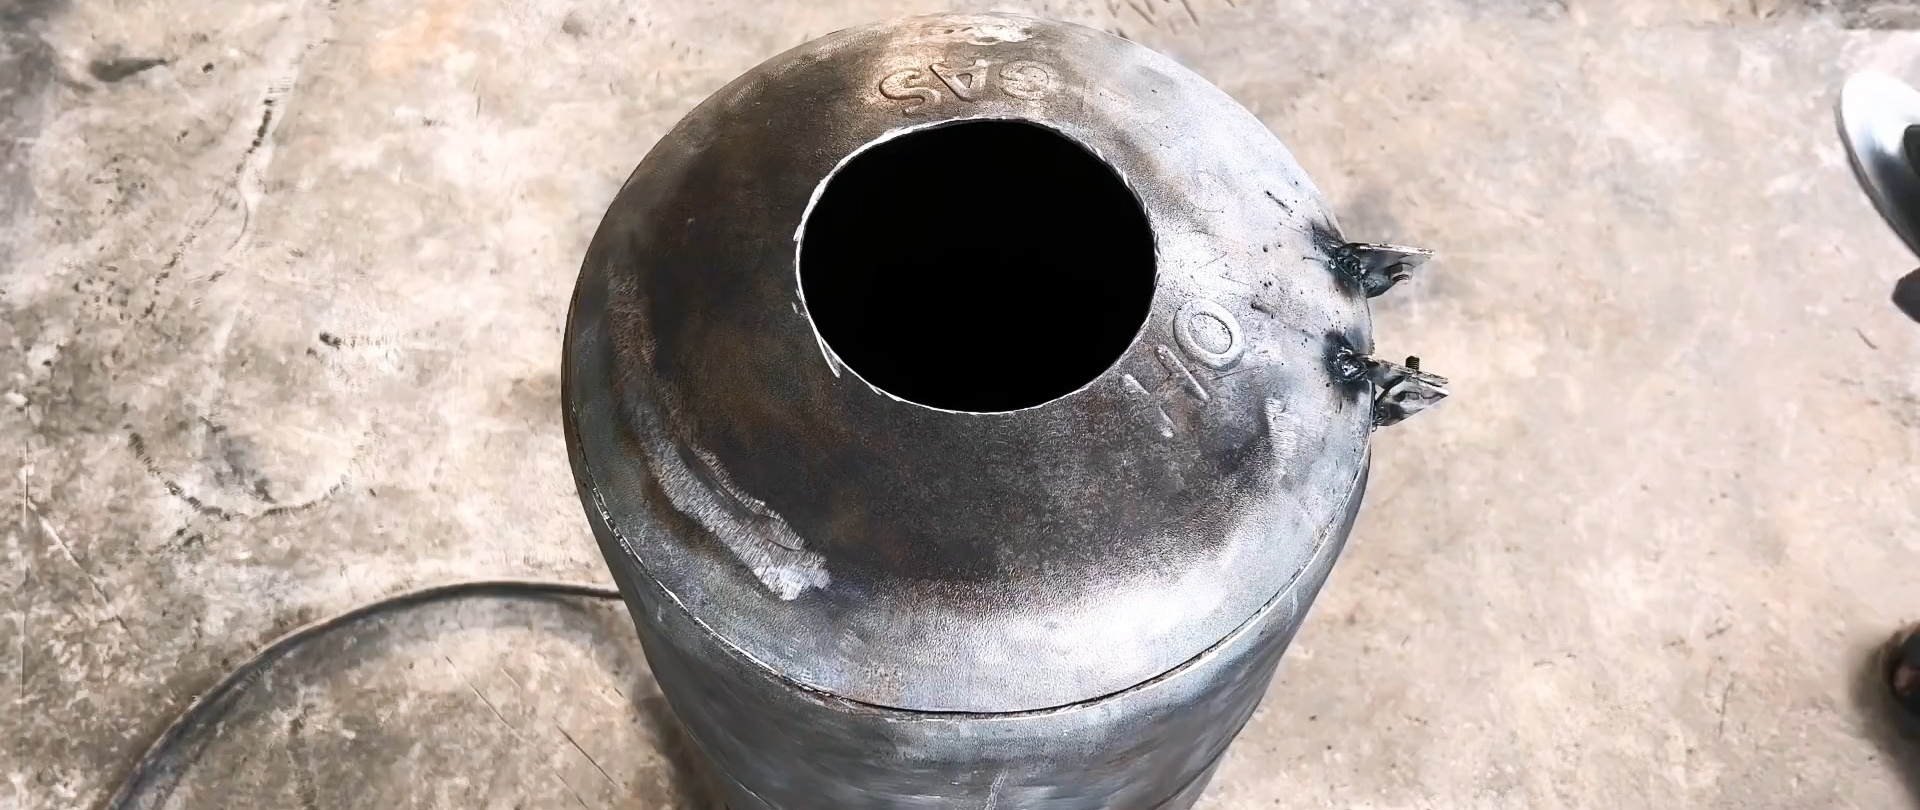
We put a cord loop over the neck of the cylinder, draw a circle with chalk along the lower border of the upper bottom and cut it off from the cylindrical part along it. Pour out the remaining water from washing from the container.
We cut off the support shoe from the bottom bottom. Mark and cut a round hole in the center of the bottom bottom. Straighten the cut circle and leave it for later use.

We cut a 9 cm wide ring from a pipe of a given diameter and weld it to the hole in the lower bottom.

We weld a nut closer to the top of the ring and close the ring with a previously cut circle also with a welded nut of the same size. We combine the nuts and connect them with a bolt. We weld a piece of reinforcement protruding beyond the circle to the opposite side of the circle, and a limiting bracket to the ring.

To the bottom of the support shoe we weld 3 pieces of reinforcement of the same length around the circumference at an equal distance. We install the resulting structure with its legs on the lower bottom and weld it.

Draw a circle in the center of the upper bottom and cut out a circle. We put the bottom in its place and weld it. Using two homemade loops, bolts and nuts, we movably connect the upper bottom with the cylindrical part of the cylinder by welding.
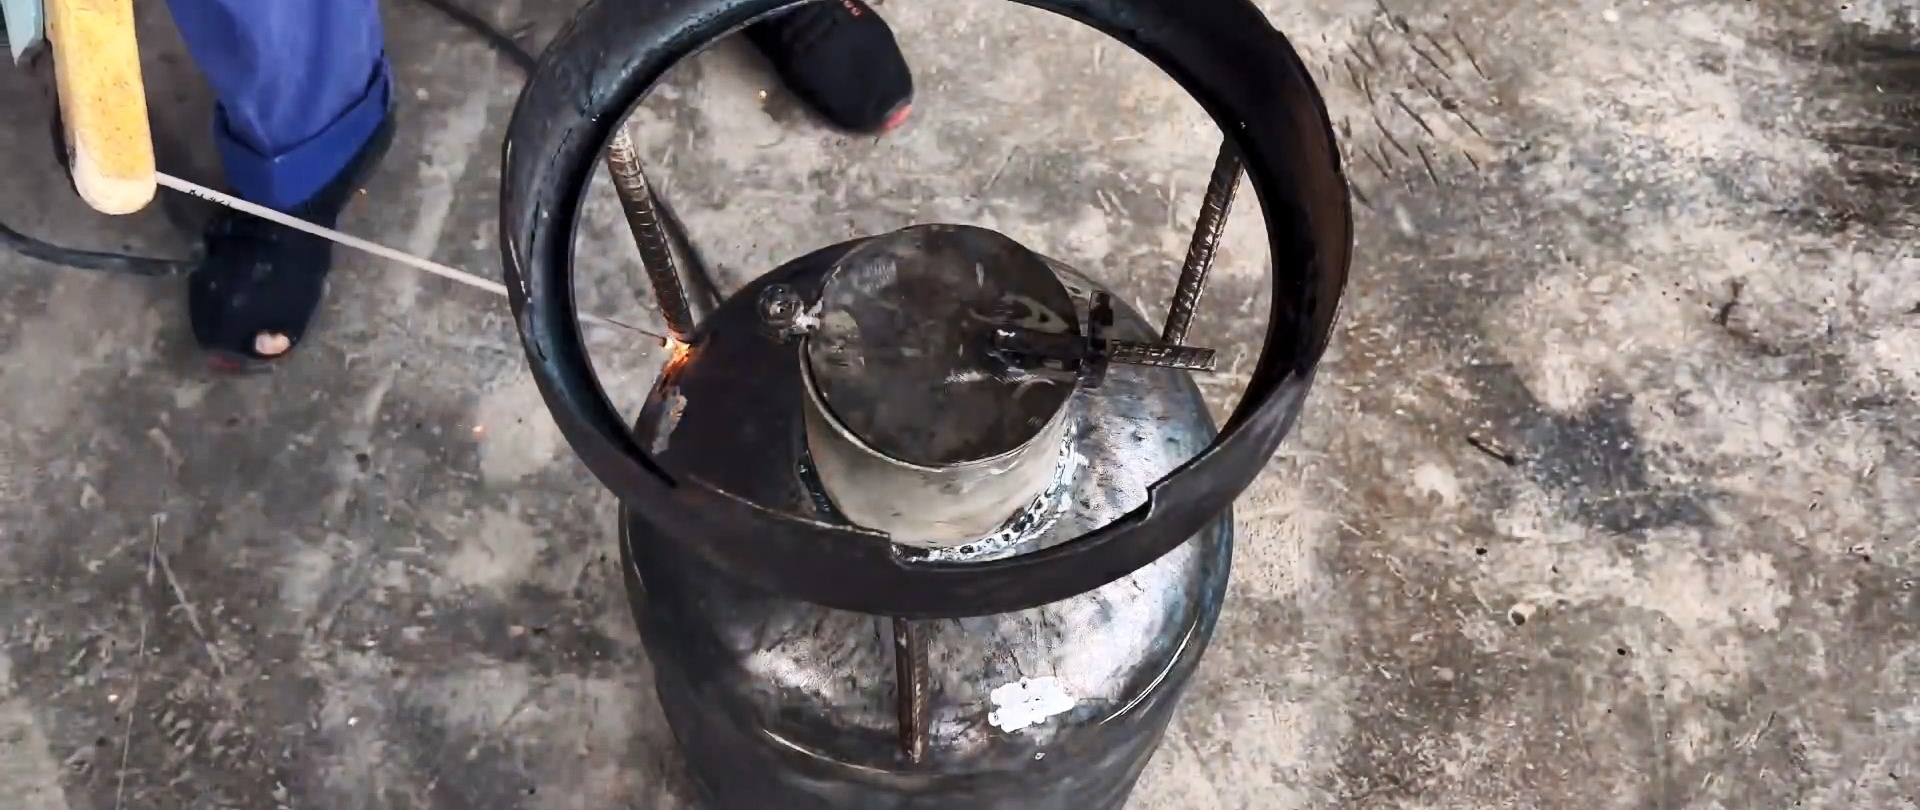
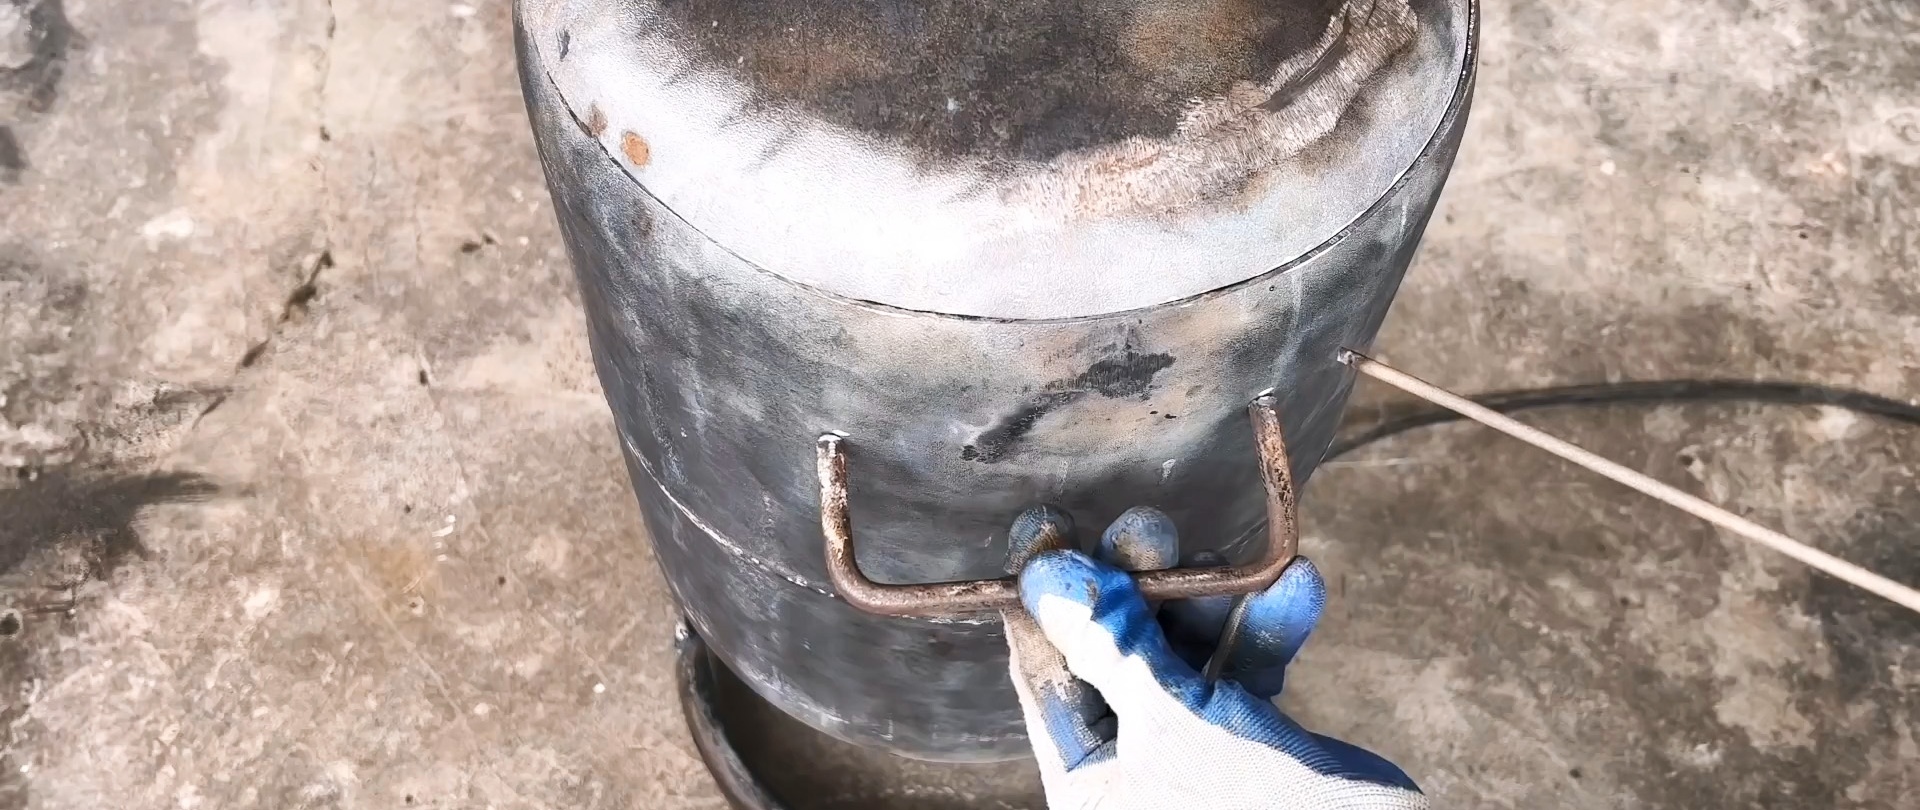
We weld two bracket handles from a round rod on top of the cylindrical part of the cylinder. We also weld the elbow pipe at this level, having previously cut a hole in the cylinder.


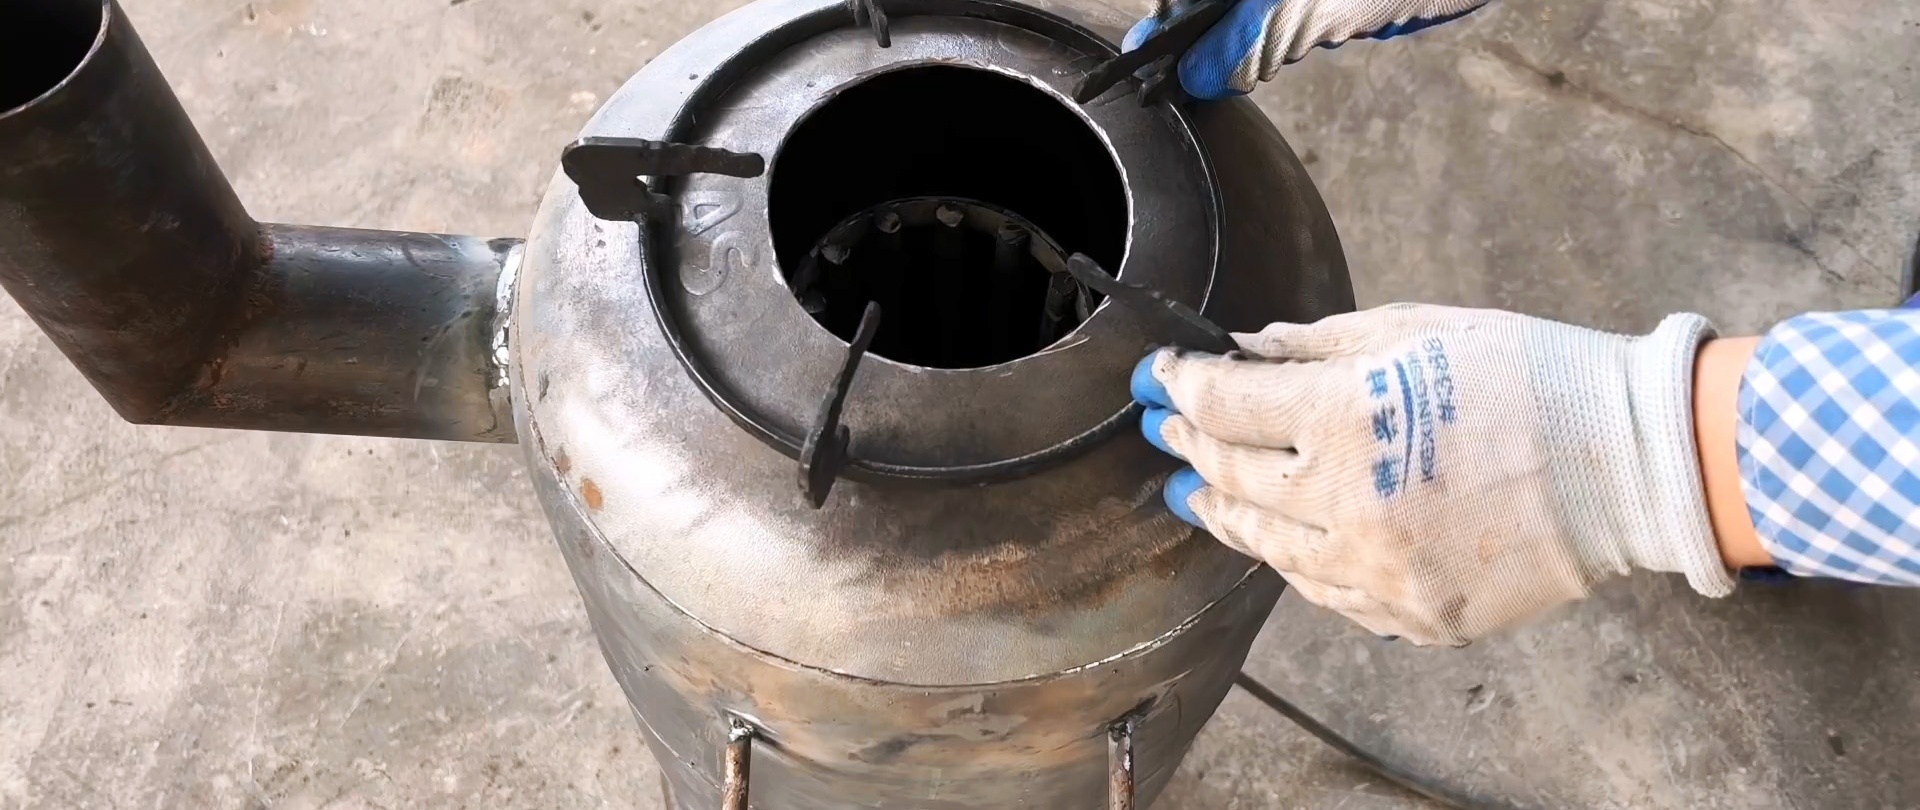
We cut 2 narrow rings from a pipe of the required diameter and weld the ends of identical rods to them from the inside. We also weld one end of the resulting ring lattice with rods. We install the resulting structure with the lattice end inside the cylinder above the hole in the lower bottom and weld it there.


Outside the upper bottom, coaxially with the hole, we install a stand for the dishes and weld it there. Opposite the hinges of the upper bottom, we weld a screw in the radial direction behind the head.
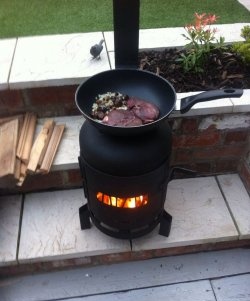
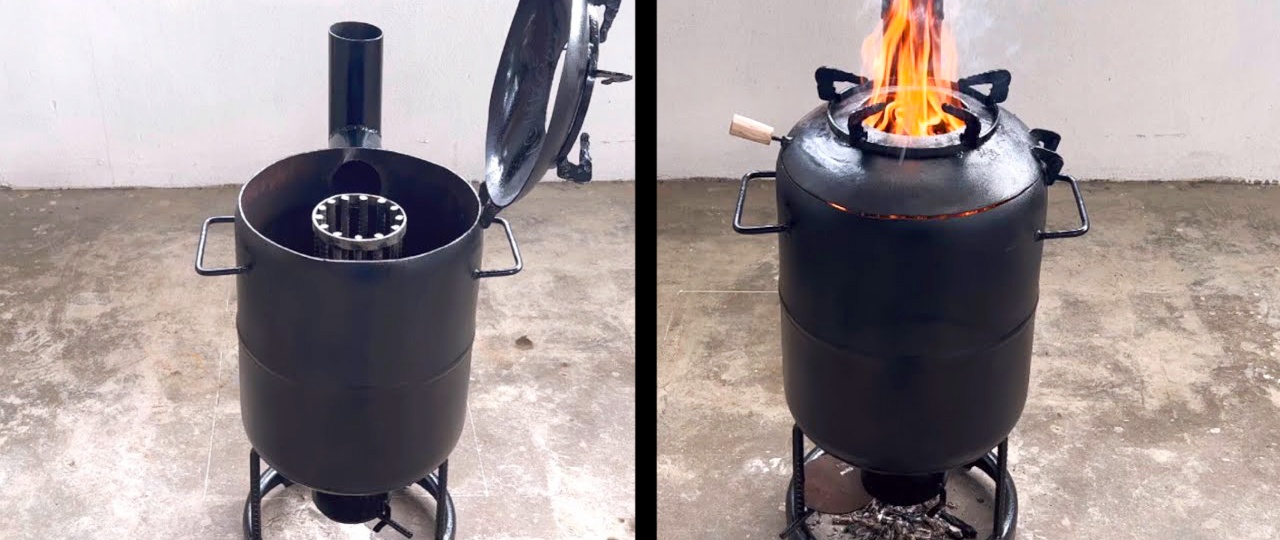
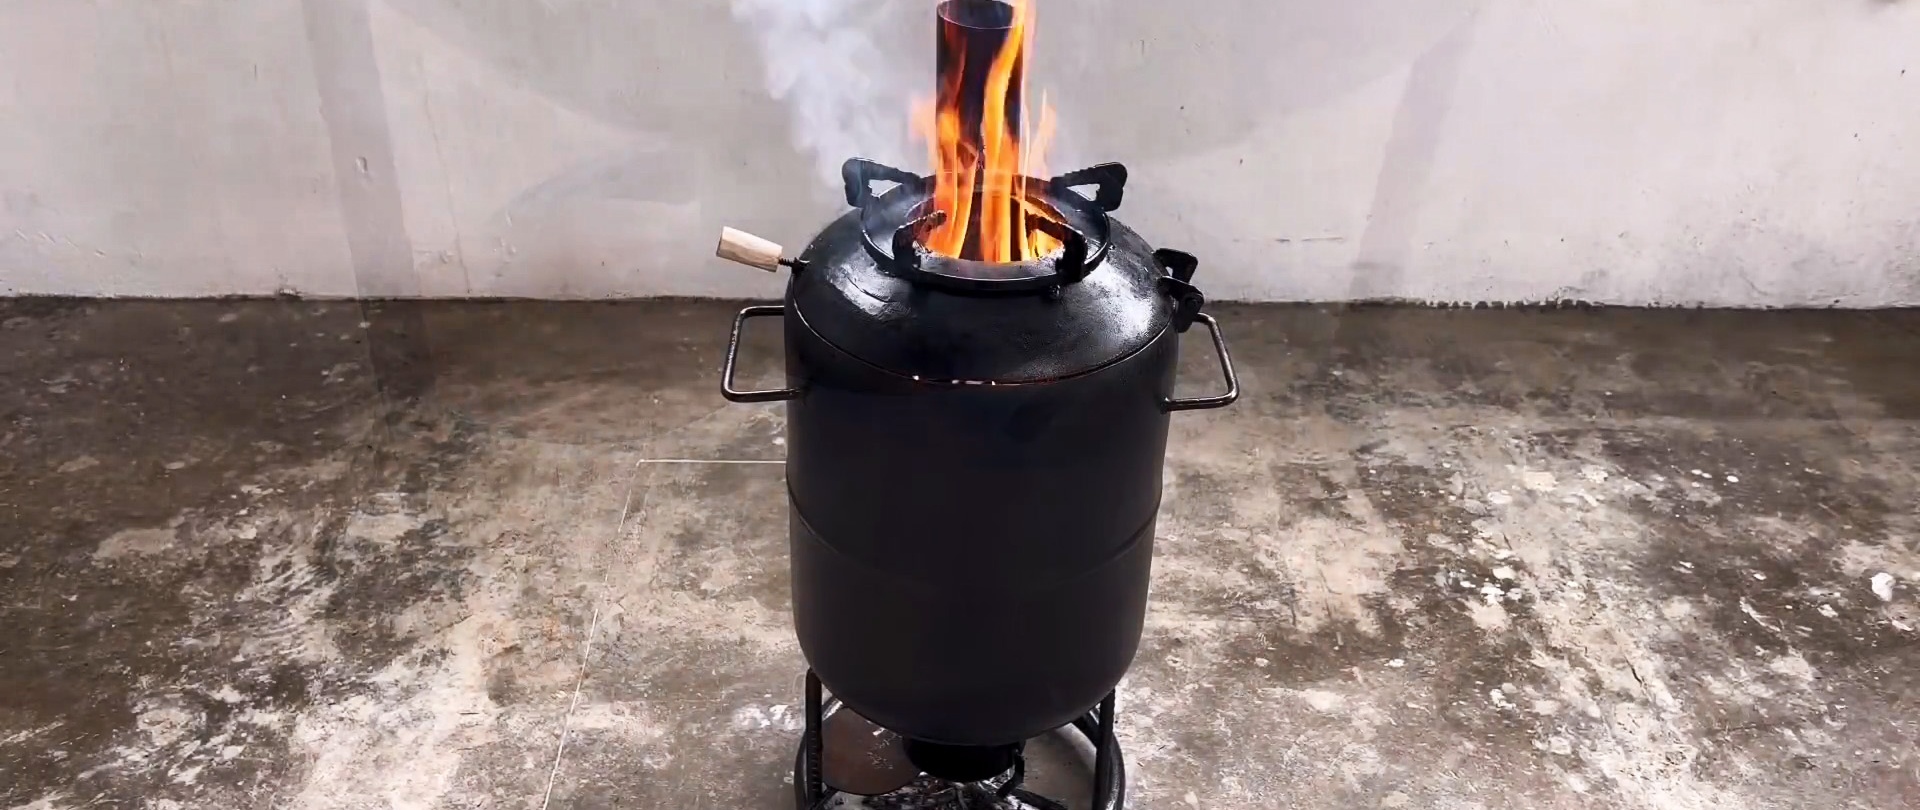
We paint the outside of the wood-burning stove with heat-resistant paint. We screw a wooden rod onto the screw to open the top cover of the stove. After the paint has dried, the oven is ready for use.

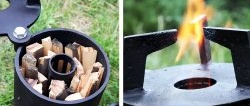
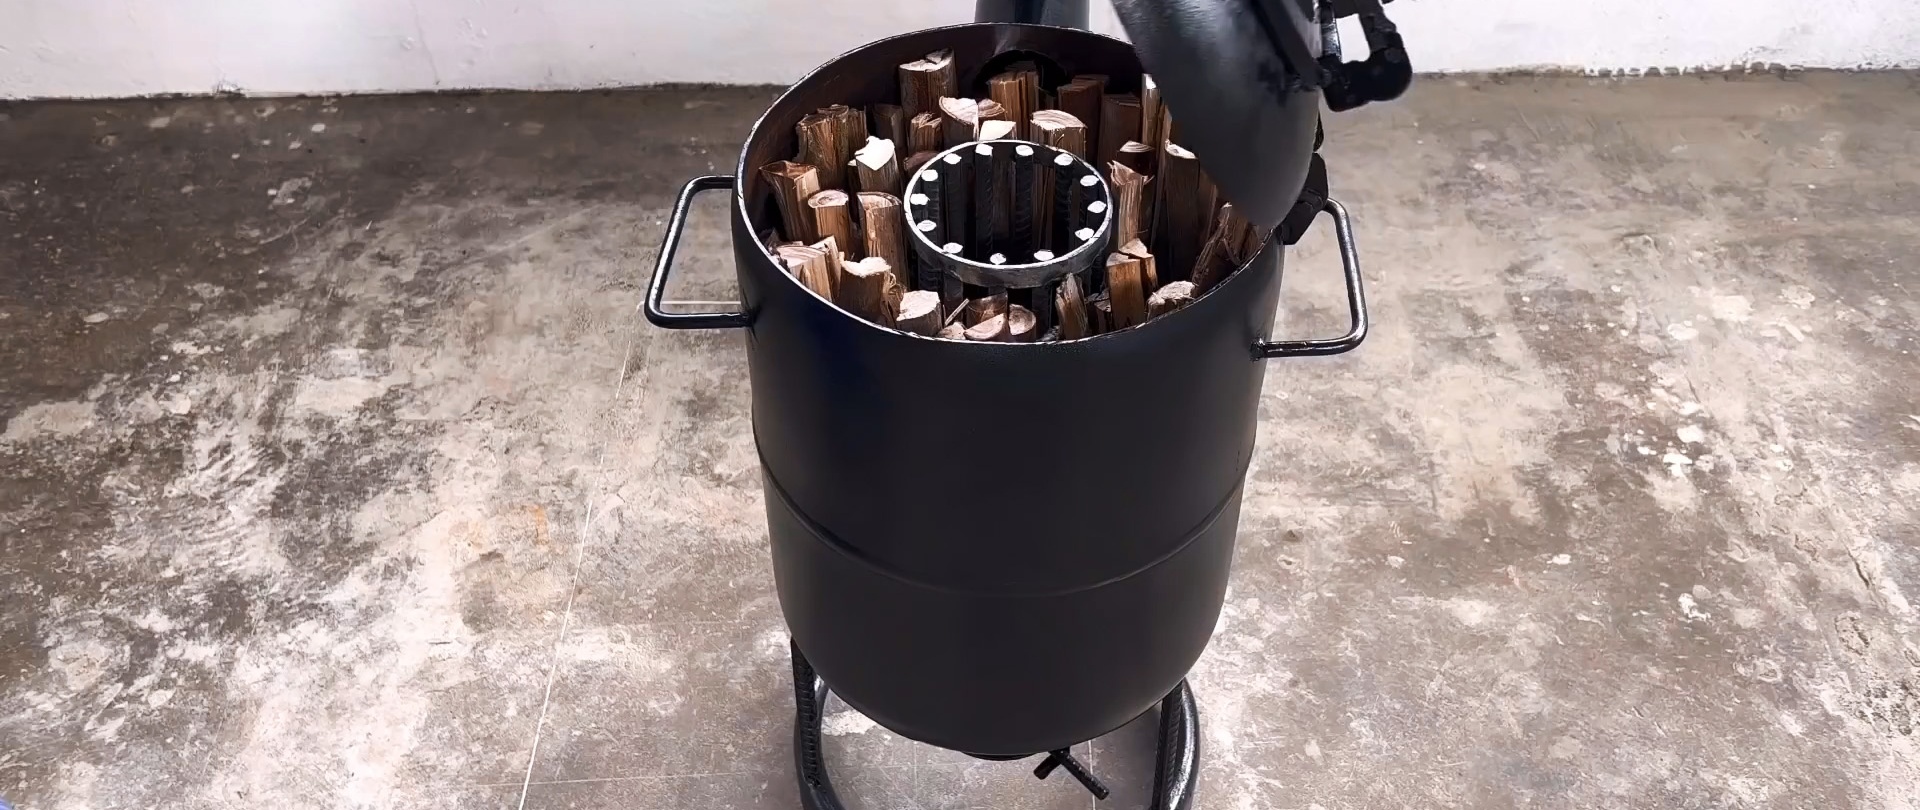
To do this, we place firewood in the annular space between the outer wall and the slotted cylinder in the center, which we set on fire using paper placed in the slotted cylinder. The draft is regulated by a flap on the lower bottom pipe.
Long-lasting discs for angle grinders on AliExpress at a discount - http://alii.pub/61bjly

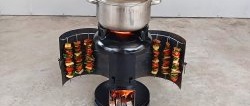
Ash and coals fall through the lower grate onto the floor. On such a stove you can not only cook and fry food, but also cook steaks, sausages, etc. on charcoal, using the grate placed on the stove body with the lid folded back.


Welding electrodes for general purposes on AliExpress at a discount - http://alii.pub/606j2h