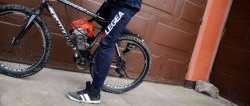
An engine from a brush cutter and spare parts from an old bicycle can become the basis for assembling a motorized scooter. This does not require special knowledge, professional experience or high costs.
Will need
Materials:
- pneumatic wheel 26×8.5 cm;
- driving bicycle sprocket;
- metal sheet and strip;
- the rod is smooth and with external thread;
- different bolts, washers and nuts;
- profile rectangular and round pipe;
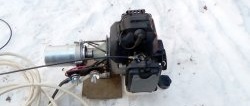
- brush cutter engine with adapter frame;
- front bicycle fork with wheel;
- OSB board;
- engine and brake control system;
- bicycle chain, etc.
Tools: drill, files, dremel, drilling machine, grinder, wrenches, lathe, die with a wrench, welding, jigsaw, etc.
The process of making a scooter from a lawn mower engine and bicycle parts
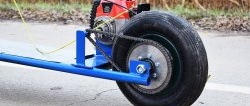
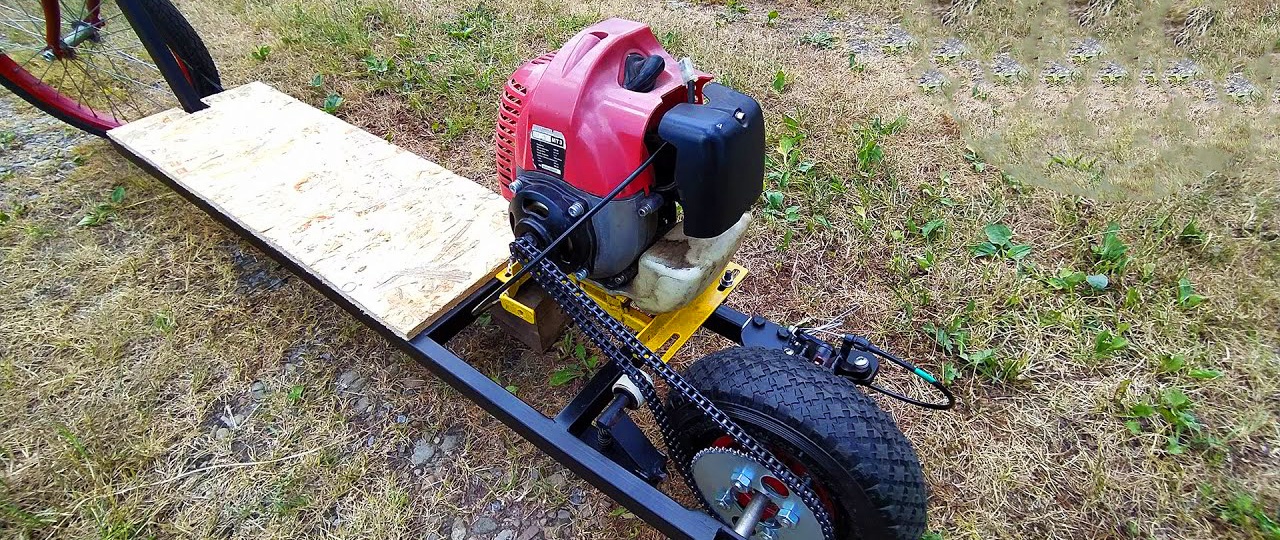
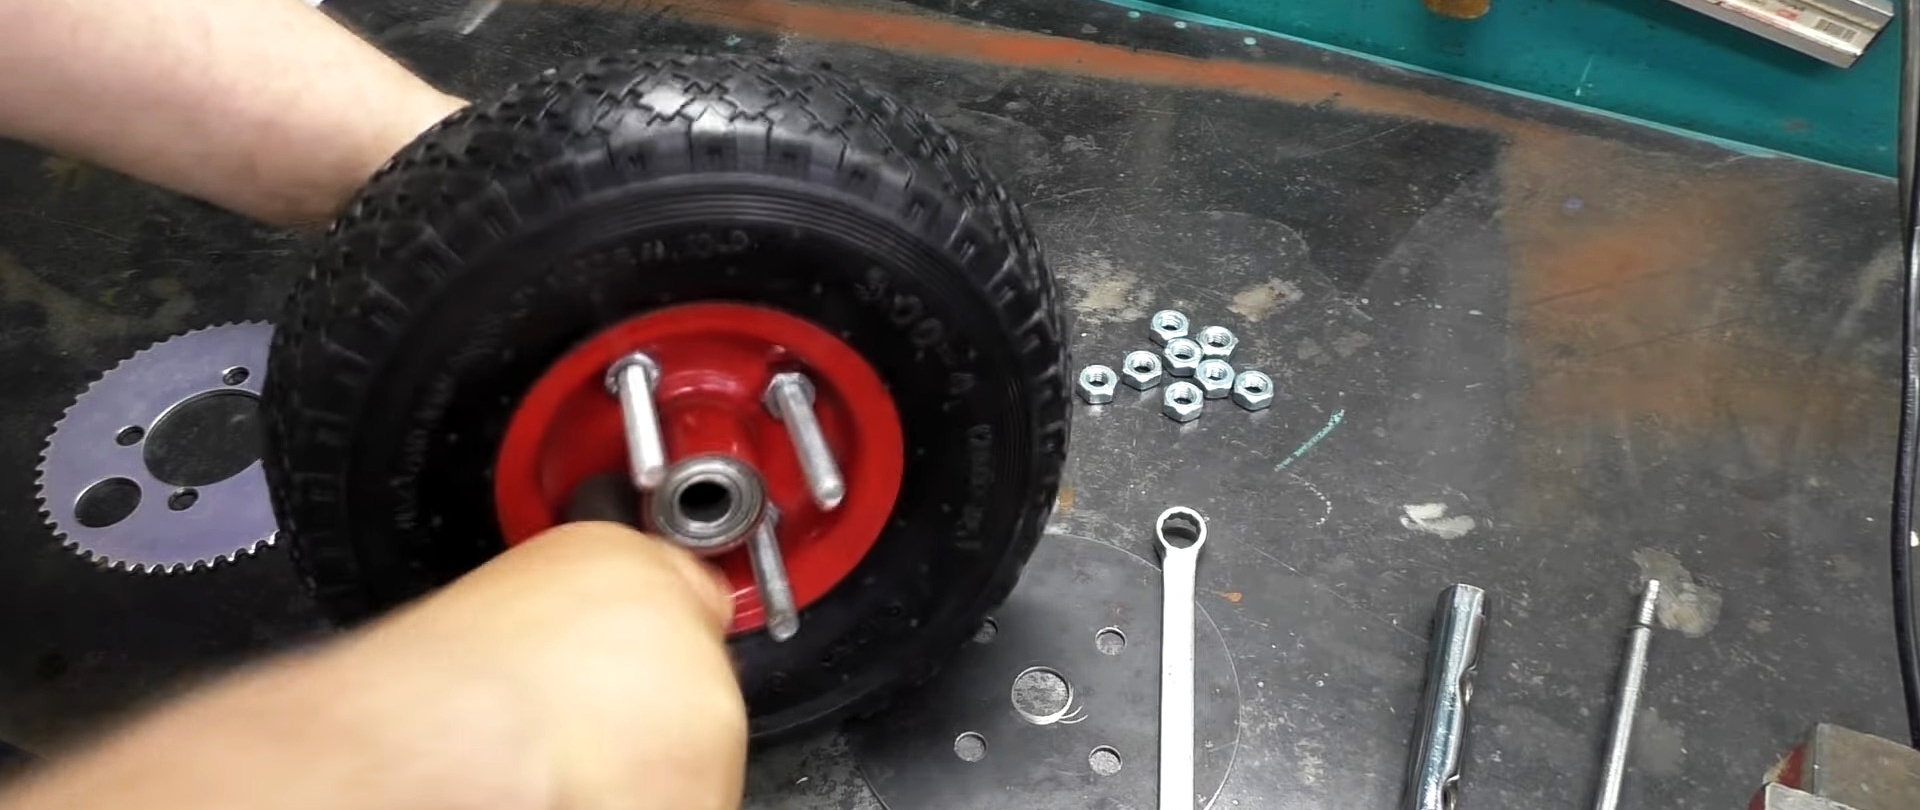
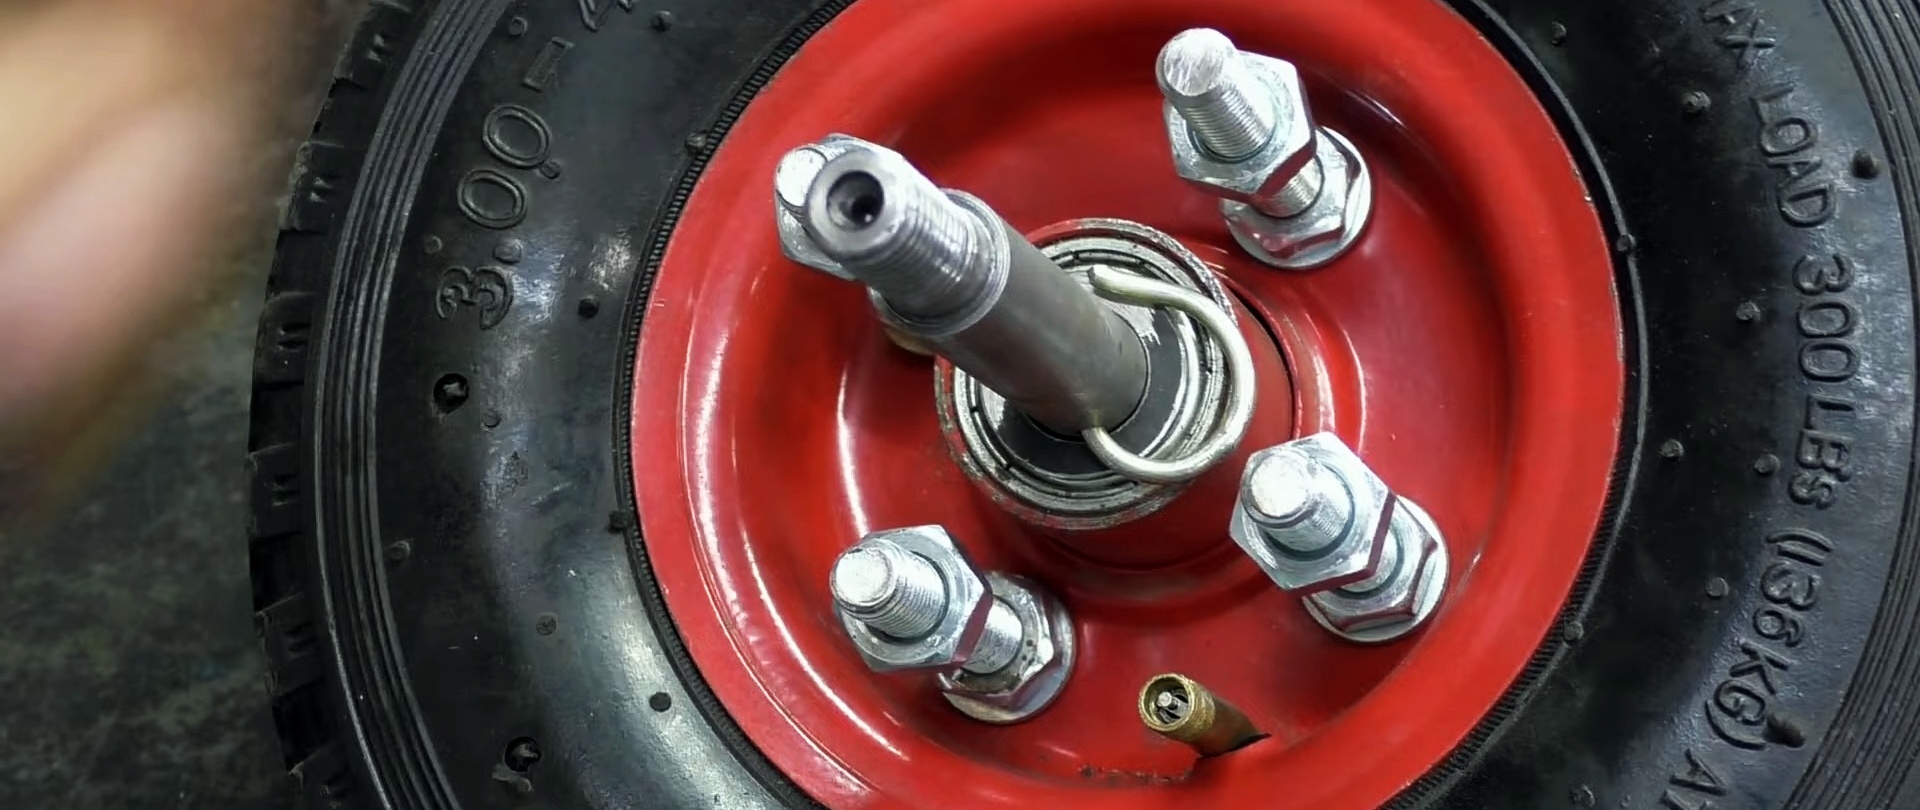
We release the pressure from the tire and disassemble the hub. We increase the diameters of 4 holes on the leading bicycle sprocket and in the hub. Later we will place the sprocket on the hub and tighten it with bolts and nuts.
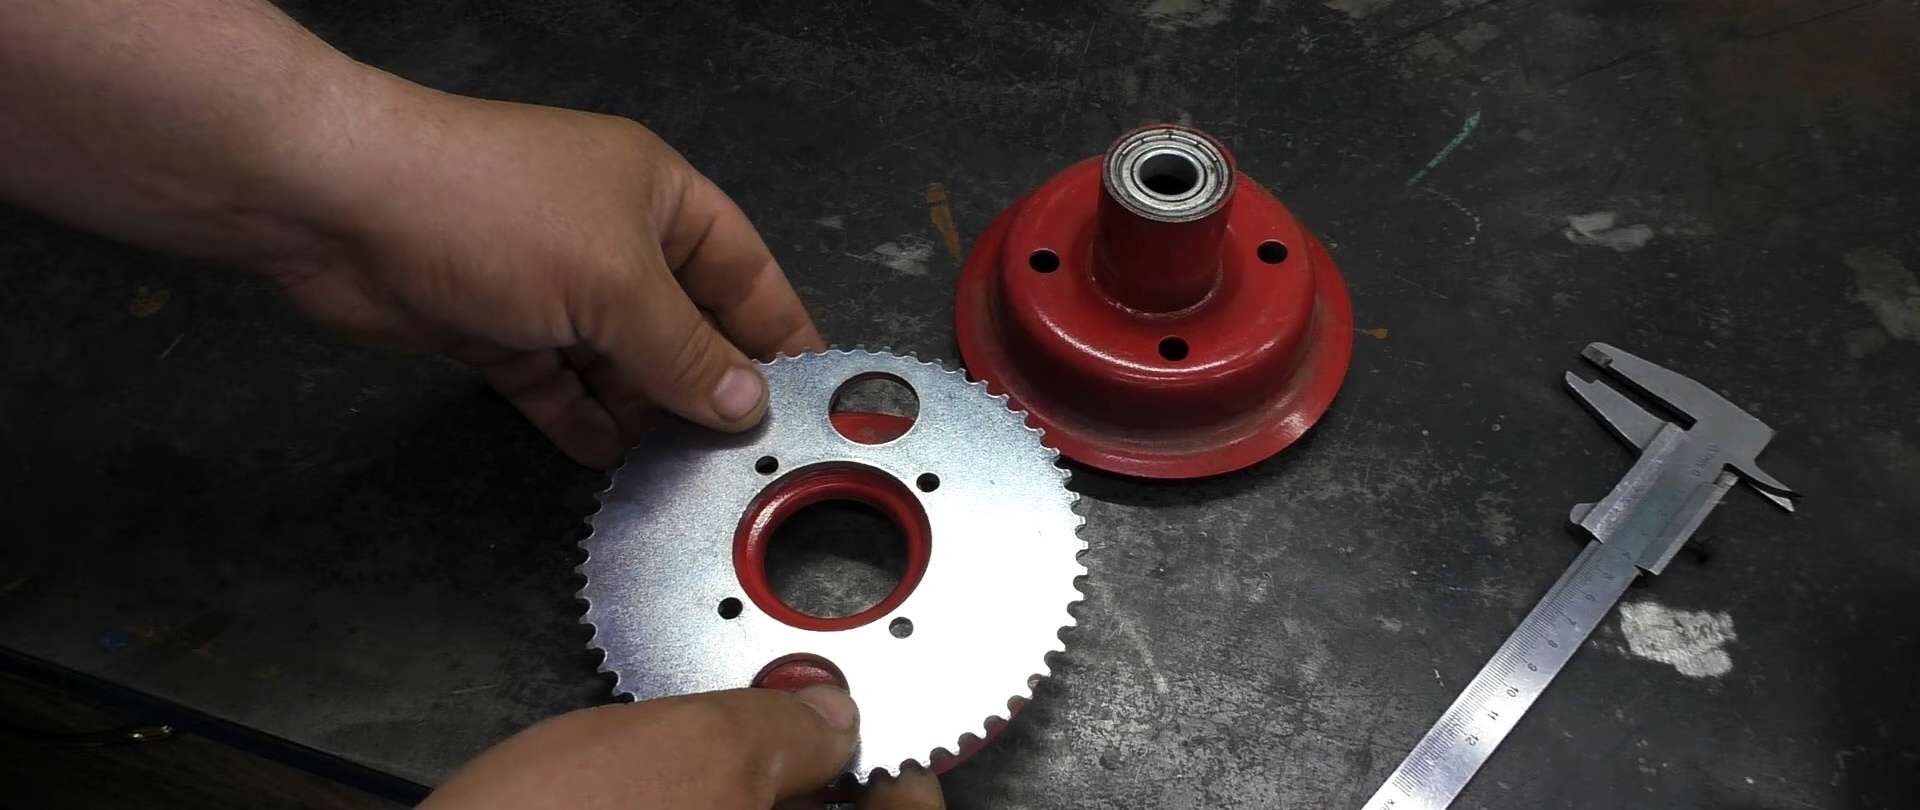
From a sheet of iron we cut out a circle with mounting holes, because...The finished brake disc did not fit. We grind the outer diameter of the circle on a lathe, securing it to a temporary axis in the machine chuck. We expand the central hole.
We cut 4 blanks of equal length from the rod with external thread. With their help, as well as nuts and washers, we attach the sprocket and brake disc to the wheel hub on both sides.


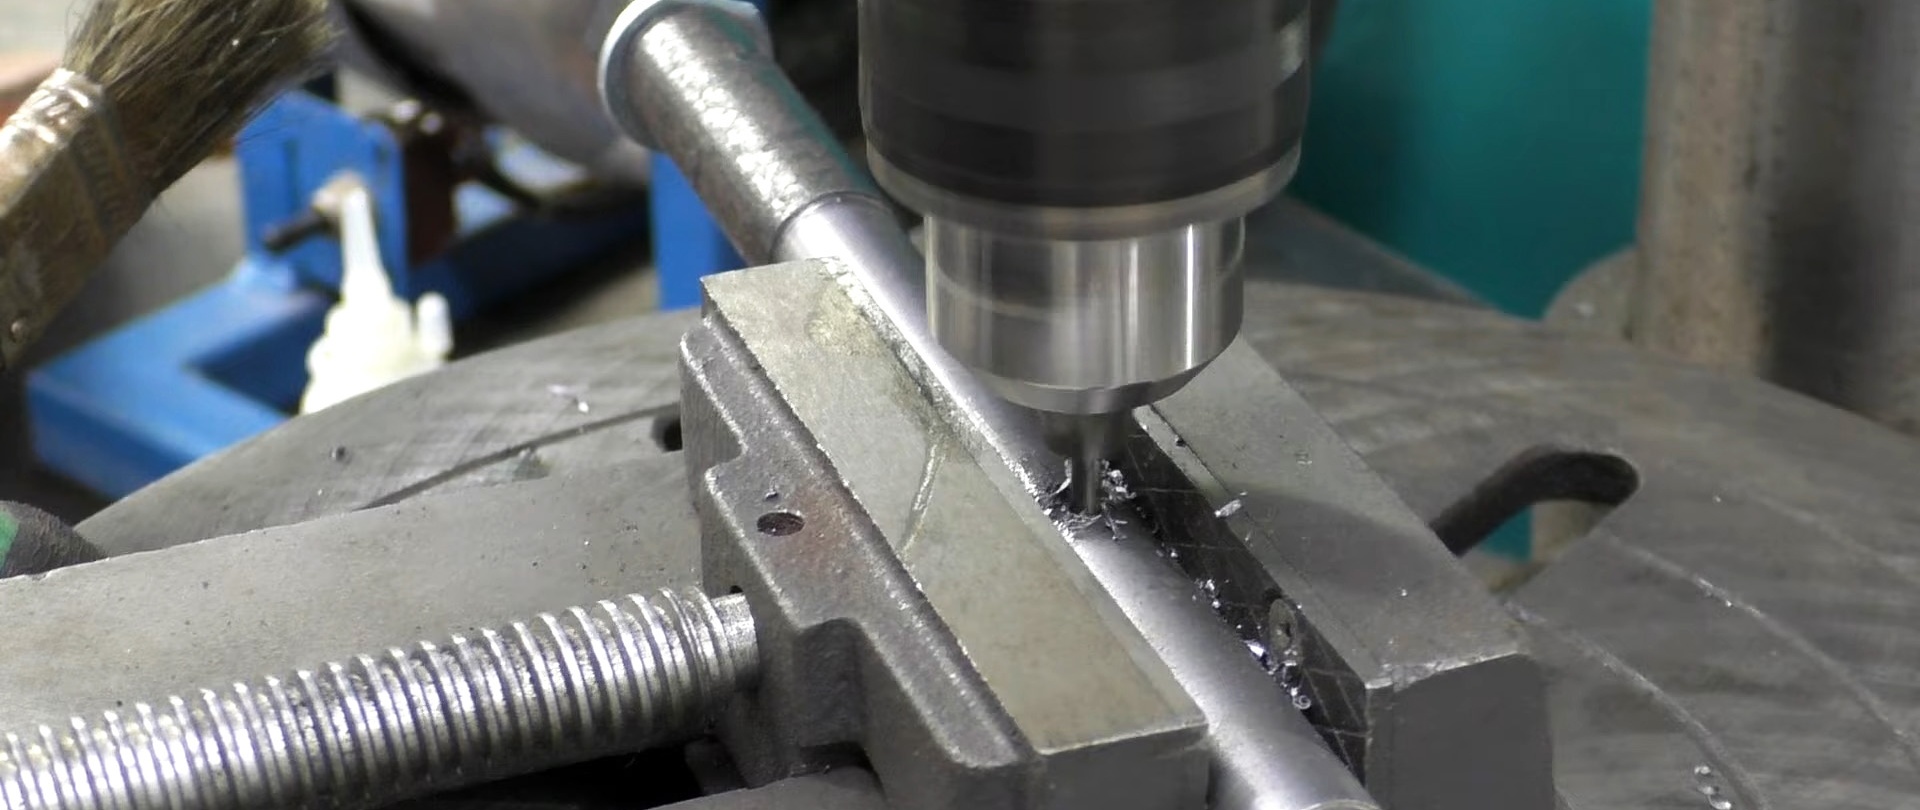
We turn the wheel axle according to the drawing on a lathe and cut threads at the ends. Using a washer cut from sheet iron, a transverse hole in the axle according to the drawing and a spring cotter pin, we fix the wheel on the axle.


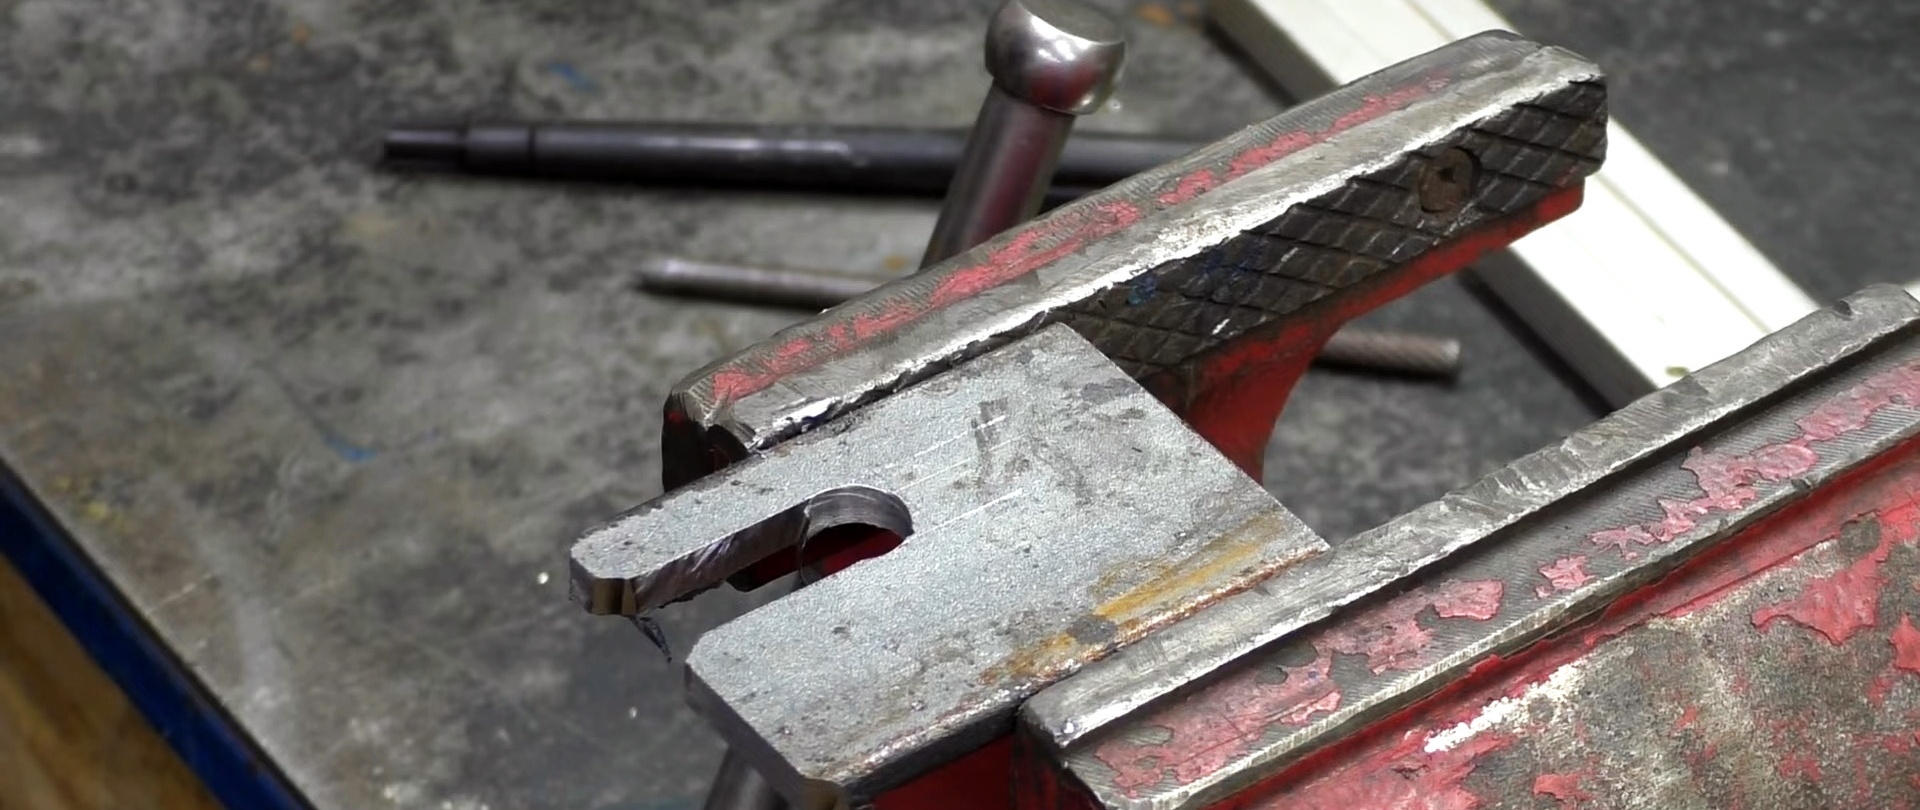
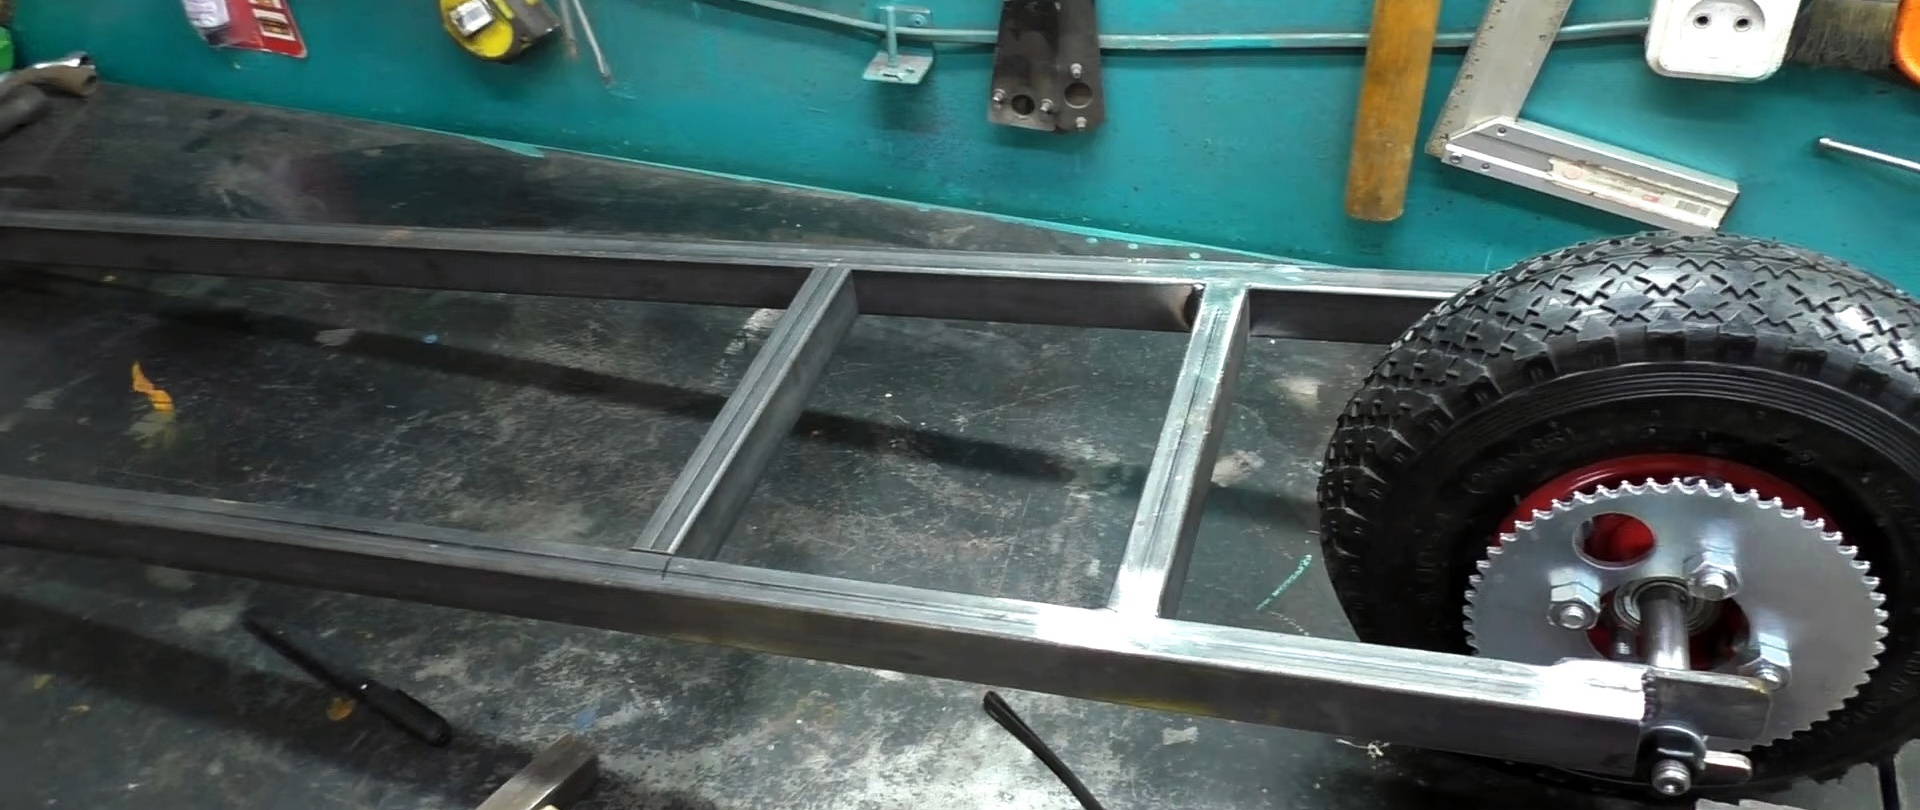
We cut two blanks of equal length from the steel strip, make blind slots with an offset and round the corners. We weld them by placing them on the sides to the ends of the profile rectangular pipes so that the slots face outward.

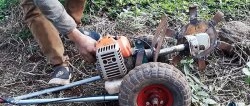
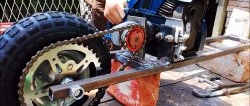
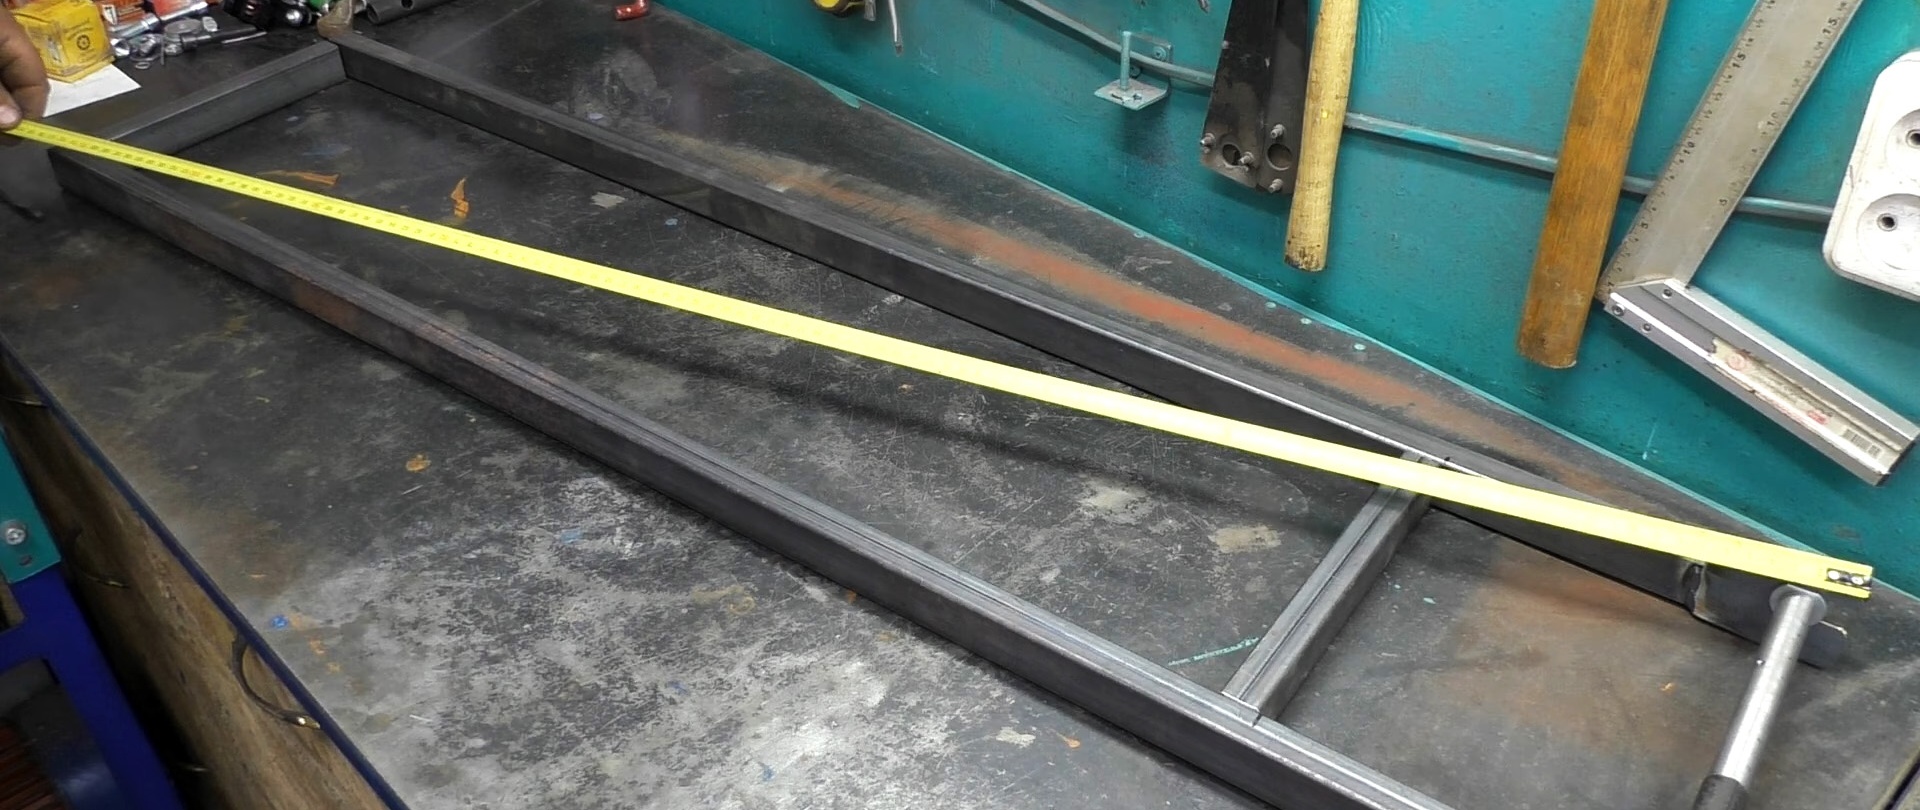
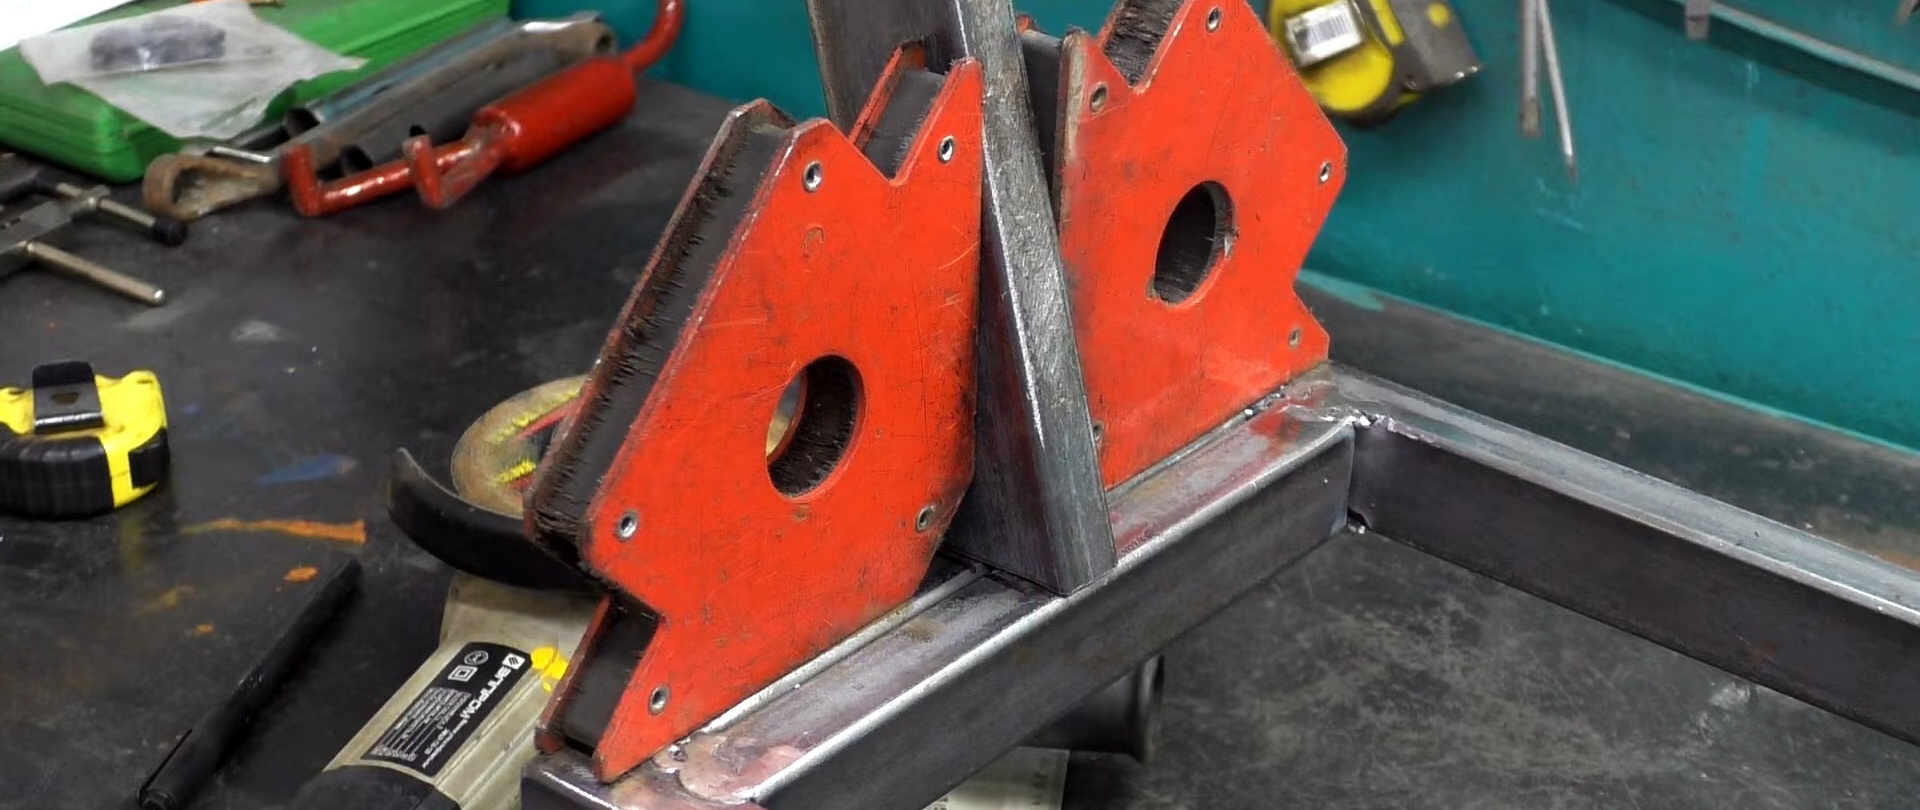
Using crossbars also from profile rectangular pipes, we weld the frame, installing the wheel axle in place and aligning the diagonals. We remove the bell with the clutch cup from the brushcutter engine and return the drive and drive sprocket to their place.

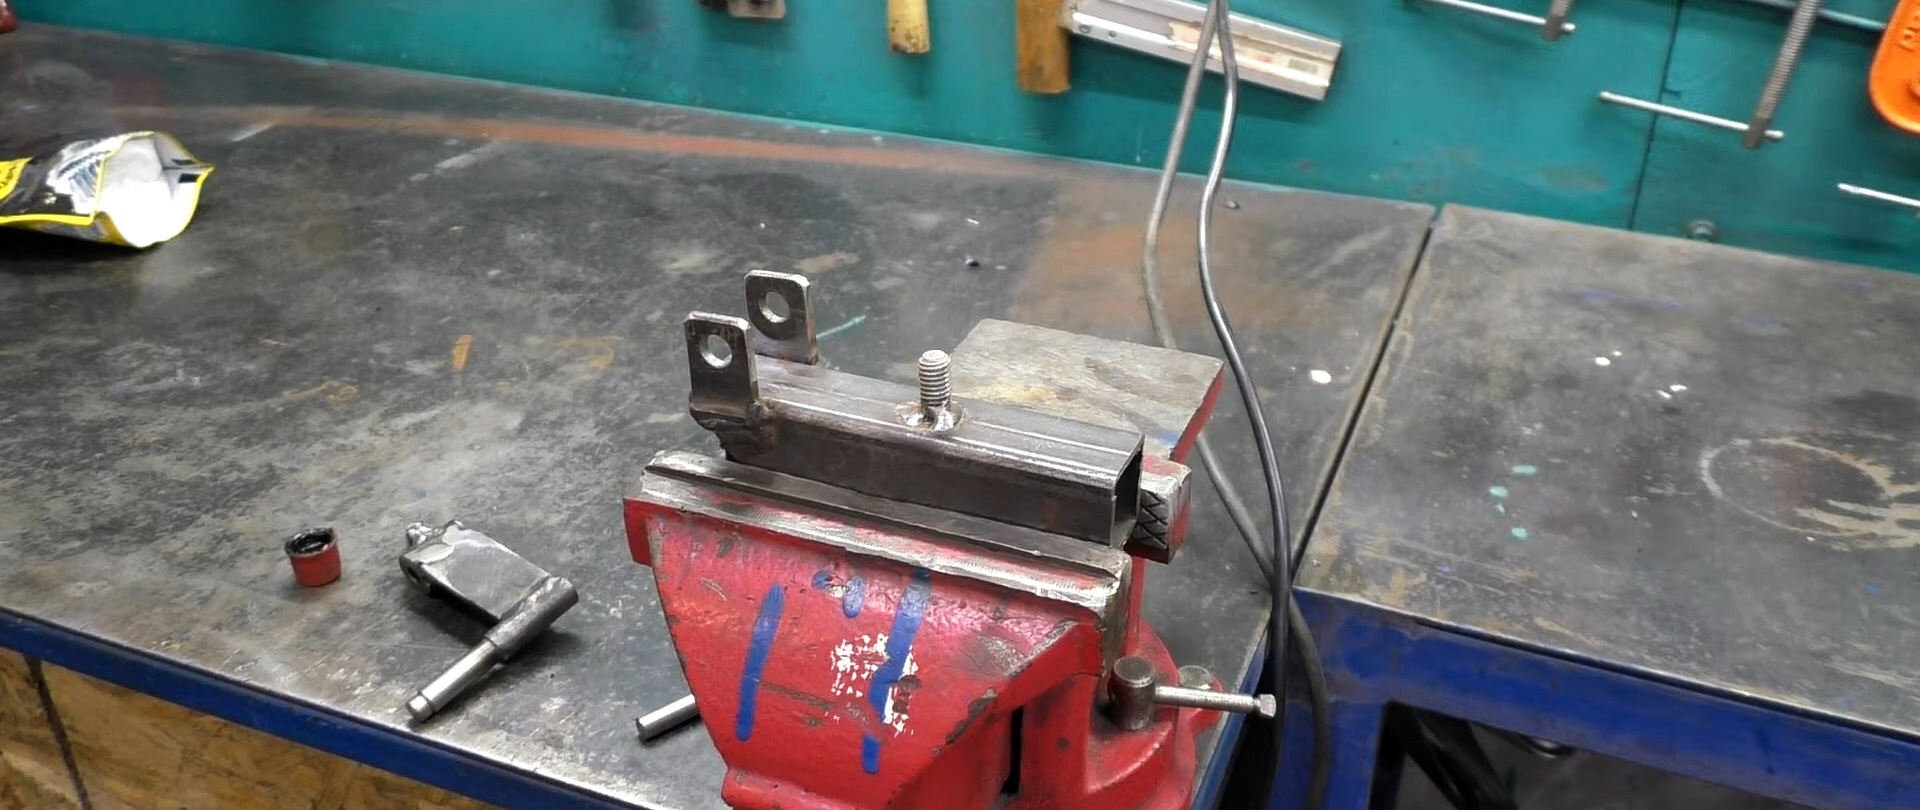
We install the engine with the adapter frame in place using remote elements on the main frame with three externally threaded rods welded to them vertically.

We make a shaped holder for the brake mechanism from a sheet of metal and fasten it with bolts and nuts to the frame in the area of the drive wheel. We also make a bracket for the drive chain tension roller and install it on the frame.


We weld a forward-sloping stand to the center of the front cross member of the main frame, and to it a pipe for assembling the bicycle fork rotation unit. We cut out a rectangle from the OSB board that matches the contour and dimensions of the main frame.


We paint the fork, handlebars and frame with spray paint.Inflate the wheel tire. Insert the axle and secure the wheel to the axle using a ring and part of a spring cotter pin.

We begin assembling the scooter. We attach the OSB platform to the main frame, having made mounting holes in advance, using round-head bolts, washers and bolts. We close the end holes in the frame with plastic plugs.
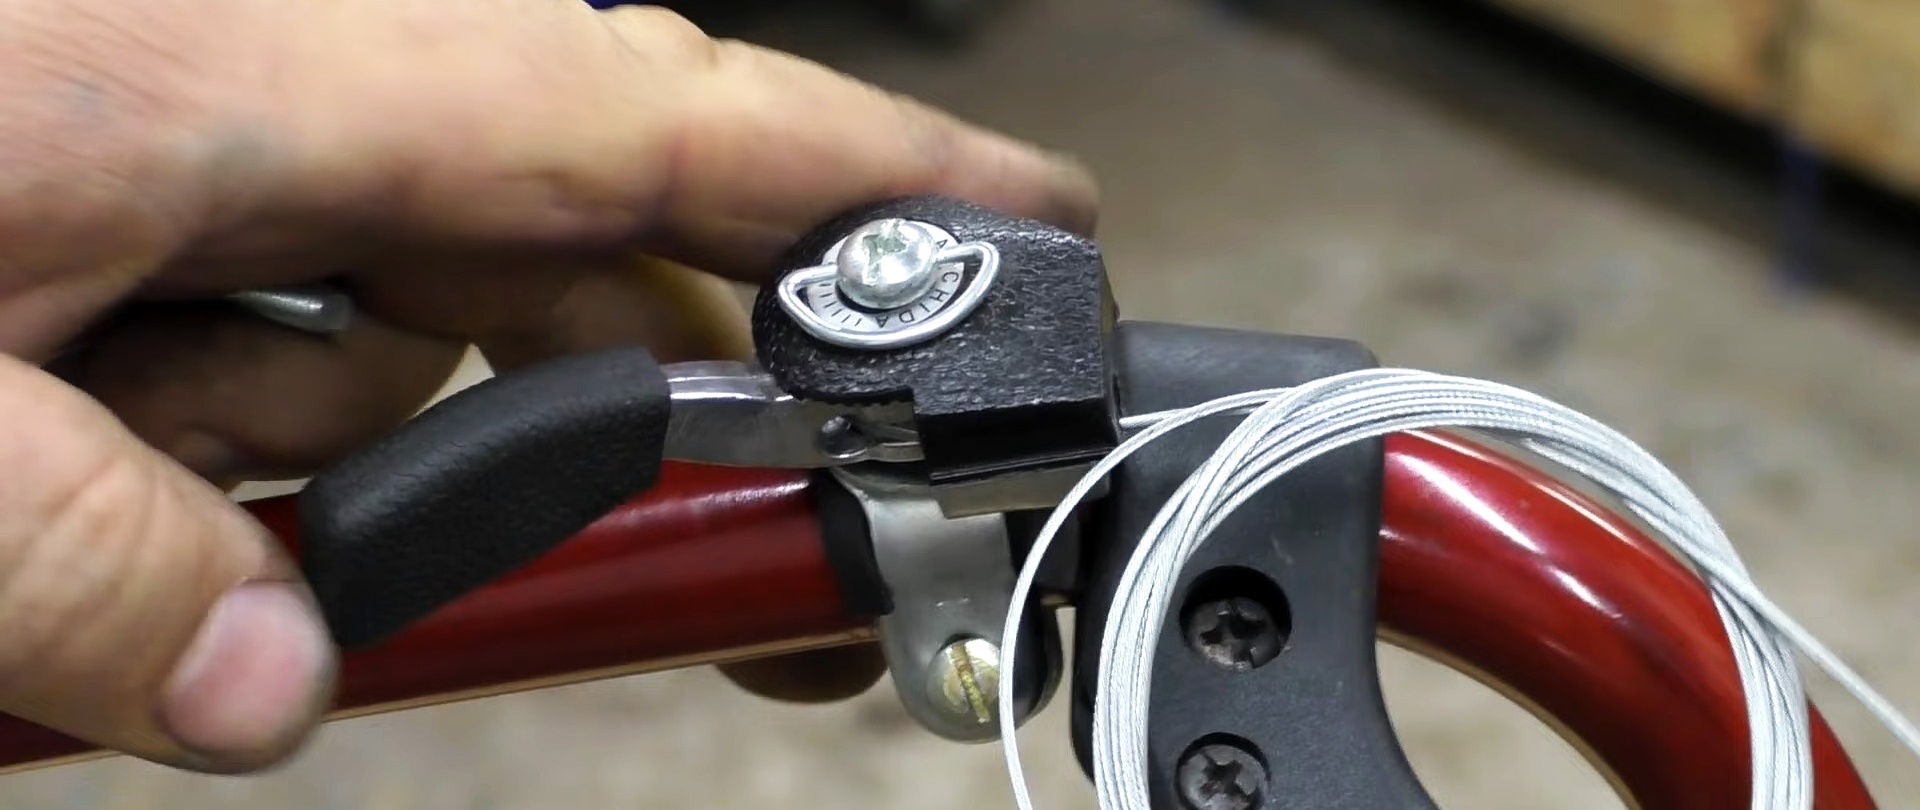
We assemble the bicycle fork rotation unit, stand, stem and handlebars. We mount the engine and brake control levers on the steering wheel, connecting them to the corresponding units with flexible cables in a protective braid. At the ends of the steering wheel we attach the grips with glue.

We throw the drive chain over the driven sprocket of the wheel and secure its axle to the frame. We attach the brake mechanism to the previously installed bracket on the frame.


We attach the brush cutter engine with the adapter frame to the main one using washers and nuts. We connect the brake mechanism and the fuel supply unit, respectively, with the brake lever and the gas handle on the steering wheel with flexible cables.

We install and secure the front wheel from the bicycle to the fork. Our motorized scooter is ready to use.