Processing metal workpieces with a grinder or a drill in the air is not only inconvenient and unproductive, but also dangerous - you can damage your hands. By making a rack of simple design from leftover metal and some available products, working with these tools can be made productive and safe.

Will need
Materials:
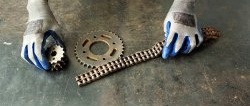
- pipe sections of different diameters;
- 7 nuts;
- rod with external thread;
- head pin;
- steel plate;
- spray paint;
- single sided adhesive tape.
Tools: drill, pendulum saw, vice, hammer, drilling machine, welding machine, clamp, grinder, pliers.
The process of making a universal stand for an angle grinder and a drill
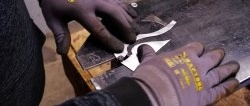
Using a pendulum saw, we cut a short section of a round pipe into halves along the generatrices and remove burrs and roughness. Using a hammer, we change the shape of one half to fit the upper part of the body of the grinder and drill.

We make a notch from one edge of this half and weld to a short piece of pipe from the outside to its end so that the other end of the half is directed to the side. We align the second half at one end and also weld it, having previously made a notch, with the flat side to the end of the same section of pipe. We remove the beads formed during welding and round the edges.


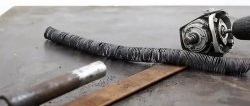
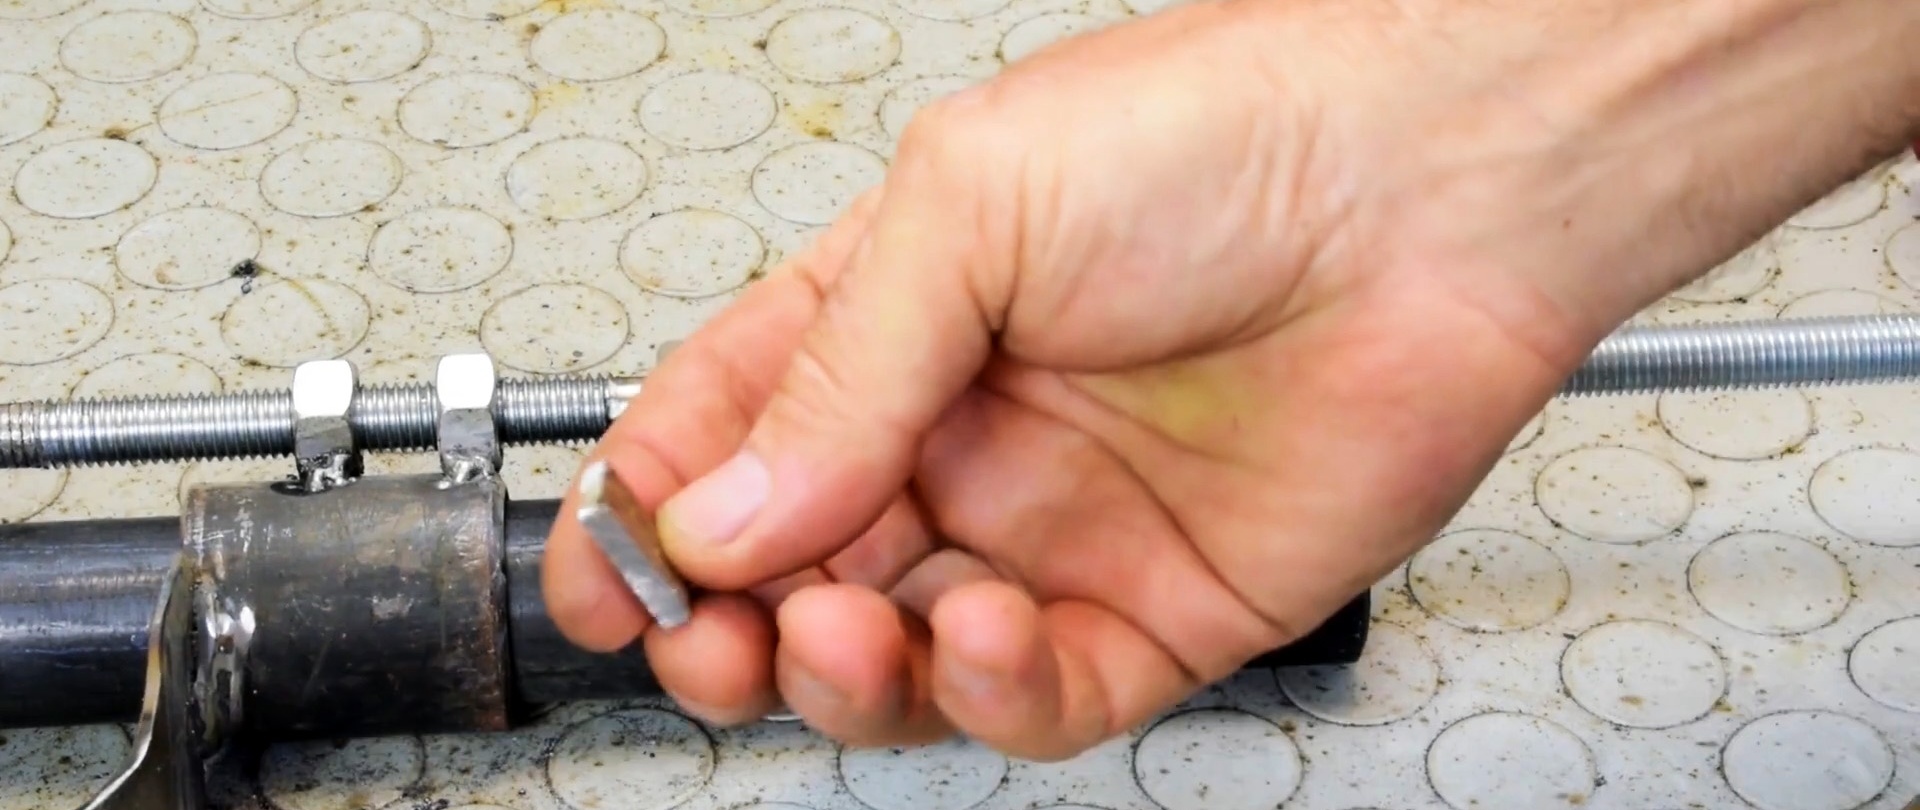
In the nut, use a drilling machine to remove the tops of the threaded thread. On a sharpening machine, we grind 15-20 turns of thread winding from one end of the rod with external thread.

We string short sections of pipes with welded elements onto a pipe of a given length. Two nuts with reamed threads, into which the end of the rod with the threads removed is inserted, weld from the outside to the pipe section opposite the previously welded element and to the bottom of the pipe section vertically.

Under the bottom nut in the rod drill in the radial direction there is a hole into which we insert a pin with a head and rivet the other end. We weld two nuts, also screwed onto the rod, to the second section of the pipe.
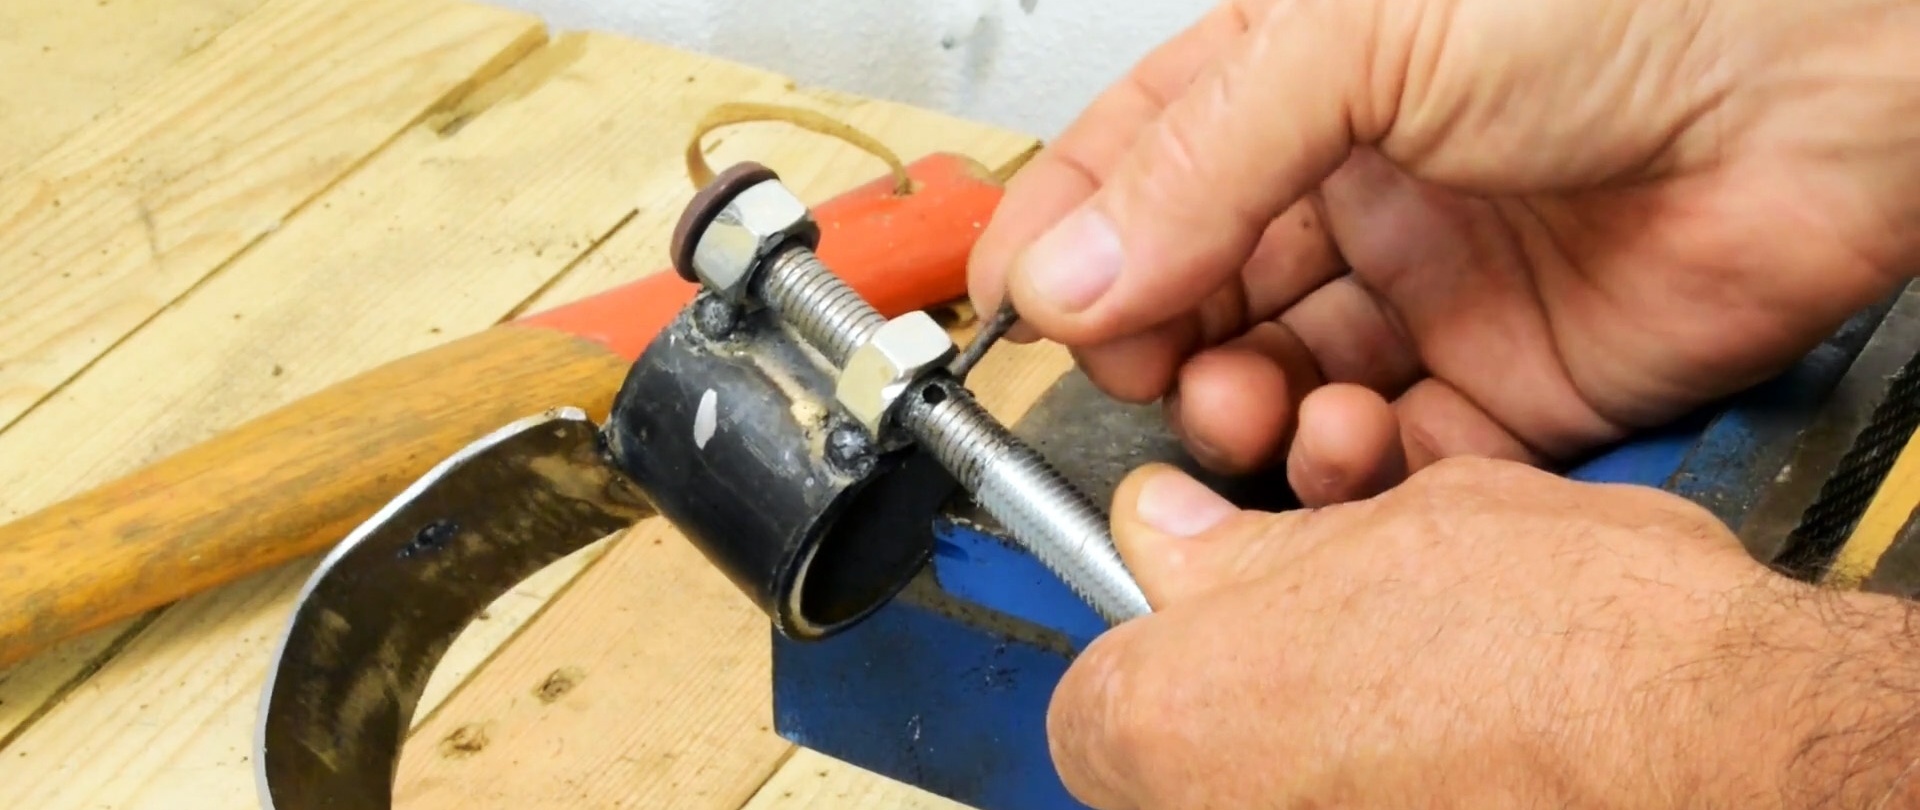
We place another nut on the section of the rod with the ground threads, between which and the surface of the long pipe we place a plate of the selected thickness and weld it there. Cutting off threaded end of the rod and weld it vertically to the head of the rod. If you rotate the externally threaded rod, the staples will either converge or diverge.


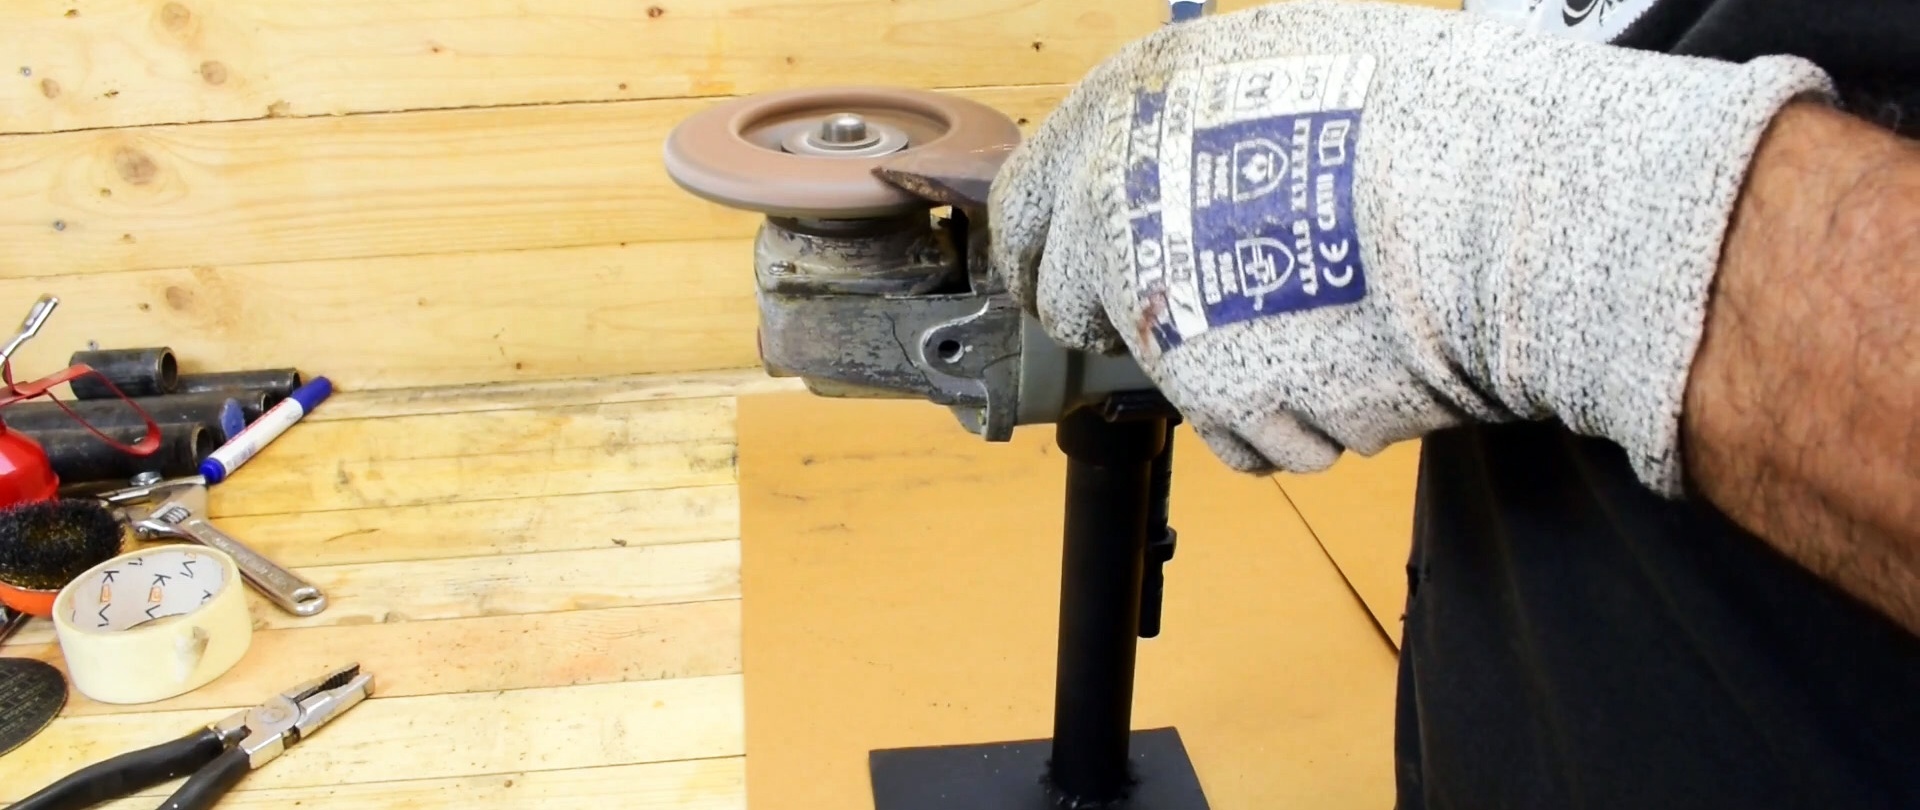
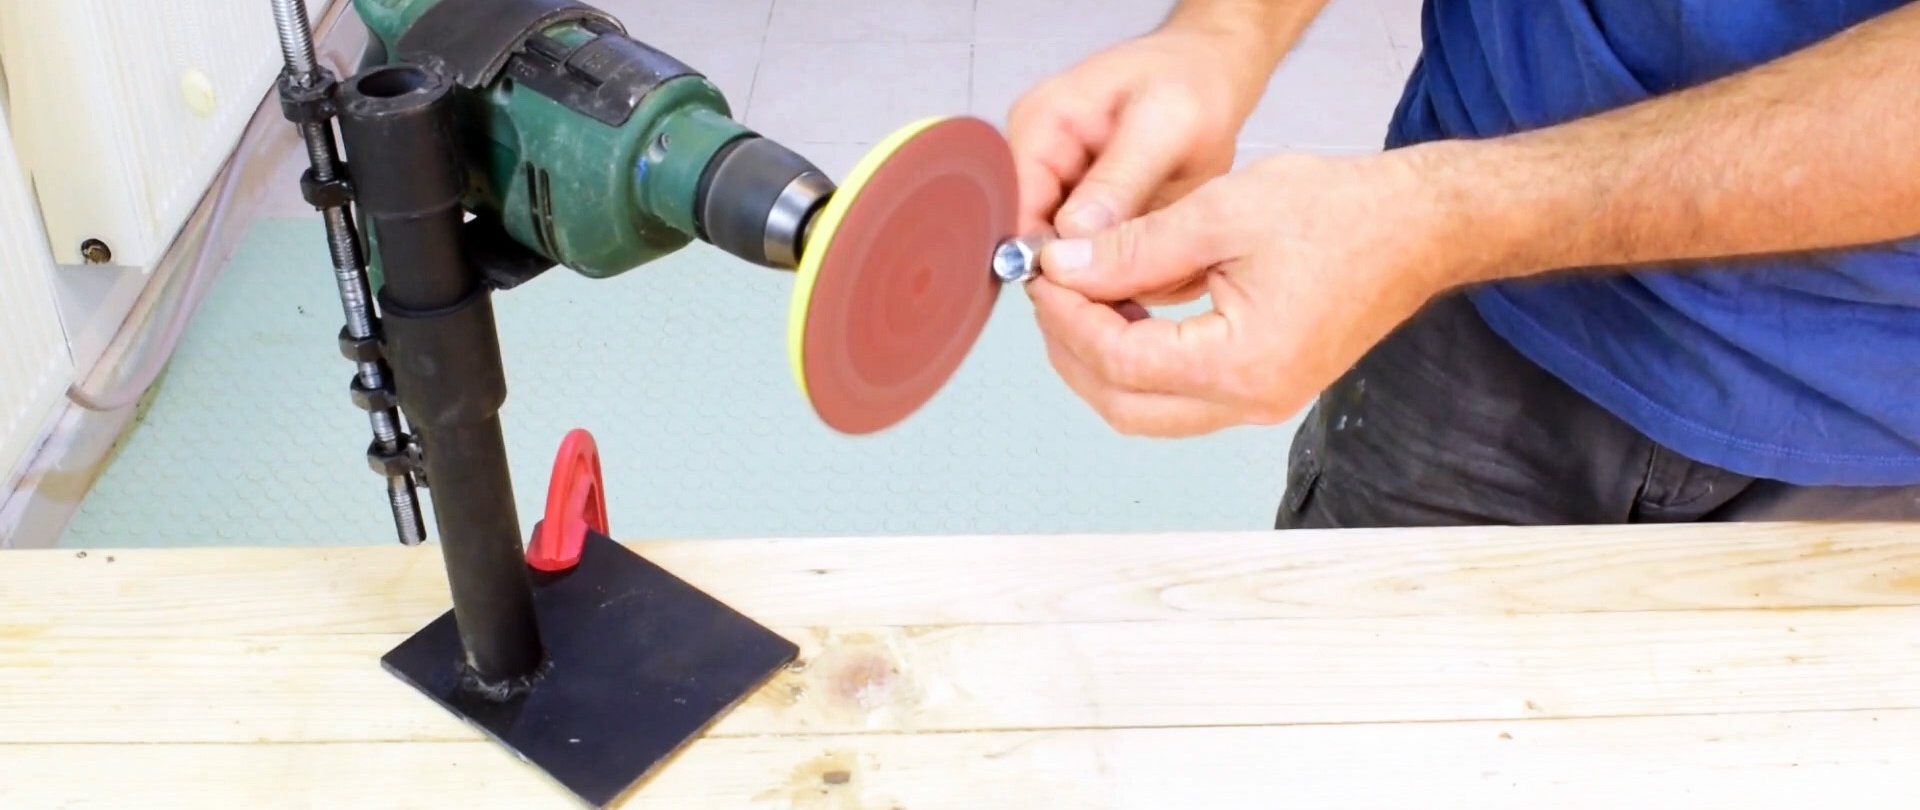
We place the lower end of the rack on a steel plate vertically closer to one corner and weld. We paint the resulting structure with spray paint. We glue thick single-sided adhesive tape to the inside of the staples.
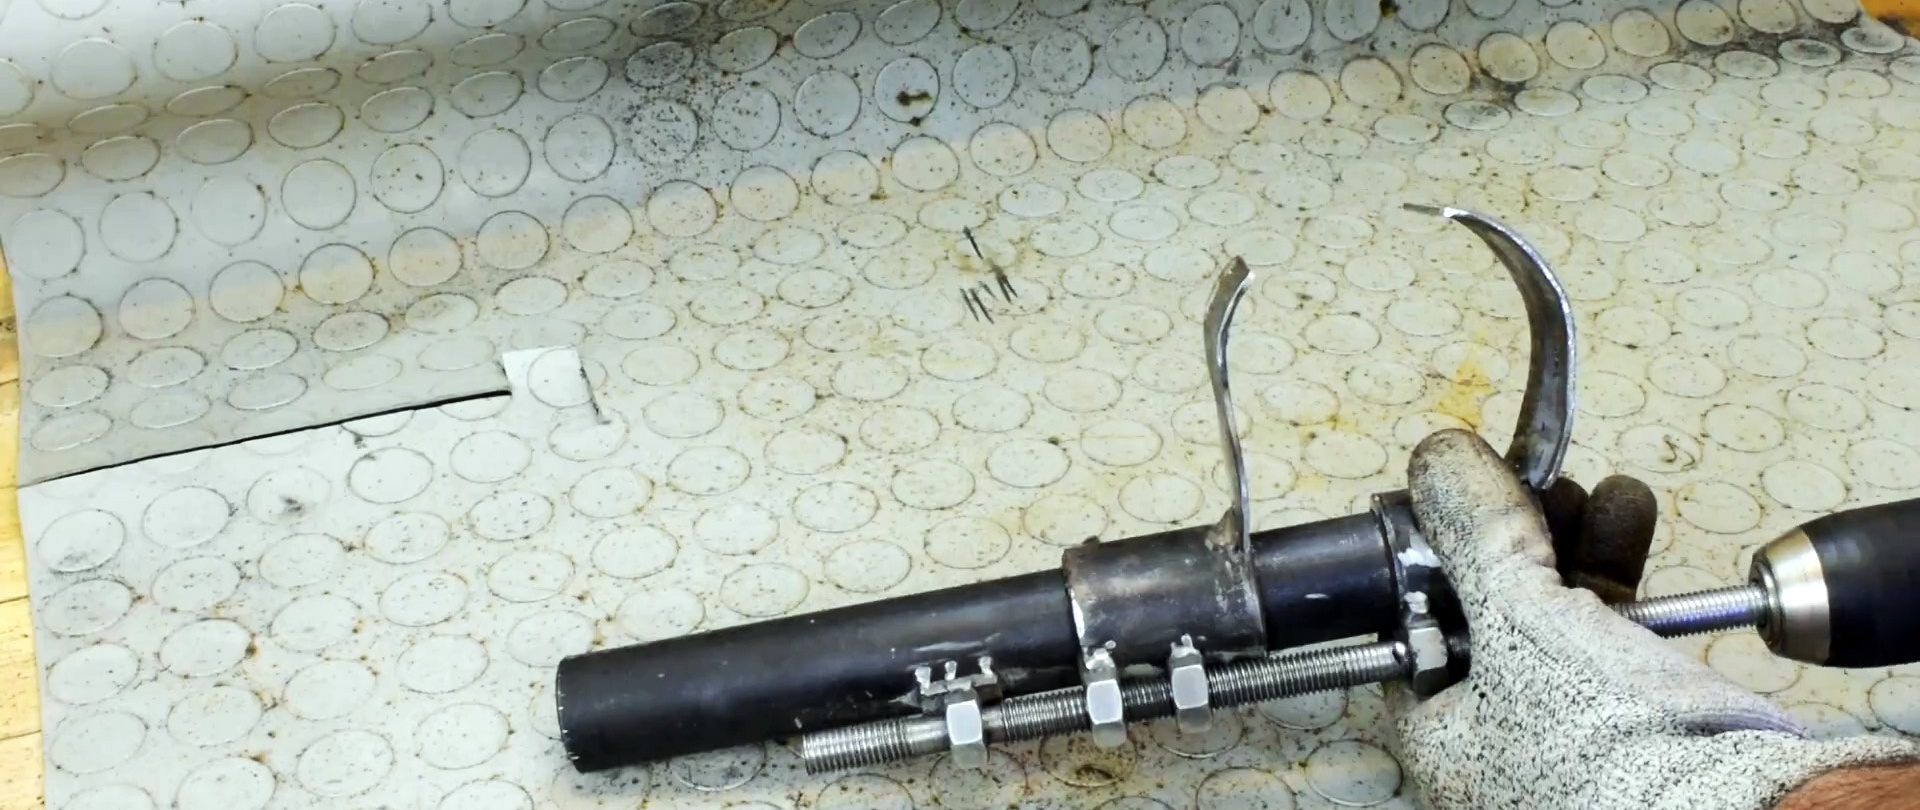

We install a grinder or drill between the brackets. By rotating the threaded rod, we fix the tool on the stand and perform the necessary operation.At the same time, both hands are free, which ensures high productivity and safety.