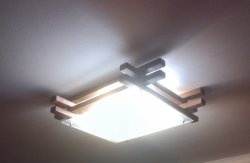
Lamps, flashlights, ARBs and table lamps, free-standing and stationary, ordinary and outlandish, there is so much choice now. However, not a single person would refuse to have in his interior a thing that no one else has, that exists in a single copy. For such an acquisition, money and price are not the main thing; you will also have to work with your own hands. Although it will, of course, end up being cheaper than in the store. And this is also important in our time. I have made a lot of decorative lamps and table lamps, for orders, in present, for myself. Some are described in previous master classes. Today I want to offer another option.

It is not intended for reading or good room illumination; the main function of this lamp is to decorate the interior and add coziness.
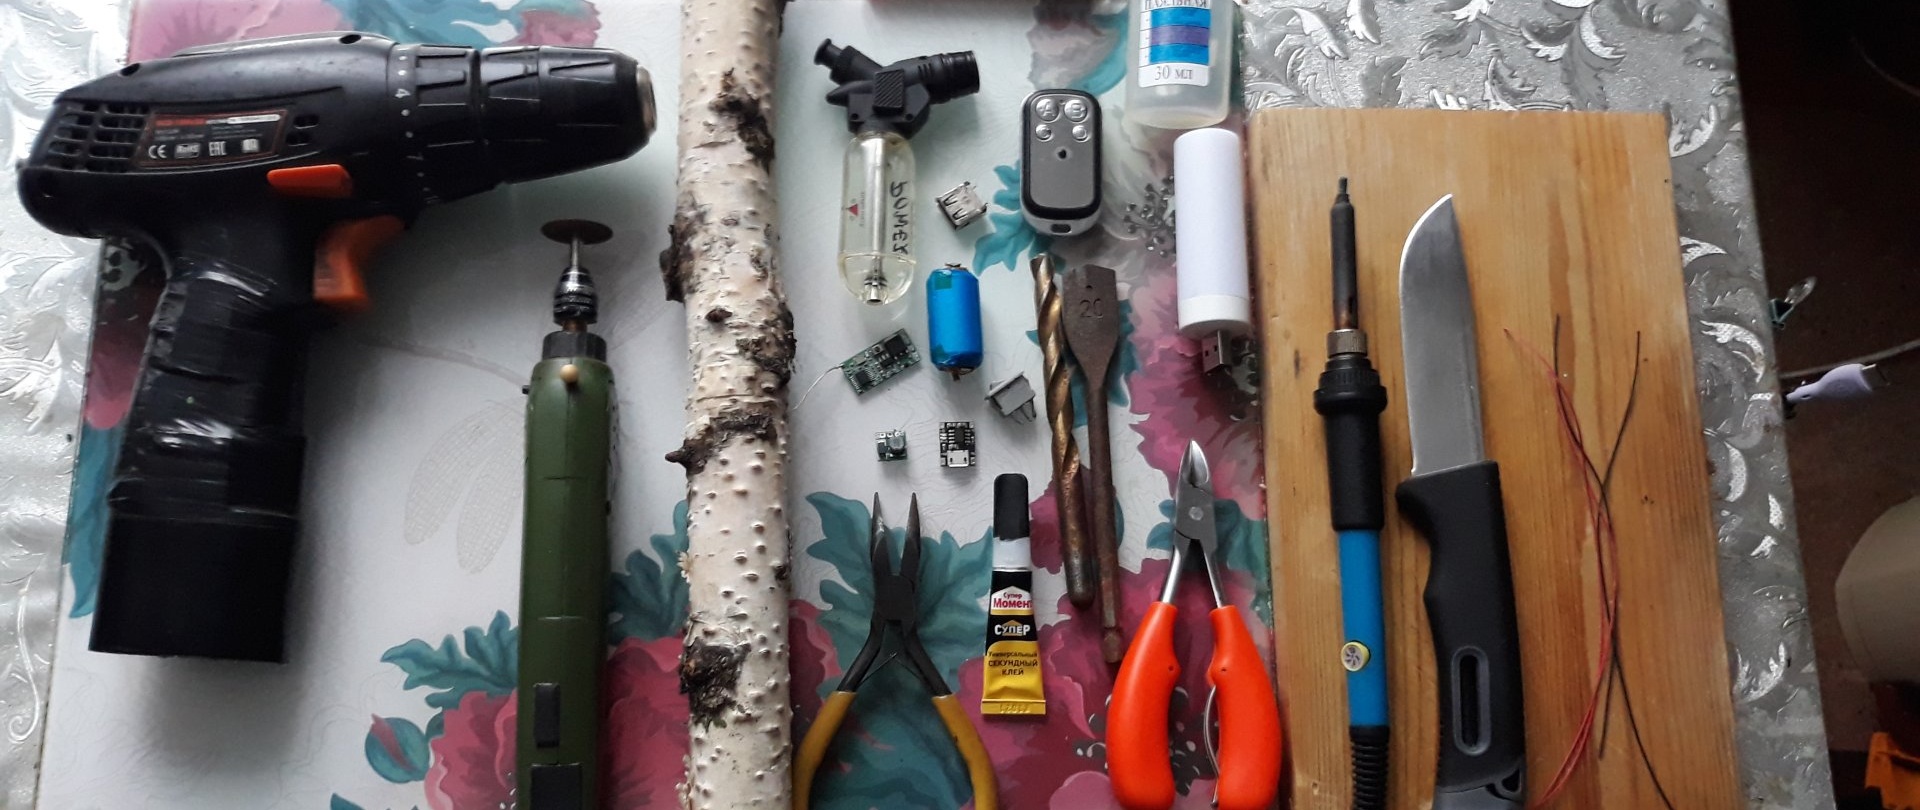
Will need
- For the base - a birch branch, 40-45 cm long, 3 - 3.5 cm in diameter.
- A small strip of birch bark.
- Drill.
- Drills 10 mm, 3 mm, and pen 20 mm.
- Rechargeable battery, caliber no thicker than 18 mm.
- Secondary glue and hot glue.
- Wire cutters, pliers, knife, scissors.
- Soldering iron, with solder and flux.
- Thin wiring, from a USB cable, preferably red and black.
- Heat-shrinkable tubes of different diameters.
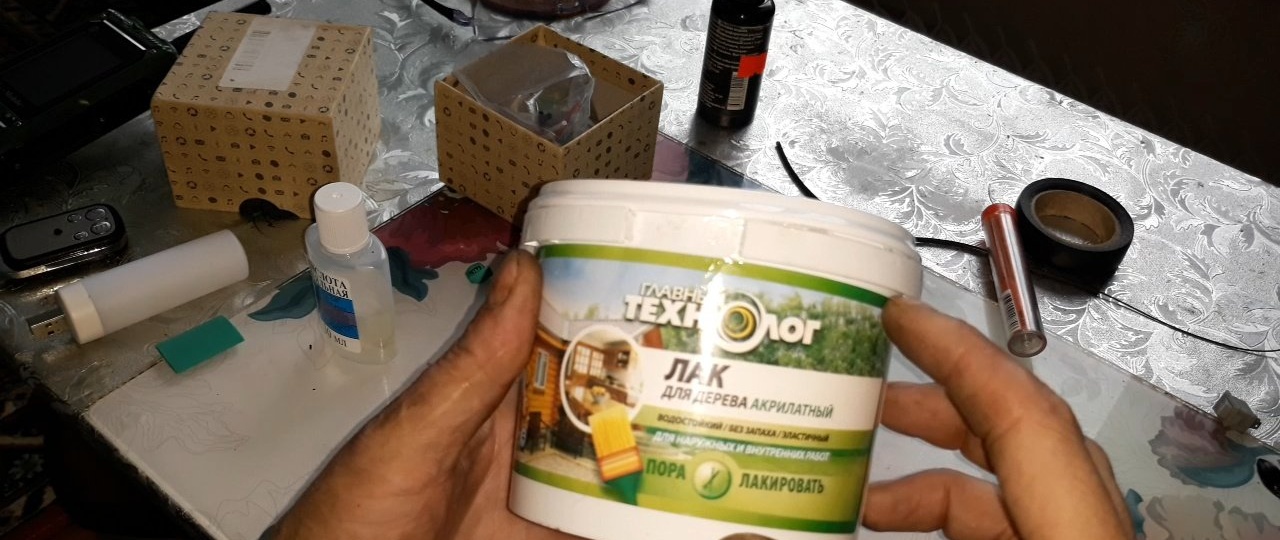
- Clear acrylic varnish and black acrylic paint.
- 4.2V Li-Ion Battery Charging Module.
- Module that increases voltage up to 5 V.
- Switch (I took a remote, radio-controlled one, but you can also use a regular one).
- USB connector (“female”).
- USB light bulb with flame effect.
Making a lamp
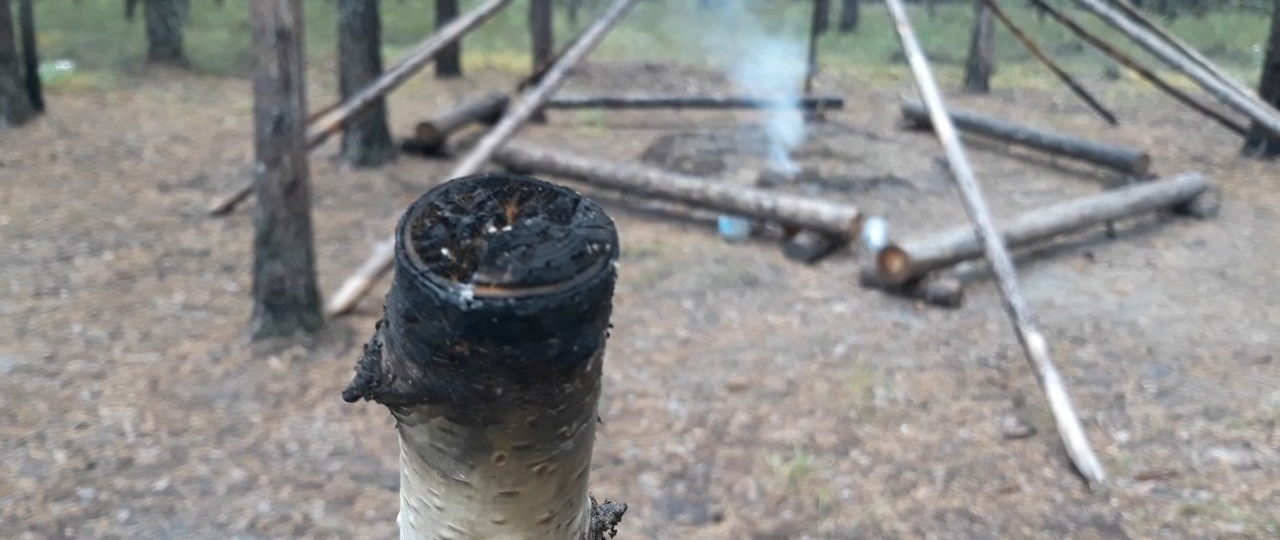
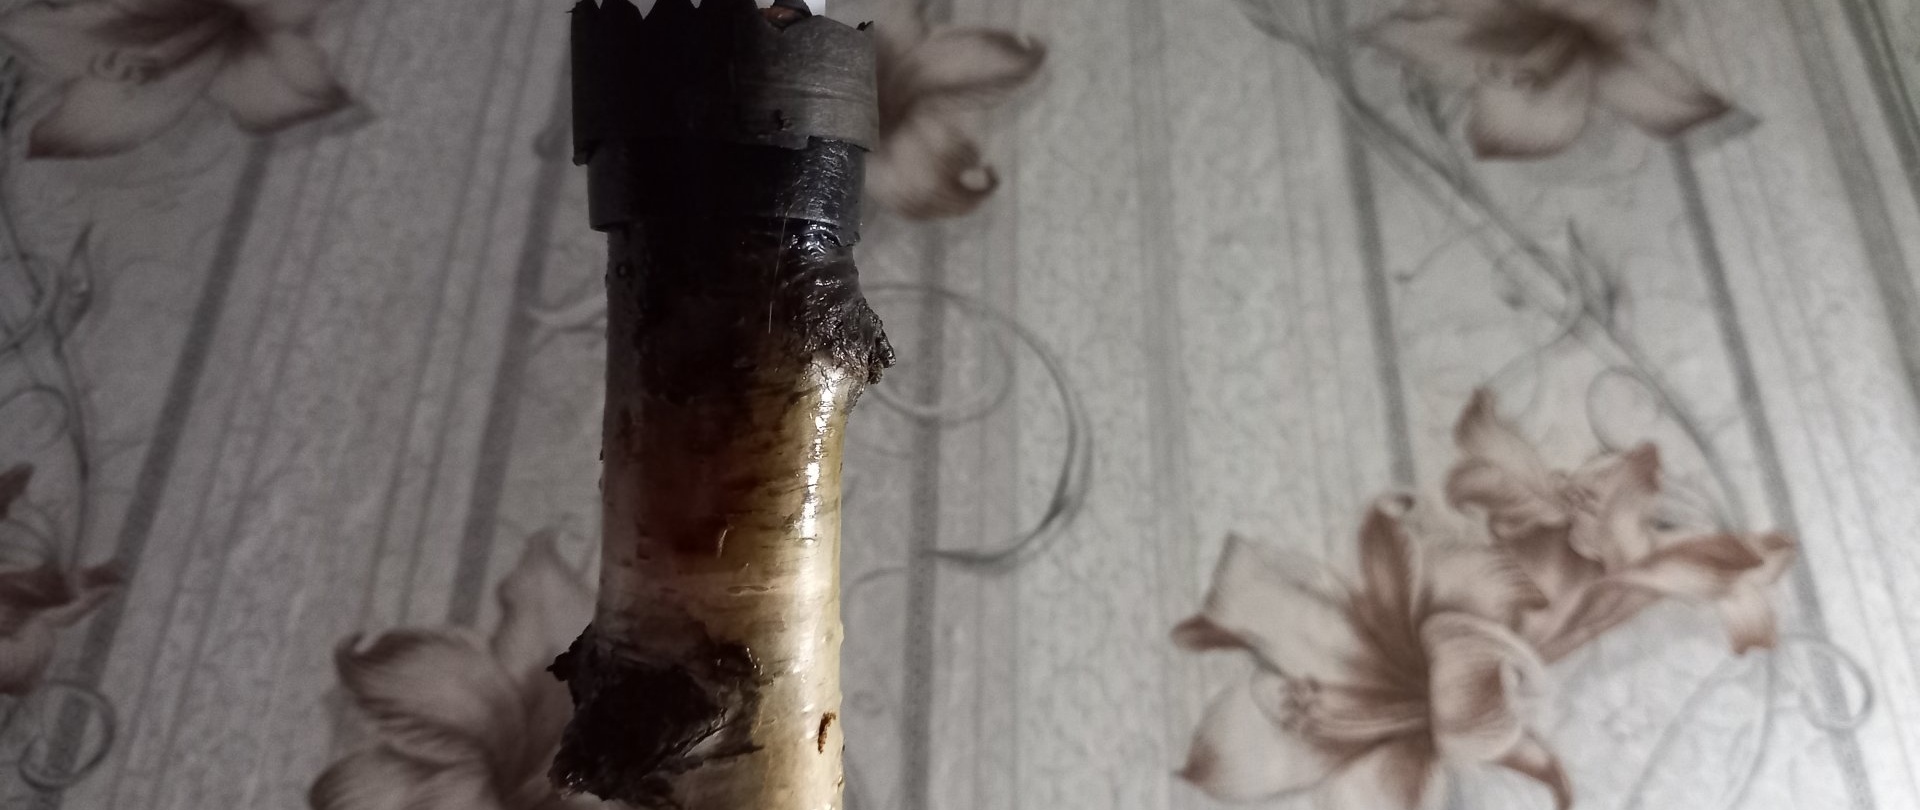
The first step is to select a suitable workpiece. Namely, dry birch branch.

You shouldn’t damage a living tree (especially since we don’t need fresh wood - it will lead and become warped when it starts to dry), in any forest belt, or in a park, there is a lot of this stuff under your feet. You just need to look carefully to ensure that the branch is dry and not rotten. I think everyone is able to distinguish dry wood from rotten wood, scrapped or cut. Next, you need to cut or break off the specified length for the future “torch”.

The end that has a more pronounced thickening must be scorched and charred in the fire.
This can be done with an ordinary turbo lighter, or a gas blowtorch, or even on a gas stove with a good hood, in the end! I, due to circumstances, found myself in the forest, simply lit a fire and carried out all the preparatory work with the preparation there. Why is it important to burn? This is necessary in order to give the necessary decor workpiece No paint can achieve this result. And then, as we work, we will add the desired color scheme with black paint. So, having prepared the appearance and size, you need to make a recess in the scorched end for the battery and microcircuits.We will do this with a drill and a pen. First, let's calculate the required depth so that all the above-mentioned filling can fit there. Next, drill a hole of the required depth in the center with a 10 mm drill. Now we work along this hole with a pen.

The diameter of the hole should be based on the diameter of the battery. I took a battery from an electronic cigarette with a diameter of 18 mm and a capacity of 1200 mAh.
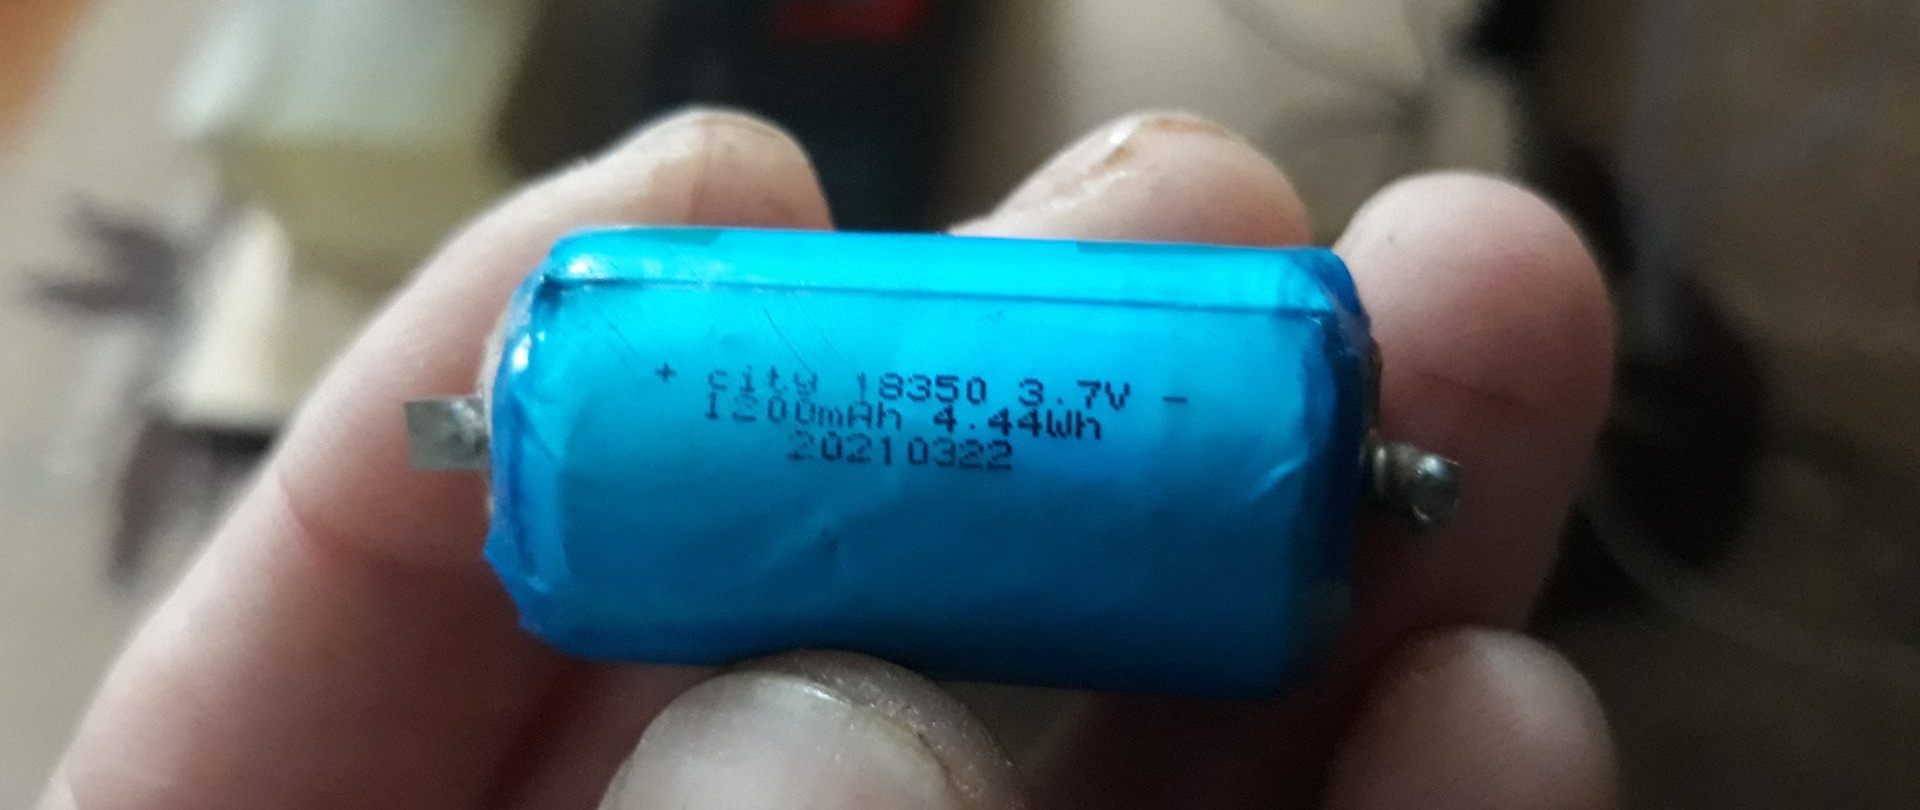
It is quite capacious for its size. But if you want a more capacious one, you can drill a hole deeper and install an 18650 battery of the capacity you need. Next, we calculate the bottom of the recess from the outside, and use a 3 mm drill to drill a hole for the charging module.

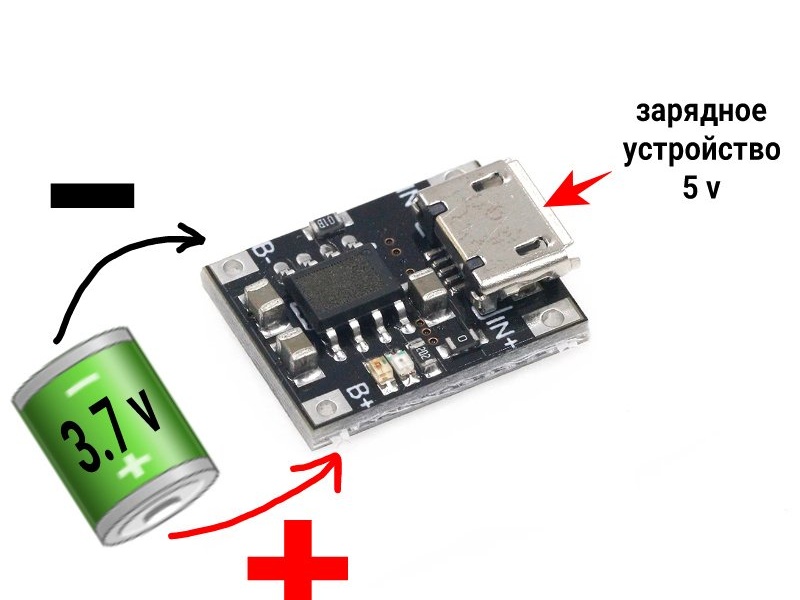
The charging hole should be located at the very bottom of the recess. We solder the wiring to the contacts of the charging module, bring the wiring out through the hole at the top, and using one-second glue, fix the module in the hole drilled for it.

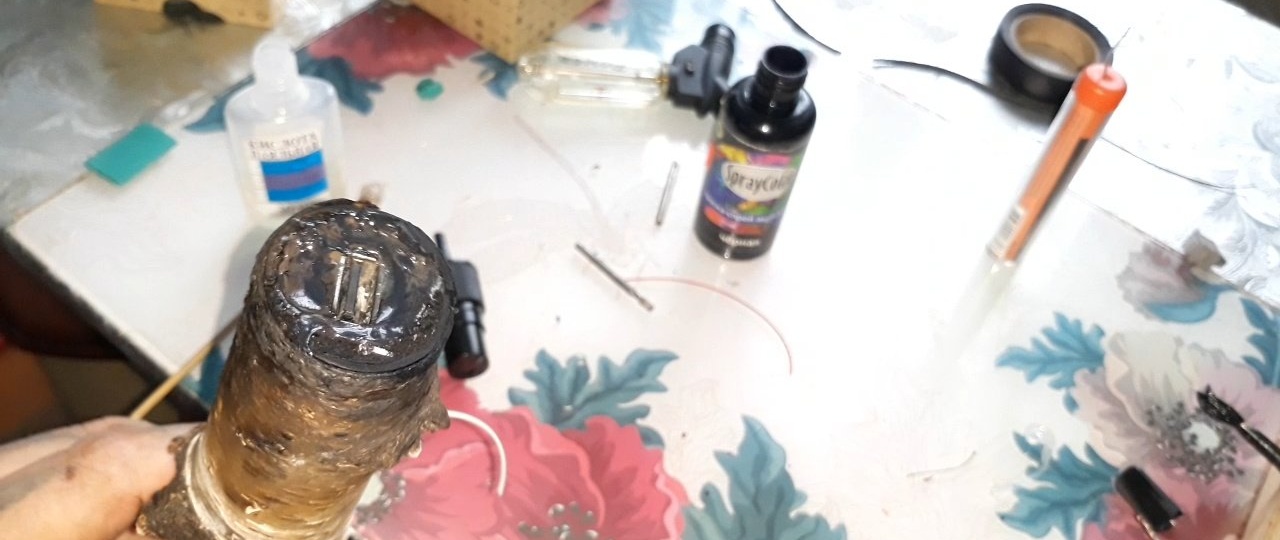
Now we solder the boost module to the battery contacts.


Maintain polarity. We insulate the booster module with heat shrink. Now it's the switch's turn. Of course, it was possible to install a regular switch, but I had a radio-controlled one lying around, and I decided to attach it to this lamp. In addition, I thought that it would be much easier to drill a thin hole for the antenna wiring output rather than puffing and puffing out a rectangular hole for the switch. So, solder the switch according to the diagram.


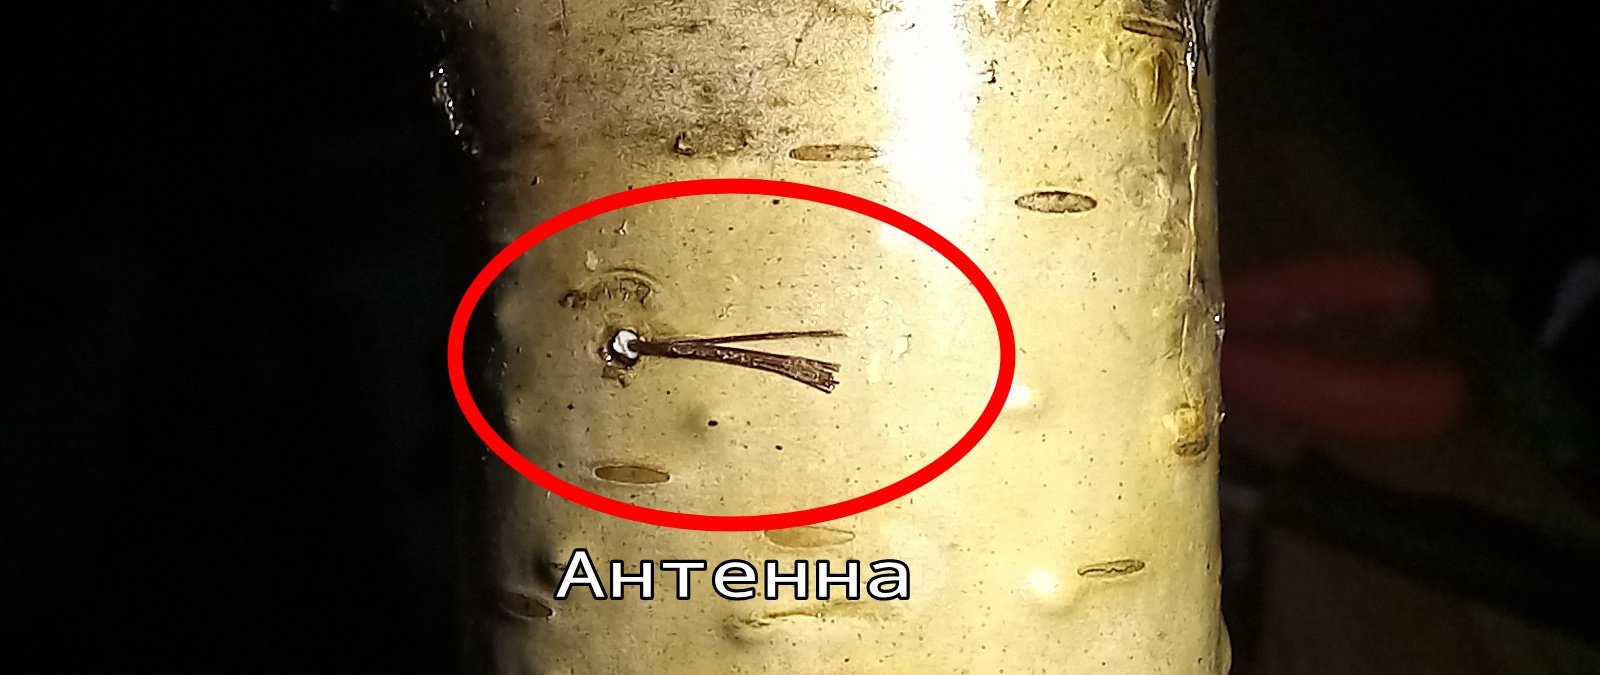
We also insulate the board with heat shrink. Don't forget to solder the antenna wire. We insulate the battery contacts with hot glue.

Next, use a 1 mm drill to drill a hole for the antenna inside the recess. We bring the antenna wires out, while simultaneously pushing the entire filling inside the recess.Only two wires should stick out from the output of the radio switch, for the USB connector.

We solder the USB connector to the output wires, according to the polarity, and install it inside the recess, securing it there with hot glue.
All that remains is to cover the whole thing with acrylic varnish.
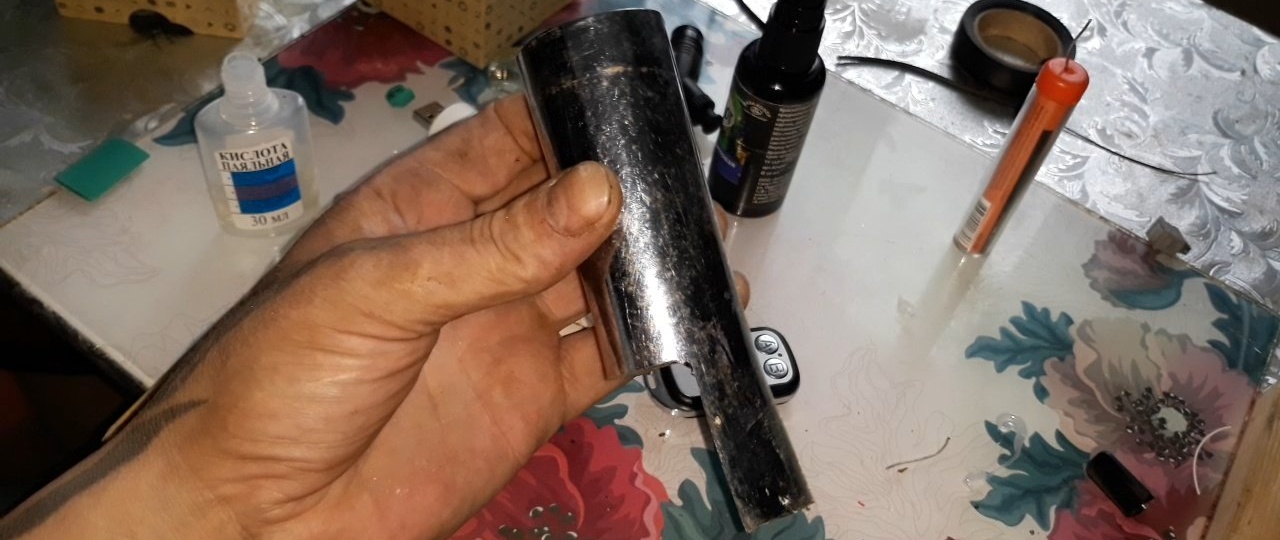
Well, I cut the rod on an emery machine from an ordinary chrome-plated tube, and didn’t bother too much.

Here everyone can make a stand to their own taste. This is the kind of torch lamp we got.

The antenna wire can be shortened to a minimum, strip the braid from it, and glue it to the outer wall of the torch.
This is quite enough for a signal at a distance of a good couple of tens of meters. The flickering effect of the flame is not visible in the photo, but in the video below the article everything is fully visible.