A wooden ax handle made of any type of wood begins to dry out over time, its fibers become denser and compressed, and nothing can be done about it. This is the nature of wood structure. As a result, the ax head becomes loose on the handle and it would seem that there is no way out of this situation, no matter what tricks we resort to. But it turns out that it exists if, when implementing this operation, you use a piece of ordinary rubber, for example, from a car inner tube.

We place the ax on the ax handle securely
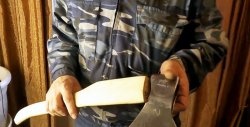
First of all, we remove the ax head from the ax handle and inspect it. If it is still in good condition, then using a hand hacksaw to saw off the part on which the ax head sat, we reuse it.

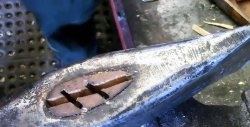
Then we mark the place for the future wedge and make a longitudinal cut in the middle of the cross-section of the end of the handle using the same hand saw to approximately the depth of the width of the butt of the ax head or a little less.

Using sandpaper, we grind down the part of the ax that will fit into the eye evenly on all sides by about 1 mm, taking into account that the thickness of our rubber is 2 mm.Otherwise, it will not be possible to insert the ax handle, wrapped in rubber, into the eye of the ax head.
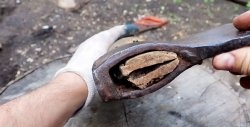
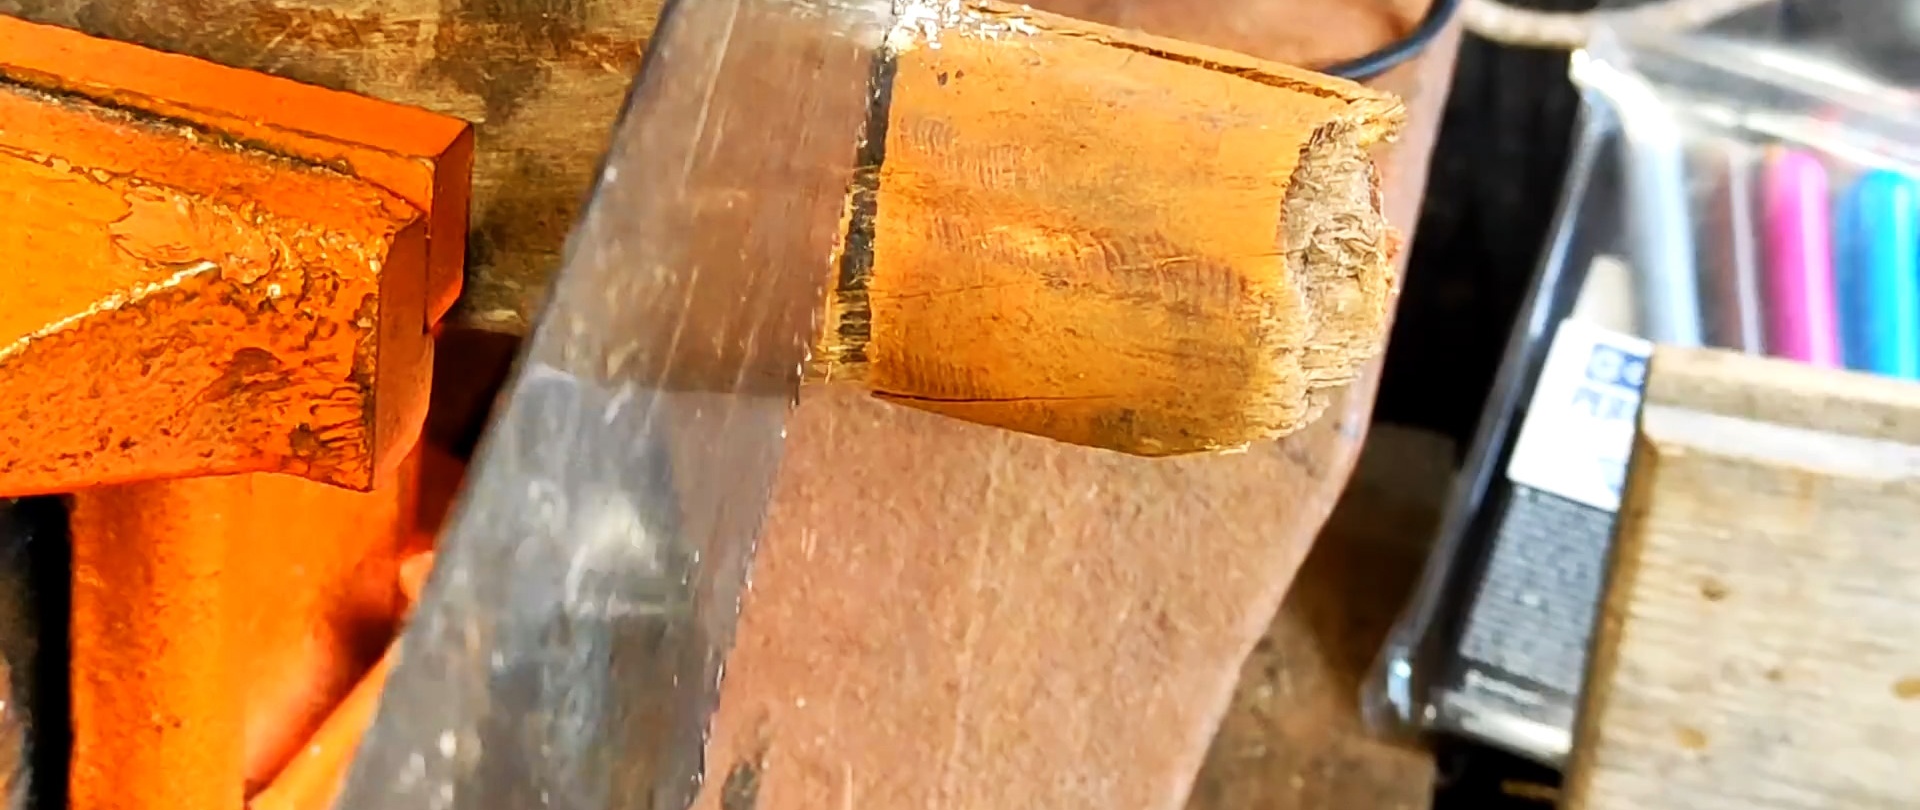
We wrap the treated part of the handle with a piece of rubber suitable in length and width, lubricate the joints superglue, bring the edges together and press them against the ax handle for about 1 minute. In the front part of the axe, the rubber should protrude beyond its limits.
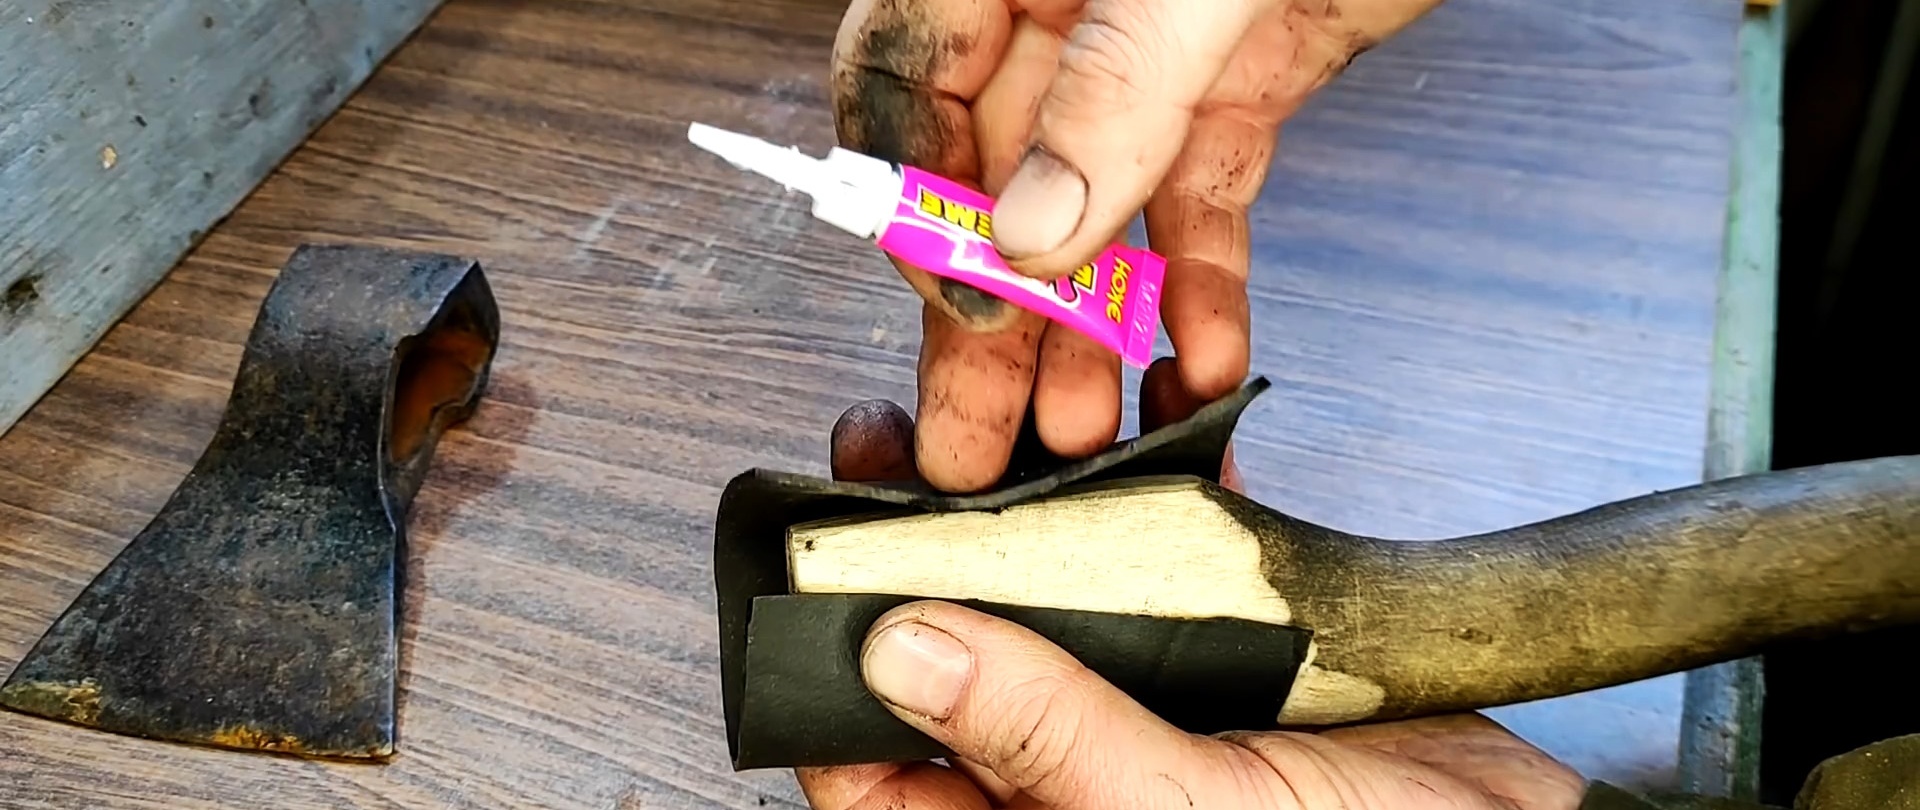
To make it easier to insert the ax handle wrapped in rubber into the eyelet, lubricate the outside of the eyelet and the inside of the eyelet with WD-40. We push the head of the ax on the length until the end of the ax appears from the front edge of the eye.
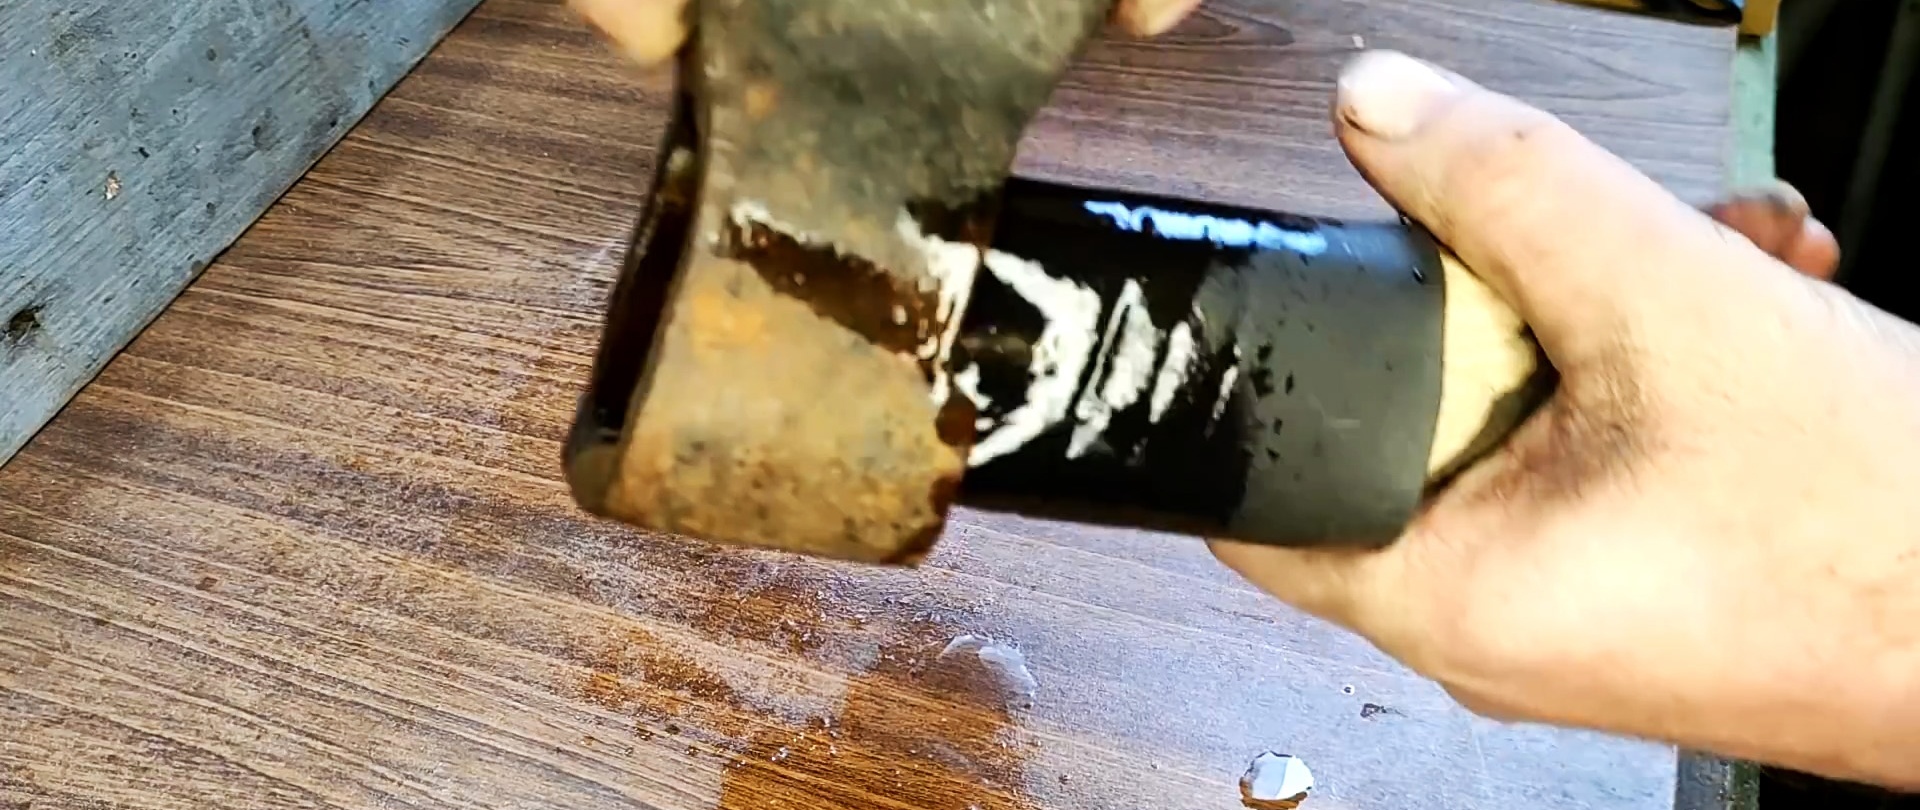
Carefully cut off the contours of the rubber protruding beyond the eye of the ax head using a sharp knife flush with the edges of the ax head.

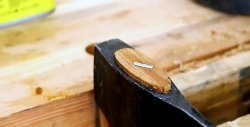
Now you need to hammer in a not too thick wedge, which can be made, say, from a dry birch log.


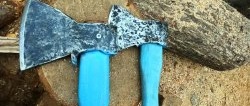
For greater reliability, fill all the cracks and voids between the eye of the ax and the ax handle with two-component epoxy glue from all sides. After the glue has hardened, the ax is ready for use for its main purpose without any restrictions.


At the same time, you should not be afraid that the ax head will become loose on the ax handle or, moreover, fly off it. Indeed, as the wooden ax dries and contracts, the deformed rubber, on the contrary, restores its thickness and fills the resulting gaps.