For a bouquet of seven roses we will need cotton wool discs (about 80 pcs.); paint for Easter eggs (yellow, red, orange, green); two-strand wire (about 2 meters long); PVA glue; pliers; green knitting thread; wire cutters And, of course, patience.
So, let's start making our beautiful roses.
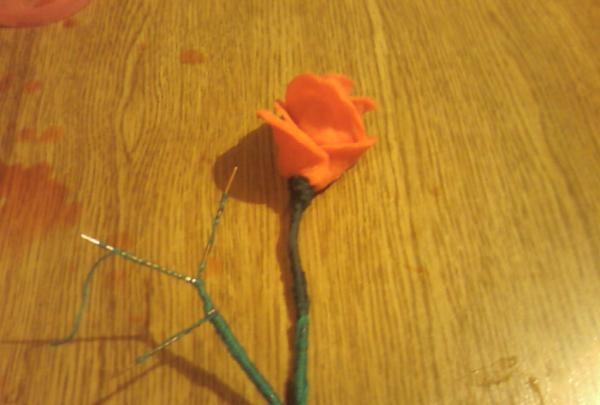
To make a stem, we take a two-core wire about 30 cm long and divide it into two cores (no more than 10 cm). One branch - the vein - will serve as a stem for the flower, the other - as a branch for the leaves. Then you need to expose one vein about 6 centimeters to the wire and screw two more small ones to it using pliers, as shown in the photo.
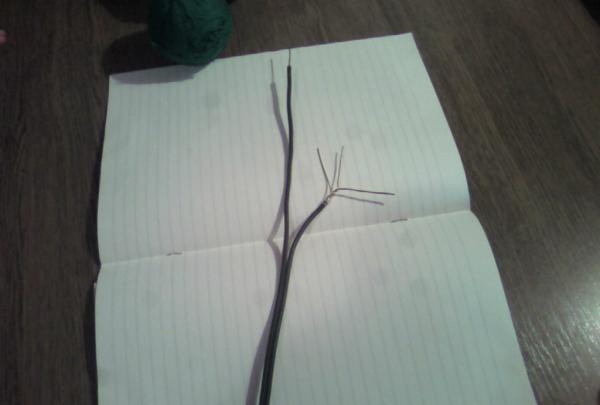
Next, we wrap the entire wire with green thread so that the stem looks natural. Now there will be a more interesting activity: we will form buds. We do this step by step.
1. Pour water into a bowl, each for a separate paint;
2. Add some paint to the water. Enough to give it at least a little color.
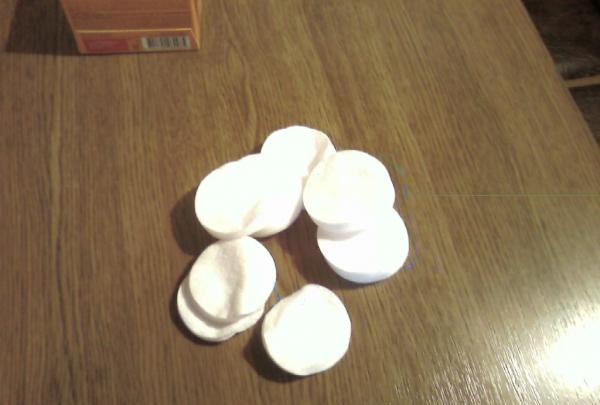
3. Place the required number of cotton pads in each container for 5 minutes.
4. Squeeze the painted discs a little from the water and roll them up in the shape of rose petals.
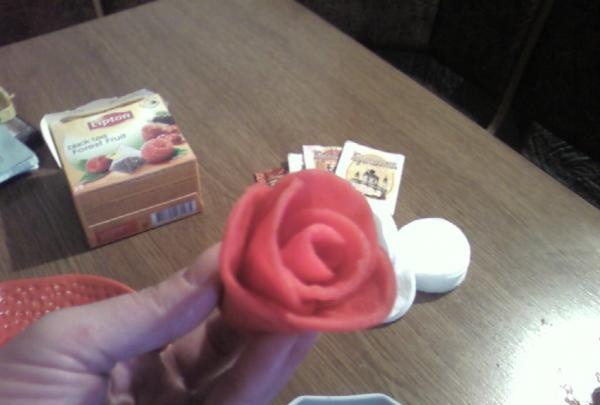
5. We attach the finished buds to the stem and strengthen them with green thread. This way the base of the leg will be natural and strong.
It is advisable to place the finished stems with roses on a wire rack to dry, but you can also hang them down with flowers. Now let's start making leaves. We also do this step by step:
1. Take cotton pads (each flower will take three leaves, which means three discs) and cut out the shape of the leaves from them, folding the disc in half, cutting out like a herringbone.
2. We paint them the same way as the petals, but with green paint.
3. Leave until completely dry.
4. After drying, take the leaf and divide it in half a little and grease the middle with PVA glue.
5. We put the wire intended for leaves in the middle and press both sides. This will give us leaves.


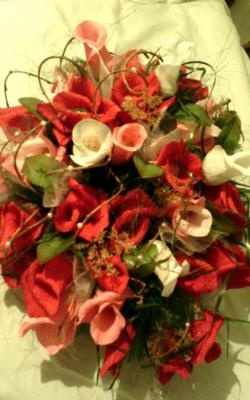
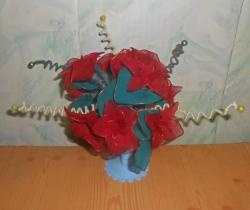
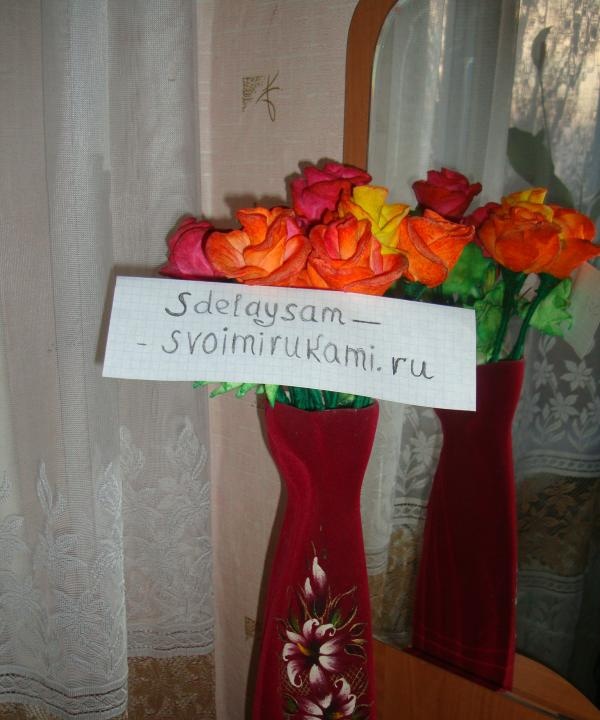
That's all! Our roses are ready! Amazing, right? To make our flowers look even more beautiful, the buds can be sprinkled with a little varnish, or with glitter.
Good luck!