Repairing side damage to a car tire is difficult. Many tire repairers consider such work to be costly, time-consuming, unnecessary and useless. But manufacturers of tire repair materials have long developed technologies for restoring tires with a side cut or tearout. Moreover, this does not require powerful and expensive vulcanization systems. It is enough to have the simplest budget vulcanizer and a creative approach to the problem.
Will need
Materials:
- car tire with side damage;
- degreaser;
- heat-resistant nylon thread;
- adhesive patch;
- rubber hot glue.
Tools: scissors, a drill with a metal brush, a side reamer, a scraper, a shoe awl, a rolling roller, a “Staple” type vulcanizer, etc.
The process of repairing a car tire with complex side damage
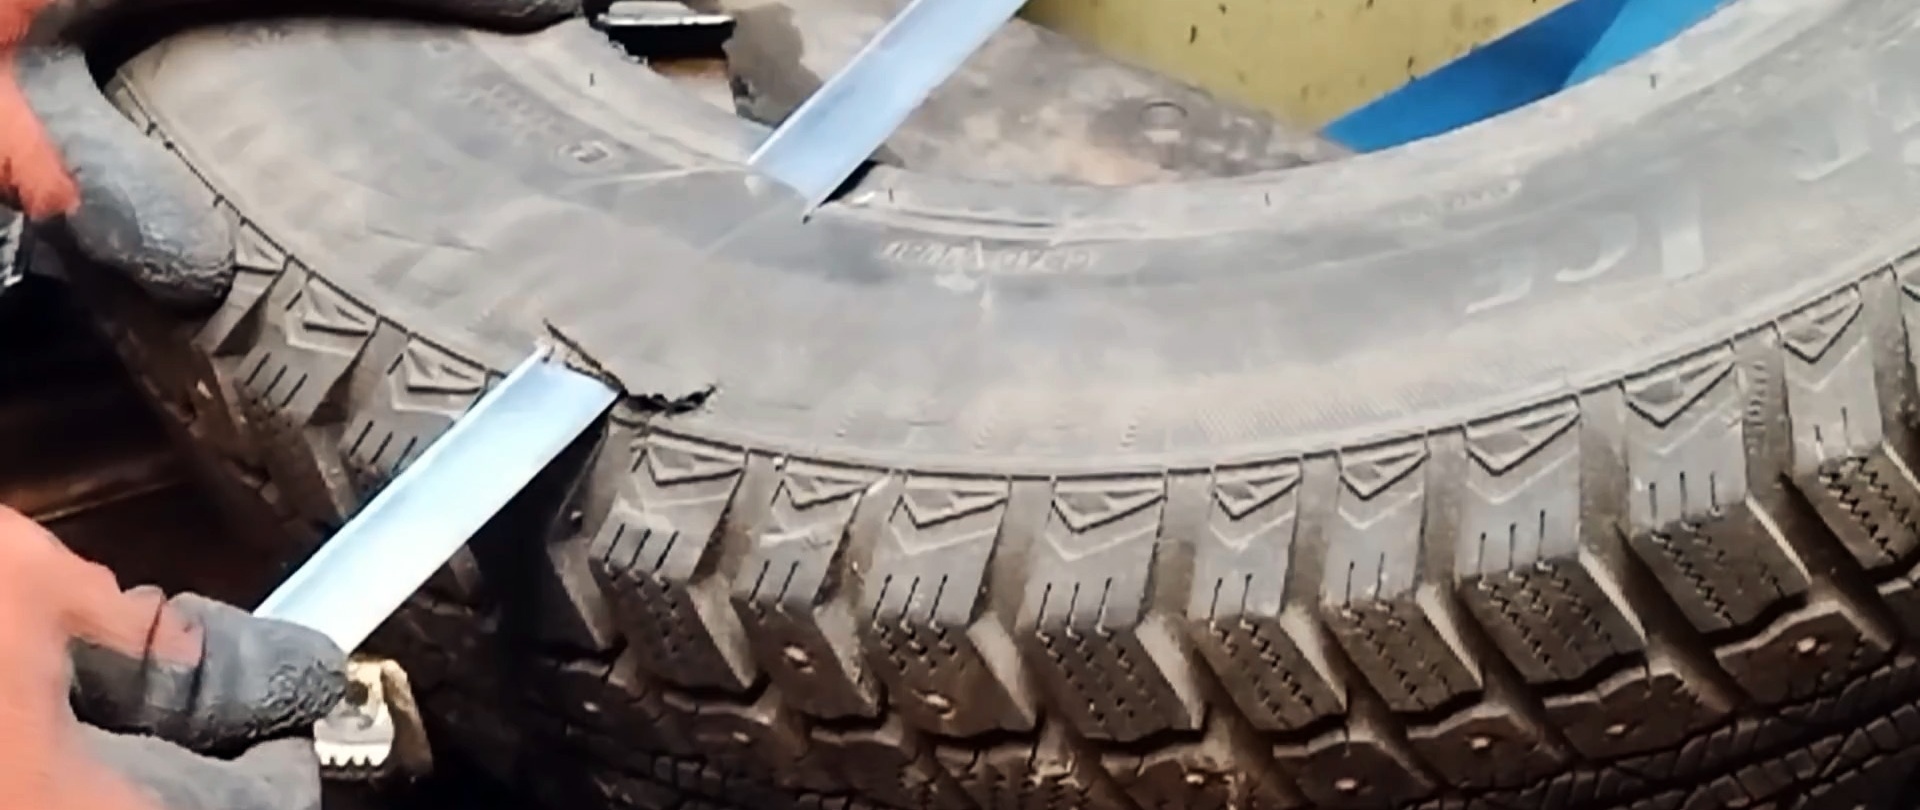
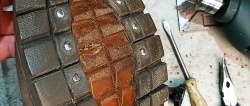
Using scissors, cut out the damaged area on the side surface of the tire. We measure the size of the rectangular damage, which is approximately 4x5 cm.Of course, the shape and size of the cut out area may be different.
We clean the rubber around the removed area with a drill with a metal brush, which heats the material less. For the convenience of further work, place the tire on the side expander and spread the tire beads.


We select a two-layer patch taking into account the size of the cutout on the tire. For our case, a 10x13 cm patch is suitable, the dimensions of which are 2.5 times larger than the cutout, which is quite enough. We will cover the cutout from the inside of the tire with a plaster.

We apply the patch to the hole and mark the area for stripping the rubber using a drill with a metal brush. Degrease the cleaned surface 2 times, scraping off rubber particles and degreaser from the surface. If during cleaning you find areas with melted rubber, they should be carefully but quickly removed so as not to melt the rubber again.
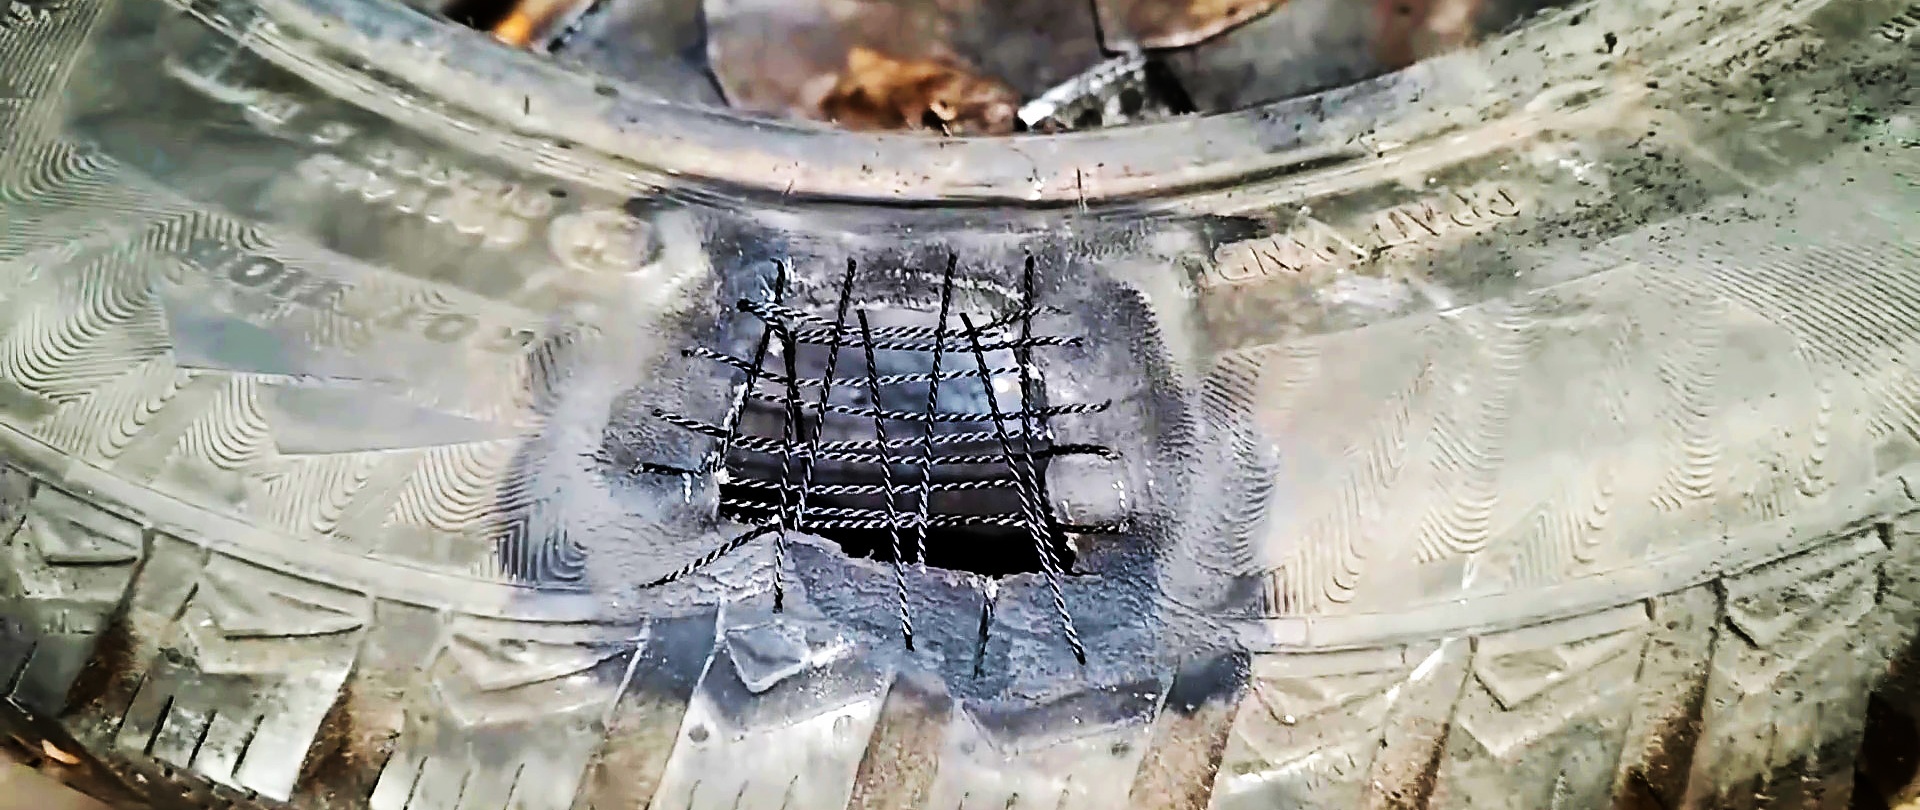
In order to prevent swelling when inflating the tire, before gluing the patch, we tighten the damaged area using a heat-resistant nylon thread. In this case, small folds are acceptable.

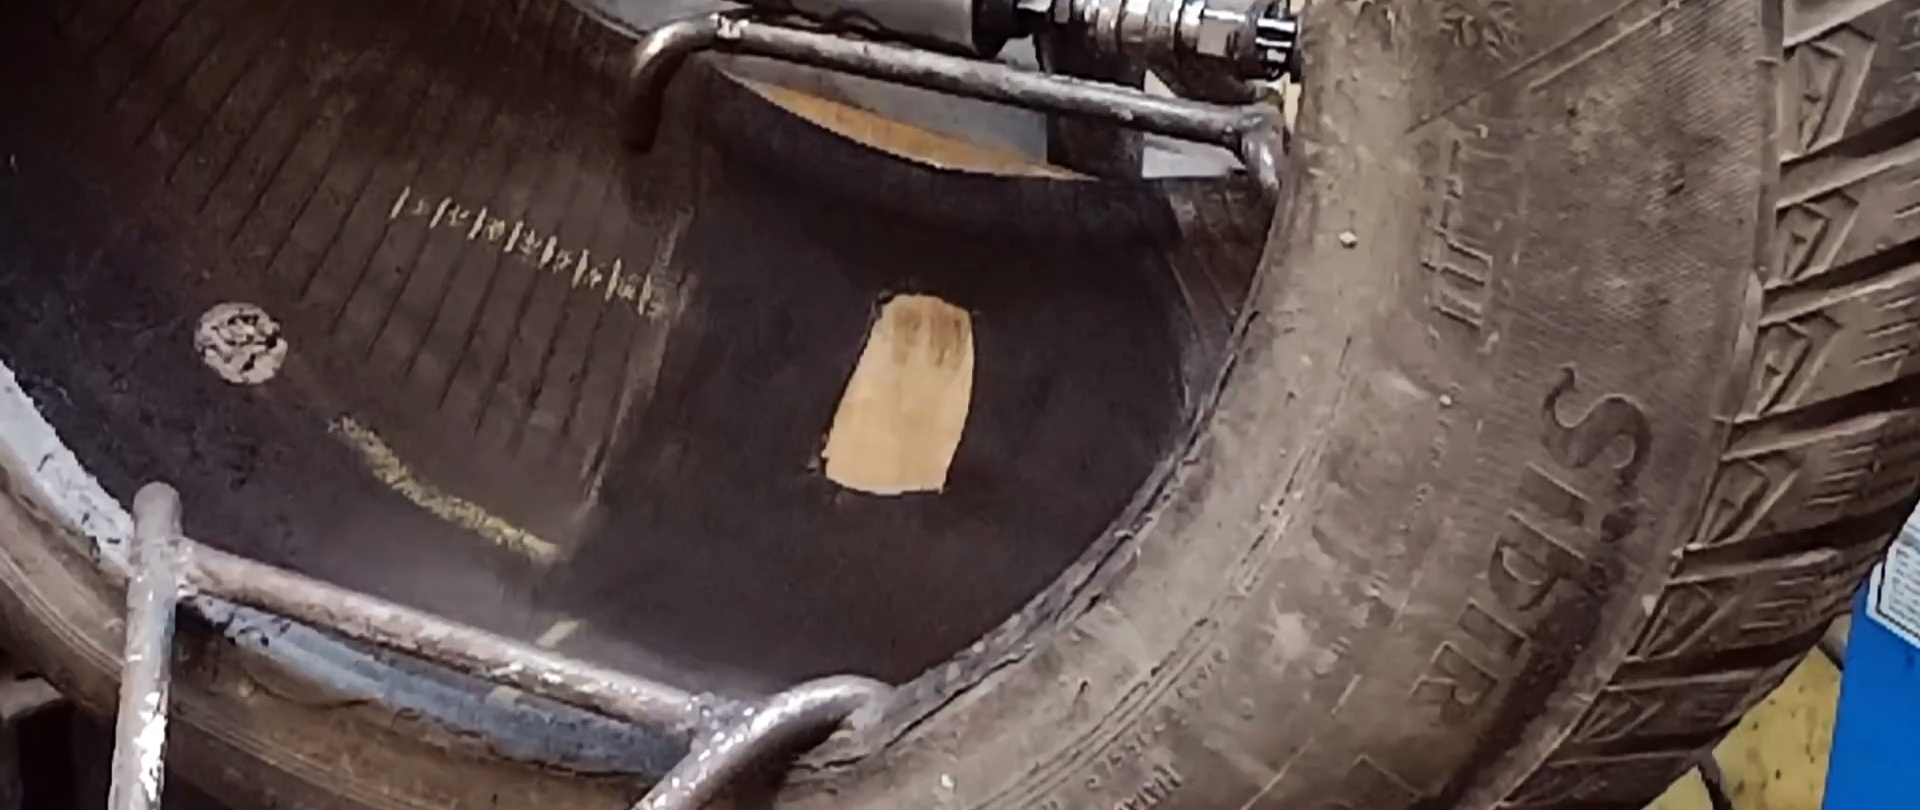
From the inside, we glue the patch onto the hole using rubber hot-melt adhesive, which we apply evenly to the entire cleaned and degreased surface. We wait until the glue has completely dried and apply the patch, extending slightly beyond the edge of the tire. We remove the backing, making sure that it is intact. Roll out the surface of the patch with a special roller.


We vulcanize the tire without a lower iron, instead of which we place a bag of dry sand. It is located inside the tire exactly under the patch. The tire must be completely dry and the glue must be completely dry. Otherwise, during vulcanization, vapors of boiling liquids will tear off the patch or swell the damp rubber.
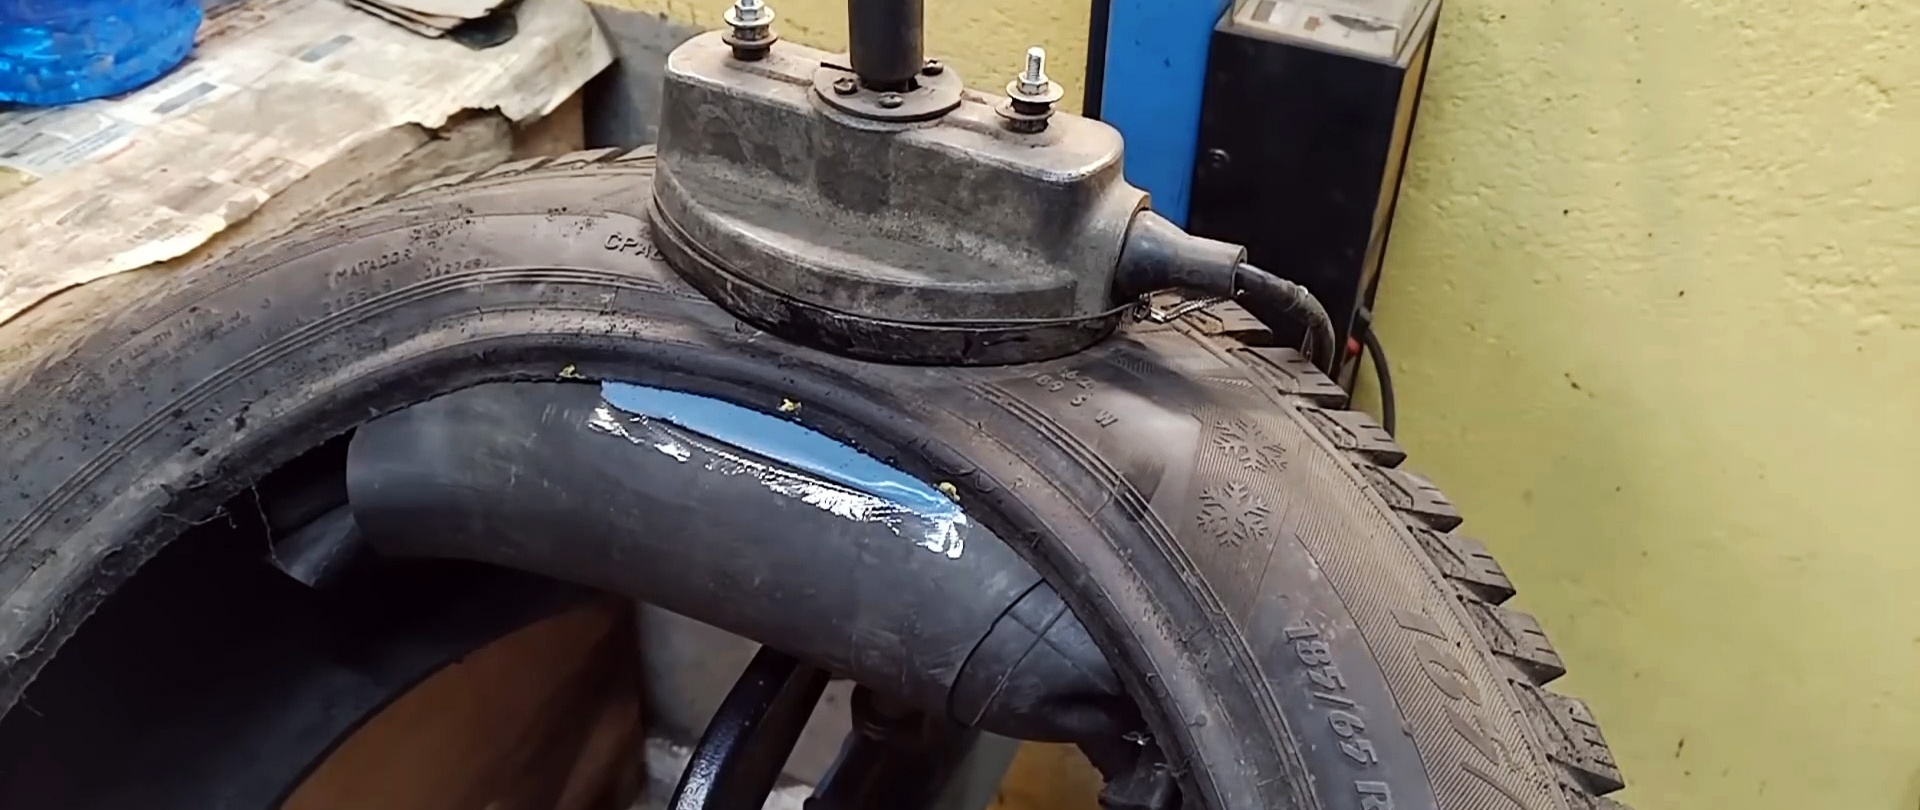
To eliminate these dangerous phenomena, we heat the vulcanization site without raw rubber at a temperature of 150 degrees Celsius for at least 10 minutes. Then, without delaying the time, we lay small pieces of raw rubber on the still hot tire, having previously lubricated the edges of the hole with hot glue, which must also dry completely.
We cover raw rubber heat-resistant with a backing from the plaster and press it with the top iron, having previously covered the tire along the edges with pieces of cardboard so that there are no traces of the edges of the iron left on it.


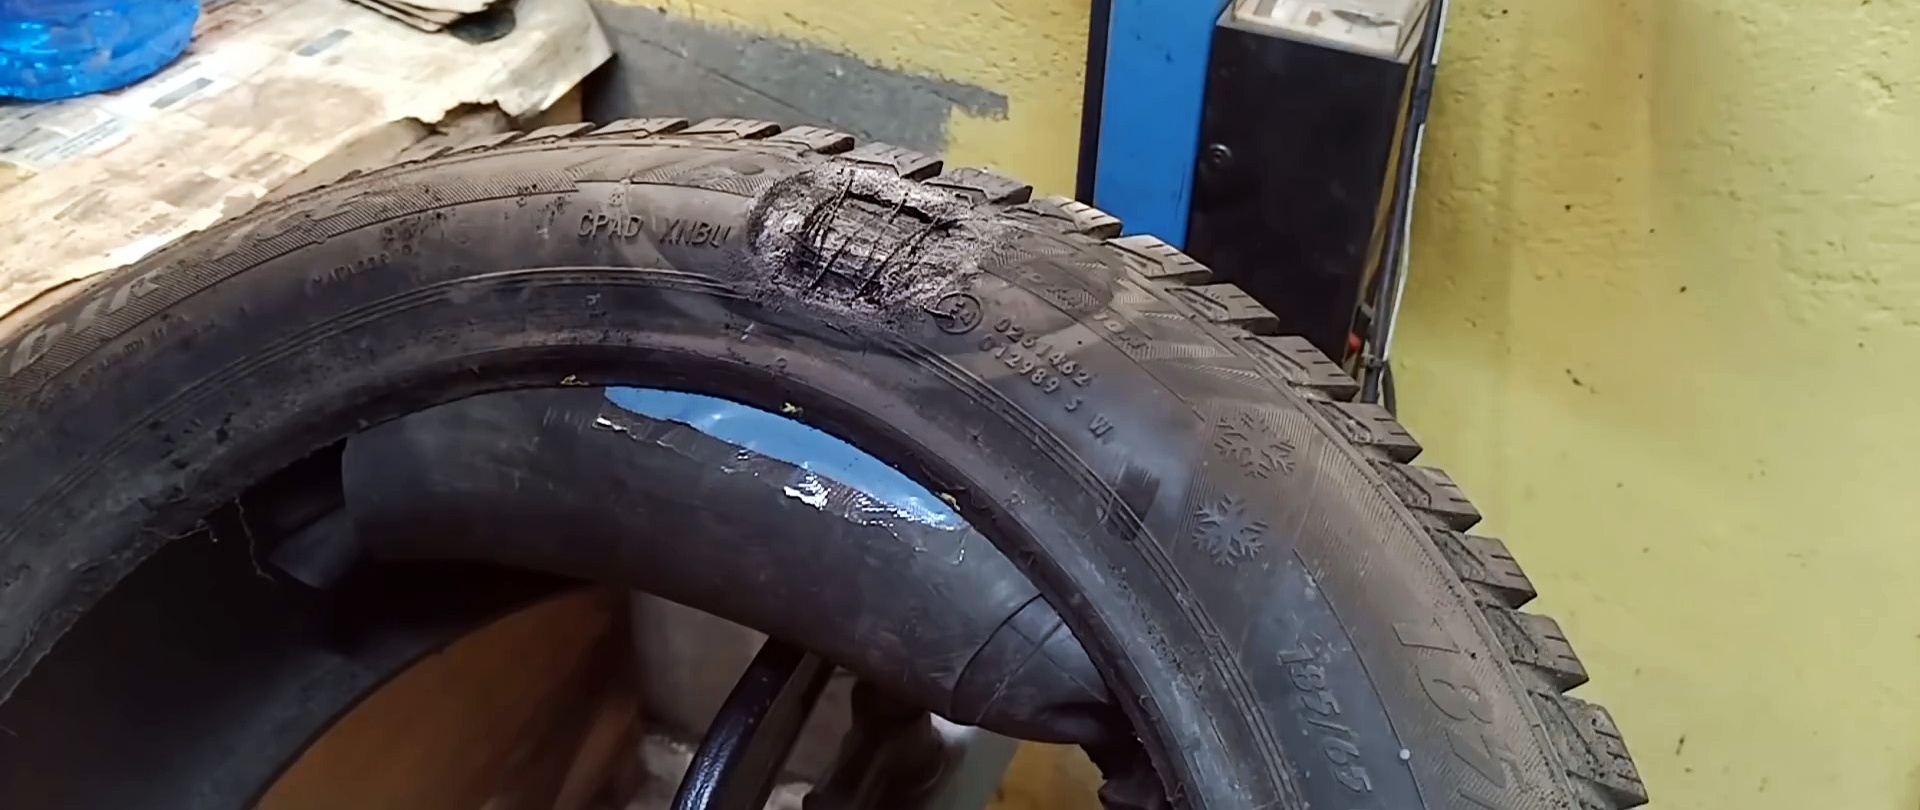
Vulcanization is carried out at a temperature of 150 degrees Celsius for 40-45 minutes. 10 minutes from the start of vulcanization, after the raw rubber has melted, press the iron. After finishing vulcanization, cool the tire in water for about 10-15 minutes.


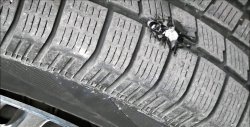
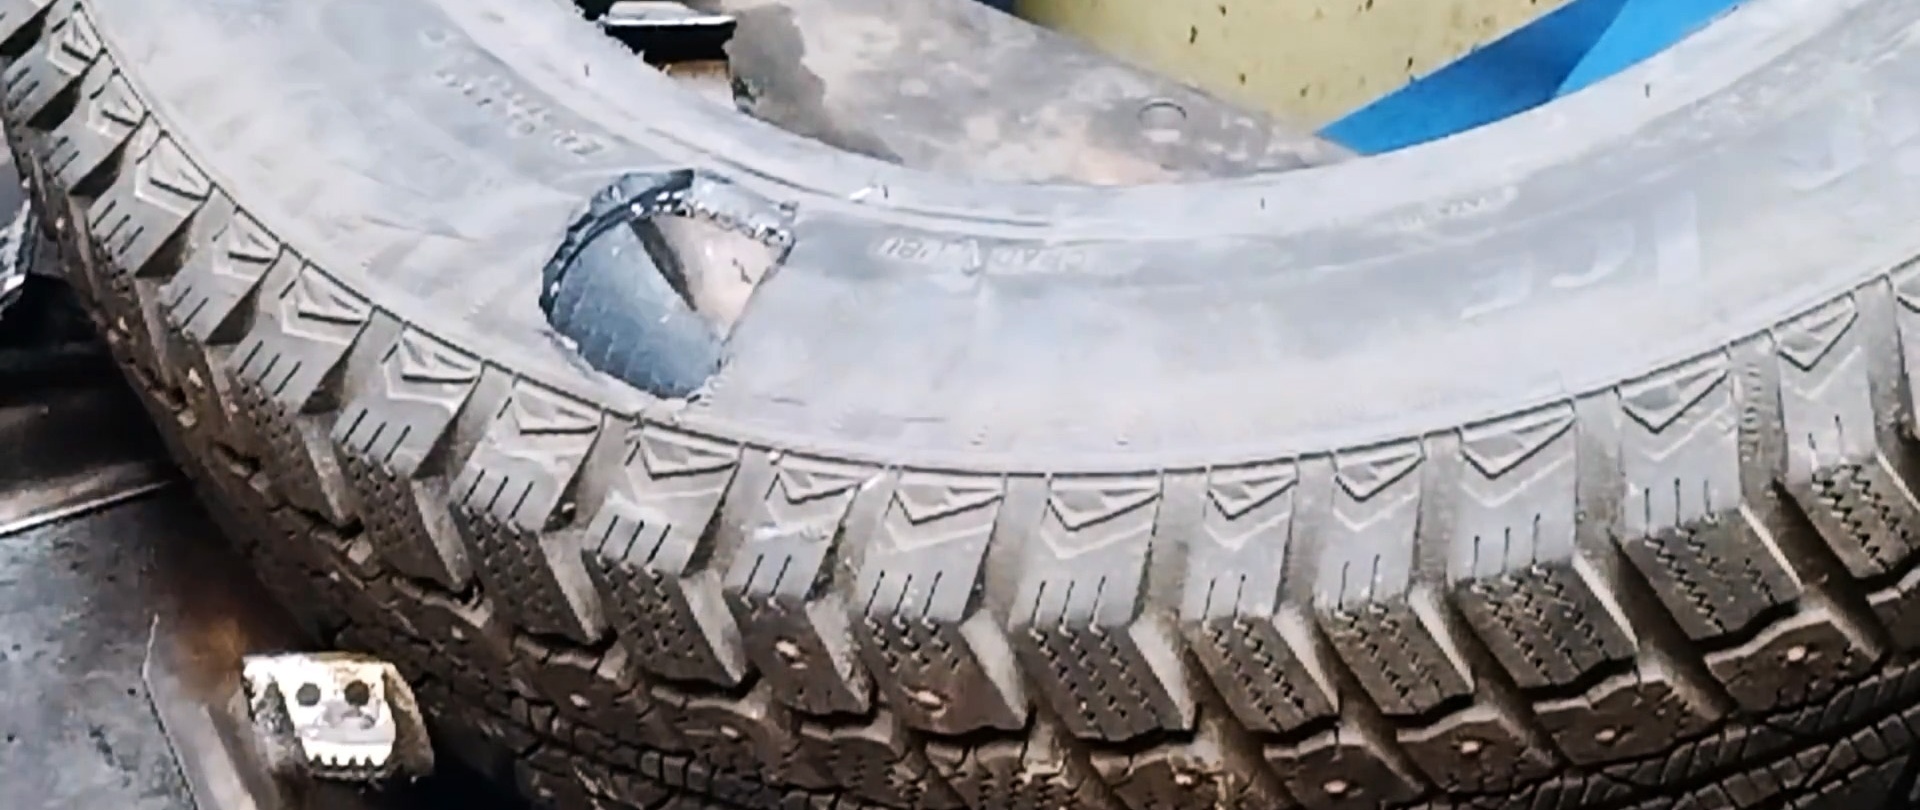
After the tire has cooled, use a drill to cut off part of the patch above the edge of the tire and coat the edges again with hot glue. We mount the tire on the disk and raise the pressure in it to 4 atmospheres. No bumps were found at the repair site. But since there was more raw rubber than necessary, we grind off the excess with a drill from the center to the edges. This will not affect the strength of the repair, but the roughness will increase slightly.
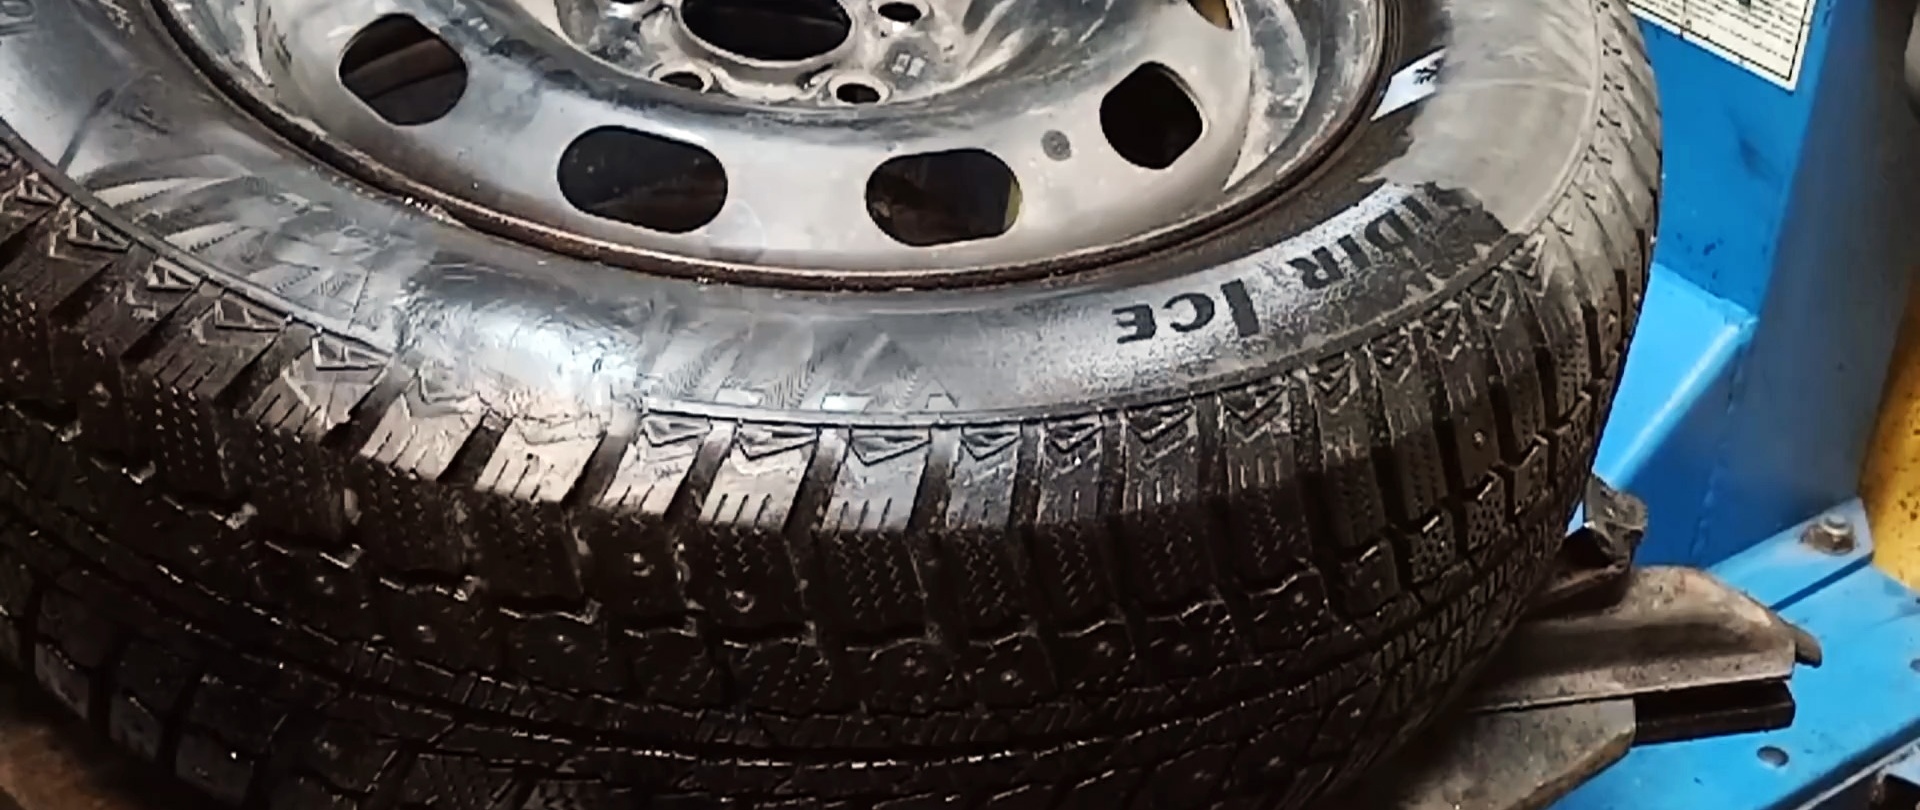


Practice shows that the durability of such repairs is quite high, and the price is a little more than 150 rubles. The only thing that such repairs are afraid of is driving on flat tires.