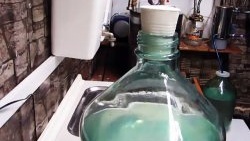
To prevent the contents of a glass bottle from being affected by the environment, you need a reliable and airtight stopper made of materials that do not interact with the contents of the bottle and do not impart specific odors to them. Not only an adult, but also a high school student can make such a stopper.

Will need
Materials and tools:
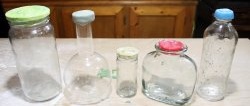
- glass bottle;
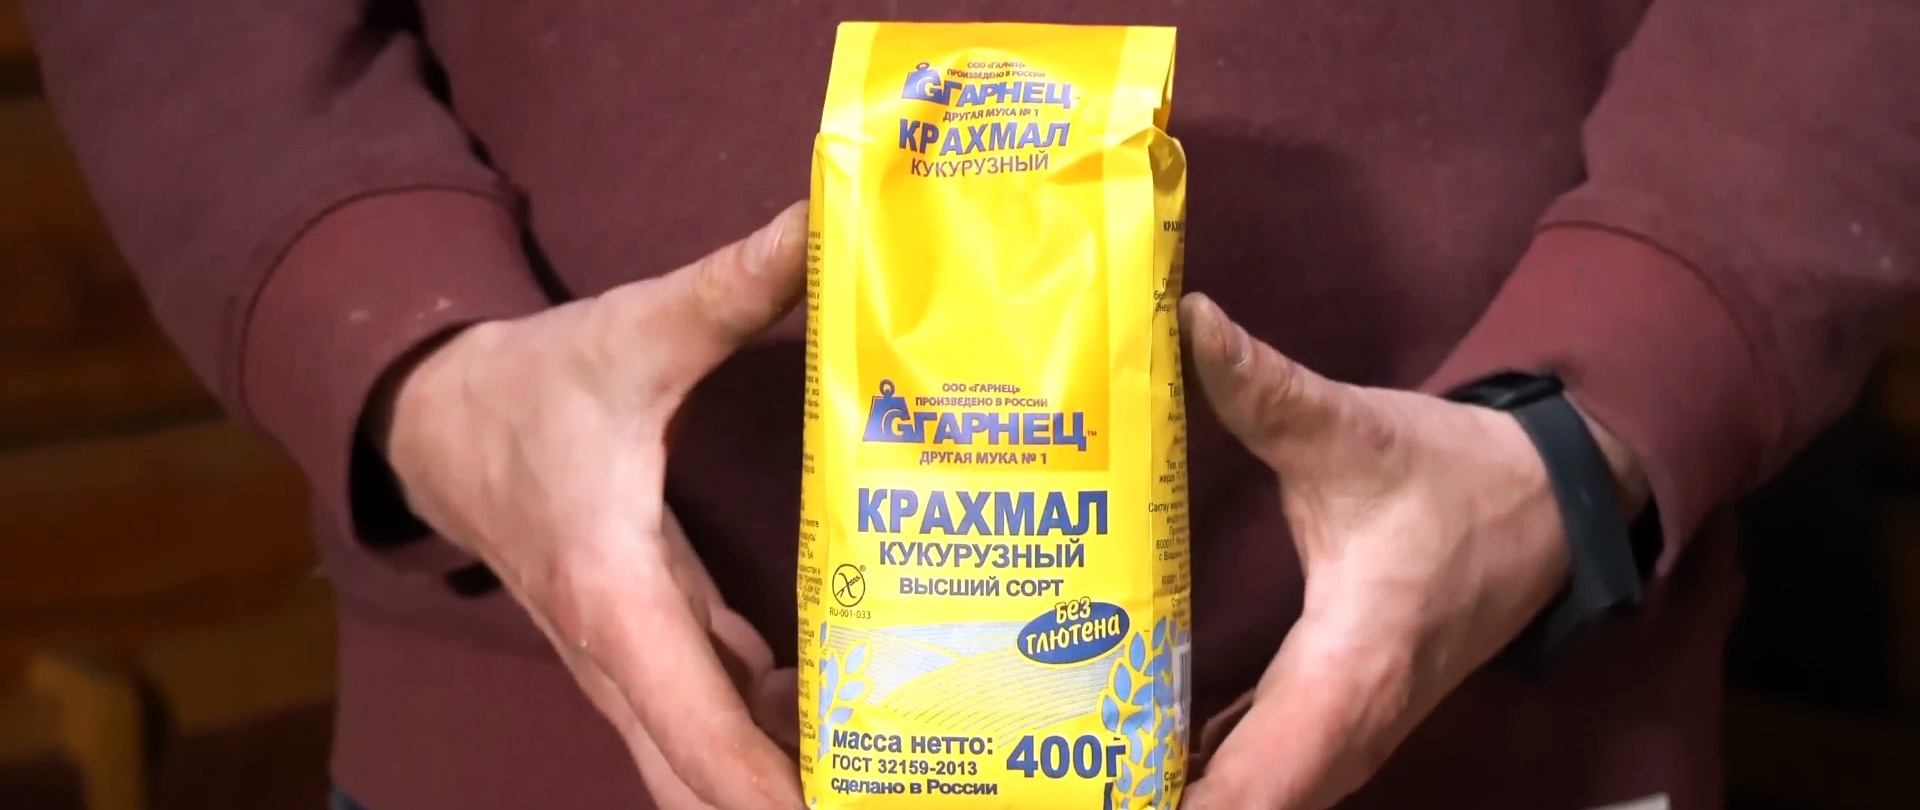
- food starch;
- 2 disposable cups;
- silicone sealant for aquariums;
- tray or baking sheet;
- any scissors.
The process of making a stopper for a glass bottle from starch and silicone
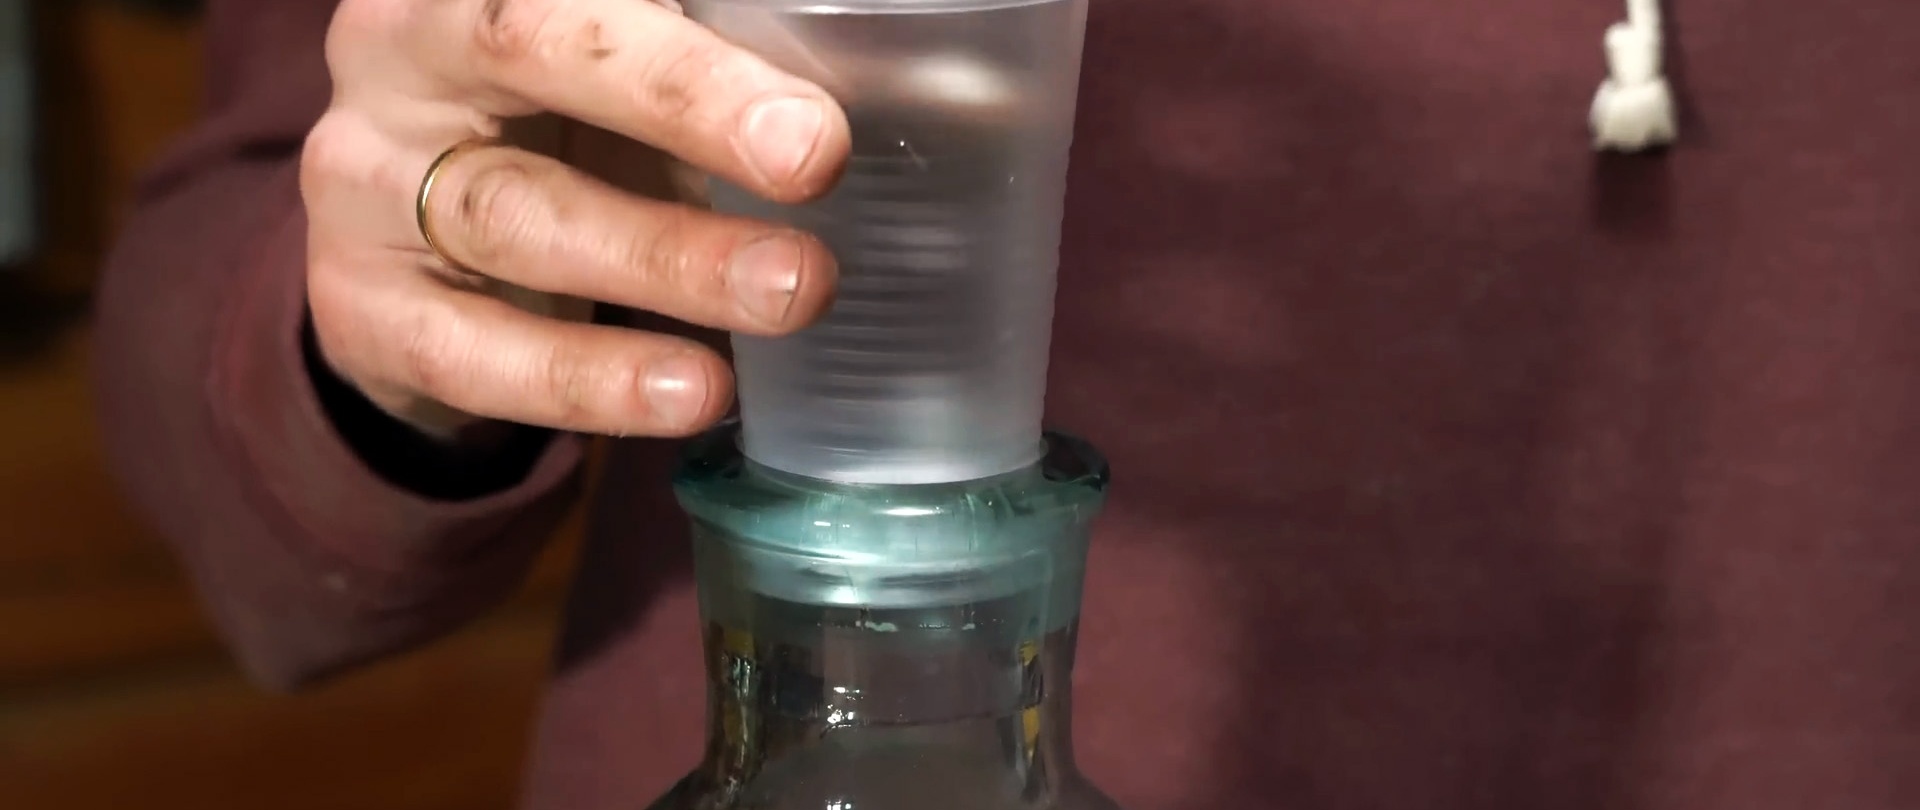
We will make a stopper for a glass bottle from available materials - food starch and silicone sealant, better suited for aquariums. We will also need plastic disposable cups that fit the neck of the bottle.
The cups will be needed to form a cone-shaped cork in them and, thereby, ensure a tight fit of the cork in the neck of the bottle, and therefore a reliable tightness.
Pour a sufficient amount of starch from the package onto a tray or baking sheet. We move it to the sides, forming a depression in the middle, into which we squeeze out the silicone. Hands need to be rolled in starch so that the silicone does not stick to them.

Mix the starch and silicone thoroughly, like kneading dough. We crush the resulting mix, knead it, tear it apart and put it together again until we get a homogeneous mass without lumps of starch and air trapped inside.

It is necessary to keep in mind that when the proportion of starch in the mixture increases, the cork becomes too dense and rigid, but we need a cork that is elastic and soft, then it will hold tighter in the neck, easily enter and exit, and also provide the necessary tightness.

Divide the resulting mass into approximately two equal parts and forcefully throw it into pre-prepared plastic cups. We compact the mixture with our fingers, observing the process through the transparent wall of our form.
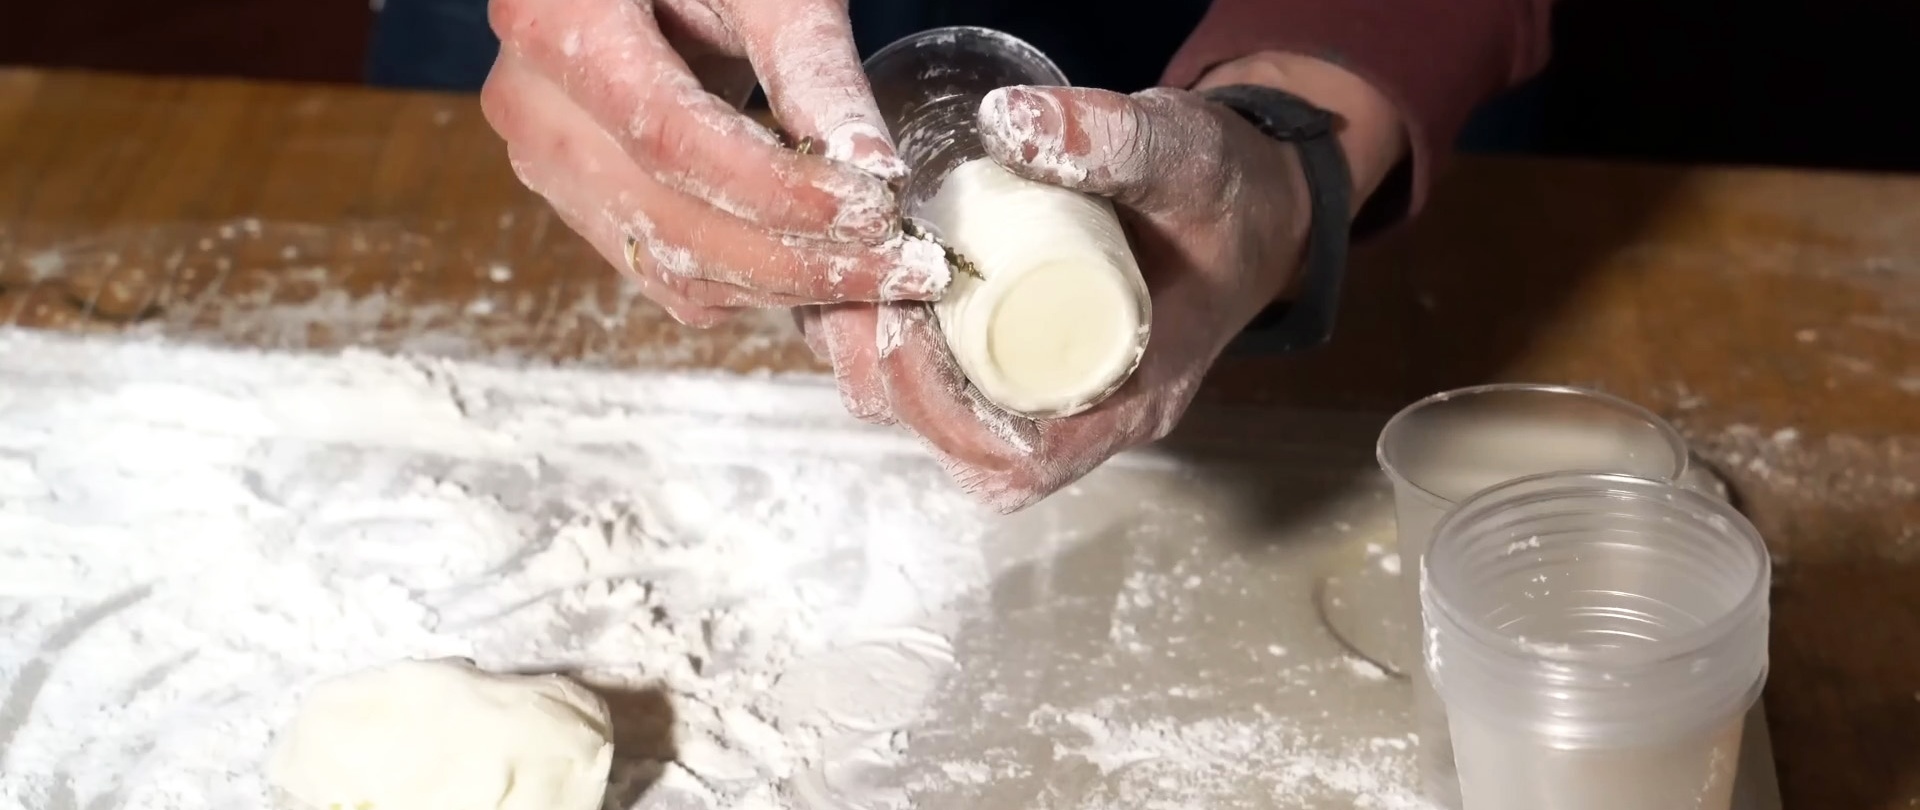
To tightly hammer the bottom of the container, make a small hole on the side closer to the bottom with a nail or self-tapping screw, through which the trapped air remaining in the mixture will be removed. First of all, we need even and smooth sides; the bottom is not so important in this regard.
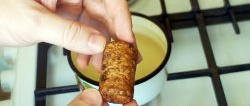
It will take at least two hours for the mixture of starch and silicone to harden in cups. To be safe, leave them overnight. The frozen mix looks ready, which is confirmed by pressing your fingers on its top and side surfaces. It turned out to be quite dense, moderately compressible and quite elastic.


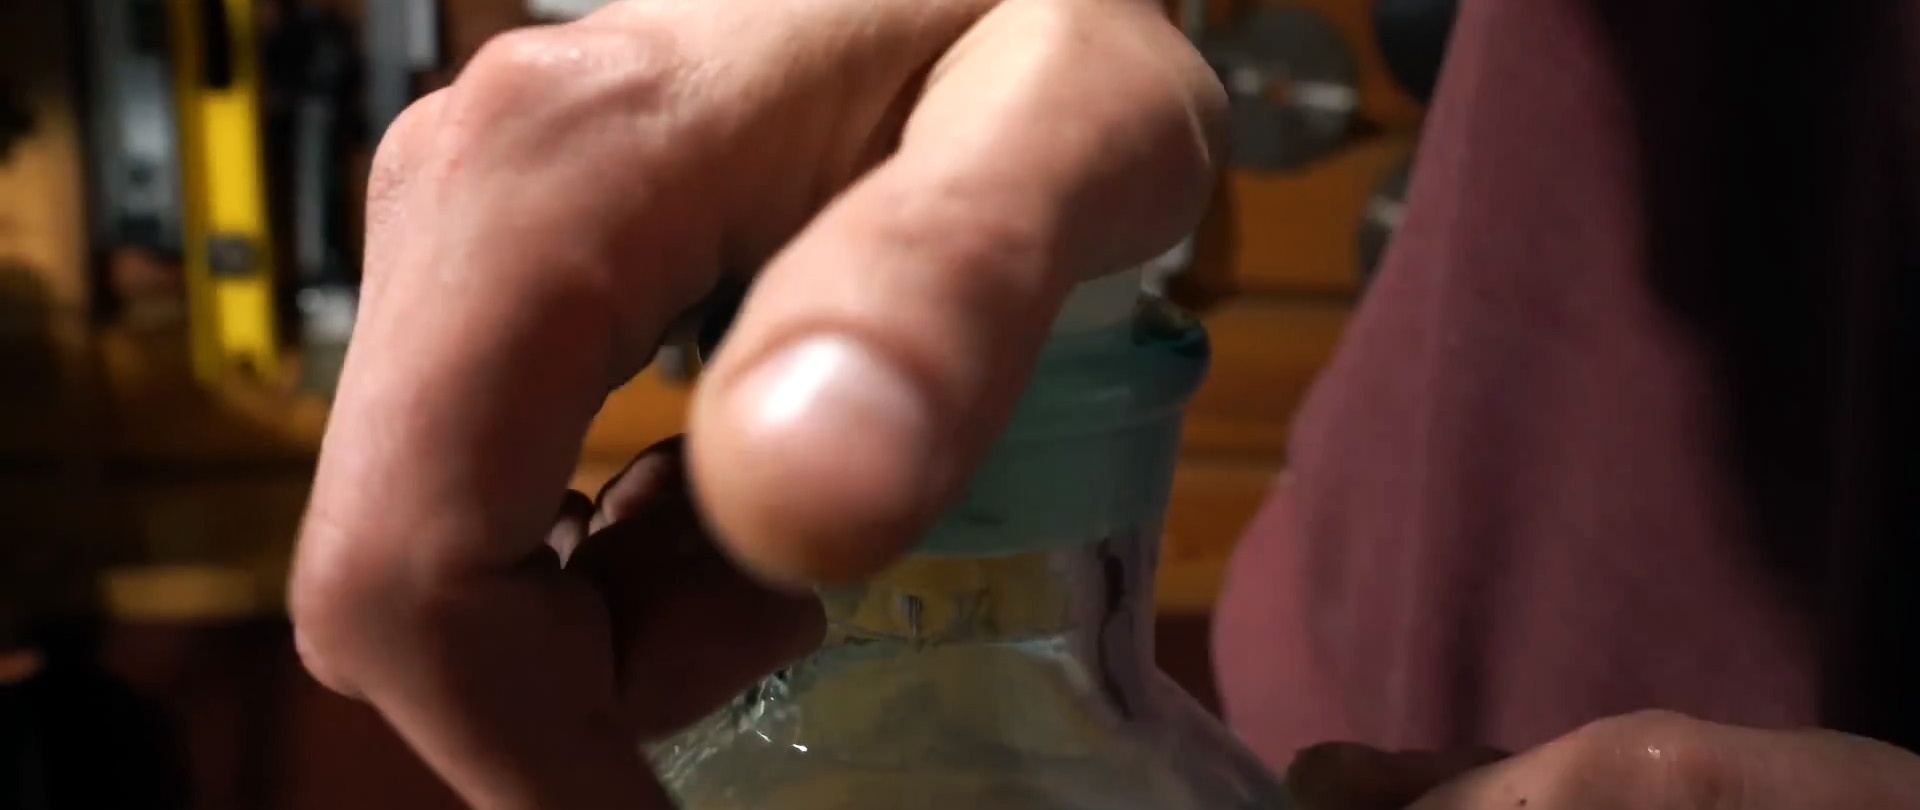
Let's take the corks out of the cups by cutting the side surface with scissors, and we can directly verify their strength, elasticity and resistance to compression and stretching.These are the qualities that the material for making bottle caps should have.
To save starch and silicone when forming a cork, you can place a wooden rod or a wine or champagne cork in the middle of the material. The resulting plugs fit very well into the neck of the bottle, being somewhat deformed and going deeper inside. They are also pulled out easily and with a characteristic sound, confirming the tightness of the blockage.

Silicone plugs are several times cheaper than store-bought ones, costing from 200 to 400 rubles. If you form a hole in them when pouring them or drill them into ready-made ones, you can use them for moonshine brewing.