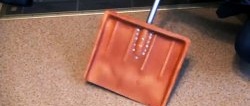
If you live in some northern region, where winter lasts six months, where daylight in winter is 4-5 hours, and snow falls with rare breaks, then this useful advice is for you! In the morning, before leaving for work, removing snow from the sidewalk on your property after a snowy night is a “mission impossible” task! It's dark, you can prick your eyes out. At first I used a headlamp, but for me it was not very convenient, since the hood blocked the reflector of the flashlight. And without a hood there is nothing to do on the street in a snowstorm. Therefore, I decided to somewhat modernize my new shovel in order to make my work easier, both in terms of lighting and in terms of reducing physical stress on my back.
The work is trivial and has almost no financial cost. Anyone can do it, even the most crooked incompetent.
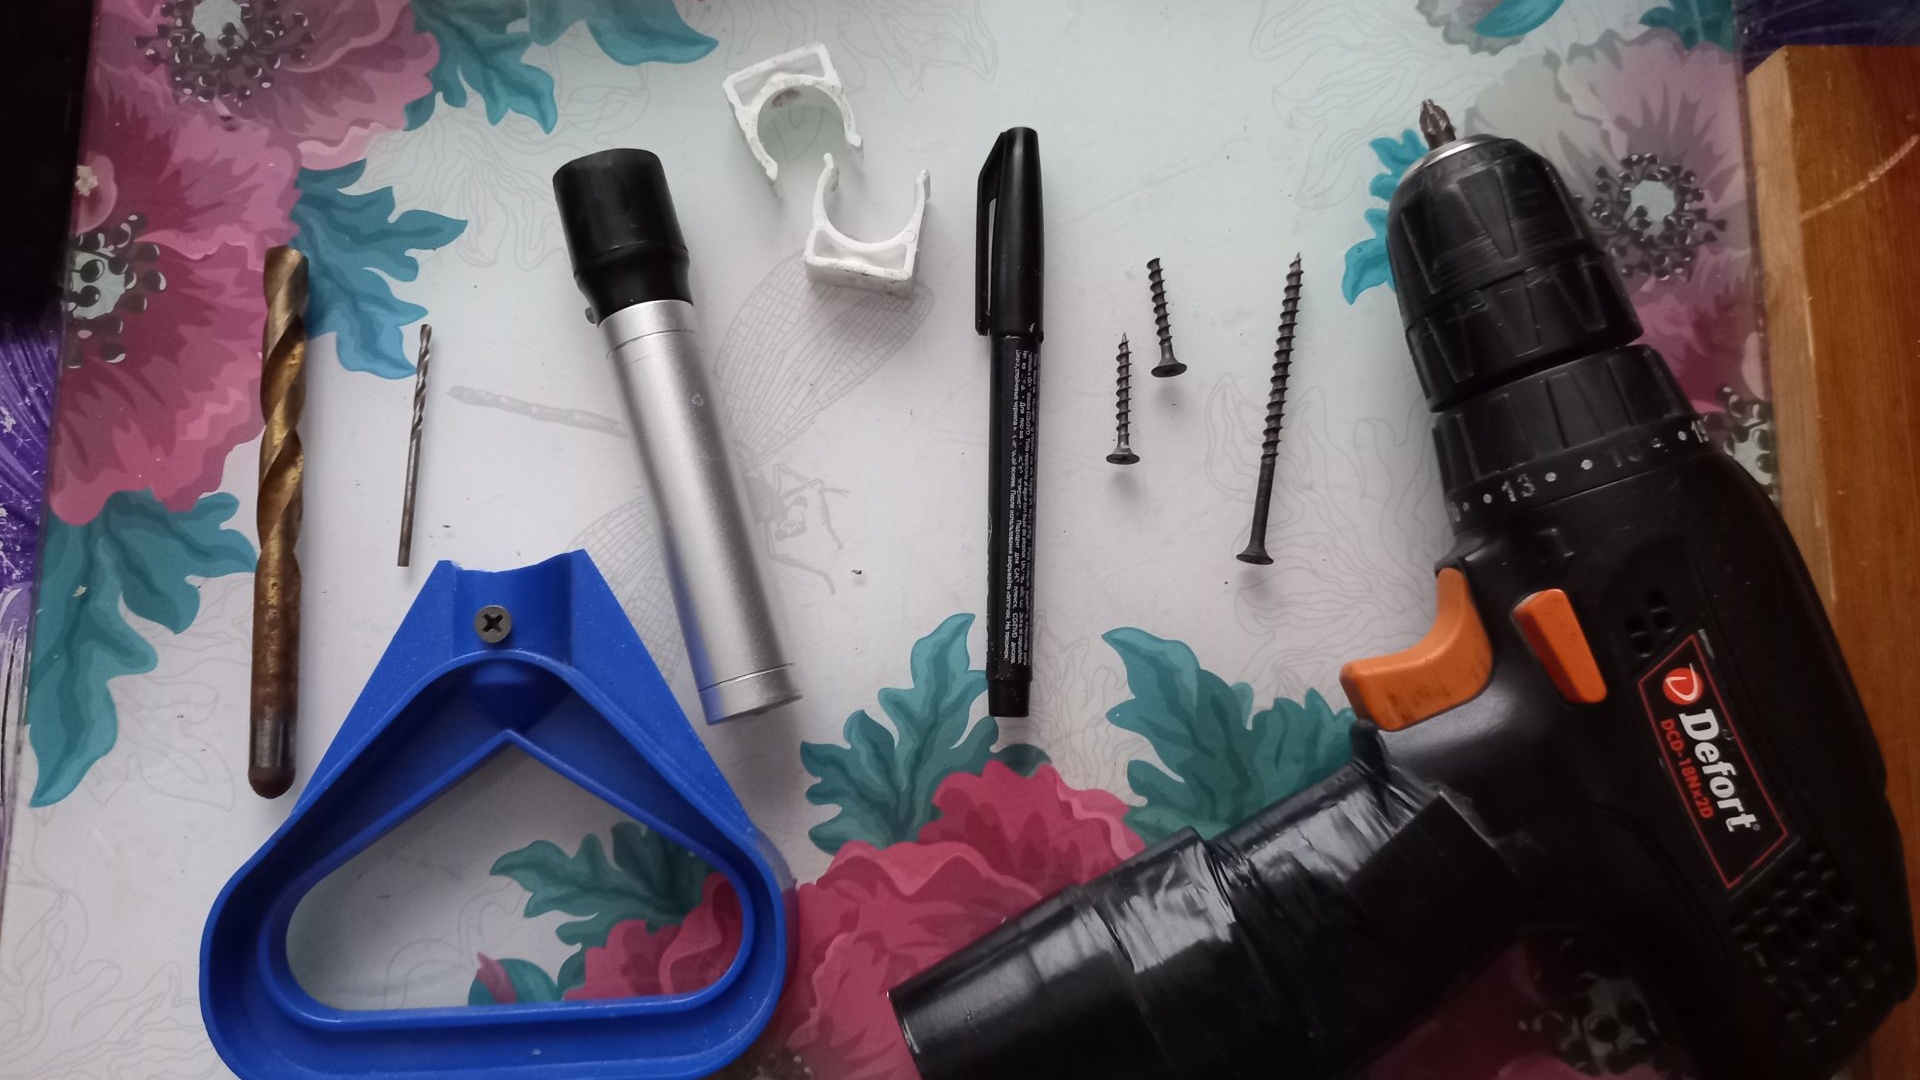
Will need
- Handle for handle (2 pcs).
- The semi-bend is sanitary, with a slope of 15 degrees, with a diameter of 32 mm.
- Handheld flashlight.
- Clips for water pipe 2 pcs (with a diameter suitable for the diameter of the handle of your flashlight).
- Marker.
- Two 20mm screws, ten 10mm screws, and one 60mm screw.
- Screwdriver.
- 2mm drill.
- Hacksaw.
Snow Shovel Upgrade
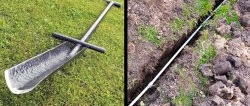
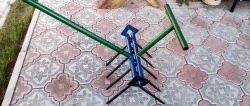
First of all, I decided to change the design of the shovel itself to a more convenient and suitable design for me. Due to my own oversight, I bought a shovel with a curve that was too sharp; it turned out to be very inconvenient to work with - it always clings to any unevenness on the sidewalk. Here you will need a plumbing half-bend with a slope of 15 degrees.

This semi-bend is made of frost-resistant plastic and will not burst even in the most severe frost. At first I wanted to use such a half-blow, but in time I came across a branch from an old vacuum cleaner in the barn.
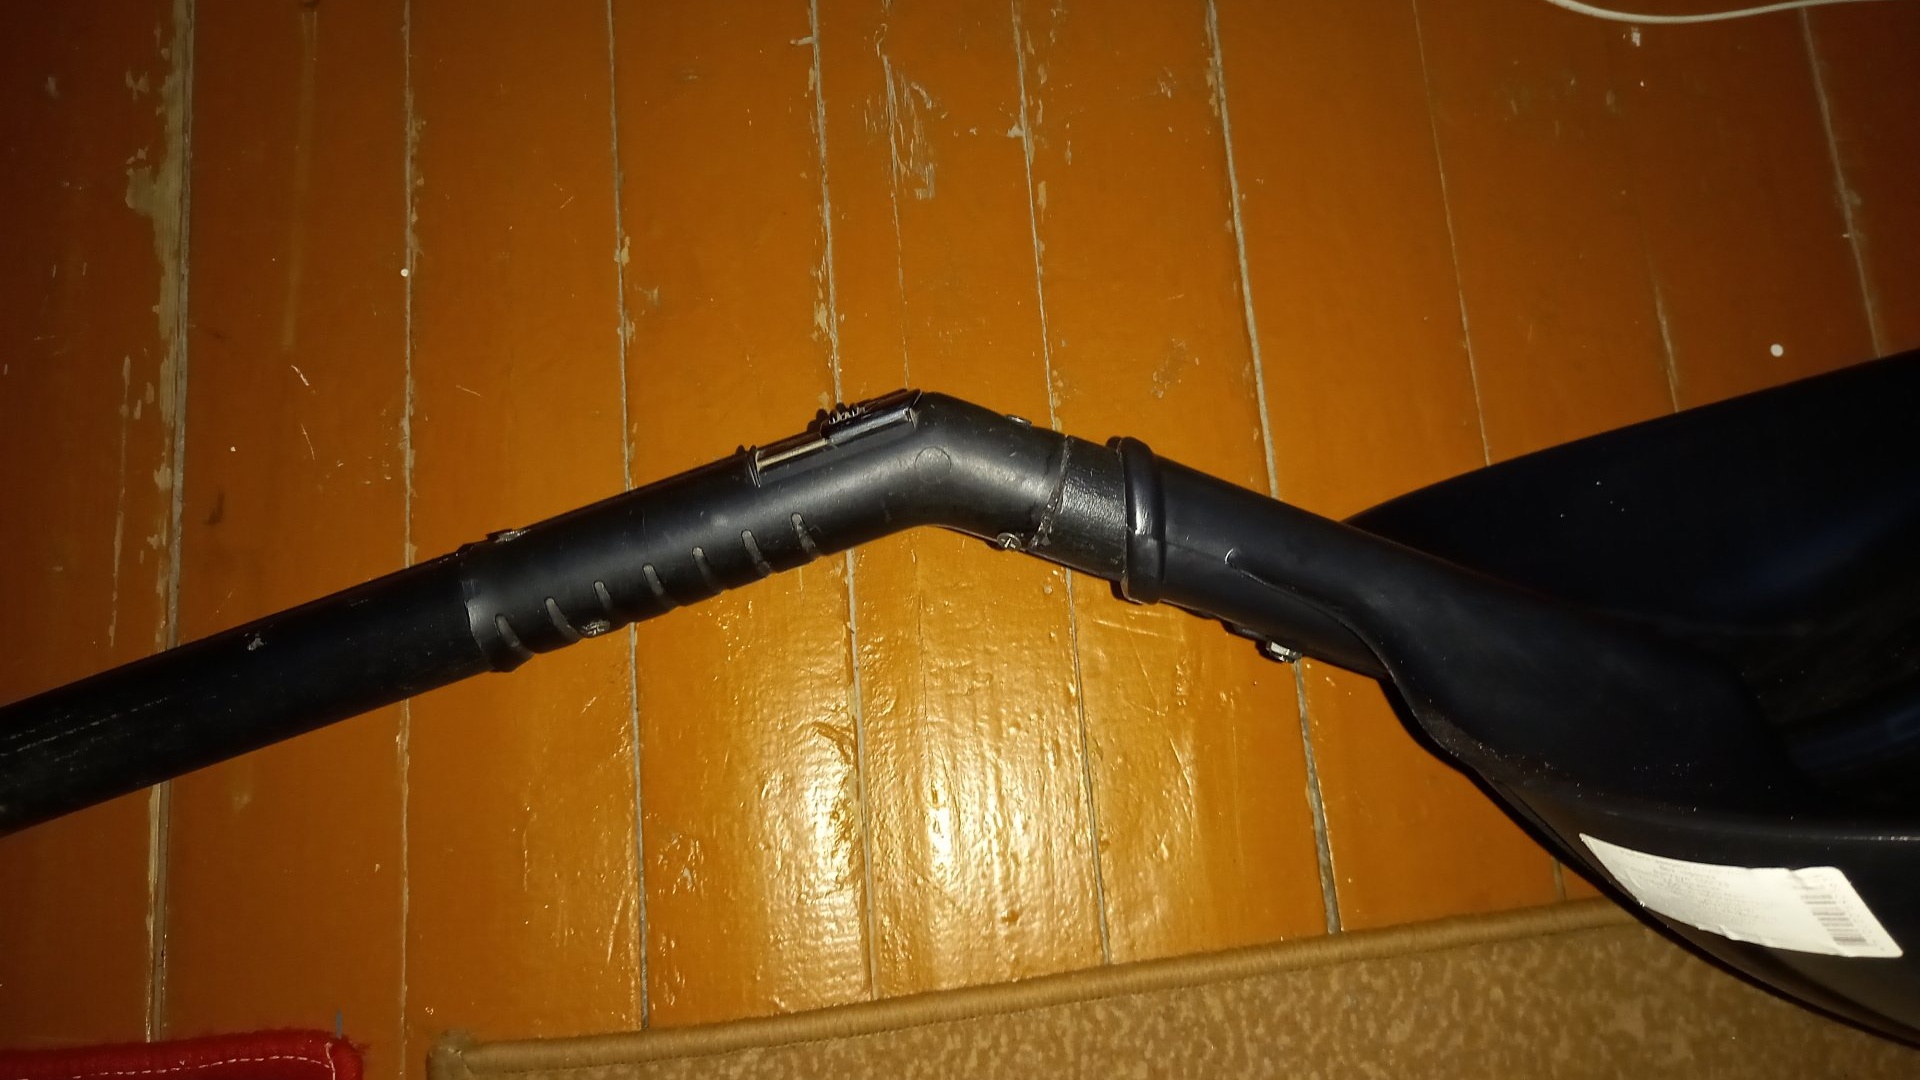
I decided that it was better to use it than to buy plumbing equipment. Not everyone has such a drain from a vacuum cleaner, which is why I suggest buying a plumbing one that is identical in slope and diameter. So, we retreat from the place where the cutting meets the shovel by 6-7 cm, and saw it off with a hacksaw. We insert both cut ends into the half-bend and fix them with two or three ten-millimeter screws on each side. Here's what happens:
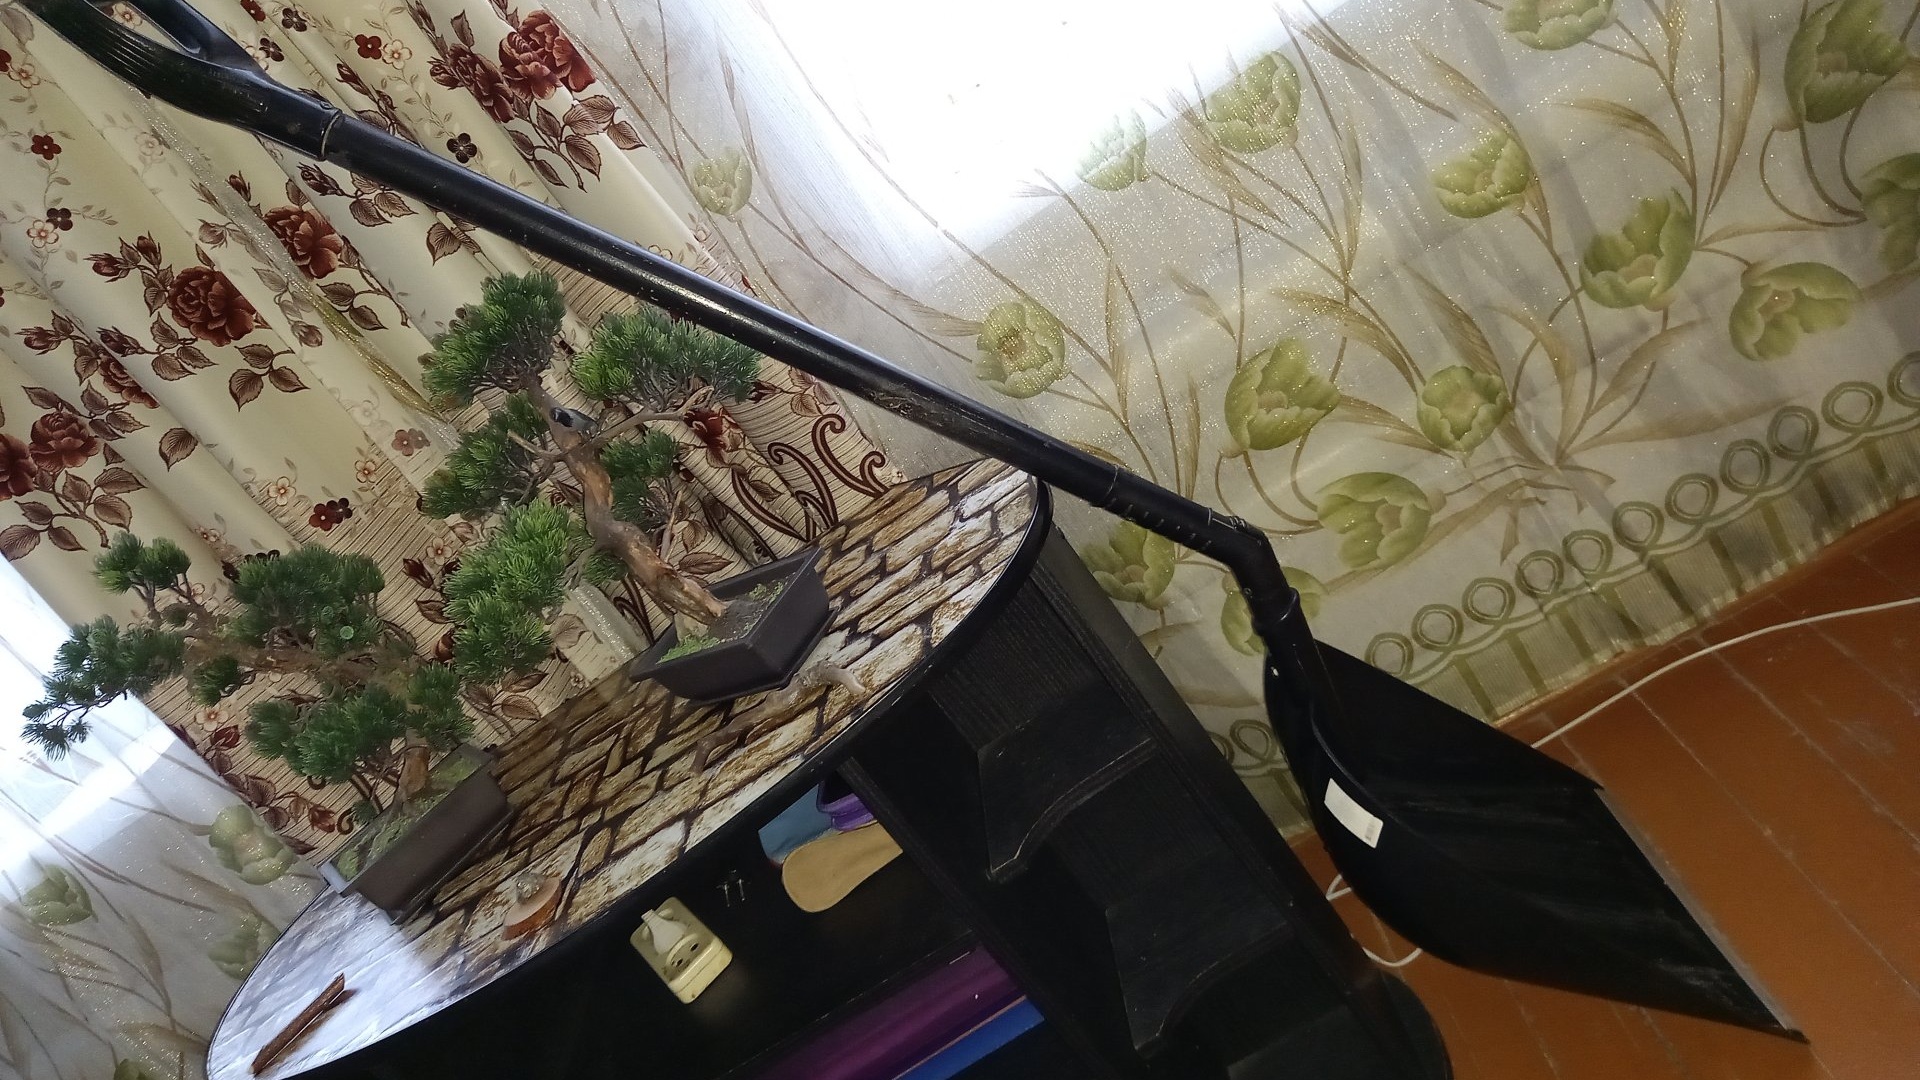
With this angle of inclination, the snow captured in the shovel is much greater, and the load on the shoulders and back is reduced significantly. Well, in order to reduce the load on the forearms, we will attach another handle to the handle. One handle (if you didn’t have them on your shovel at all) is installed on the end of the handle and secured with a self-tapping screw.

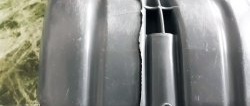
The second handle should be installed as follows; hold the shovel on the floor in a vertical position, lower one hand down along the handle, and make a mark with a marker on the section of the handle where your palm is at grip level. This is where we will attach the additional handle.To do this, we drive a wooden chop of a suitable diameter into the handle, cut out a recess at the joint for the roundness of the handle, drill a through hole in the intended place of the handle with a 2mm drill, place the second handle with the center of the hole, and on the back side of the hole drive a 60mm self-tapping screw until it stops. Like this:

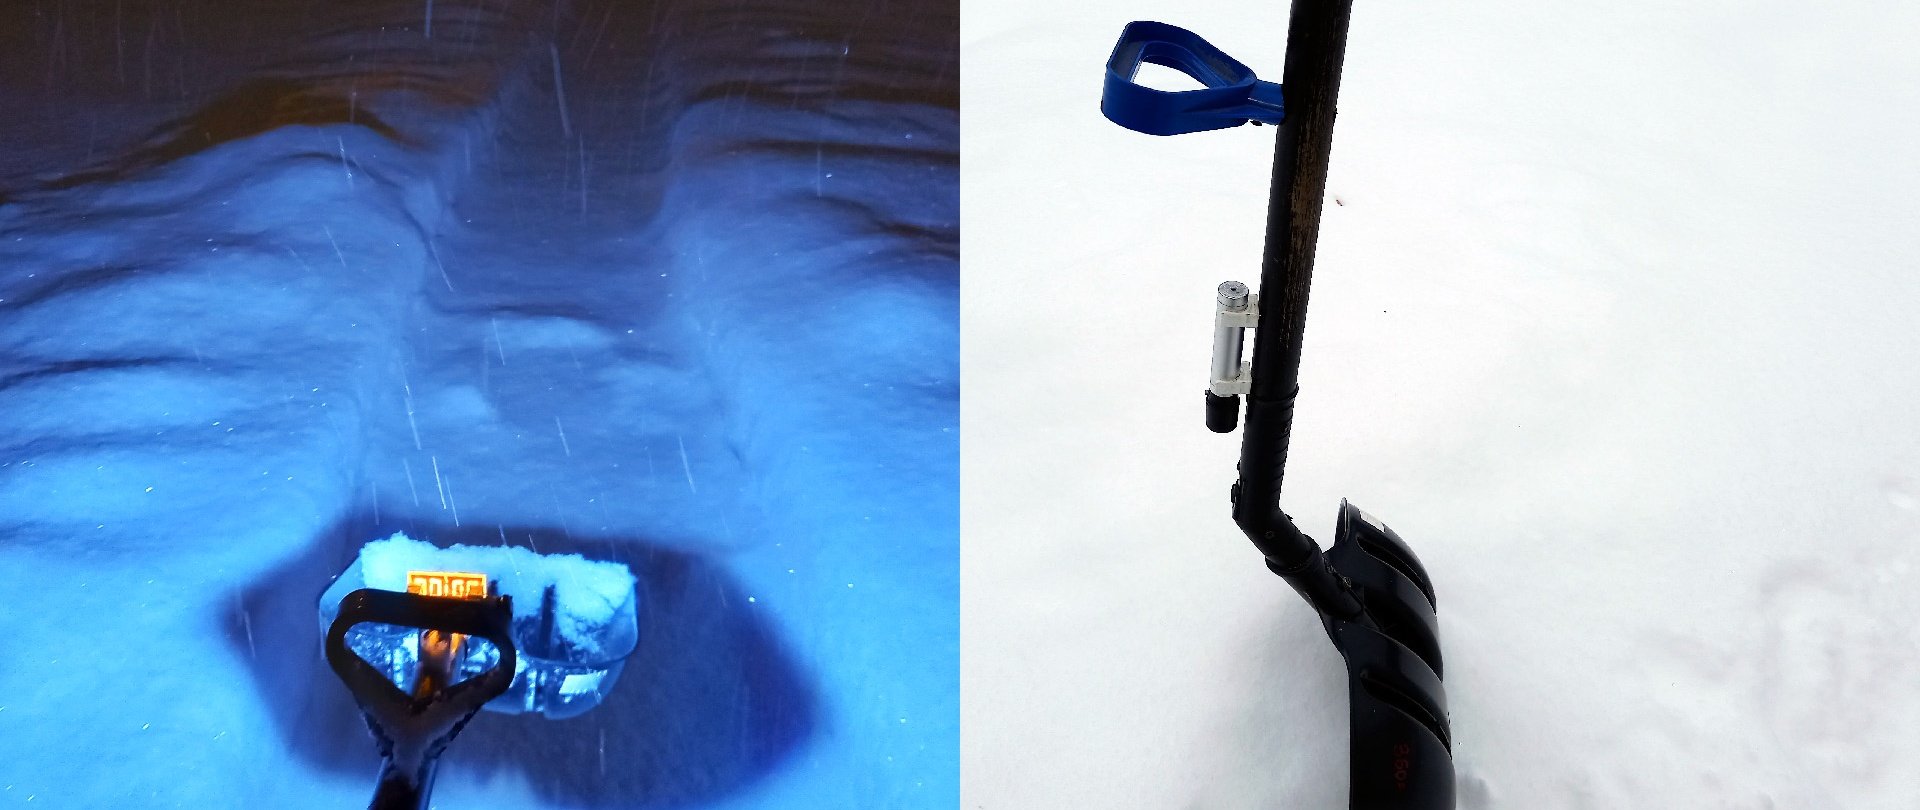
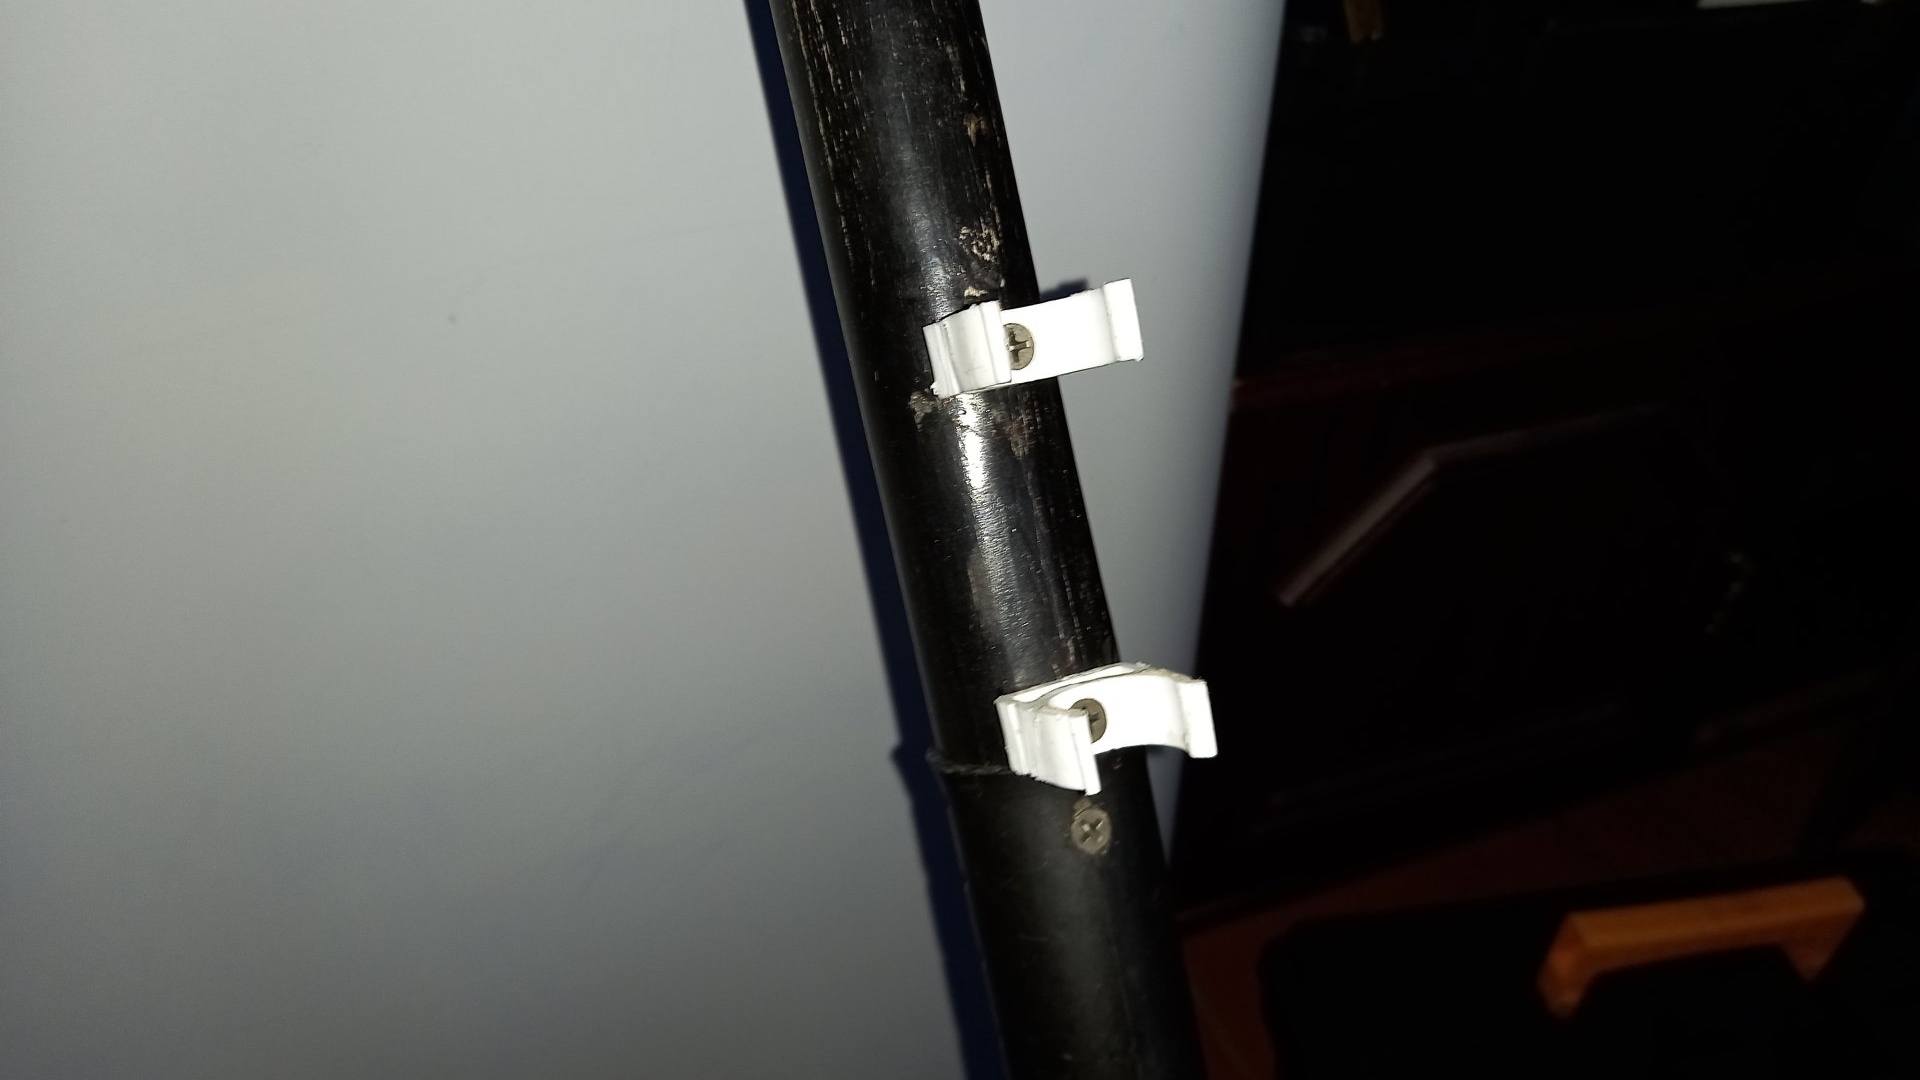
With this design, the main load falls on the triceps, biceps and abs, leaving minimal load on the lower back. Now let's take care of vision. More precisely, about lighting in the dark. Everything couldn't be simpler here. You just need to screw a couple of clips for water pipes into the cutting, immediately after branching, at a distance of 6-8 cm from each other. The inner diameter of the clips should match the diameter of your flashlight.
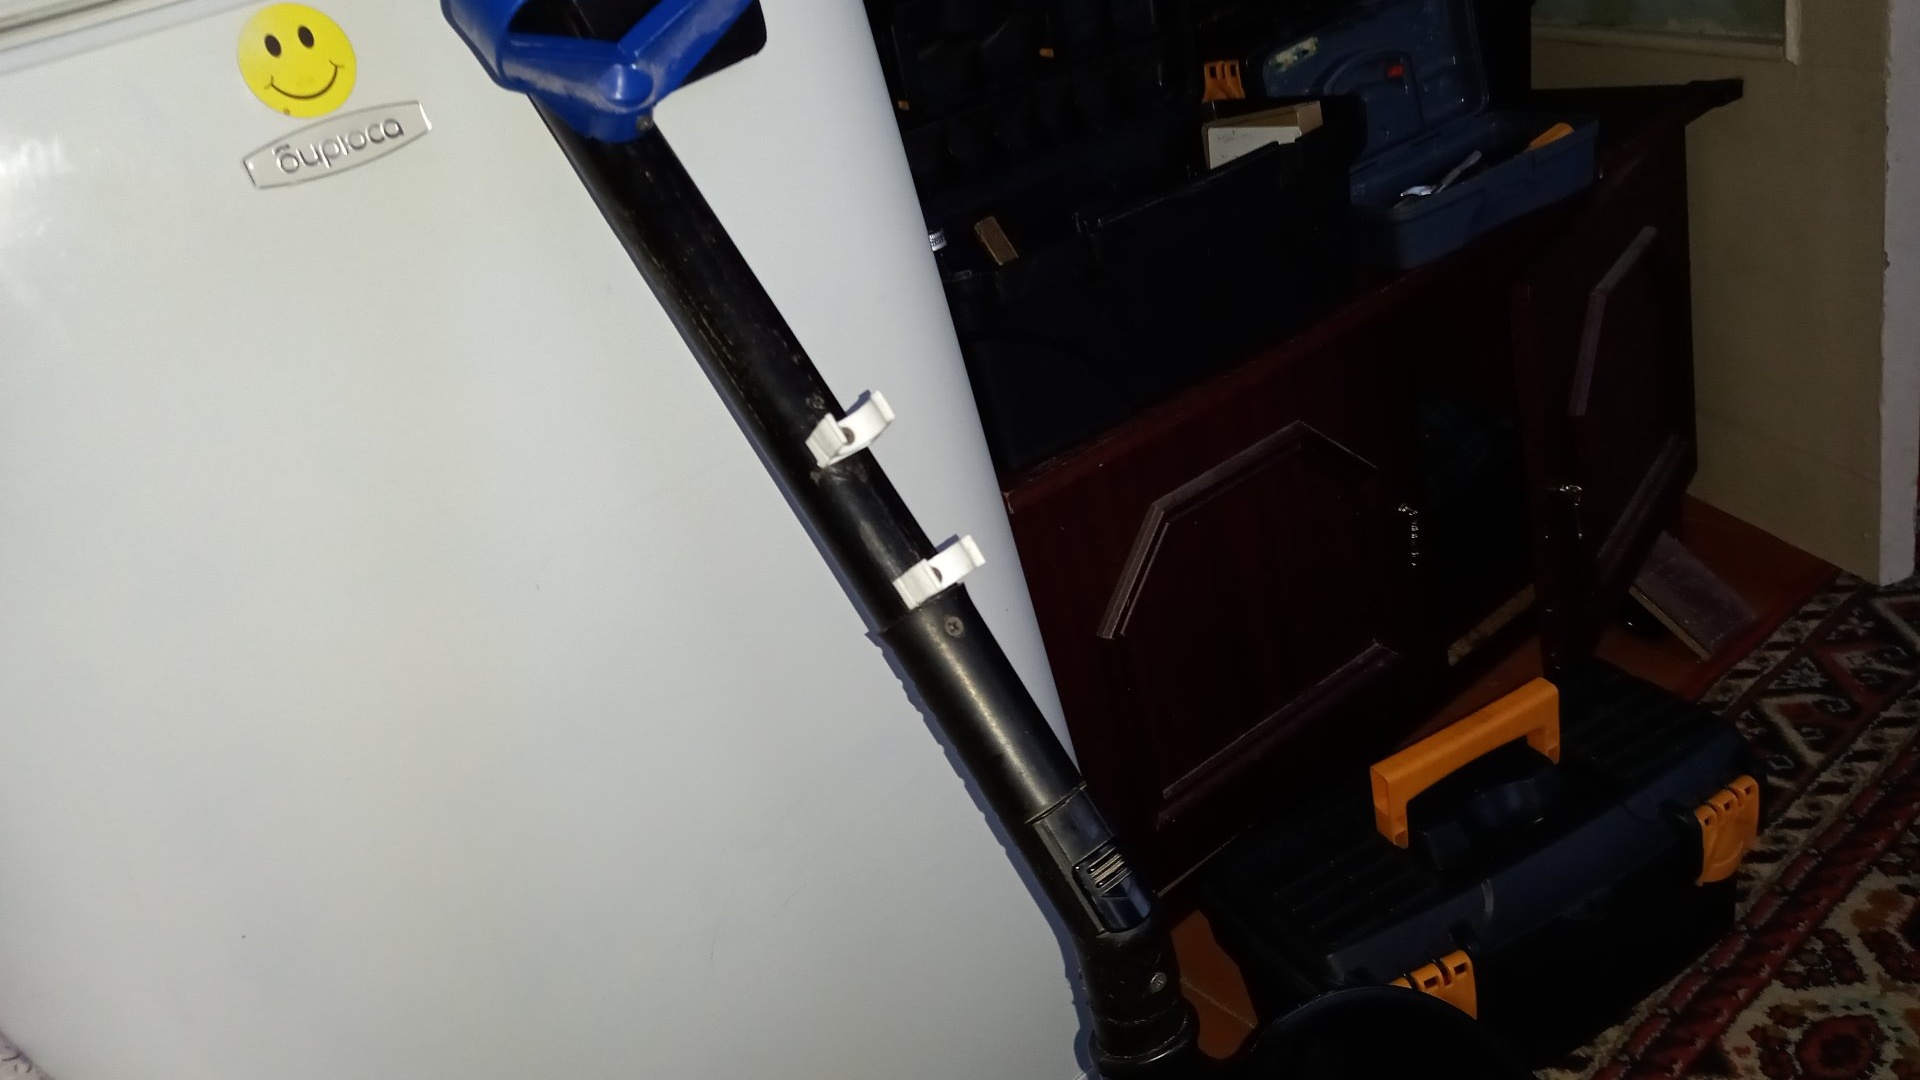
Let's try on a flashlight.
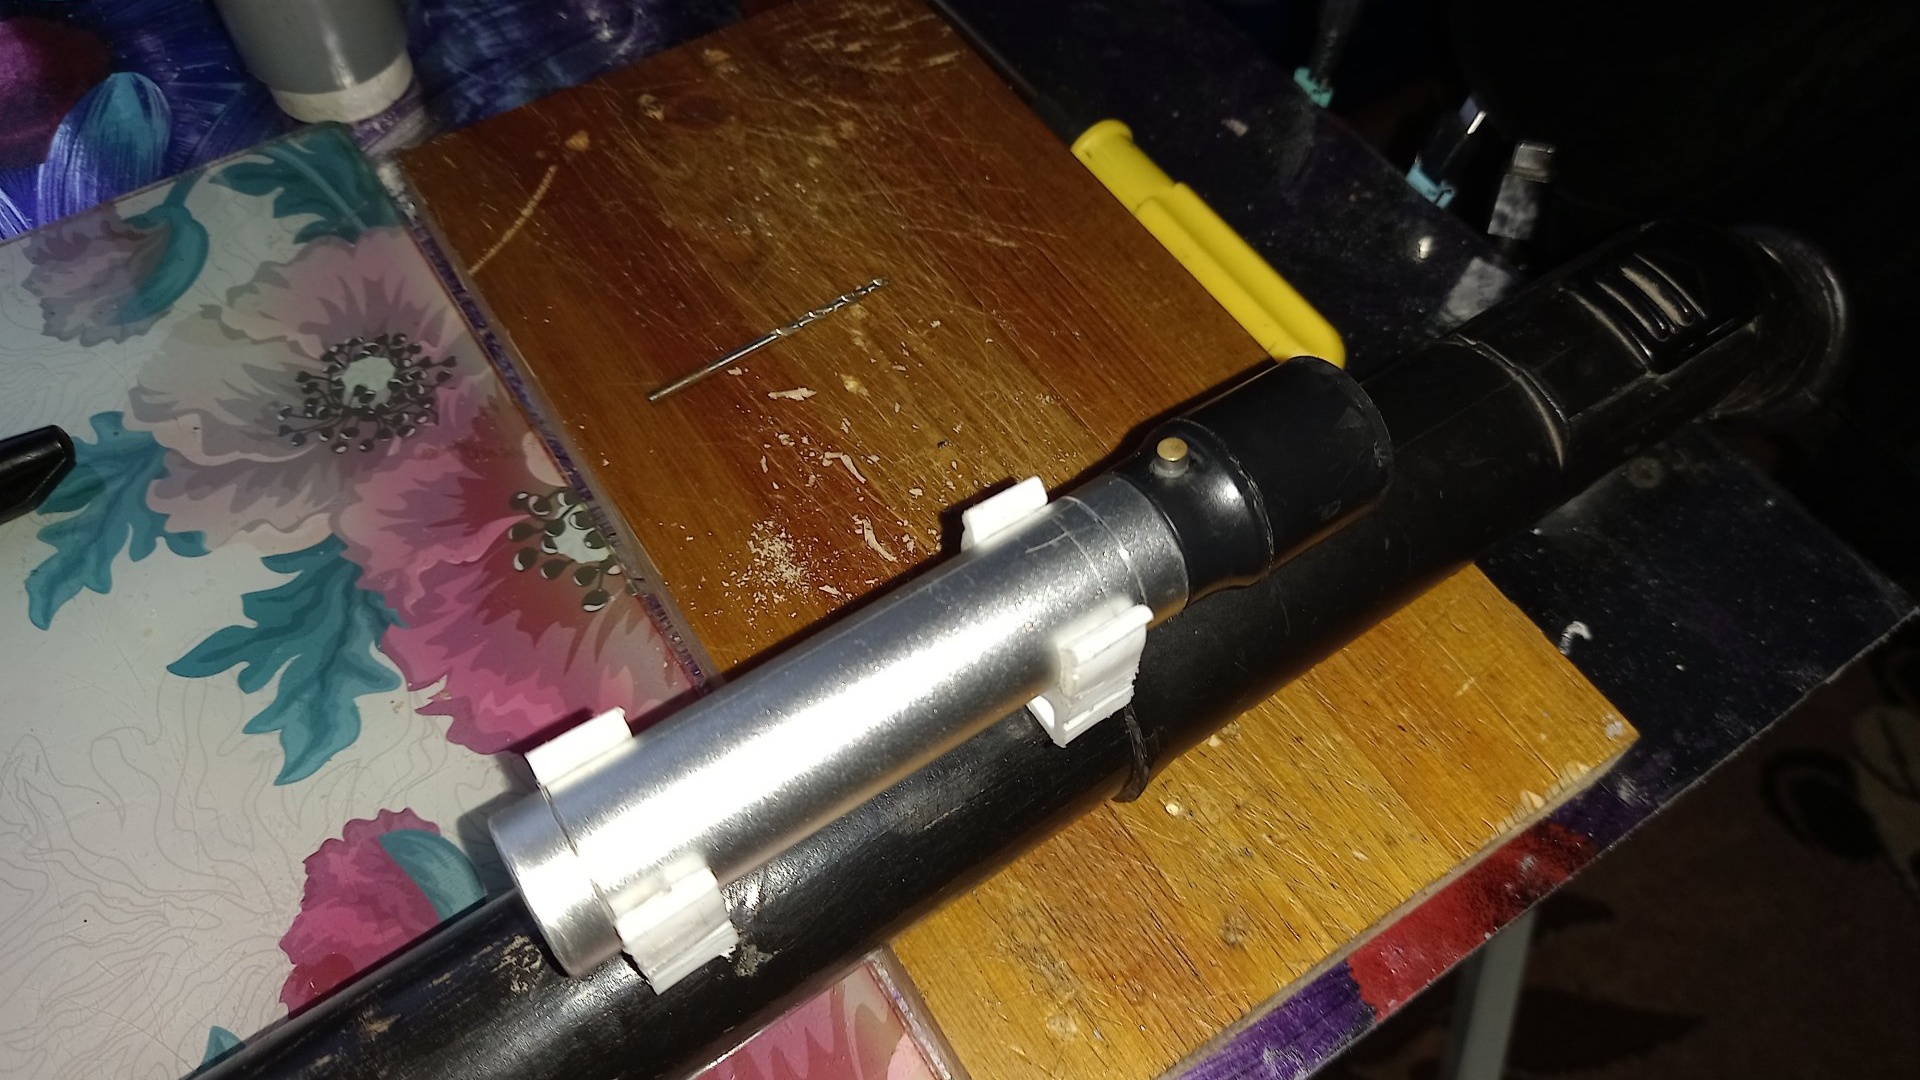
Thanks to the horizontal mobility of the clip, due to a single self-tapping screw, you can install a lighting device of almost any model and shape on the handle.


This is the final design we came up with:


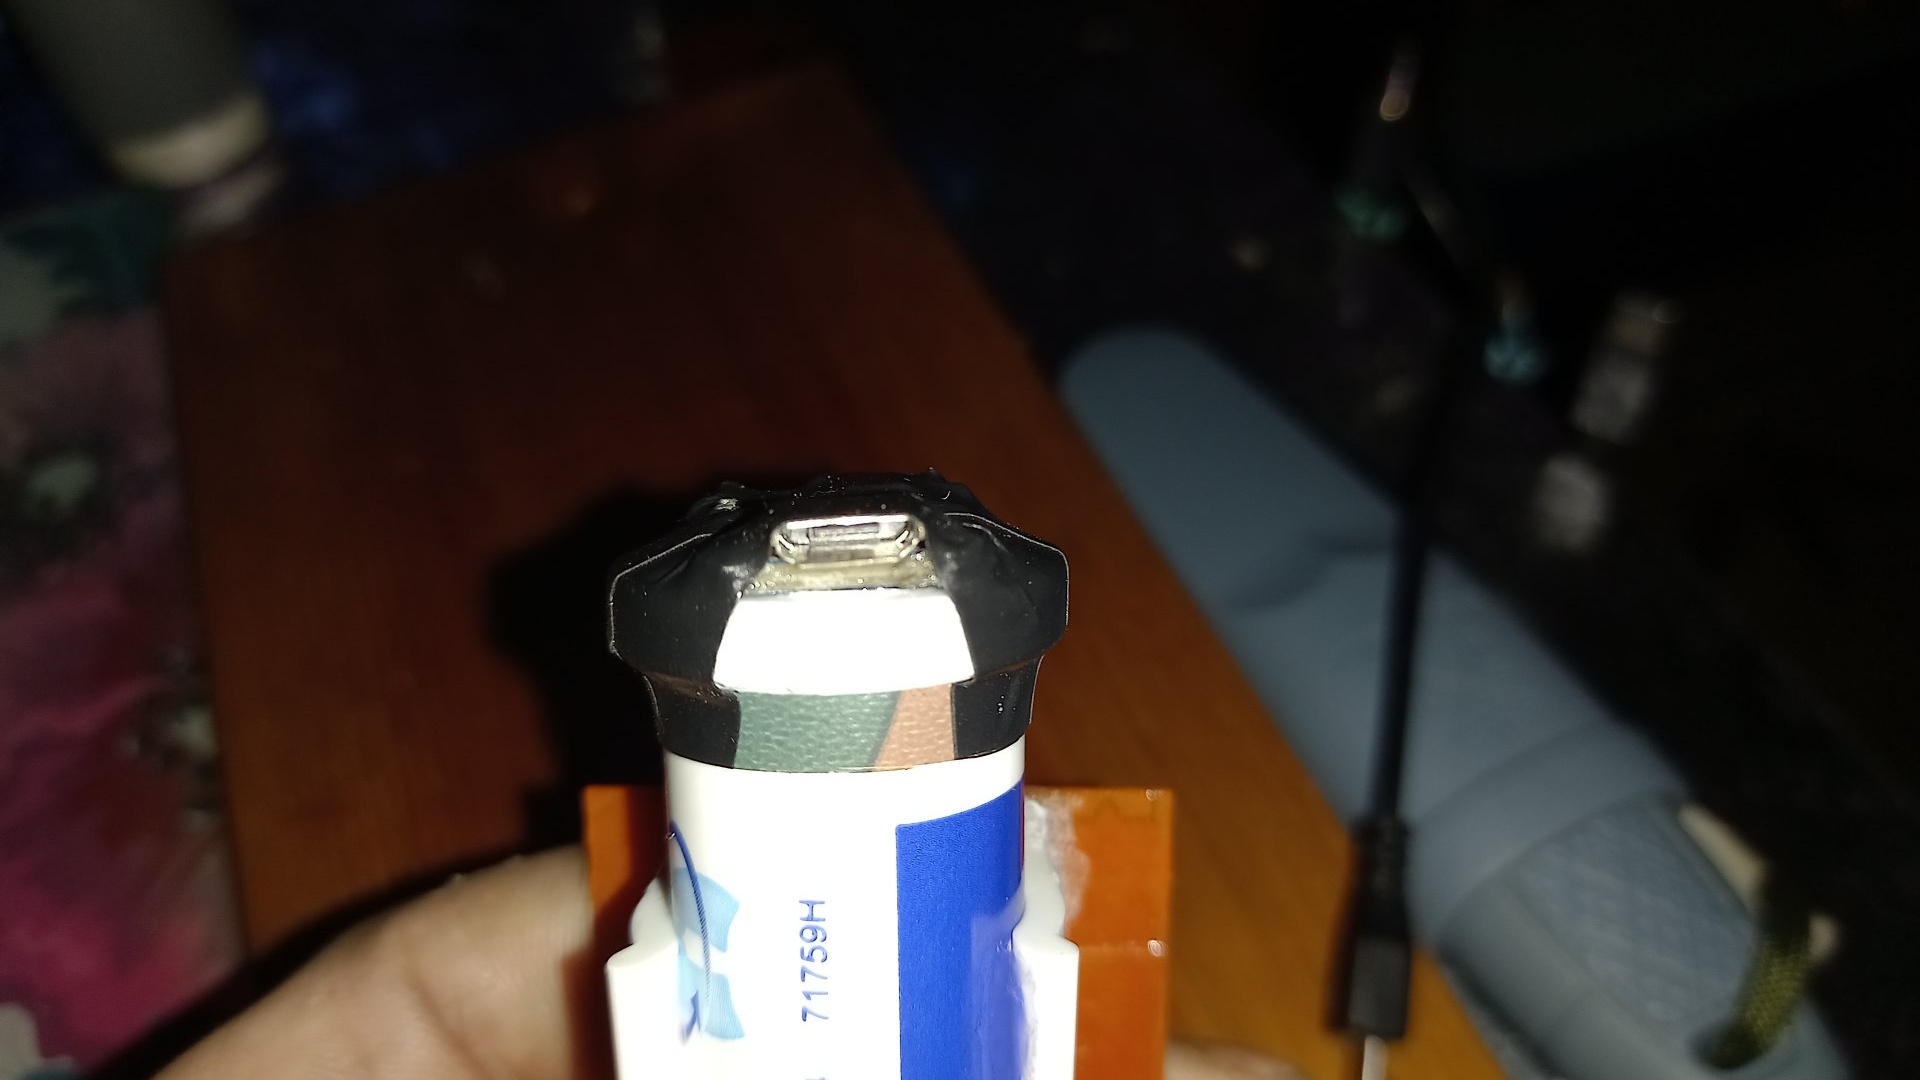
My flashlight, powered by a charger (which also served as a flashlight handle), turned out to be not very convenient for such work - it has too narrow a beam, designed for long distances. But there is no zoom. But it never takes long to quickly solder a lamp with the desired direction of light. To do this you will need a small LED panel with a consumption range from 3 to 6 volts, 18650 battery at 3.7-4.2 volts, switch, and charging module. Well, I think anyone can solder all the components in the right order. Just in case, here is the diagram:

We solder the wiring, push the battery into any suitable case, glue the switch at the ends and charging module, glue to diode panel a couple more clips and attach it to the body.


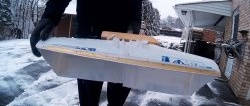
And now you can try it.We go outside, attach a flashlight to the clip of the handle, turn on the flashlight (if it’s dark outside), and try to work.
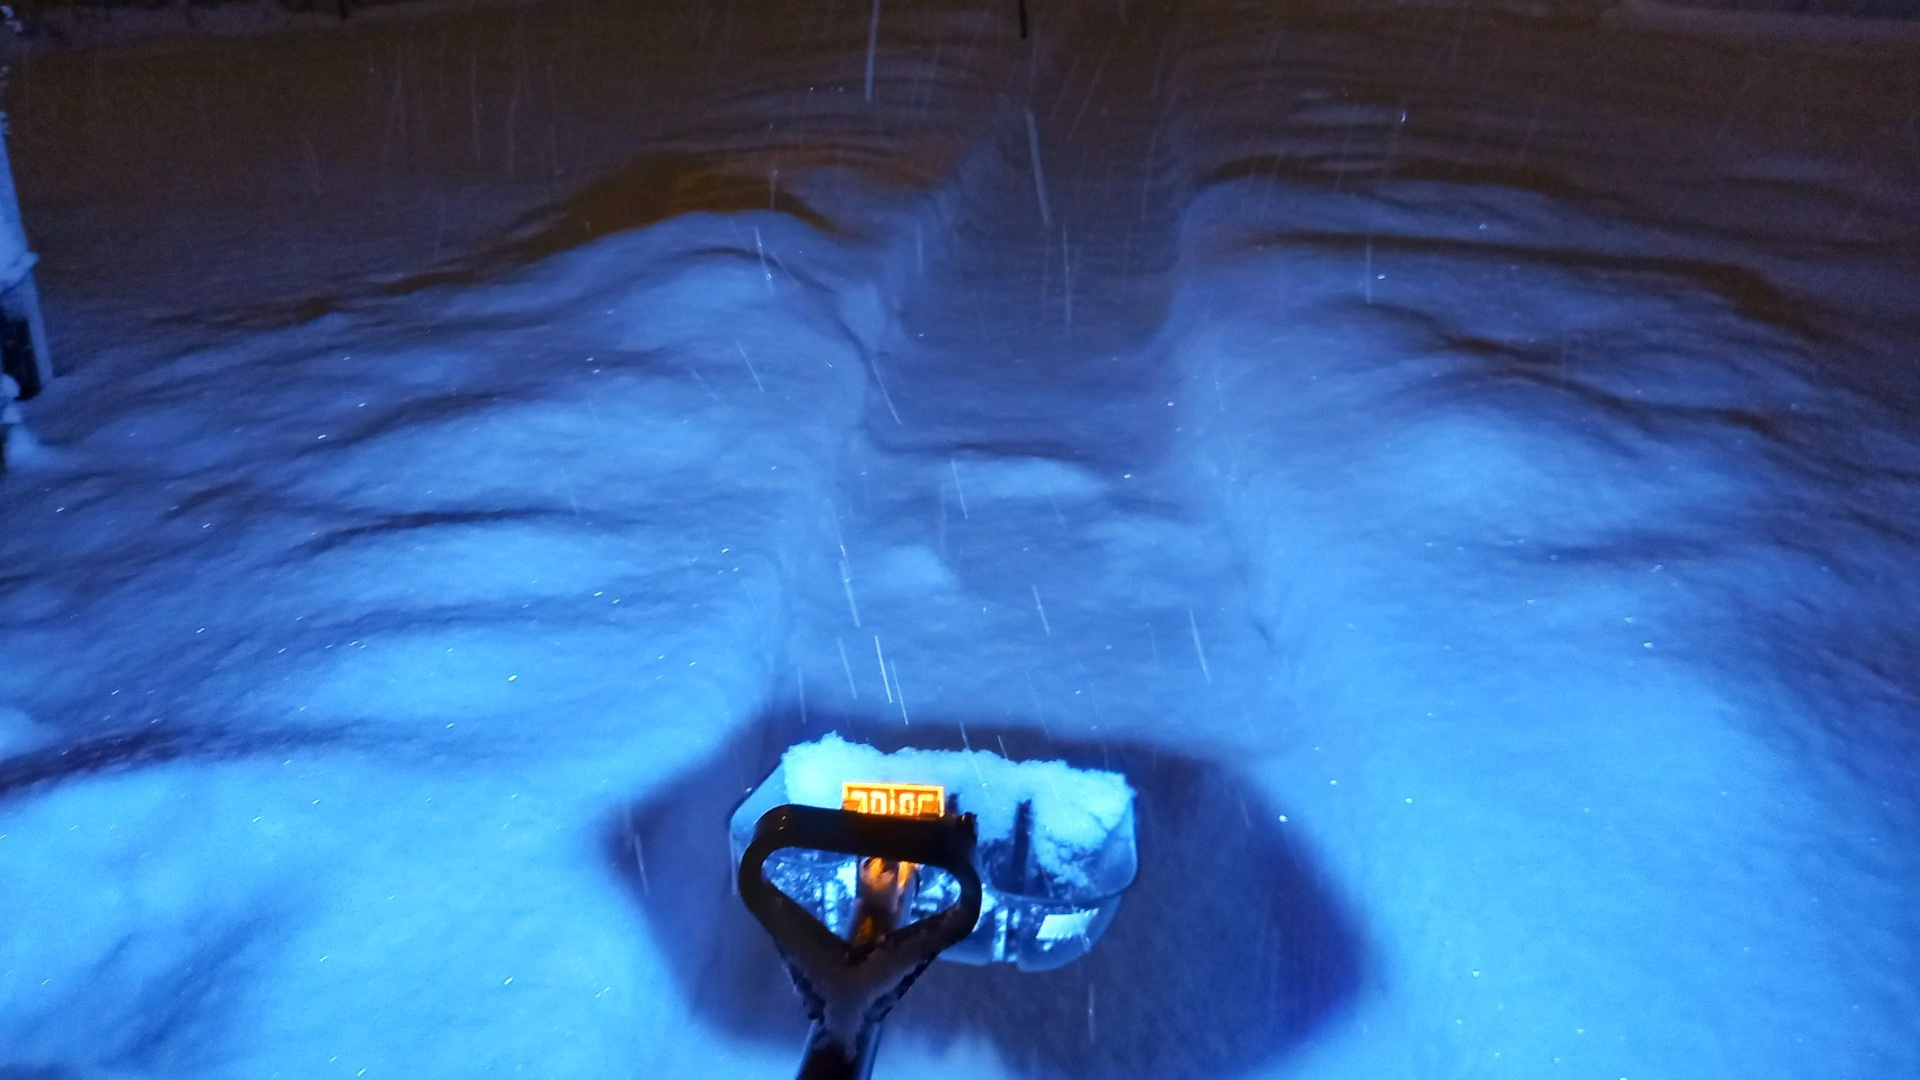

Not work, but pleasure! Fatigue no longer sets in so quickly. And work has become much more interesting! Even in the most severe frost, lithium ion battery will freeze no sooner than a person’s hands. So you don't have to worry about autonomy. After all, it’s never a good idea to recharge a flashlight during a hot tea break.