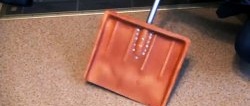
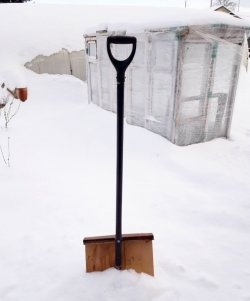
Winter is receding, and it's time to put in order everything we used when clearing snow. Shovels, scrapers, ice axes, etc. So that everything is ready for the next season, and there is no need to repair or buy anything. You should carefully inspect the tool, especially a plastic one, for chips, cracks, and other defects that appeared during operation. And if any are suddenly discovered, they should be eliminated immediately, thereby avoiding final breakdown. Unfortunately, I noticed the crack on my shovel too late; when it had completely burst, almost breaking the instrument in two.

But even in this seemingly hopeless case, it’s too early to write her off! After major repairs, it will last another season.In any case, it is much cheaper than buying a new plastic shovel, which is very, very expensive! In this master class I am going to show one of the ways to restore a broken plastic shovel, or any other work surface.
Will need
- Cautery on wood.
- Drill and 1 mm drill bit.
- Nichrome wire, cross section 0.5 mm.
- Secondary glue.
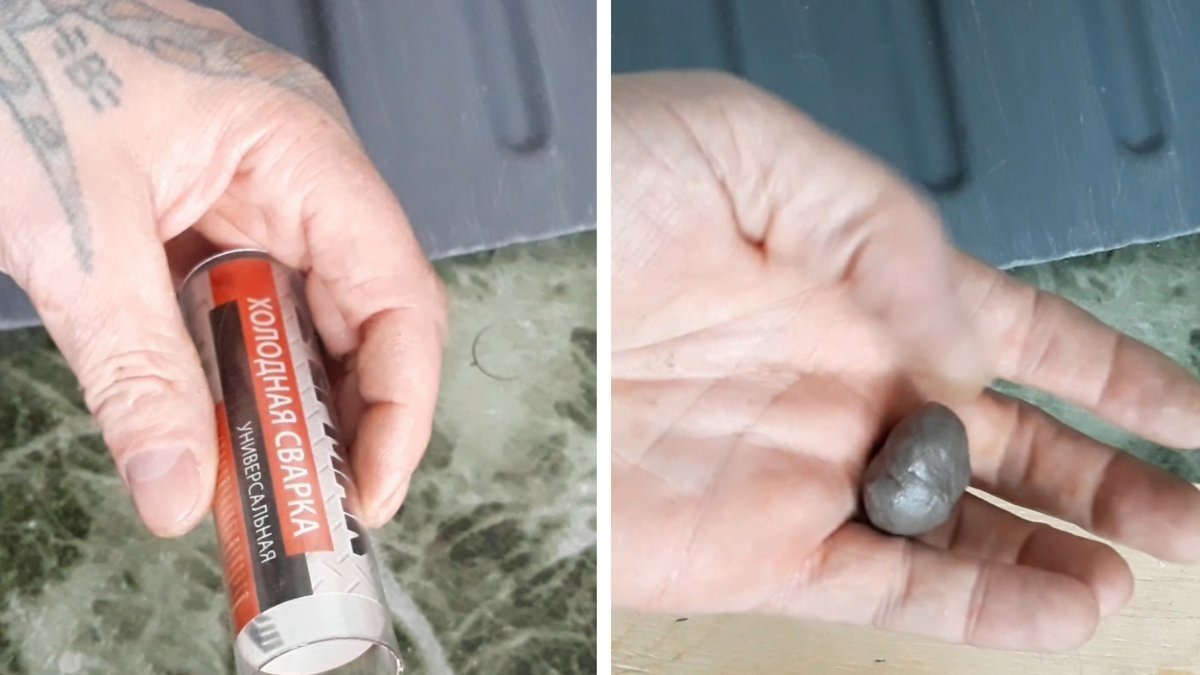
- Two-component adhesive, “cold welding” type (preferably matching the color of the part being repaired).
- Small pliers.

Restoring a plastic shovel
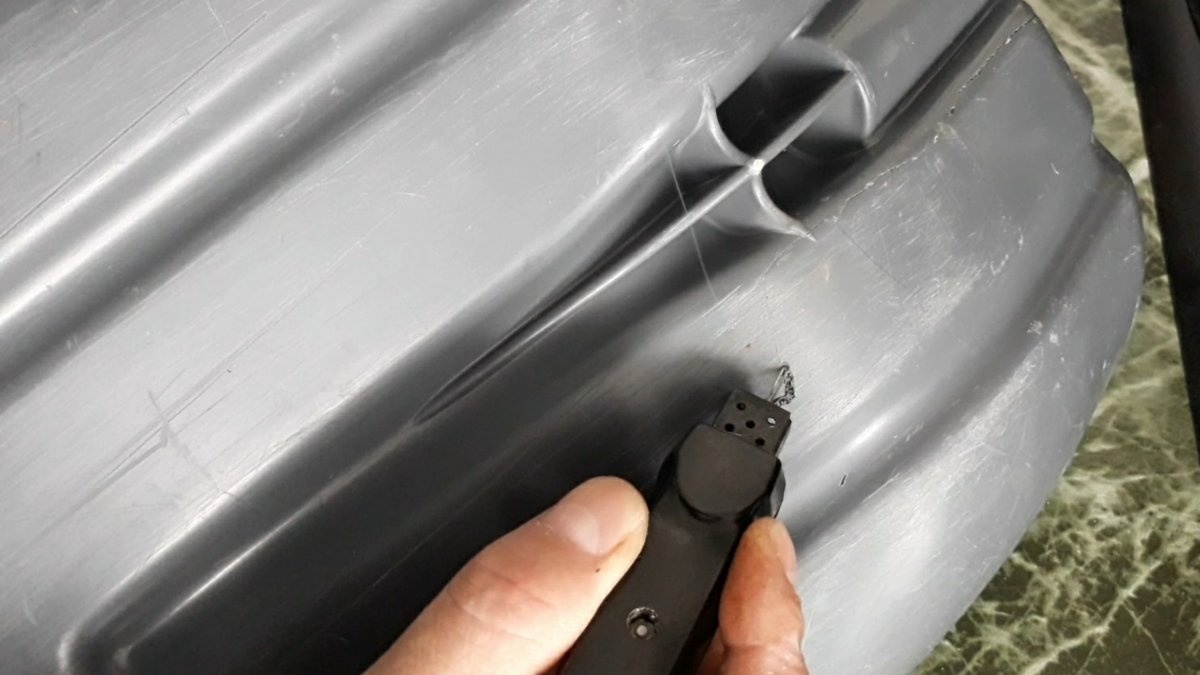
The first step is to clean the item being repaired with alcohol or a solvent in order to destroy any pathogenic bacteria, since the work ahead is very delicate, and you will have to do it with your bare hands. Next, using the tip of a wood burner, you need to fuse the edges of the crack together. This should be done in small steps, approximately one mm, with progressive movements, as if fusing one step onto the previous one. Approximately one-third the thickness of the plastic. In general, the principle is the same as when working on metal welding: two parts should be fused together.

We repeat the same procedure on the opposite side of the crack. Now you need to use the same burner to make small transverse cuts along the entire length of the crack, in increments of 5-7 mm. Like this:
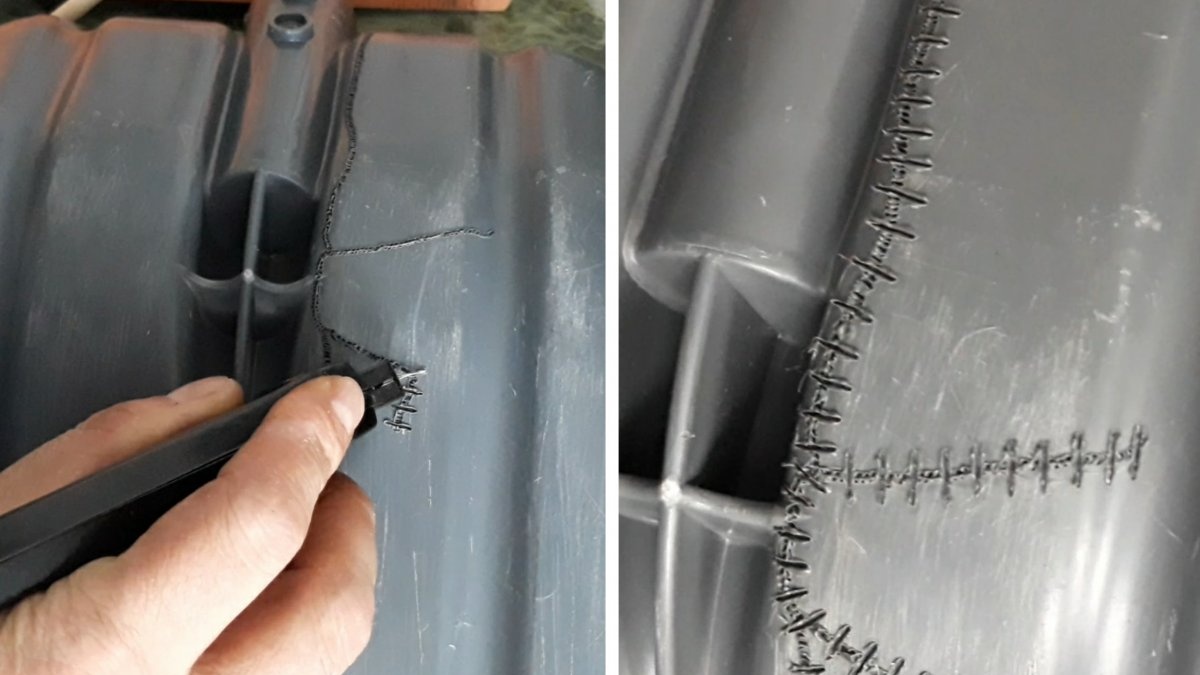
These cuttings will later contain stitches of nichrome wire. This is necessary so that the wire does not catch the ground when working with a shovel, so as not to tear or fray this wire. Next, using a drill and a 1mm drill bit, we make through holes on both sides of all the cuts.
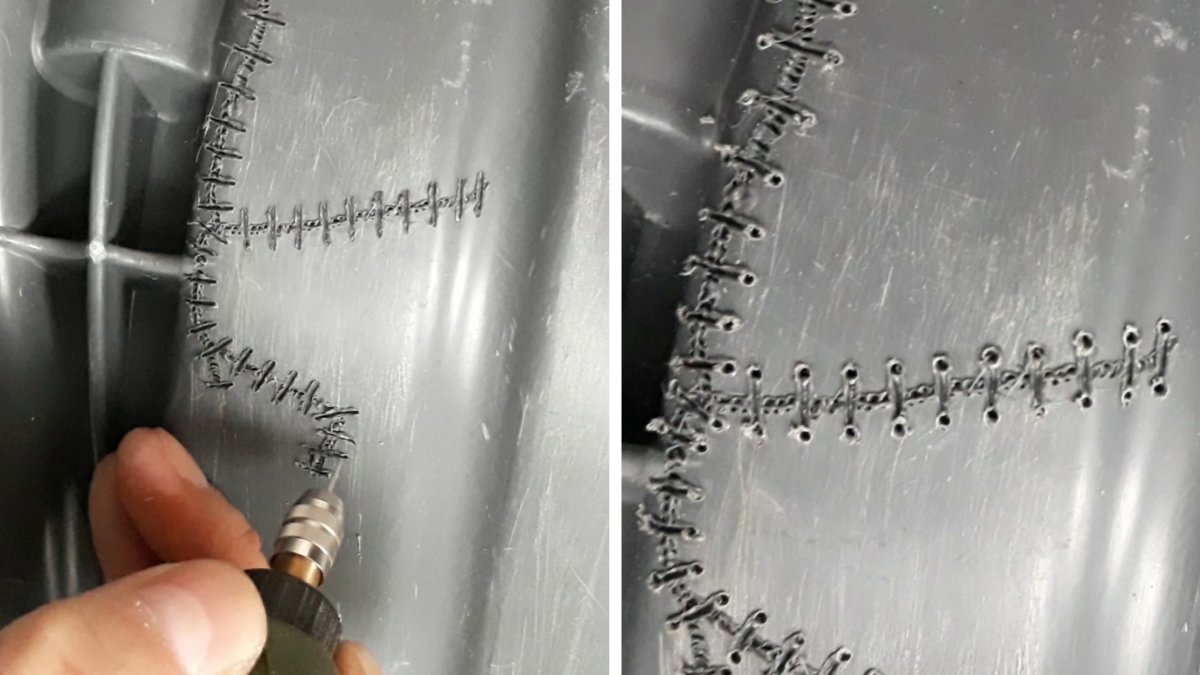
It was possible, in principle, to burn holes with a burner, but it would take a long time and be smoky.Now we thread the wire through the holes and tighten it as tightly as possible along the entire length of the crack.


Well, the last step remains: additionally protect the seam ties with two-component glue, also using second glue. So, cut off the required amount of cold welding and knead it according to the instructions.
After this, we coat the seam with instant glue, and immediately, before it sets, we apply cold welding to the seam, carefully pressing and smearing it into all the recesses and holes.

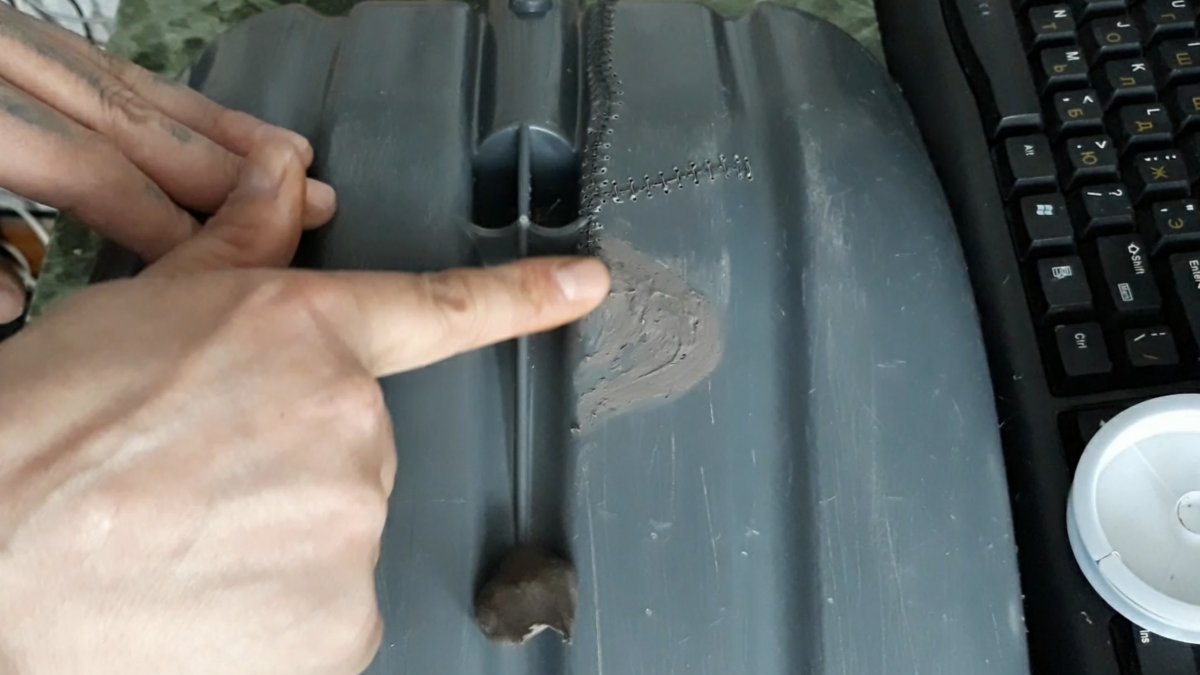
We repeat the same procedure with both glues, and on the opposite side of the seam. Like this:
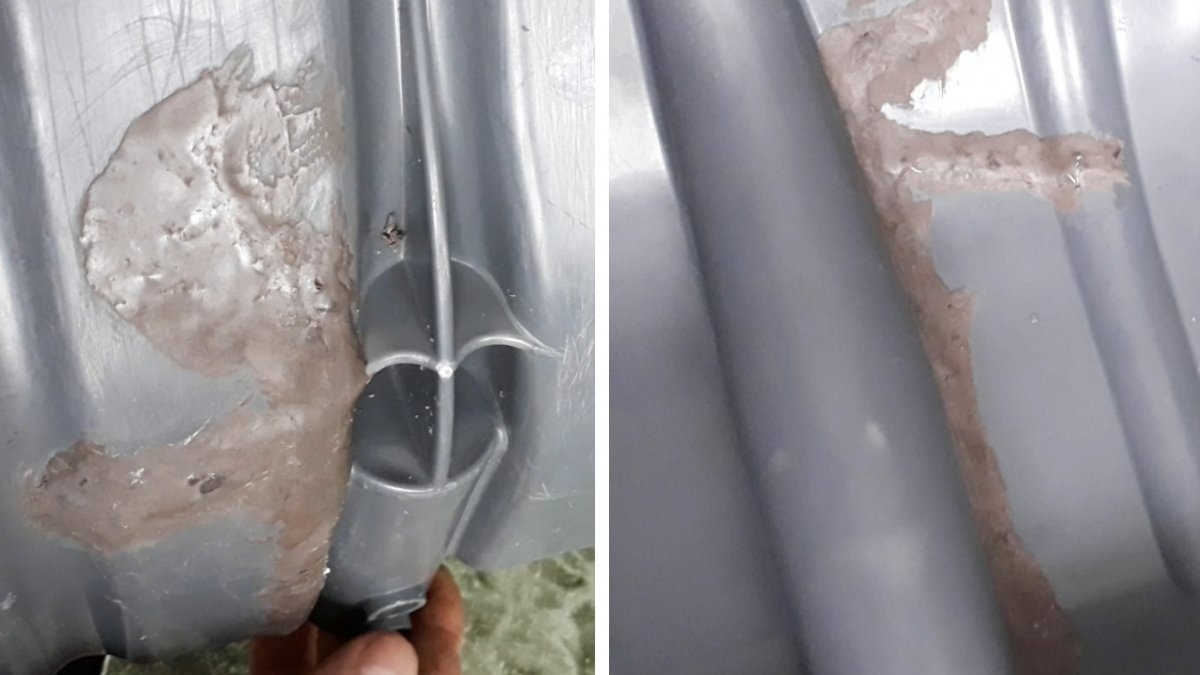
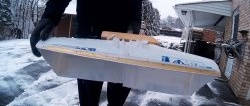
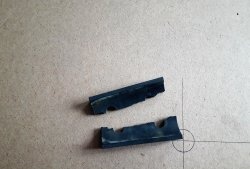
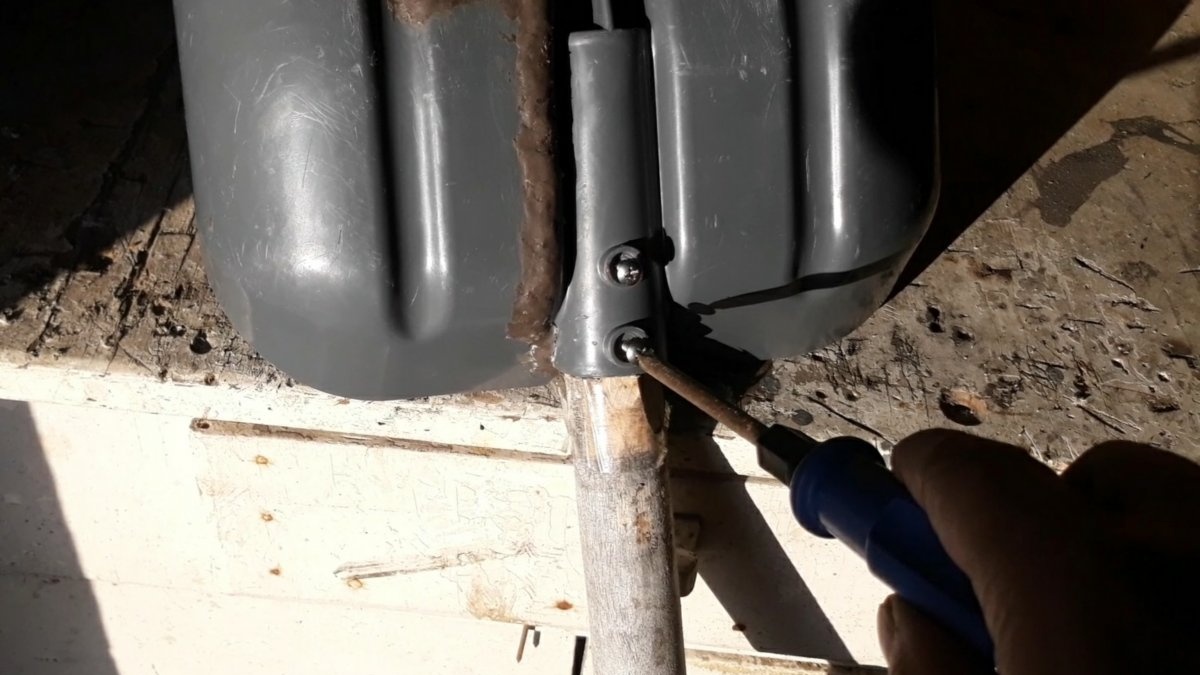
This completes the repair. Now you can leave the shovel in a warm place, preferably overnight, so that the cold welding hardens. The next day we install the handle in place and put the tool away until needed.
Well, or we continue to work with them if winter has not yet subsided in your region.

I can say with confidence that after such repairs, this instrument will last for many more winters! In this simple way, we saved the shovel from the landfill, and ourselves from unnecessary costs.