Do it yourself
Life hacks, master classes, useful tips, recipes.
home » Electronics » How to transfer a device from batteries to a battery with built-in charging
When buying this or that electronic device, we often opt for devices with a built-in rechargeable battery. Such a product has more advantages than the same one, but running on disposable batteries. Firstly, it is convenient - if the battery runs out, you can immediately recharge it, while you may not have regular batteries at home. Then this is some kind of savings - you don’t have to buy batteries every time. Well, and it’s more environmentally friendly, after all - we don’t pollute the environment with decay products from disposable batteries, which often contain heavy metals. But it happens that the electronic gadget or device we need runs only on disposable batteries.
How to transfer a device from batteries to a battery with built-in charging

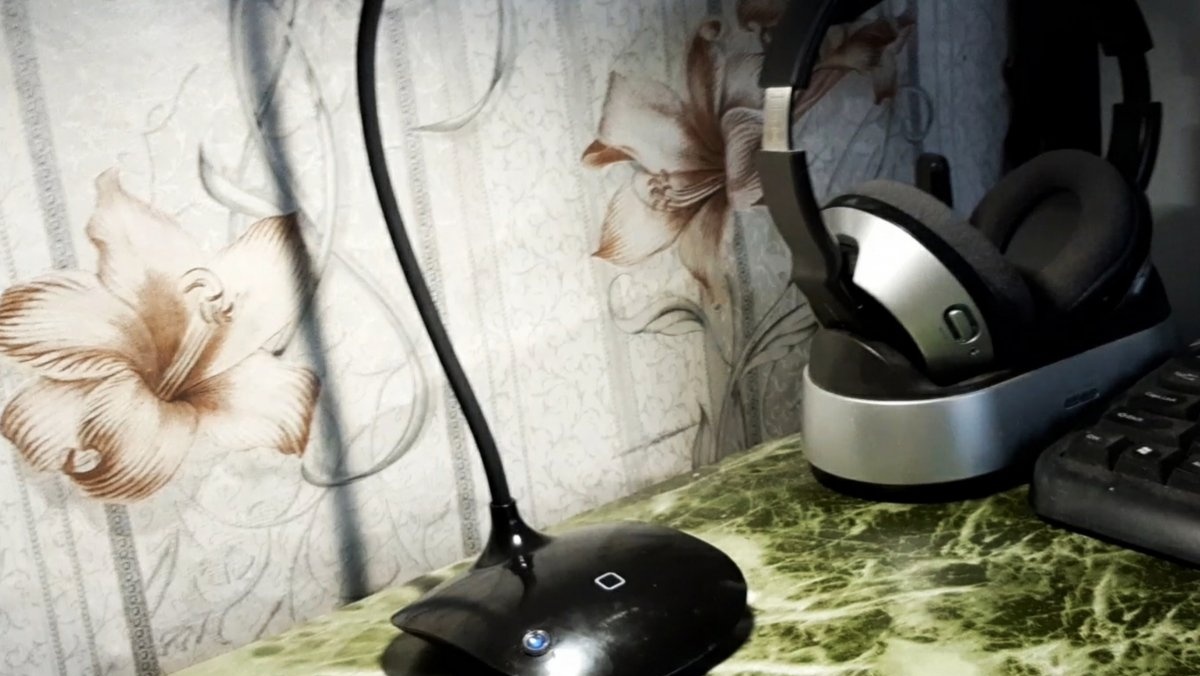
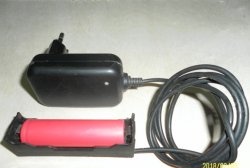
These are, as a rule, finger elements, type “AA”. Well, or you didn’t read the description before purchasing in the online store. Doesn't matter. The main thing is that this can be easily fixed. Namely: switch the device from disposable AA batteries to a built-in battery with internal recharging function.
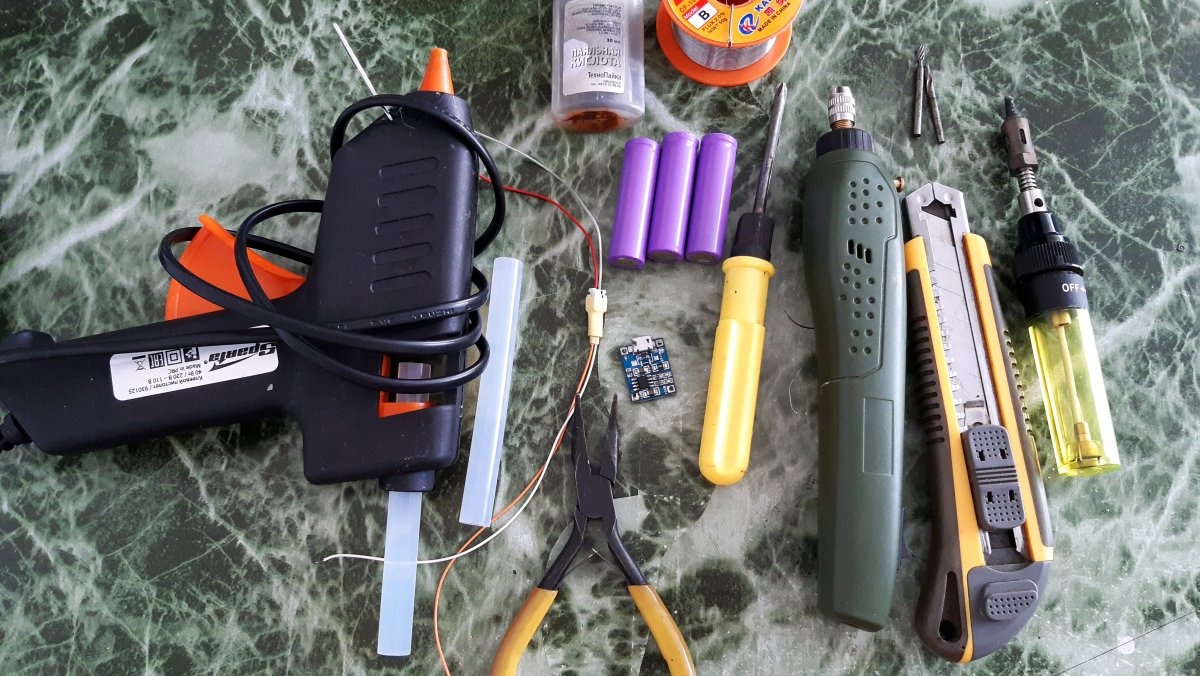
How to transfer a device from batteries to a battery with built-in charging

Will need


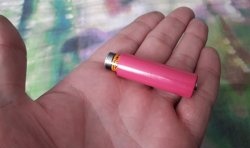
  • 3 batteries 14500 at 3.7 V -
  • 4.2 V charge controller -
  • Tin strips, approximately 3x50 mm
  • Screwdriver.
  • Pliers.
  • Glue gun.
  • Soldering iron with tin and flux.
  • Stationery knife.
  • Bor machine (or drill) and 3 mm drill.

How to transfer a device from batteries to a battery with built-in charging

Device modification


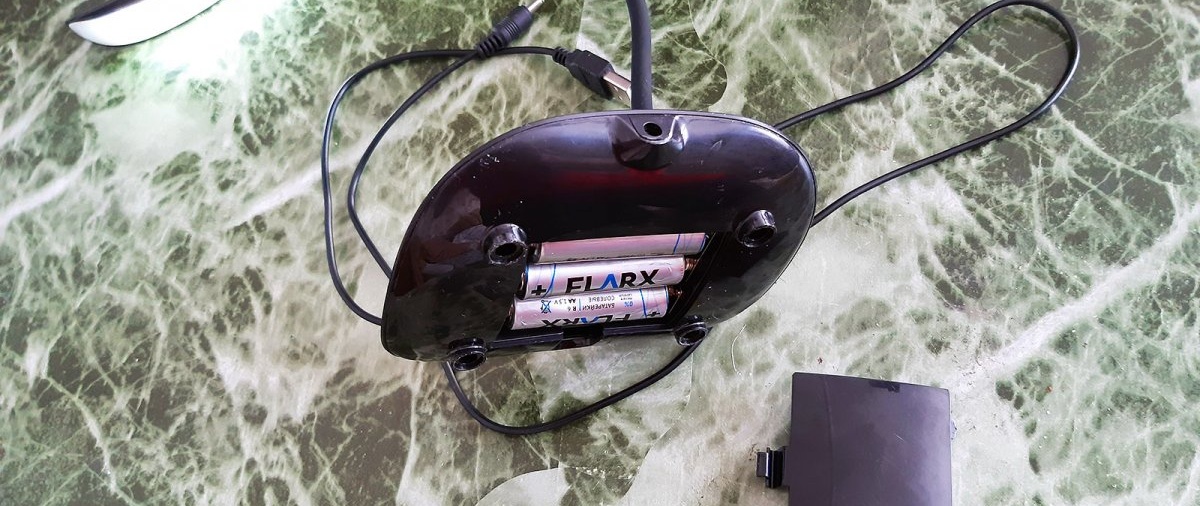
The first step is to remove the batteries from the device, if there are any. Then you can start disassembling the case.
How to transfer a device from batteries to a battery with built-in charging

We unscrew the screws and carefully separate the parts of the body. Next, unscrew the control circuit.
How to transfer a device from batteries to a battery with built-in charging

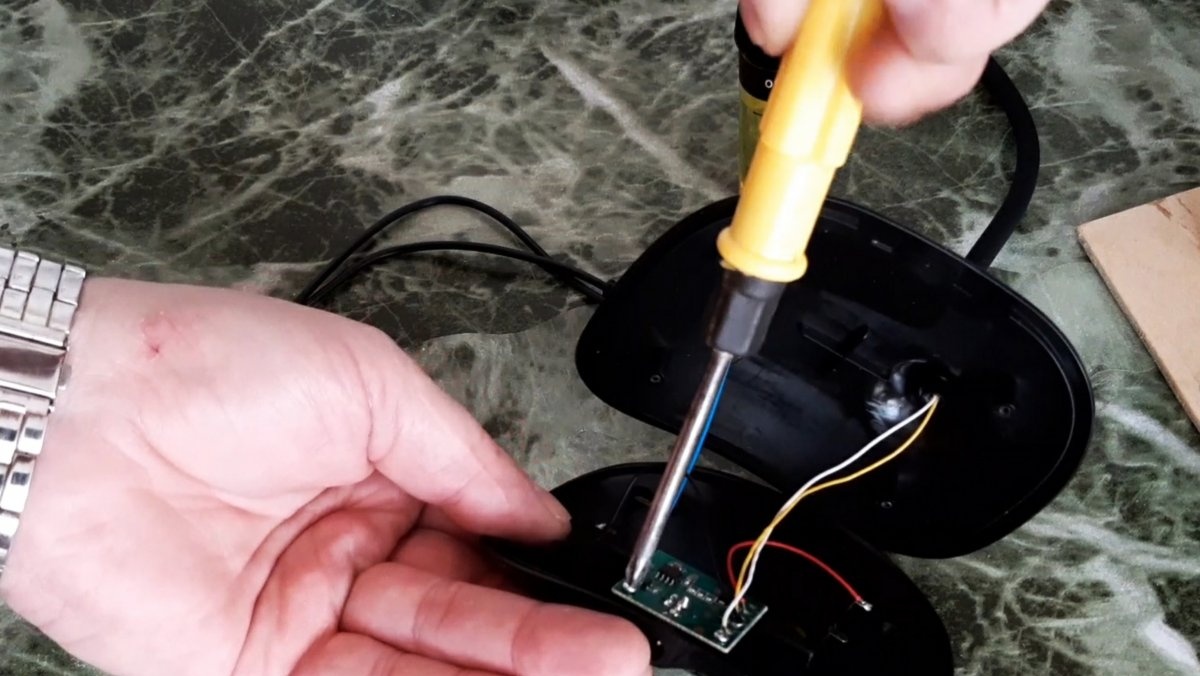
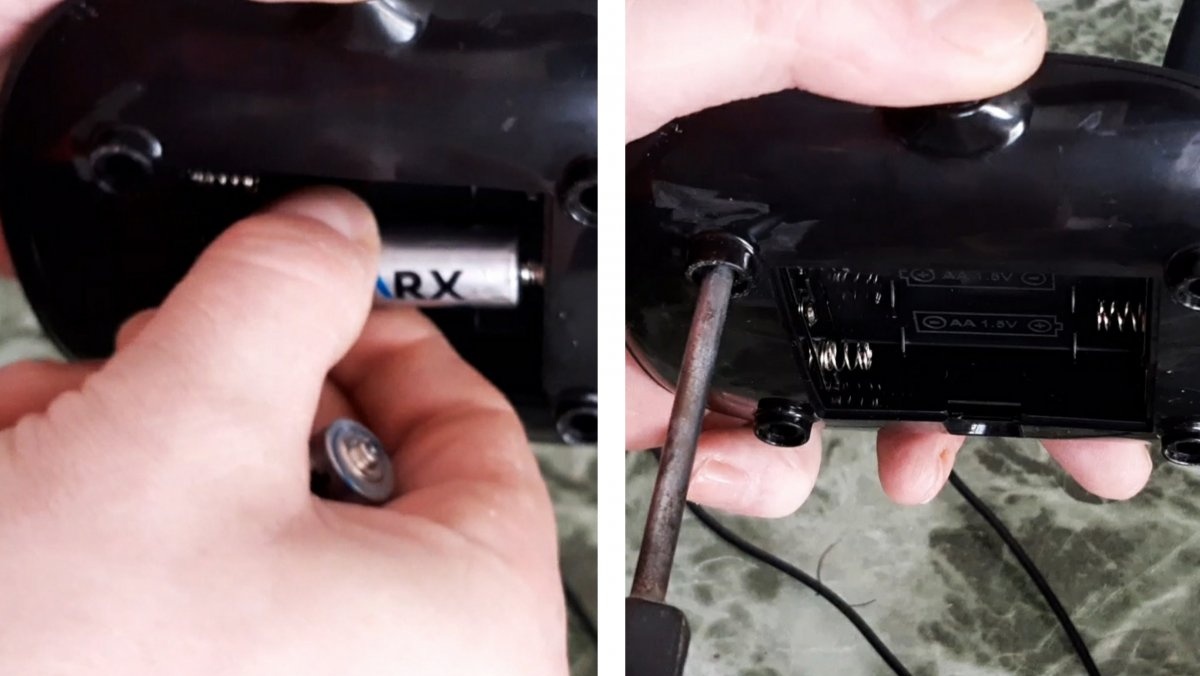
We unsolder the wires from the power terminals, and remove the metal terminal plates with springs that held the batteries from the battery compartment.
How to transfer a device from batteries to a battery with built-in charging

How to transfer a device from batteries to a battery with built-in charging

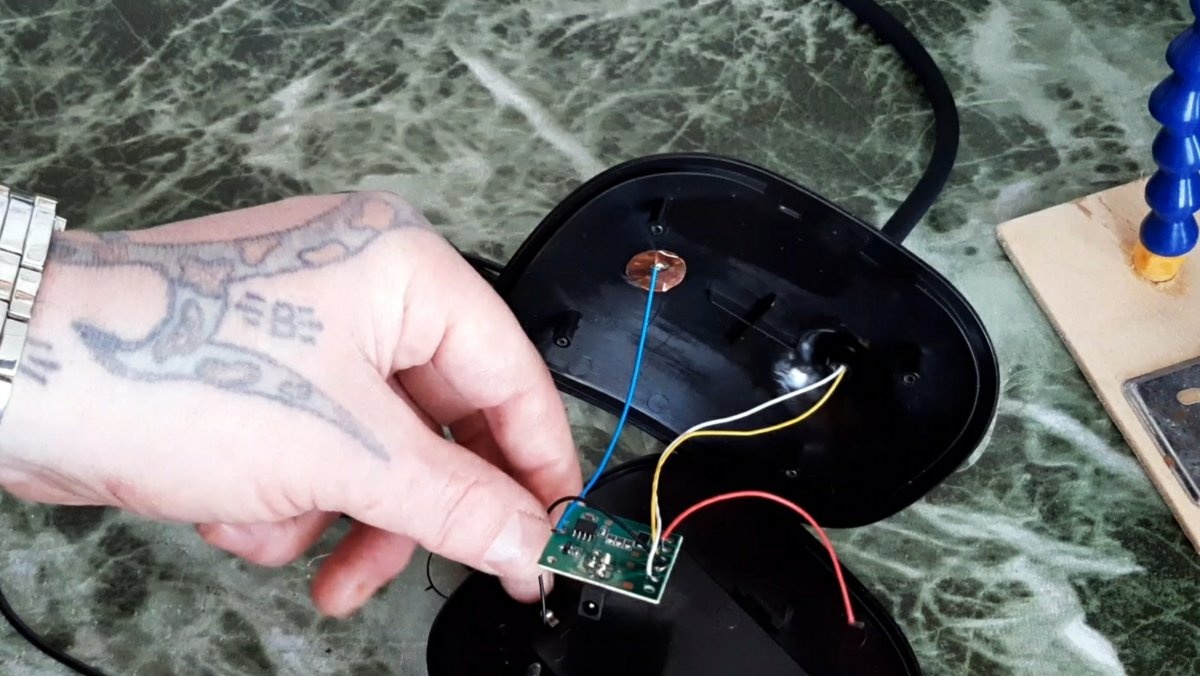
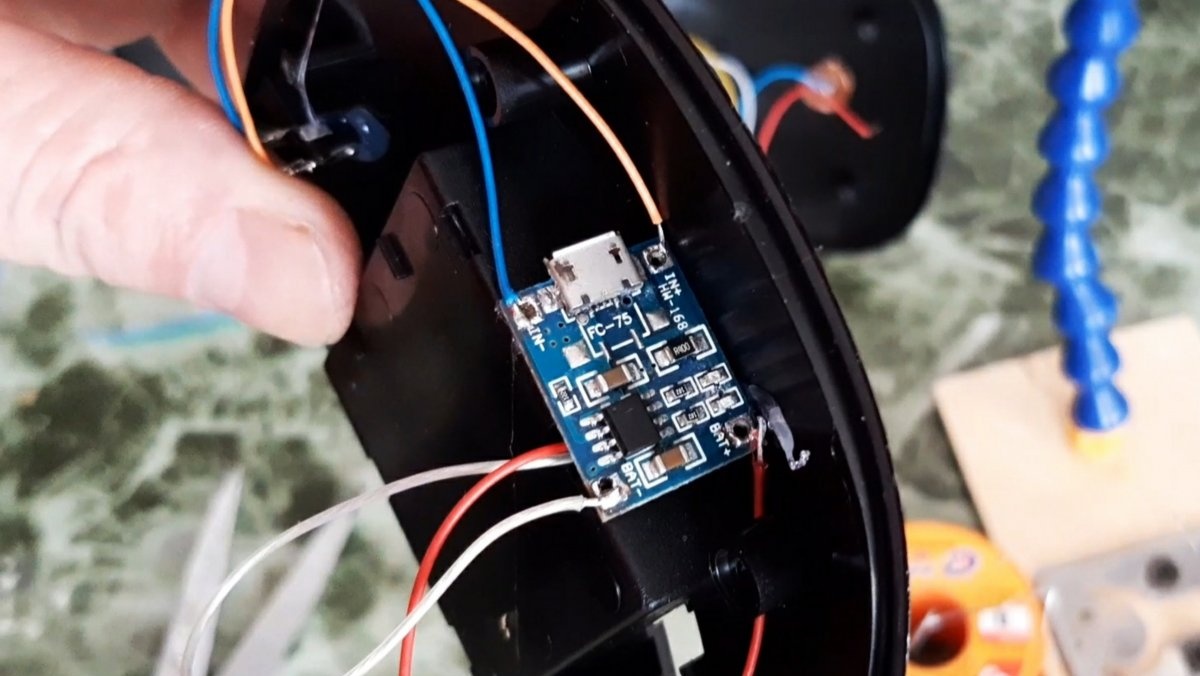
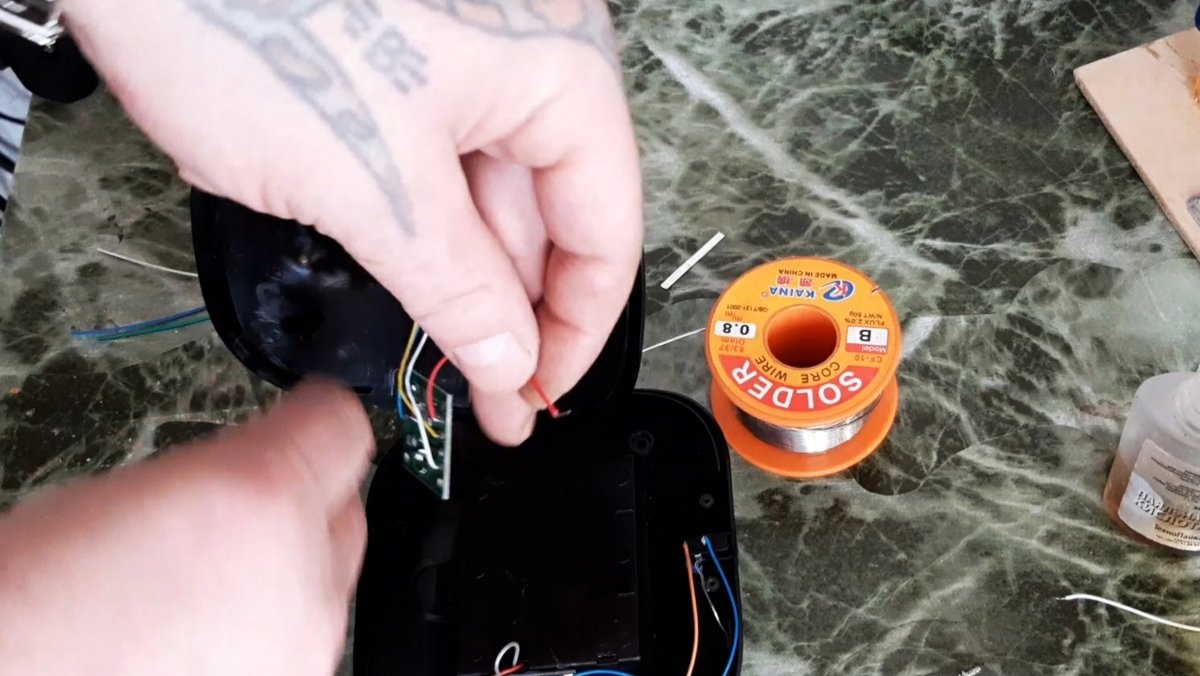
Now let's prepare the charging controller. Namely, we solder the wiring to the input contacts, which, in turn, we solder to the power connector of the modified device.
How to transfer a device from batteries to a battery with built-in charging

How to transfer a device from batteries to a battery with built-in charging

At first, I decided to unsolder this connector from the internal microcircuit and attach it separately, but this turned out to be not a very good idea - the touch switch button did not want to work due to the absence of this part on the microcircuit.
How to transfer a device from batteries to a battery with built-in charging

I had to solder it back later... So, we glue the charge controller inside the case with hot glue so that it does not interfere with the assembly of the case in the future. Next, we thread new wires from the battery compartment and solder them to the output of the charge controller.
How to transfer a device from batteries to a battery with built-in charging

How to transfer a device from batteries to a battery with built-in charging

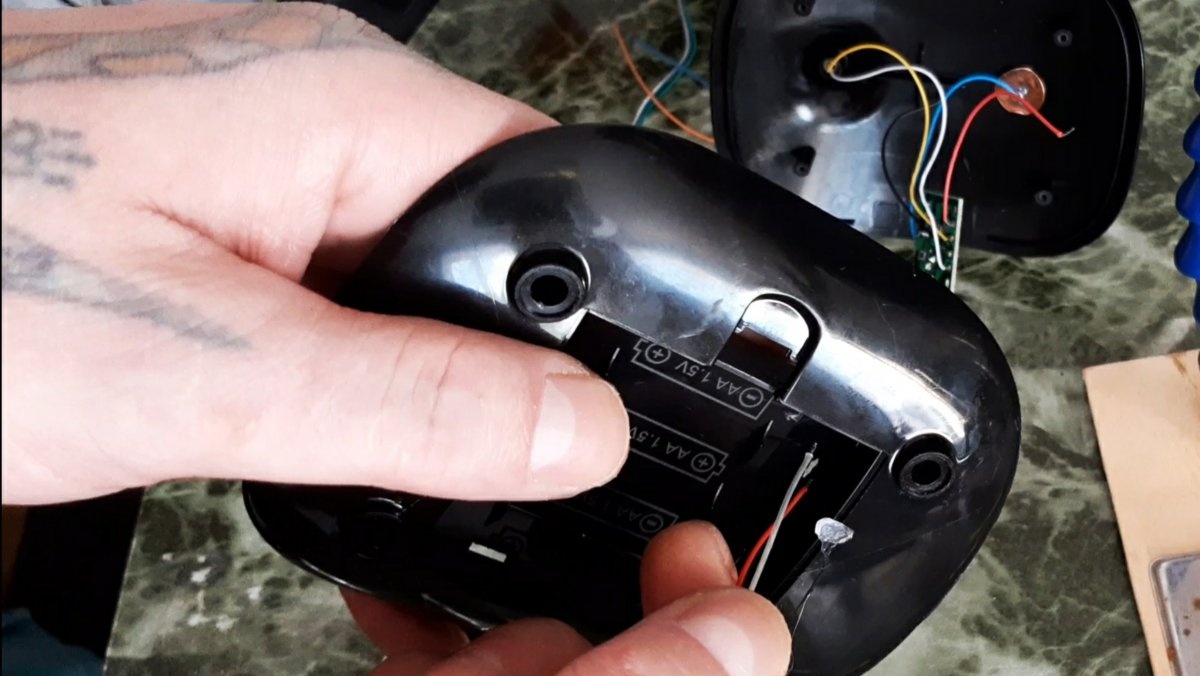
Now let's start assembling the battery. I decided to use three 14500 batteries here, 3.7 volts each, connected in parallel. One such battery has a capacity of 600 mAh. At least that's what it says on the label. Three such elements connected in parallel will give a capacity of approximately 1800 mAh.And this is continuous operation, without recharging, of an LED lamp for almost 30 hours! Actually, for this reason I chose 3.7 volt batteries, and not three conventional 1.2 volt batteries, which, not only do you have to remove them from the case each time to charge them, but you also have to purchase a separate charger for them. .. So, we put the batteries in a row, with the pluses in one direction, as evenly as possible, and fasten them with hot glue.
How to transfer a device from batteries to a battery with built-in charging

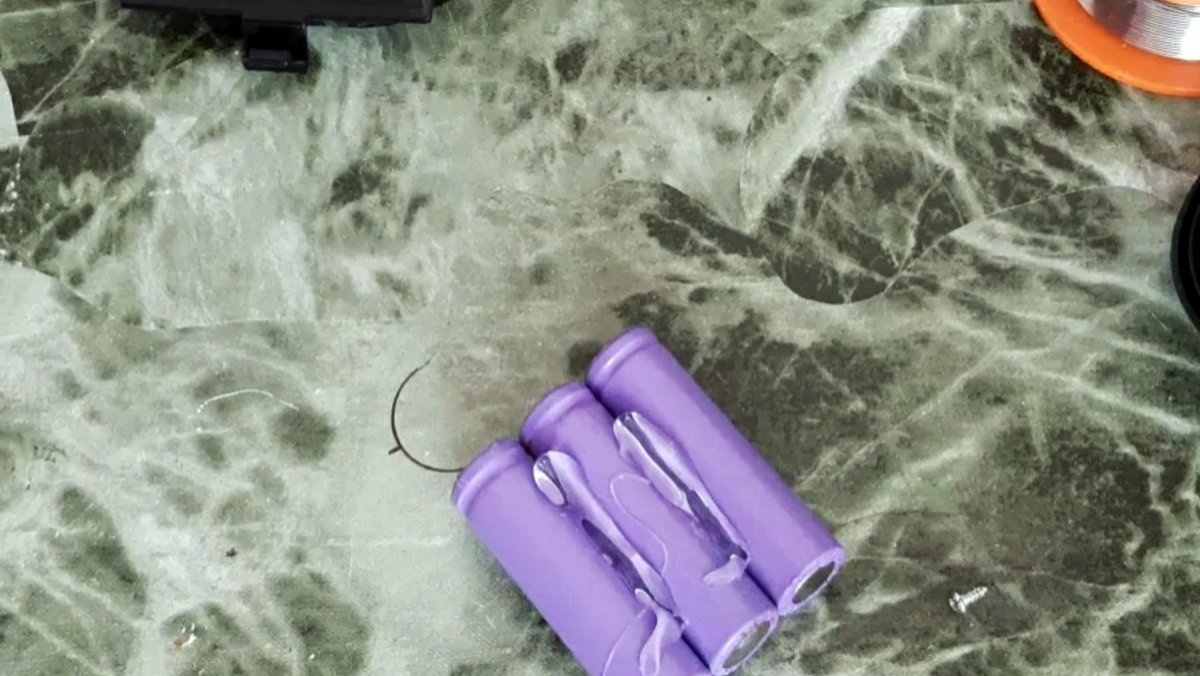
When the glue hardens, using a soldering iron and tin, first connect the upper, then the lower contacts with a tin strip.
How to transfer a device from batteries to a battery with built-in charging

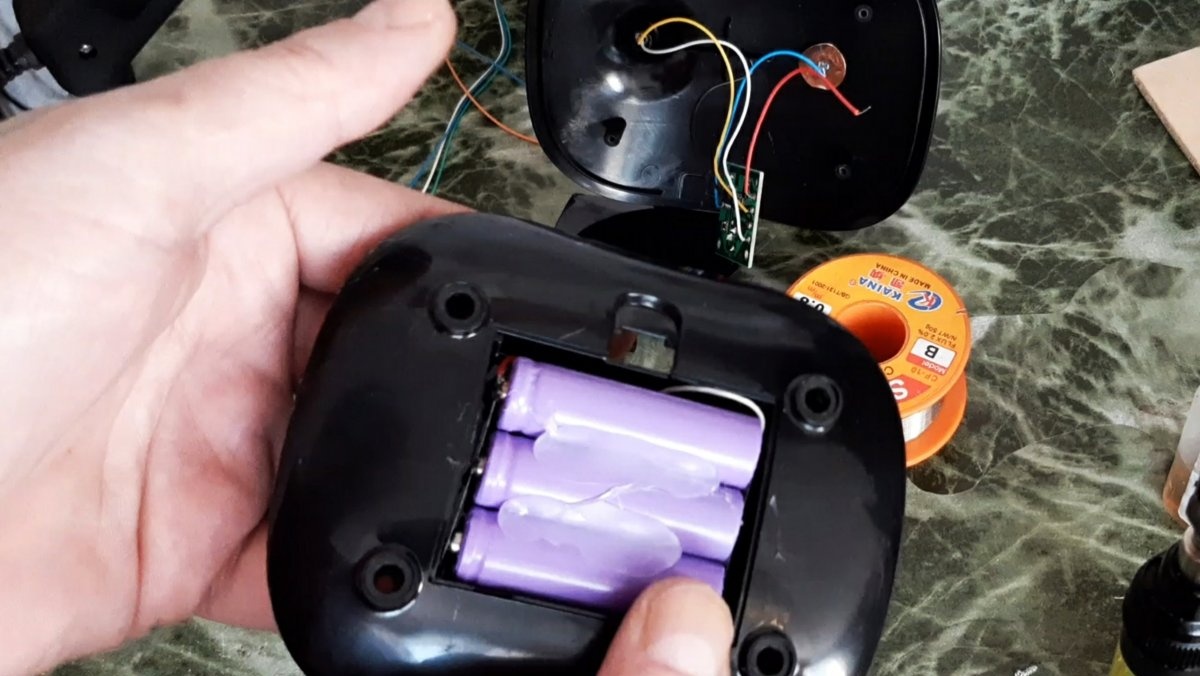
We solder the wires sticking out of the compartment from the controller to the corresponding polarity contacts on the battery, put the battery in the battery compartment, and close the lid.
How to transfer a device from batteries to a battery with built-in charging

Now all that remains is to solder the power wires of the microcircuit, which we unsoldered at the very beginning. If previously they were soldered to the battery terminals, now we solder them to the controller contacts, the same ones to which the battery wires are soldered.
How to transfer a device from batteries to a battery with built-in charging

How to transfer a device from batteries to a battery with built-in charging

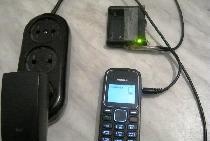
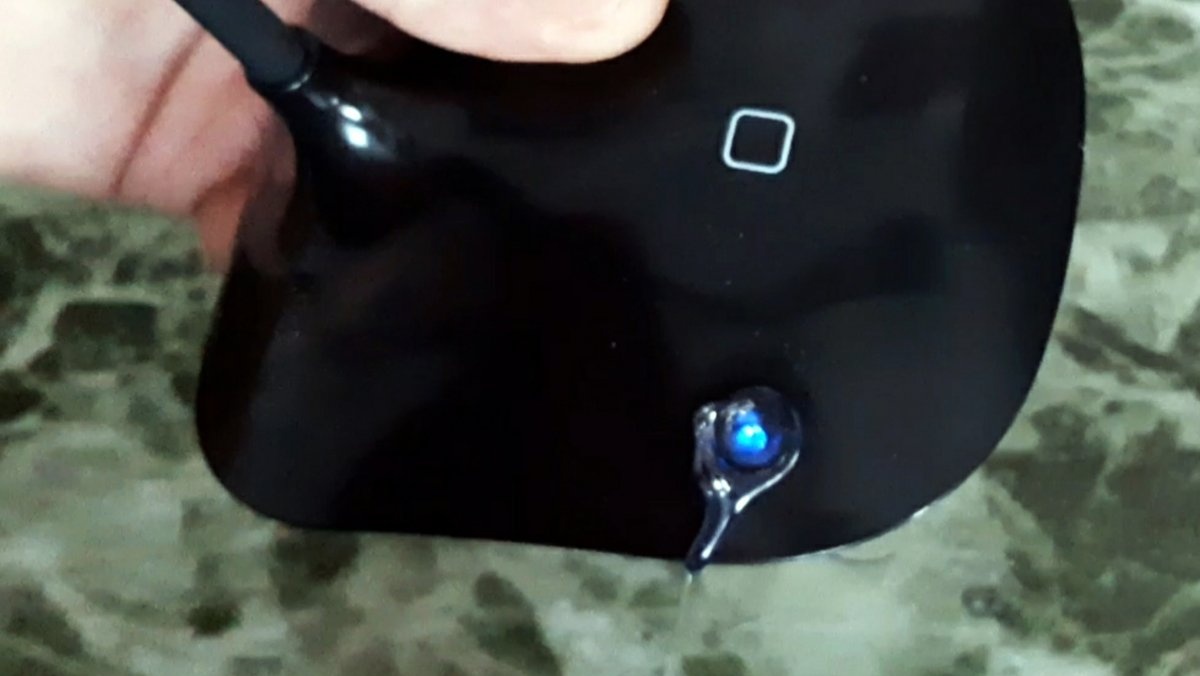
Screw the chip into place. Look like that's it. Let's check. When connecting the power cable, the controller should indicate current, or full, charging. If everything is so, then mark the location of the signal signals on the outside of the case LEDs, and you can assemble the body.
How to transfer a device from batteries to a battery with built-in charging

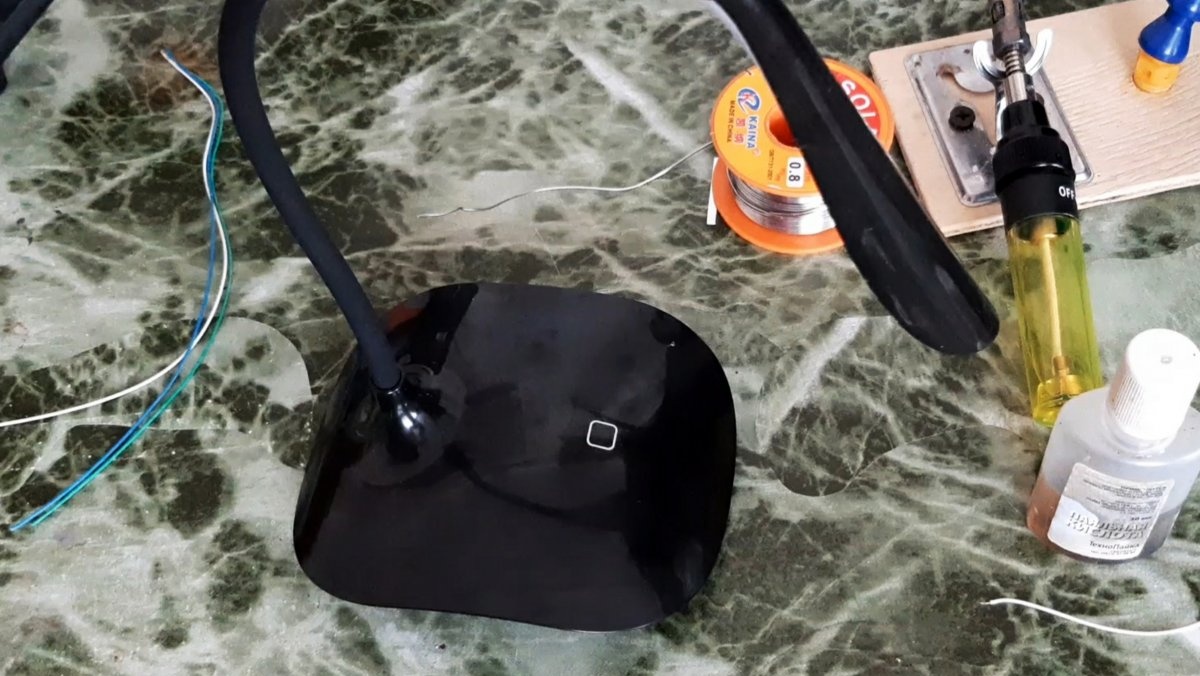
Next, drill a three mm hole in the marked location. Be careful not to damage the charging controller inside the case.
How to transfer a device from batteries to a battery with built-in charging

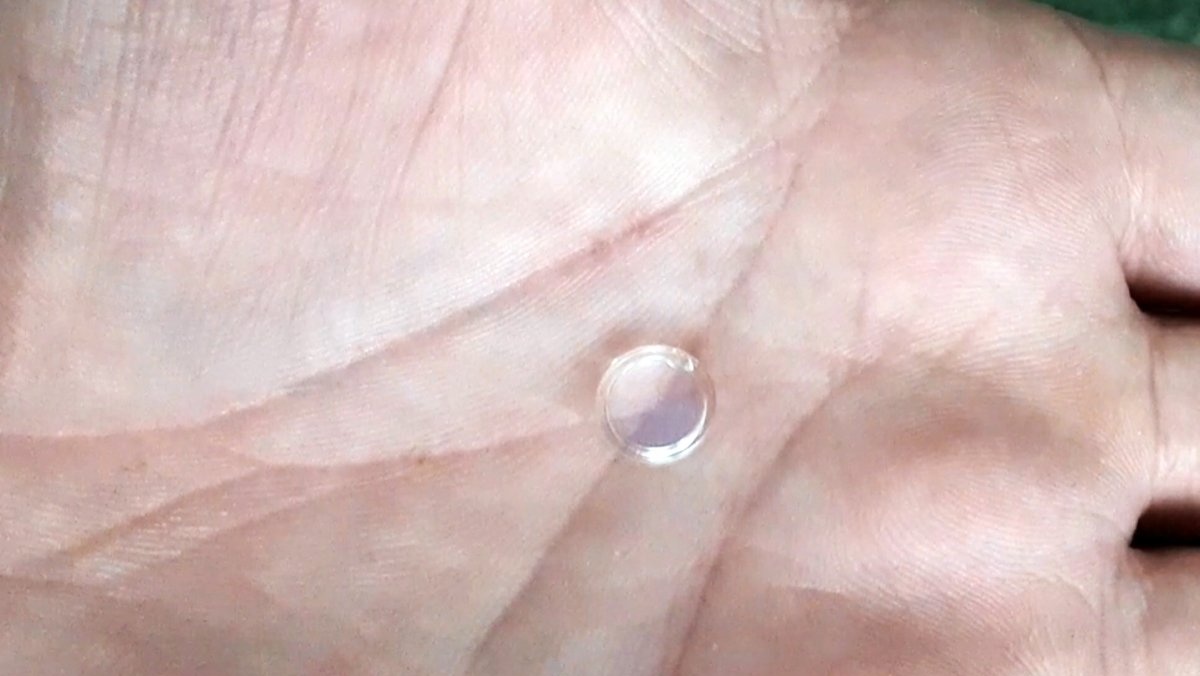
We remove the burrs with a knife and pour hot glue into the hole. A little. So that he can seal the hole. You can put some kind of diffuser on top before the glue hardens. I took it from a small broken flashlight.
How to transfer a device from batteries to a battery with built-in charging

How to transfer a device from batteries to a battery with built-in charging

When the glue has cooled, remove excess glue with a knife.
How to transfer a device from batteries to a battery with built-in charging

This completes the modification - no need to constantly change batteries.If you use this device frequently, then frequently changing batteries will become annoying over time. And now this problem has been fixed. Just remember to plug in the power cable from time to time to recharge the battery.
How to transfer a device from batteries to a battery with built-in charging

Watch the video


come back
Comment
  • bowtiesmilelaughingblushsmileyrelaxed relaxedsmirk
    heart_eyeskissing_heartkissing_closed_eyesflushedrelievedsatisfiedgrin
    winkstuck_out_tongue_winking_eyestuck_out_tongue_closed_eyesgrinningkissingstuck_out_tonguesleeping
    worriedfrowninganguishedopen_mouthgrimacingconfusedhushed
    expressionlessunamusedsweat_smilesweatdisappointed_relievedwearypassive
    disappointedconfoundedfearfulcold_sweatperseverecrysob
    joyastonishedscreamtired_faceangryragetriumph
    sleepyyummasksunglassesdizzy_faceimpsmiling_imp
    neutral_faceno_mouthinnocent
3+three=
Comments (1)
  1. popvovka
    #1 popvovka Guests 1 March 2020 13:02
    0
    You need to install BMS. Otherwise, the Li-ion batteries will be severely discharged. The controller charges the batteries at 2.9 volts.

Do-it-yourself barbecue made of sheet steel

Chest made of plastic bottles | Do it yourself

Warmer for mug “Snowman” | Do it yourself

How to easily remove limescale from a watering can in just a few minutes

«Do it yourself - with your own hands» - a site of interesting homemade products made from scrap materials and items at home. Step-by-step master classes with photos and descriptions, technologies, life hacks - everything a real master or just a craftsman needs for needlework. Crafts of any complexity, a large selection of directions and ideas for creativity.

We recommend reading

Washing machine error codes