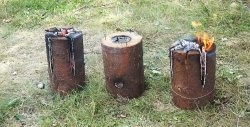
A stove made according to the “Finnish candle” type has a number of significant advantages: economy, long burning time, high efficiency and heat transfer. Great not only for cooking and heating, but also as a source of lighting. The design itself is very light weight, which is a big plus.
The Finnish candle has long been famous for its long-lasting flame and ease of cooking. This type of stove was invented based on its type, which also has flame adjustment, which makes it extremely convenient.
How to make a long-burning stove with adjustable flame
Among the remnants of a stainless pipe previously used to make a stove chimney, of different diameters and lengths with a thickness of 0.5-1.0 mm, we look for a segment of approximately suitable length. You will need several flat segments, which can be obtained from pipe scraps by cutting them lengthwise and smoothing them on a wooden board. We draw 2 circles on it, using the selected section of stainless pipe as a template.

Using metal scissors, we cut out one of the circles with a larger diameter than the circle we drew earlier. This is necessary in order to subsequently make a circular body kit and get a full-fledged cover. We cut out the second circle exactly along the drawn circle.
At one end of a stainless pipe blank with a transverse stiffener on the side surface, we make 3 oblong slots at an equal distance from each other.

In the center of both circles, cut out circles with a diameter of 19 mm using any method.

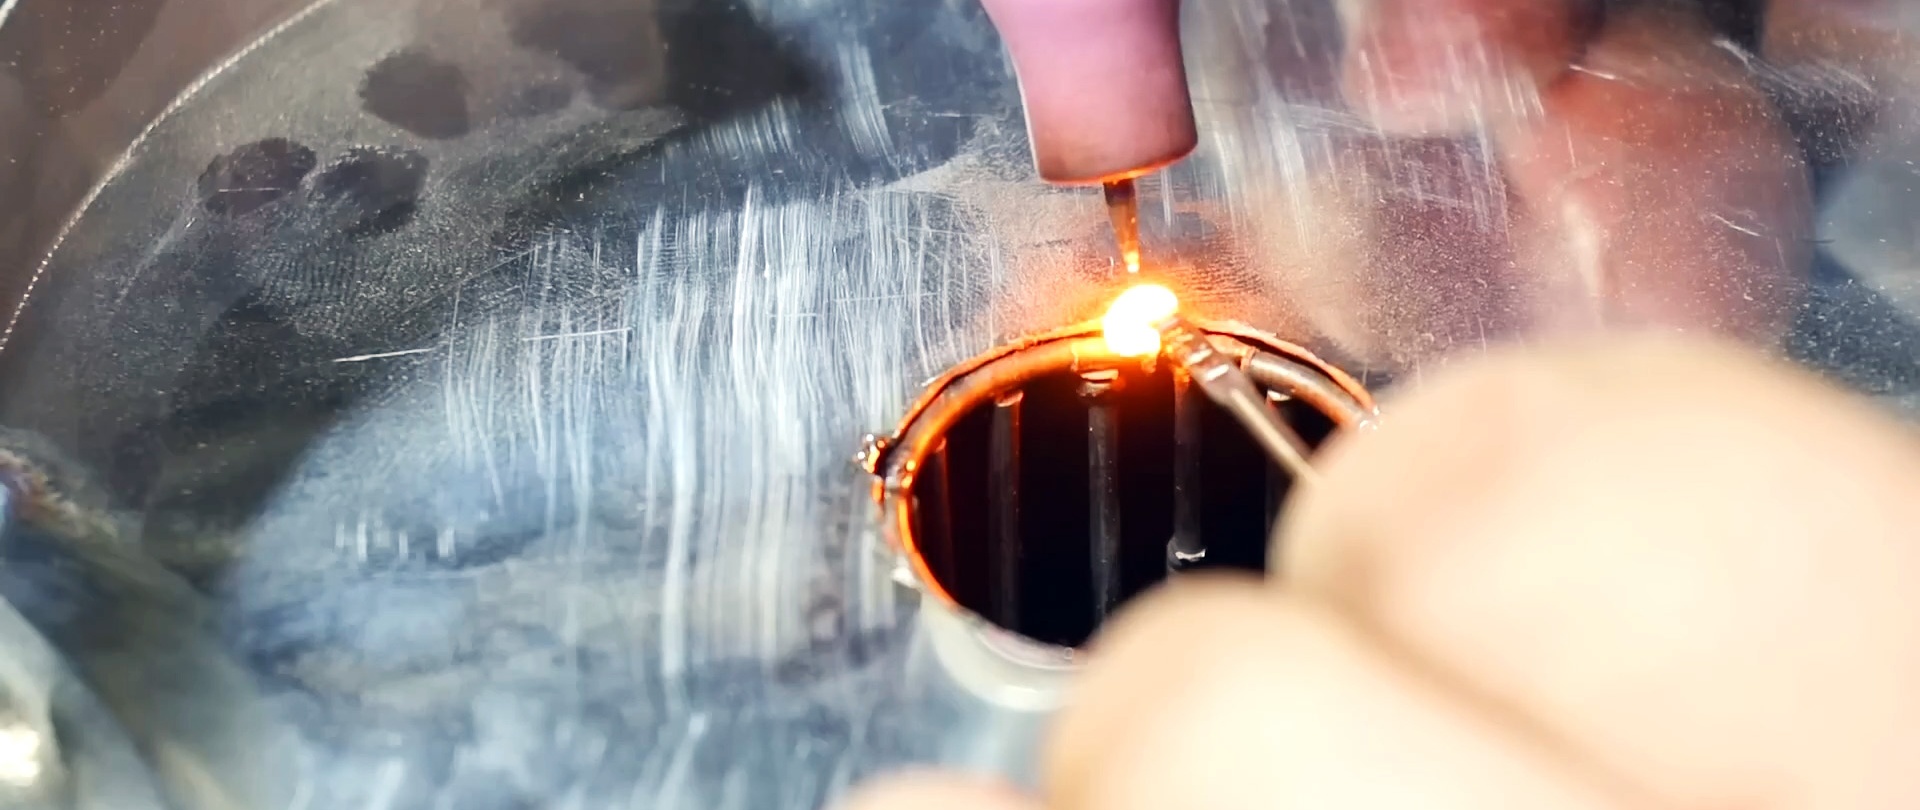
We install a circle of smaller diameter with a hole in the center inside the groove of the stiffener on the pipe and weld it.
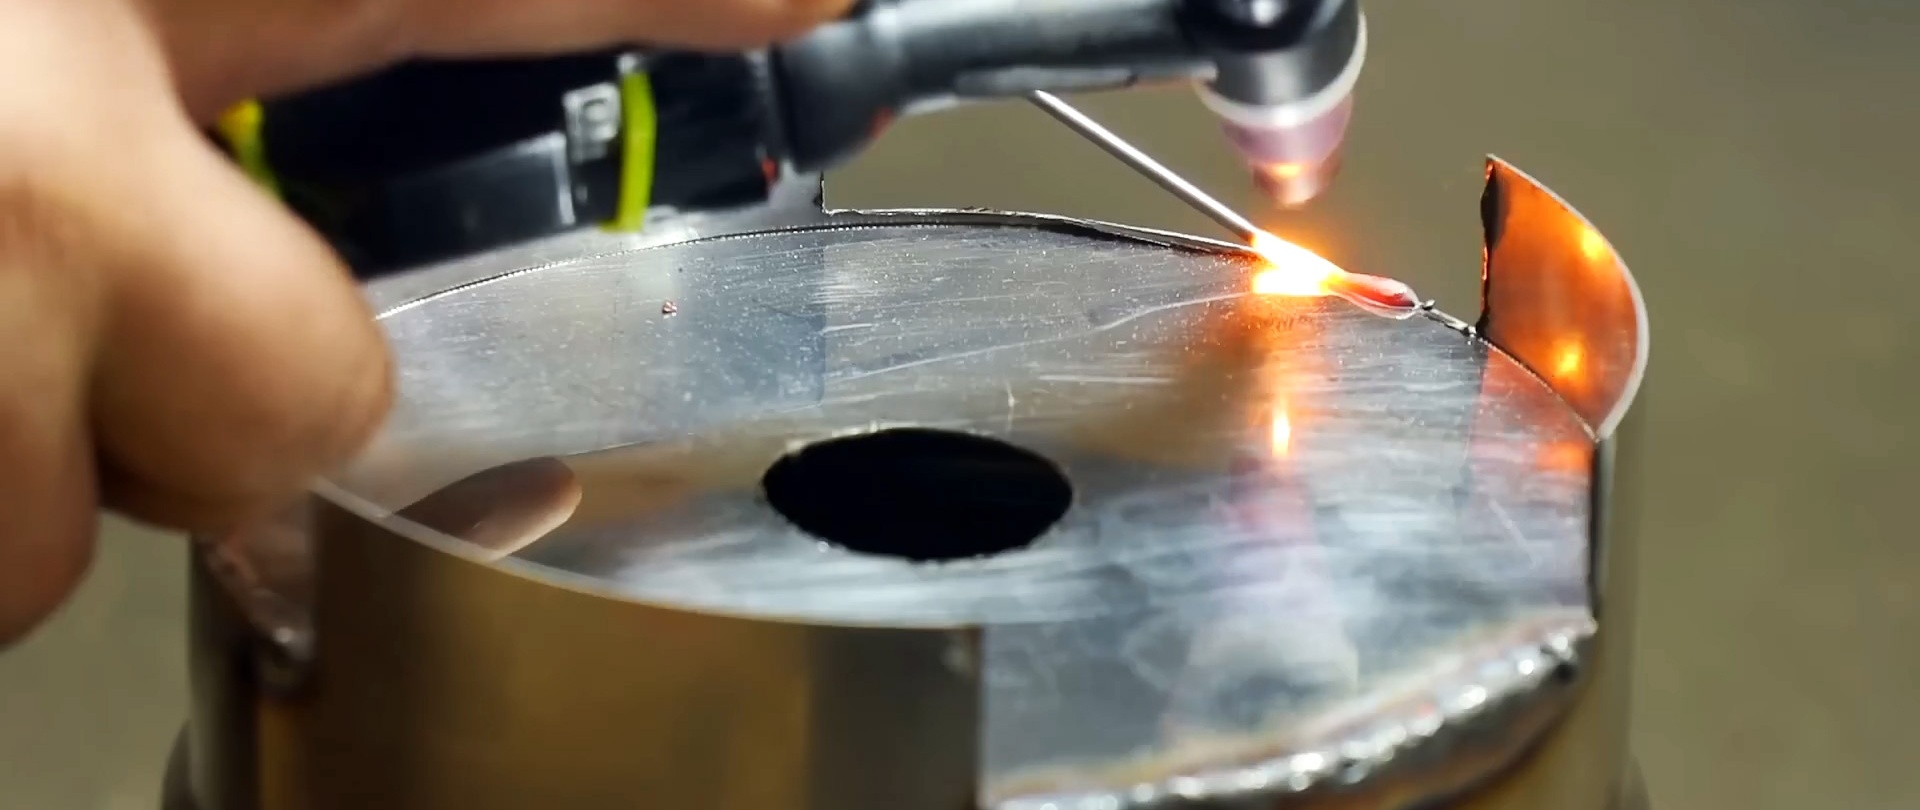
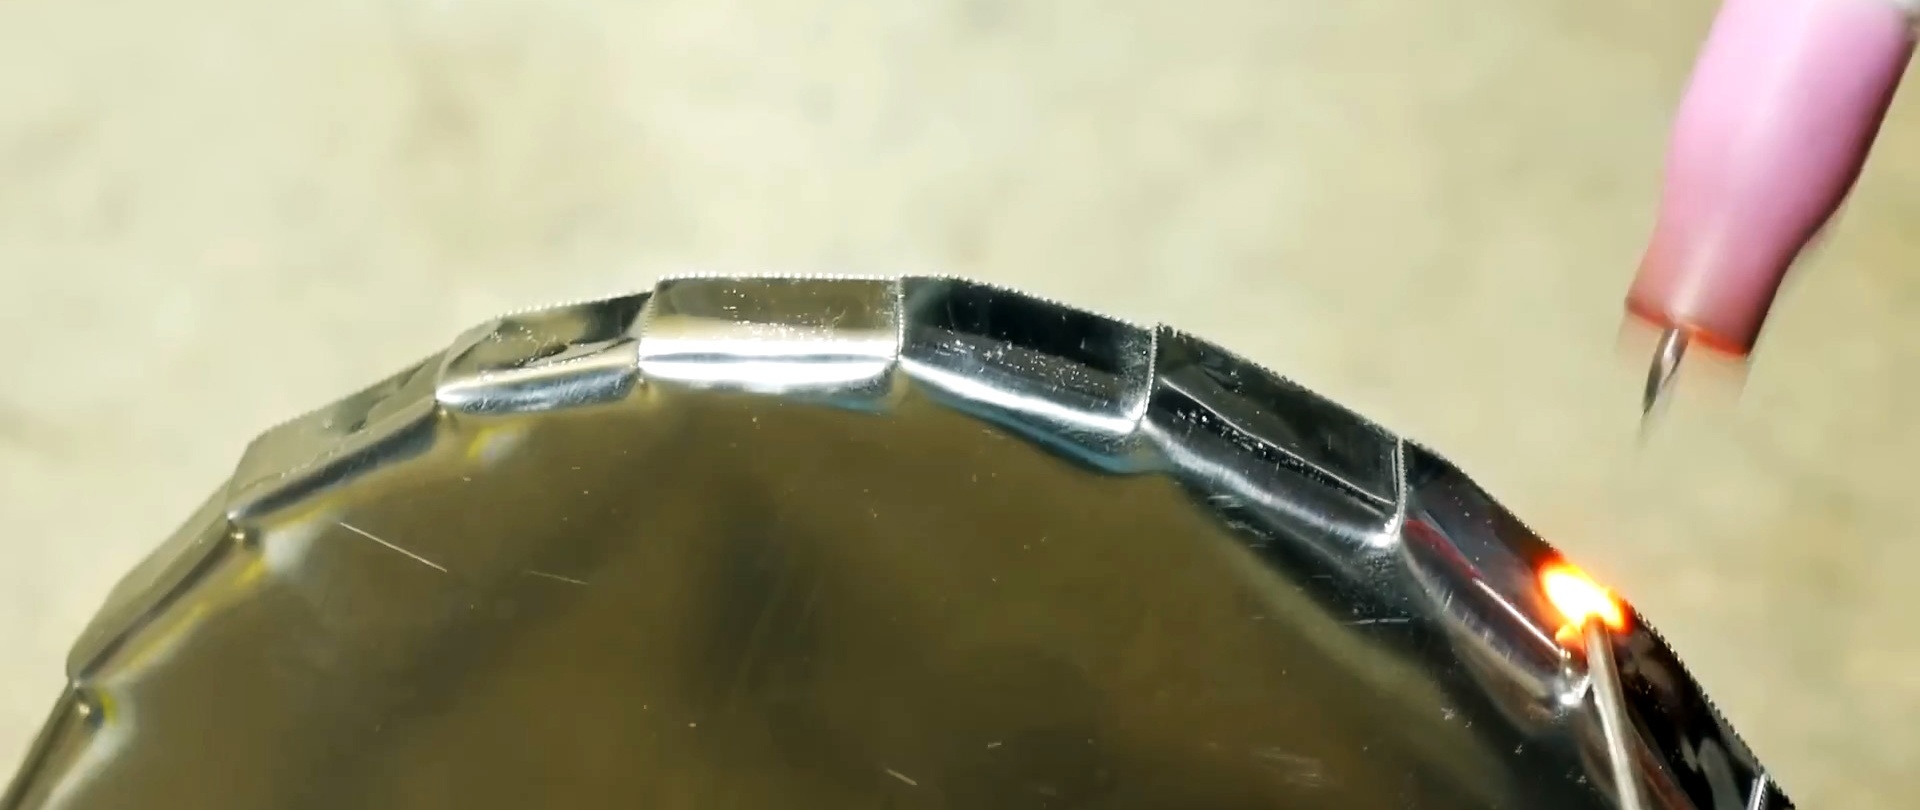
The bottom of the future stove is ready. Using metal scissors, we cut a circle of larger diameter in the radial direction with equal steps to the previously drawn circle.

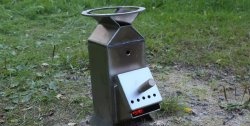
We gradually bend the resulting petals with pliers until an angle of 90 degrees is formed between them and the base. We secure the slots by welding to ensure strength and maintain the shape of the lid. We put the resulting cover on the pipe, to which the bottom is already welded.
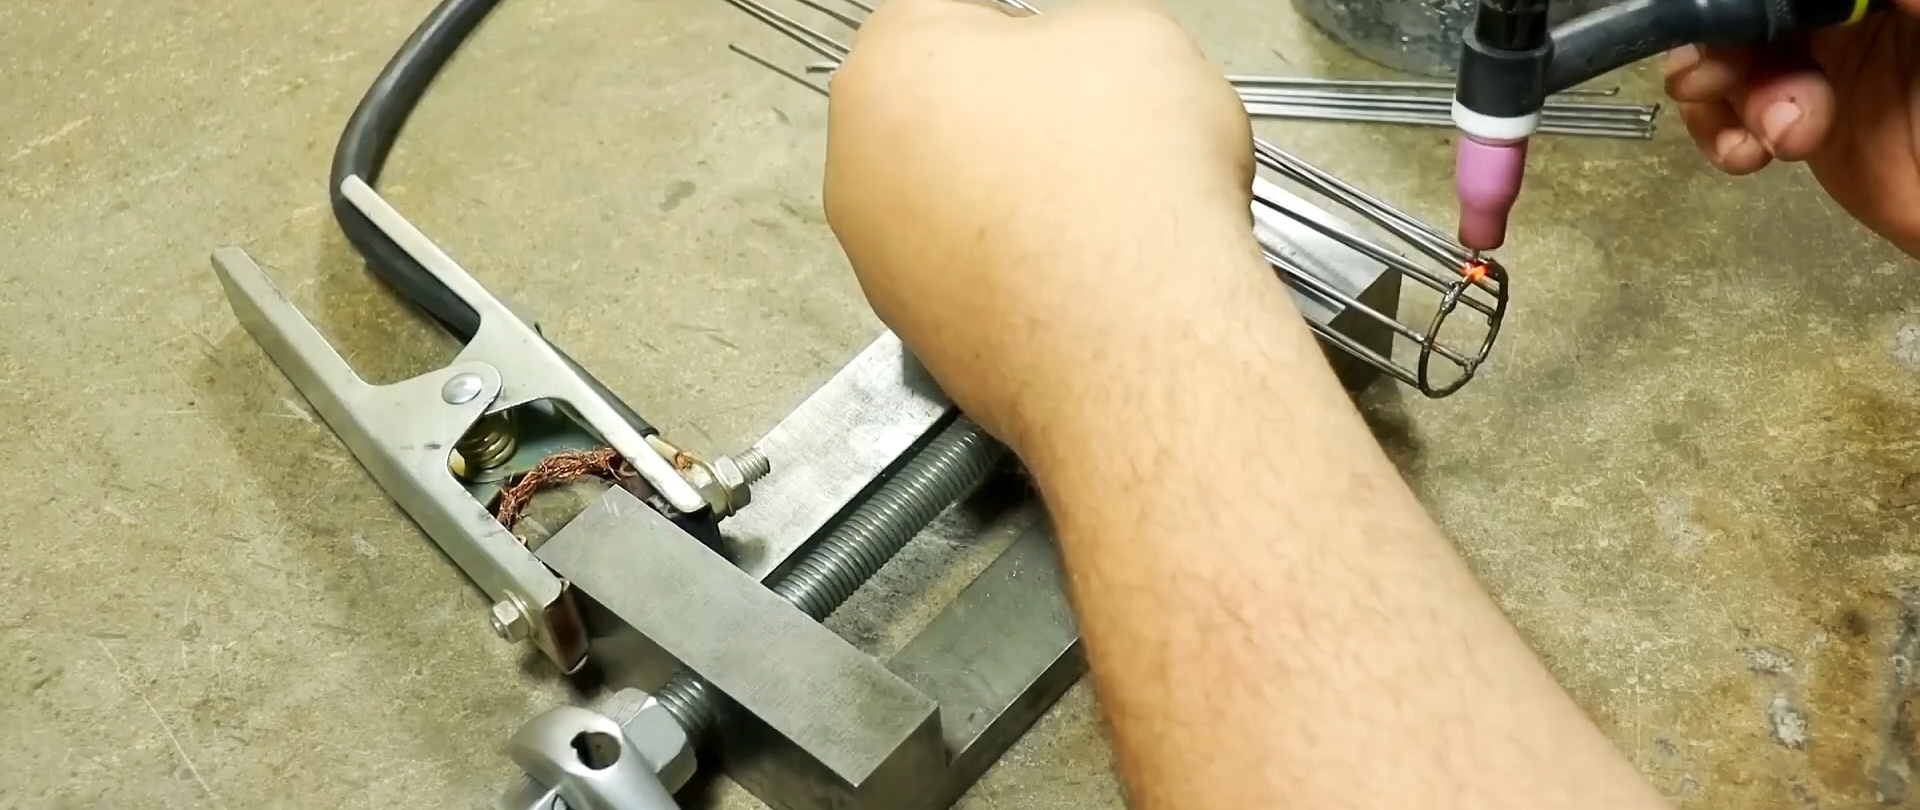
We weld 2 U-shaped elements crosswise to the top of the lid, made of wire with a diameter of 2 mm.
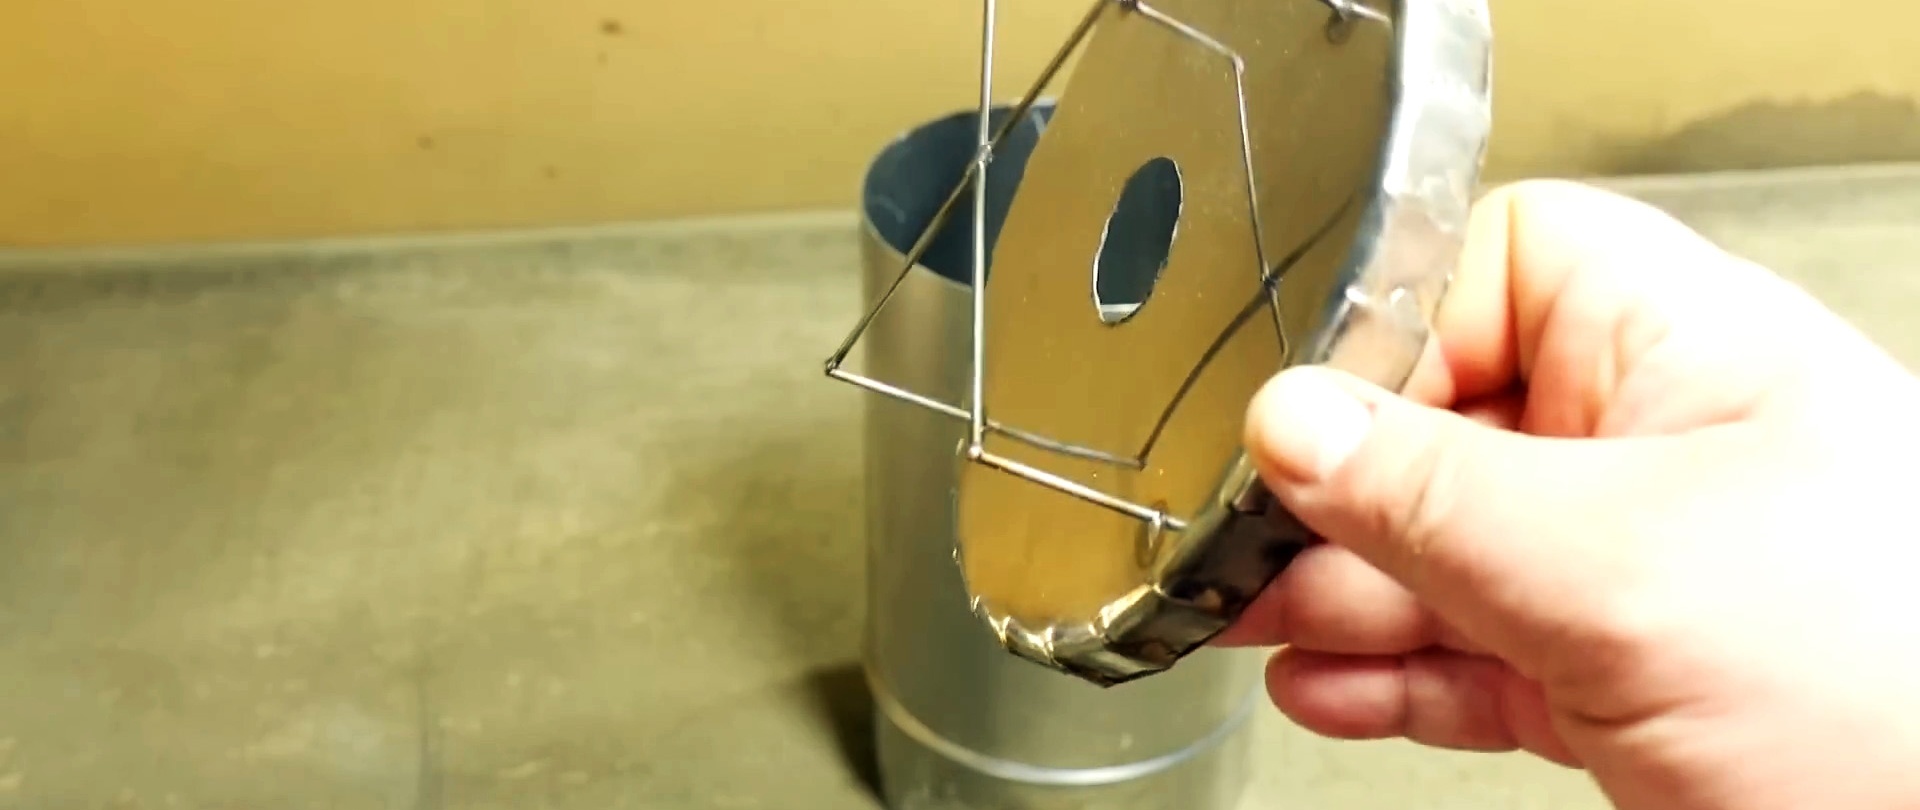
From the same wire we make a round mesh by welding and weld it to the contour of the hole in the bottom of the stove.
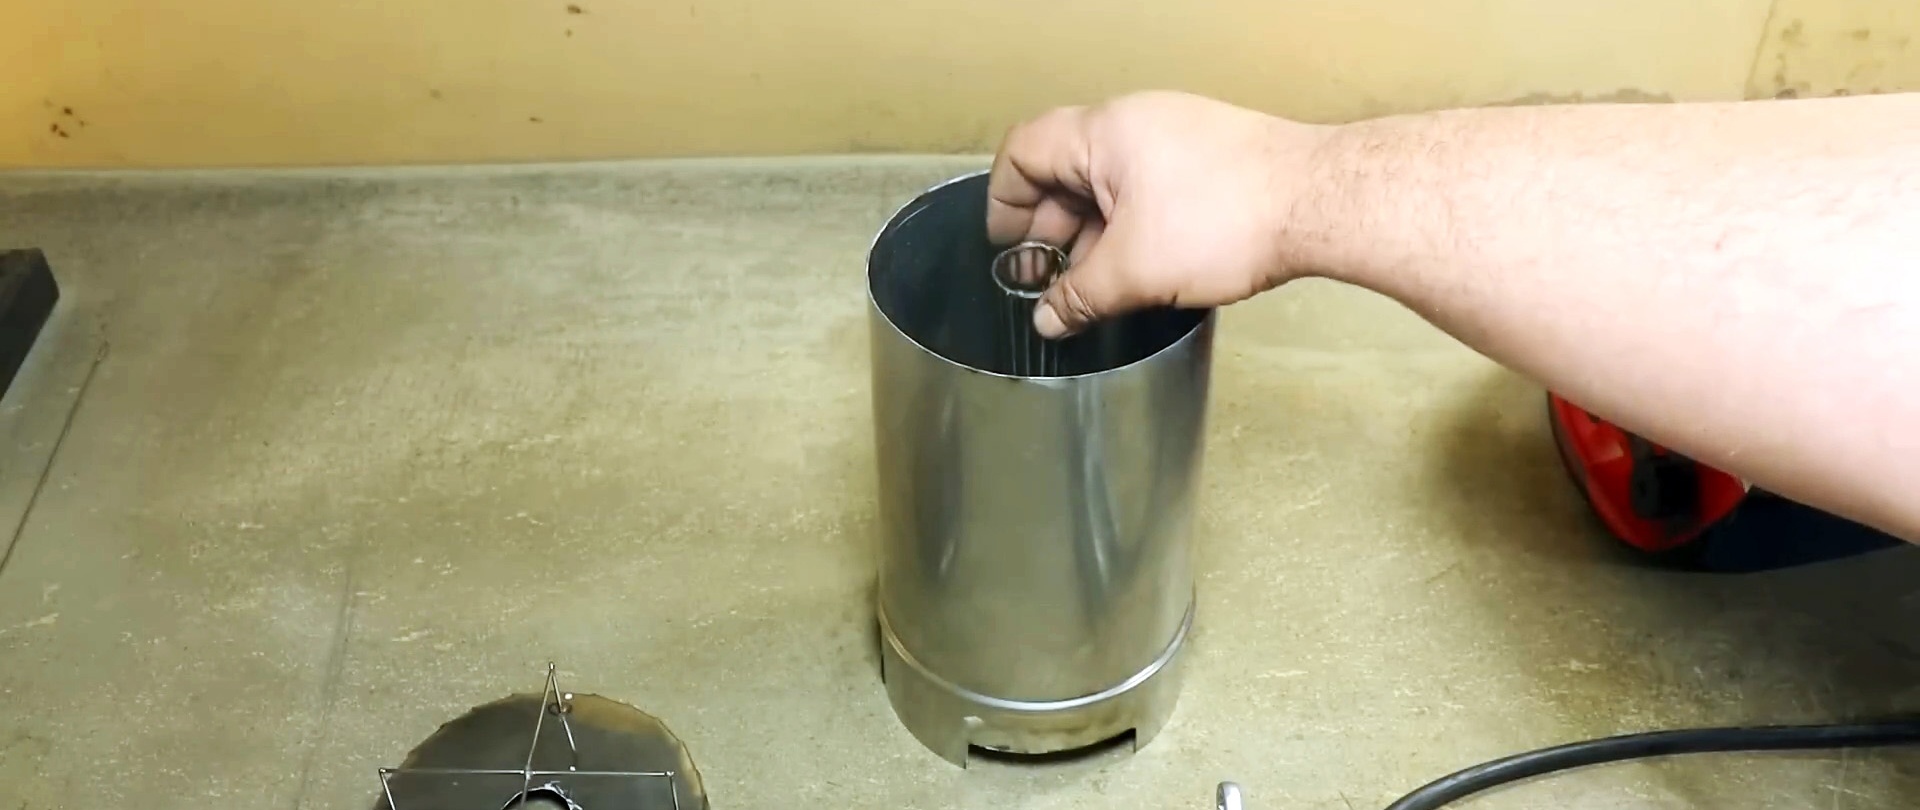
It will not allow fuel to close the hole in the bottom and ensure unhindered air flow into the combustion zone.
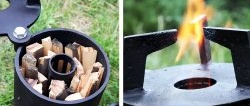
We will test the oven in action. To do this, pour fuel pellets into it and close the lid.
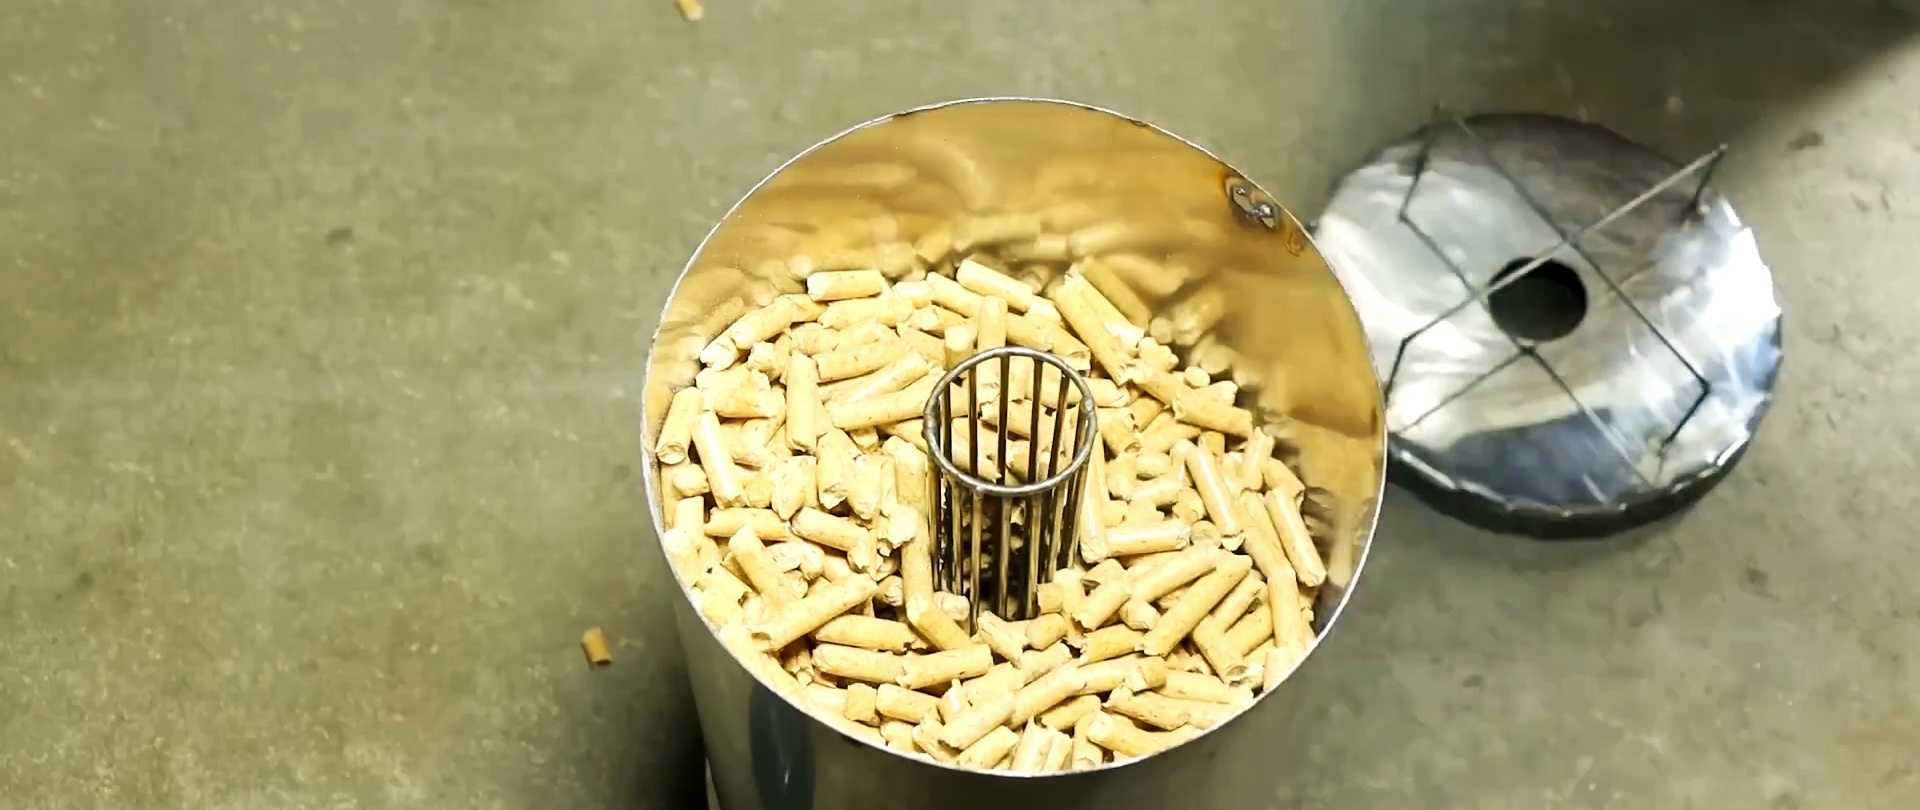
To adjust the draft, which is important for organizing economical combustion, we will change the cross-section of the hole in the bottom using a damper secured to the bottom with a rivet.
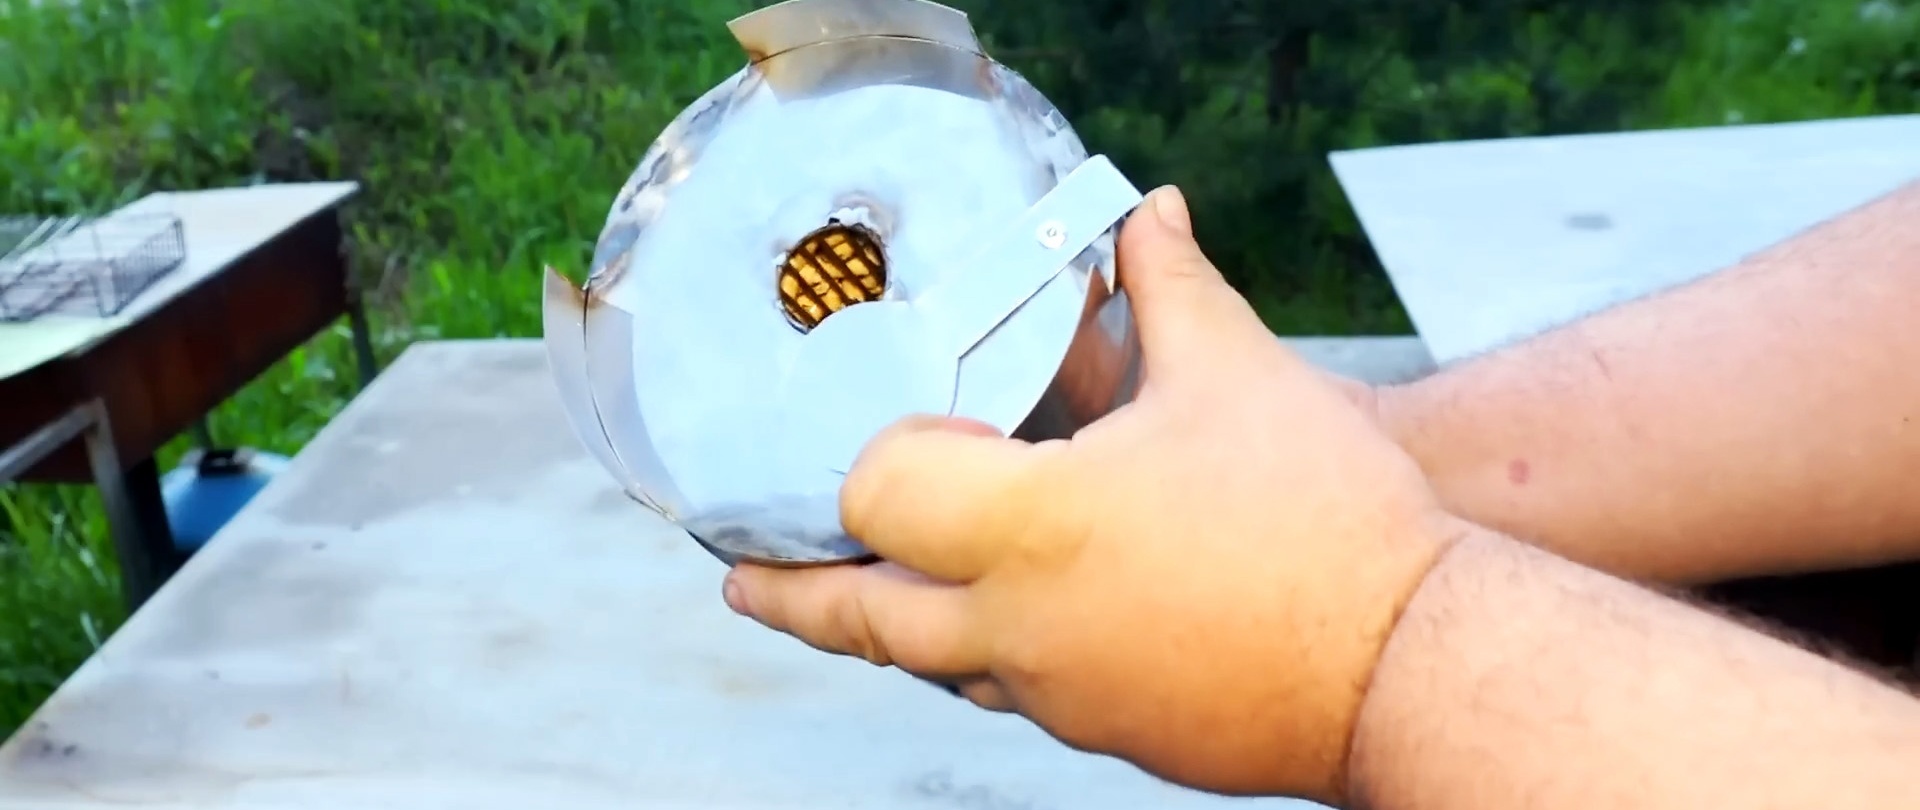
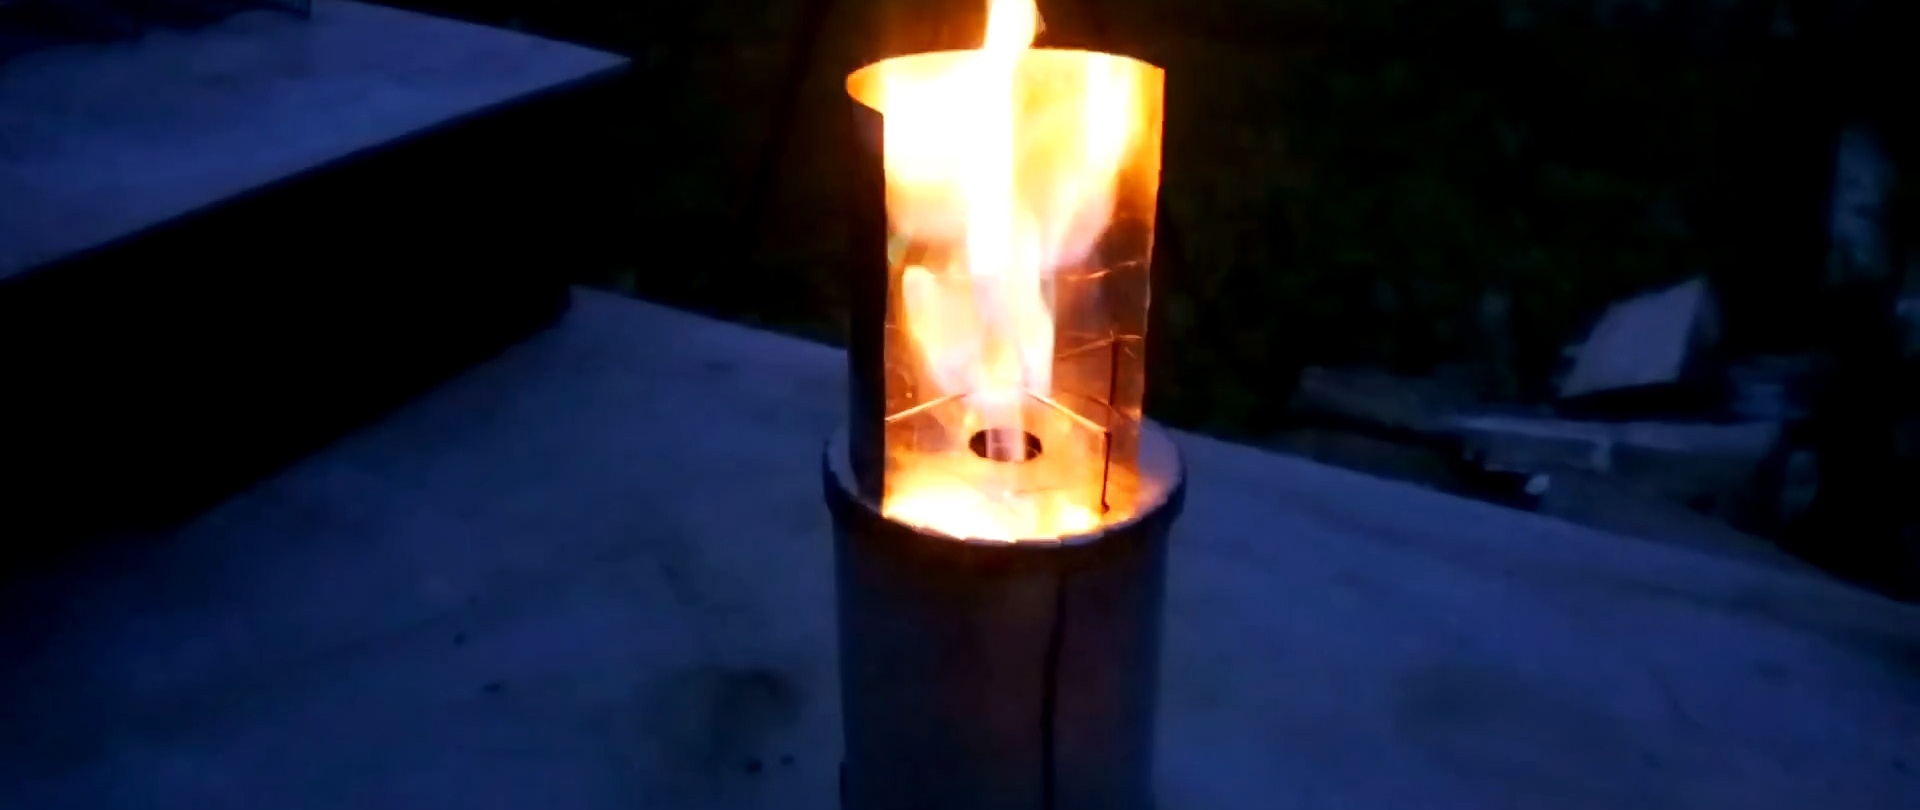
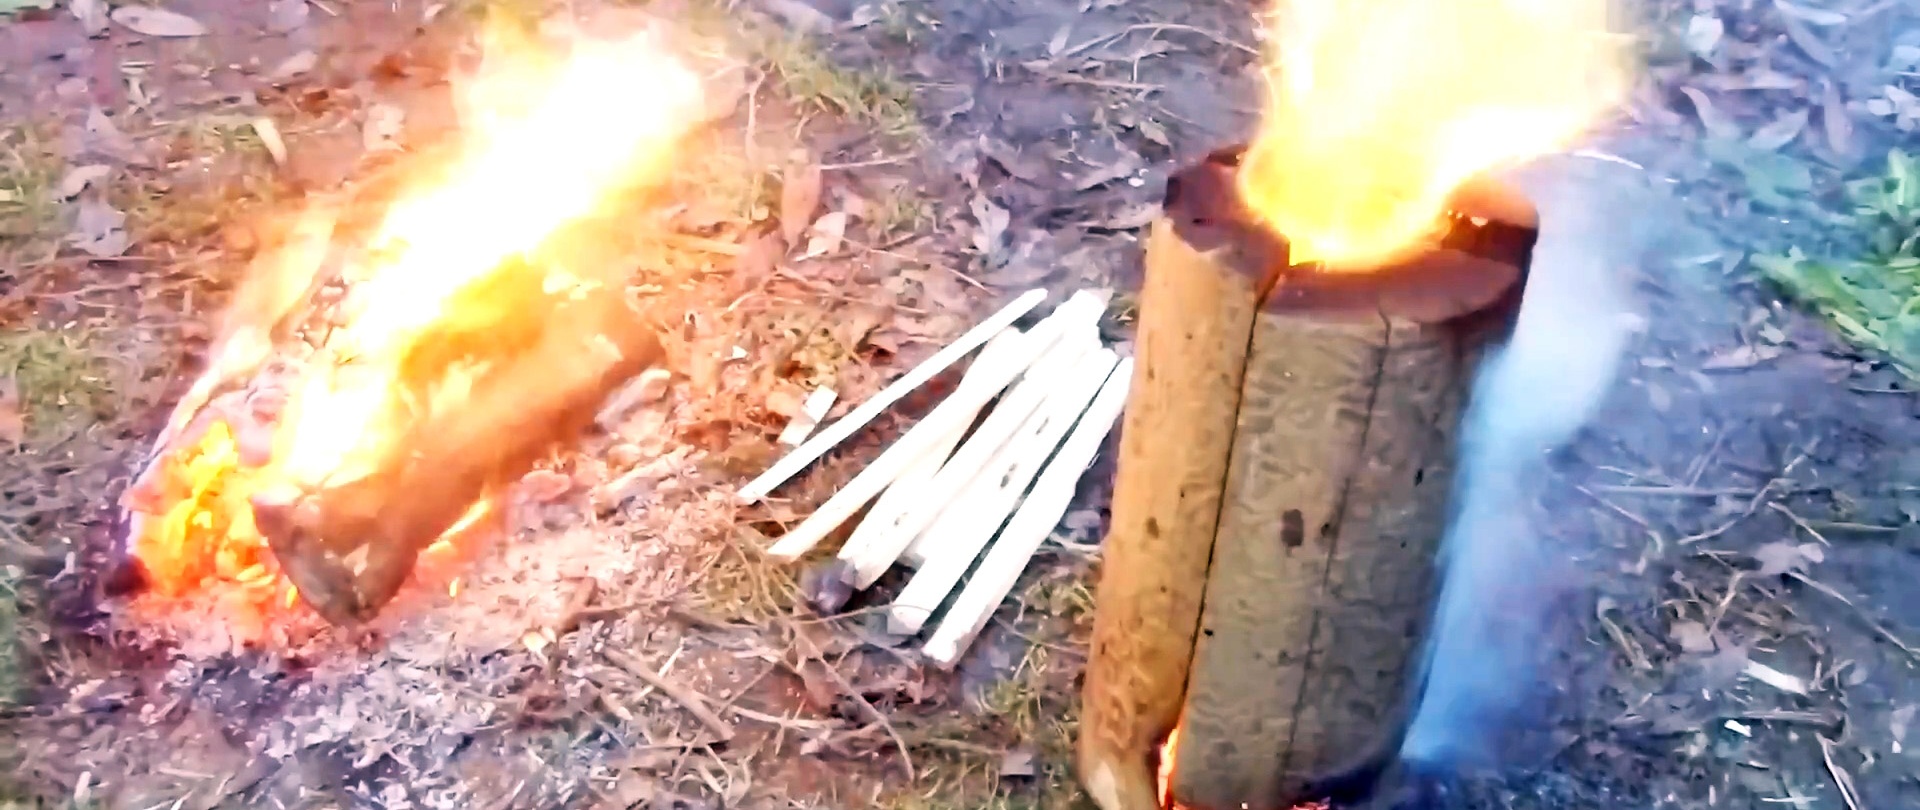
We ignite from above using birch bark.

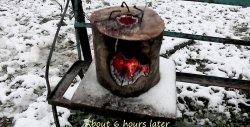
After some time, the fuel ignites and the stove returns to operating mode.Since the fuel burns out from the center to the periphery, most of the time the furnace is operating, its walls are protected from overheating by a layer of solid fuel.

It should be noted that one full load of fuel burned for about 3 hours at maximum thrust.