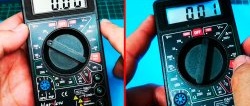
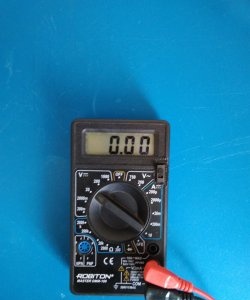
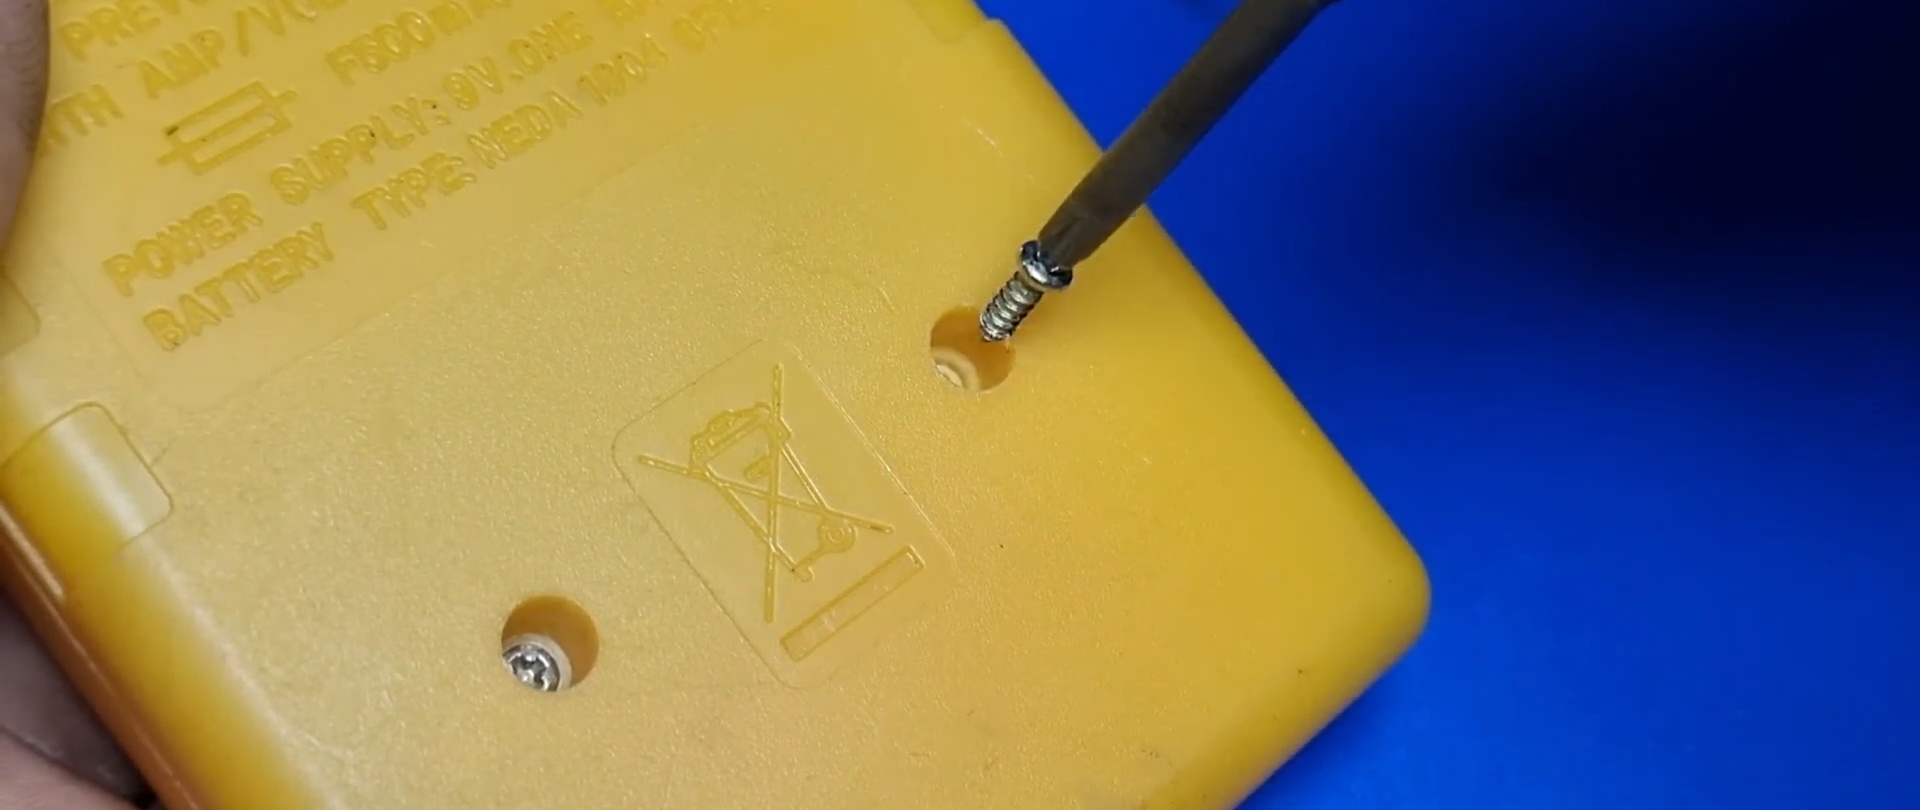
Does your multimeter not have a backlight? Or is it not bright enough and the device is inconvenient to work with? We tell you how you can equip an avometer with backlight based on LEDs. The test sample is popular 830 series tester. And the rework begins with disassembling the device.
How to backlight the LCD display of a multimeter
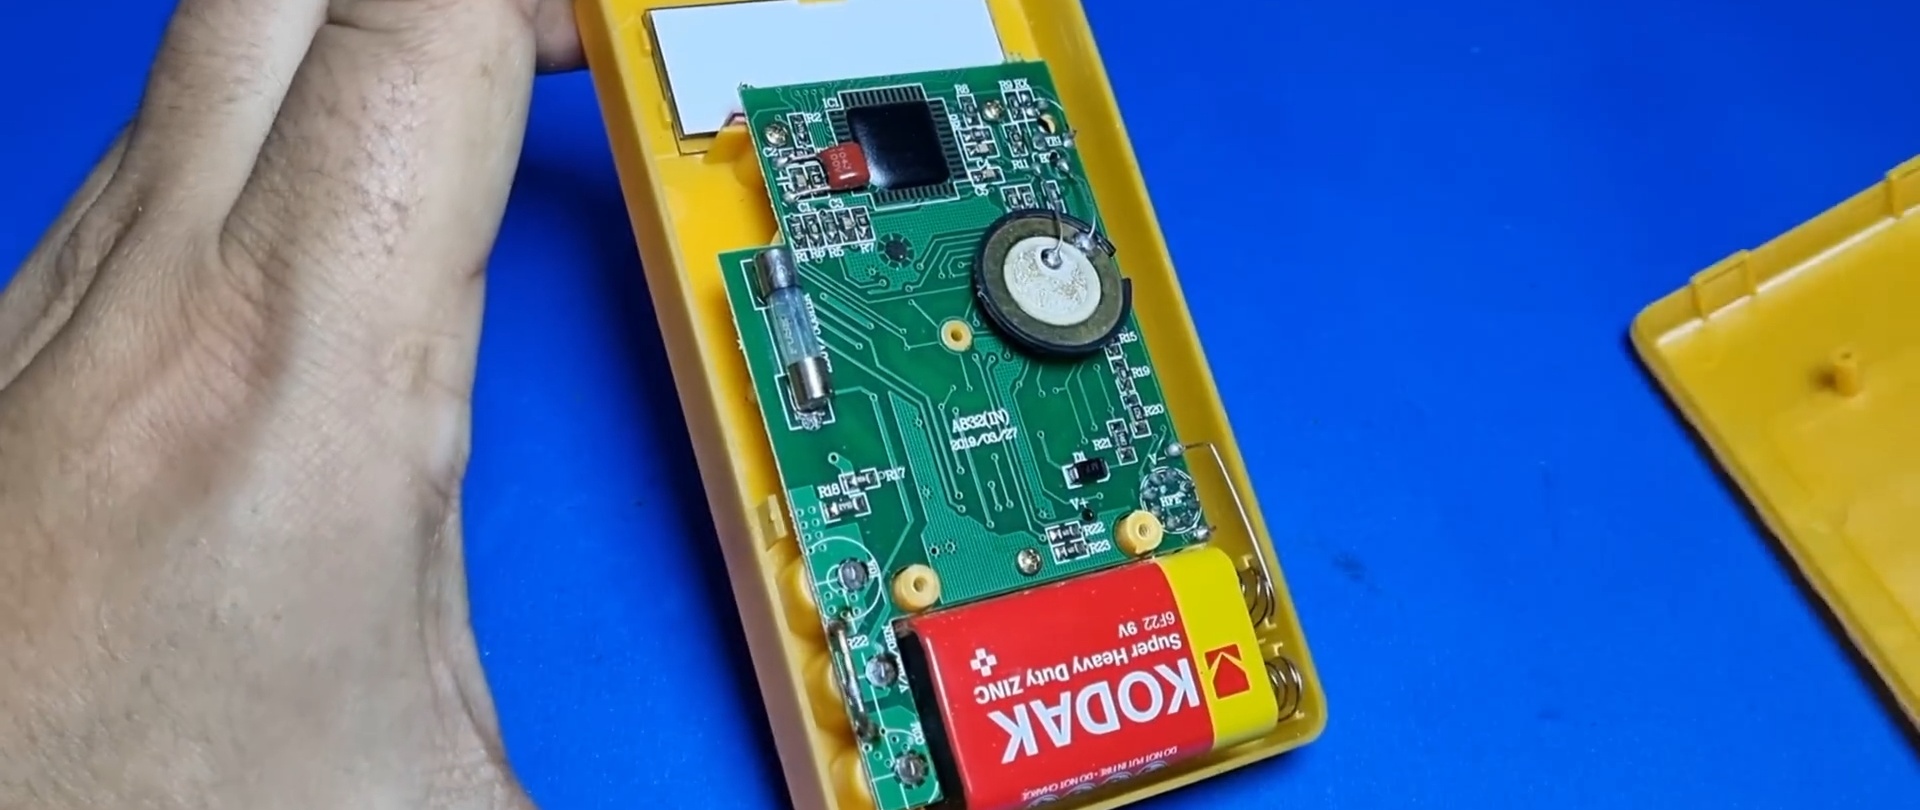
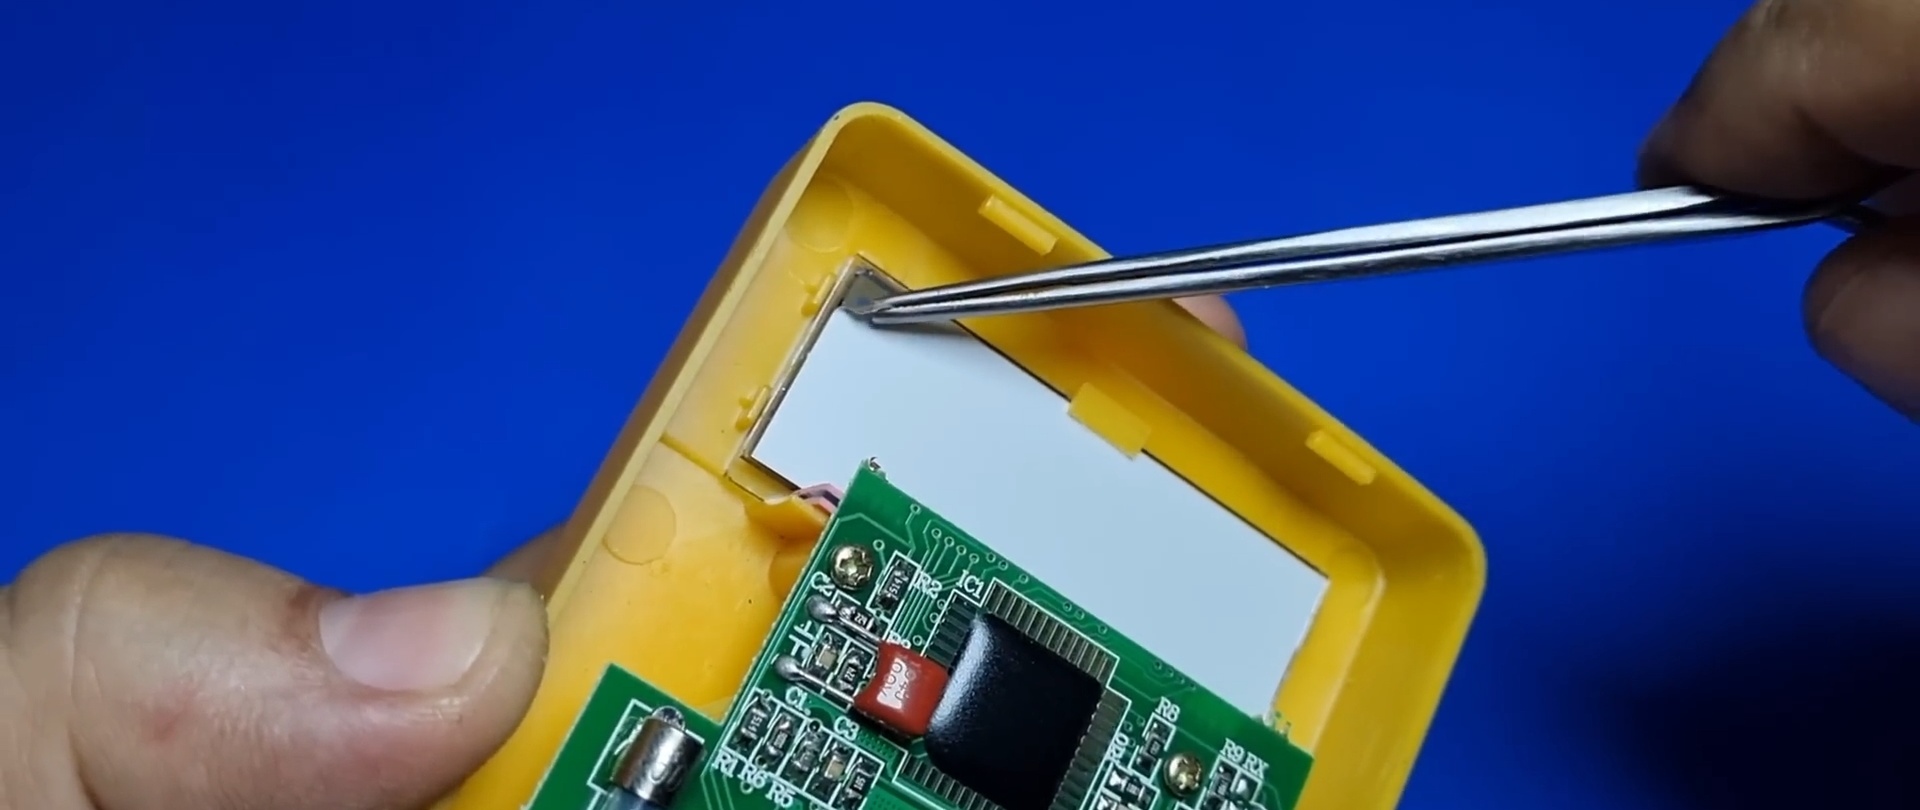
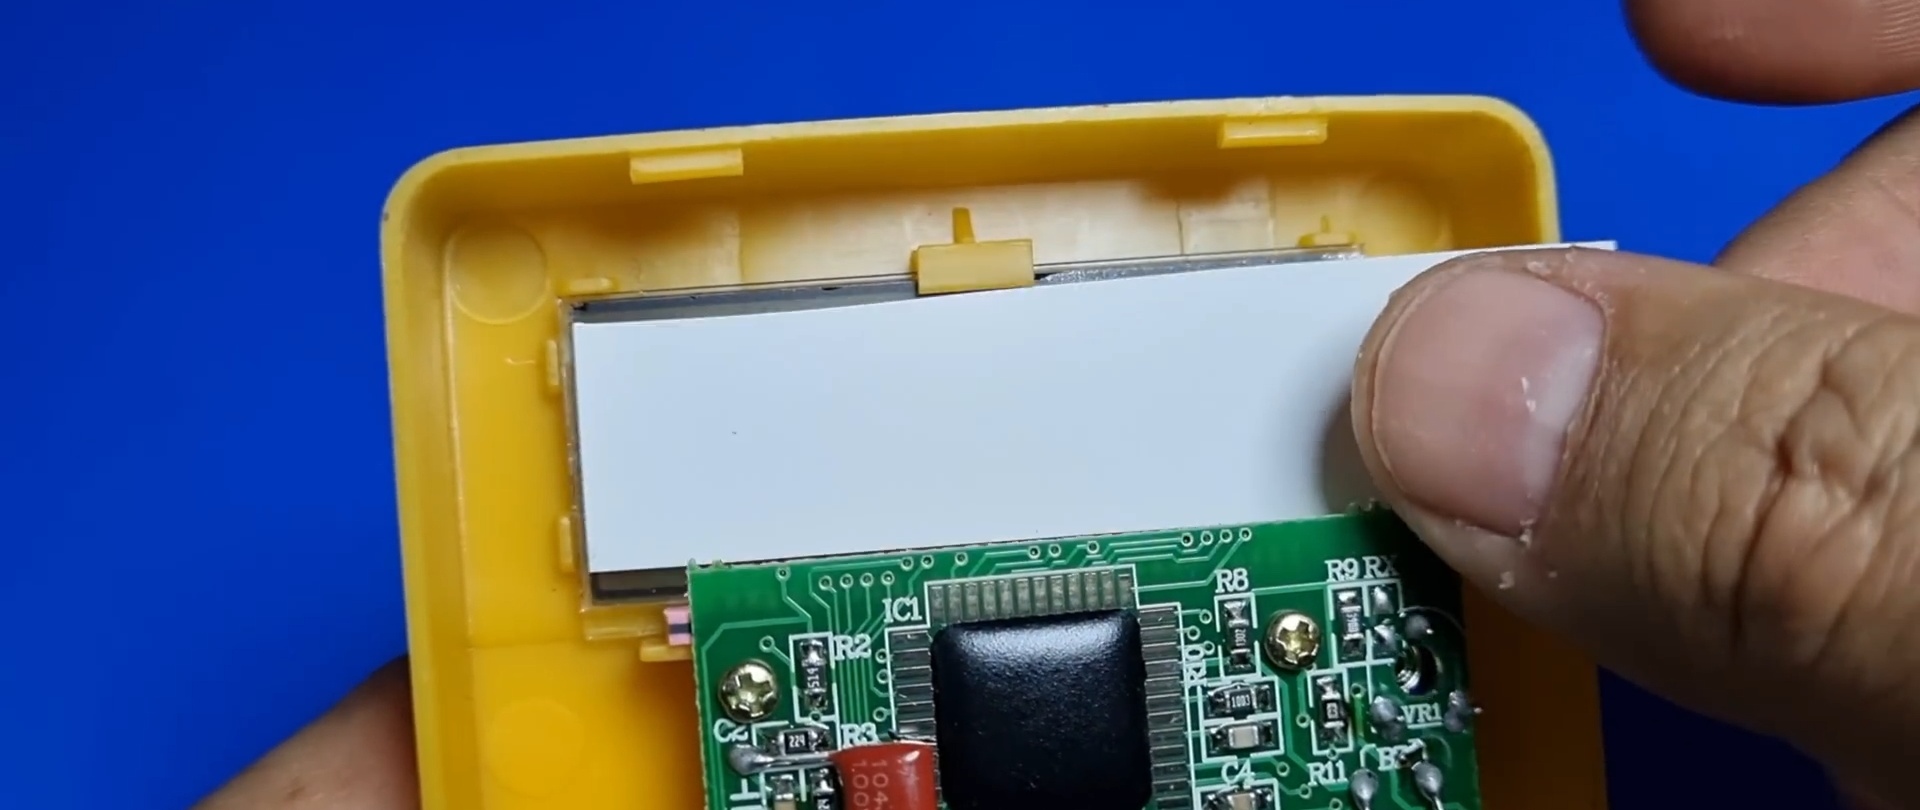
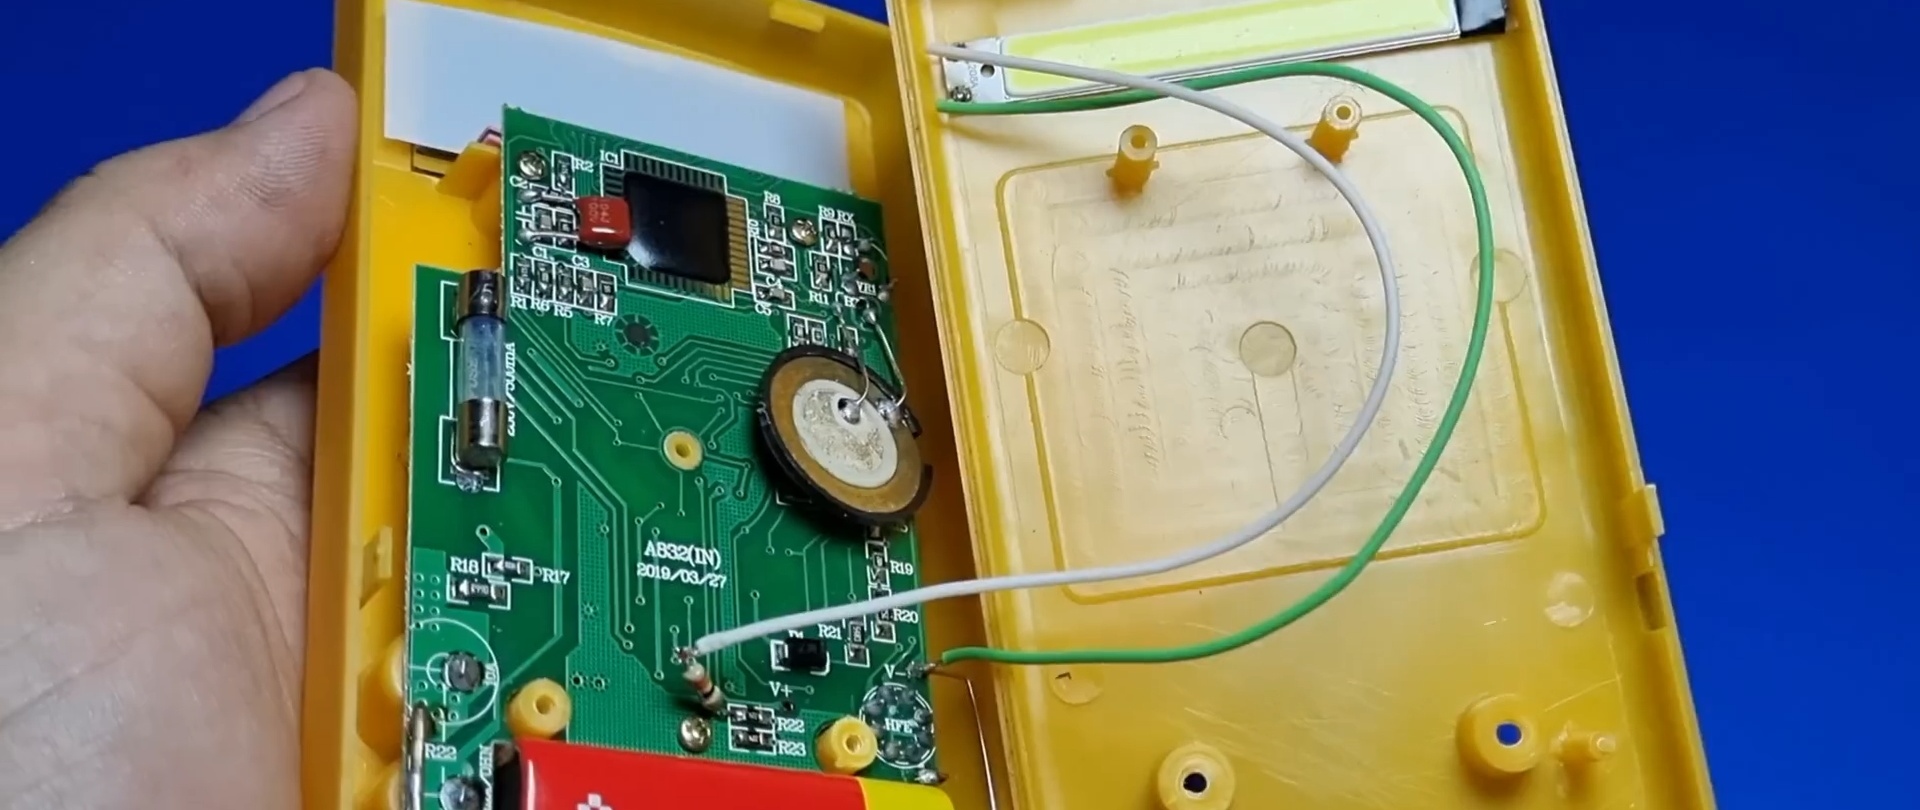
Having opened the lid, you can see that there is enough space in it to carry out the necessary manipulations and modifications without inconvenience.
Changes in the electronic circuit will be carried out later, but for now it is advisable to remove the standard scattering film - substrate - from the LCD indicator. It is too dense to effectively transmit light from the installed source. If this was possible without damaging the matrix, then half the battle is already done.
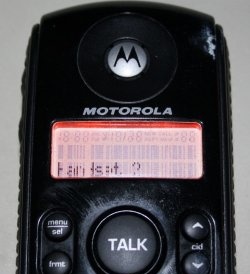
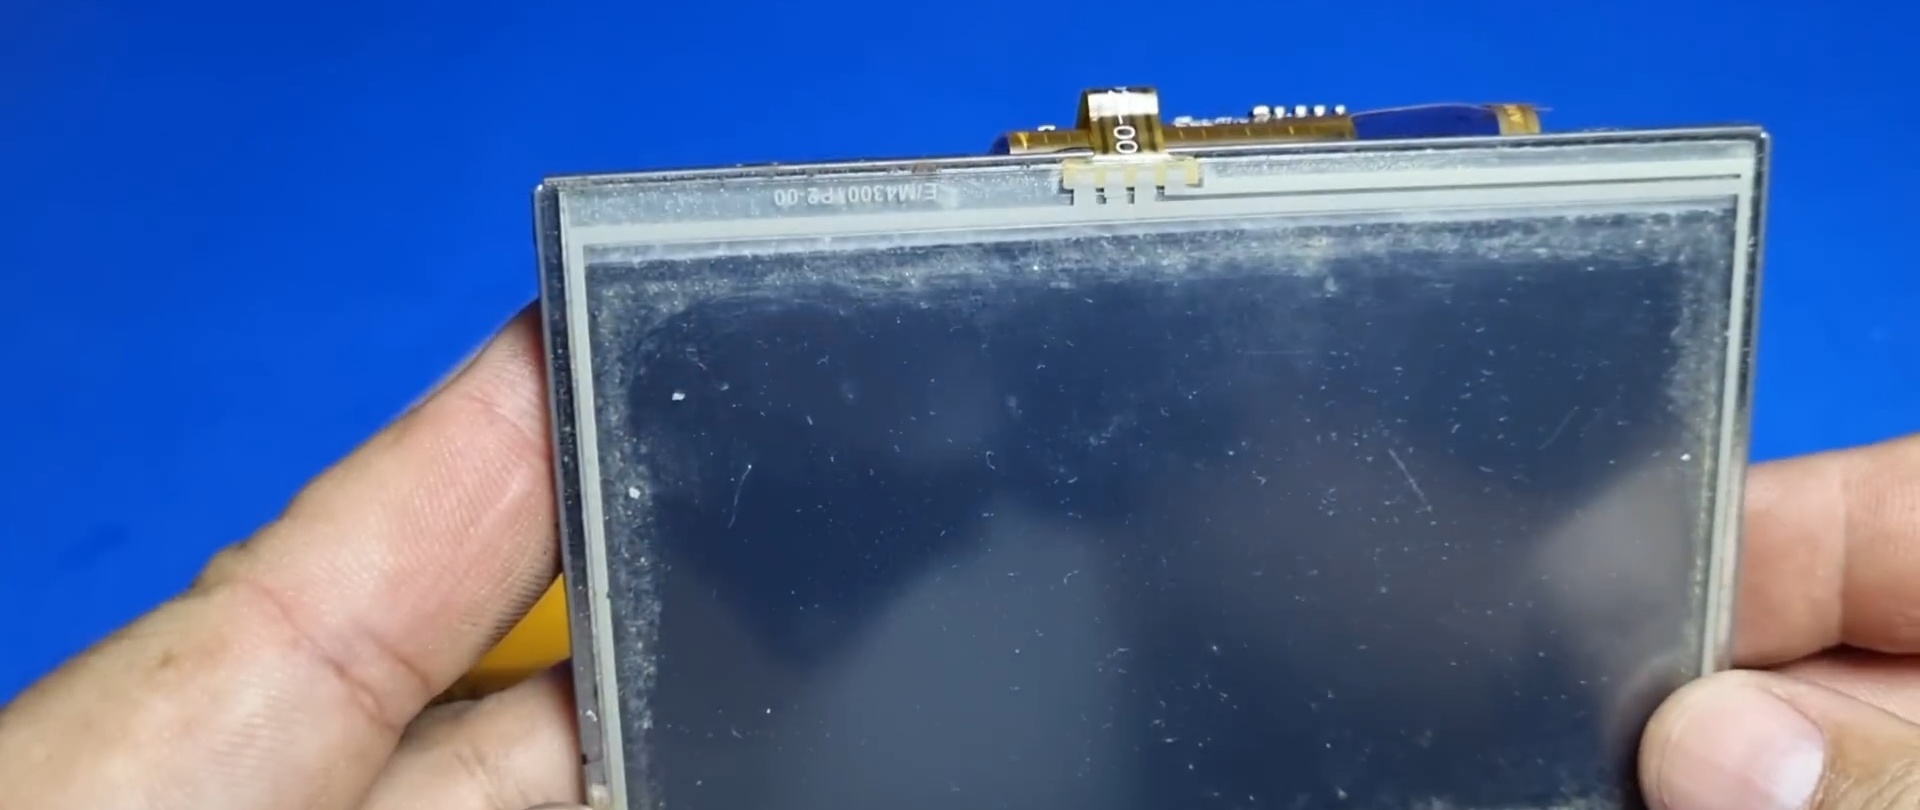
A new light-scattering film can be removed from an old LCD screen from a burnt gadget.
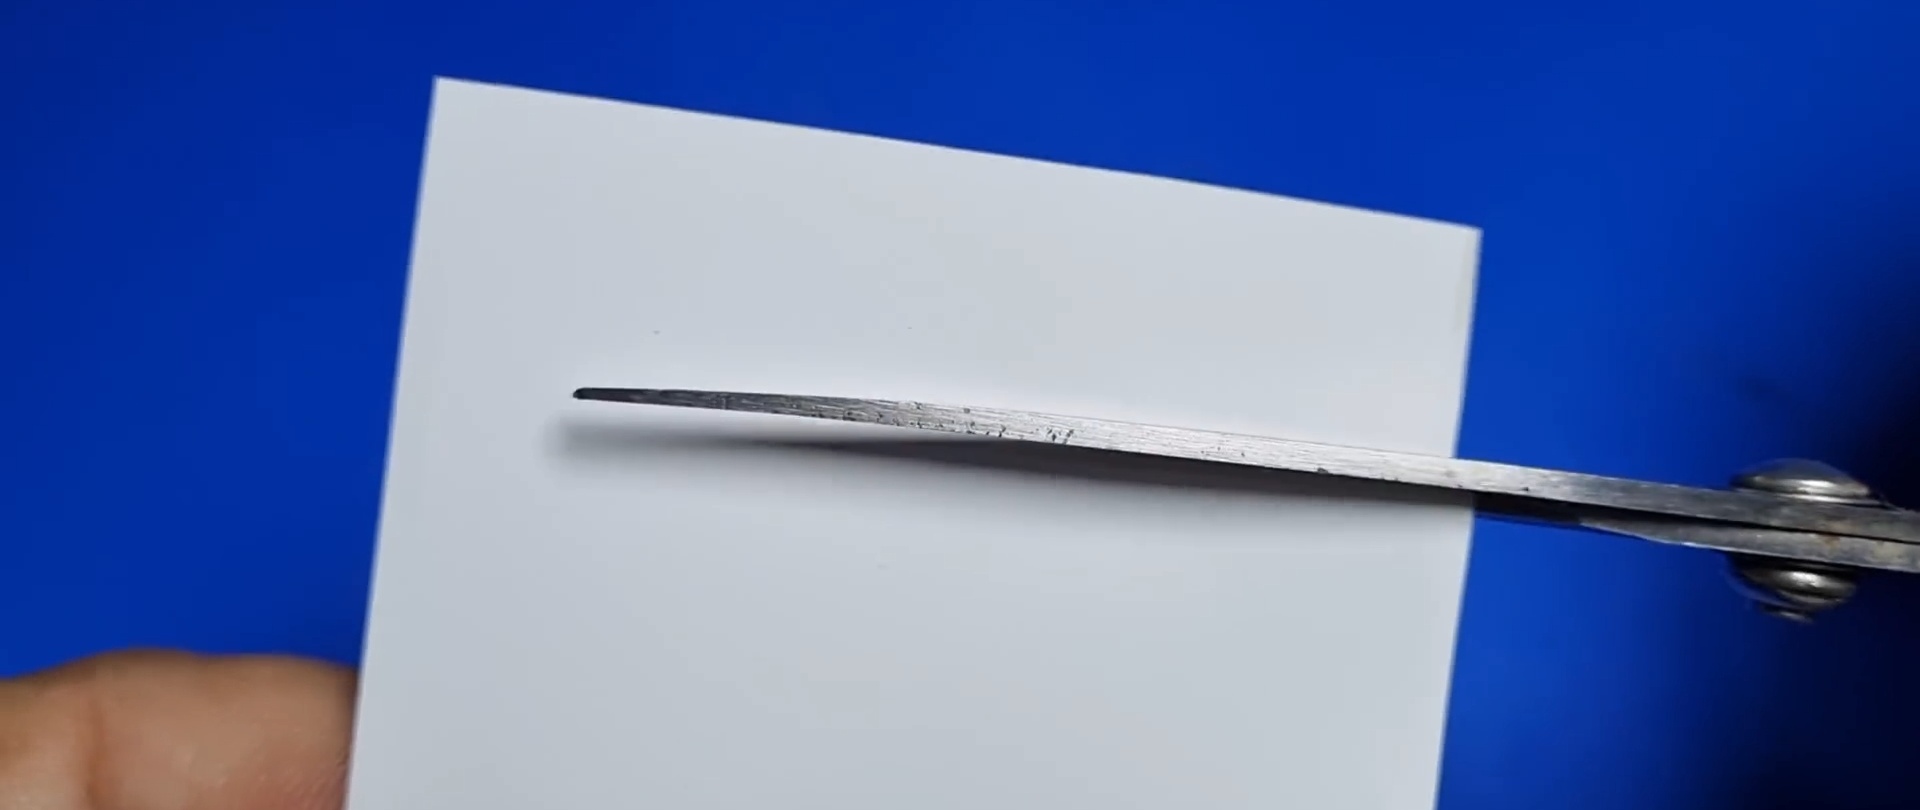
A piece of the required size is simply cut out with ordinary scissors.
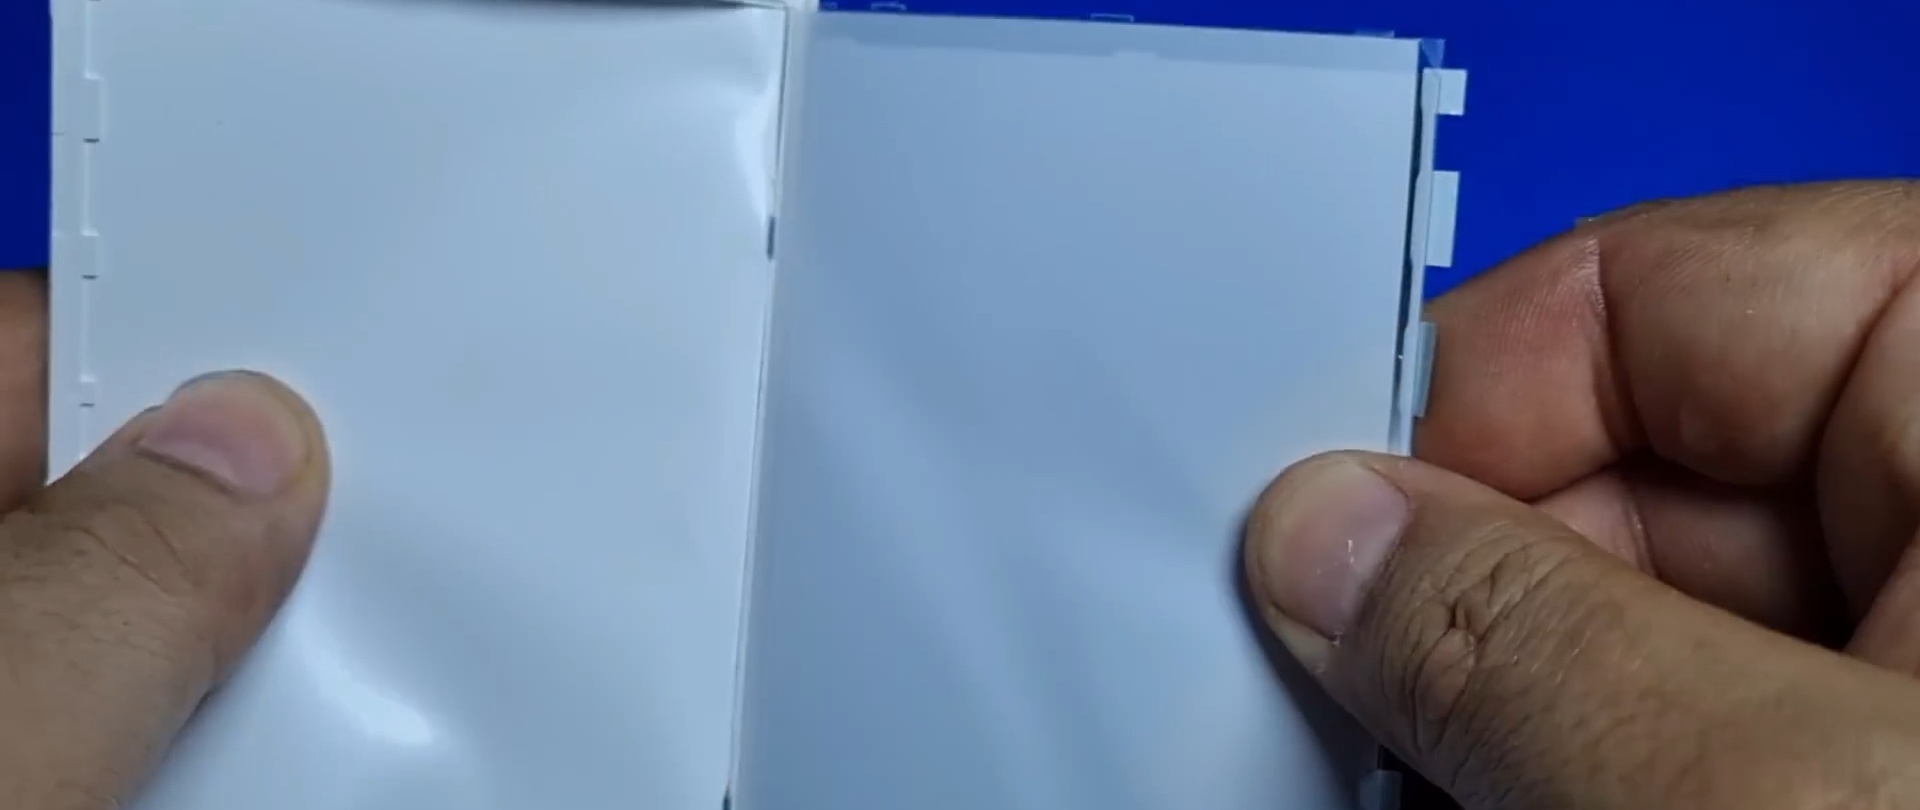
Just don’t glue it onto the LCD matrix - traces of glue will be visible when you turn on the device. It is worth fixing it in another way - by placing it under plastic clips.
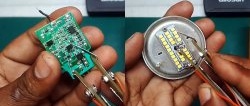
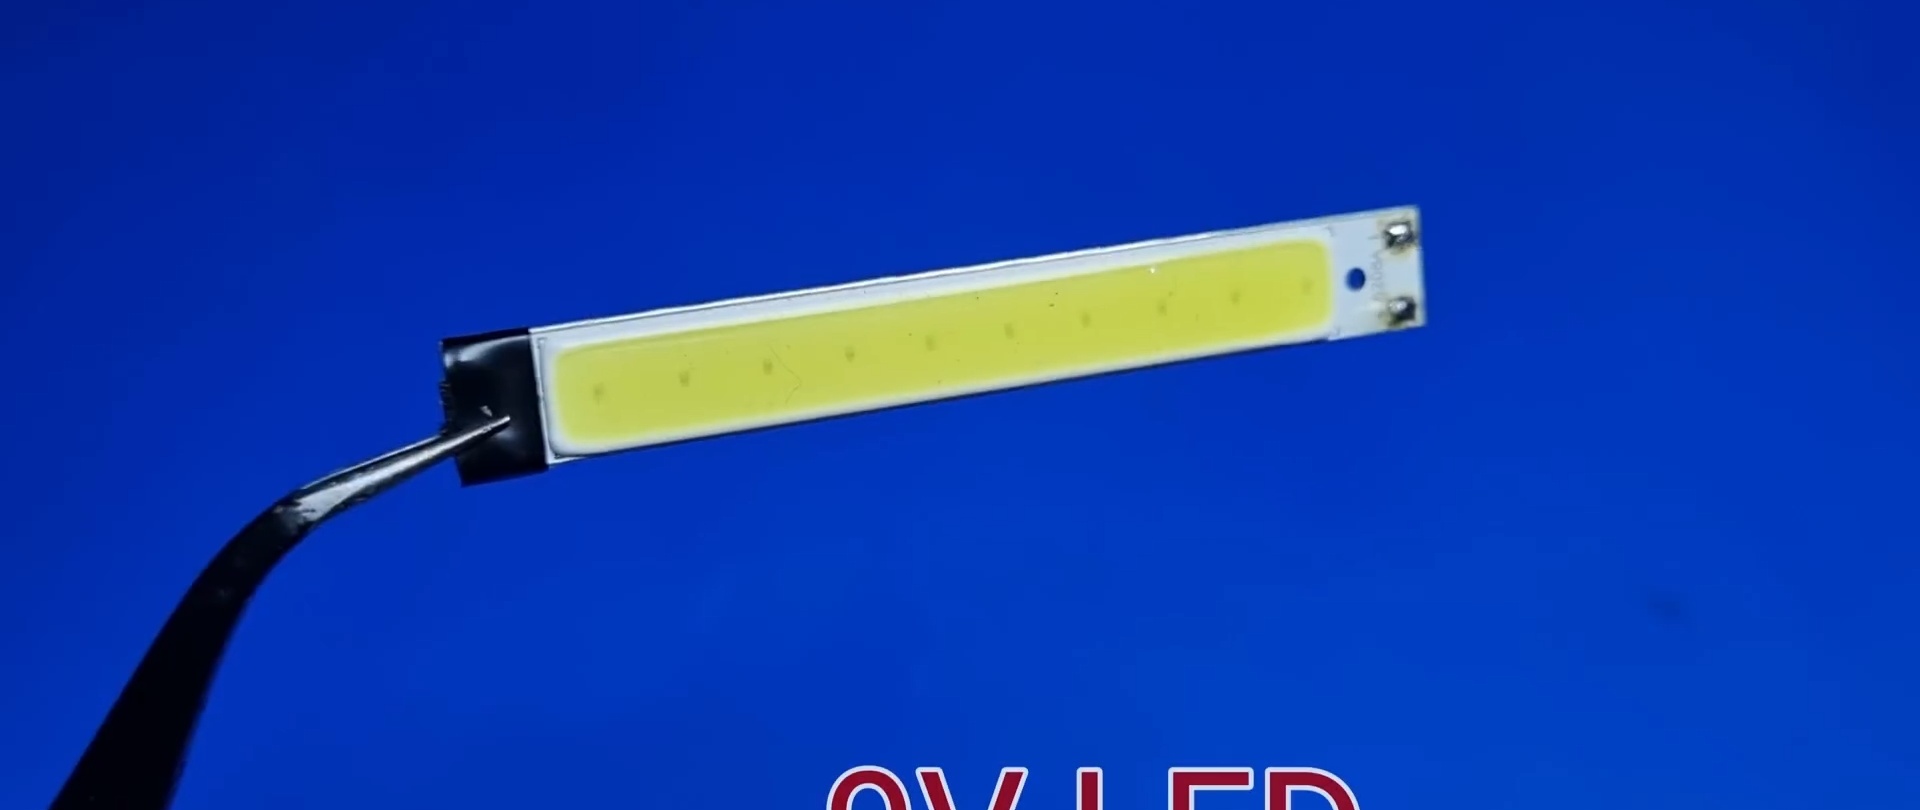
As a light source, you can use single LEDs or LED panel suitable size from an old device.
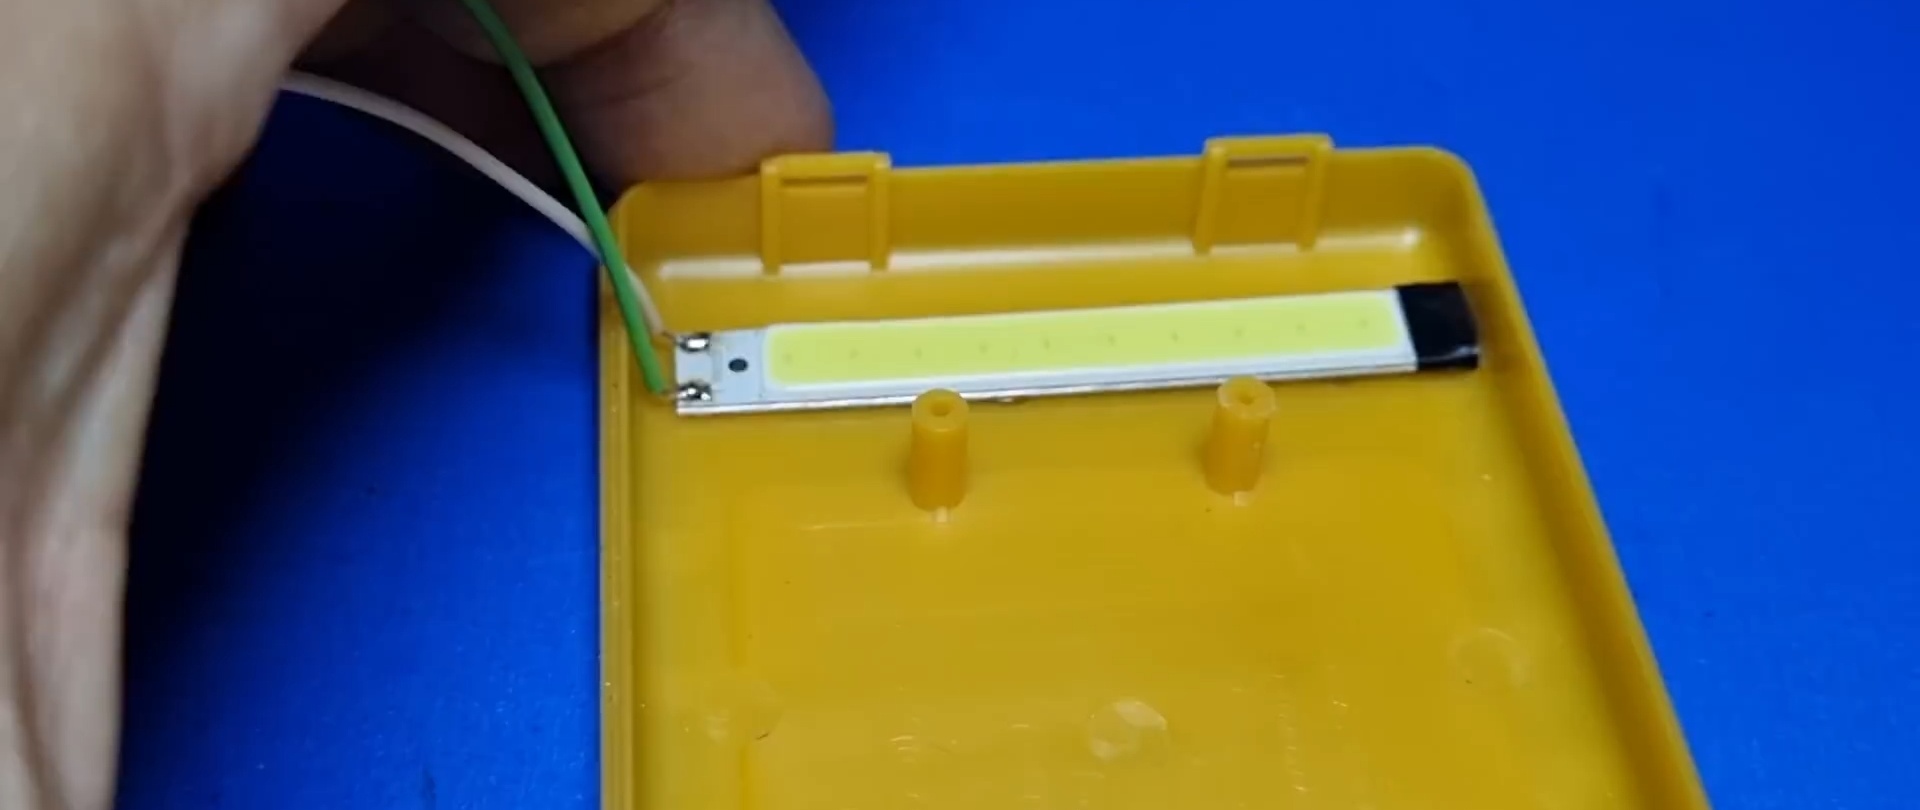
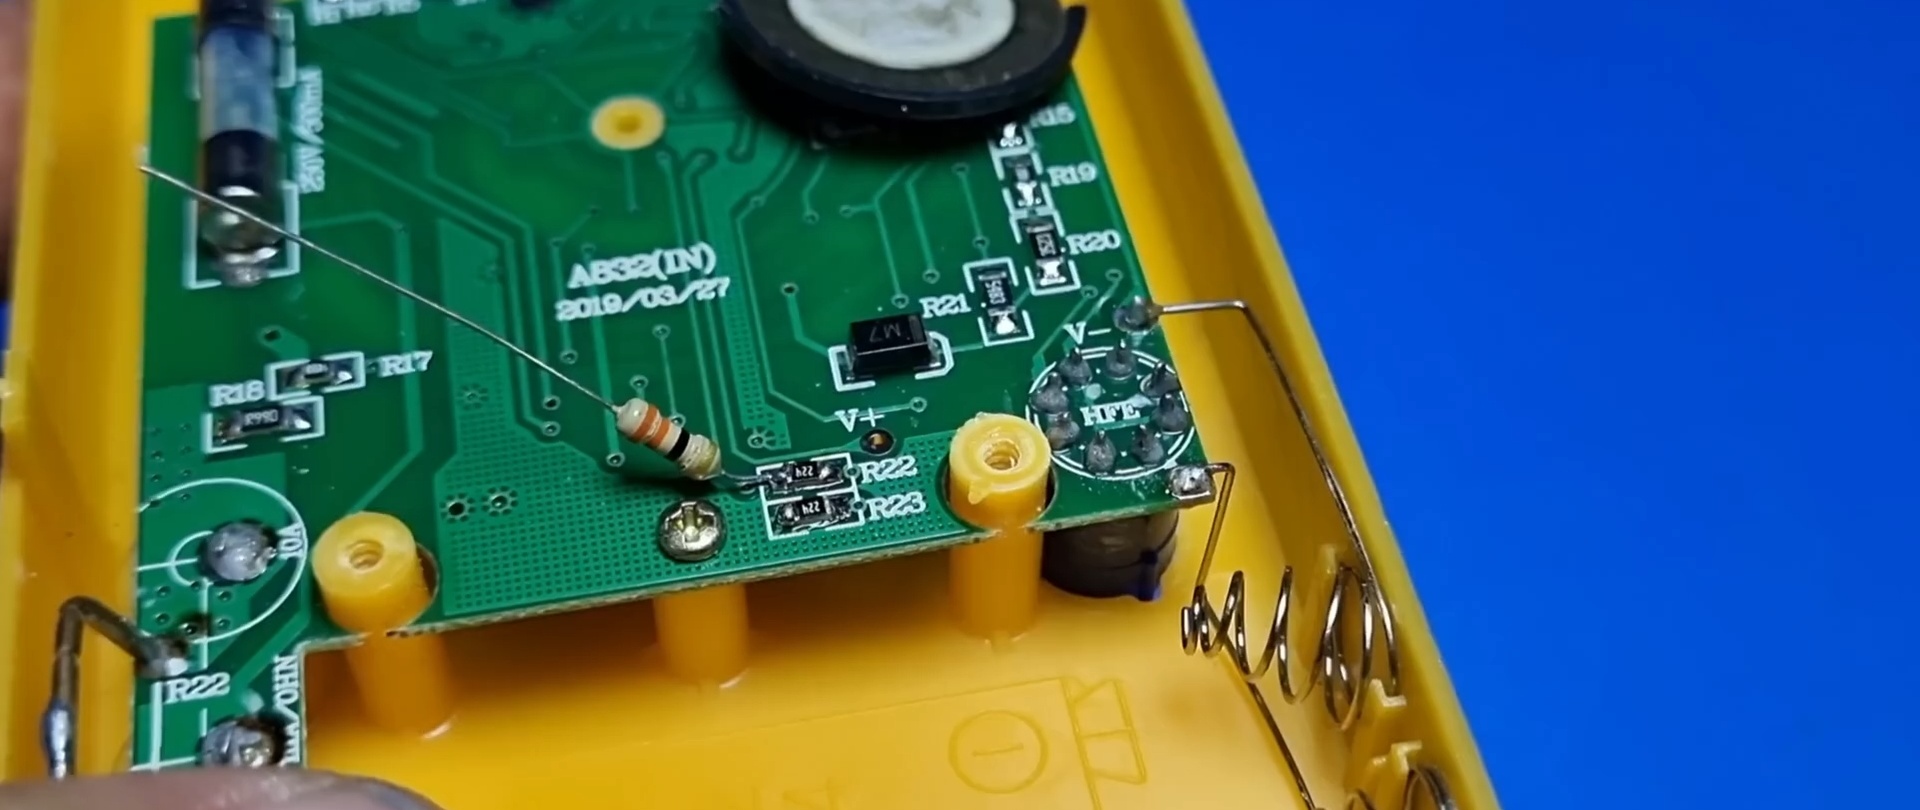
Having dealt with the power poles and soldered the wires to the terminals, you should fix the matrix on the back cover multimeter using glue.
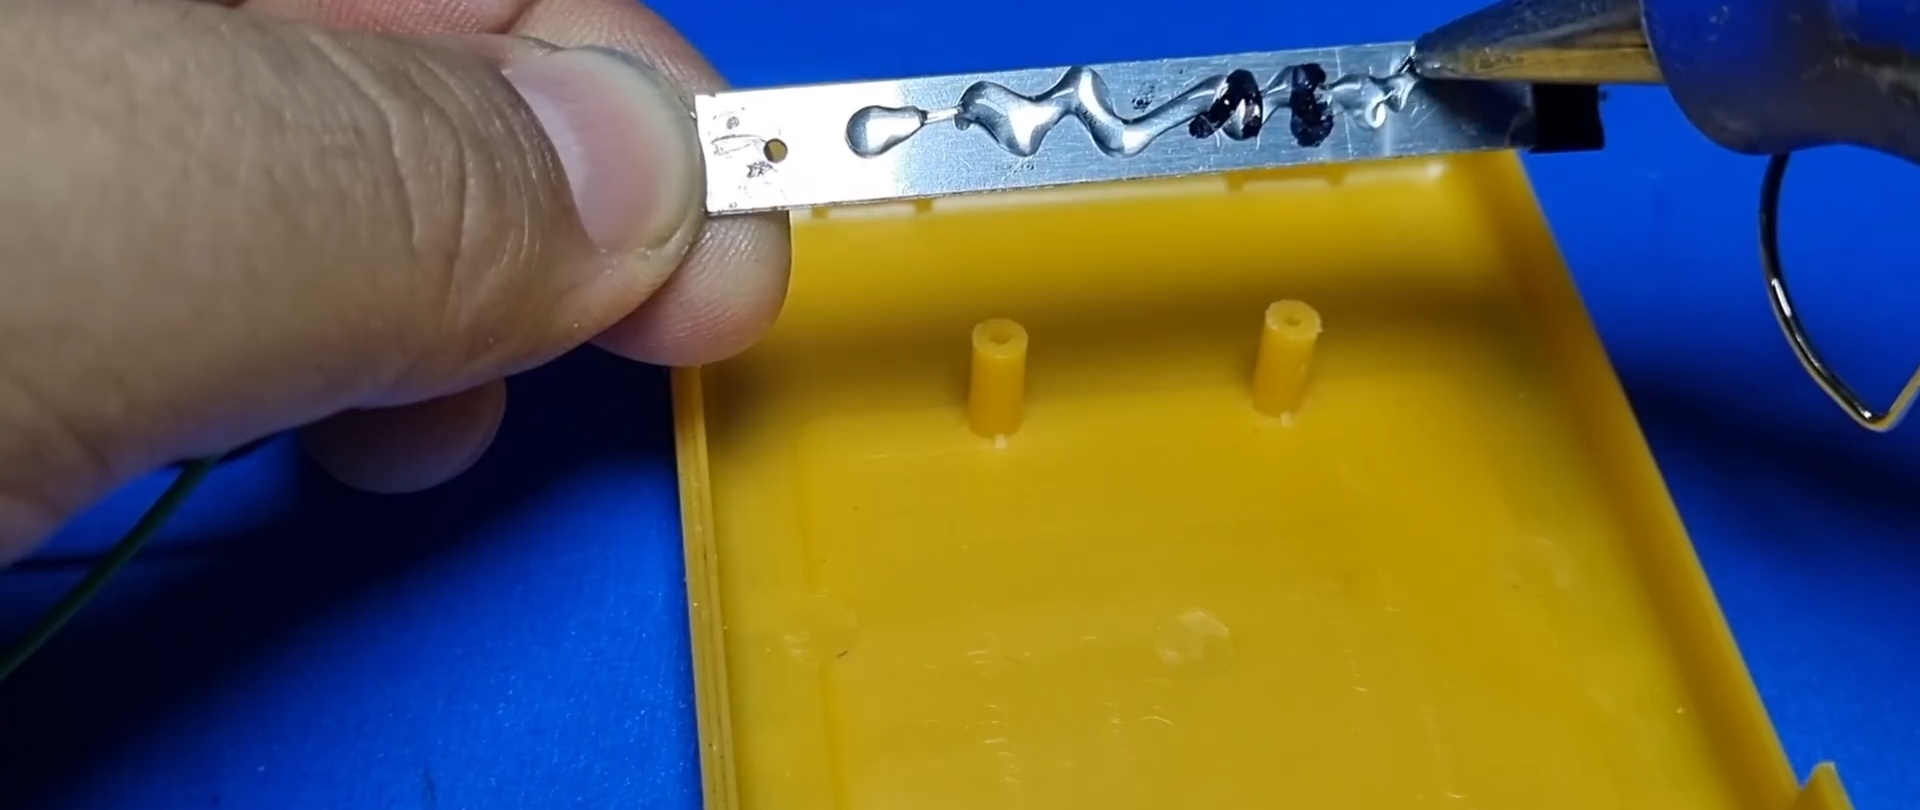
We must remember that LEDs They heat up during operation, so hot melt adhesive cannot be used in this case.
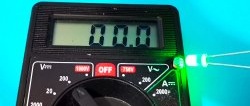
From the positive terminal of the device, the backlight matrix is powered through a current-limiting resistor 33 Ohm - 1 kOhm.
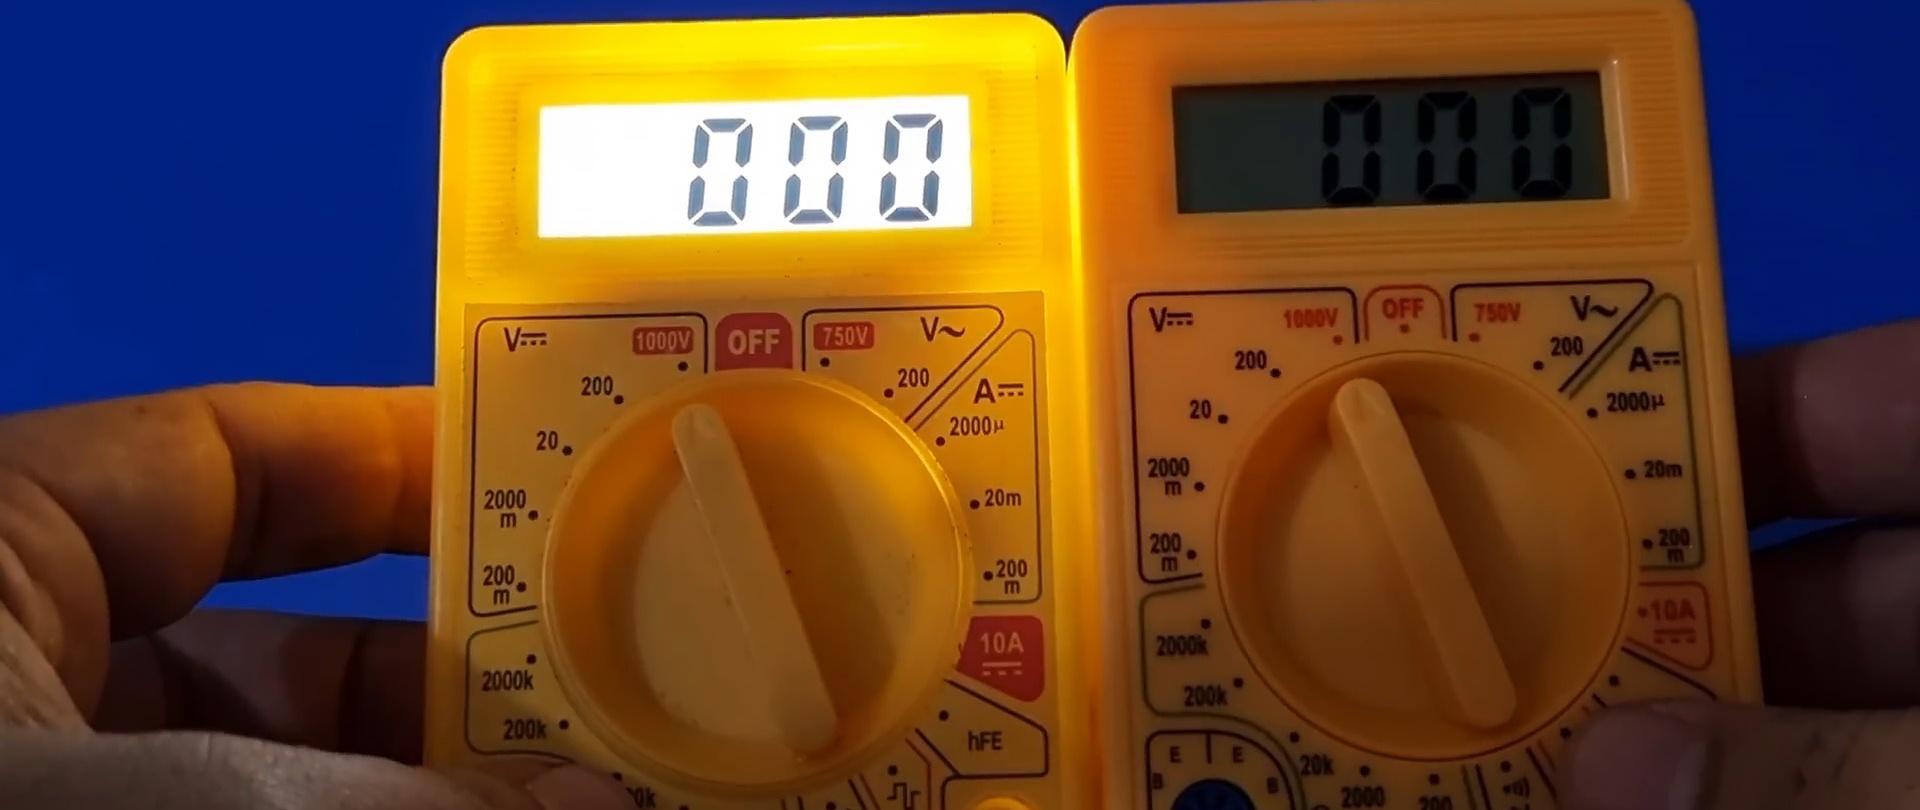
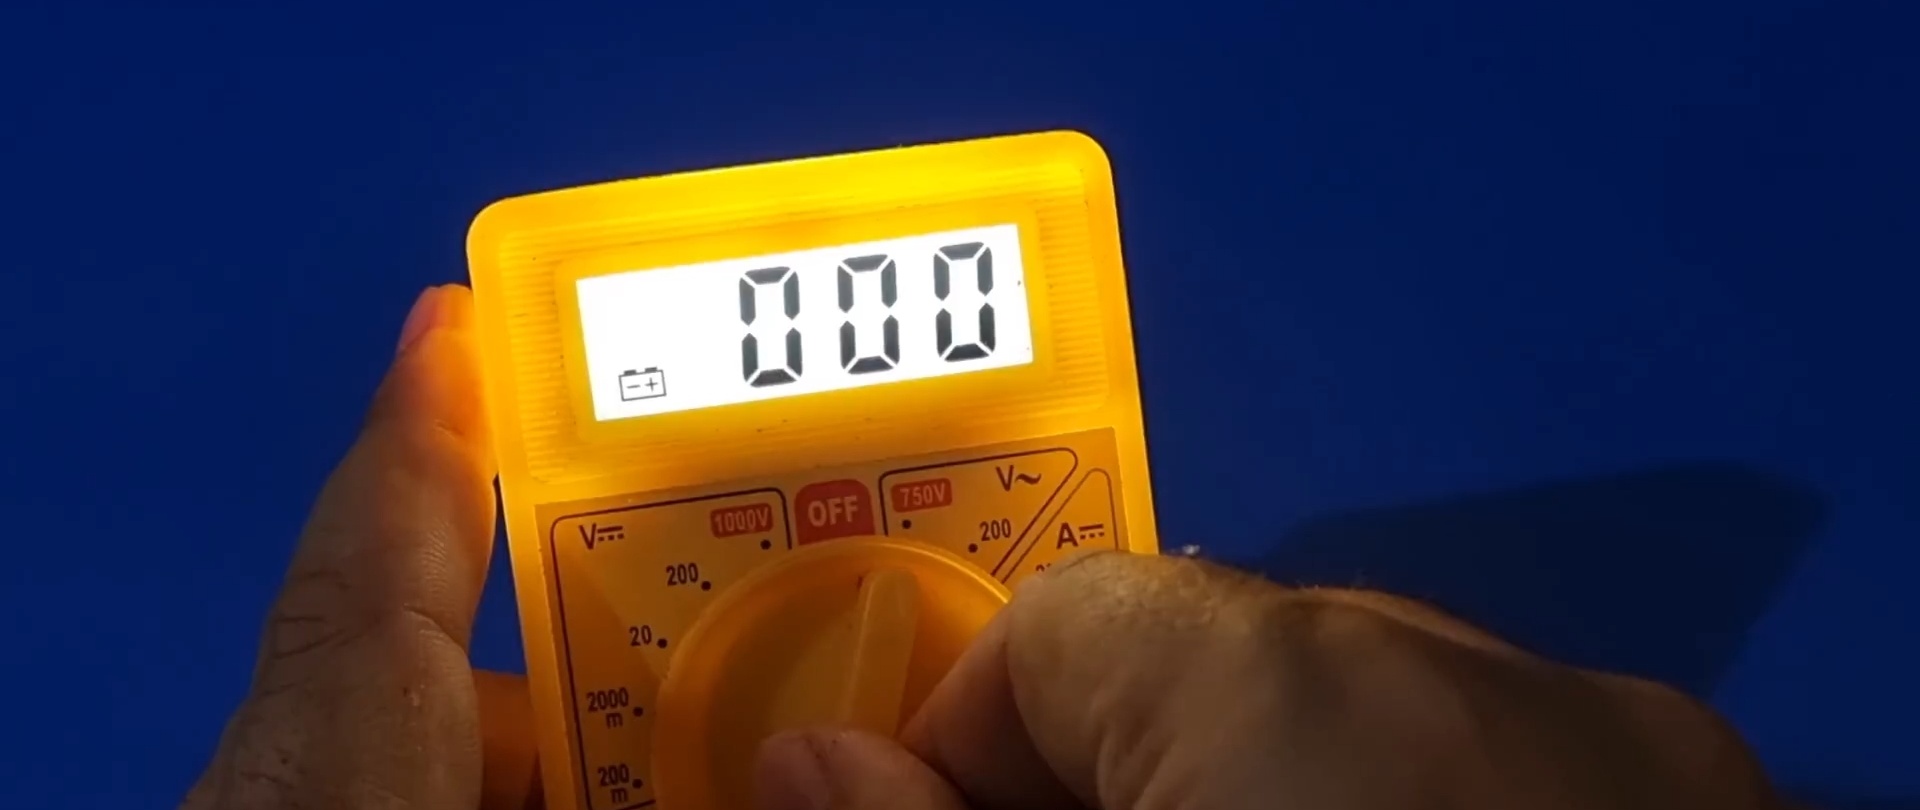
Next check.
Assembled multimeter switch switches to measurement mode. The installed backlight lights up immediately. It shines very brightly. You can easily use the device even in complete darkness.
Yes, for comfortable work, perhaps installing a pair would be enough LEDs. And the battery drain would not be fast. But the method works, and modifications, characteristics and variety of parts used always remain up to the performer.